Quick & Easy Cinnamon Buns
This post may contain affiliate links. Read my full disclosure policy.
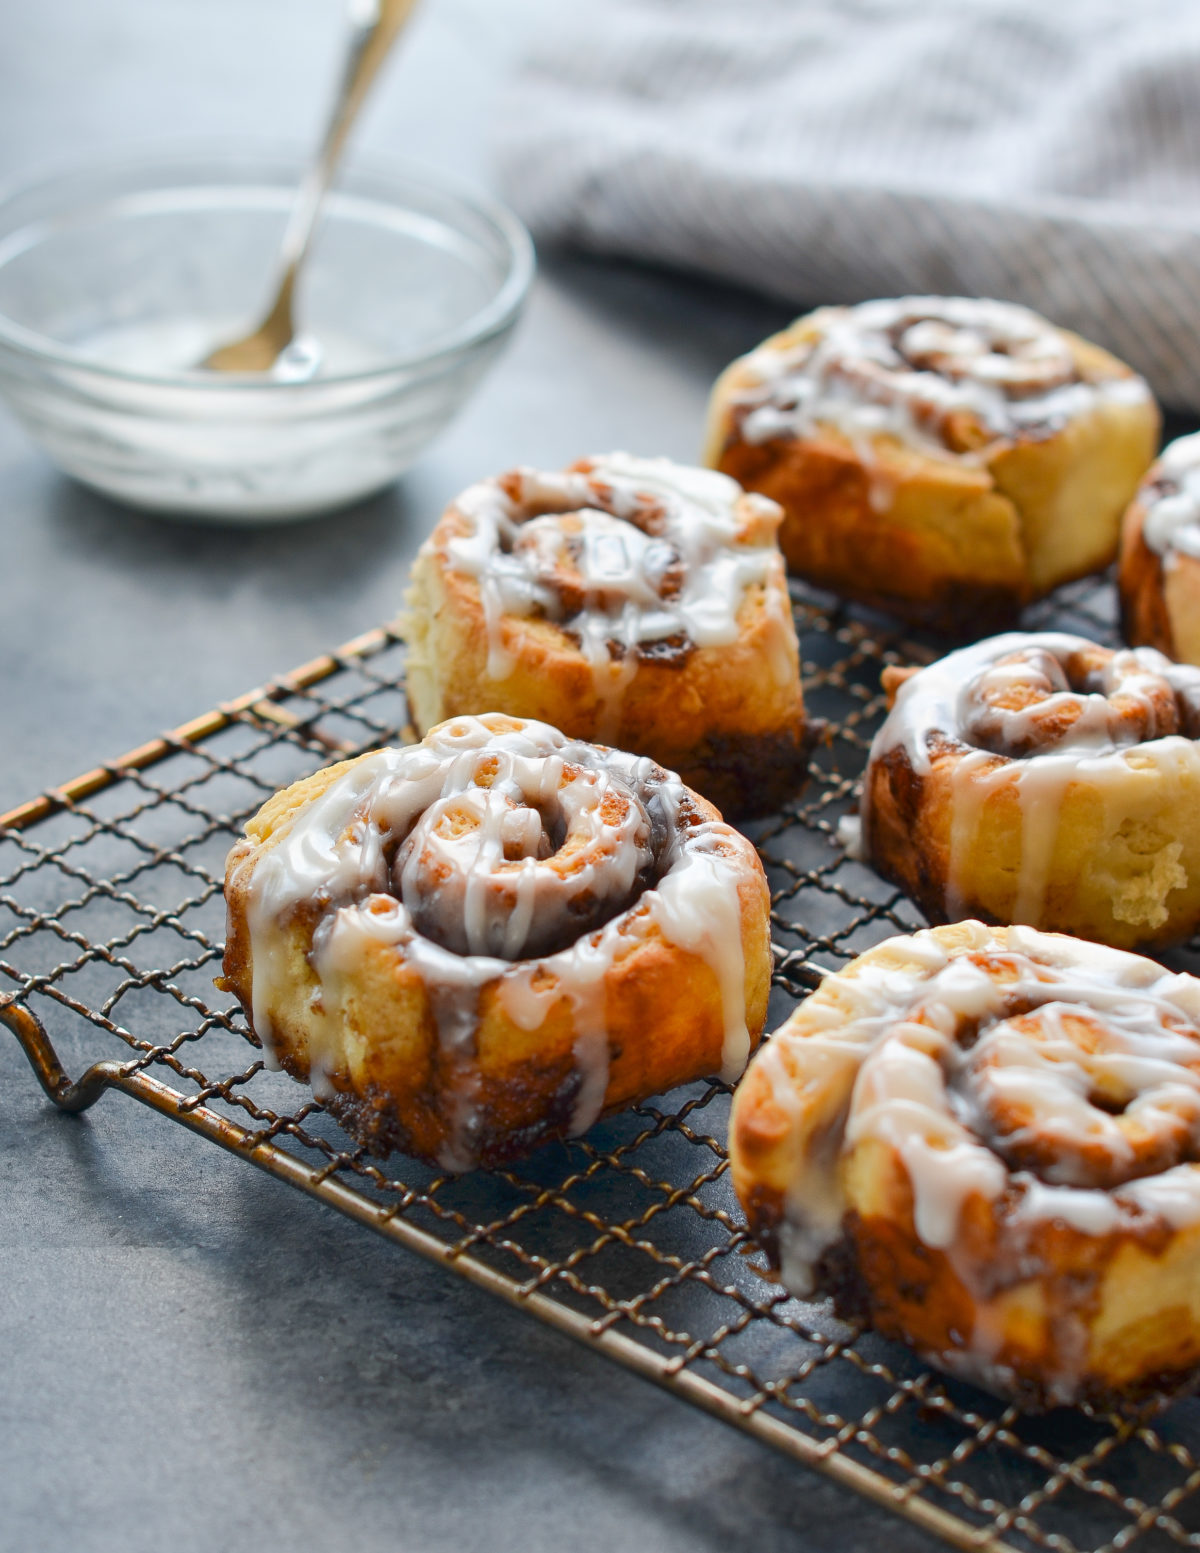
Make delicious, soft cinnamon buns in no time with this easy, no-yeast recipe! Perfect for a last-minute breakfast treat—no rising time required.
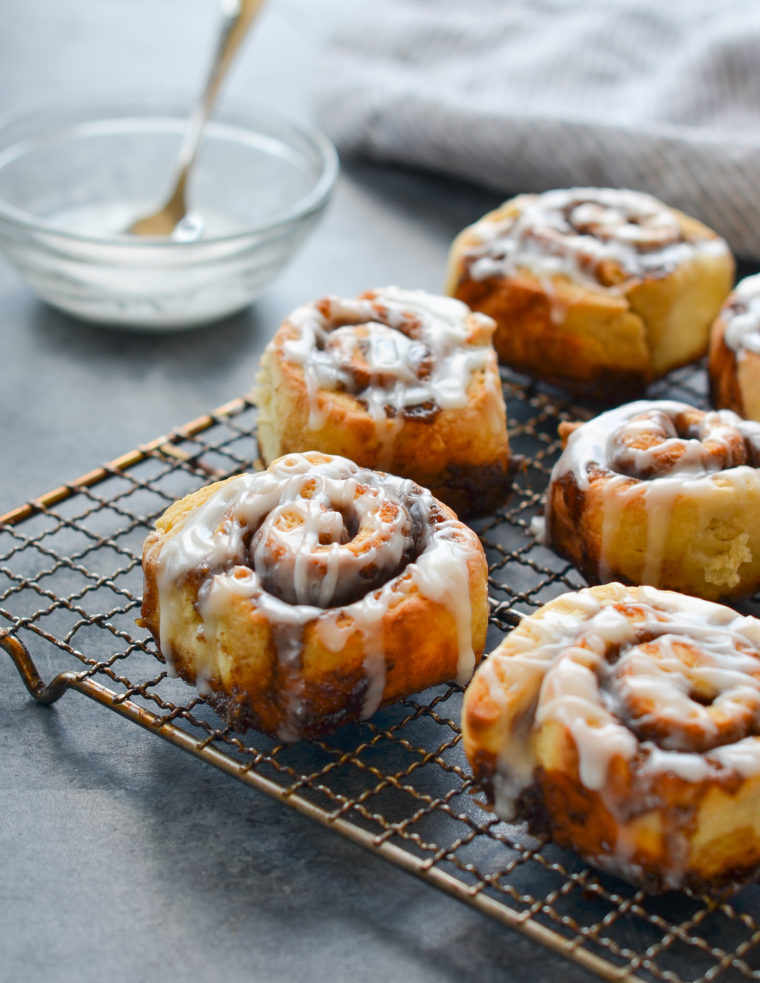
I love traditional cinnamon rolls and sticky buns, but they require advanced planning and hours of rising time. I don’t know about your family, but when my kids request cinnamon buns for breakfast, they want them five minutes ago—not later in the day! That’s where this quick and easy cinnamon bun recipe comes in. Adapted from Cook’s Illustrated, it uses a fast buttermilk biscuit dough leavened with baking powder rather than yeast, so there’s no need to wait for the dough to rise. The result? Tender, golden, caramelized cinnamon buns that are as easy as they are delicious!
What You’ll Need To Make Quick & Easy Cinnamon Buns
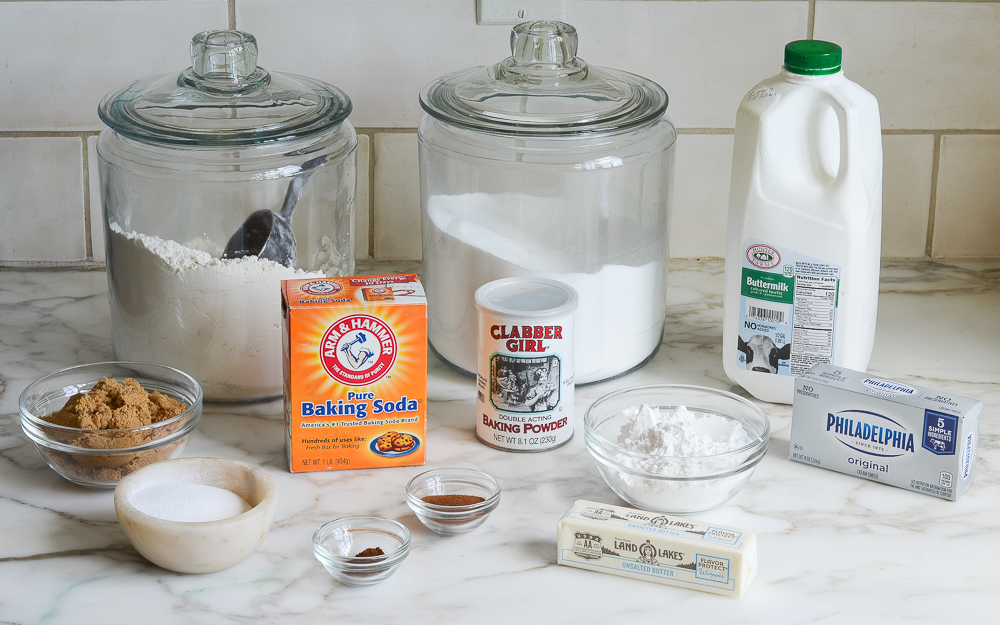
Step-By-Step Instructions
Step 1: Make the Filling
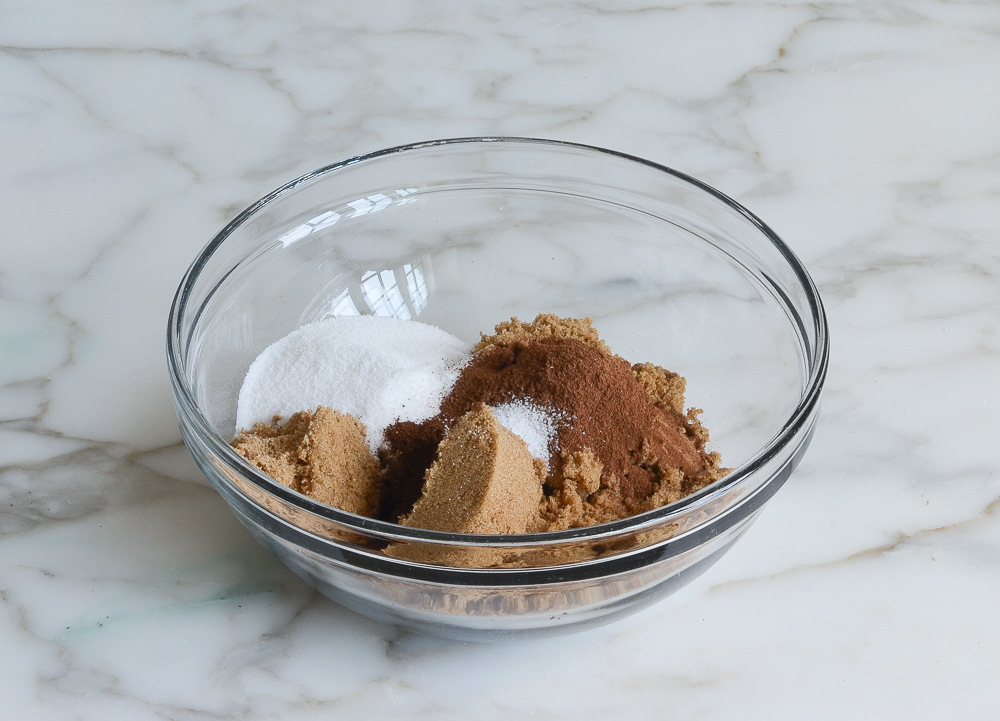
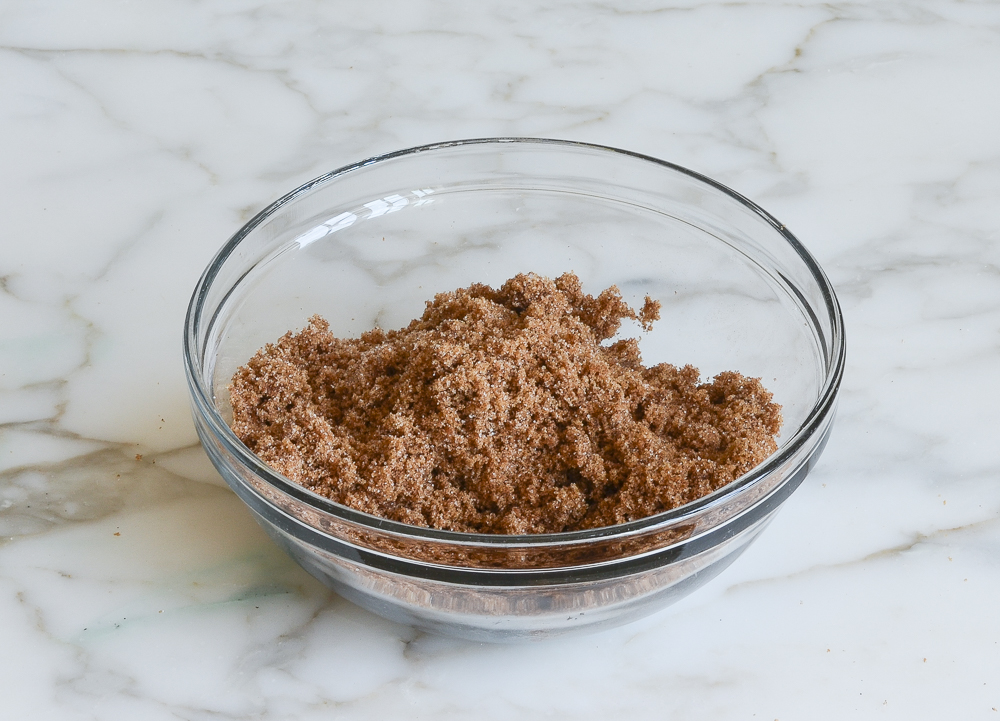
Combine the brown sugar, granulated sugar, cinnamon, cloves, and salt in a small bowl. Add 1 tablespoon of melted butter and mix until the mixture resembles wet sand. Set aside.
Step 2: Make the Dough
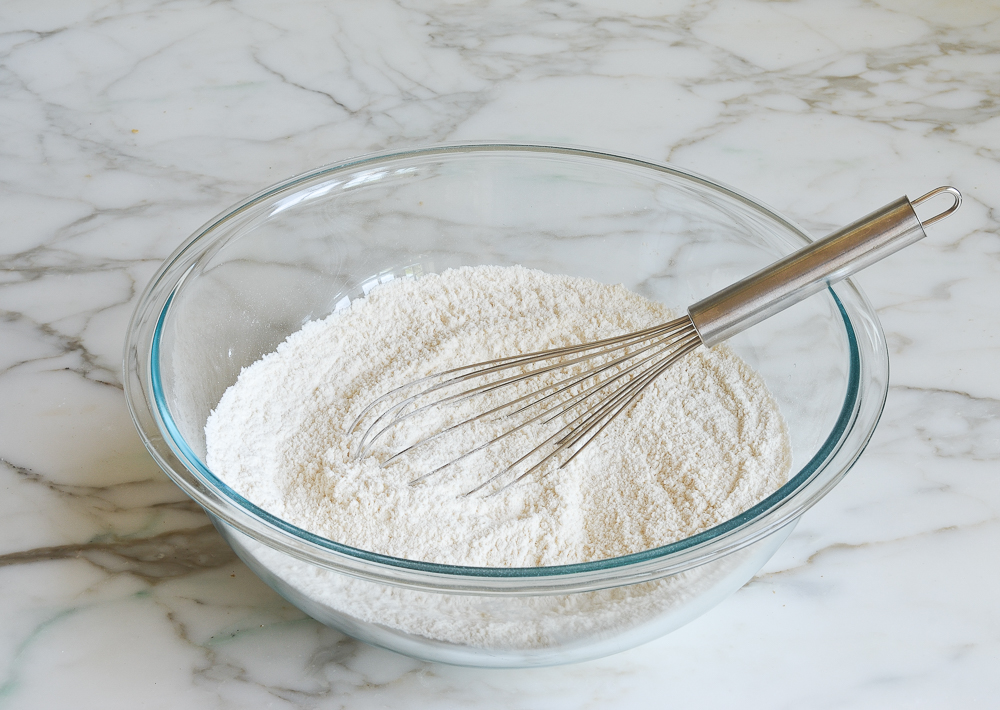
In a large bowl, whisk together the dry ingredients for the dough. Note that it’s very important to measure the flour using the spoon and level method: spoon it into a measuring cup and level it off with the back edge of a knife. If you scoop it into the measuring cup, you will have too much flour and dry cinnamon buns.
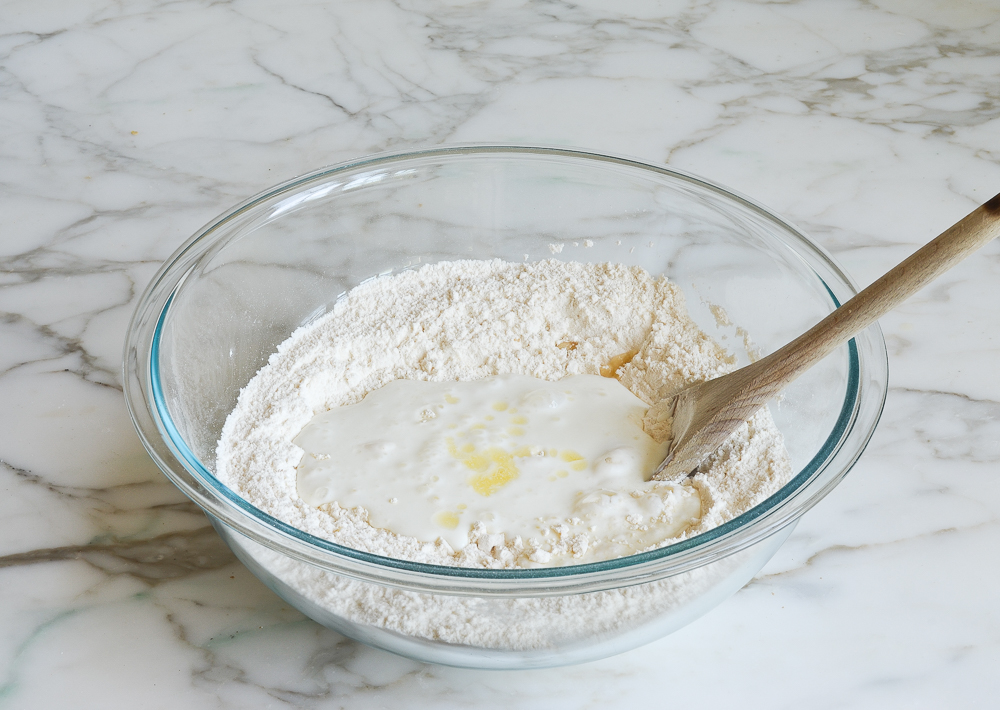
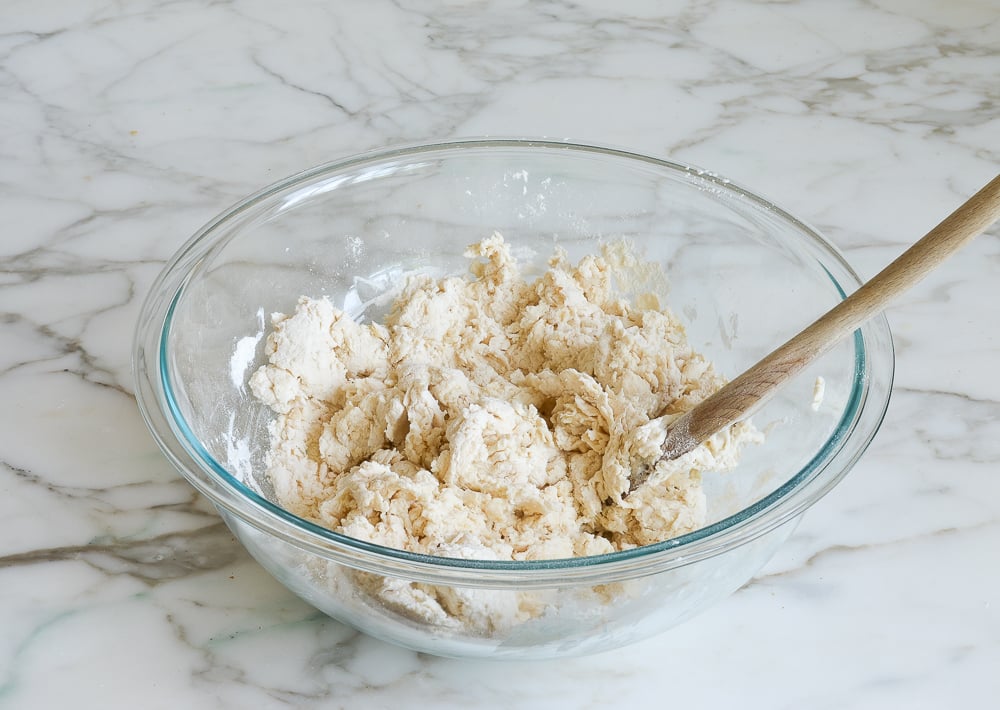
Add the buttermilk and melted butter and stir with a wooden spoon until the liquid is absorbed and the dough looks shaggy.
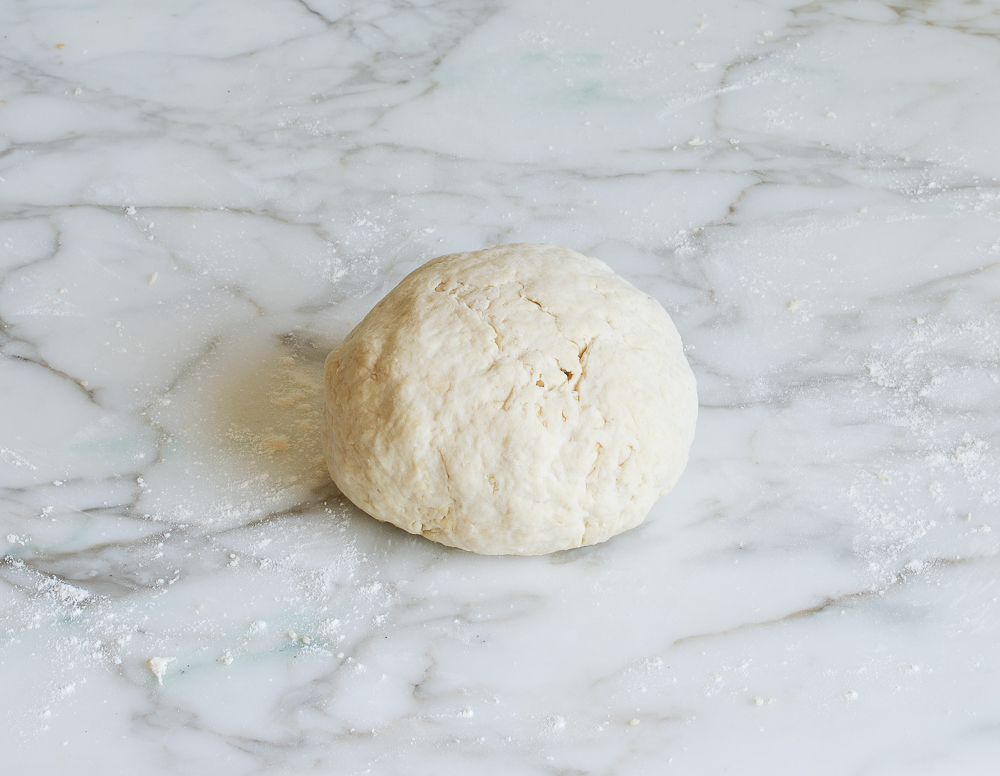
Transfer the dough to a lightly floured work surface. Dust the dough lightly with flour and knead until the dough is almost smooth.
Step 3: Roll the Dough
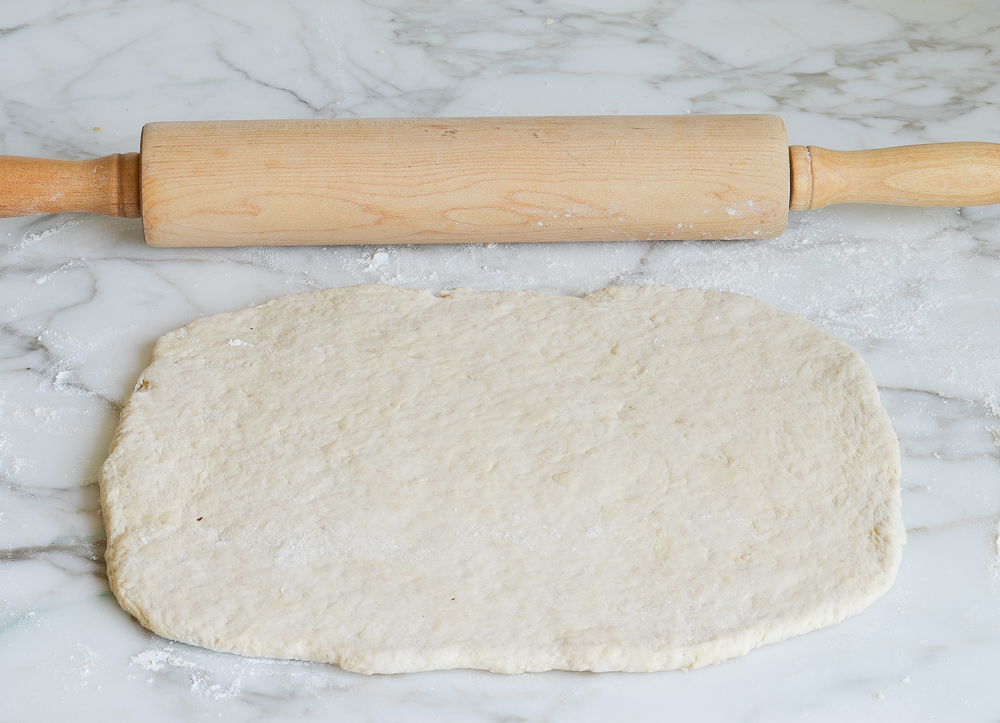
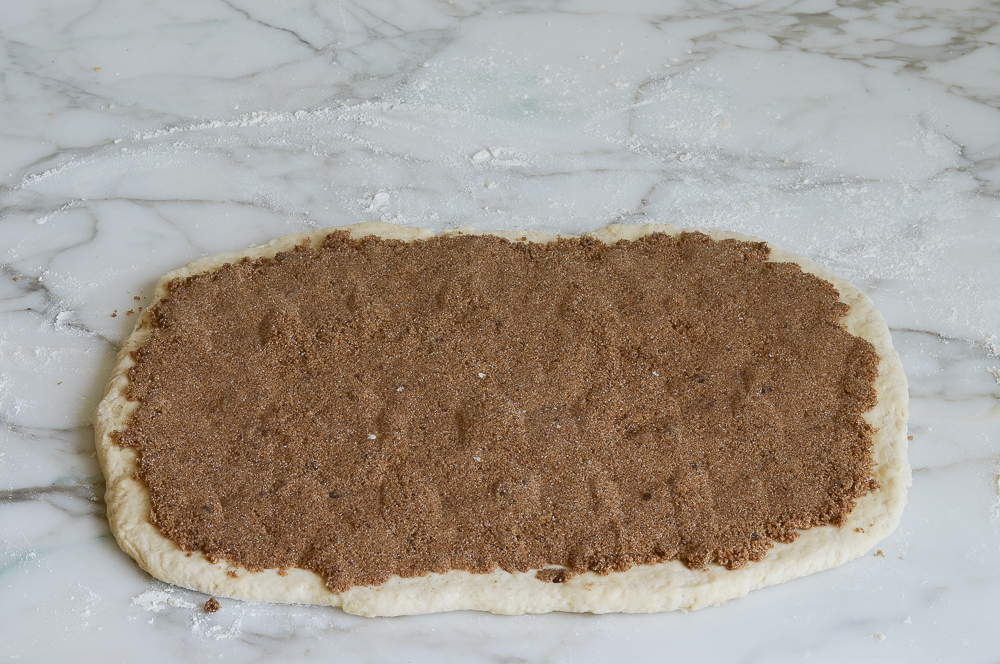
Pat the dough into a small rectangle, then roll into a larger 12-inch x 9-inch rectangle. Brush the dough with 1 tablespoon of the melted butter, and then sprinkle the brown sugar topping evenly over top. Press the filling firmly into the dough.
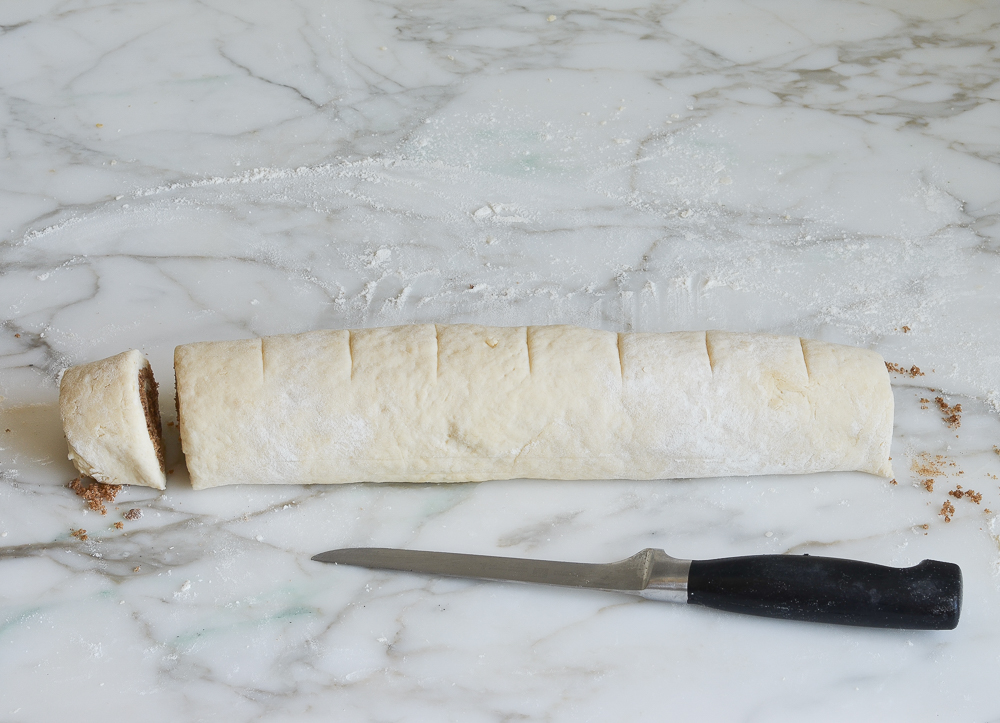
Starting at the long end, roll the dough into a log and pinch the seam. Then cut the log into nine even pieces.
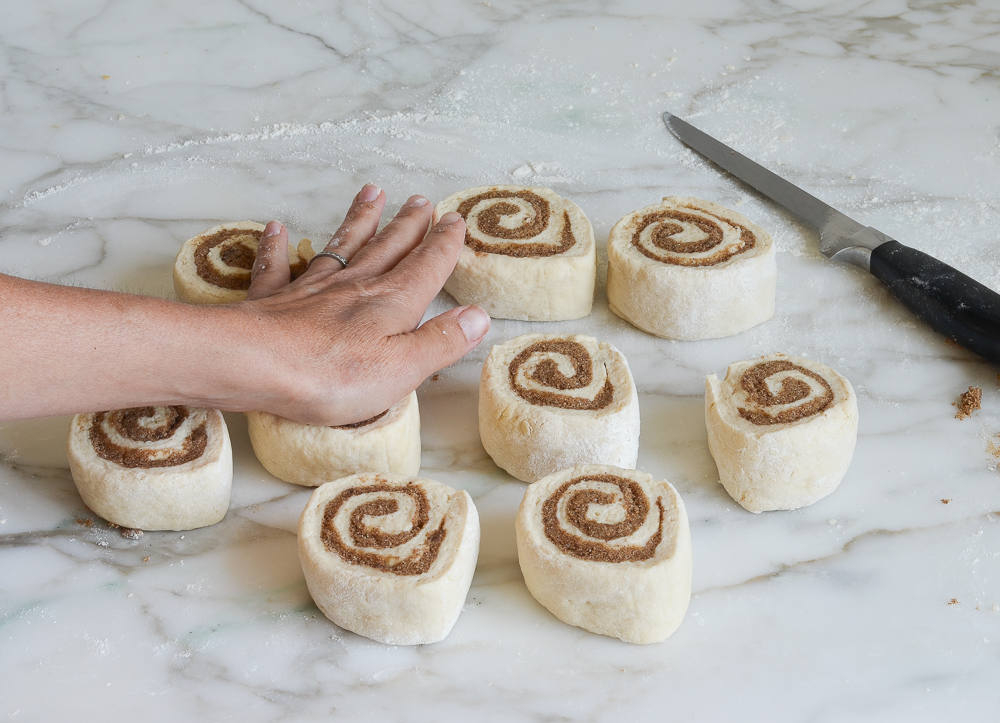
Lightly flatten the rolls with your hand to pack the filling in place.
Arrange the rolls in a 9-inch cake pan lined with buttered aluminum foil, then brush the rolls with the remaining melted butter.
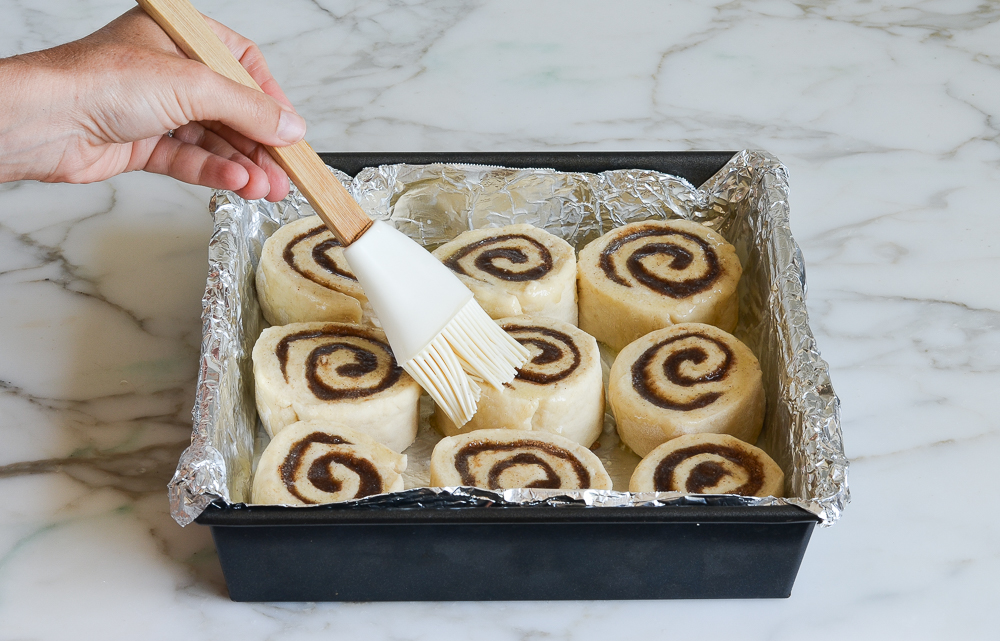
Step 4: Bake
Bake the cinnamon buns for about 25 minutes, until the rolls are golden brown.
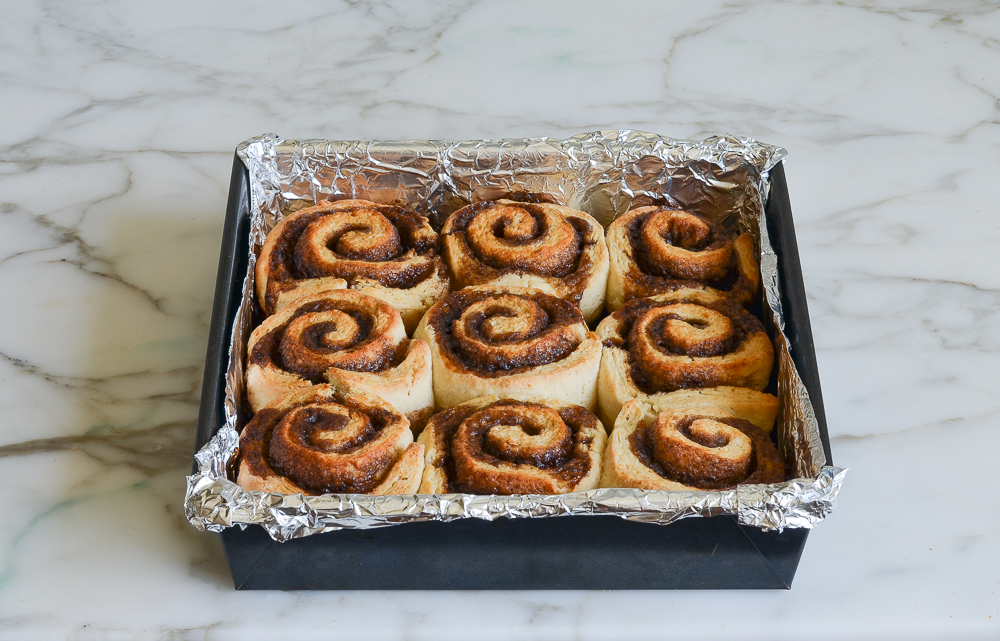
Use the foil overhang to transfer the rolls to a cooling rack. Let them sit about 5 minutes, then pull them apart.
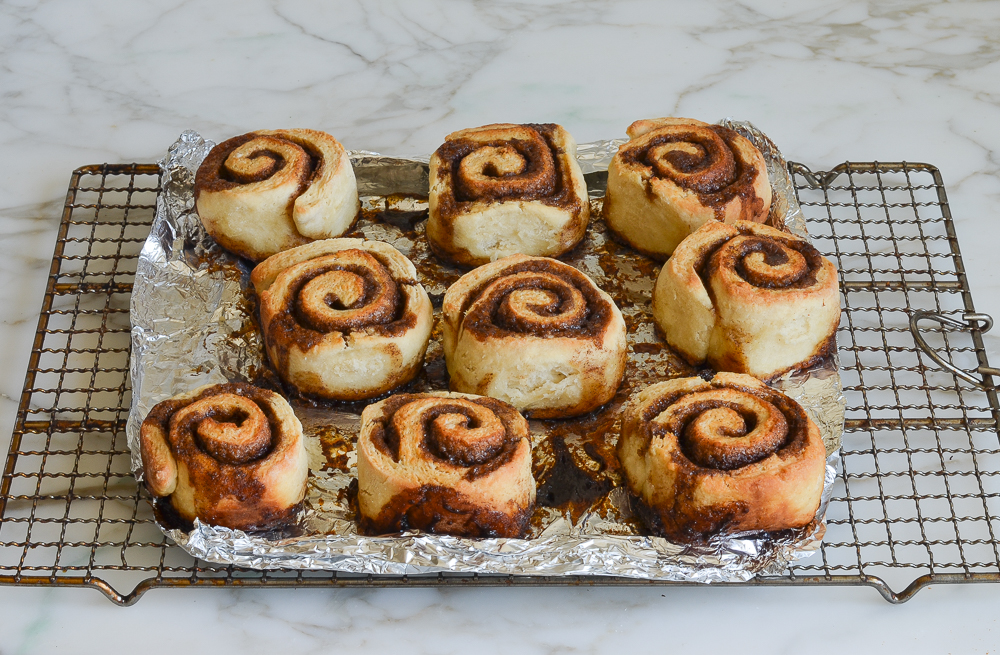
Step 5: Glaze
Make the buttermilk glaze by whisking the buttermilk, cream cheese and confectioners’ sugar together in a small bowl.
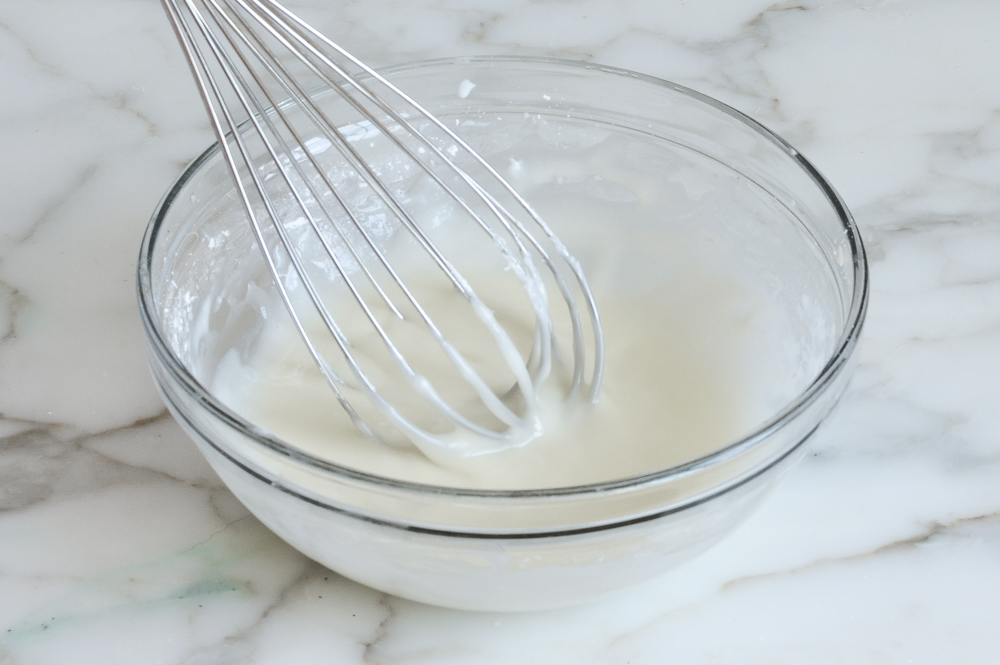
Drizzle the glaze liberally over the buns and enjoy warm. (These cinnamon buns are best fresh out of the oven, but they can also be stored in an air tight container and reheated with excellent results.)
Note: As mentioned, this recipe is tweaked from Cook’s Illustrated. I found their recipe to be good but tooth-achingly sweet, so I reduced the sugar significantly. I also increased the salt to balance things out a bit. This version also calls for a bit more flour than the original, making the dough easier to work with.
You May Also Like
Quick & Easy Cinnamon Buns
Make delicious, soft cinnamon buns in no time with this easy, no-yeast recipe! Perfect for a last-minute breakfast treat—no rising time required.
Ingredients
For the Cinnamon Buns
For the Brown Sugar Filling
- ⅔ cup dark brown sugar, packed
- 3 tablespoons granulated sugar
- 2 teaspoons ground cinnamon
- ⅛ teaspoon ground cloves
- ⅛ teaspoon salt
- 1 tablespoon unsalted butter, melted
For the dough
- 3 cups all-purpose flour, spooned into measuring cup and leveled off with knife, plus more for dusting work surface
- 1 tablespoon granulated sugar
- 1¼ teaspoons baking powder
- ½ teaspoon baking soda
- 1 teaspoon salt
- 1¼ cups low fat buttermilk
- 7 tablespoons unsalted butter, melted, divided
For the Glaze
- 1½ tablespoons cream cheese, at room temperature
- 2 tablespoons buttermilk or milk
- ¾ cup confectioners' sugar
Instructions
- Adjust oven rack to middle position and preheat oven to 425°F. Line a 9-inch square cake pan with aluminum foil and brush with one tablespoon butter.
- Combine the brown sugar, 3 tablespoons granulated sugar, cinnamon, cloves and ⅛ teaspoon salt in a small bowl. Add one tablespoon of the melted butter and stir with a fork or fingers until the mixture resembles wet sand. Set aside.
- In a large bowl, whisk together the flour, remaining tablespoon granulated sugar, baking powder, baking soda and 1 teaspoon salt. Add the buttermilk and 3 tablespoons of the melted butter to the dry ingredients and stir with a wooden spoon until the liquid is absorbed; the dough will be sticky and shaggy. Transfer the dough to a lightly floured work surface. Knead, lightly dusting more flour as necessary, until just smooth and no longer shaggy, about 1 minute.
- Lightly dust the surface again. Pat the dough into a small rectangle, then roll into a 12x9-inch rectangle, dusting more flour sparingly if necessary so the dough doesn't stick to the rolling pin. Brush the dough with 1 tablespoon of the melted butter. Sprinkle the dough evenly with the brown sugar filling, leaving a ½-inch border. Using your hand, press the filling firmly into the dough. Starting at the long side, roll the dough, pressing lightly, to form a tight log. (If the dough sticks to the surface, use a sharp knife or dough scraper to release it.) Pinch the seam to seal. Roll the log seam-side down and, using a sharp knife, cut it evenly into 9 pieces. Turn the pieces over on their flat sides, and slightly flatten each piece with your hand to seal the open edges and keep the filling in place. Place the rolls in the prepared pan and brush with the remaining butter. Bake until the edges are golden brown, 23 to 25 minutes.
- Meanwhile, make the glaze. In a medium bowl, whisk together the cream cheese and buttermilk until thick and smooth (the mixture will look like cottage cheese at first). Add the confectioners' sugar and whisk until smooth glaze forms.
- When the buns are done, use the foil overhang to lift them out of the baking pan and onto a wire rack. Let cool for 5 minutes, then carefully separate the buns, using a knife if necessary. If you find the buns are sticking a bit to the foil, transfer them to a wire rack. Drizzle the glaze evenly over the buns. The buns are best served warm; leftovers may be stored in an airtight container at room temperature.
Nutrition Information
Powered by ![]()
- Per serving (9 servings)
- Serving size: 1 bun
- Calories: 389
- Fat: 12 g
- Saturated fat: 7 g
- Carbohydrates: 66 g
- Sugar: 33 g
- Fiber: 1 g
- Protein: 6 g
- Sodium: 296 mg
- Cholesterol: 31 mg
This website is written and produced for informational purposes only. I am not a certified nutritionist and the nutritional data on this site has not been evaluated or approved by a nutritionist or the Food and Drug Administration. Nutritional information is offered as a courtesy and should not be construed as a guarantee. The data is calculated through an online nutritional calculator, Edamam.com. Although I do my best to provide accurate nutritional information, these figures should be considered estimates only. Varying factors such as product types or brands purchased, natural fluctuations in fresh produce, and the way ingredients are processed change the effective nutritional information in any given recipe. Furthermore, different online calculators provide different results depending on their own nutrition fact sources and algorithms. To obtain the most accurate nutritional information in a given recipe, you should calculate the nutritional information with the actual ingredients used in your recipe, using your preferred nutrition calculator.

I am a really big baker. My family loves cinnamon buns. Generally they are time consuming to make. I was shocked at how easy it was to make these yeast free cinnamon buns. They came out amazing.
Our family loved these quick cinnamon buns! We woke up to a surprise spring snow day, so this was a great option to get a yummy breakfast treat in the oven quickly, without waiting for yeasted rolls to rise. This dough was really easy to work with. Will definitely make again!
Hi Jenn from another Jen! I made these today for my daughter. She just got home from school and sampled and loved them. Thank you again for a delicious and easy recipe. I had an 8×8 pan and they fit great.
Hi jenn
I don’t have a 9-inch square cake pan can i use 9×3 ?
Thanks
Hi Fanny, I would just fashion a 9×9 pan by shaping the foil in a smaller square in the 9×13-in pan. Hope that helps!
Hi Jenn I love all of your recipes, but I have a question about this one, can I replace the dark brown sugar with light brown sugar?
Sure, Isabella – that will work. 🙂
Can I make these the day before & bake the next morning?
Hi Yvonne, I worry that the leavening agents will lose their “oomph” if not baked right away. You’re better off using a yeast-based recipe for overnight cinnamon rolls. Sorry!
The best and easiest cinnamon buns I have ever made! Decided these will be our Christmas morning treat!
I may have made these too soon. Wondering if it’s ok to freeze them AFTER I’ve baked them and before I ice them?
Sure, Cindy. Enjoy!
Perfection! My first time making homemade cinnamon rolls and my whole family loved them! Perfect combination of soft and crispy. Followed all your helpful instructions to a T, with the slight detour of making homemade buttermilk with milk and vinegar. We love you, Chef Jenn! My six and three year old kids always look forward to your recipes.
can the icing glaze be made without cream cheese?
Hi Marsha, I think the glaze is best with cream cheese. That said, one reader commented that she used Greek yogurt in place of the cream cheese and was happy with the result. (Please keep in mind that I haven’t tried this myself.) I’d love to hear how they turn out if you try it!
Jenn, is there a way you could add reviews or questions regarding your cookbook recipes? I would love to hear what others think of some of the recipes and sometimes have questions. In this case, I want to make the cinnamon swirl bread but only have two 8×4 loaf pans. I would rather not buy a loaf pan just for the recipe. could I use two 8×4 pans or could you advise on reducing the recipe?
Hi Janet, I’m not sure that we’ll be adding that functionality to the blog, but if you ever have any questions about the cookbook recipes, feel free to email me at jennifer@onceuponachef.com. Always happy to help! And regarding the cinnamon swirl bread, I think you could probably get away with using two 8 x 4-inch pans and making slightly smaller loaves. They’re likely to take a little less time in the oven, so make sure you keep a close eye on them. Hope you enjoy!
Thank you for your response Jenn, always much appreciated!