Homemade Waffle Recipe
This post may contain affiliate links. Read my full disclosure policy.
Break out your waffle iron and discover the secret behind our go-to waffle recipe. Light, airy, and impeccably crisp, these waffles are sure to brighten up your mornings and bring a little comfort to your breakfast table.
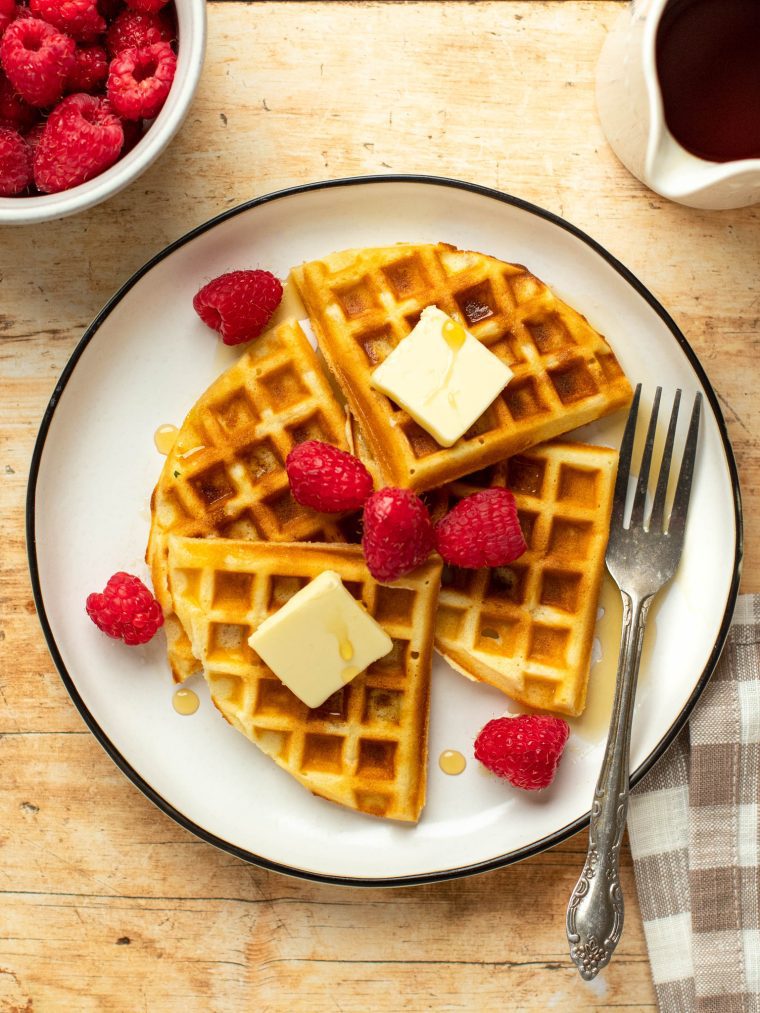
Who doesn’t love waking up to the heavenly aroma of homemade waffles? But making good waffles is harder than it seems. It’s a common misconception that pancake batter can be used to make waffles; however, this results in dense, heavy waffles that lack that sought-after light and crispy texture. Yeasted waffles are known for their superior texture, but they require patience and planning. For a quicker alternative that still delivers a light and crispy texture without yeast, this easy waffle recipe, adapted from Pam Anderson’s cookbook CookSmart, is the way to go.
The secret lies in separating the eggs and then whipping the whites to produce a light, airy batter. Additionally, substituting some of the flour with cornstarch adds an extra level of crispiness. Bonus: just like pancakes, homemade waffles can be frozen, so you’ll have a a delicious breakfast option on hand all week long.
Table of Contents
“The waffles were delicious and the perfect texture as you described. My whole family scarfed them up…these will go into my Sunday morning breakfast rotation!!”
What You’ll Need To Make My Homemade Waffle Recipe
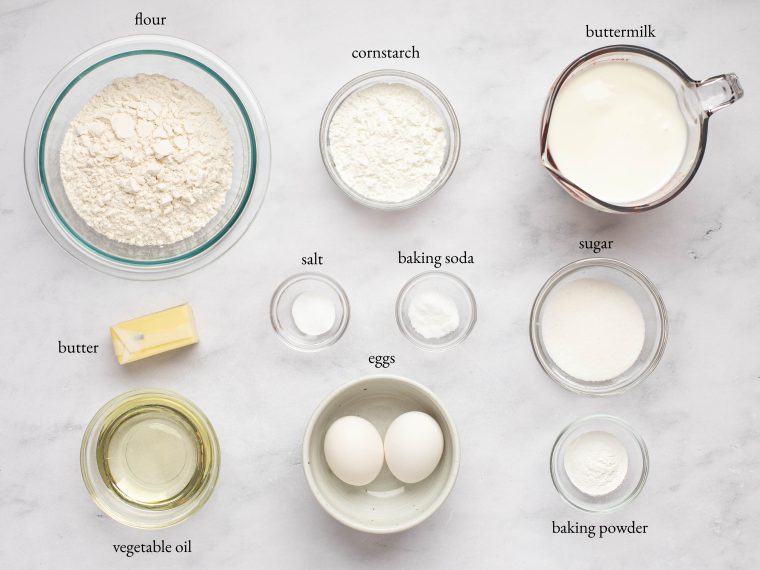
- All-Purpose Flour: Provides the structure for the waffles; use the spoon-and-level method to measure for accuracy.
- Cornstarch: A key ingredient for making the waffles extra crispy on the outside while keeping them tender on the inside.
- Sugar: Adds a touch of sweetness to the batter and helps the waffles brown beautifully when cooked.
- Baking Powder and Baking Soda: These leavening agents work together to create a light and fluffy texture.
- Buttermilk: Contributes to the waffles’ tenderness and adds a subtle tanginess. (Don’t want to buy a whole carton? See my easy recipe for how to make buttermilk.)
- Eggs: The yolks add richness to the batter, while the whipped egg whites are folded in to introduce airiness.
- Oil: Keeps the waffles moist and prevents them from drying out, also contributes to their crisp exterior.
- Butter: Adds flavor and richness to the batter.
- Jump to the printable recipe for precise measurements
Step-by-Step Instructions
Preheat the oven to 200°F and set an oven rack in the middle position. Place an oven-safe rack on a baking sheet (this is to put the waffles on after cooking so they stay warm while you cook the others).
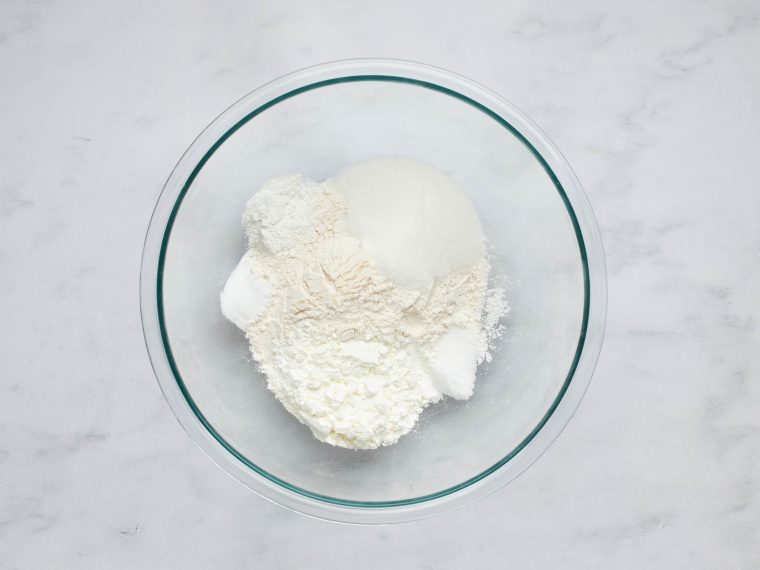
In a large bowl, whisk together the flour, cornstarch, sugar, salt, baking powder, and baking soda.
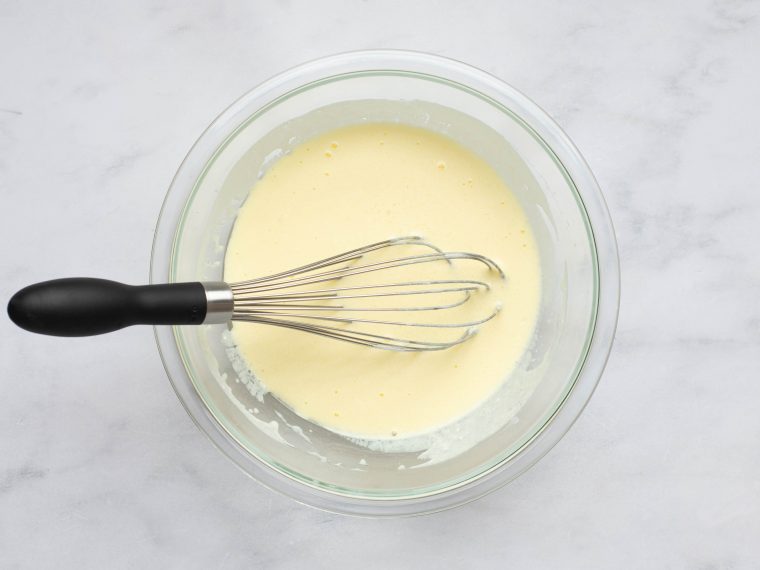
In a medium bowl, combine the buttermilk, egg yolks, and vegetable oil.
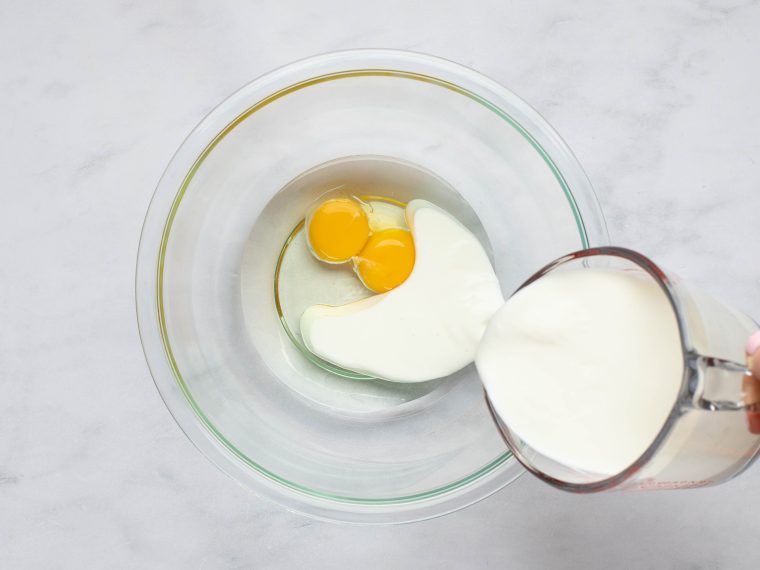
Whisk to combine.
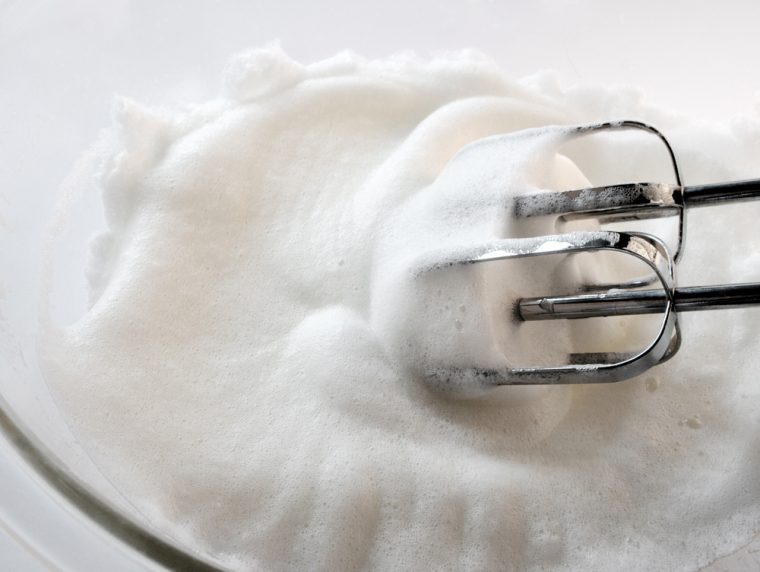
In the bowl of a stand mixer fitted with the whisk or beaters, beat the egg whites to medium peaks (when you lift the beaters out of the bowl, the peaks should stand up firmly but curl over slightly at the tip).
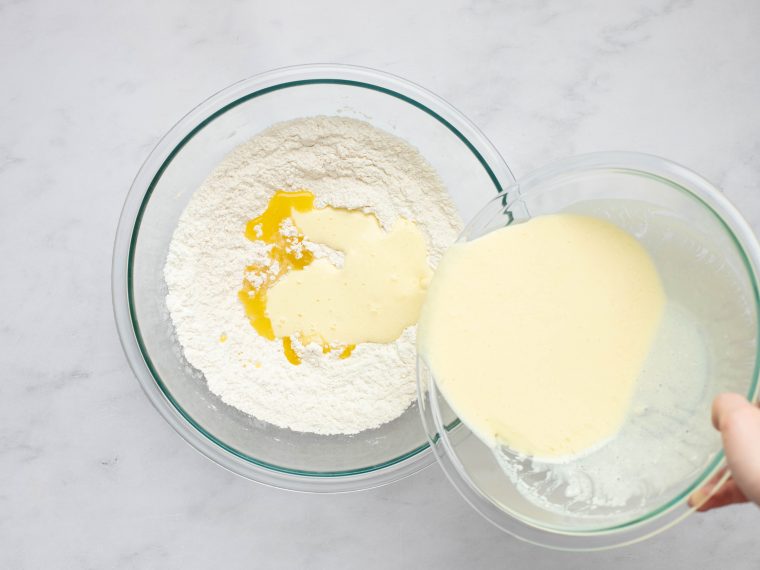
Add the buttermilk mixture and melted butter to the flour mixture and whisk until smooth.
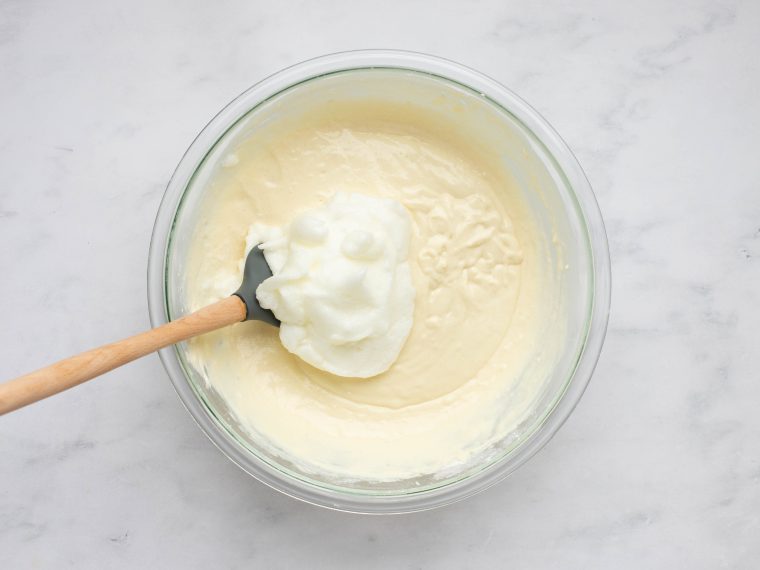
Add the beaten egg whites to the batter and fold until evenly combined.
Preheat the waffle iron and cook the batter according to the manufacturer’s instructions, or until the waffles are golden brown.
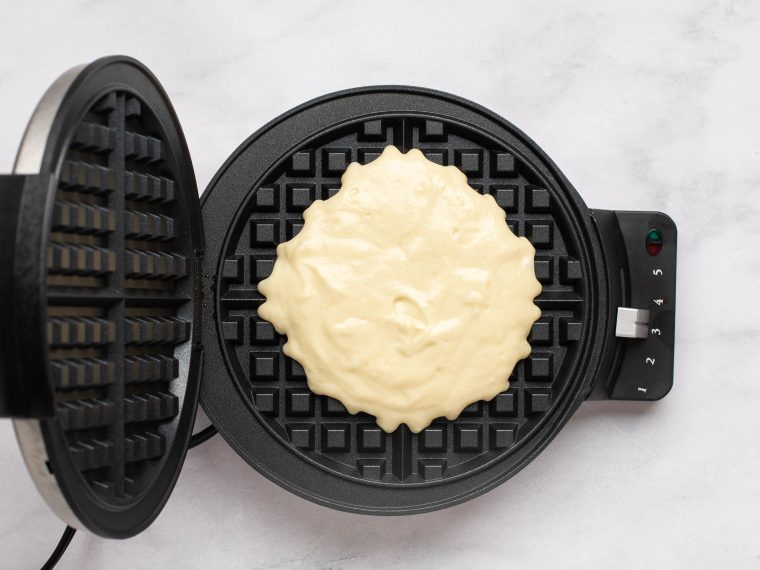
The waffles will seem a little flimsy and limp straight out of the waffle iron, but they will crisp up almost immediately once off the heat.
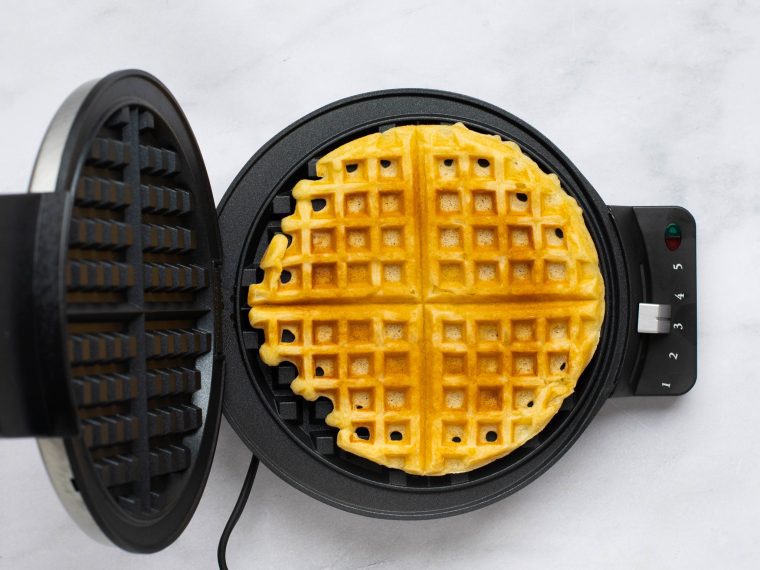
Serve immediately or place on the prepared rack/baking sheet and keep warm in the oven while you cook the remaining waffles.
Frequently Asked Questions
No, pancake batter and waffle batter are not the same. While they share some common ingredients, waffle batter typically contains more fat (from oil or butter) and sometimes sugar, which contributes to a crispier texture and richer flavor. Additionally, many waffle recipes call for beating egg whites separately and folding them into the batter to make the waffles lighter and fluffier.
Yes, waffles freeze exceptionally well. To freeze, let them cool completely after cooking, then place them in a single layer on a baking sheet to freeze individually. Once frozen, transfer the waffles to a freezer-safe bag or container, separating layers with parchment paper if needed. To reheat, simply toast the waffles directly from the freezer until they’re warm and crispy.
The main differences between Belgian waffles and regular (American) waffles lie in the batter composition and the waffle iron used. Belgian waffles often have a lighter, airier texture due to a yeast-based batter or beaten egg whites, and they are larger with deeper pockets compared to regular waffles. Regular waffles are typically made with a baking powder-leavened batter, resulting in a denser texture, and are smaller with shallower pockets. Because my recipe uses beaten egg whites to achieve a lighter texture, it’s a bit of a hybrid between the two types of waffles, although it aligns more with the American style.

You May Also Like
Homemade Waffle Recipe
Break out your waffle iron and discover the secret behind our go-to waffle recipe. Light, airy, and impeccably crisp, these waffles are sure to brighten up your mornings and bring a little comfort to your breakfast table.
Ingredients
- 1½ cups all-purpose flour, spooned into measuring cup and leveled off
- ½ cup cornstarch
- ¼ cup sugar
- Heaping 1 teaspoon salt
- 2 teaspoons baking powder
- ½ teaspoon baking soda
- 2 cups buttermilk (or make your own)
- 2 large eggs, whites and yolks separated
- ¼ cup + 2 tablespoons vegetable oil
- 4 tablespoons butter, melted and slightly cooled
- Pure maple syrup, for serving
Instructions
- Preheat the oven to 200°F and set an oven rack in the middle position. Place an oven-safe rack on a baking sheet (this is to put the waffles on after cooking so they stay warm while you cook the others).
- In a large bowl, whisk together the flour, cornstarch, sugar, salt, baking powder, and baking soda.
- In a medium bowl, whisk together the buttermilk, egg yolks, and vegetable oil.
- Add the egg whites to the bowl of a stand mixer fitted with the whisk or beaters and beat to medium peaks (when you lift the beaters out of the bowl, the peaks should stand up firmly but curl over slightly at the tip).
- Add the buttermilk mixture and melted butter to the flour mixture and whisk until smooth. Using a rubber spatula, fold in the beaten egg whites until just evenly combined.
- Preheat the waffle iron and cook the batter according to the manufacturer's instructions, or until the waffles are golden brown. The waffles will seem a little flimsy and limp straight out of the waffle iron, but they will crisp up almost immediately once off the heat. Serve immediately or place on the prepared rack/baking sheet and keep warm in the oven while you cook the remaining waffles.
- Make-Ahead/Freezing Instructions: To freeze, let them cool completely after cooking, then place them in a single layer on a baking sheet to freeze individually. Once frozen, transfer the waffles to a freezer-safe bag or container, separating layers with parchment paper if needed. To reheat, simply toast the waffles (using a light setting) directly from the freezer until they're warm and crispy.
Nutrition Information
Powered by ![]()
- Per serving (9 servings)
- Calories: 290
- Fat: 16 g
- Saturated fat: 5 g
- Carbohydrates: 31 g
- Sugar: 8 g
- Fiber: 1 g
- Protein: 5 g
- Sodium: 272 mg
- Cholesterol: 57 mg
This website is written and produced for informational purposes only. I am not a certified nutritionist and the nutritional data on this site has not been evaluated or approved by a nutritionist or the Food and Drug Administration. Nutritional information is offered as a courtesy and should not be construed as a guarantee. The data is calculated through an online nutritional calculator, Edamam.com. Although I do my best to provide accurate nutritional information, these figures should be considered estimates only. Varying factors such as product types or brands purchased, natural fluctuations in fresh produce, and the way ingredients are processed change the effective nutritional information in any given recipe. Furthermore, different online calculators provide different results depending on their own nutrition fact sources and algorithms. To obtain the most accurate nutritional information in a given recipe, you should calculate the nutritional information with the actual ingredients used in your recipe, using your preferred nutrition calculator.


I thought this was a pretty good recipe. I find the title of the recipe a bit of a misnomer. Waffle recipes by nature are intrinsically “Easy.” However, this recipe is actually on the more complicated/fussy side as far as waffles go, and all the more so since there aren’t any grams listed for any ingredients. Thus it took more time to measure, particularly since it uses both flour and cornstarch. The recipe also has BOTH melted butter and oil (noting that it’s not even a straightforward measurement: 1/4 cup + 2 T. of oil, I have to wonder if the 2 T. is actually noticeable). The eggs have to be separated and the whites whipped before they’re incorporated. I mean, what could be more complicated? I guess if you had both white and brown sugar, LOL. I think your yeasted recipe is technically easier, it’s just that you have to mix it ahead of time. Anyway, the name isn’t a big deal, just found it odd/funny for one of the most complicated waffle recipes I’ve made! And I really would appreciate if you add the grams 🙂 Because yes, I probably will make them again, complicated though they may be.
Hi Alexandra, Lol – you made a good point about the name of the waffles. I called them that as some people are intimidated by yeast so by contrast, I see this version as a bit less intimidating. I did go ahead and change the name, though. 🙂
These waffles are delicious. I use the original recipe from Pam Anderson as printed years ago in a Sunday magazine. The hardest part of the recipe is whipping the egg whites so it is easy and comes together quickly. If I am really lazy, I don’t whip the eggs and while still yummy, the waffles are not quite as light. Have made these countless times and never tasted the oil in them, but I use organic canola oil. I double the recipe and freeze extras for my grandkids’ quick school breakfasts. We all love them. Another good recipe from Jenn!
I made these waffles. They were good but I prefer the yeast one. This one takes too much time with many ingredients. My waffle maker can only make 2 at a time. So with the recipe, I could get 20 waffles! I’m going to freeze and toast them whenever I want. I can also make sandwiches instead of using bread. Thanks so much. I love your site.
I don’t own a waffle iron. Can this recipe be used to make pancakes?
Hi Peg, I’d stick with a pancake recipe. I think you’d enjoy this one. 🙂
Hi Jen, Andrea from Canada again. Love your recipes. My kids love waffles but with one celiac kiddo they’re not like we used to have! Do you think I could convert this to being GF with similar results?
Hi Andrea, thanks for your nice words about the recipes – so glad you like them! I haven’t made these with gluten-free flour, so I can’t say for sure. (Oftentimes, readers will comment that they’ve adapted things to be gluten-free, but I don’t see any comments mentioning that here yet, so you’d be the “guinea pig.”) If you want to give it a try, I know a lot of readers have had great luck with Cup4Cup and King Arthur’s all-purpose gluten-free flours. Please LMK how it turns out if you try it!
Your newsletter came in at the perfect time! I hadn’t used my waffle iron in ages and this motivated me to dig it out. It was well worth it! The waffles were delicious and the perfect texture as you described. My whole family scarfed them up. I would give these 10 stars if possible — these will go into my Sunday morning breakfast rotation!!
These are delicious and will be my go-to waffle recipe from now on! My only slight complaint is that I could really taste the vegetable oil…. Can this be subbed for melted coconut oil or another mild tasting oil?
Sure, Tanisha, that’s fine (and glad you enjoyed them)!
Made a 1/2 recipe (only two here) using the home maid buttermilk and they are everything you said they would be.The only issue is the clean up! LOL!
These turned out incredible. Finished product was crispy but tender. Just looking at the batter, I knew something special was coming together! You’re recipes deliver hit after hit. Thank you!!
This is the ATK recipe, surprised you don’t give credit.
Hi Jo, I mention in the headnote that I adapted this recipe from Pam Anderson’s cookbook CookSmart (as seen in Food & Wine), so if it’s similar to ATK’s, perhaps she was originally inspired by that one (or vice versa). Hope you enjoy if you make them!