Sunny Side Up Eggs
This post may contain affiliate links. Read my full disclosure policy.
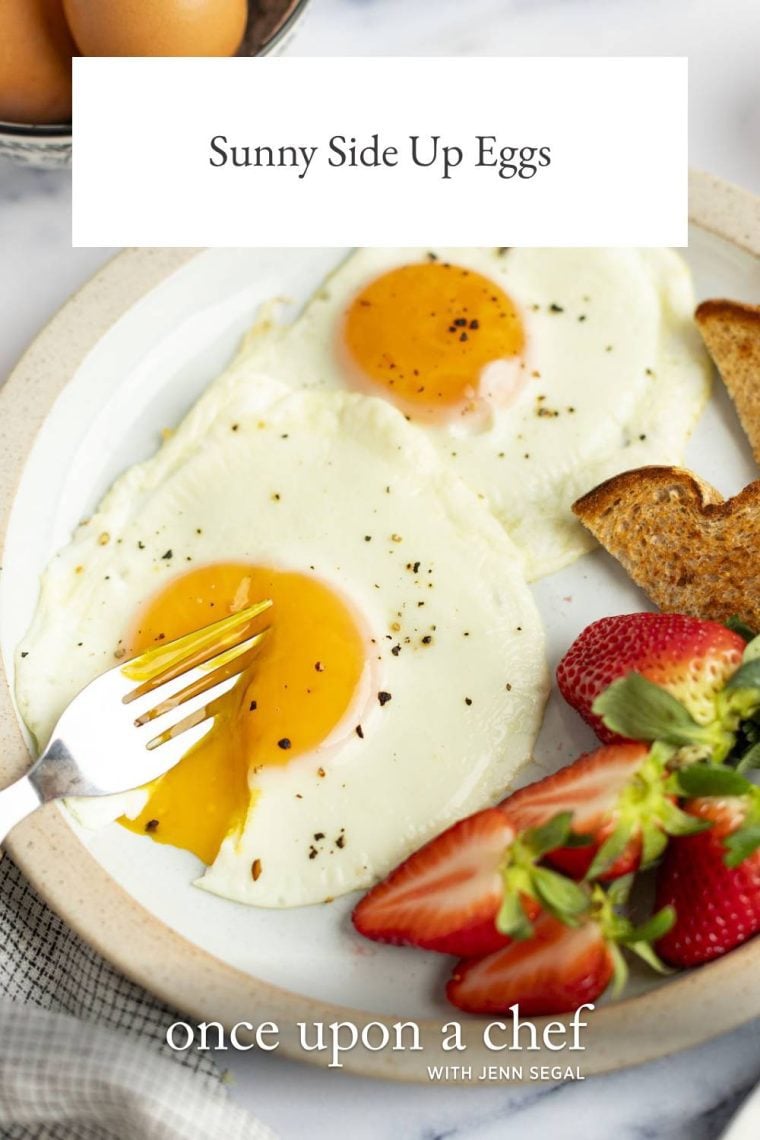
Learn the simple technique for making perfectly cooked sunny side up eggs—ideal for breakfast and beyond!
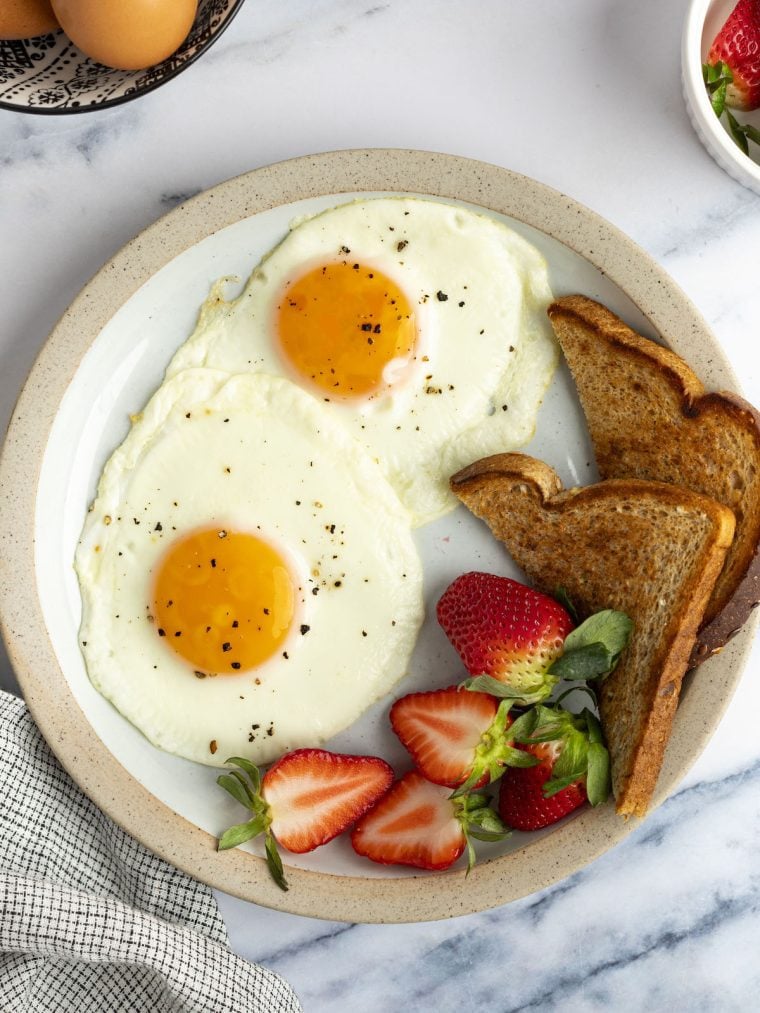
Is there anything more classic than a sunny side up egg for breakfast? That golden yolk running into the tender whites is the very picture of breakfast perfection. Whether you’re a seasoned pro or cooking one up for the first time, following a few simple steps can take your sunny side up eggs to the next level.
The process is simple: cook the egg on one side only, covered for part of the time, until the whites are set but the yolk remains deliciously runny and visible on top. It only takes about 3 minutes from start to finish, and all you need is an egg, some butter, a pinch of salt and pepper, and a nonstick pan with a lid. Whether you enjoy them on their own, with crispy bacon, on avocado toast, or in a hearty breakfast bowl, perfectly cooked sunny side up eggs are a great way to start your day. So, let’s get cracking!
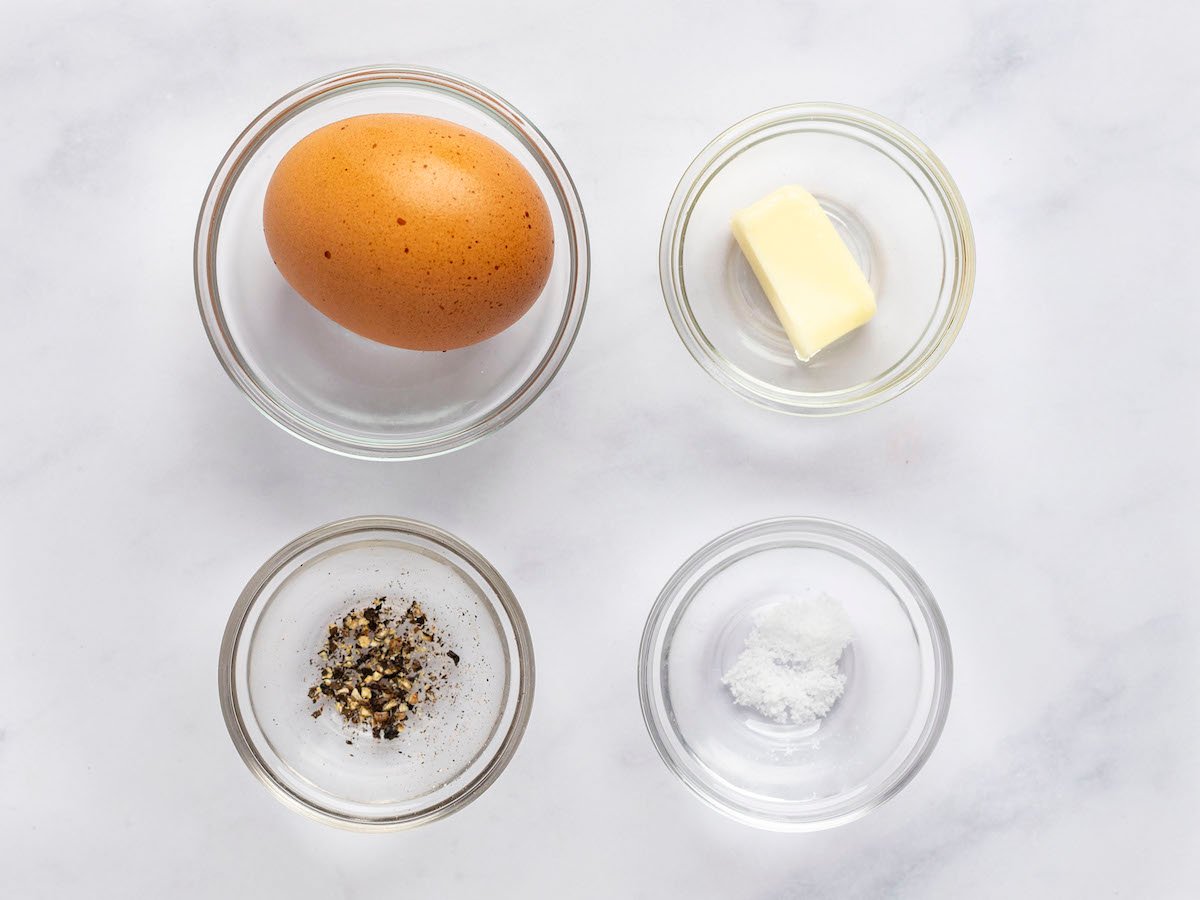
What You’ll Need To Make Sunny Side Up Eggs
Step-By-Step Instructions
Crack the egg into a small bowl and set aside.

Place a medium non-stick pan over medium-low heat. Let heat up for 30 seconds. Once hot, add the butter to the center of the pan.

Heat until melted.

Add the egg to the pan and let cook for 1 minute.

Cover the pan.

Cook for 2 minutes. If you prefer your egg yolk to be cooked more (less runny), reduce the heat to low during the covered cooking step and cook until desired doneness is reached.
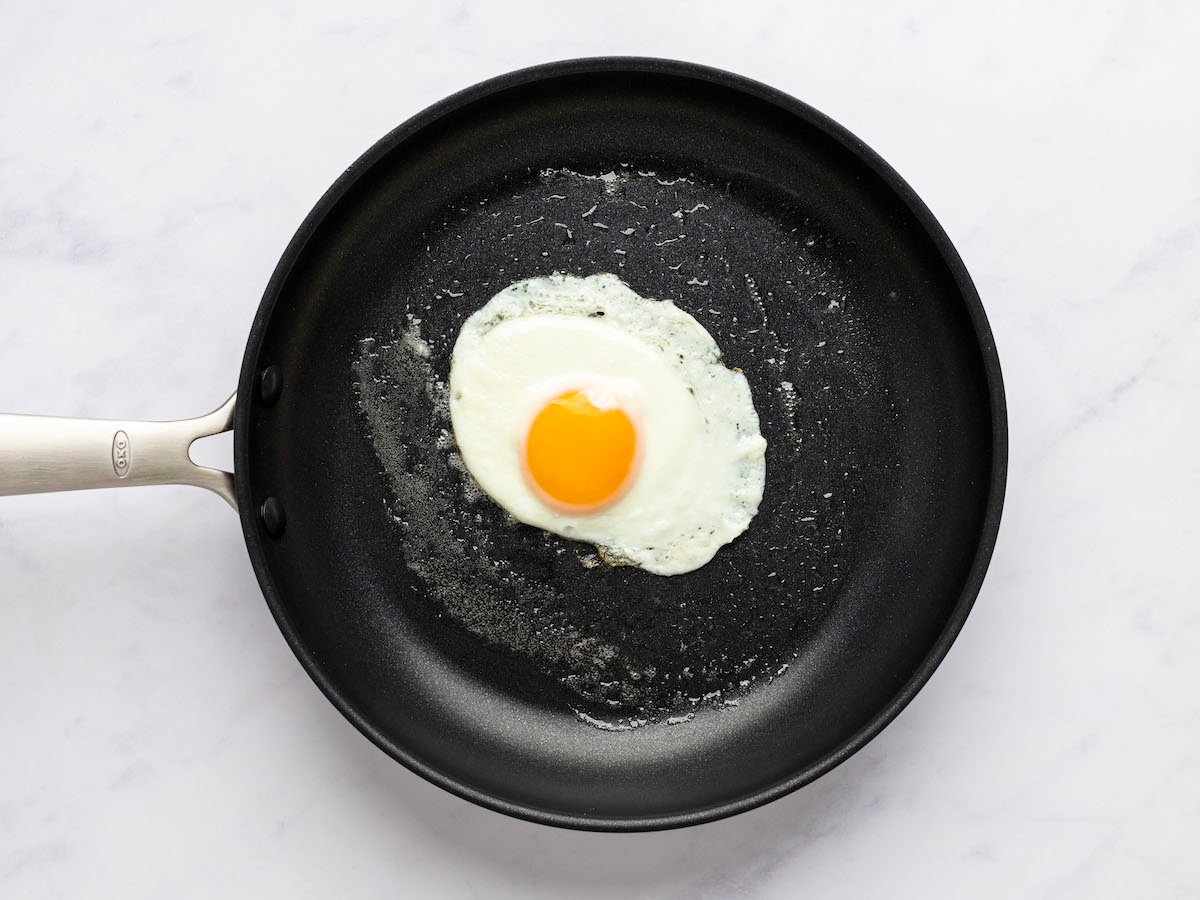
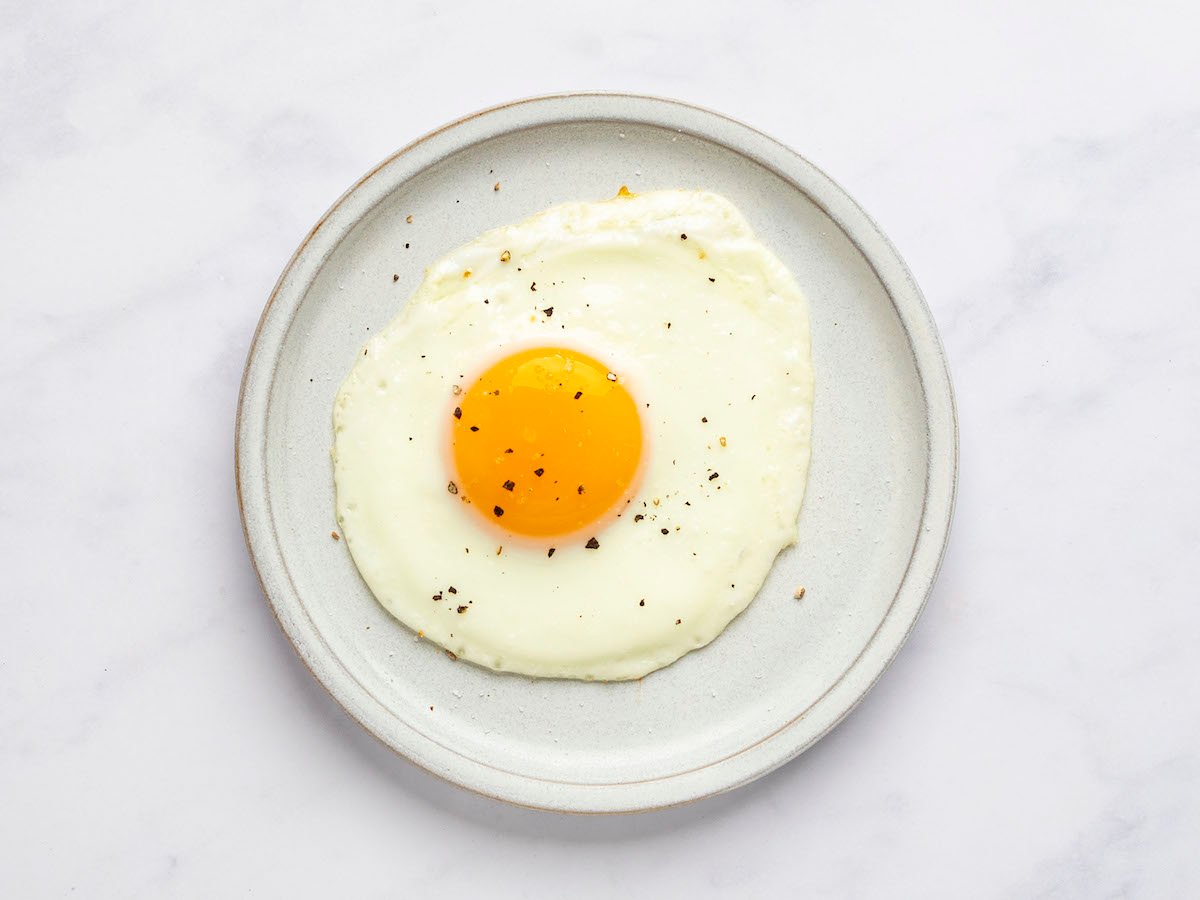
Once the egg whites look set/cooked, and the yolk is jiggly but not fully raw, use a plastic spatula to lift the cooked egg out of the pan onto a plate. Sprinkle with salt and pepper and serve.
Frequently Asked Questions
A sunny-side-up egg is cooked on one side only until the whites are set, leaving the yolk runny and visible on top. By contrast, an over easy egg is flipped after cooking on one side, resulting in a runny yolk and a lightly cooked top. An over medium egg is flipped and cooked slightly longer, so the yolk is partially cooked, creating a creamy texture. Finally, an over hard egg is flipped and cooked until both the whites and yolk are fully set, resulting in a firm yolk and a well-cooked egg overall. Each variation offers a different level of yolk doneness.
You can always keep it simple with a sprinkle of salt and pepper—these seasonings complement the natural flavor of the eggs without overpowering them. Additionally, fresh herbs like parsley, chives, or dill can add a burst of freshness and color to fried eggs when sprinkled over them just before serving. If you like a bit of heat, hot sauce or chili flakes can add a spicy kick.
You May Also Like
Sunny Side Up Eggs
Learn the simple technique for making perfectly cooked sunny side up eggs—ideal for breakfast and beyond!
Ingredients
- 1 large egg
- Pinch of salt
- Pinch of freshly ground black pepper
- 1 teaspoon unsalted butter
Instructions
- Crack the egg into a small bowl and set aside. Place a medium non-stick pan over medium-low heat. Let heat up for 30 seconds. Once hot, add the butter to the center of the pan and heat until melted.
- Add the egg to the pan and let cook for 1 minute. Cover the pan and cook for 2 minutes. (Note: If you prefer your egg yolk to be cooked more/less runny, reduce the heat to low during the covered cooking step and cook until desired doneness.) Once the egg whites look set/cooked, and the yolk is jiggly but not fully raw, use a plastic spatula to lift the cooked egg out of the pan onto a plate. Sprinkle with salt and pepper and serve.
Nutrition Information
Powered by ![]()
- Per serving (1 servings)
- Calories: 105
- Fat: 9 g
- Saturated fat: 4 g
- Carbohydrates: 0 g
- Sugar: 0g
- Fiber: 0 g
- Protein: 6 g
- Sodium: 127 mg
- Cholesterol: 196 mg
This website is written and produced for informational purposes only. I am not a certified nutritionist and the nutritional data on this site has not been evaluated or approved by a nutritionist or the Food and Drug Administration. Nutritional information is offered as a courtesy and should not be construed as a guarantee. The data is calculated through an online nutritional calculator, Edamam.com. Although I do my best to provide accurate nutritional information, these figures should be considered estimates only. Varying factors such as product types or brands purchased, natural fluctuations in fresh produce, and the way ingredients are processed change the effective nutritional information in any given recipe. Furthermore, different online calculators provide different results depending on their own nutrition fact sources and algorithms. To obtain the most accurate nutritional information in a given recipe, you should calculate the nutritional information with the actual ingredients used in your recipe, using your preferred nutrition calculator.



“Let’s get cracking”. I love it!
😊
At first I thought this was simple that people didn’t need instructions for but after reading, I am going to try covering the skillet. I often overcook my egg and miss that runny yolk. I like that white section to be done and especially the film that is over the yolk so often I will flip it at the very end to do over-easy eggs. But sometimes the yolk winds up over cooked. Timing is everything with eggs and still struggle getting the perfect soft boiled eggs. I don’t want clear white inside when I open them so often they are almost hard boiled when I open them up. Makes me appreciate when I get them as I like when I dine out!