Stuffed Peppers
This post may contain affiliate links. Read my full disclosure policy.
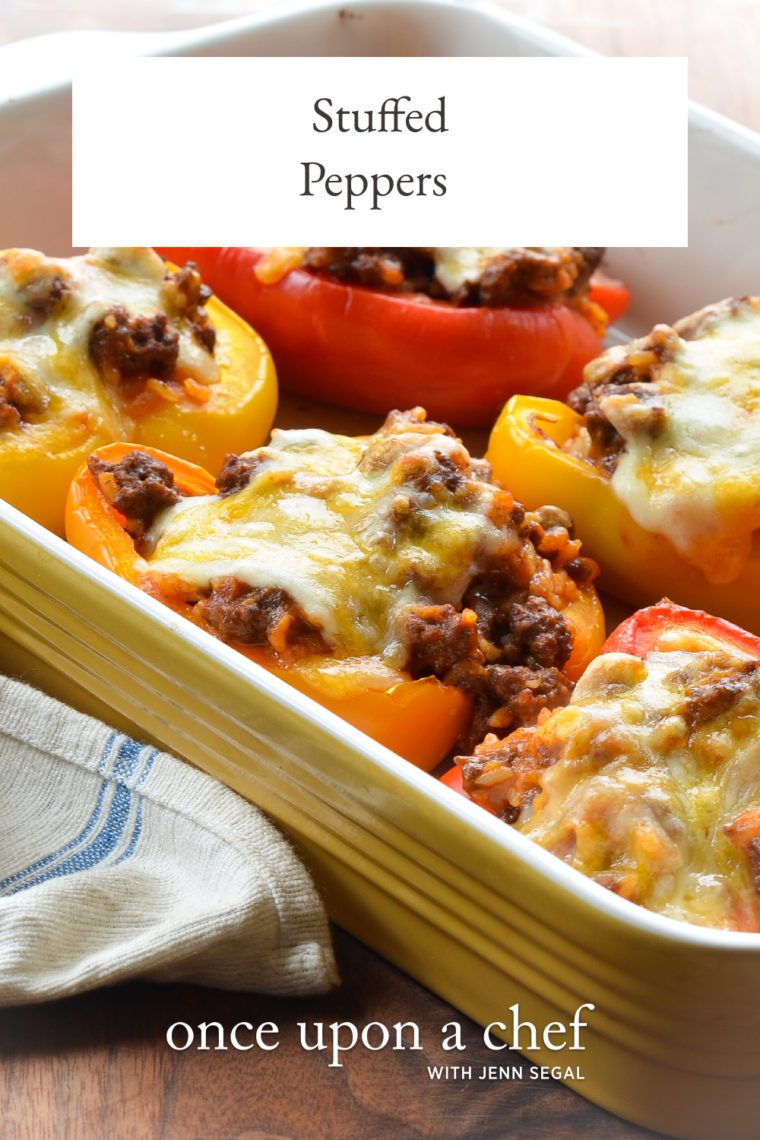
Classic stuffed peppers filled with ground beef, rice, tomato sauce, and cheese make an easy weeknight supper.
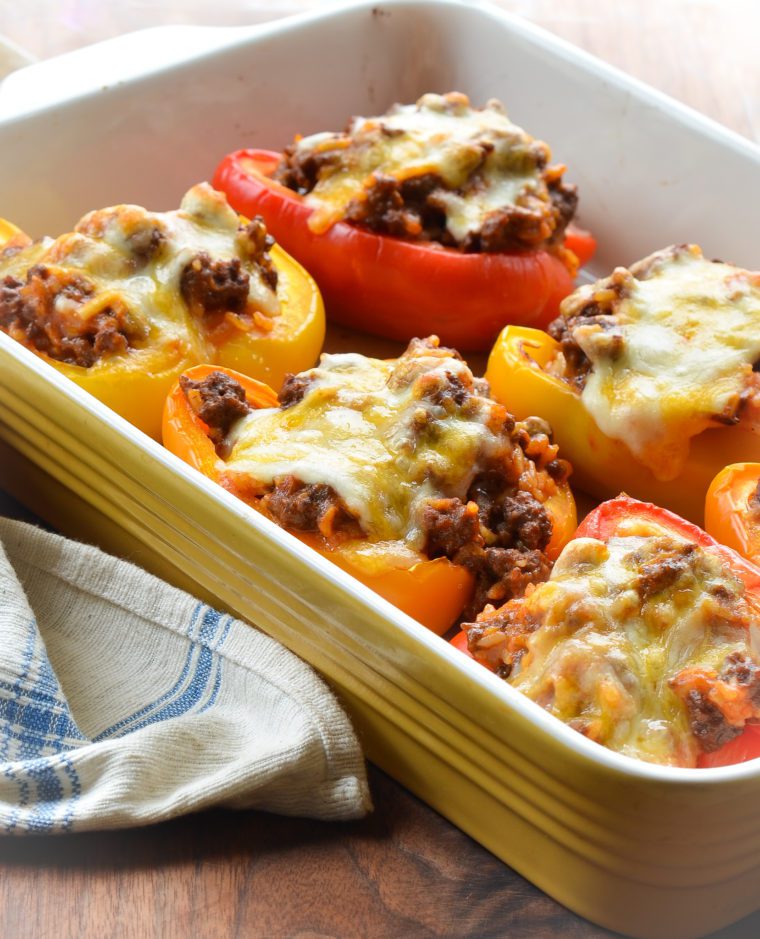
Almost every cuisine has a version of stuffed peppers, or hollowed bell peppers filled with meat, tomato sauce, vegetables, rice and cheese. In the US, the dish undeniably retro – in fact, the most popular internet recipe comes from the one and only Betty Crocker. Here, I’ve given the classic recipe a little update by quickly tenderizing the beef before cooking and seasoning it with Southwestern spices, which complement the sweetness of the bell peppers perfectly. That said, the recipe is endlessly versatile; you can change up the meat, spices, grain, or cheese to give the dish a whole new spin. This version goes nicely with cornbread.
The peppers need to be par-cooked before filling so that they cook through. Many recipes call for boiling the peppers first, but I prefer to roast them – more flavor and less cleanup! The best way is to slice the peppers in half from the stem end down through the base, remove all the seeds and membranes, and then roast the halves until they’re tender-crisp.
What You’ll Need To Make Stuffed Peppers
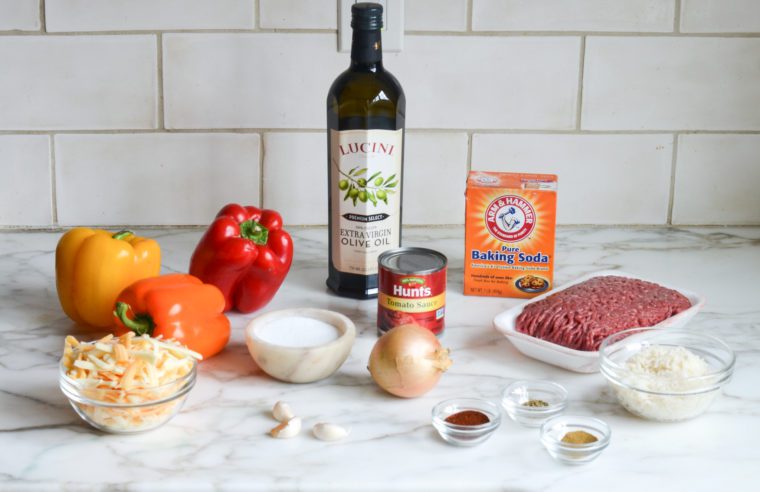
When selecting bell peppers, look for peppers that are bright, shiny and firm. They should not have wrinkled skin, soft spots, or moldy stems. I prefer red, orange, or yellow peppers; green peppers are unripe and have an unpleasant, somewhat bitter taste. (If left to fully ripen, green peppers will eventually turn another color, and the flavor will become increasingly sweet.) Bell peppers keep for up to a week in the refrigerator crisper drawer.
Step-by-Step Instructions
Tenderize the beef: In a medium bowl, add the beef, 1 teaspoon of the salt, and the baking soda.
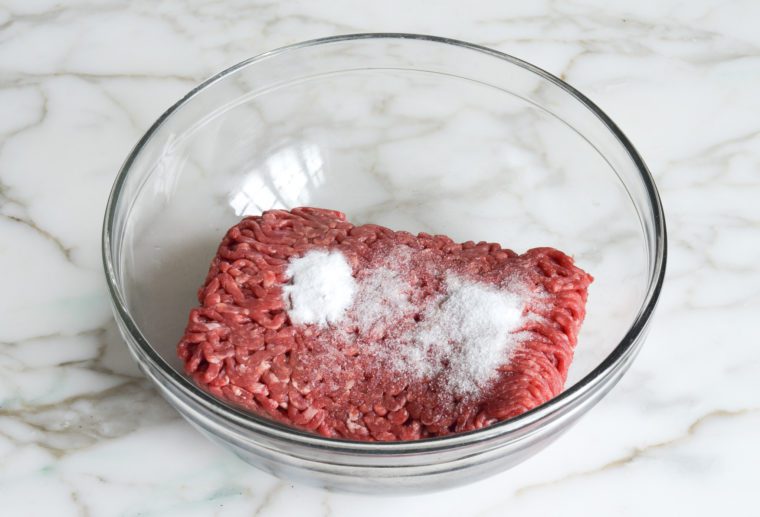
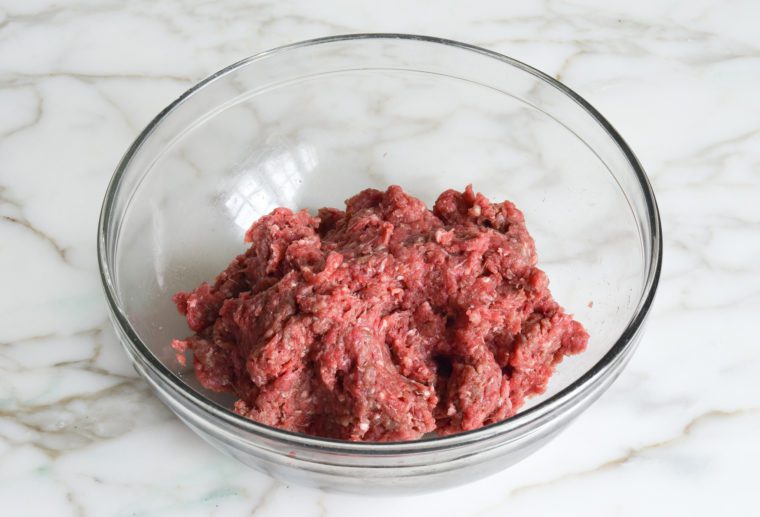
Use your hands to mix until evenly combined, and let the mixture sit for 20 minutes while you continue with the recipe. As it rests, the baking soda raises the pH of the meat, helping to lock in moisture and making the beef tender. (I use this tenderizing technique in many ground beef recipes, including beef enchiladas, beef chili, and shepherd’s pie.)
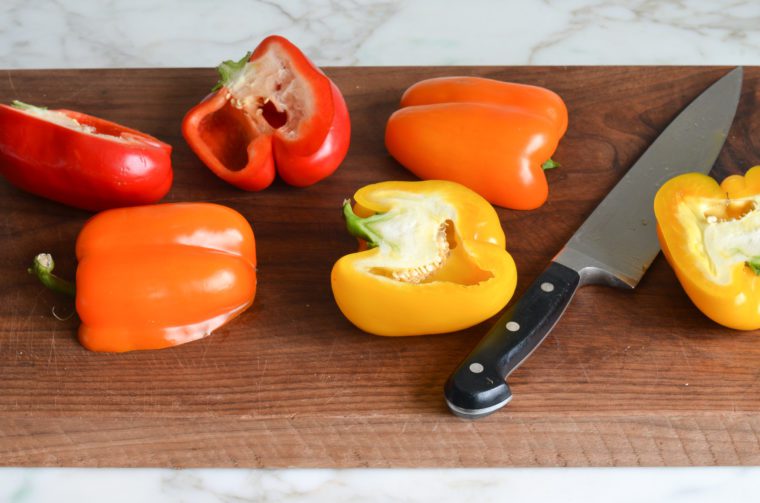
Slice the peppers in half from the stem end down through the base.
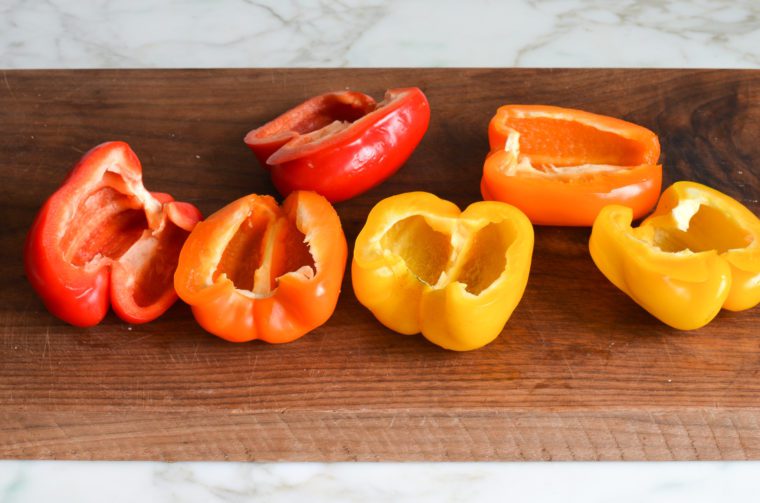
Remove all the seeds and membranes.
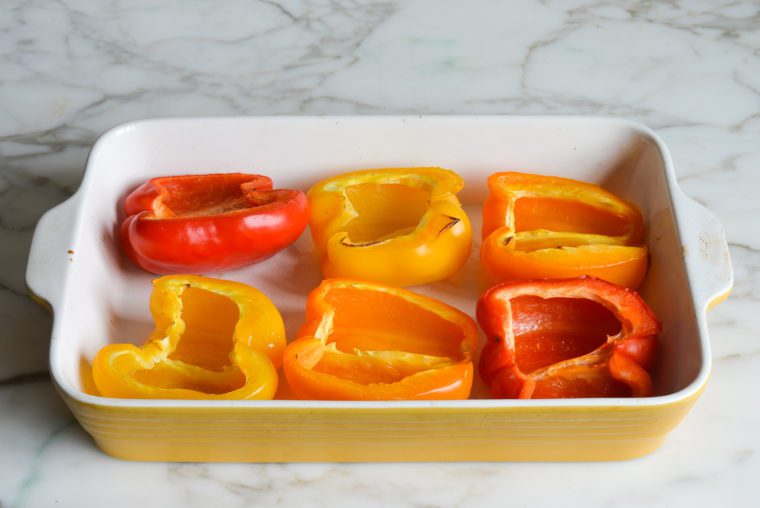
Place the peppers, cut side up, in a 9×13-inch baking dish; drizzle with 1 tablespoon of the oil and sprinkle with the remaining salt. Roast the peppers for about 20 minutes, until slightly browned and tender-crisp. A bit of liquid will accumulate in the bottom of the peppers; that’s okay.
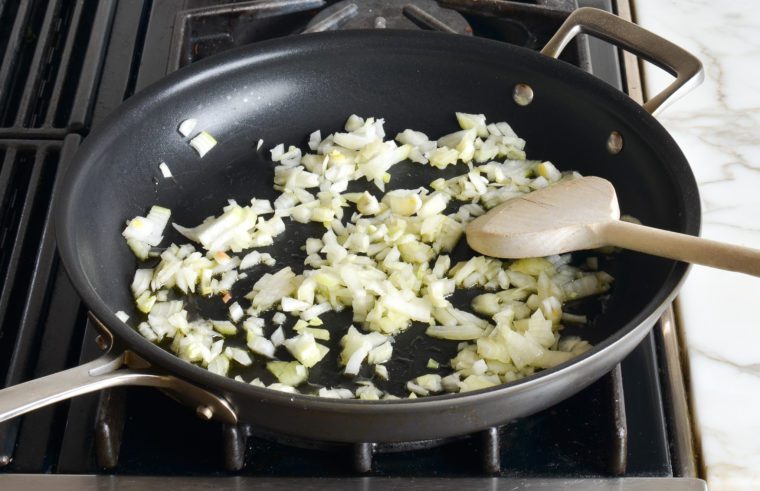
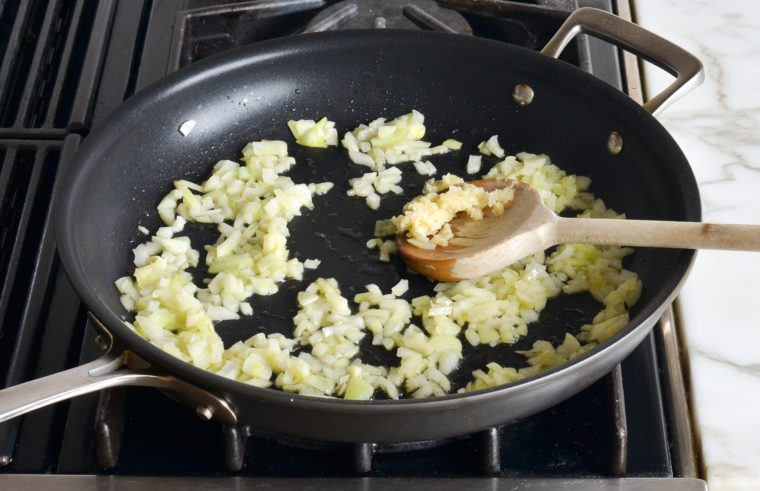
Meanwhile, heat the remaining 2 tablespoons of oil over medium heat in a large nonstick skillet. Add the onion and cook, stirring frequently, until soft and translucent, 3 to 4 minutes.
Add the garlic and cook 1 minute more; do not brown.
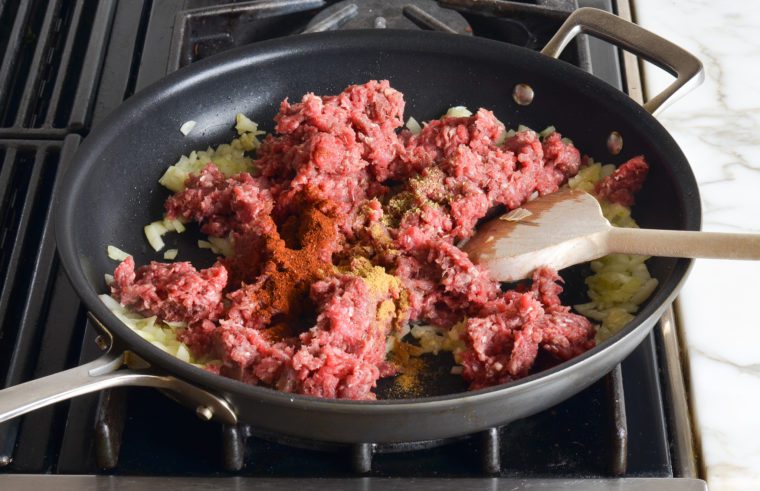
To the skillet, add the ground beef mixture, chili powder, cumin, and oregano and increase the heat to medium high.
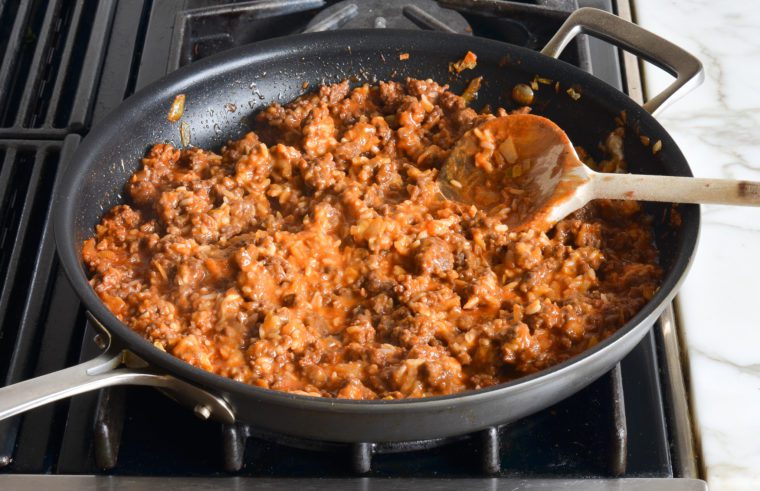
Cook, breaking the meat up with a wooden spoon, until the meat is browned and almost cooked through, 4 to 5 minutes. Add the tomato sauce and bring to a boil.
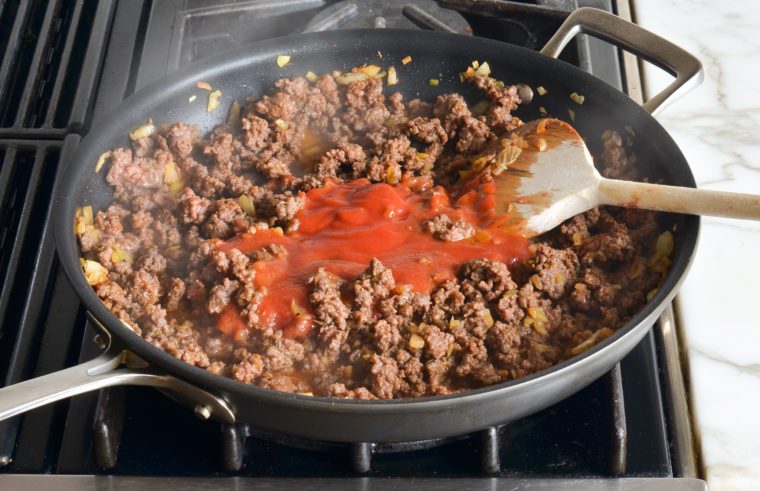
Reduce the heat to medium low and cook, uncovered, until the meat is cooked through, 2 to 3 minutes. Add the cooked rice and 3/4 cup of the cheese.
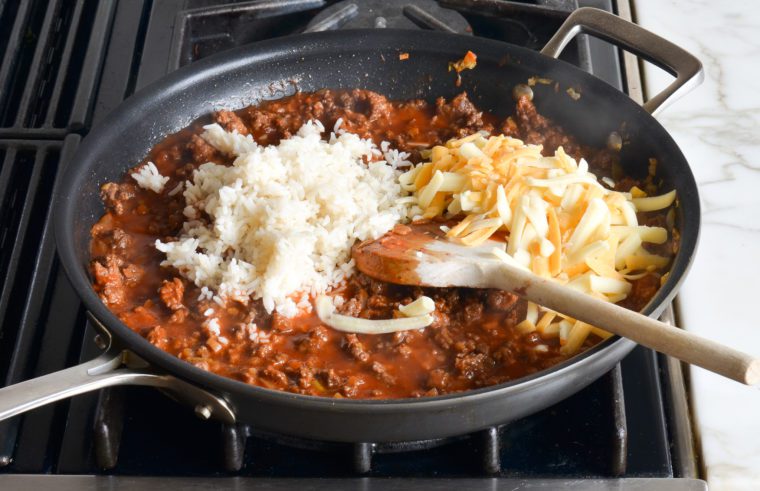
Stir until melted and remove the skillet from the heat.
Remove the peppers from the oven and spoon the meat filling evenly into the peppers. Sprinkle with the remaining 3/4 cup cheese and place back in the oven.
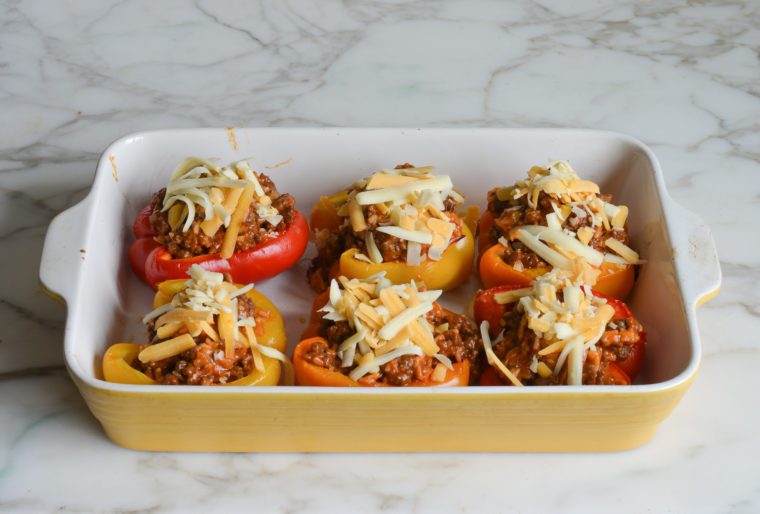
Roast for 10 to 15 minutes, until the filling is hot and the cheese is melted and bubbling, and serve.

You May Also Like
Video Tutorial
Stuffed Peppers
Classic stuffed peppers filled with ground beef, rice, tomato sauce, and cheese make an easy weeknight supper.
Ingredients
- 1 pound 90% lean ground beef
- 1¼ teaspoons salt, divided
- Heaping ¼ teaspoon baking soda
- 3 large red, yellow, or orange bell peppers, cut in half from the stem to the bottom and cored
- 3 tablespoons extra-virgin oil
- 1 medium yellow onion, finely chopped
- 3 cloves garlic, minced
- 1½ teaspoons chili powder
- ½ teaspoon ground cumin
- ¼ teaspoon dried oregano
- 1 (8-oz) can tomato sauce
- 1 cup cooked rice, quinoa, or any grain
- 1½ cups shredded Monterey Jack or Cheddar Jack cheese
Instructions
- Preheat the oven to 425°F and set an oven rack in the middle position.
- Tenderize the beef: In a medium bowl, using your hands, mash the beef with 1 teaspoon of the salt and the baking soda. Let sit for 20 minutes while you continue with the recipe.
- Line a 9x13-inch baking dish with aluminum foil for easy clean-up, if you like. Place the peppers, cut side up, in the baking dish; drizzle with 1 tablespoon of the oil and sprinkle with the remaining ¼ teaspoon salt.
- Roast the peppers for about 20 minutes, until slightly browned and tender-crisp. A bit of liquid will accumulate in the bottom of the peppers; that's okay.
- Meanwhile, heat the remaining 2 tablespoons of oil over medium heat in a large nonstick skillet. Add the onion and cook, stirring frequently, until soft and translucent, 3 to 4 minutes. Add the garlic and cook 1 minute more; do not brown. Add the ground beef mixture, chili powder, cumin, and oregano and increase the heat to medium high. Cook, breaking the meat up with a wooden spoon, until the meat is browned and almost cooked through, 4 to 5 minutes. Add the tomato sauce and bring to a boil; reduce the heat to medium low and cook, uncovered, until the meat is cooked through, 2 to 3 minutes. Add the cooked rice and ¾ cup of the cheese, and stir until melted. Remove the skillet from the heat.
- Remove the peppers from the oven and spoon the meat filling evenly into the peppers. Sprinkle with the remaining ¾ cup cheese and place back in the oven. Roast for 10 to 15 minutes, until the filling is hot and the cheese is melted and bubbling, and serve.
- Make-Ahead Instructions: The peppers can be partially cooked and filled with the beef mixture up to 2 days ahead of time and refrigerated, or frozen in an airtight container for up to 3 months. When ready to serve, defrost overnight in the refrigerator if frozen, cover the dish with foil, and bake in a 425°F-oven for about 15 minutes. Remove the dish from the oven and remove and discard the foil. Top the peppers with the cheese and place back in the oven for about 5 minutes, or until the filling is heated through and the cheese is melted.
Pair with
Nutrition Information
Powered by ![]()
- Per serving (6 servings)
- Serving size: One 1/2 pepper
- Calories: 381
- Fat: 24 g
- Saturated fat: 9 g
- Carbohydrates: 17 g
- Sugar: 6 g
- Fiber: 3 g
- Protein: 24 g
- Sodium: 646 mg
- Cholesterol: 74 mg
This website is written and produced for informational purposes only. I am not a certified nutritionist and the nutritional data on this site has not been evaluated or approved by a nutritionist or the Food and Drug Administration. Nutritional information is offered as a courtesy and should not be construed as a guarantee. The data is calculated through an online nutritional calculator, Edamam.com. Although I do my best to provide accurate nutritional information, these figures should be considered estimates only. Varying factors such as product types or brands purchased, natural fluctuations in fresh produce, and the way ingredients are processed change the effective nutritional information in any given recipe. Furthermore, different online calculators provide different results depending on their own nutrition fact sources and algorithms. To obtain the most accurate nutritional information in a given recipe, you should calculate the nutritional information with the actual ingredients used in your recipe, using your preferred nutrition calculator.
Gluten-Free Adaptable Note
To the best of my knowledge, all of the ingredients used in this recipe are gluten-free or widely available in gluten-free versions. There is hidden gluten in many foods; if you're following a gluten-free diet or cooking for someone with gluten allergies, always read the labels of your ingredients to verify that they are gluten-free.


Please disclose that the rice has to be cooked prior before adding it to the sauce with cheese. Thanks
It tells you right in the recipe. Try reading through the whole recipe before making the dish. Another user also wanted the temperature of baking the peppers. AGAIN it’s listed in the recipe.
The wife and I love this dish, I made it just as… you don’t need anything else it was delicious we plan on making again soon.
I love this! I have always made a similar recipe. I use quinoa instead of rice and I don’t mix the cheese in it. I will next time! This is one of my faves. The southwest flavor makes it the best!
Hi Jenn,
I really enjoyed making this. Thank you for your time in putting this recipe together, for others to enjoy.
This was my First time making these and with your spot on directions , I was able to assemble them effortlessly. I did add some garlic salt. and a sprinkle of lawry’s season salt. Thank you again for all your work, and love for food.
Warmly, Tina Shepherd
This was super easy to make, and I really appreciated the make-ahead instructions! I prepped a double batch on a Sunday (one batch for our family, one for friends who just had their third baby!). They didn’t take long to prep, then my partner (who gets home before me) was able to just add the extra cheese topping and bake them after work on Monday. Easy and very delicious! Toddler approved too, both by our toddler boy and our friends’ two toddler boys. This one will definitely get made again, especially when we’re needing to bring someone else a meal.
This was tasty but I would recommend seasoning the peppers with garlic, onion powder, or spices of your choice before baking them. The filling had amazing flavor but the peppers themselves were lacking with just the EVOO.
I made this tonight for supper. I tweaked it a little and added 1/ lb of sausage so I had to increase the rice and a little more sauce.
It turned out delicious.
I would show you a picture from my gallery but I don’t know where to put it. Renee in Michigan
This is almost how my mom would make them with the exception she used canned cooking tomato’s but other wise the same almost. They were good and tomorrow here goes with company.
Made it according to the recipe used less red pepper and added a bit more cumin. My 3rd time making it, I didn’t have enough cheddar cheese so topped it with mozzarella and it was do good! I love that it’s a forgiving recipe and it can be easily tweaked. I had never used the bake soda method to tenderize the beef in til I made this first time, but had no issues with it.
Never mentioned cooking the rice in the directions. Took longer because I had to do this in the end and it didn’t turn out as good as expected.
This was an amazing recipe! I make stuffed peppers often and this is by far the best. For those of you complaining about cooking rice, I simply bought a pouch of pre made rice (the kind you’d usually heat up in the microwave) and it worked perfectly. Texture of the beef was something someone complimented… Incredible recipe!