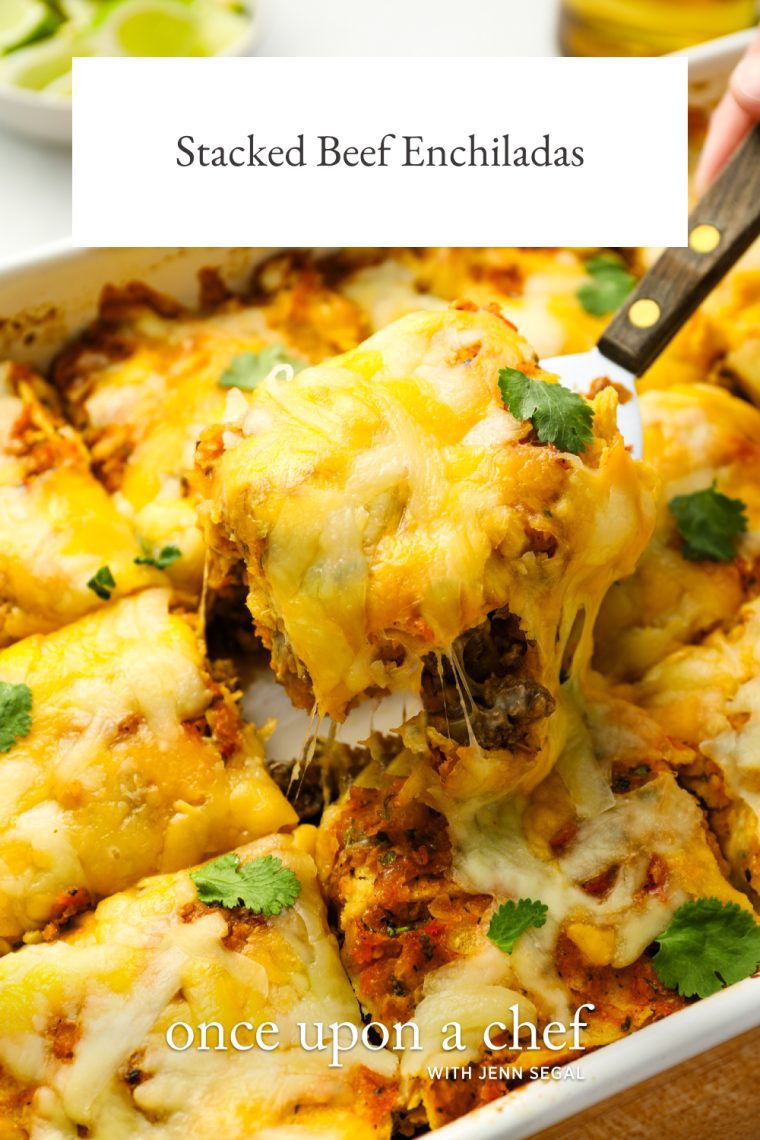
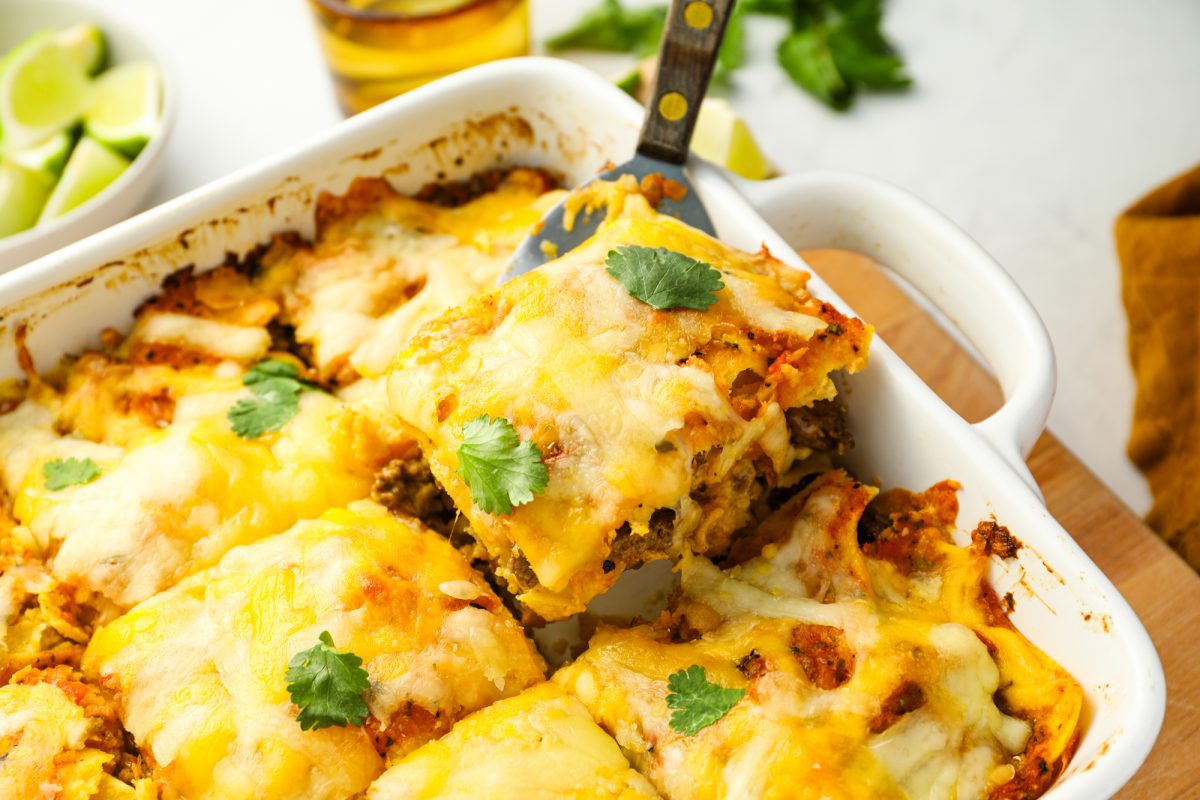
Stacked Beef Enchiladas (AKA Mexican Lasagna)

This post may contain affiliate links. Read my full disclosure policy.
With layers of corn tortillas, spicy ground beef, salsa and cheese, this stacked beef enchilada casserole is a huge family-pleaser.

You know when you make a dish for the first time and your whole family loves it, and you’re thrilled because you’ve found a new recipe to add to your repertoire forever? That’s how I felt the first time I cooked these hearty stacked beef enchiladas. With layers of corn tortillas, spicy ground beef, roasted tomato salsa, and cheese, it’s a cross between traditional beef enchiladas and lasagna — yet easier to make than both. It’s a great make-ahead dish for a potluck or big family dinner. And if you prepare the sauce in advance, it’s doable on a weeknight, too.
Table of Contents
What You’ll Need To Make Stacked Beef Enchiladas
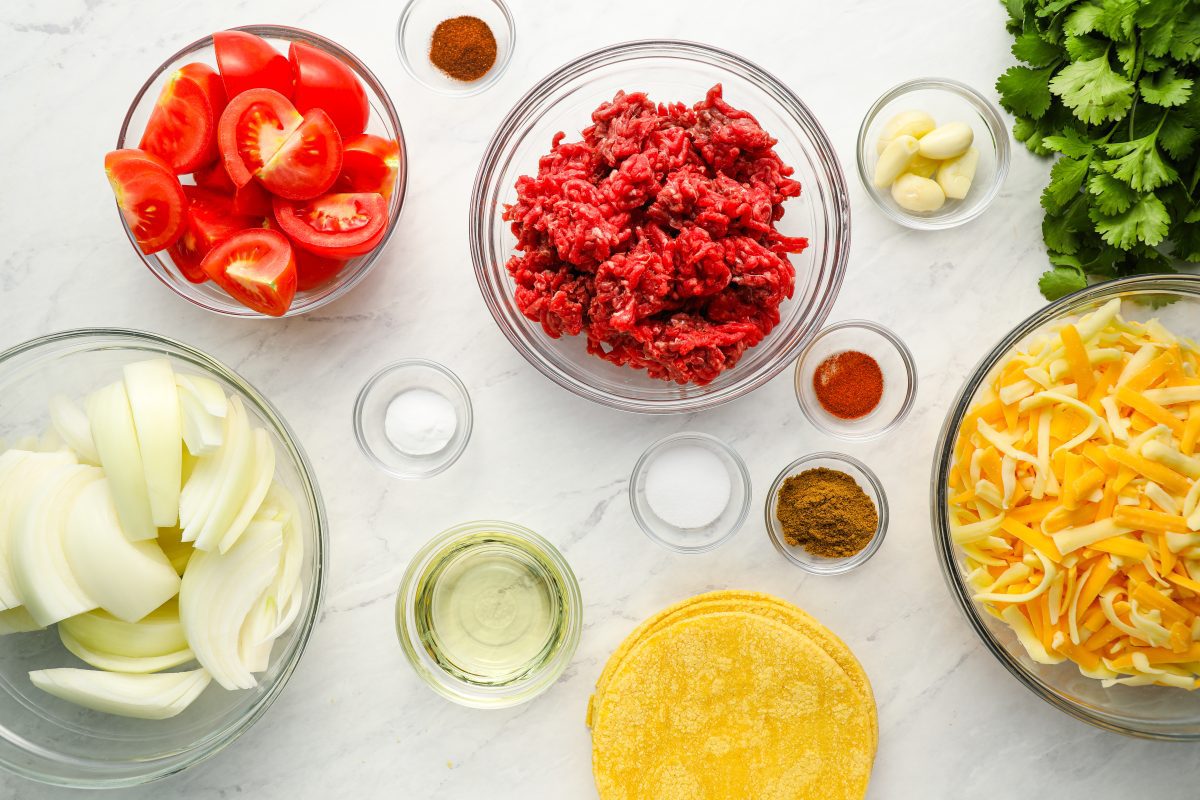
- Ground Beef: The main protein that fills the layers of the enchiladas. 90% lean beef is ideal for its lower fat content while still providing rich flavor (with extra lean beef, there is no need to drain the fat).
- Baking Soda: Used for tenderizing the beef.
- Tomatoes, Onions, Garlic: These ingredients are used to create a vibrant and rich sauce, essentially a roasted tomato salsa.
- Cumin, Cayenne Pepper, Chipotle Chili Pepper: This spice trio infuses the dish with earthy, spicy, and smoky notes, giving the enchiladas bold Mexican flavor.
- Cilantro: Adds a pop of herbal freshness and color.
- Yellow Corn Tortillas: The foundation for the stacked enchiladas, these tortillas are cut into quarters for easy layering.
- Mexican Blend Cheese: A mix of cheeses that includes cheddar and Monterey Jack, this blend melts beautifully, creating gooey, stretchy layers that bind the enchiladas together.
- Jump to the printable recipe for precise measurements
Step-by-Step Instructions
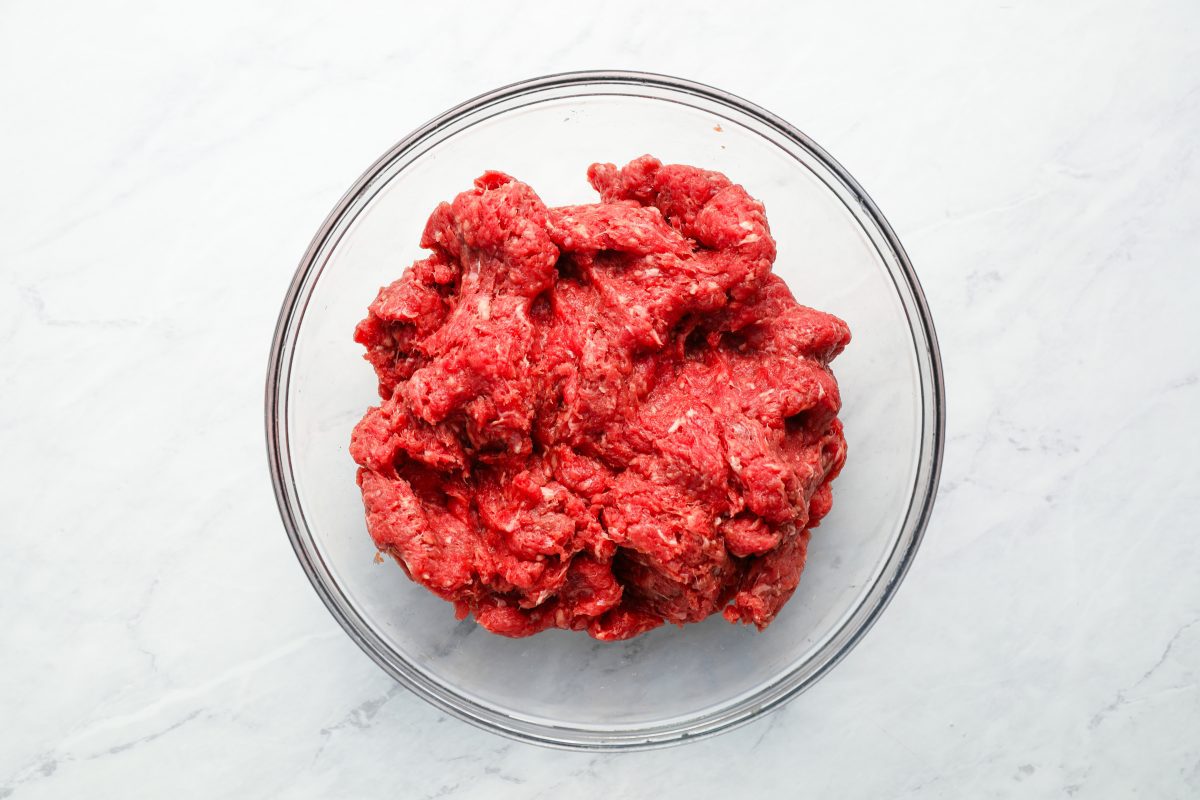
Step 1: Tenderize the Beef
To begin, mash the ground beef and the baking soda in a large bowl and let sit on the counter for about 20 minutes. The baking soda raises the pH of the meat, helping to lock in moisture and make the beef melt-in-your-mouth tender.
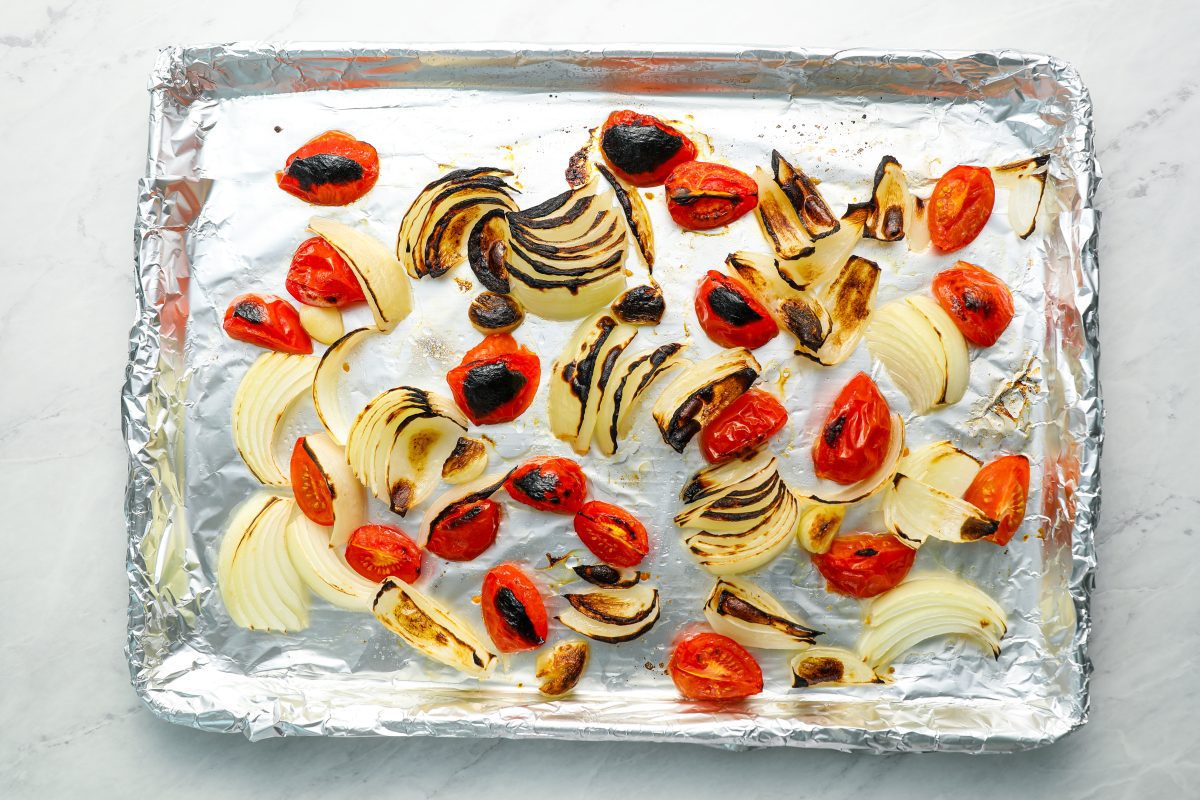
Step 2: Make the Sauce
Toss the tomatoes, onions, and garlic with the vegetable oil directly on a foil-lined baking sheet.

Broil until softened and charred, 12 to15 minutes (if the vegetables are browning too quickly, give them a quick stir with a rubber spatula).
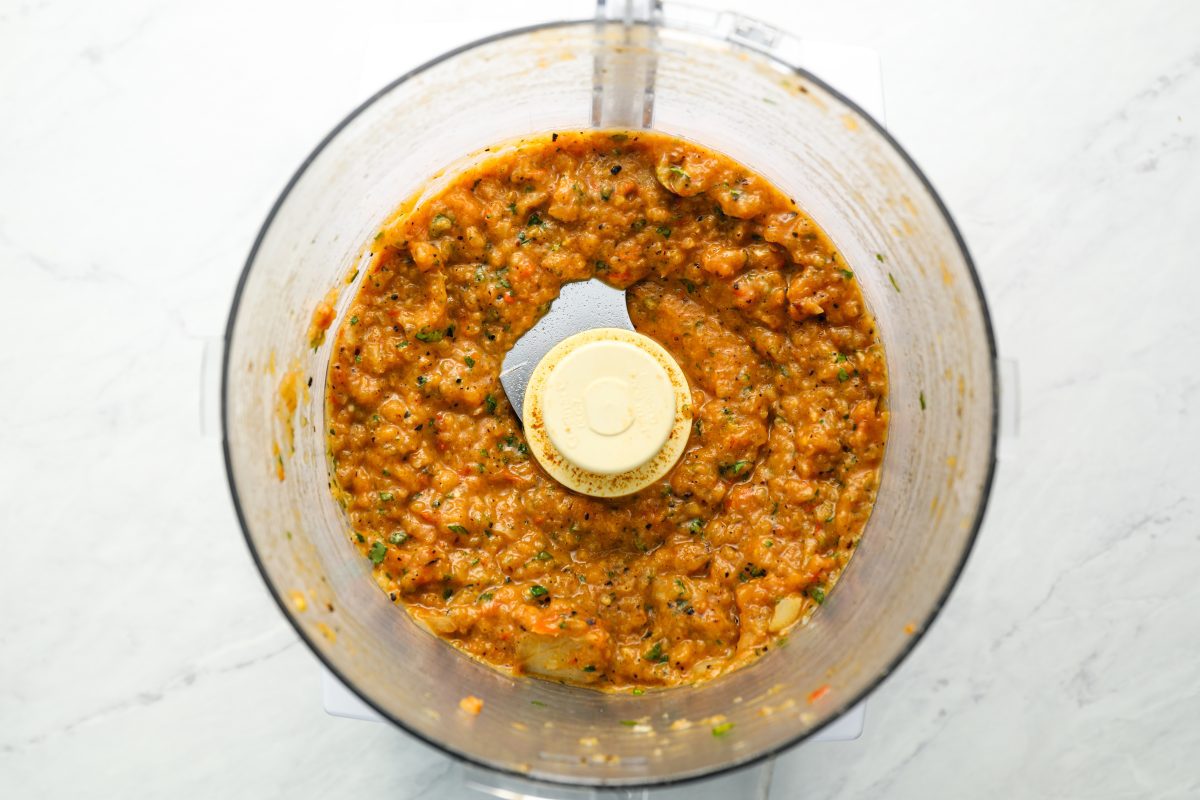
Transfer the vegetables and juices to a food processor fitted with the metal blade. Add the salt, cumin, and cayenne pepper and pulse until just slightly chunky — then toss in the cilantro leaves.
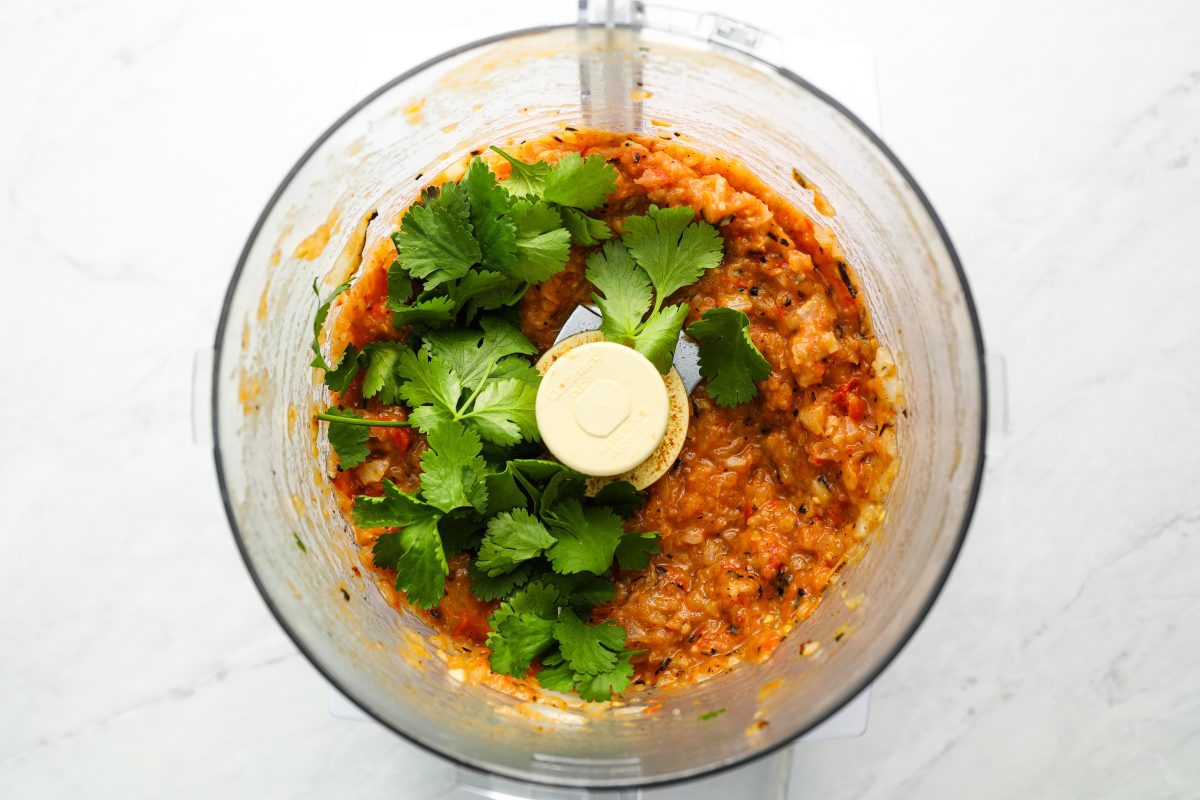
Pulse until the cilantro is chopped. Set the sauce aside.
Step 3: Make the Beef Filling
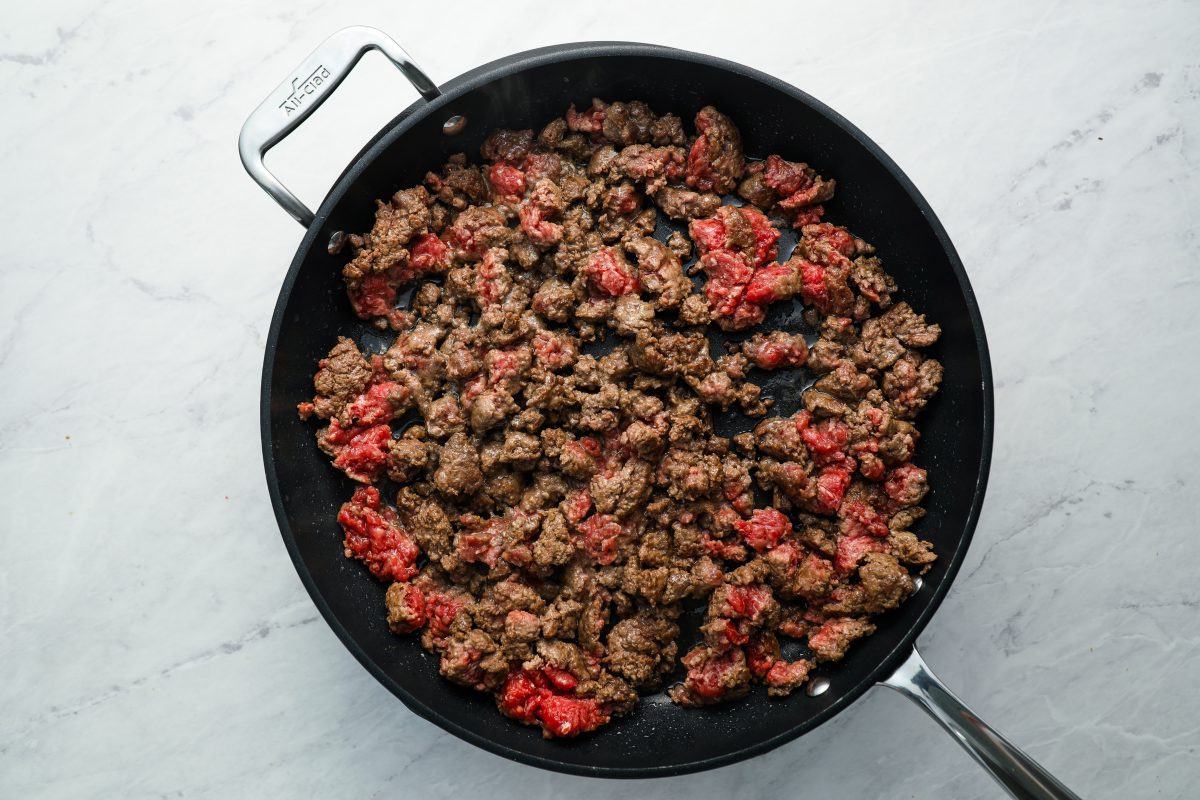
Heat the oil in a large skillet over high heat. Add the beef and cook, stirring frequently and breaking into pieces, until just slightly pink, about 2 minutes.
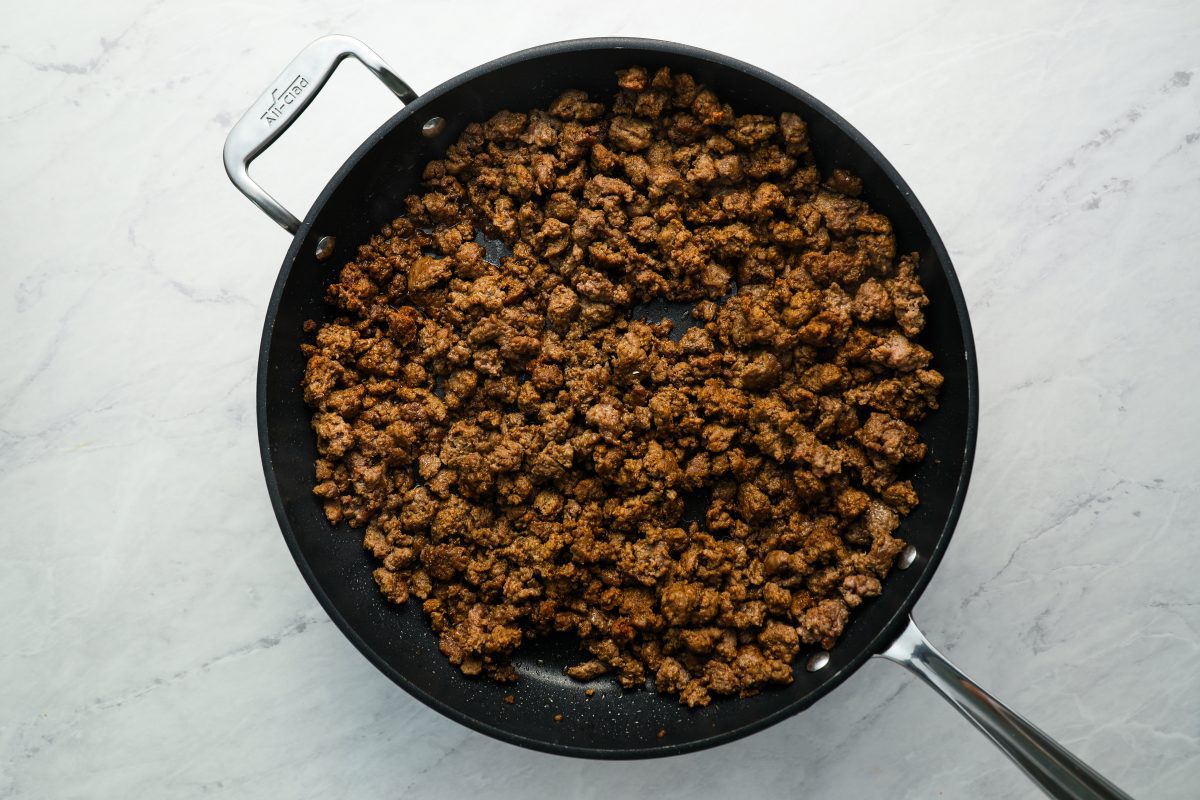
Add the chili powder, cumin, and salt. Cook, stirring occasionally, for 4 to 5 minutes more, or until cooked through.
Step 4: Assemble the Casserole
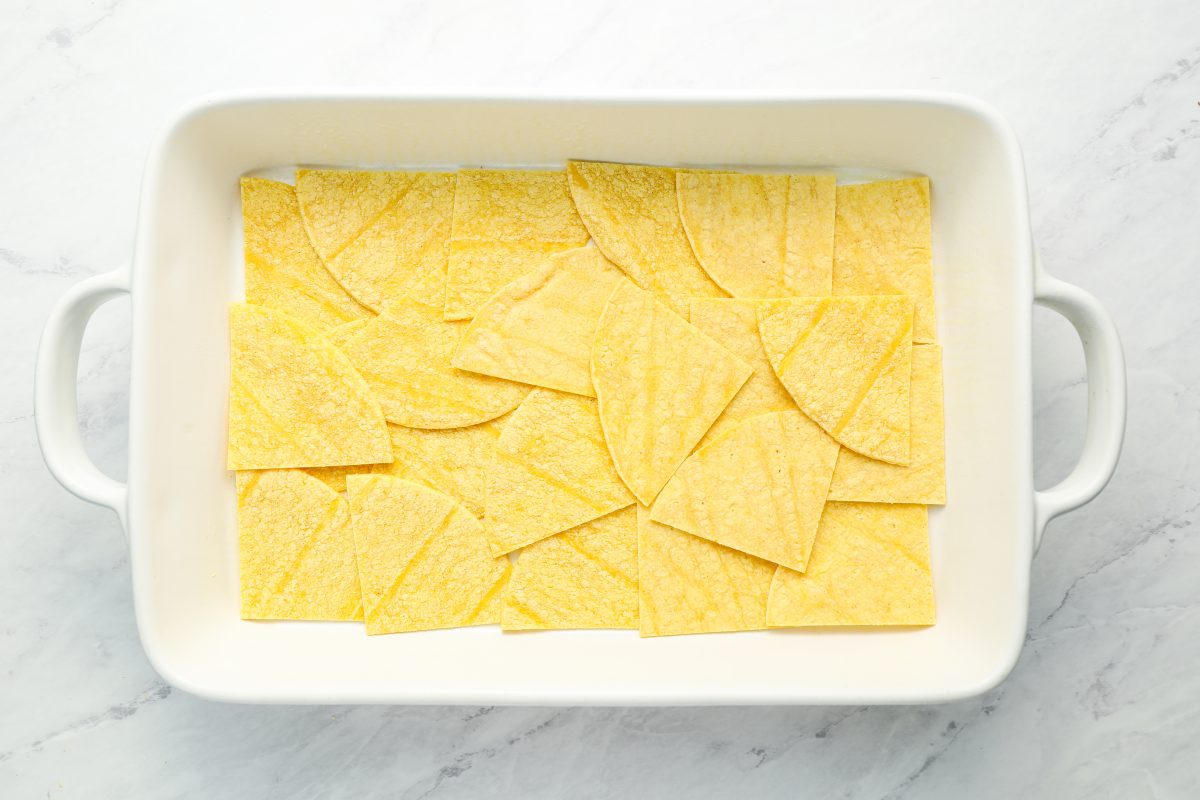
Preheat oven to 350°F and move the oven rack to the center position. Lightly oil a 9×13-inch glass or ceramic baking dish. Set aside 1 cup of the sauce for the top of the casserole. (You want to ensure that you have enough to cover the top layer of tortillas, otherwise they won’t cook through.) Line the bottom of the prepared baking dish with a layer of tortillas, overlapping them slightly.
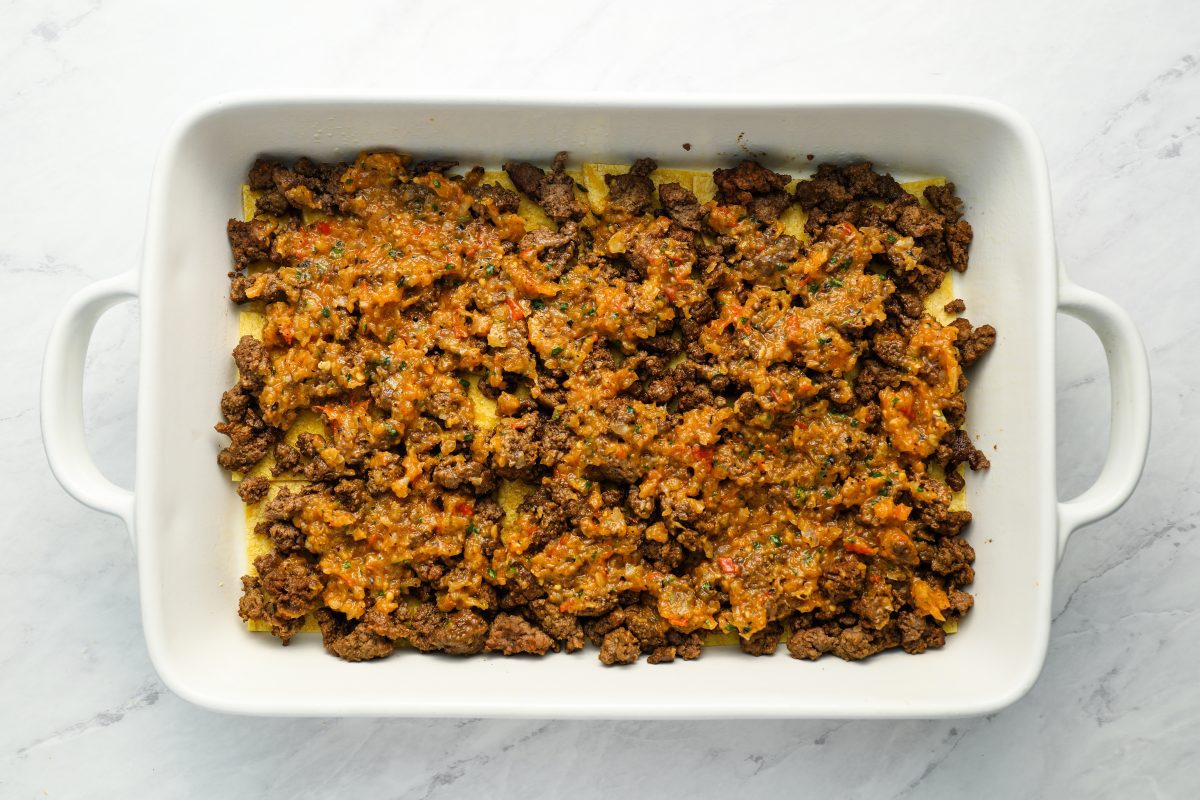
Spoon half of the beef (and any juices) over the tortillas, followed by half of the sauce.
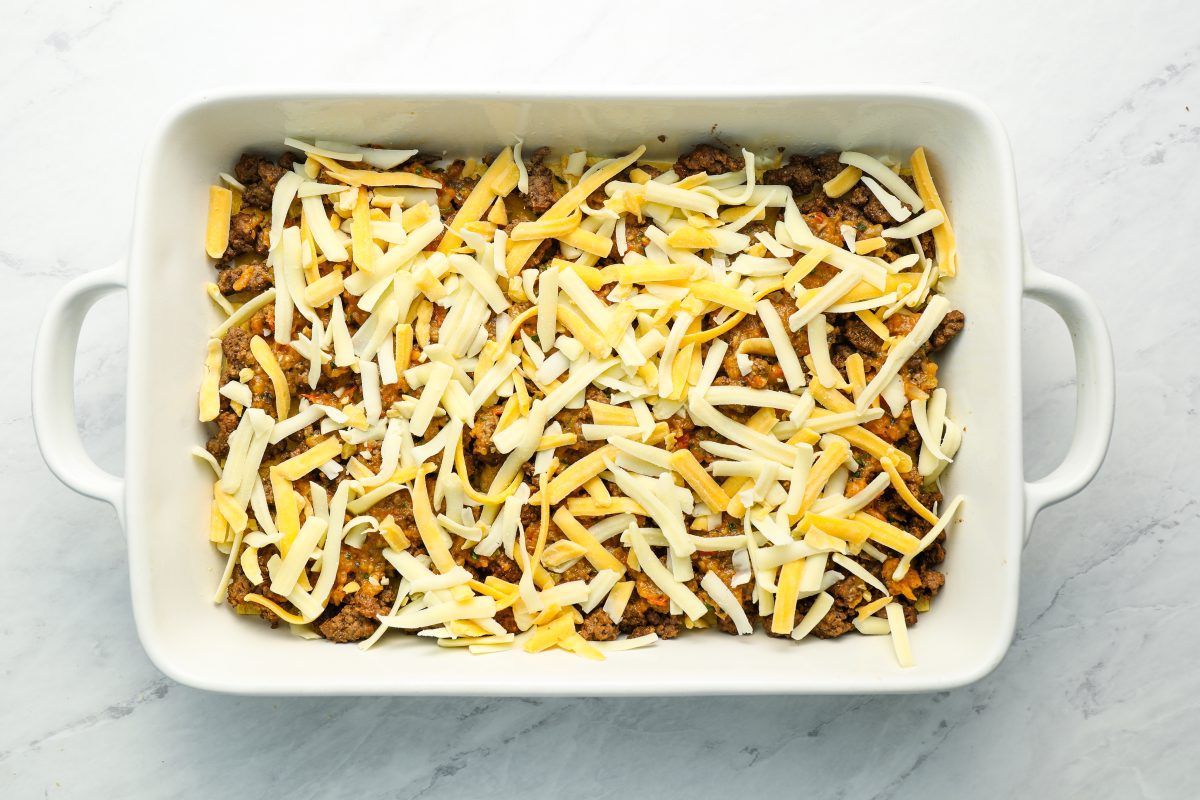
Sprinkle 1/3 of the cheese over the sauce.
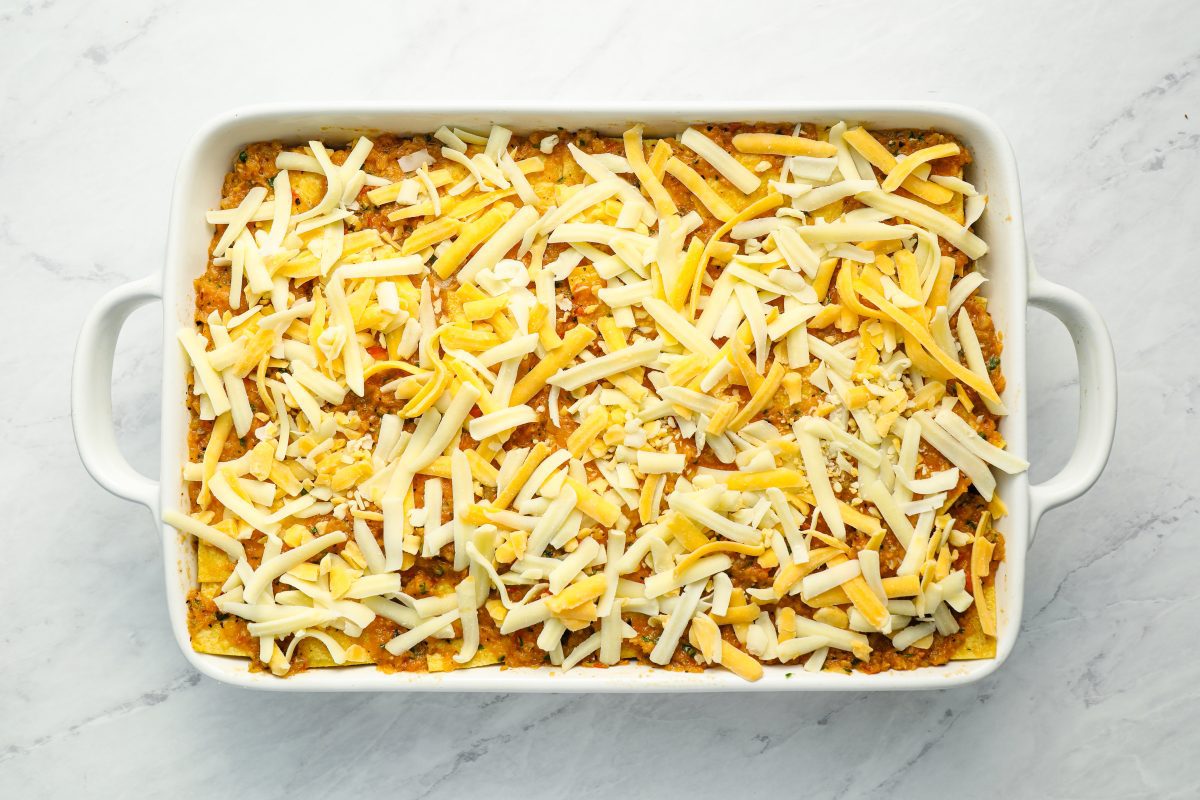
Repeat with another layer of tortillas, the remaining beef, remaining sauce, and 1/3 of the cheese. Top with the remaining tortillas. Spread the reserved cup of sauce over the tortillas and cover completely. Sprinkle the remaining cheese evenly over top.
Bake, uncovered, for 30 to 35 minutes, or until the casserole is heated through and the cheese is completely melted.

Slice the stacked enchiladas into squares and serve.
Video Tutorial
You May Also Like


Stacked Beef Enchiladas (AKA Mexican Lasagna)
With layers of corn tortillas, spicy ground beef, salsa and cheese, this stacked beef enchilada casserole is a huge family-pleaser.
Ingredients
For the Beef
- 1½ pounds 90% lean ground beef
- ½ teaspoon baking soda
- 2 tablespoons vegetable oil
- 1½ teaspoons ground chipotle chile pepper (see note)
- 2½ teaspoons ground cumin
- ¾ teaspoon salt
For the Sauce
- 4 large vine-ripened tomatoes (about 1.3 lb), quartered
- 2 medium yellow onions, cut into ½-inch wedges
- ¼ cup vegetable oil
- 6 cloves garlic, peeled
- 2 teaspoons salt
- 1 teaspoon ground cumin
- ⅛ teaspoon cayenne pepper
- ¼ cup cilantro leaves
For Assembling
- 10 (8-in) yellow corn tortillas, cut into quarters (I use Mission brand)
- 4 cups (12 oz) shredded Mexican blend cheese
Instructions
- In a large bowl, combine the ground beef and the baking soda. Mix with your hands until evenly combined. Let sit on the counter for 20 to 30 minutes.
- While the beef sits, prepare the sauce. Set an oven rack about 5 inches beneath the heating element and preheat the broiler. Line a rimmed baking sheet with aluminum foil.
- Toss the tomatoes, onions, and garlic with the vegetable oil directly on the prepared baking sheet. Broil until softened and charred, 12 to15 minutes (if the vegetables are browning too quickly, give them a quick stir with a rubber spatula). Transfer the vegetables and juices to a food processor fitted with the metal blade. Add the salt, cumin, and cayenne pepper and pulse until just slightly chunky. Add the cilantro and pulse until the cilantro is chopped. Set the sauce aside.
- Heat the oil in a large skillet over high heat. Add the beef and cook, stirring frequently and breaking into pieces, until just slightly pink, about 2 minutes. Add the chili powder, cumin, and salt and cook, stirring occasionally, for 4 to 5 minutes more, or until cooked through.
- To assemble: Preheat oven to 350°F and move the oven rack to the center position. Lightly oil a 9x13-in glass or ceramic baking dish.
- Set aside 1 cup of the sauce for the top of the casserole. (You want to ensure that you have enough to cover the top layer of tortillas, otherwise they won't cook through.)
- Line the bottom of the prepared baking dish with a layer of tortillas, overlapping them slightly. Spoon half of the beef (and any juices) over the tortillas. Top with half of the sauce and ⅓ of the cheese. Repeat with another layer of tortillas, the remaining beef, remaining sauce, and ⅓ of the cheese. Top with the remaining tortillas. Spread the reserved sauce over the tortillas and cover completely. Sprinkle the remaining cheese evenly over top. Bake, uncovered, for 30 to 35 minutes, or until the casserole is heated through and the cheese is completely melted.
- Note: Ground chipotle chile pepper is smoky and hot and makes this dish a little spicy. For a milder dish, replace the ground chipotle chile pepper with ground ancho chili pepper, which isn't as hot.
- MAKE-AHEAD/FREEZER-FRIENDLY INSTRUCTIONS: The casserole can be prepared ahead of time, tightly covered with foil, and refrigerated for up to two days or frozen for up to 3 months before baking (if frozen, defrost in the refrigerator before cooking). It can also be fully baked, tightly covered with foil, and refrigerated for up to two days or frozen for up to 3 months. To reheat: defrost if necessary and heat the covered casserole in a 350°F oven for about 30 minutes, or until hot. If you'd rather reheat individual servings, small portions can be zapped in the microwave for 1 to 2 minutes.
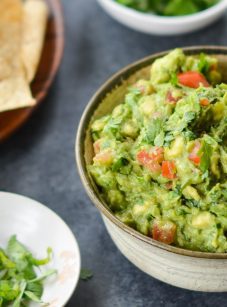
Pair with


Nutrition Information
Powered by ![]()
- Per serving (8 servings)
- Calories: 491
- Fat: 32 g
- Saturated fat: 11 g
- Carbohydrates: 21 g
- Sugar: 4 g
- Fiber: 3 g
- Protein: 30 g
- Sodium: 608 mg
- Cholesterol: 96 mg
This website is written and produced for informational purposes only. I am not a certified nutritionist and the nutritional data on this site has not been evaluated or approved by a nutritionist or the Food and Drug Administration. Nutritional information is offered as a courtesy and should not be construed as a guarantee. The data is calculated through an online nutritional calculator, Edamam.com. Although I do my best to provide accurate nutritional information, these figures should be considered estimates only. Varying factors such as product types or brands purchased, natural fluctuations in fresh produce, and the way ingredients are processed change the effective nutritional information in any given recipe. Furthermore, different online calculators provide different results depending on their own nutrition fact sources and algorithms. To obtain the most accurate nutritional information in a given recipe, you should calculate the nutritional information with the actual ingredients used in your recipe, using your preferred nutrition calculator.
Gluten-Free Adaptable Note
To the best of my knowledge, all of the ingredients used in this recipe are gluten-free or widely available in gluten-free versions. There is hidden gluten in many foods; if you're following a gluten-free diet or cooking for someone with gluten allergies, always read the labels of your ingredients to verify that they are gluten-free.
Delicious! Made this tonight and it was as perfect. I was a little worried having read some reviews saying the salsa wasn’t flavorful but that wasn’t the case for me. I actually snacked on salsa with chips while preparing the rest of the dish. I used fresh local tomatoes (could be where the extra flavor was). And followed the recipe to a tee. I thought there was too much liquid and there was no way the tortillas could absorb the juice from the tomatoes and the meat. But it did. Oh, the only substitution I made was using one pound of ground beef and a can of black beans to make up for the second pound. It was delicious!! Served it with sour cream and Tabasco. Jen’s recipes are always a home run!
Made this tonight when my sister came with her kids, I used 1 kilo of beef and the whole thing was almost gone. Very good filling meal for people who normally like lasagne. We couldn’t find chipotle chile and instead used the other suggested.
I could have used a bit more liquid in it, next time I will use more tomatoes.
How many cups of sauce/liquid would you say you used total? I find I have the same thing with these types of dishes. Looking forward to trying this, maybe with a milder version of the sauce.
What would be some good dessert options to serve after this meal?
If you to stick with the Tex-Mex theme, some options are the Mexican Wedding Cookies, Flan, or Tres Leches Cake. Or you could go with something summery with one of these.
Hello Jenn,
Have tried many of your recipes and they have all been spot on, thank you.
I live in Malaysia and chipotle chili is not easy to come by. Will smoked paprika work?
Hi Johara, so glad you like the recipes! If you have ancho chili powder, I’d use that. If not, smoked paprika will work. Enjoy! 🙂
I kept looking at this recipe and finally made it last night. WOW!!! The sauce was amazing, better than i anticipated and I had high hopes. My family and I enjoyed the little bit of heat and with the sauce etc. we will be having this regularly. I particularly loved that the sauce is homemade and nothing was from a can:)
I made this last evening and followed the recipe exactly. My family loves it. My children complimented me multiple times and I consider myself a pretty good cook! Thanks for another winner, Jenn!
Jenn, my favorite neighborhood market only had the small white corn tortillas. Bad weather and lots of snow stopped me from going elsewhere. What kind of a difference can I expect and will it change the taste ?
Hi Carol, the tortillas you got should be fine. Because they’re smaller, you’ll need to use more to make the layers. And regarding taste, yellow tortillas have a slightly stronger flavor but this should still be delicious with the white. Please LMK how it comes out (and stay warm)! 🙂
Made on Saturday to serve on Sunday, wound up in the hospital instead. It did not get baked until Tuesday. My daughter and her friend loved it, but I was not feeling well enough to join in. The sauce was delicious (tasted that on Saturday when first made).
Oh my gosh, I hope you’re feeling better Carol!! 💓
Would it be ok if I used flour tortillas?
Hi Amanda, I think corn tortillas hold up better in this, but some readers have commented that they have used flour tortillas successfully. Hope you enjoy!
Hey Jenn
Just tried this recipe. I like the flavors, but the ‘salsa’ was still a bit crunchy even after cooking. Should I have broiled the veggies longer? Or is there something else that can make the sauce smoother? Thanks!
Hi Pem, Yes I would broil the veggies a bit longer or purée them a bit more.
Can this be made with no meat?
Hi Tamara, I haven’t tried it, but a few members have commented that they’ve made this successfully using a meat alternative (like Gardein or Impossible brands). Please report back if you try it!
Made this for my vegetarian daughter tonight. Subbed roasted cauliflower for the beef and made everything else the same. She loved it!!
I made this recipe vegetarian by using plant based ground beef (from Gardein) and subbed in a mix of leftover red enchilada sauce with your sauce recipe. Also I used mostly queso fresco and just a little but of the Mexican blended cheese because that’s what I had in the fridge. It turned out really delicious! I might add in some veggies next time to make it a truly one tray dinner. I like that this is a great base recipe that has lots of room for variation based on personal taste.