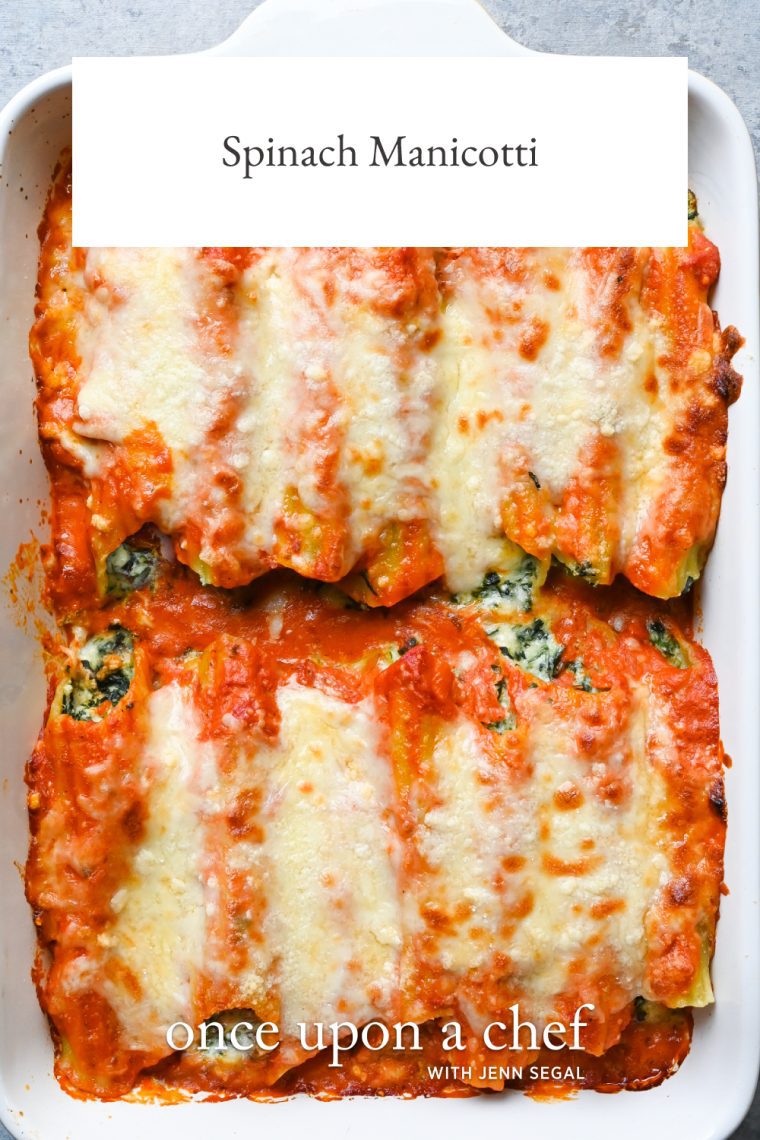
Spinach Manicotti
This post may contain affiliate links. Read my full disclosure policy.
Take traditional spinach manicotti up a notch with few smart shortcuts and cooking tricks — all without any extra work for you!
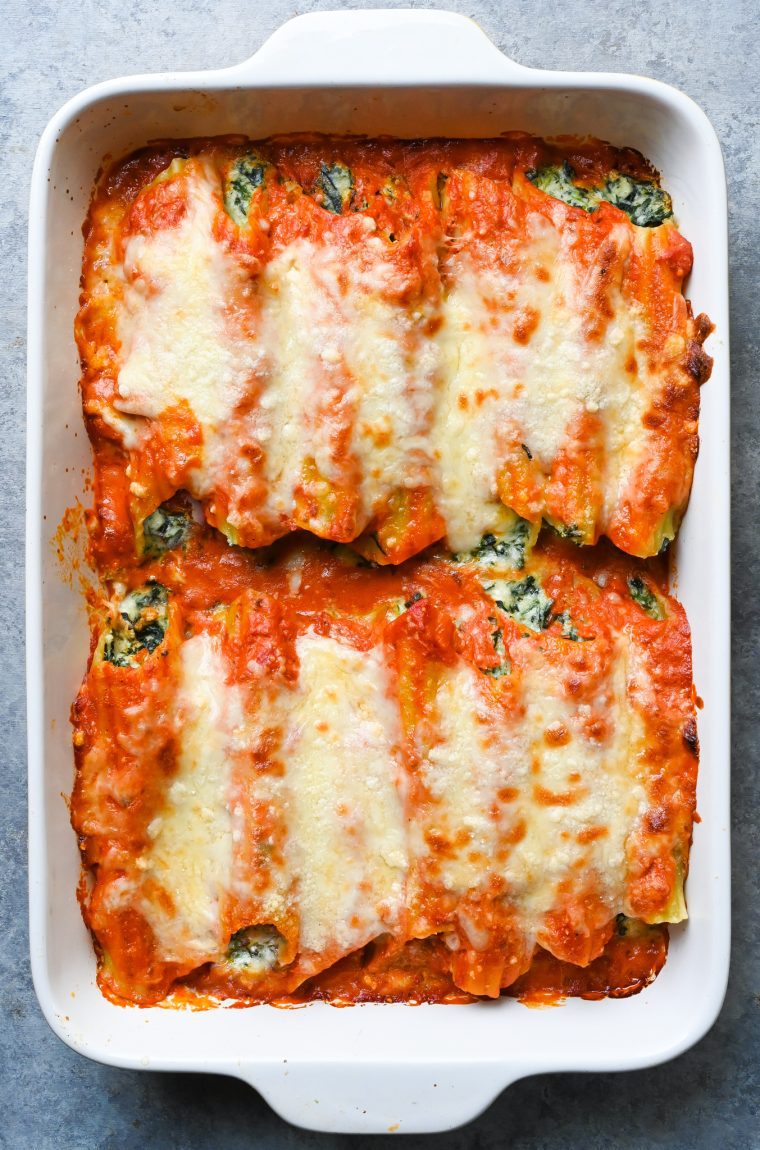
Looking for an easy way to elevate your traditional spinach manicotti recipe? I have a wonderful recipe that incorporates a few shortcuts and cooking tricks that take this classic dish to the next level without any extra work for you. First, I add heavy cream to good-quality jarred marinara sauce, creating a rich tomato sauce that pairs perfectly with the cheesy spinach filling. It’s as easy as opening a jar and a carton! Next, I add creamy mascarpone, mozzarella, and sharp Pecorino Romano cheeses to the traditional ricotta and spinach filling. This not only adds delicious flavor but also prevents the filling from becoming grainy, which is a common issue with pasta dishes made with ricotta cheese.
Fun fact: the word “manicotti” means “little sleeve” in Italian, describing the cylindrical shape of the pasta tubes. It’s a great prep-ahead dish to pop in the oven when you’ve got company coming or simply for enjoying with family. Pair it with a salad and some crusty bread for a cozy and satisfying meal.
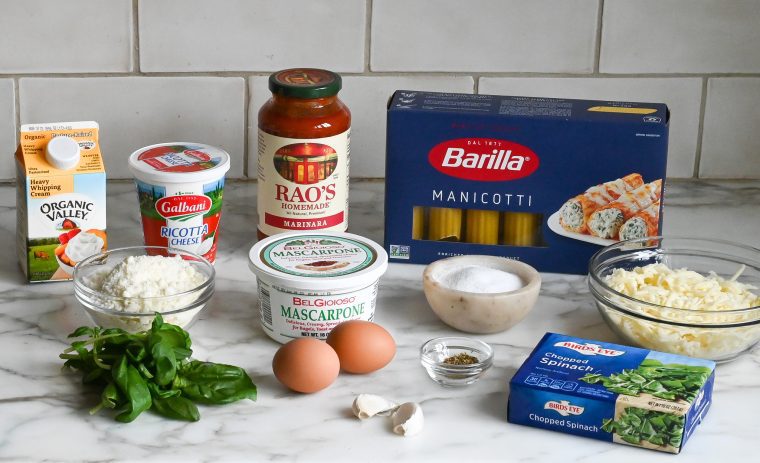
What You’ll Need To Make Spinach Manicotti
Step-by-Step Instructions
Step 1: Parboil the Manicotti Shells
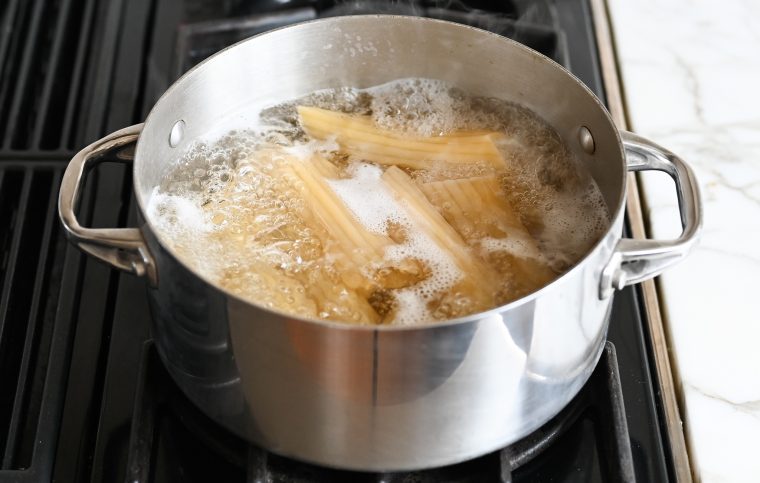
Bring a large pot of salted water to a boil. Cook the manicotti shells for exactly 6 minutes (they will only be partially cooked).
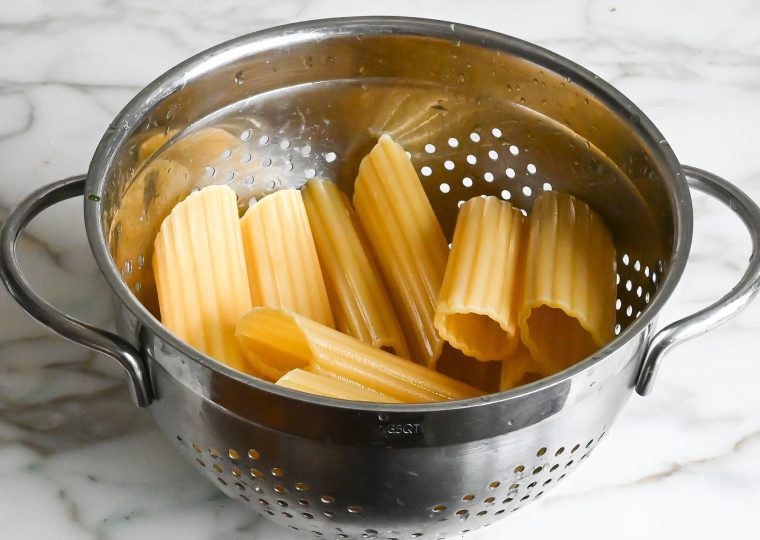
 Drain well and rinse with cold water.
Step 2: Make the Filling
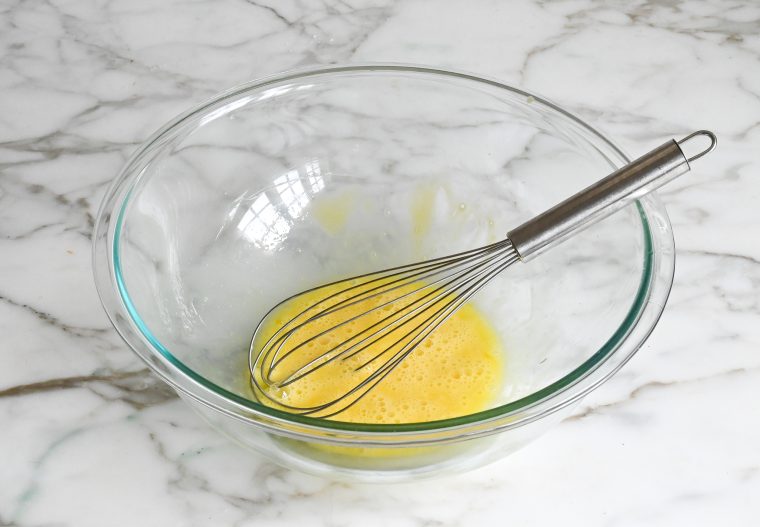
In a large bowl, beat the eggs.
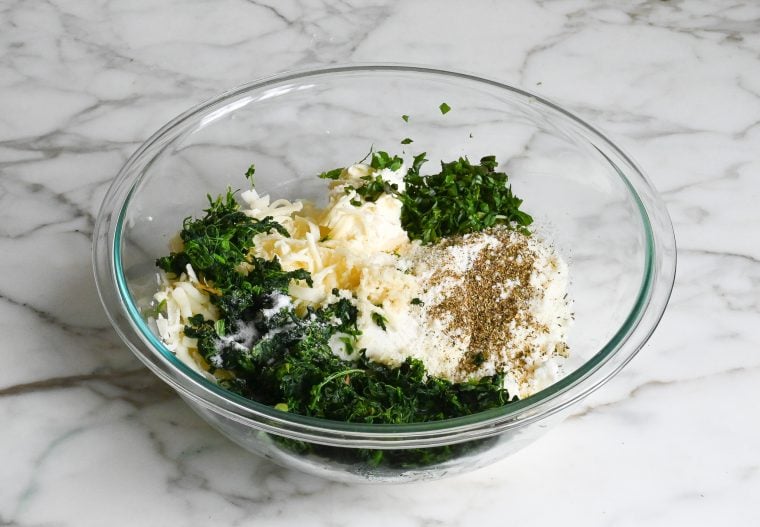
 Add the ricotta, mascarpone cheese, 1 cup of the mozzarella, 1 cup of the Pecorino Romano, the spinach, basil, garlic, oregano, and salt.
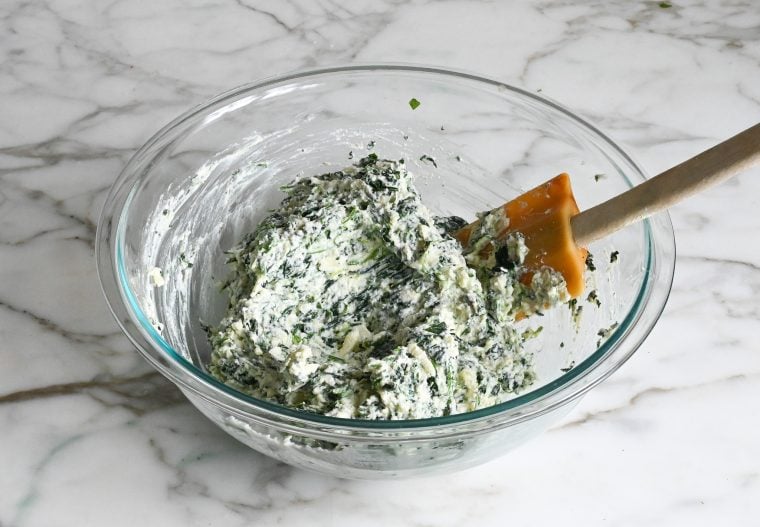
Mix until evenly combined.
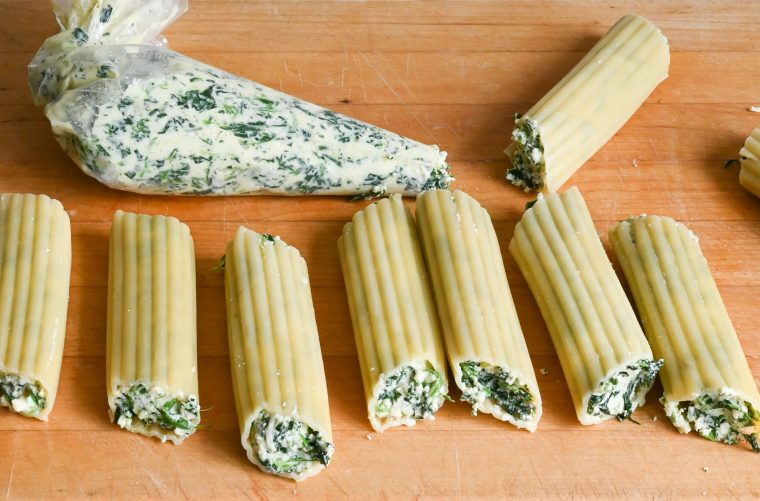
Transfer the filling to a pastry bag or large zip-lock bag. (If using a zip-lock bag, be sure the corners are square; the rounded-corner bags are difficult to use.) Twist and squeeze the bag so the filling is in one corner. With scissors, snip a ¾-inch opening in corner. Pipe the filling into both ends of the manicotti shells, filling until completely full.
Step 3: Make the Sauce
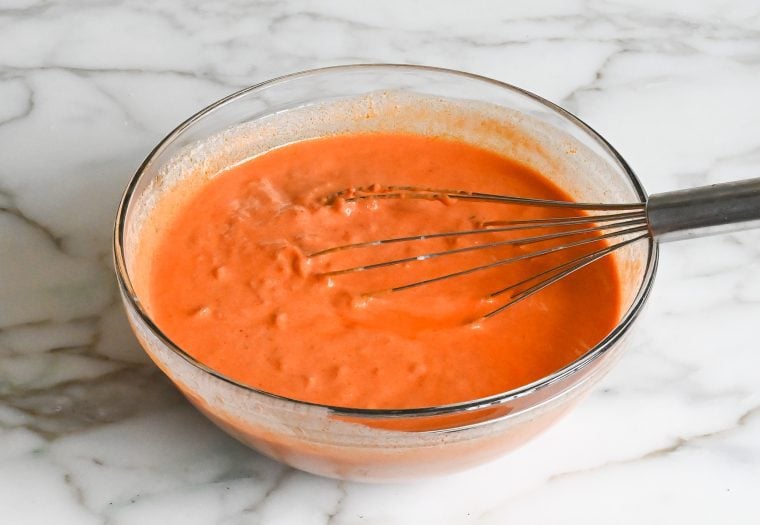
In a large bowl, combine the marinara sauce and heavy cream.
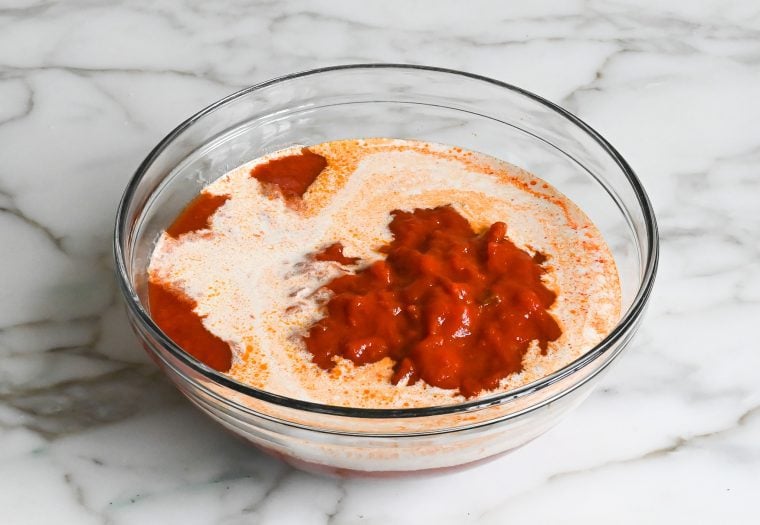
Mix to combine.
Step 4: Assemble & Bake
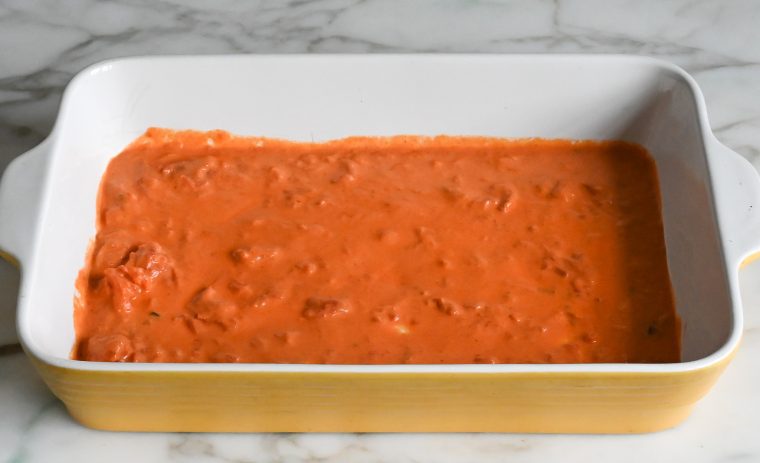
Spread ¾ cup of the sauce into a 9×13-inch baking dish.
 Arrange the stuffed manicotti shells, narrow side up, over the sauce.
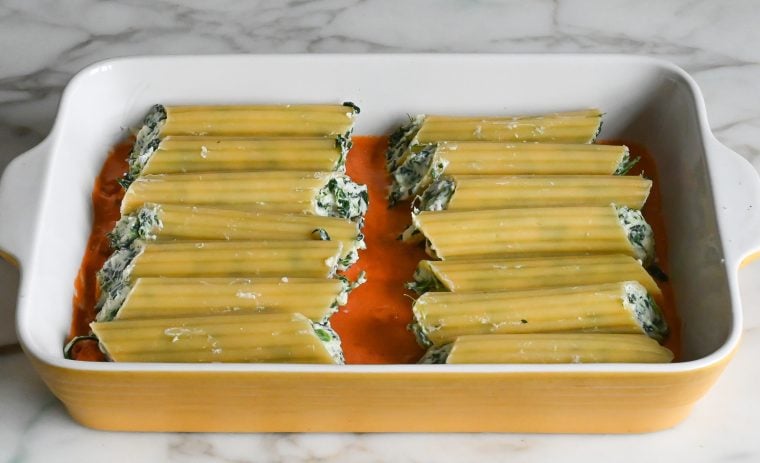 Pour just enough sauce to cover the manicotti (you’ll have about ¾ cup leftover; save it for serving).
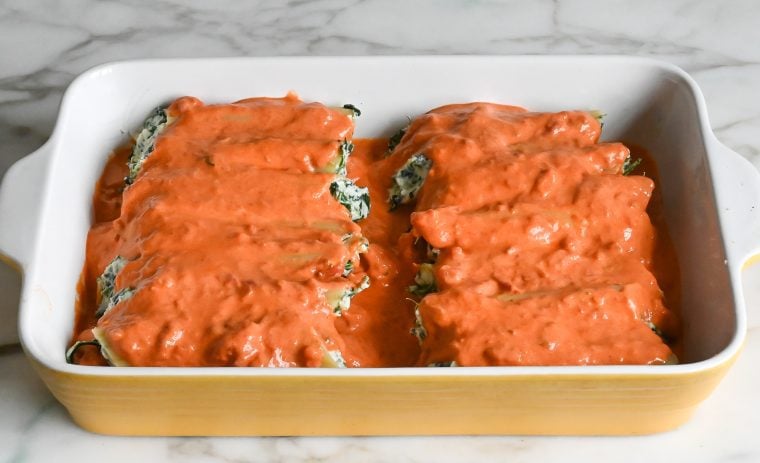 Cover the dish tightly with aluminum foil. Bake for 35 minutes. Uncover and top the manicotti with the remaining 1 cup mozzarella and ¼ cup Pecorino Romano cheeses.
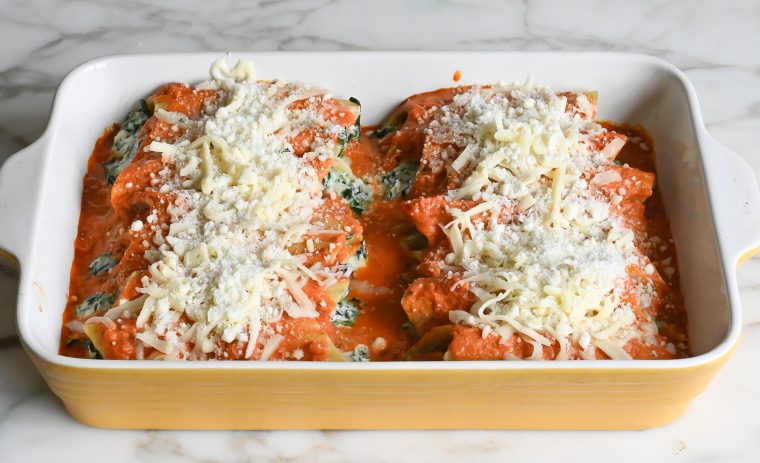 Bake, uncovered, for 10 to 15 minutes more, until the cheese is melted and lightly golden. (To brown the cheese further, turn on the broiler and bake for a few more minutes, keeping a close eye, until the cheese is golden.)
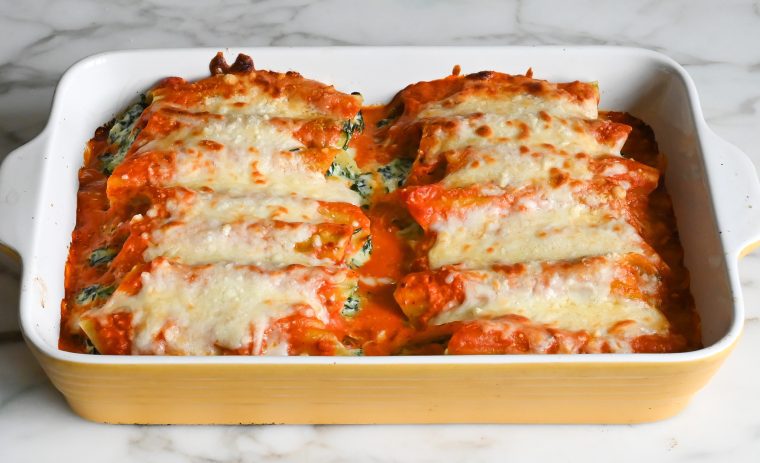 Let sit for about 10 minutes before serving.

You may also like
- Baked Penne with Spinach, Ricotta, and Fontina
- Cheesy Stuffed Shells
- Baked Ziti with Sausage
- Julia Turshen’s “A Nice Lasagna”
Spinach Manicotti
Take traditional spinach manicotti up a notch with few smart shortcuts and cooking tricks — all without any extra work for you!
Ingredients
- 14 manicotti shells (from an 8-oz box)
- 2 large eggs
- 1 (15-oz) container whole-milk ricotta cheese (1¾ cups)
- ⅓ cup mascarpone or cream cheese, at room temperature
- 2 cups (8 oz) whole-milk mozzarella cheese, divided
- 1¼ cups (4.5 oz oz) grated Pecorino Romano, divided
- 1 (10-oz) box frozen spinach, thawed and squeezed very dry
- 2 tablespoons chopped fresh basil
- 2 cloves garlic, minced
- 1 teaspoon dried oregano
- ¾ teaspoon salt, plus more for boiling the pasta
- 2½ cups homemade or good-quality jarred marinara sauce, such as Rao's
- ½ cup heavy cream
Instructions
- Preheat the oven to 350°F and set an oven rack in the middle position.
- Parboil the Manicotti Shells: Bring a large pot of salted water to a boil. Cook the manicotti shells for exactly 6 minutes (they will only be partially cooked). Drain well and rinse with cold water.
- Make the Filling: In a large bowl, beat the eggs. Add the ricotta, mascarpone cheese (or cream cheese), 1 cup of the mozzarella, 1 cup of the Pecorino Romano, the spinach, basil, garlic, oregano, and salt; mix until evenly combined. Transfer the filling to a pastry bag or large zip-lock bag. (If using a zip-lock bag, be sure the corners are square; the rounded-corner bags are difficult to use.) Twist and squeeze the bag so the filling is in one corner. With scissors, snip a ¾-inch opening in corner. Pipe the filling into both ends of the manicotti shells, filling until completely full.
- Make the Sauce: In a large bowl, stir together the marinara sauce and heavy cream.
- Assemble and Bake: Spread ¾ cup of the sauce into a 9x13-inch baking dish. Arrange the stuffed manicotti shells, narrow side up, over the sauce. Pour just enough sauce to cover the manicotti (you'll have about ¾ cup leftover; save it for serving). Cover the dish tightly with aluminum foil. Bake for 35 minutes. Uncover and top the manicotti with the remaining 1 cup mozzarella and ¼ cup Pecorino Romano cheeses Bake, uncovered, for 10 to 15 minutes more, until the cheese is melted and lightly golden. (To brown the cheese further, turn on the broiler and bake for a few more minutes, keeping a close eye, until the cheese is golden.) Let sit for about 10 minutes before serving. Warm the reserved sauce and pass at the table for anyone who would like extra.
- Make-Ahead/Freezer-Friendly Instructions: The dish can be assembled, covered, and refrigerated for up to 2 days in advance, or frozen for up to 3 months. (If frozen, defrost in the refrigerator overnight before baking.)
Pair with
Nutrition Information
Powered by ![]()
- Serving size: 2 manicotti
- Calories: 735
- Fat: 46 g
- Saturated fat: 28 g
- Carbohydrates: 40 g
- Sugar: 8 g
- Fiber: 4 g
- Protein: 40 g
- Sodium: 1,413 mg
- Cholesterol: 213 mg
This website is written and produced for informational purposes only. I am not a certified nutritionist and the nutritional data on this site has not been evaluated or approved by a nutritionist or the Food and Drug Administration. Nutritional information is offered as a courtesy and should not be construed as a guarantee. The data is calculated through an online nutritional calculator, Edamam.com. Although I do my best to provide accurate nutritional information, these figures should be considered estimates only. Varying factors such as product types or brands purchased, natural fluctuations in fresh produce, and the way ingredients are processed change the effective nutritional information in any given recipe. Furthermore, different online calculators provide different results depending on their own nutrition fact sources and algorithms. To obtain the most accurate nutritional information in a given recipe, you should calculate the nutritional information with the actual ingredients used in your recipe, using your preferred nutrition calculator.

Wow! So delicious! I was a little scared to try this, but it is easier than it sounds. Since making, I have found there are disposable piping bags n Amazon, not very expensive, to squeeze the filling into the pasta tubes. Although I did manage to do it using a plastic bag as described in the recipe. This is a little more trouble than some recipes, but honestly it is so good, it’s well worth the trouble. And if I plan it right, I can make it ahead. Thanks for another upstanding recipe!
Hello Jen – I’m one of these “I hardly ever write a review” people. However after making this manicotti recipe I just had to write. This dish is AMAZING!! I was so careful to make sure I had all the ingredients on my shopping list. As I was starting to make the filling I discovered I forgot the ricotta 🤦♀️ So I decided to use the whole container of mascarpone. I was wondering what I was going to do with the leftover mascarpone anyway – and I find it expensive. Could not find manicotti shells so bought cannelloni which I actually prefer but then right after I put them in the boiling water I noticed the box said “oven ready” 🤦♀️ so I immediately drained them. So to make sure I had enough sauce I used a whole 680 ml bottle of passata to make my marinara. Completed the recipe as written. In spite of my screw-ups I love to cook and pride myself on the great dinner parties I have had. My husband always tells me how much he enjoys the dishes I make. Well when we took that first bite, he said “This is soooooo good”!! Outstanding! The first recipe I downloaded of yours from Pinterest I could tell you were a serious chef and immediately subscribed to your newsletter. Thank you for so many great recipes!!
Made this last night, it was a HIT!
We all loved the ricotta recipe. My daughter wants me to add more basil next time. It added such a nice freshness to her bites. I also think the whole milk mozzarella made a difference in the creaminess as well.
I didn’t have any manicotti shells, but had the shells. When filling the shells, I realized I had cut the opening too big and had a MESS. So I switched to a spoon which worked fine, albeit a bit messy, but because they were shells and not manicotti tubes it worked.
For the extra shells, I used a cup cake pan to place each shell while freezing them, then off to. Zip bag for future meals. Repeat if you have more and add to the freezer stash.
This is delicious. I plan to serve it to my dinner club and would like to make it the night before. Should I cook it then and then reheat it or just refrigerate it and bake it the night I serve it?
Any suggestions for a salad to serve with it?
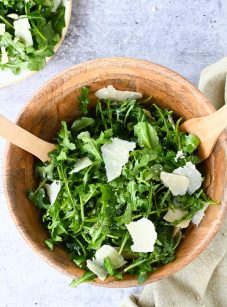
Hi Sally, glad you like it! I’d assemble and refrigerate it and cook it prior to serving. This would be delicious with this arugula salad or my big Italian salad. Hope everyone enjoys!
My husband’s favorite Itallian dish is Manicotti. Unfortunately most restaurants don’t serve any longer and I’ve tried numerous ones over the last 10 years. This is our absolute favorite. Thanks so much
Is it possible to make homemade mascarpone? Seems it costs quite a lot where I live. Thank you.
Hi Lulu, I just took a peek online and it looks like there are a few decent mascarpone recipes out there if you want to give it a try. Hope it turns out well!
Jenn- I am a big fan of your recipes. I was planning on making the manicotti for guests tonight and my oven just died! Can I make it and heat in the microwave instead?
Ugh, I’m sorry about your oven! Unfortunately, I don’t think this would translate well to being cooked in the microwave.
Can these be made ahead and frozen?
Yep — the the bottom of the recipe for freezer-friendly instructions.
I have searched through the recipe and comments but I don’t see the freezer-
friendly instructions? Looking forward to making this over the weekend. I’m sure it will be great!
Hi Pat, It’s at the very bottom of the recipe. I’ve pasted it here: The dish can be assembled, covered, and refrigerated for up to 2 days in advance, or frozen for up to 3 months. (If frozen, defrost in the refrigerator overnight before baking.) 😊
Thank you so much Jenn! Another 5 star recipe from your kitchen to ours.
Wow! From the very first bite, this was sensational. Thank you Jenn! You are my go-to when I want to impress!
As always, the recipe was easy to follow. Perfect ratio of filling to sauce. The finished dish was comfort food elevated! Outstanding!