Pumpkin Bread
This post may contain affiliate links. Read my full disclosure policy.
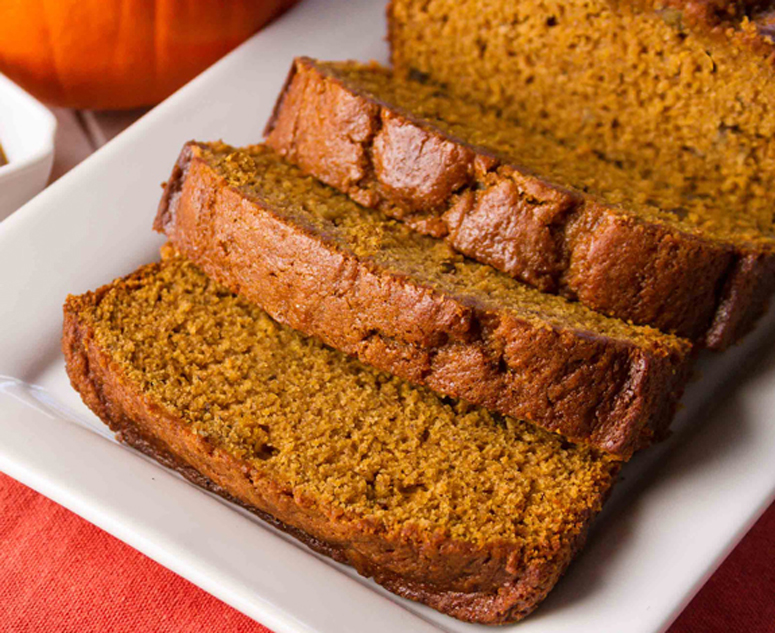
Kids love it, grown-ups love it…this pumpkin bread is hard to beat!
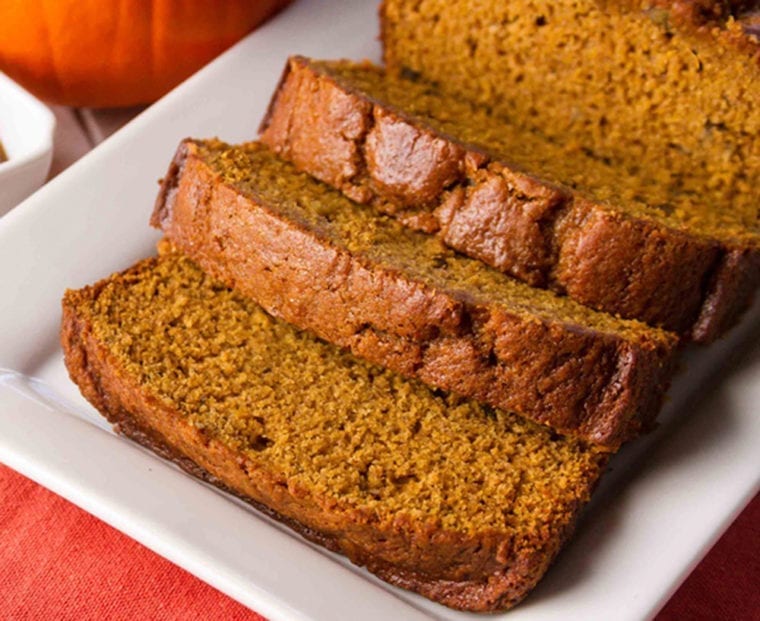
My grandmother clipped this pumpkin bread recipe from a magazine over 50 years ago, and it is my most-cherished family recipe. One of my clearest childhood memories is baking the loaves with my mom and carting them off to every neighborhood potluck and holiday party. Now I bake pumpkin bread with my own kids, and it’s just as wonderful today as it was back then. It’s easy to make — just a bit of mixing and stirring, pop it in the oven, and, in about an hour, you’ll have a house smelling of sweet autumn spices and two scrumptious, pumpkiny loaves.
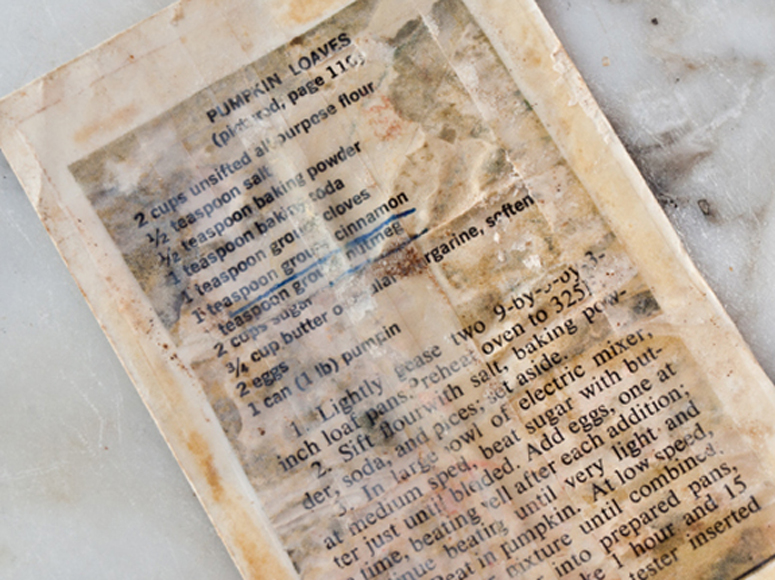
Above, you can see the original recipe from my grandmother’s recipe box—it’s definitely seen its share of spills! After a bit of research, I discovered that the recipe was first published in the McCalls Cook Book (Random House, 1963). It is a typical sweet quick bread, similar to banana bread or cranberry nut bread, leavened with baking powder and/or baking soda instead of yeast. Quick bread batter can often be used to make muffins, and my pumpkin muffins are nearly identical to this bread, but with the addition of a pecan streusel topping.
Table of Contents
What You’ll Need To Make Pumpkin Bread
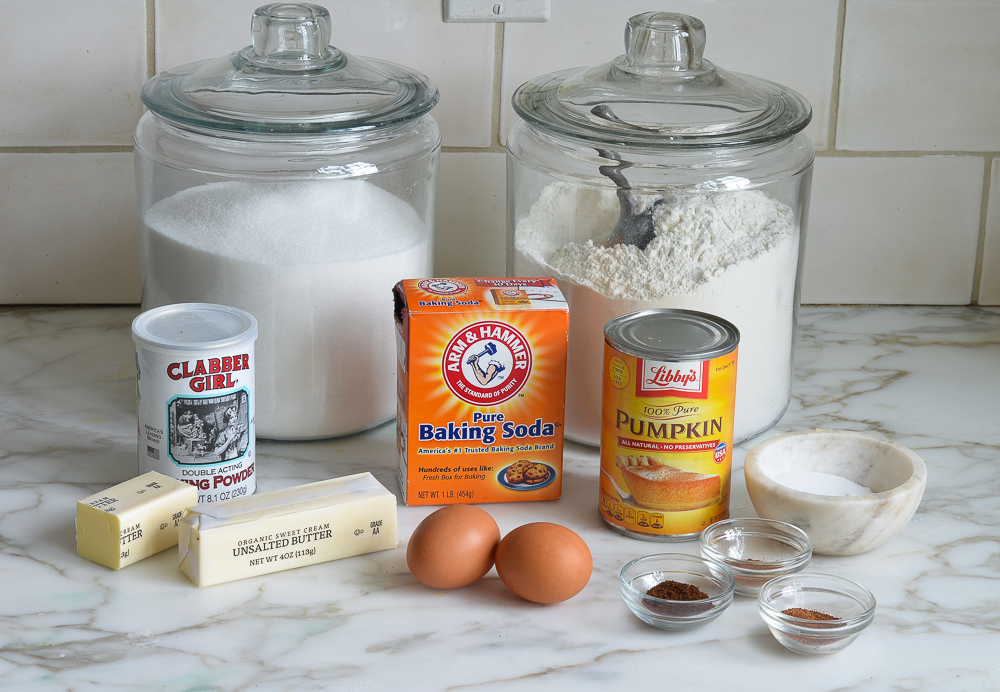
How To Make Pumpkin Bread
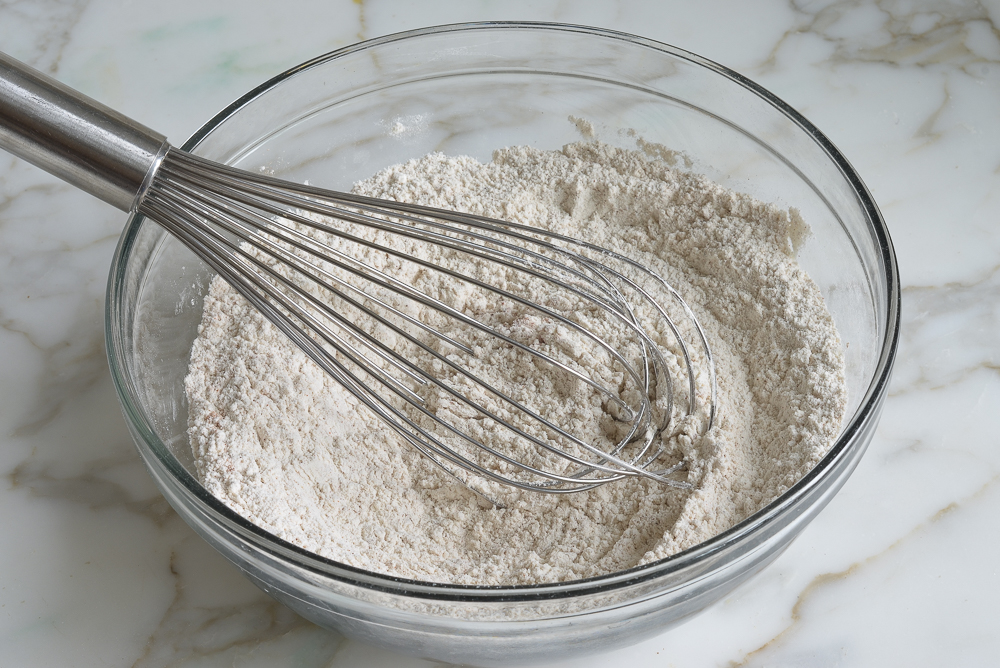
Begin by combining the flour, salt, baking powder, baking soda, and spices. I like to add everything in neat little piles in case I lose track of what I’ve added.
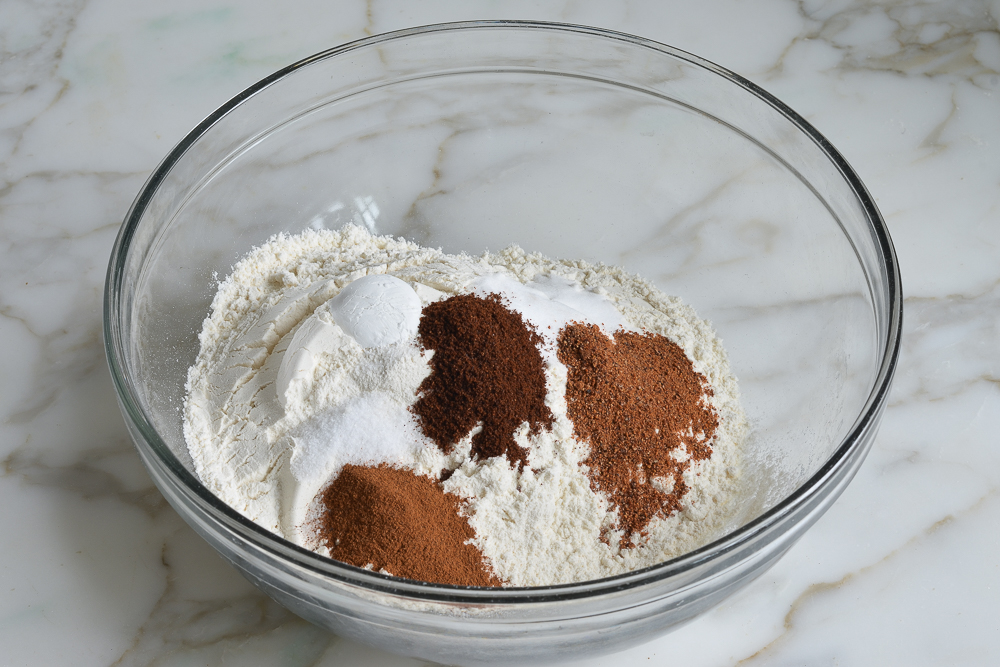
Whisk well and set aside.
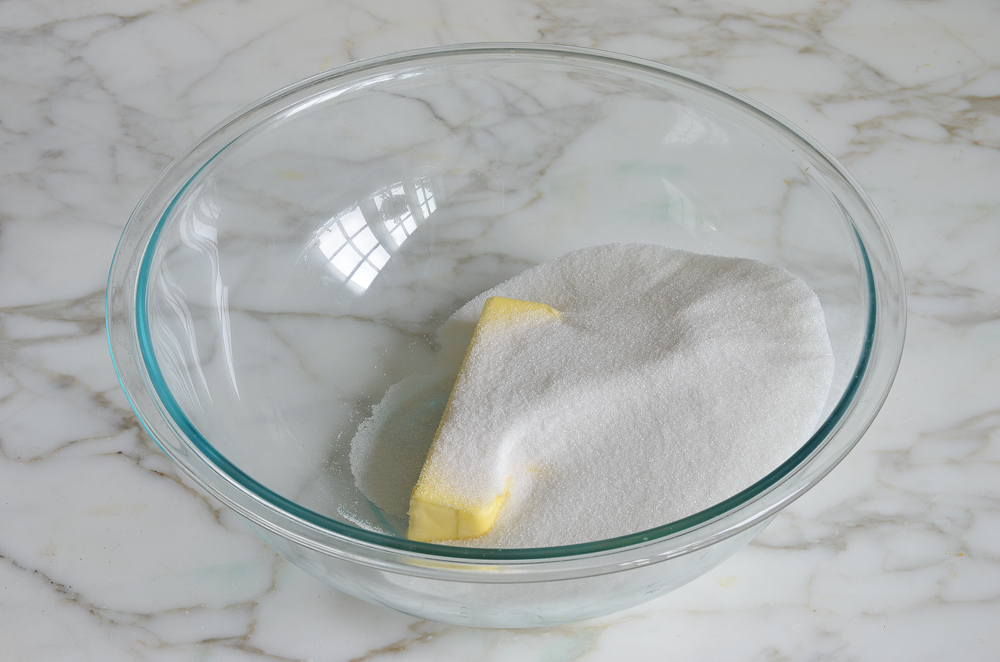
Combine the butter and sugar in a large bowl or in the bowl of an electric mixer.
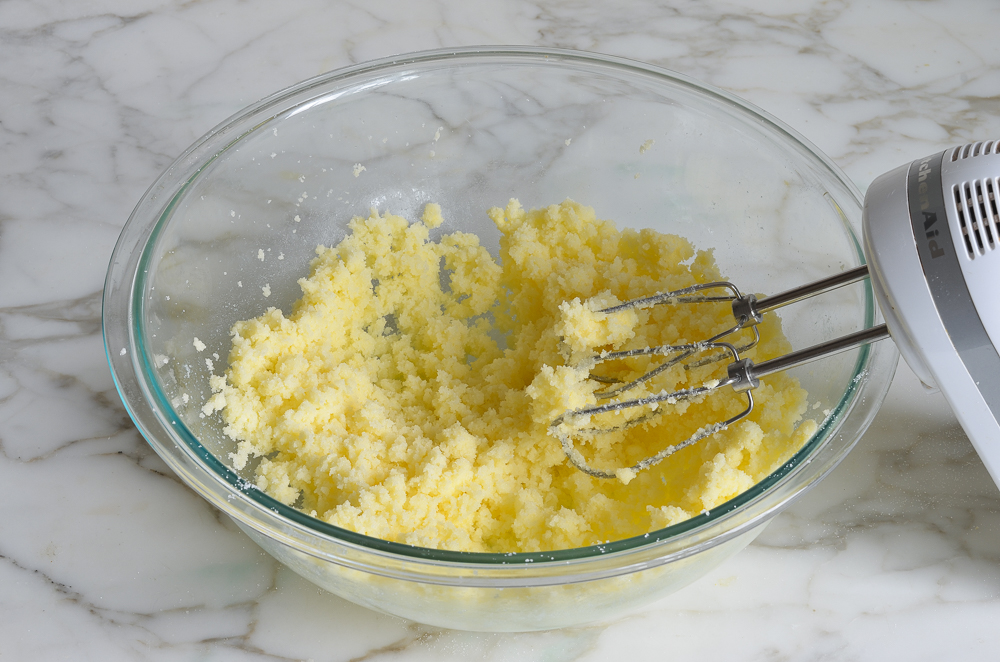
Beat until just combined. It will look a little crumbly.
Add the eggs one at a time, beating well after each addition.
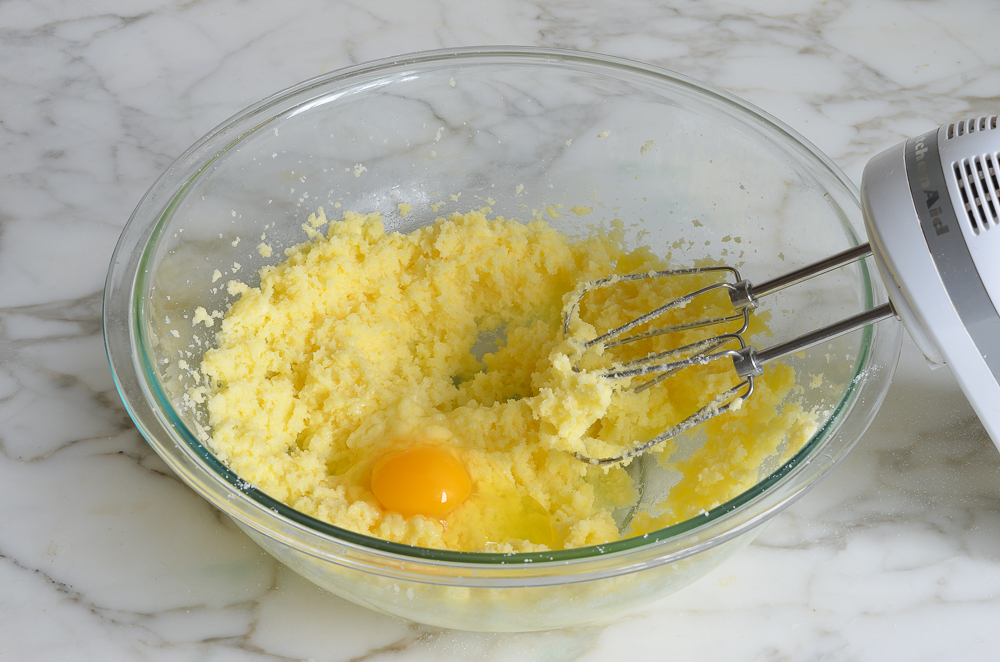
Continue beating for a few minutes until light and fluffy.
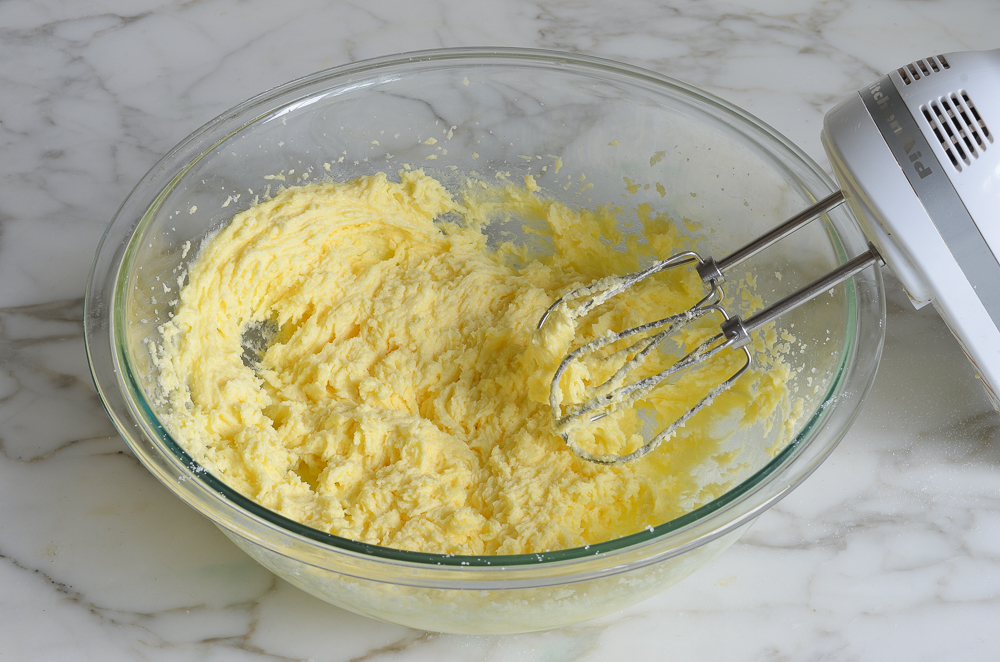
Add the pumpkin.
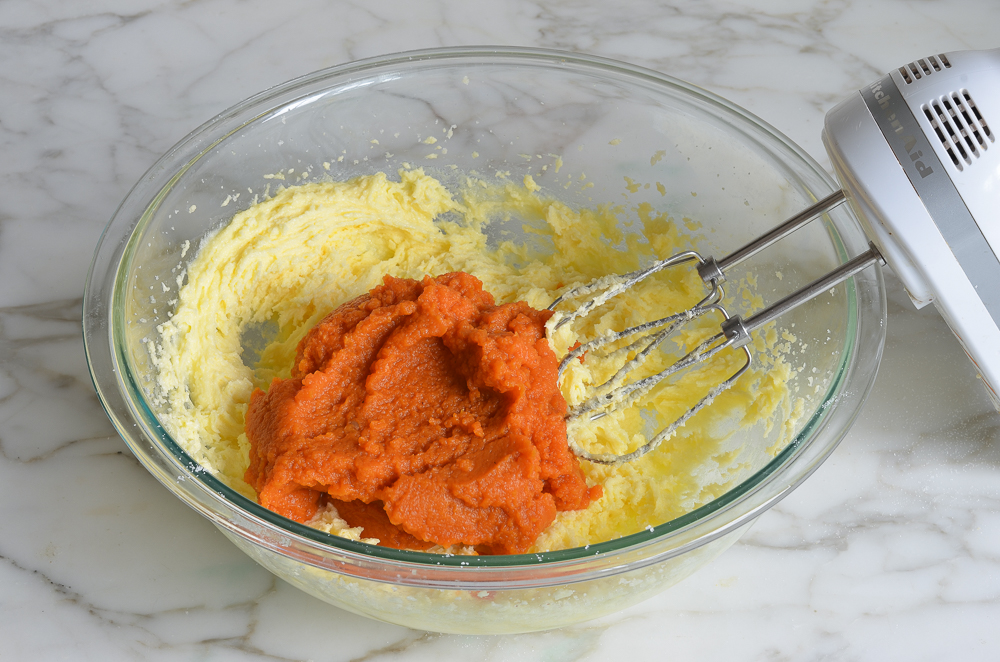
Beat until combined. It will look a little curdled or grainy — that’s okay.
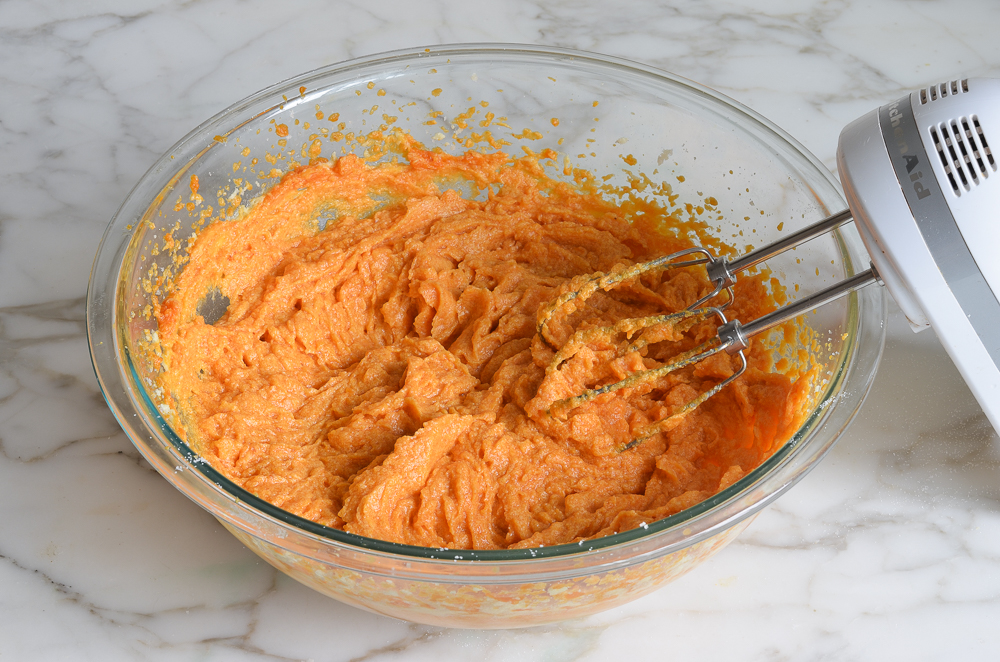
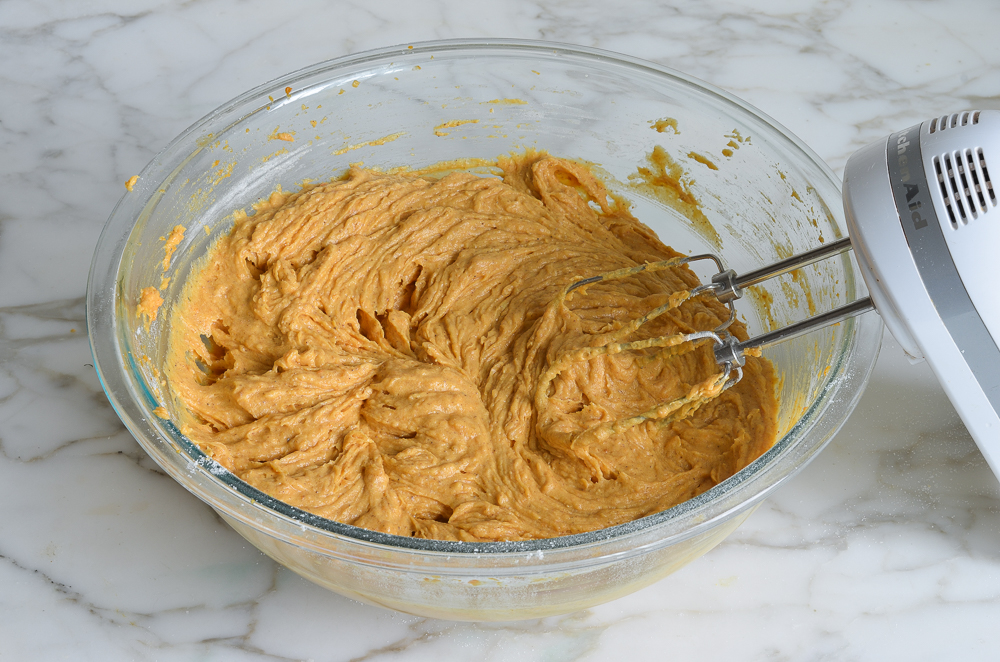
Add the dry ingredients to the pumpkin mixture.
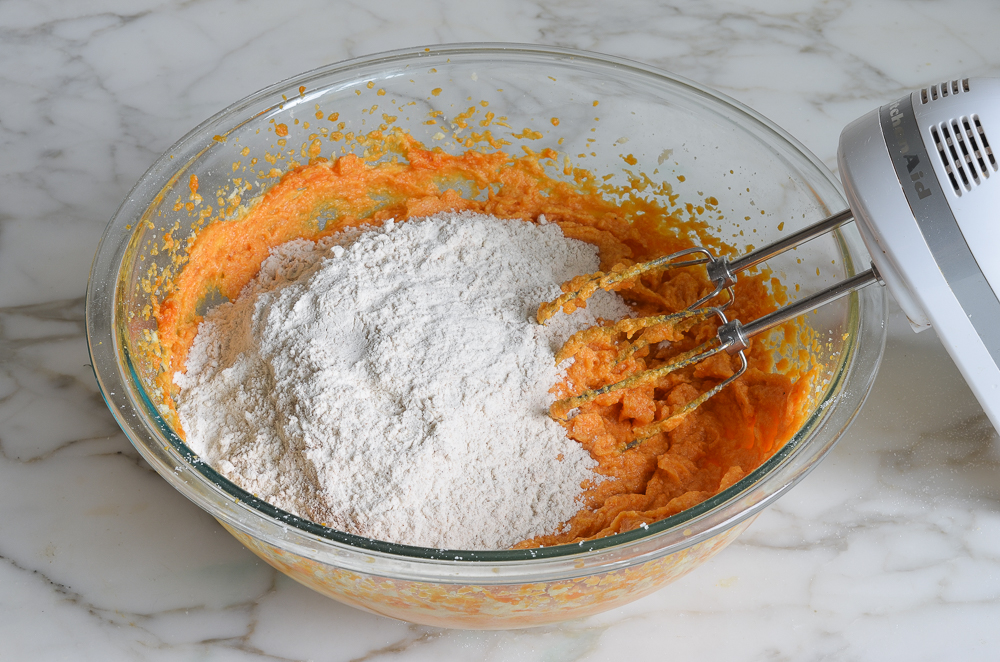
And beat on low speed until just combined.
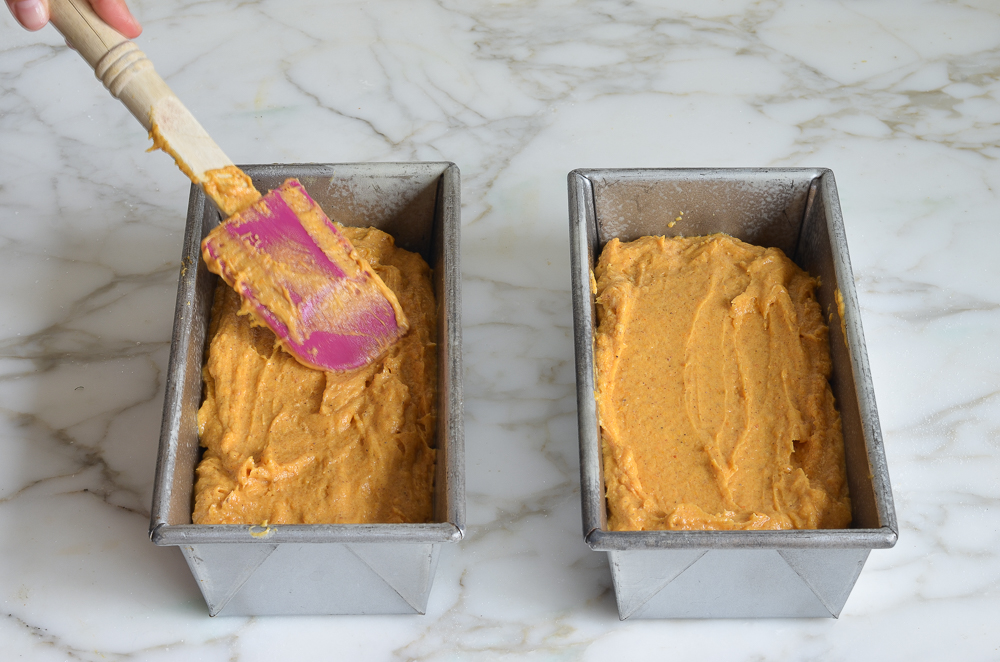
Transfer the batter to loaf pans.
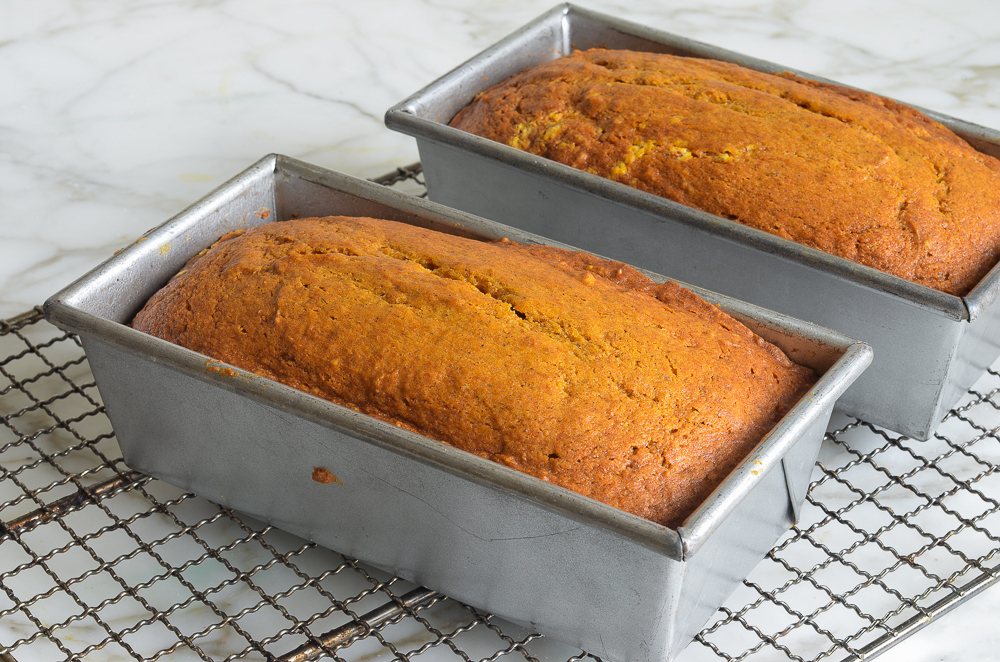
Bake for 65 to 75 minutes, or until a cake tester comes out clean.
Let the loaves cool in the pan for about 10 minutes, then turn out onto a rack to cool completely.
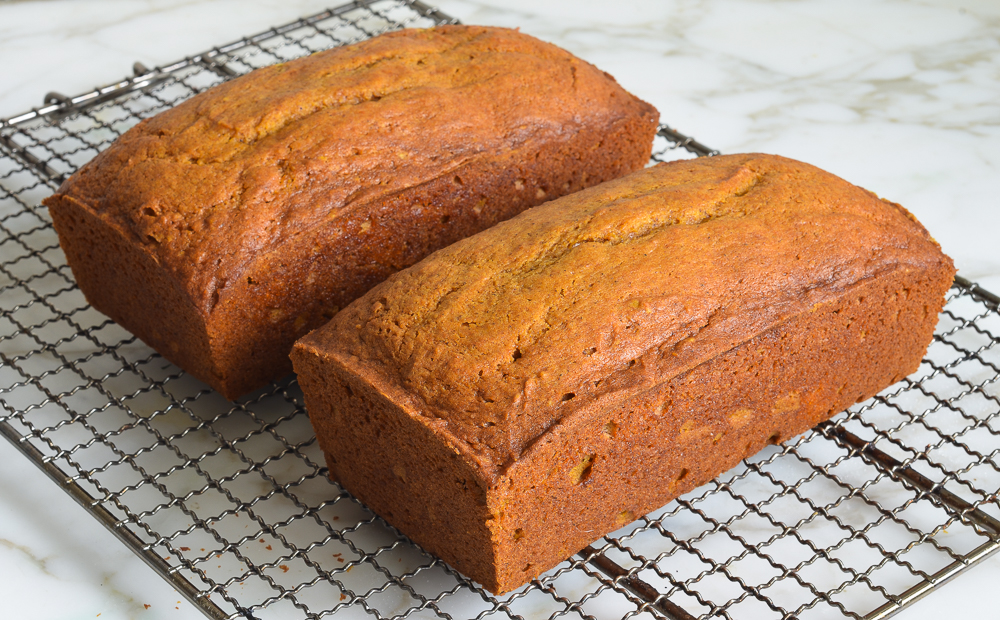
That’s all there is to it. Enjoy!
You May Also Like
Video Tutorial
Pumpkin Bread
Kids love it, grown-ups love it…this pumpkin bread is hard to beat!
Ingredients
- 2 cups all-purpose flour, spooned into measuring cup and leveled-off
- ½ teaspoon salt
- 1 teaspoon baking soda
- ½ teaspoon baking powder
- 1 teaspoon ground cloves
- 1 teaspoon ground cinnamon
- 1 teaspoon ground nutmeg
- 1½ sticks (¾ cup) unsalted butter, softened
- 2 cups sugar
- 2 large eggs
- 1 (15-oz) can 100% pure pumpkin (I use Libby's)
Instructions
- Preheat the oven to 325°F and set an oven rack in the middle position. Generously grease two 8 x 4-inch loaf pans with butter and dust with flour (alternatively, use a baking spray with flour in it, such as Pam with Flour or Baker's Joy).
- In a medium bowl, combine the flour, salt, baking soda, baking powder, cloves, cinnamon, and nutmeg. Whisk until well combined; set aside.
- In a large bowl of an electric mixer, beat the butter and sugar on medium speed until just blended. Add the eggs one at a time, beating well after each addition. Continue beating until very light and fluffy, a few minutes. Beat in the pumpkin. The mixture might look grainy and curdled at this point -- that's okay.
- Add the flour mixture and mix on low speed until combined.
- Turn the batter into the prepared pans, dividing evenly, and bake for 65 – 75 minutes, or until a cake tester inserted into the center comes out clean. Let the loaves cool in the pans for about 10 minutes, then turn out onto a wire rack to cool completely.
- Fresh out of the oven, the loaves have a deliciously crisp crust. If they last beyond a day, you can toast individual slices to get the same fresh-baked effect.
- Freezer-Friendly Instructions: The bread can be frozen for up to 3 months. After it is completely cooled, wrap it securely in aluminum foil, freezer wrap or place in a freezer bag. Thaw overnight in the refrigerator before serving.
Nutrition Information
Powered by ![]()
- Per serving (24 servings)
- Serving size: 1 slice
- Calories: 166
- Fat: 6 g
- Saturated fat: 4 g
- Carbohydrates: 26 g
- Sugar: 17 g
- Fiber: 1 g
- Protein: 2 g
- Sodium: 117 mg
- Cholesterol: 31 mg
This website is written and produced for informational purposes only. I am not a certified nutritionist and the nutritional data on this site has not been evaluated or approved by a nutritionist or the Food and Drug Administration. Nutritional information is offered as a courtesy and should not be construed as a guarantee. The data is calculated through an online nutritional calculator, Edamam.com. Although I do my best to provide accurate nutritional information, these figures should be considered estimates only. Varying factors such as product types or brands purchased, natural fluctuations in fresh produce, and the way ingredients are processed change the effective nutritional information in any given recipe. Furthermore, different online calculators provide different results depending on their own nutrition fact sources and algorithms. To obtain the most accurate nutritional information in a given recipe, you should calculate the nutritional information with the actual ingredients used in your recipe, using your preferred nutrition calculator.

After many years of making other pumpkin bread recipes, this is the keeper! Simple, turns out great every time and makes enough to share. What else could you want? Thank you for sharing this great recipe!
Delicious! I had just made a “healthy pumpkin bread for toddlers” and while, yes, the toddler loved it, those of us with more refined taste needed a pumpkin bread all our own. THIS DELIVERED! Moist, sweet, and super easy to make.
Hi Jenn- First off – your recipes are 100% fabulous and trustworthy. I have never had a bad review on any recipe of yours, and if I need a for-sure, not-gonna-fail-first-time-made-and-serving-tonight kind of recipe, I always reach for yours. Thank you for the time and effort you have put into this blog. It’s wonderful!
SO – I have a question…could I substitute spelt flour for the all purpose in this pumpkin bread? I’m becoming more sensitive to regular wheat flour, but spelt is more gentle on my system. I would love to try this, but wondered if you have any suggestions?
Hi Georgia, Thanks for your nice words about the recipes; so glad you’ve had good luck with them! I’ve never baked with spelt flour cell unfortunately I can’t tell you whether or not it would work here. A number of readers have commented that they have good luck with King Arthur Measure for Measure gluten-free flour and Cup4Cup gluten-free flour so you may want to give one of those a try.
This was so easy and delicious to make. I would love to know your Grandma’s name so when people ask what kind of loaf it is I can refer to it as her loaf. Thank you so much.
That’s so sweet of you to ask! Her name was Helene. 💜
Will be my go to recipe in the future for sure!! Any time I’ve made pumpkin bread I find the consistency coming out wrong and I end up having to bake it for 30 extra minutes. This one came out perfect and the flavor is amazing!!
I made this bread today and my house smells AMAZING….tho a toothpick came out clean and I baked it on 325 for 70mins it was completely raw
Just made this pumpkin bread tonight! It’s delicious! Perfect amount of spices! What I like about it is that it is made with butter and not vegetable oil. So moist! A winner for sure!!! 🎃
At this point, I don’t know how many countless times I’ve made this recipe BUT every fall, without doubt, I come back to it to make multiple times and it ALWAYS turns out delicious. It’s 100% a crowd pleaser and SO easy to make – you can’t mess it up (just plan in advance to soften your butter). May I continue to come back for years to come to continue putting smiles on the faces of people I love and bake for. Thank you, Jenn and your grandmother!
Can I halve this recipe to just make one loaf?
Sure!
I love this recipe and bake it every fall. I plan to make it for an upcoming bake sale. I have 4 cans of Libby’s so will make the individual recipe 4 times (I find with baking that multiplying ingredients into a big single batch doesn’t always work well).
However, I also won’t be baking all the batter at once as I re-use the same pans. Do you have a recommendation for where I should put the batter while it waits for the others to bake? Should I refrigerate it or try to keep it room temp away from oven? Should I cover it? I don’t bake a ton so not sure what the science is here. Thank you!
So glad you like this! Quick bread batter generally shouldn’t sit out for more than 15 to 30 minutes before baking as it impacts the amount the breads rise, so I’m afraid you’ll get flat, dense loaves if you do what you’re suggesting. If you need to bake that many, and only have one loaf pan, I’d suggest buying the disposable aluminum ones. Good luck!