Southern-Style Buttermilk Biscuits
This post may contain affiliate links. Read my full disclosure policy.
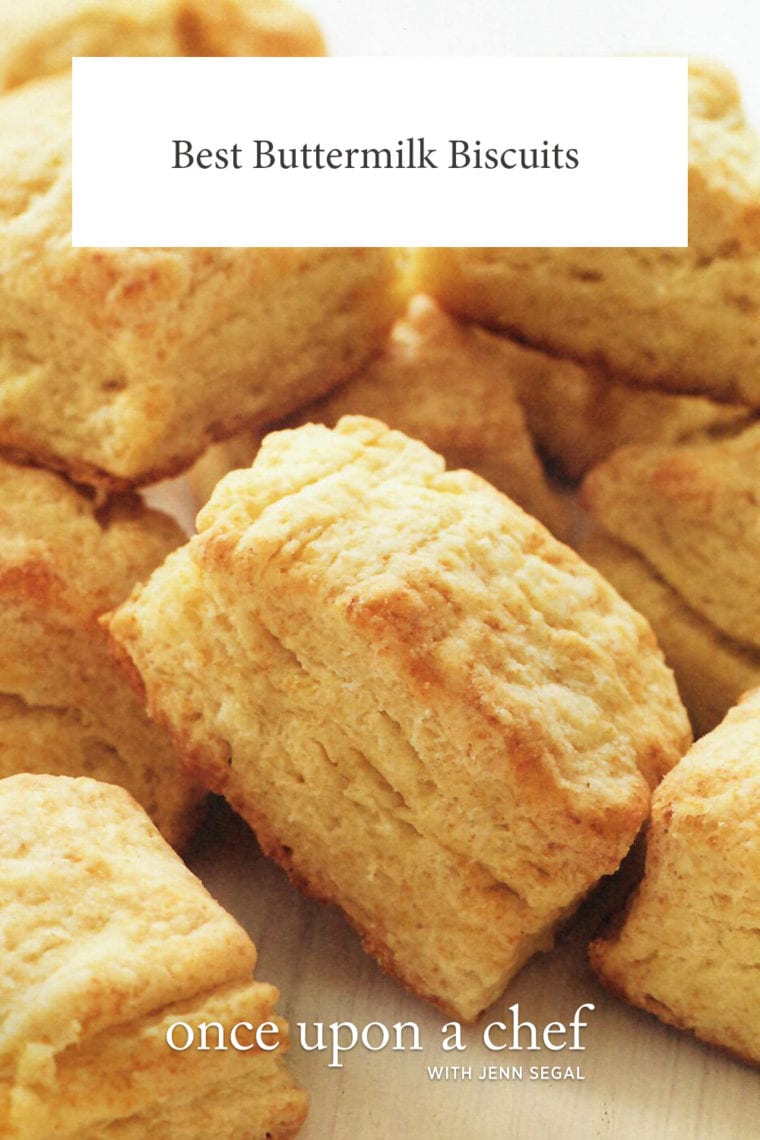
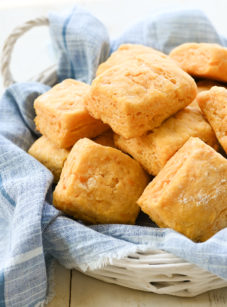
Bring a touch of Southern warmth to your table with a basket of rich and flaky buttermilk biscuits—these feature a secret ingredient that makes them next-level tender.
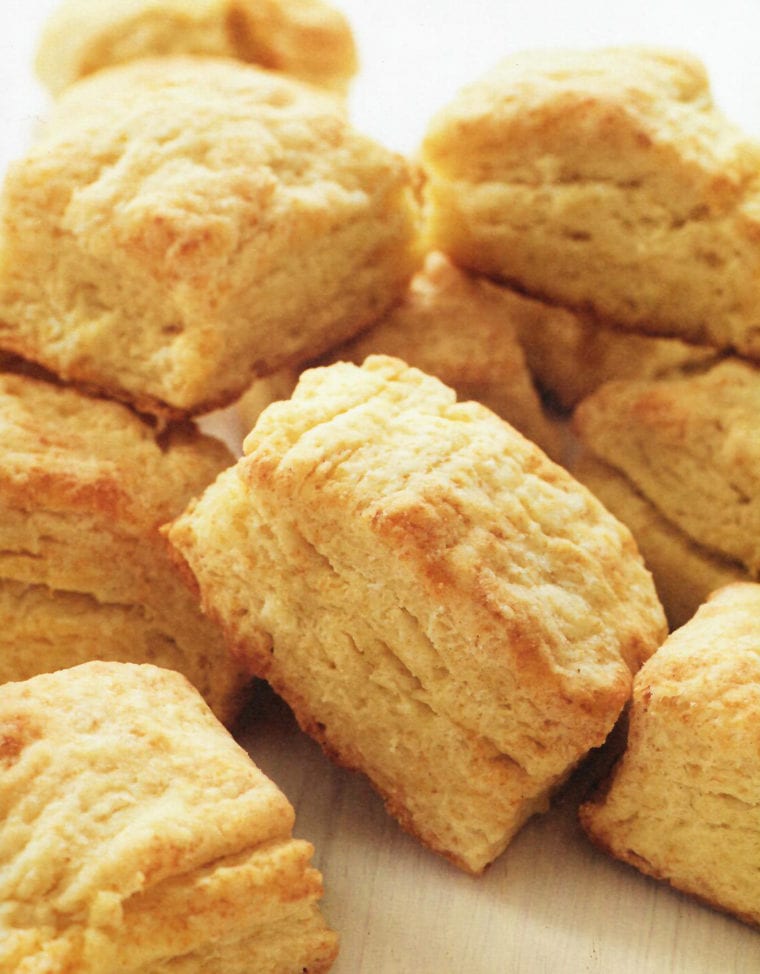
Photo by Alexandra Grablewski (Chronicle Books, 2018)
Southern buttermilk biscuit recipes typically call for White Lily flour, a low-protein brand primarily available in the southern states that makes for ultra-tender, melt-in-your-mouth biscuits. I can’t find White Lily flour easily where I live, so I use a blend of all-purpose flour and cornstarch to get a similar effect. These buttermilk biscuits are rich, buttery, and flaky with a toasty golden crust. Plus, they’re easy to make. You can throw the dough together in 15 minutes and end enjoy the biscuits with your dinner less than fifteen minutes later.
These are traditional roll and cut biscuits. However, instead of using a biscuit cutter, I cut my biscuits into squares—it’s easier as you don’t have to deal with any scraps, plus, who says biscuits have to be round?! For an even simpler drop-and-bake method, see my recipe for drop biscuits.
Table of Contents
“These are amazing. Came together quickly for breakfast. My husband took a bite and gave me a high five. They’ll be a staple around here.”
What You’ll Need To Make Buttermilk Biscuits
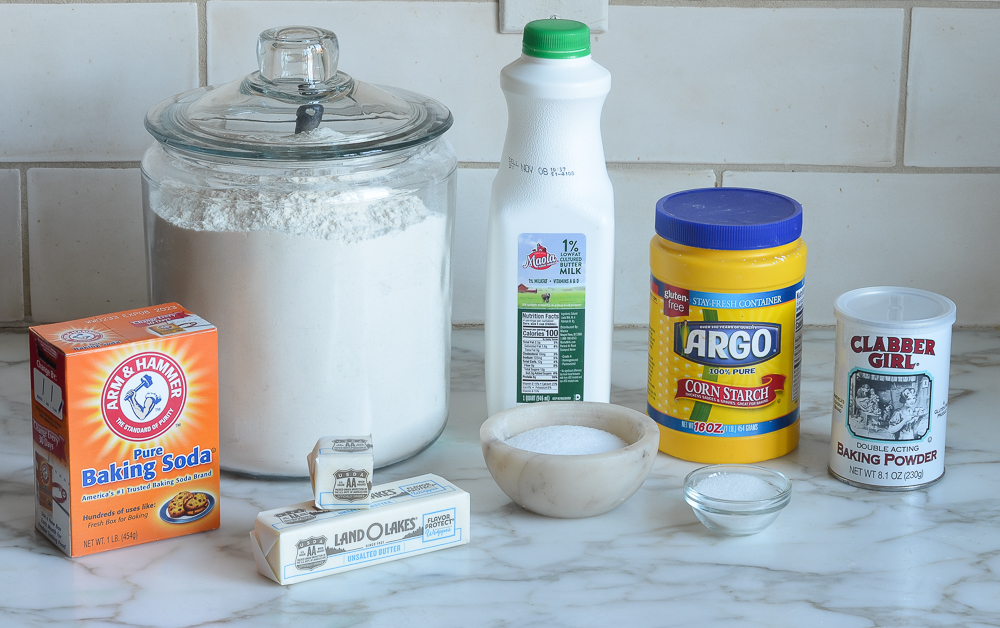
- All-purpose flour: Provides the structure for the biscuits by forming gluten when mixed with liquid. Use the spoon-and-level method to measure to ensure accuracy.
- Cornstarch: Softens the dough’s proteins to produce a more tender biscuit.
- Baking powder and baking soda: Leavening agents that work together to create rise and fluffiness in the biscuits. Baking soda also reacts with the acid in buttermilk, aiding in leavening and improving color.
- Sugar: Adds a slight sweetness to balance the flavors and aids in browning.
- Cold butter: Provides fat which, when cut into the dry ingredients, creates flaky layers as it melts during baking. The cold temperature is crucial for achieving the desired flakiness.
- Buttermilk: Adds acidity that reacts with the baking soda for leavening, contributes to the biscuits’ tender crumb, and imparts a slight tanginess. If you don’t want to buy a whole carton, see my instructions for how to make buttermilk using milk and lemon juice or vinegar.
- Jump to the printable recipe for precise measurements
Step-by-Step Instructions
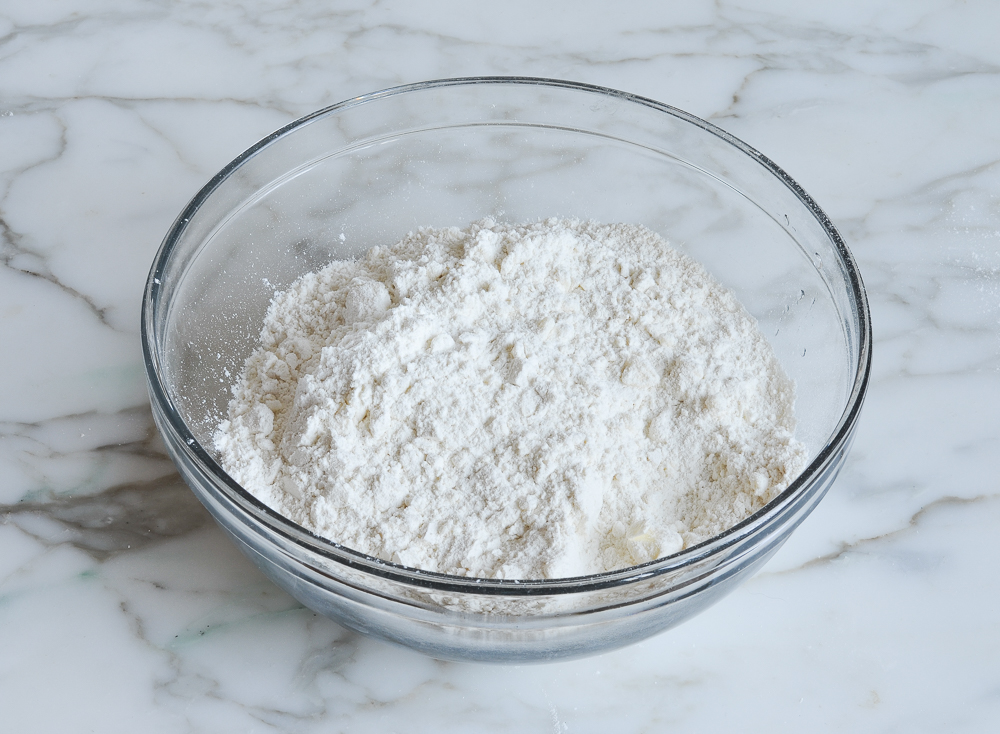
Begin by combining the flour, cornstarch, baking powder, baking soda, sugar, and salt in a food processor.
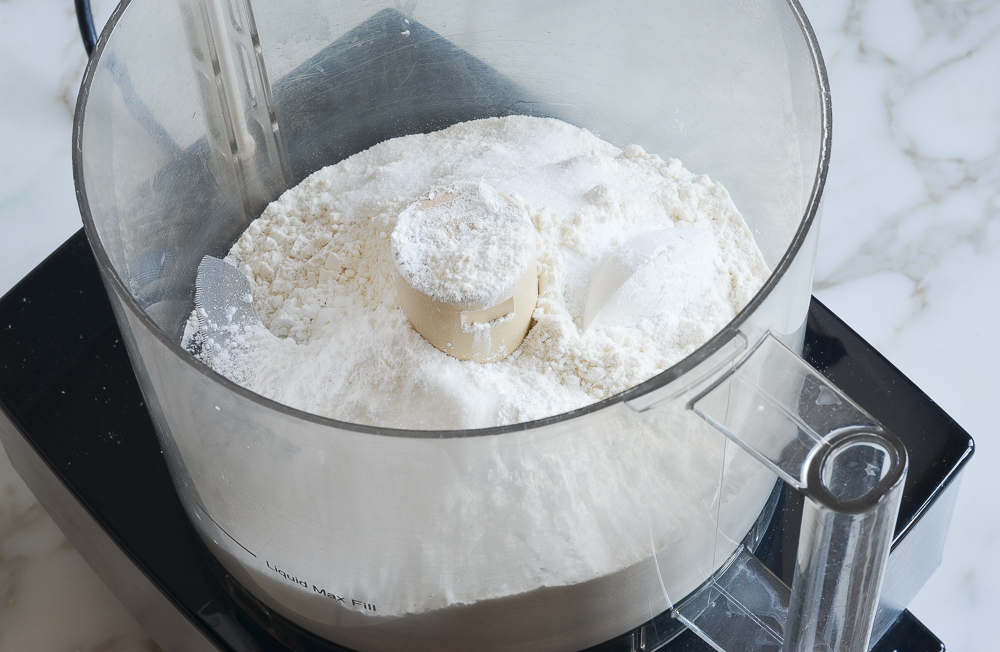
Pulse briefly to combine.
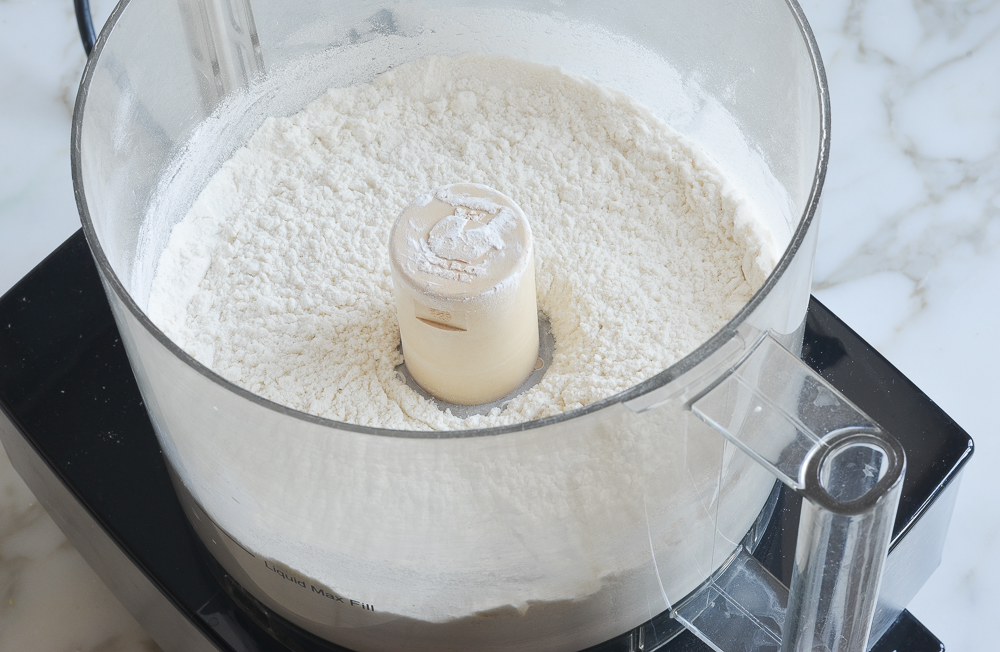
Add the cold chunks of butter.
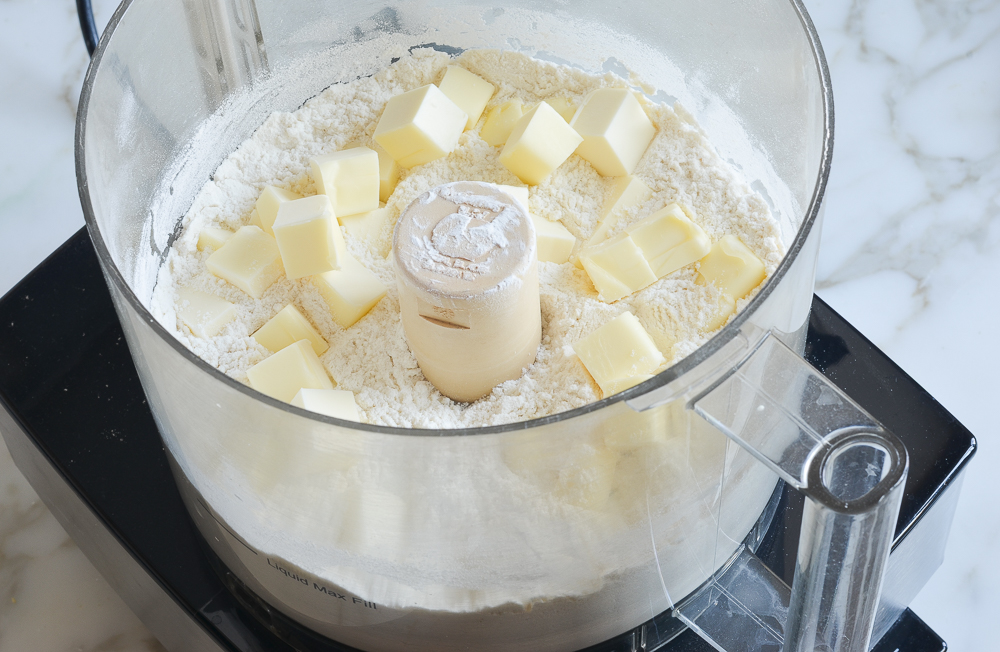
Pulse until the mixture resembles coarse sand with a few pea-size clumps of butter intact.
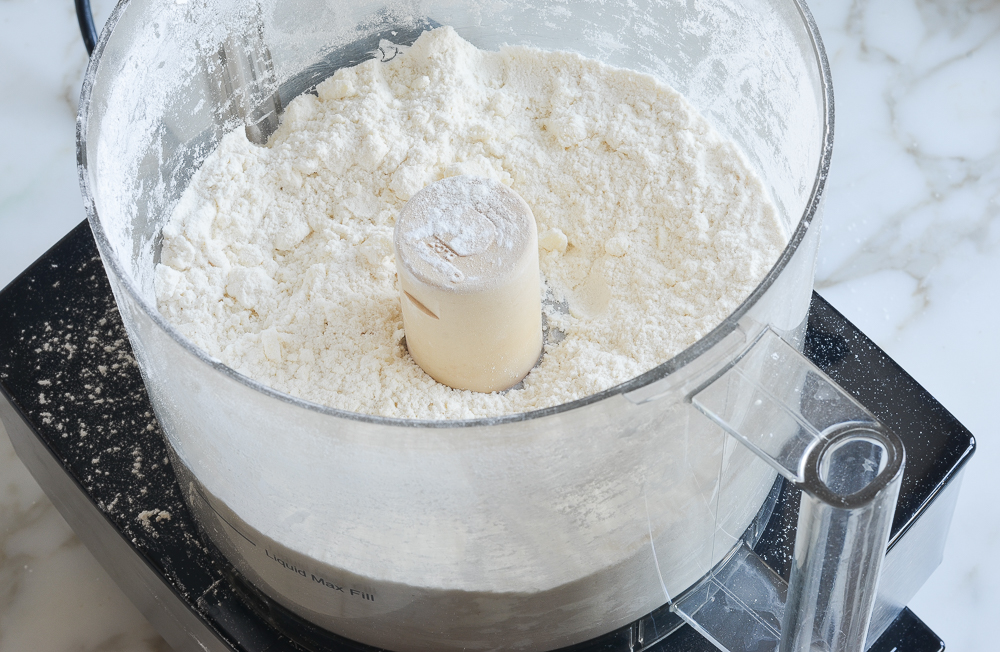
Transfer the mixture to a bowl.
Add the buttermilk.
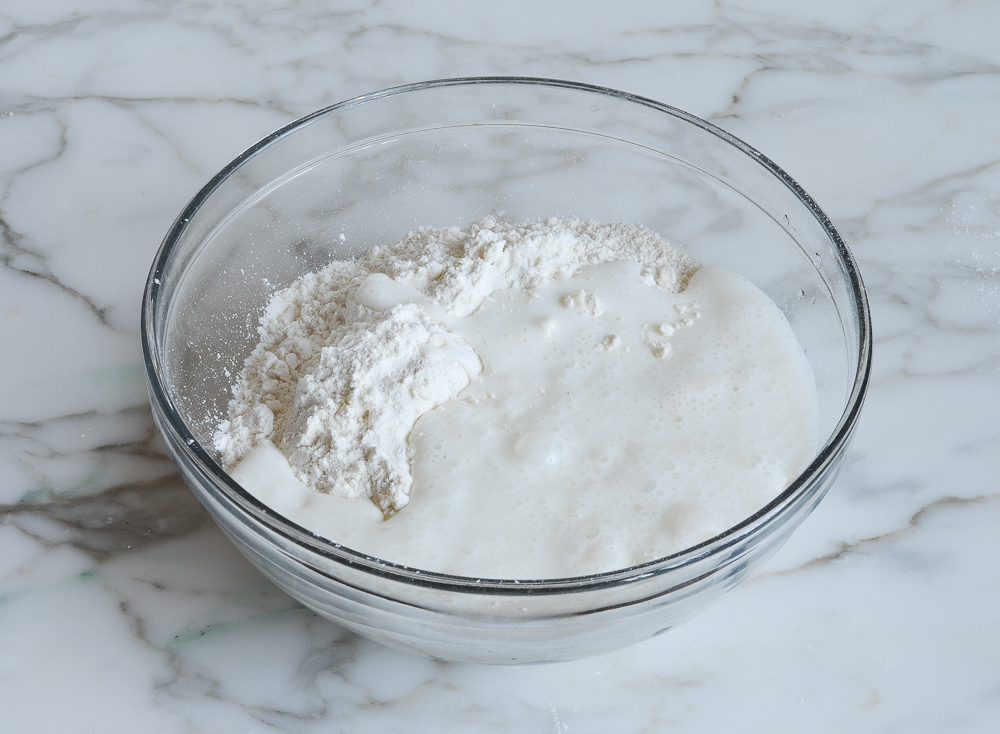
Stir until the mixture comes together into a shaggy mass.
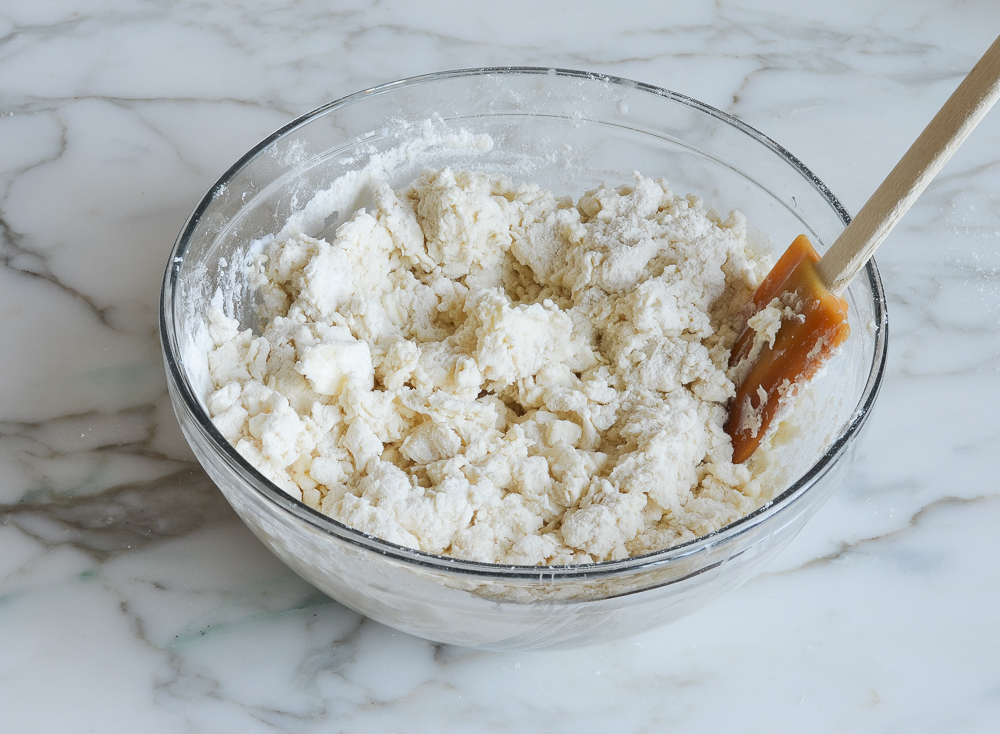
Turn the dough out onto a lightly floured work surface and bring together into a loose ball.
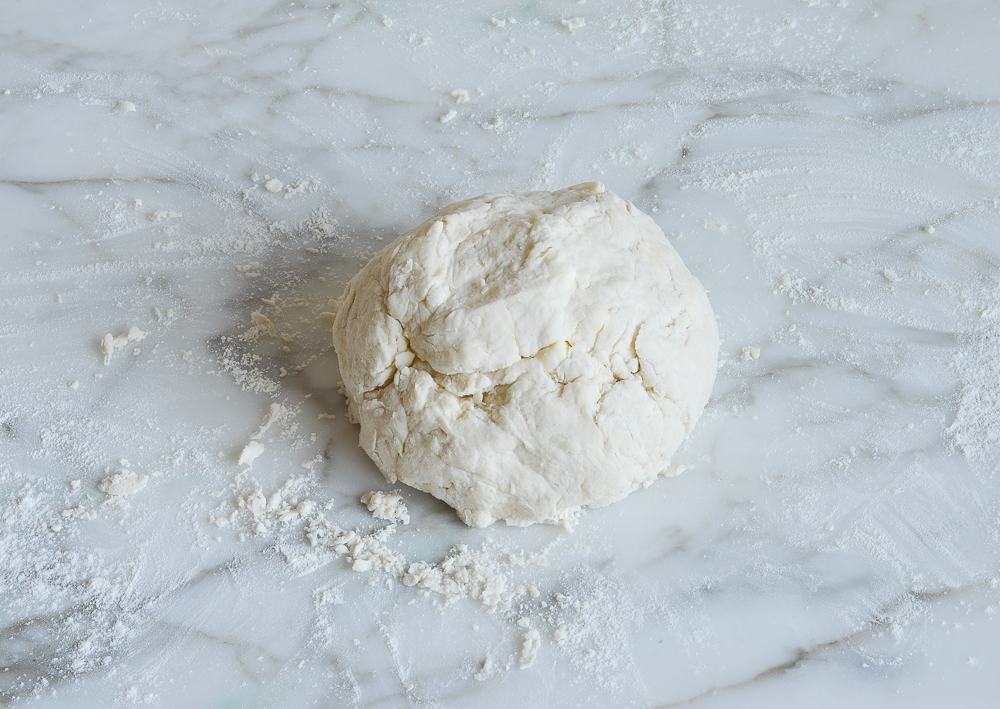
Gently pat the dough into a rectangle about 3/4 inch thick.
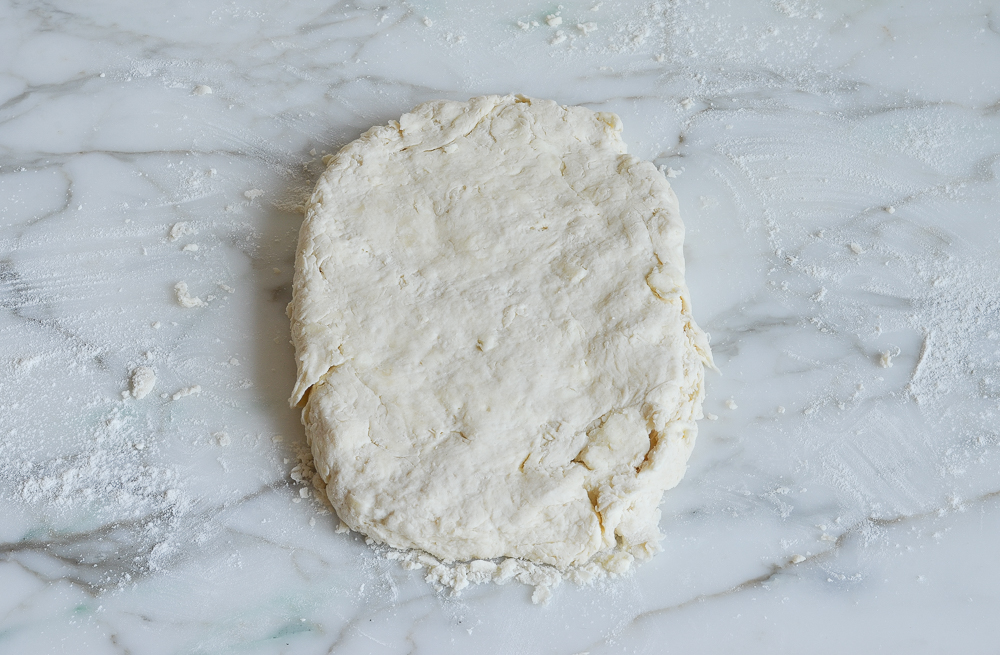
Cut the dough in thirds.
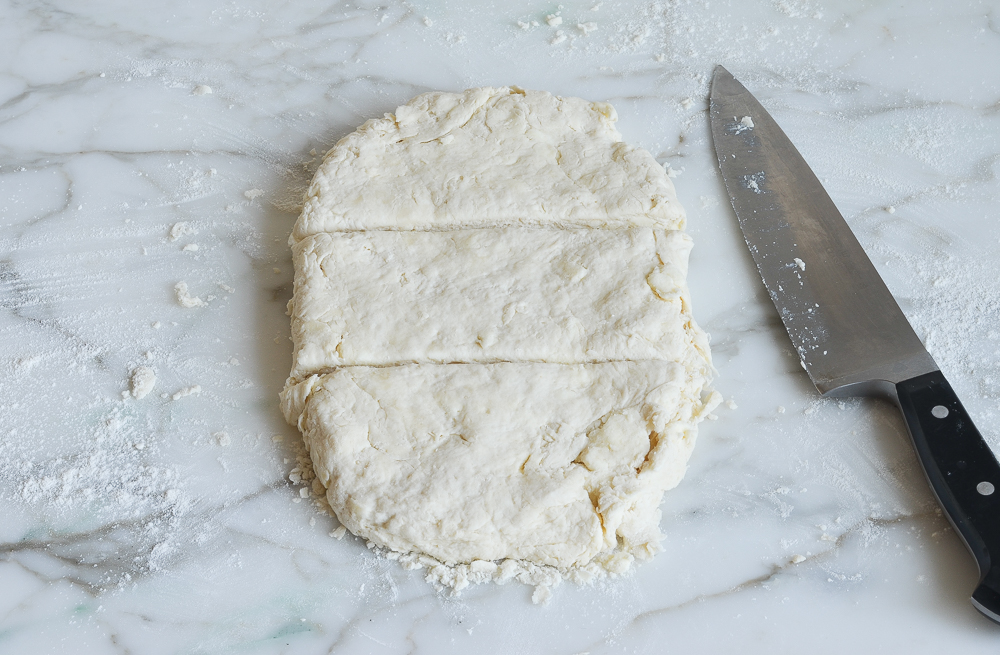
Stack the pieces on top of one another.
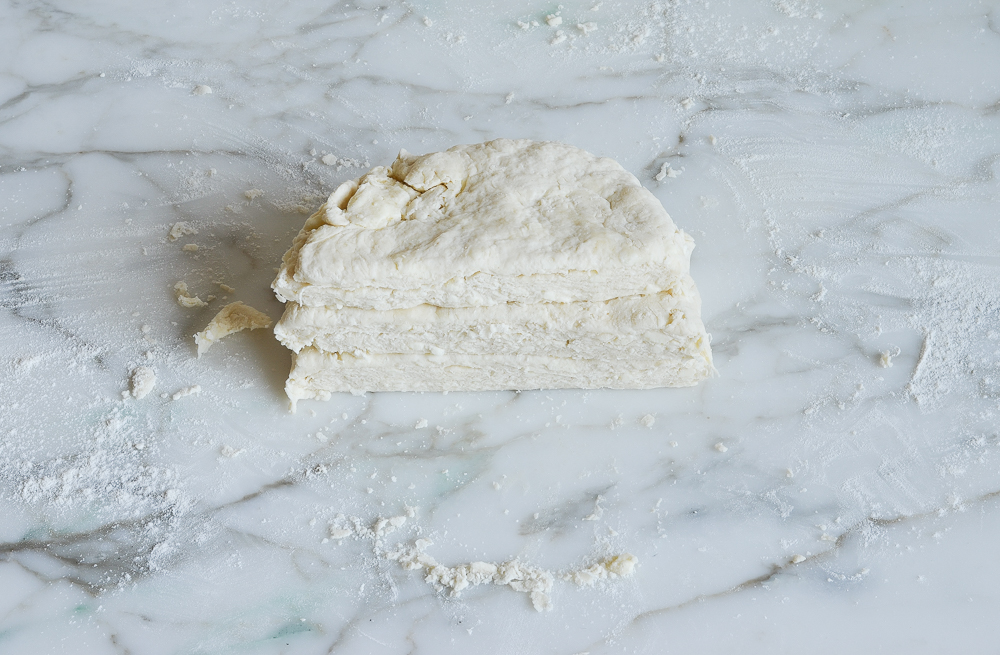
Pat out into a rectangle about 3/4 inch thick again. You can see in the photo below how this process creates layers in the dough, which makes for deliciously flaky biscuits.
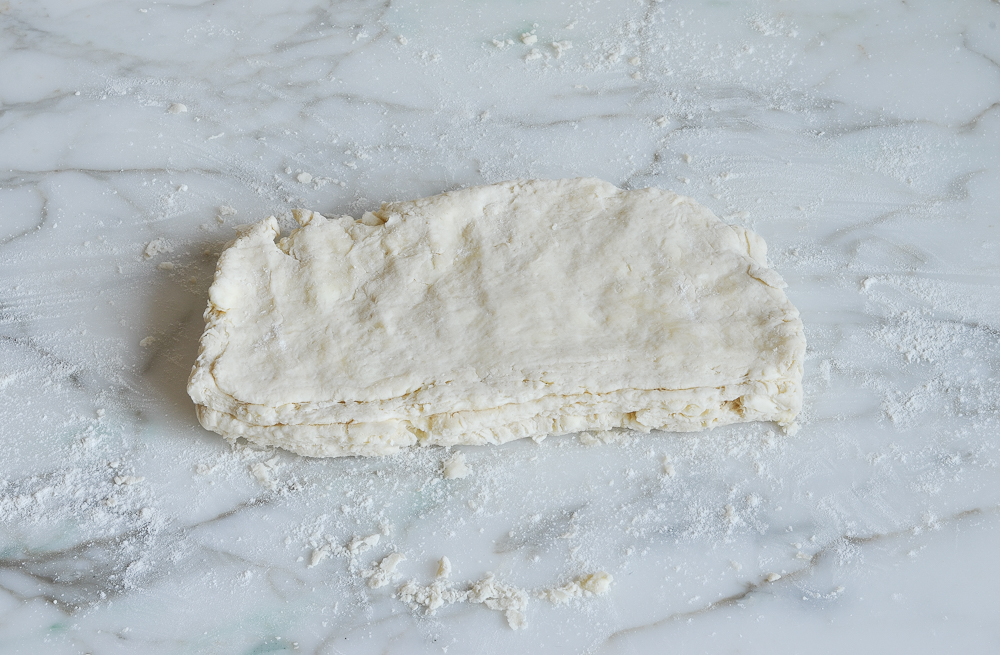
Cut the dough into thirds again.
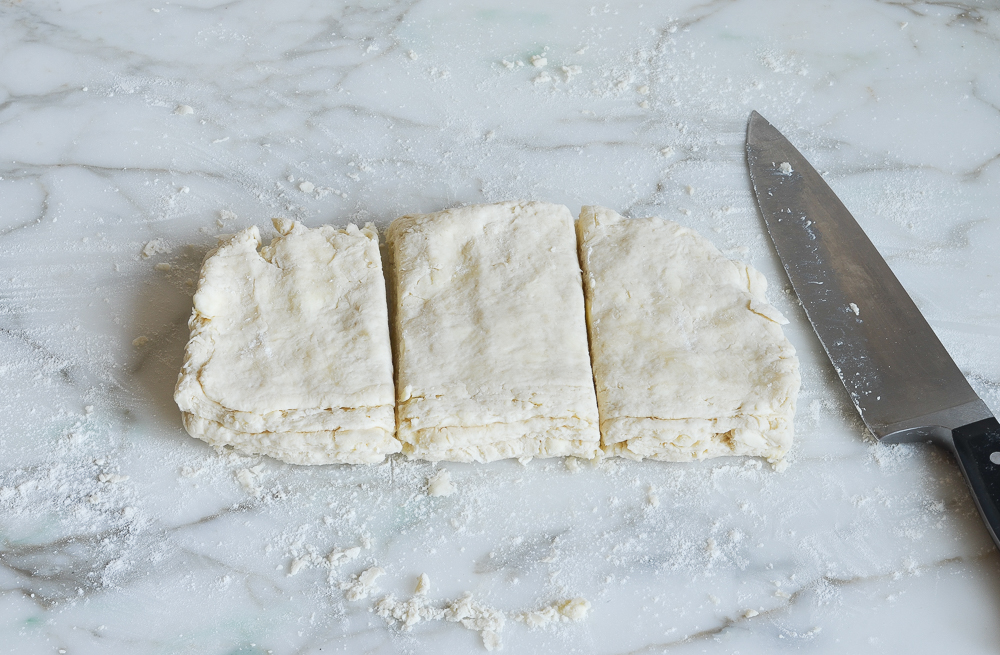
Stack the pieces up again.

Finally, pat the dough into a rectangle with a final thickness of about 3/4 inch.
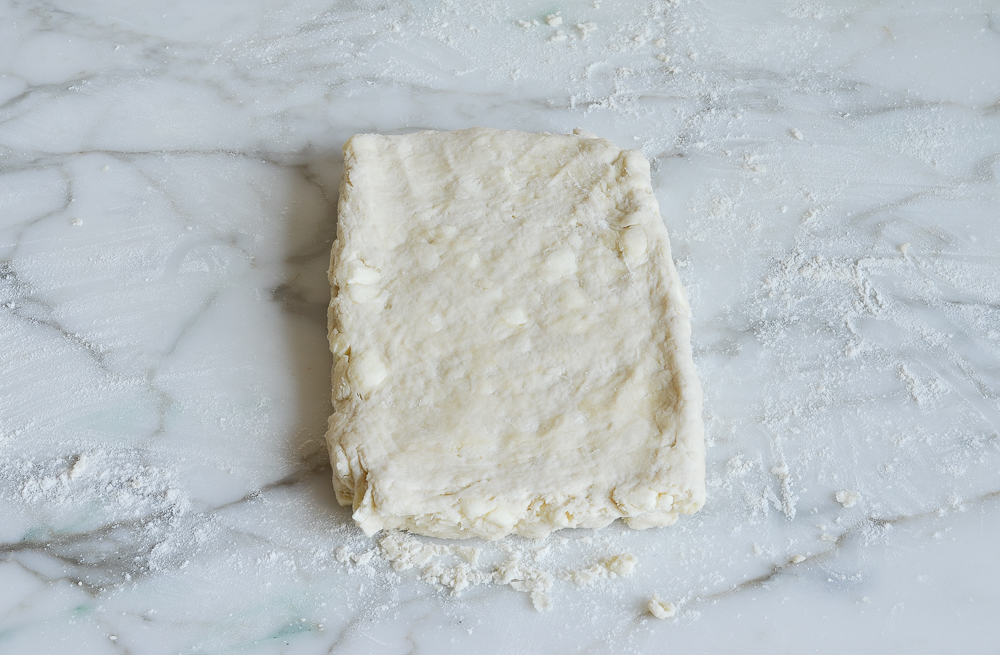
Cut the dough into 12 small squares (these biscuits are on the smaller side).
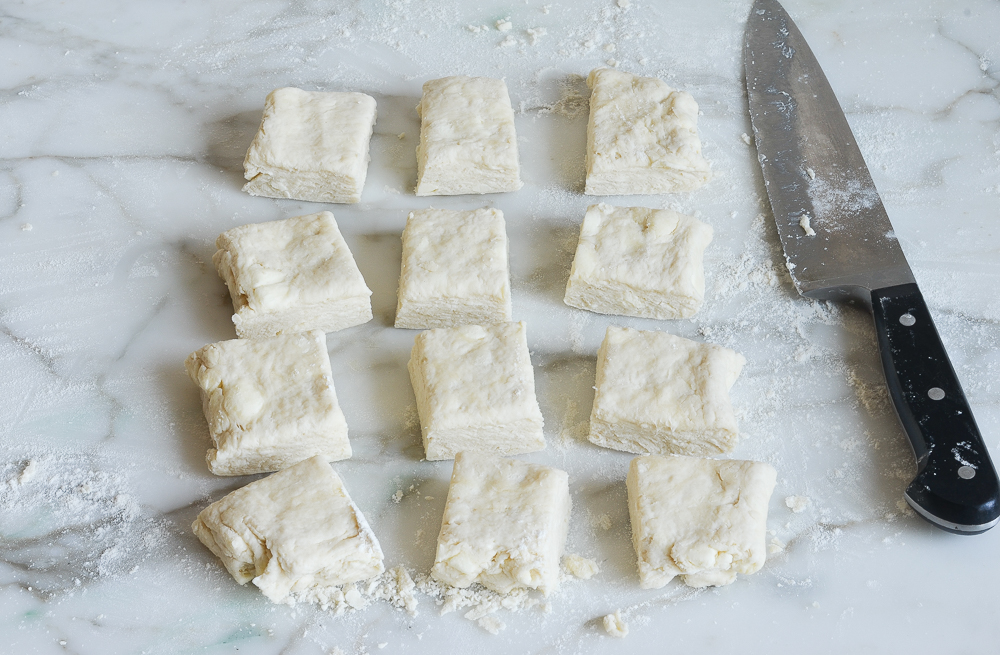
Transfer the squares to a parchment-lined baking sheet.
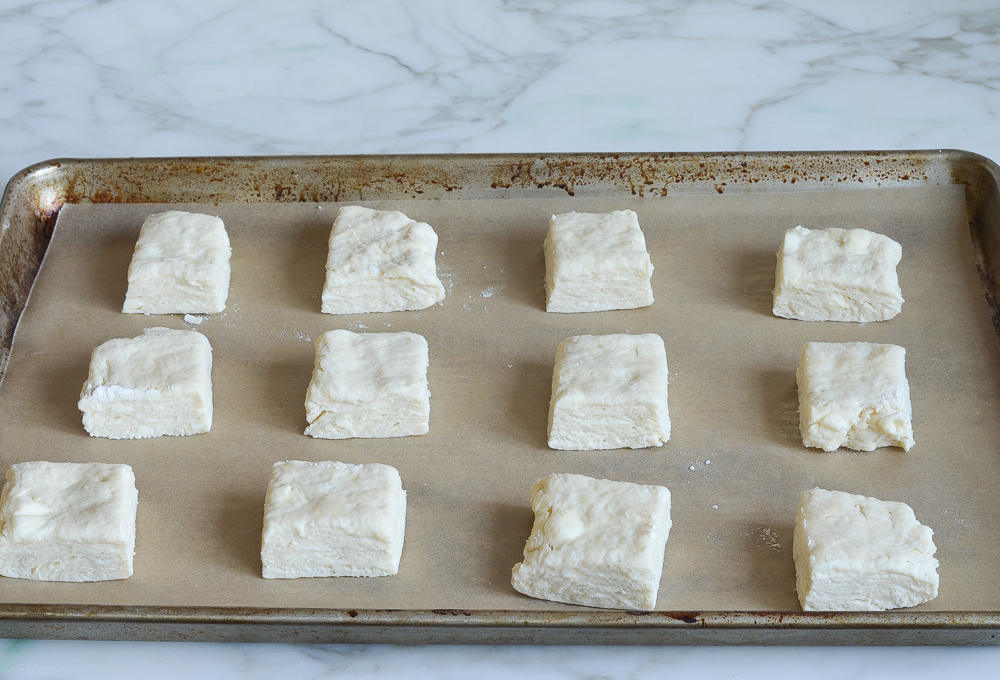
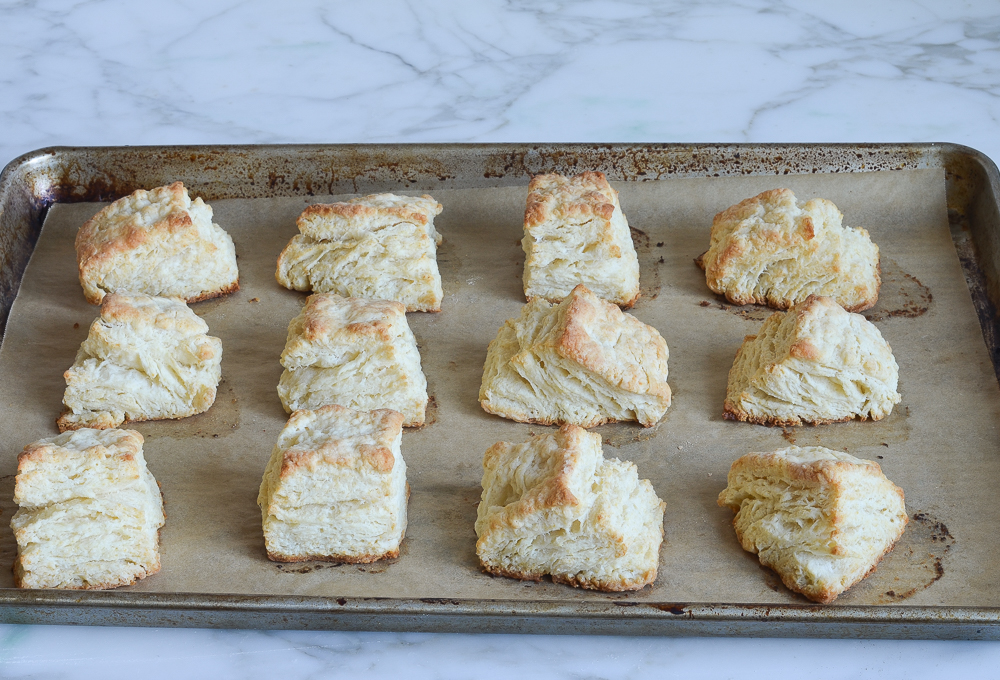
Bake for 13 to 15 minutes, until golden. The biscuits are best served warm out of the oven (though a few minutes in the oven will revive slightly stale biscuits).
Frequently Asked Questions
Yes, before baking, the biscuits can be frozen for up to three months. Place the unbaked biscuits on a baking sheet and freeze until solid, then transfer them to a freezer-safe bag or container. When ready to bake, there’s no need to thaw but they may require a few extra minutes in the oven.
To freeze leftover biscuits, first let them cool completely at room temperature. Then, wrap each biscuit tightly in plastic wrap and place them in a freezer-safe bag or container, removing as much air as possible before sealing. The biscuits can be stored in the freezer for up to three months. When ready to eat, reheat the biscuits directly from frozen in a preheated oven at 350°F until heated through.
Buttermilk is necessary for its acidity, which reacts with the baking soda to create a light and fluffy texture. However, if you don’t have buttermilk or don’t want to purchase a whole carton, you can make a substitute by adding 2 teaspoons of lemon juice or white vinegar to a liquid measuring cup and then adding regular milk to the 3/4-cup line. Let the mixture sit for 5 to 10 minutes and it will be ready to use.
You May Also Like
Southern-Style Buttermilk Biscuits
Bring a touch of Southern warmth to your table with a basket of rich and flaky buttermilk biscuits—these feature a secret ingredient that makes them next-level tender.
Ingredients
- 2 cups all purpose flour, spooned into measuring cup and leveled-off
- 3 tablespoons cornstarch
- 1 tablespoon baking powder
- ¼ teaspoon baking soda
- 1 tablespoon sugar
- 1¼ teaspoons salt
- 10 tablespoons cold unsalted butter, cut into ½-inch chunks
- ¾ cup buttermilk, plus a bit more if necessary (see note)
Instructions
- Preheat the oven to 425ºF and set an oven rack in the middle position. Line a 13x18-inch baking sheet with parchment paper.
- In the bowl of a food processor, combine the flour, cornstarch, baking powder, baking soda, sugar and salt. Pulse a few times to mix. (Alternatively, combine the ingredients in a mixing bowl.)
- Add the butter and pulse until the mixture resembles coarse sand with a few pea-sized clumps of butter intact. (If making by hand, "cut" the butter into the dry ingredients with a pastry cutter, two knifes, or your fingertips.) Transfer the mixture to a mixing bowl.
- Add the buttermilk and stir with a spoon or rubber spatula until the dough comes together into a shaggy mass. If the dough seems too dry, add a few more tablespoons of buttermilk. Do not over-mix.
- Turn the dough out onto a lightly floured work surface. Dust the top of the dough with a bit more flour and bring together gently into a loose ball. Pat the dough into a rectangle about ¾ inch thick.
- Using a sharp knife, cut the dough into thirds. Stack the pieces on top of one another and pat out into a rectangle about ¾ in thick again, flouring the surface lightly as needed to prevent the dough from sticking.
- Cut the dough into thirds again. Stack the pieces on top of one another and pat into a rectangle with a final thickness of about ¾ inch.
- Dust the blade of a sharp knife with flour and cut the dough into twelve even squares (they will seem small). Transfer the squares to the prepared baking sheet and bake for 13 to 15 minutes, until the biscuits are lightly golden on top and a rich, golden brown on the bottom. The biscuits are best served warm out of the oven (though a few minutes in the oven will revive slightly older biscuits).
- Note: If you’d like to make your own buttermilk, see my instructions for how to make buttermilk.
- Freezer-Friendly Instructions: Before baking, the biscuits can be frozen for up to three months. Place the unbaked biscuits on a baking sheet and freeze until solid, then transfer them to a freezer-safe bag or container. When ready to bake, there's no need to thaw but they may require a few extra minutes in the oven.
Nutrition Information
Powered by ![]()
- Serving size: 1 biscuit
- Calories: 179
- Fat: 10g
- Saturated fat: 6g
- Carbohydrates: 20g
- Sugar: 2g
- Fiber: 1g
- Protein: 3g
- Sodium: 148mg
- Cholesterol: 26mg
This website is written and produced for informational purposes only. I am not a certified nutritionist and the nutritional data on this site has not been evaluated or approved by a nutritionist or the Food and Drug Administration. Nutritional information is offered as a courtesy and should not be construed as a guarantee. The data is calculated through an online nutritional calculator, Edamam.com. Although I do my best to provide accurate nutritional information, these figures should be considered estimates only. Varying factors such as product types or brands purchased, natural fluctuations in fresh produce, and the way ingredients are processed change the effective nutritional information in any given recipe. Furthermore, different online calculators provide different results depending on their own nutrition fact sources and algorithms. To obtain the most accurate nutritional information in a given recipe, you should calculate the nutritional information with the actual ingredients used in your recipe, using your preferred nutrition calculator.

These are amazing. Came together quickly for breakfast. My husband took a bite and gave me a high five. They’ll be a staple around here.
Made these for breakfast this morning. As soon as my husband took a bite he gave me a high five. These are easy and delicious.
I am so disappointed 😞. These were fluffy, moist inside with a little crust n the outside. But they tasted bitter, metalic and doughy. Yet they were fully cooked! What could have gone wrong? I did add an extra tablespoon of flour because the dough was liquid after adding half a cup of buttermilk. Is the metalic taste the baking powder? Can I use less? Please advise. I’ve made other recipes of yours and they were all delicious 😞. I’d like to try again!
Hi Sophia, I’m sorry you had a problem with these! The texture that you described sounds strange, but I suspect the bitter, metallic taste was due to the baking powder; some people are just more sensitive to it. I’d suggest purchasing an aluminum free baking powder. I hope you have better luck with these if you try them again!
So I tried this recipe on a whim this morning to go with the sausage and gravy recipe I was making this morning. OMG, I was like these are so good. I questioned the cornstarch at first, but went ahead with the recipe. So glad that I did. I also made a 2nd batch using 8 TBS of beef tallow and 2 tTBS of butter, (I’m trying to scale back on using so much butter because it’s sorta expensive nowadays) and that was also good, but the first batch is the best. Thanks for such an AWESOME recipe.😊
Can these be made a couple hours ahead, then kept in refrigerator and bake just before serving?
Sure, Helen, that will work – enjoy!
Hello jen
Another awesome recipe. Turned out perfect! Just follow the instructions especially if it’s your first try. Yes, folding the dough also works for creating layers, but the reason she instructs to stack cut pieces is so the layers are not “constricted” from puffing in the oven along those fold lines of the dough. By the way, regarding buttermilk, when I have leftovers I know I won’t be using anytime soon, I freeze my buttermilk in 1/2-cup sizes using a silicone “muffin” mat. I pop them out into a ziploc bag and always have buttermilk on hand for pancakes, muffins, quick breads or marinades. No waste, ever!
This recipe is terrific. The biscuits were light, fluffy and so flavotful. the best ive ever made! thank you for shaing it.
I have made hundreds, maybe even thousands, of biscuits during my lifetime and these are by far the BEST. They were soft and moist and flaky on the inside and had a thin crust on the top. Looked beautiful and tasted even better. The only biscuit recipe I will ever make now.
Best buttermilk biscuits ever! My daughter asked if she could have the few leftovers. I’ll be making these again soon! This is my favorite site for yummy reliably good recipes. I always check here if I’m looking for something. Thanks, Jen Segal!!
The fluffiest biscuit I have ever made. I have tried several recipes over the years to try to impress my very southern husband. This was the first recipe I have seen where cornstarch was added. It was the magical secret ingredient. He was blown away and said it was the best biscuit he has ever eaten. I do not have a food processor so I did freeze my butter and grate it in to make the mixing easier. I will never go back to another recipe, this is the one.
Hi Jenn, I made these and they were so flavorful. What can I do to prevent the bottoms from burning so ahead of the biscuits being done? I had them in the middle rack and then moved the rack up one. I am using a jelly roll pan with parchment. I have a wolf electric oven ..should I reduce the temperature?
Hi Marsha, sorry you had a problem with the bottoms burning. Next time you make these, I’d nest that baking sheet inside another one; that will give the bottoms an additional layer of insulation.