Smash Burgers
This post may contain affiliate links. Read my full disclosure policy.
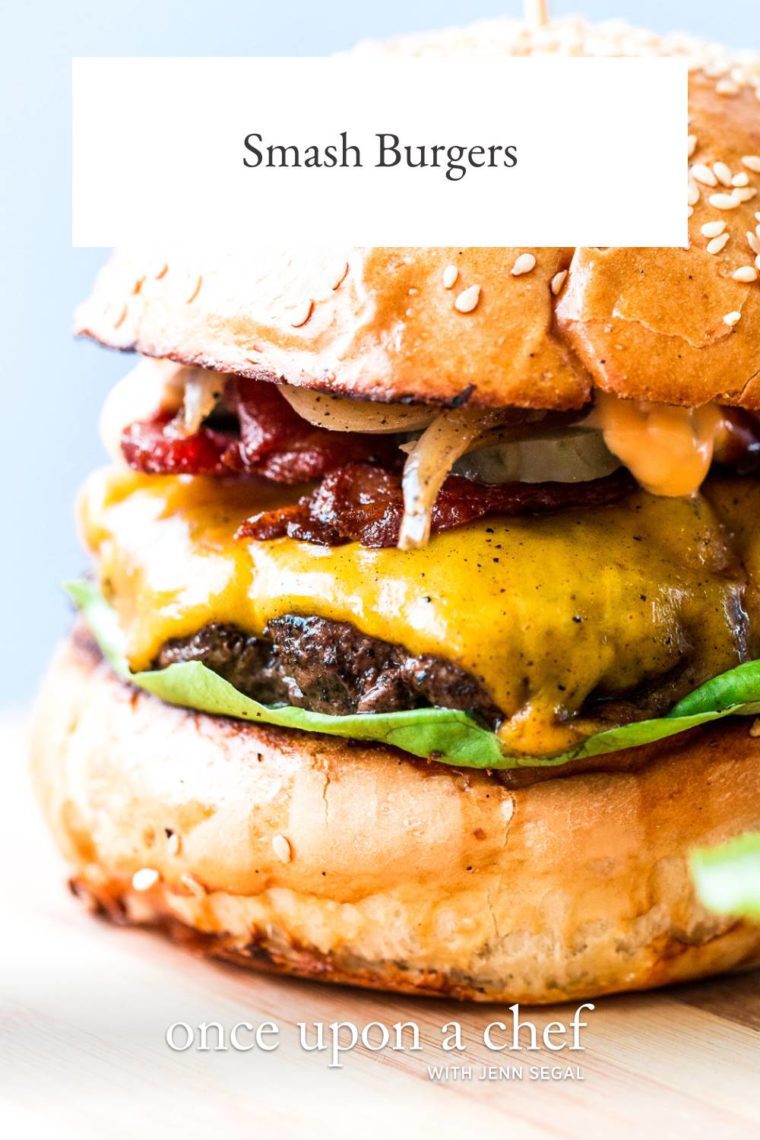
Pressed onto a sizzling hot griddle or skillet, smash burgers are easy to make and loaded with flavor.
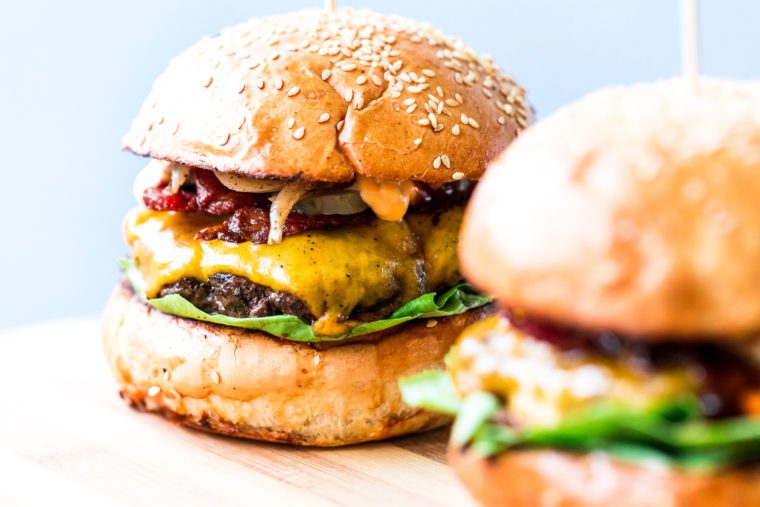
I created this smash burger recipe for my son, Zach, whose freshman college kitchen was, shall we say, quaint: a simple fridge and an electric griddle. The first time he made them, he FaceTimed me from his dorm for a step-by-step walkthrough. I guided him through the cooking process, and watching his friends devour the burgers was the definite highlight of my week! Smash burgers are exactly what they sound like: burgers that have been smashed onto a hot griddle or skillet, sizzled until deeply browned, and cloaked with melted cheese. While they’re easier to make than my steakhouse burgers, I love them just as much. And they’re perfect for when you’re making a small batch of burgers or you’re just not in the mood to fire up the grill.
Though smashing burgers sounds counterintuitive – usually, pressing down on burgers allows all the flavorful juices to escape – when done right, the technique can create gorgeously brown, juicy, crispy burgers. To make good smash burgers, it’s important to:
- Use ground chuck, or 80% lean ground beef; anything leaner will make the burgers dry
- Be sure the patties are very cold before cooking
- Smash the burgers immediately when you put them in the pan, and don’t smash them again
- Season the outside of the burgers right before cooking rather than adding the salt to the meat mixture. Without any binders in the meat mixture (like my steakhouse burgers have), salt will give the burgers a strange texture (read the scientific explanation on Serious Eats here).
What You’ll Need To Make Smash Burgers
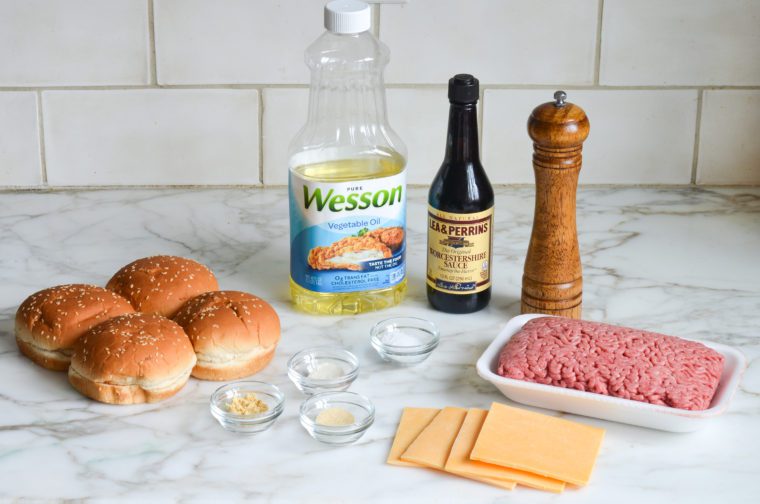
Step-by-Step Instructions
In a large bowl, combine the beef, pepper, garlic powder, onion powder, ground mustard, and Worcestershire sauce. (Do not put the salt in the mixture; you’ll add it later.)
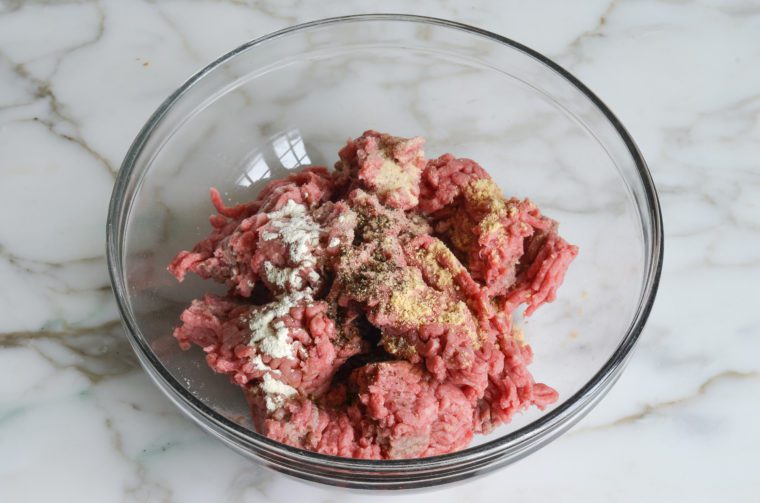
Using your hands, mix until evenly combined.
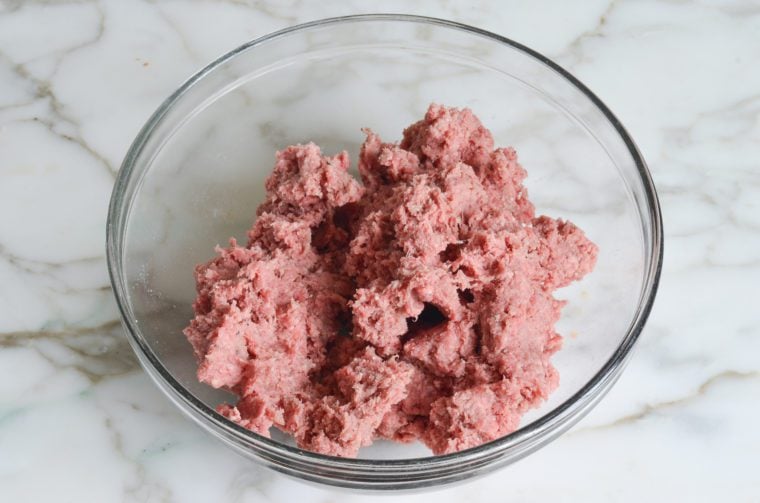
Form the meat into 4 large meatballs (about 4½ oz each).
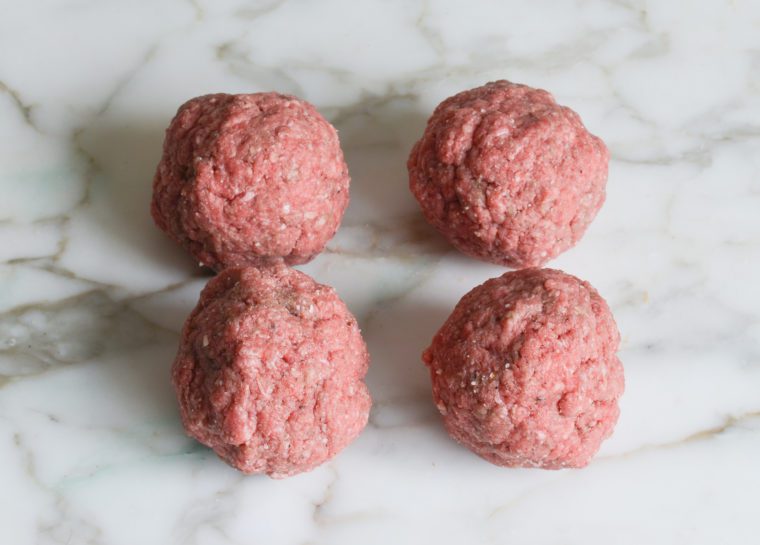
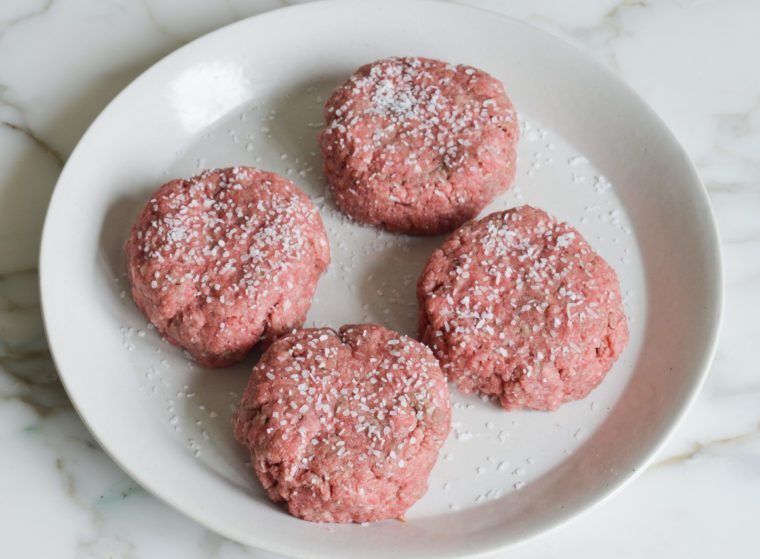
Pat each ball into a 1-inch-thick disc; smooth out the edges as best you can. Refrigerate for at least 15 minutes or until ready to cook.

Turn on your exhaust fan and heat a 12-inch cast-iron or nonstick skillet over medium-high heat. Remove the patties from the fridge and season all over with the salt.
Coat the hot pan evenly with the oil. Place the burgers on the skillet one at a time, firmly smashing them flat with a metal spatula until about ¼-inch thick before adding and smashing the next one.
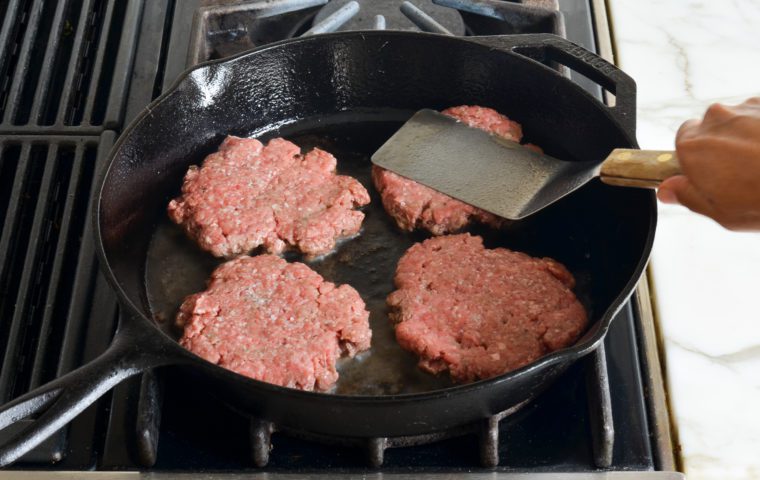
Let cook for about 2 minutes until nicely browned and crusty on the bottom. Flip the burgers.
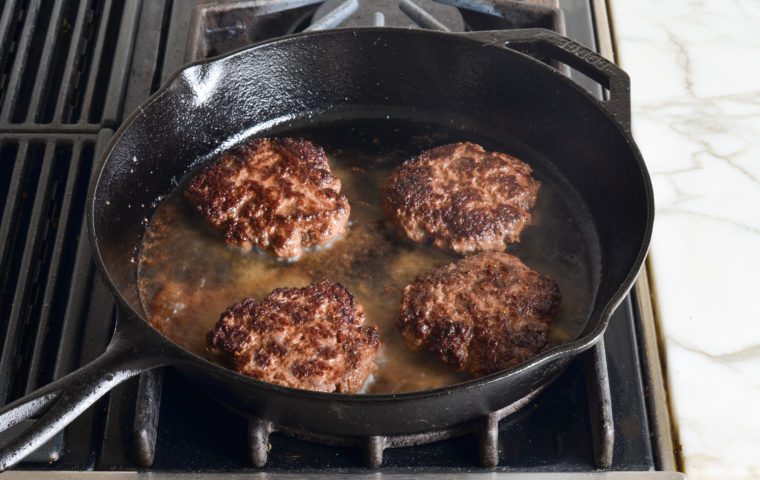
Top the burgers with the cheese.

Cook for 2 minutes more for medium-rare to medium burgers, or 3 minutes for medium to medium-well burgers. 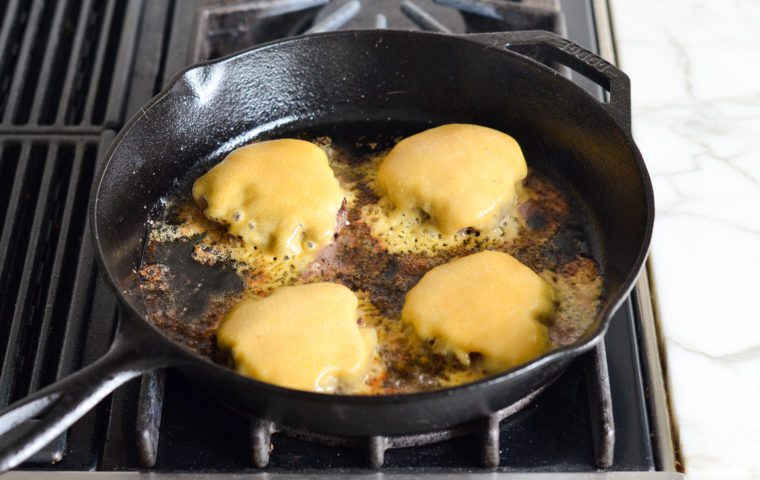
Place the burgers on the buns and serve with toppings of choice.

Video Tutorial
You May Also Like
- Juicy Steakhouse Burgers
- Skillet Turkey Burgers
- Southwestern Cheeseburger Sliders
- Korean-Style Beef Bulgogi Burgers
- Caramelized Onions
- Philly Cheesesteaks
Smash Burgers
Pressed onto a sizzling hot griddle or skillet, smash burgers are easy to make and loaded with flavor.
Ingredients
- 1¼ pounds ground chuck (80% lean ground beef)
- ½ teaspoon freshly ground black pepper
- ½ teaspoon garlic powder
- ½ teaspoon onion powder
- ½ teaspoon ground mustard
- 1 teaspoon Worcestershire sauce
- ½ tablespoon vegetable oil, for cooking
- Heaping ¾ teaspoon kosher salt
- 4 slices Cheddar cheese
- 4 hamburger buns (lightly toasted, if desired)
- Burger toppings of choice
Instructions
- In a large bowl, combine the beef, pepper, garlic powder, onion powder, ground mustard, and Worcestershire sauce. (Do not put the salt in the mixture; you’ll add it later.) Using your hands, mix until evenly combined. Form the meat into 4 large meatballs (about 4½ oz each), then pat each ball into a 1-inch-thick disc; smooth out the edges as best you can. Refrigerate for at least 15 minutes or until ready to cook (up to 24 hours, covered).
- Turn on your exhaust fan and heat a 12-inch cast-iron or nonstick skillet over medium-high heat. Remove the patties from the fridge and season all over with the salt. Coat the hot pan evenly with the oil. Place the burgers on the skillet one at a time, firmly smashing them flat with a metal spatula until about ¼-inch thick before adding and smashing the next one. Let cook for about 2 minutes until nicely browned and crusty on the bottom. Flip the burgers and top with the cheese; cook for about 2 minutes more for medium-rare to medium burgers, or 3 minutes for medium to medium-well burgers. Place the burgers on the buns and serve with toppings of choice.
- Freezer-Friendly Instructions: The uncooked burgers can be frozen for up to three months. (Freeze the burgers on a baking sheet or plate so their shape sets, then transfer them to a sealable plastic bag for easy storage.) Defrost the burgers overnight in the refrigerator prior to serving and then cook as directed.
Pair with
Nutrition Information
Powered by ![]()
- Per serving (4 servings)
- Serving size: 1 burger
- Calories: 612
- Fat: 41 g
- Saturated fat: 17 g
- Carbohydrates: 23 g
- Sugar: 3 g
- Fiber: 1 g
- Protein: 35 g
- Sodium: 503 mg
- Cholesterol: 129 mg
This website is written and produced for informational purposes only. I am not a certified nutritionist and the nutritional data on this site has not been evaluated or approved by a nutritionist or the Food and Drug Administration. Nutritional information is offered as a courtesy and should not be construed as a guarantee. The data is calculated through an online nutritional calculator, Edamam.com. Although I do my best to provide accurate nutritional information, these figures should be considered estimates only. Varying factors such as product types or brands purchased, natural fluctuations in fresh produce, and the way ingredients are processed change the effective nutritional information in any given recipe. Furthermore, different online calculators provide different results depending on their own nutrition fact sources and algorithms. To obtain the most accurate nutritional information in a given recipe, you should calculate the nutritional information with the actual ingredients used in your recipe, using your preferred nutrition calculator.

Flat out delicious and so easy to make! Great for a camping trip.
Great tips on making the burgers, but no real recipe to follow. How much of each ingredient to use? That info is always very helpful as a starting point.
Hi Ed, It sounds like you are just looking at the portion of the page that has the pictures with some instructions above. If you scroll down a bit to under the pictures, you’ll find the full recipe. Alternatively, at the very top of the page, to the right of the recipe name, you’ll see an orange/red button that says Jump to Recipe – if you click on that, it will take you directly to the recipe. Hope that clarifies!
that is how a burger should be…. yummy and tasty…. (:
Would a stainless steel skillet work for this?
Hi Andrew, Yes, stainless steel can be used for making smash burgers, but you need to ensure the pan is well-preheated and lightly oiled to prevent sticking.
Hi Jen: Do you think it would make sense and be okay if I make and form these burgers the day before…leave them in fridge until ready to use? I’ve made these now several times, but always the day of. Delicious!!
Sure, Elizabeth that would be fine (and glad you like them)!
These are next level burgers. They came together in a snap for Father’s Day dinner. Thank you Jenn!
Best homemade burgers ever made. All compliments and no leftovers.
Making burgers has always been a challenge for me, but this recipe has taught me a lot. Thanks for this excellent burger recipe.
I just made these earlier today, and they were some of the best burgers I’ve ever made! Thanks so much for sharing this recipe! I’m gonna have to check out some more from your site.
I made burgers today following your instruction to add the salt just before cooking and it did make a big difference in the texture and juiciness of the cooked burgers. ( I read the article from Serious Eats after)
I added an egg and gluten-free bread crumbs as well. The result was perfect and would only use this recipe and method from now on! Thanks!