Easy Sausage & Herb Stuffing Recipe
This post may contain affiliate links. Read my full disclosure policy.
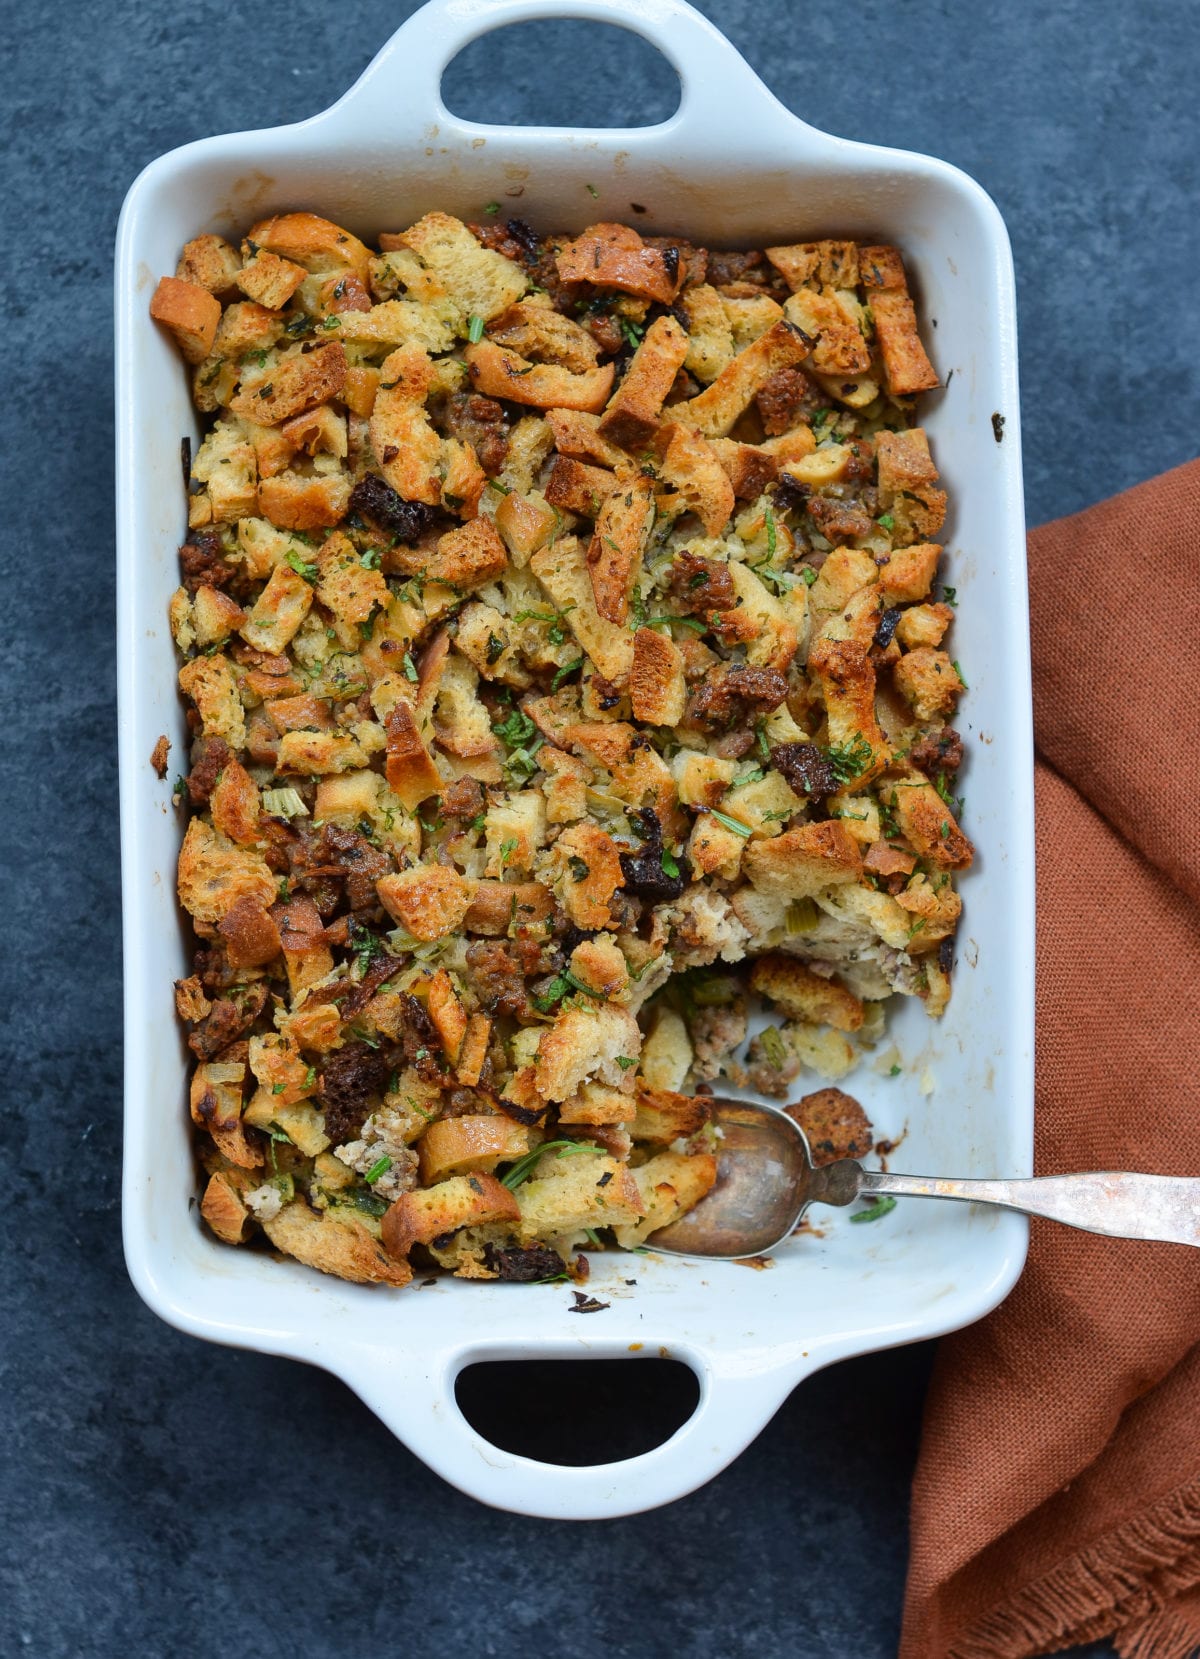
This rich and savory stuffing recipe is perfect the holidays. Hearty sausage, fragrant herbs, and store-bought stuffing cubes make it easy—and you can even make it ahead!
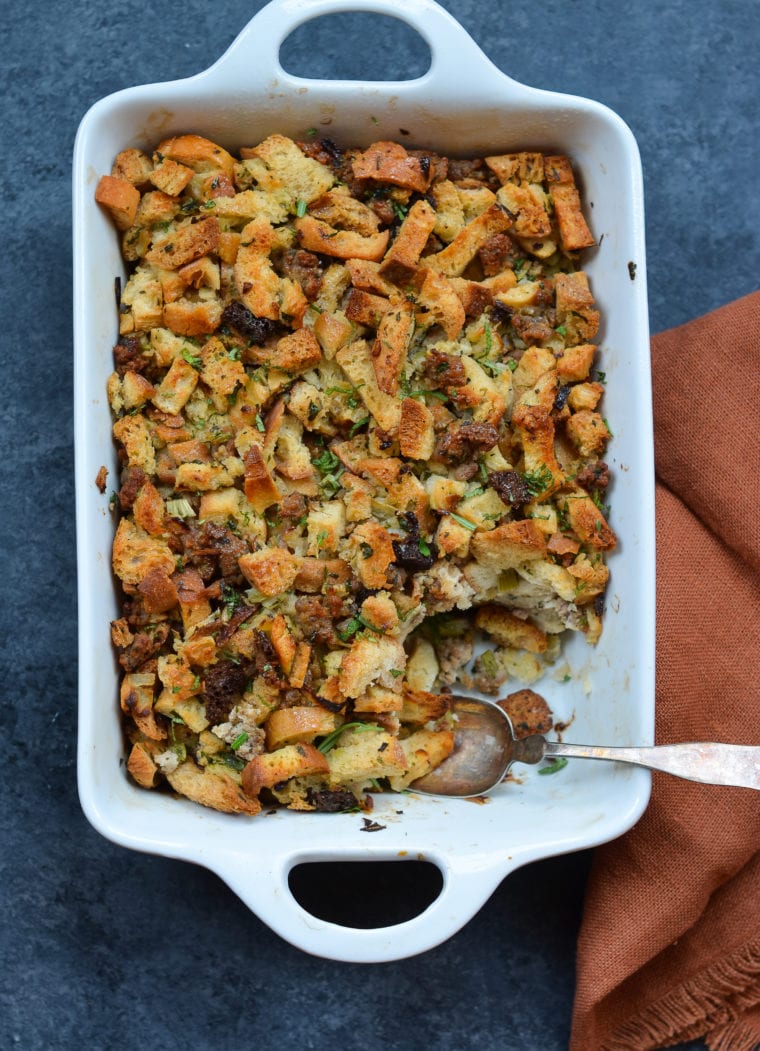
I used to host elaborate Thanksgiving celebrations, where I’d cook for days on end, only to be completely exhausted by the time my guests arrived on Thanksgiving day. After one glass of wine, I’d be nodding off at the table and dreaming of my pillow. I finally wised up by simplifying my side dishes and desserts. This rich sausage and herb stuffing recipe relies on store-bought stuffing cubes, which eliminates the step of slicing and drying out the bread. Believe me, when you’re using a pound of sausage and an entire stick of butter, and pairing the dish with turkey gravy and cranberry sauce, the type of bread you use does not matter. This is the easiest and best stuffing recipe, hands down!
“I made this for Thanksgiving and made the mistake of not doubling the recipe. Corrected that for Christmas as it was GONE – first empty dish on the buffet table.”
What You’ll Need To Make Sausage Stuffing
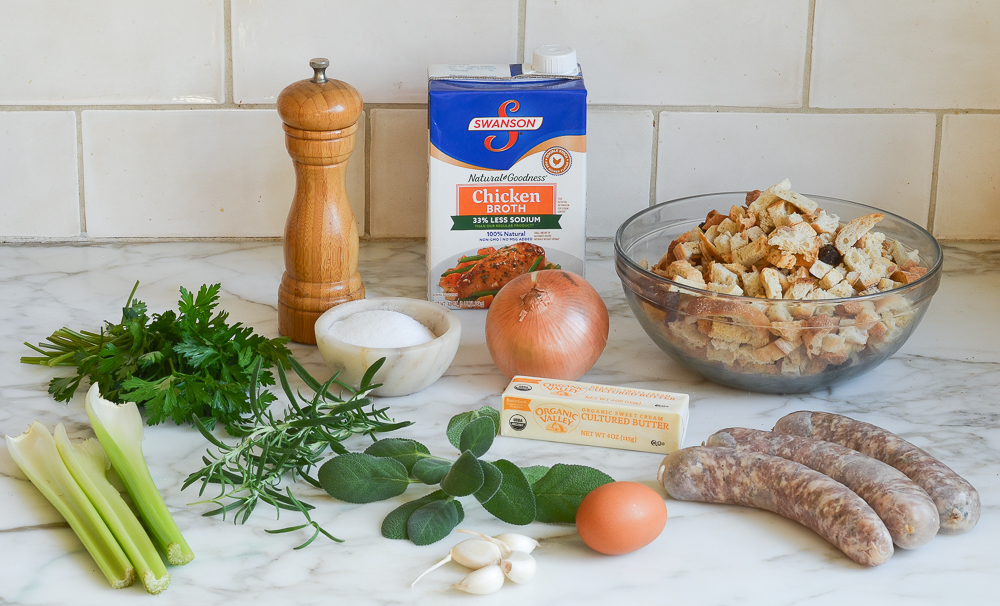
- Store-bought unseasoned stuffing cubes – I’ve made this easy stuffing recipe using dried bread cubes from both Arnold and Pepperidge Farm. I’ve also had good results with the “fresh” dried bread cubes from Whole Foods, which add a bit more texture (these are sold in plastic bags labeled “stuffing cubes”).
- Unsalted butter – Adds rich flavor and helps create a moist texture.
- Aromatics (yellow onion, celery, and garlic) – Provide savory depth and a classic stuffing flavor.
- Bulk sweet Italian sausage – If you can, look for bulk sausage (sausage without casings). If only whole sausages are available, just remove the casings: cut through the sausages with kitchen shears, then peel the casings off—it’s much easier than squeezing out the meat.
- Low-sodium chicken broth – Keeps the stuffing moist without adding too much salt.
- Large egg – Helps bind the stuffing together for a cohesive texture.
- Fresh Herbs (rosemary, sage, and parsley) – Bring freshness and a touch of earthy, holiday flavor.
- Salt and freshly ground black pepper – For seasoning and balancing flavors.
- Jump to the printable recipe for precise measurements
Step-By-Step Instructions
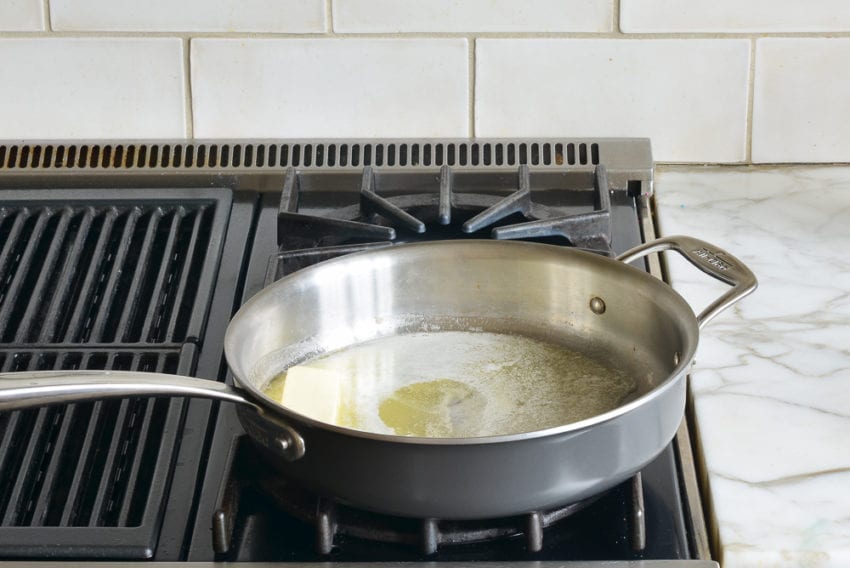
Begin by melting a stick of butter in a large skillet.
Add the chopped onions and celery.
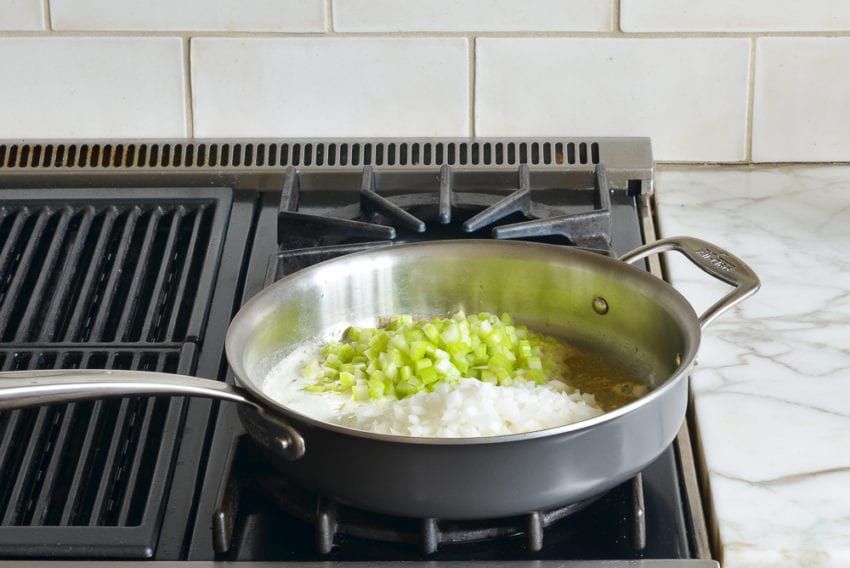
Cook until soft, about 8 minutes.
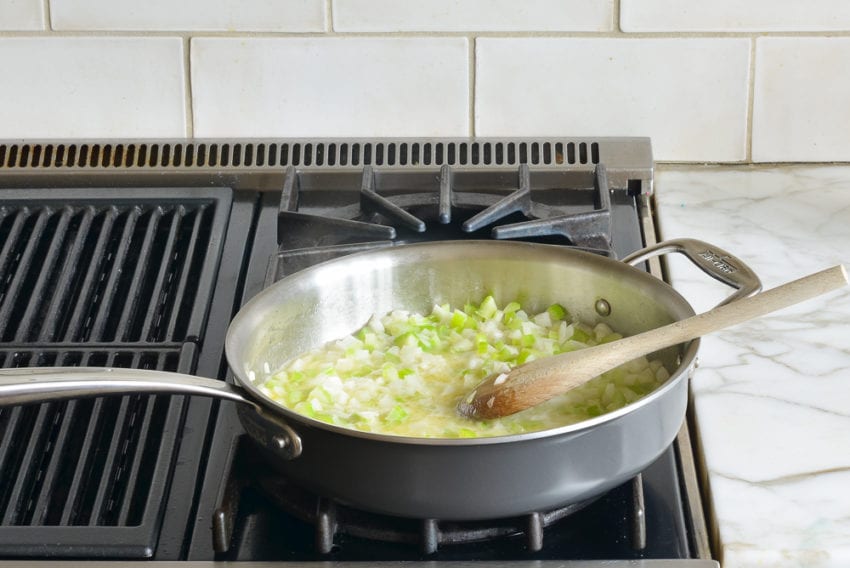
Add the garlic and cook a few minutes more.
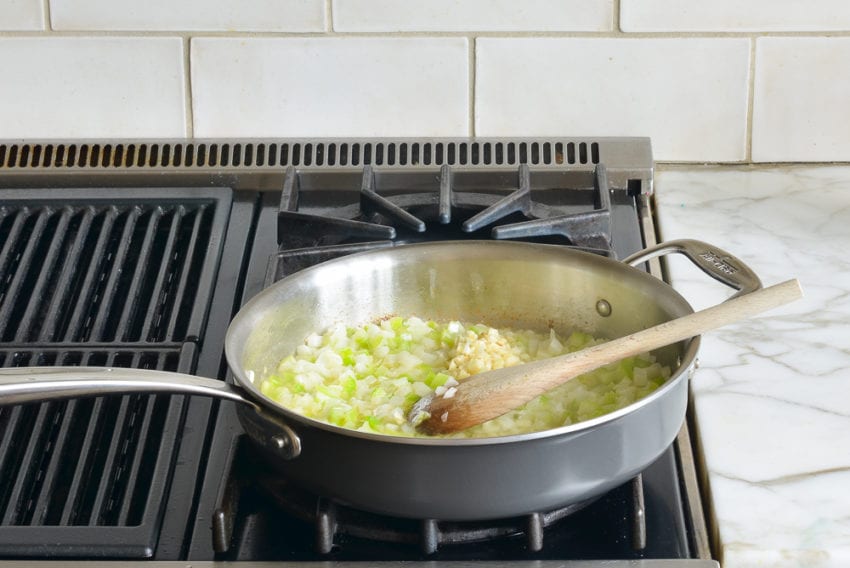
Transfer the vegetables to a large bowl. In the same pan, cook the sausage until browned.
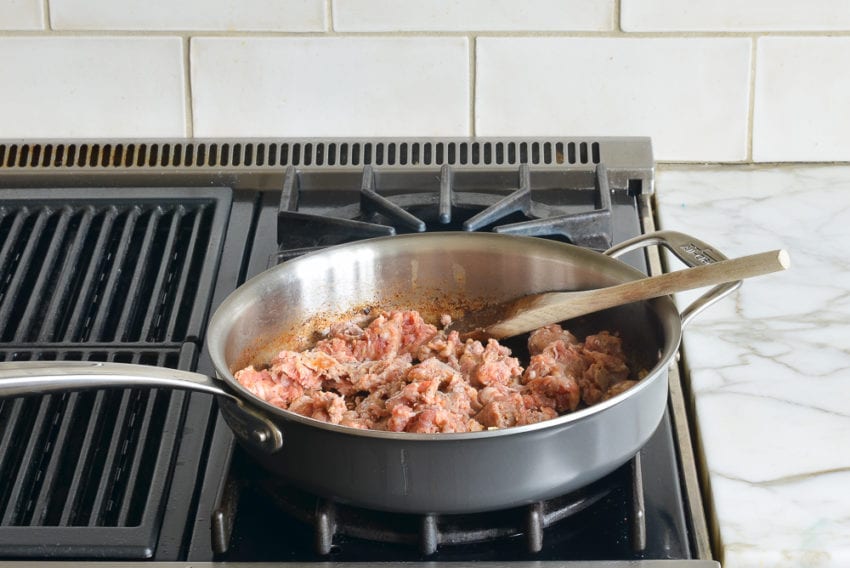
As it cooks, use a metal spatula to break it apart into small pieces.
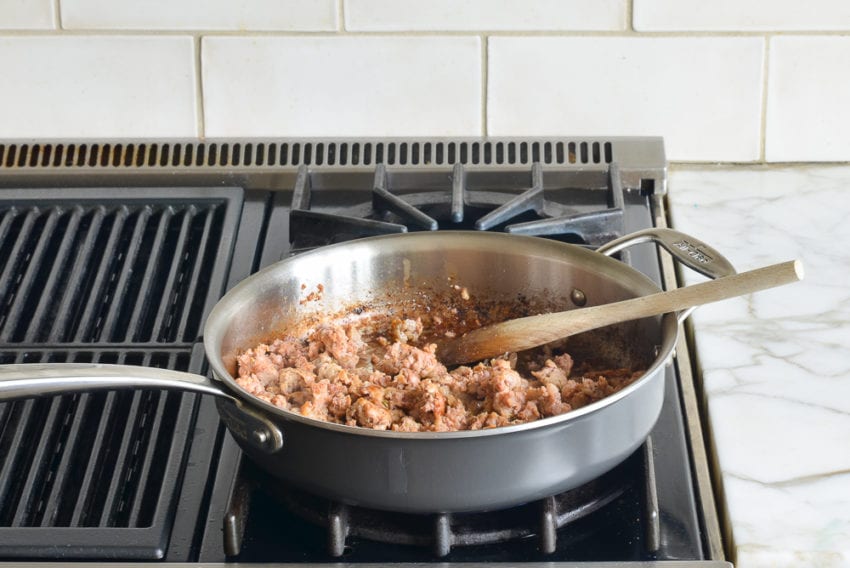
Add the sausage to the stuffing cubes and veggies. Then add the broth, egg, herbs, salt and pepper.
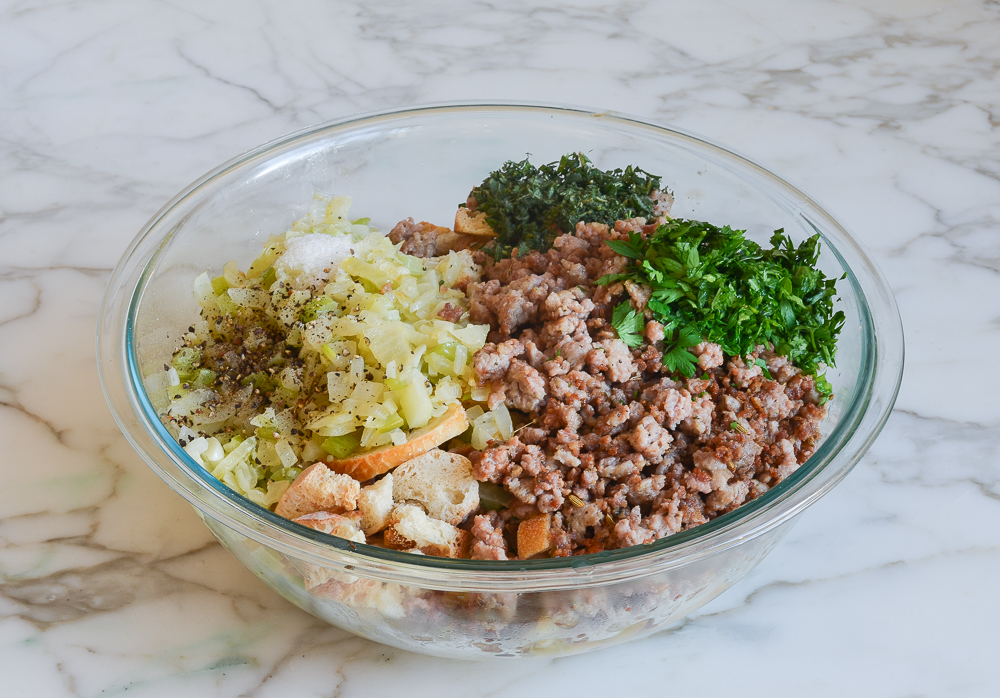
Mix well.
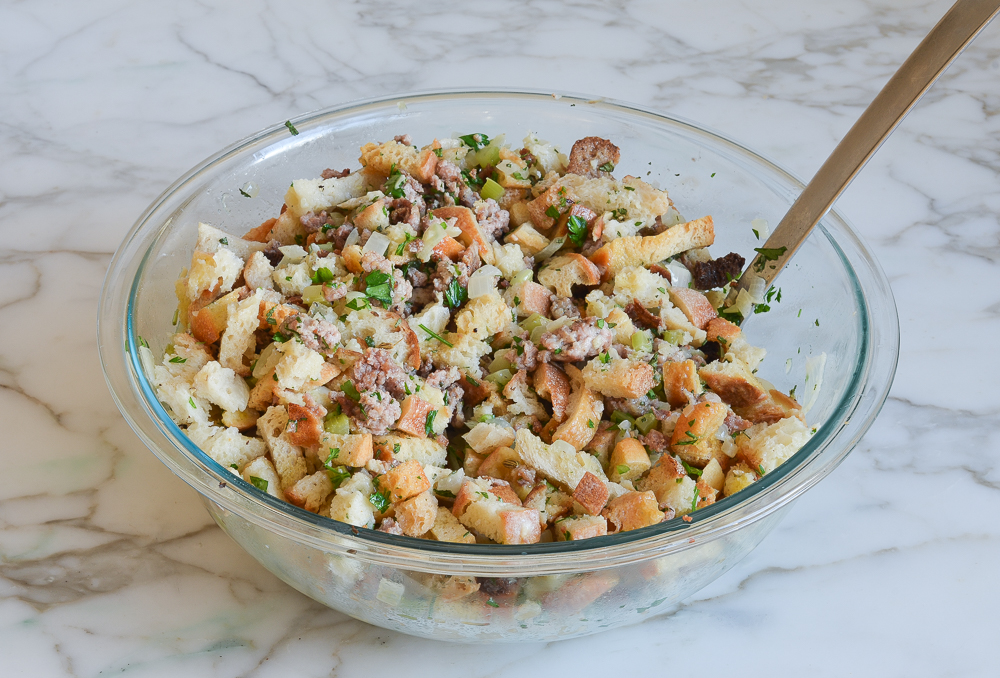
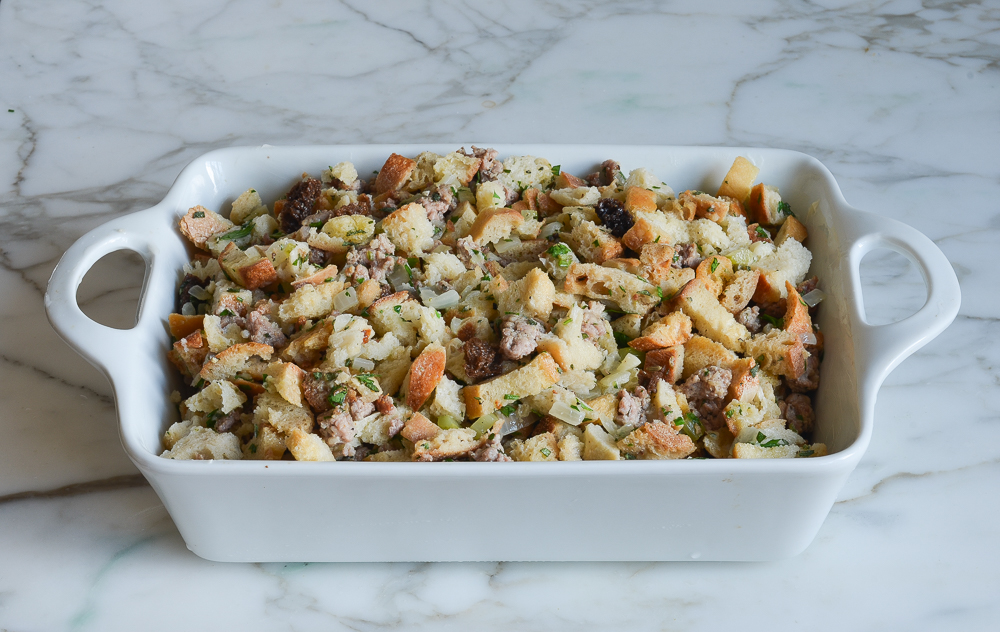
Transfer the contents to a buttered 9 x 13-inch baking dish or similarly sized casserole dish.
Bake for 65 to 75 minutes, until the top is golden brown and crisp.
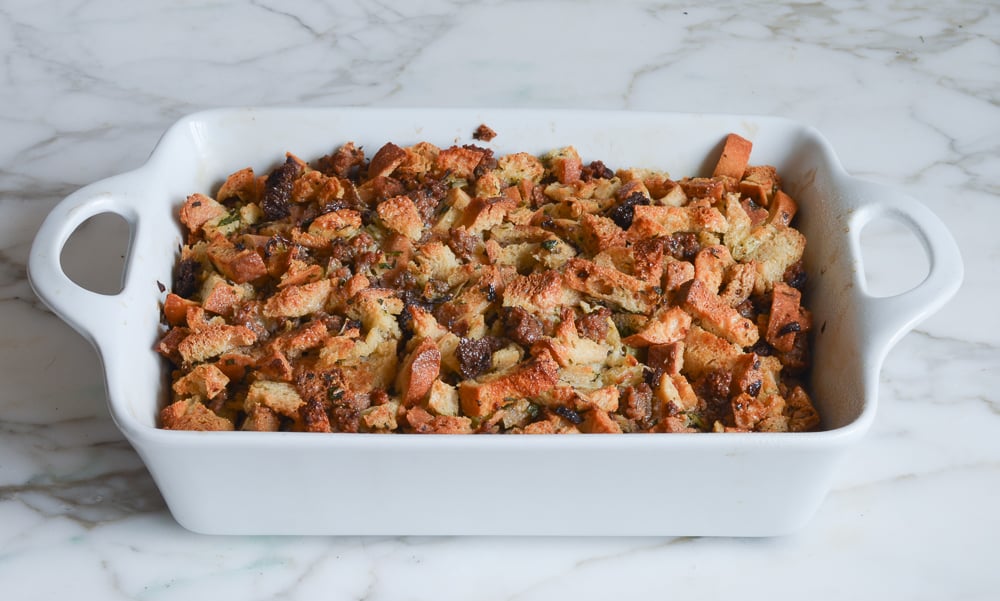
Enjoy!
Make-Ahead & Freezing Instructions
This homemade stuffing recipe can be assembled up to a day ahead and refrigerated until ready to bake. Allow a few extra minutes in the oven if baking from the fridge. It can also can be frozen after baking, tightly covered, for up to 3 months. When you’re ready to serve it, defrost in the refrigerator for 24 hours. Reheat it, covered with foil, in a 325°F oven until hot.
Video Tutorial
You May Also Like
Easy Sausage & Herb Stuffing
This rich and savory stuffing recipe is perfect the holidays. Hearty sausage, fragrant herbs, and store-bought stuffing cubes make it easy—and you can even make it ahead!
Ingredients
- 8 cups (400g) store-bought unseasoned stuffing cubes
- 1 stick (½ cup) unsalted butter
- 1½ cups diced yellow onion (from 1 large onion)
- 1 cup diced celery (from 3 celery stalks)
- 4 garlic cloves, finely chopped
- 1 pound bulk sweet Italian sausage (i.e., sausage with the casings removed) -- see note below
- 2¾ cups low-sodium chicken broth
- 1 large egg, beaten
- 1 tablespoon fresh chopped rosemary
- 1 tablespoon fresh chopped sage
- ¼ cup fresh chopped parsley
- ½ teaspoon salt
- ½ teaspoon freshly ground black pepper
Instructions
- Preheat the oven to 350°F. Grease a 9 x 13-inch baking dish with butter.
- Place the stuffing cubes in a large mixing bowl.
- In a large sauté pan, melt the butter. Add the onions and celery and cook over medium heat, stirring occasionally, for about 8 minutes, or until the vegetables are soft. Add the garlic and cook 2 minutes more. Add the vegetables to the stuffing cubes. (Don't wash the pan but scrape out every last bit of vegetables, otherwise they will burn in the next step.)
- In the same pan, cook the sausage over medium heat for 8-10 minutes, until browned and cooked through, breaking up the sausage with a metal spatula while cooking (the largest pieces should be no greater than ¼-inch). Add the browned sausage and fat to the bread cubes and vegetables.
- Add the chicken broth, egg, rosemary, sage, parsley, salt and pepper to the bread cube mixture and mix until the bread is soft and moistened. Transfer the stuffing to the prepared baking dish and bake for 65-75 minutes, uncovered, until deeply golden and crisp on top.
- Note: If you can't find bulk sausage, simply buy regular sausage and remove the casings.
- Make-Ahead/Freezer-Friendly Instructions: The stuffing can be assembled up to a day ahead and refrigerated until ready to bake; follow the baking instructions in the recipe, allowing a few extra minutes in the oven. It can also can be frozen after baking, tightly covered, for up to 3 months. When you’re ready to serve it, defrost in the refrigerator for 24 hours. Reheat it, covered with foil, in a 325°F oven until hot.
Nutrition Information
Powered by ![]()
- Per serving (10 servings)
- Calories: 467
- Fat: 28 grams
- Saturated fat: 10 grams
- Carbohydrates: 40 grams
- Sugar: 5 grams
- Fiber: 6 grams
- Protein: 15 grams
- Sodium: 1,063 mg
- Cholesterol: 57 mg
This website is written and produced for informational purposes only. I am not a certified nutritionist and the nutritional data on this site has not been evaluated or approved by a nutritionist or the Food and Drug Administration. Nutritional information is offered as a courtesy and should not be construed as a guarantee. The data is calculated through an online nutritional calculator, Edamam.com. Although I do my best to provide accurate nutritional information, these figures should be considered estimates only. Varying factors such as product types or brands purchased, natural fluctuations in fresh produce, and the way ingredients are processed change the effective nutritional information in any given recipe. Furthermore, different online calculators provide different results depending on their own nutrition fact sources and algorithms. To obtain the most accurate nutritional information in a given recipe, you should calculate the nutritional information with the actual ingredients used in your recipe, using your preferred nutrition calculator.

If you have seasoned cubes, is that ok, or do I need to eliminate some of the ingredients in this recipe? Thanks, Mary
Hi Mary, I would cut the salt and herbs in half, then add more to taste before baking if necessary. Enjoy!
Hi Jenn,
I can’t find cubes anywhere! What kind of bread do suggest in place?
Thank you if you see this!
Erin (long-time fan!)
Hi Erin, I think the best choices are French or Italian bread. Hope you enjoy the stuffing!
This recipe is fantastic! I just finished my second trial run of this recipe before thanksgiving. It is great as is, but my family loves a lot of herbs, so I doubled them and added thyme. I also added about a half cup of unsalted pepitas; growing up my dad always added roasted chestnuts to our stuffing and it was soooo good, but since my husband is allergic to nuts I use pepitas instead. Also to save myself a step I use salted butter instead of using salt.
Superb!! I could eat an entire plate of this.
What’s the best way to make this dairy free?
Hi Debby, I’d use a non-dairy butter alternative. Hope you enjoy!
Hi! Planning to make night before. About how long will it take to reheat? Will it still be crispy if it’s covered?
Hi Lauren, I’m guesstimating it will take about 30 minutes to reheat (and you can take the foil off for the last 5 minutes or so to crisp up the top). Enjoy!
Hi, this is the same recipe my mom used to make, and I have too for as long as I can remember, but I never made it in advance, should I reheat at 350? Thanks!
How nice that this is the recipe you’ve been making for years! If making ahead, I’d reheat it, covered with foil, in a 325°F oven until hot.
Can I use ciabatta bread to make stuffing instead of store bought stuffing cubes? What other breads would you suggest?
Hi Michelle, I think you’ll have better luck with French or Italian bread.
Jen,
I am thinking of making this stuffing the night ahead. Would you reheat it before you cook your turkey or after? I just have one oven and am trying to figure out timing…
Hi Kristen, I think I’d reheat it after. Turkey needs to rest for 20 to 30 minutes and then it needs to be cut so that should provide just about enough time for the stuffing to reheat. Hope that helps and happy Thanksgiving!
Love this recipe! I’ve been serving this for 5 years. Can it be cooked in the morning and kept warm in a slow cooker until dinner is ready? Looking to eat around 5:00 pm and don’t want it to dry out.
Hi Julie, so glad you like the stuffing! What you’re suggesting will work fine, but it will take away any crispiness from the top of the stuffing. Another alternative is to bake it in the morning, refrigerate, and before serving it, covered with foil, in a 325° oven until hot.
Hi. Have dry brined myturkey for several yrs! Well worth it! My stuffing with sausage is pretty much like yours. Am so happy to have a recipe for this,because I am like a robot making this and no firm recipe. Now my children have asked for a recipe. Now I can give them yours! Thank you.
Can I stuff the turkey with this recipe and if so, any changes to the directions? Thank you!
Hi Nela, I prefer it baked separately which makes it crisp on top. That said, if you do want to cook it inside the turkey, I’d suggest reducing the broth by about 1/2 cup because the turkey will add moisture to it. Enjoy!
If you make the day before thanksgiving and you assemble everything before baking, do you still add the broth before refrigerating it? or do you wait to add the broth until before you bake it the day of?
You add the broth before refrigerating it. Enjoy!