Peanut Butter Blossoms
This post may contain affiliate links. Read my full disclosure policy.
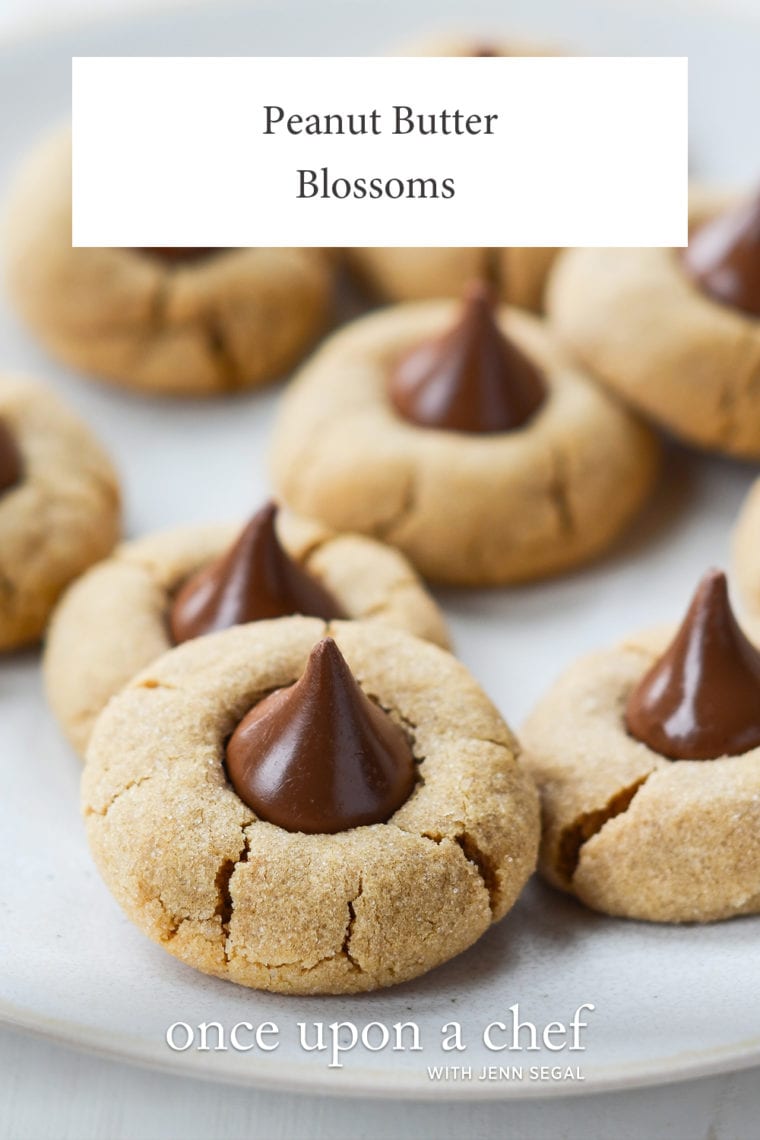
Peanut butter and chocolate kisses in a cookie? Yes, please! These peanut butter blossoms are the cutest cookies around.
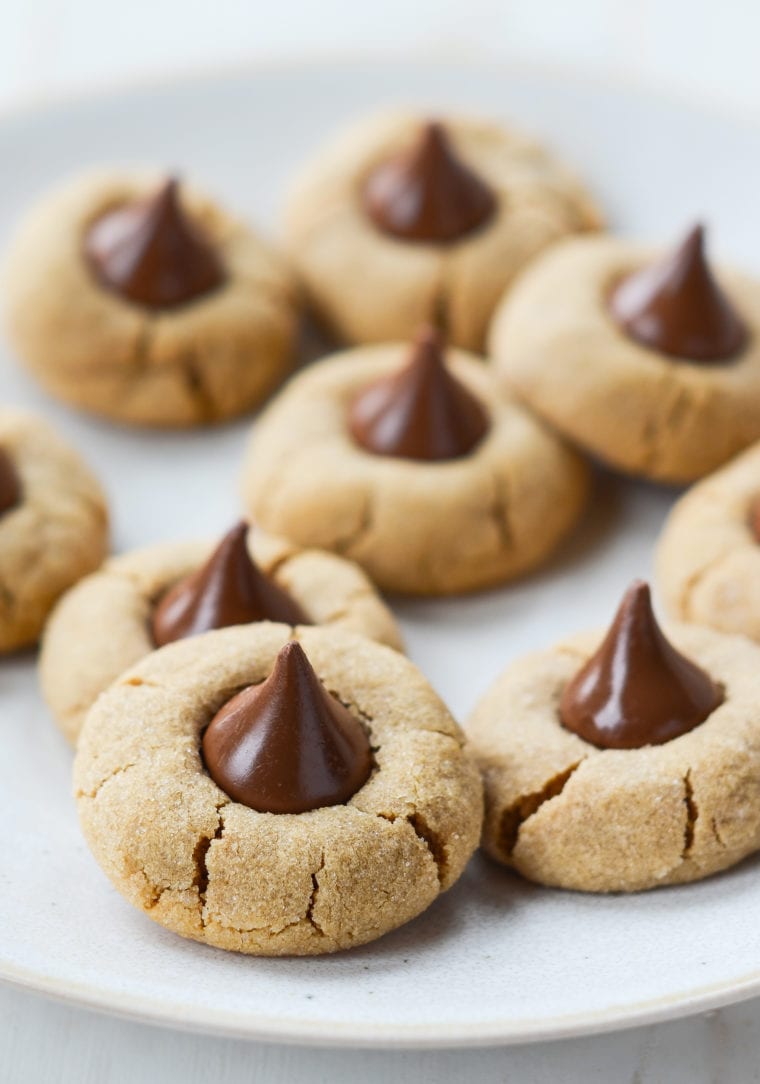
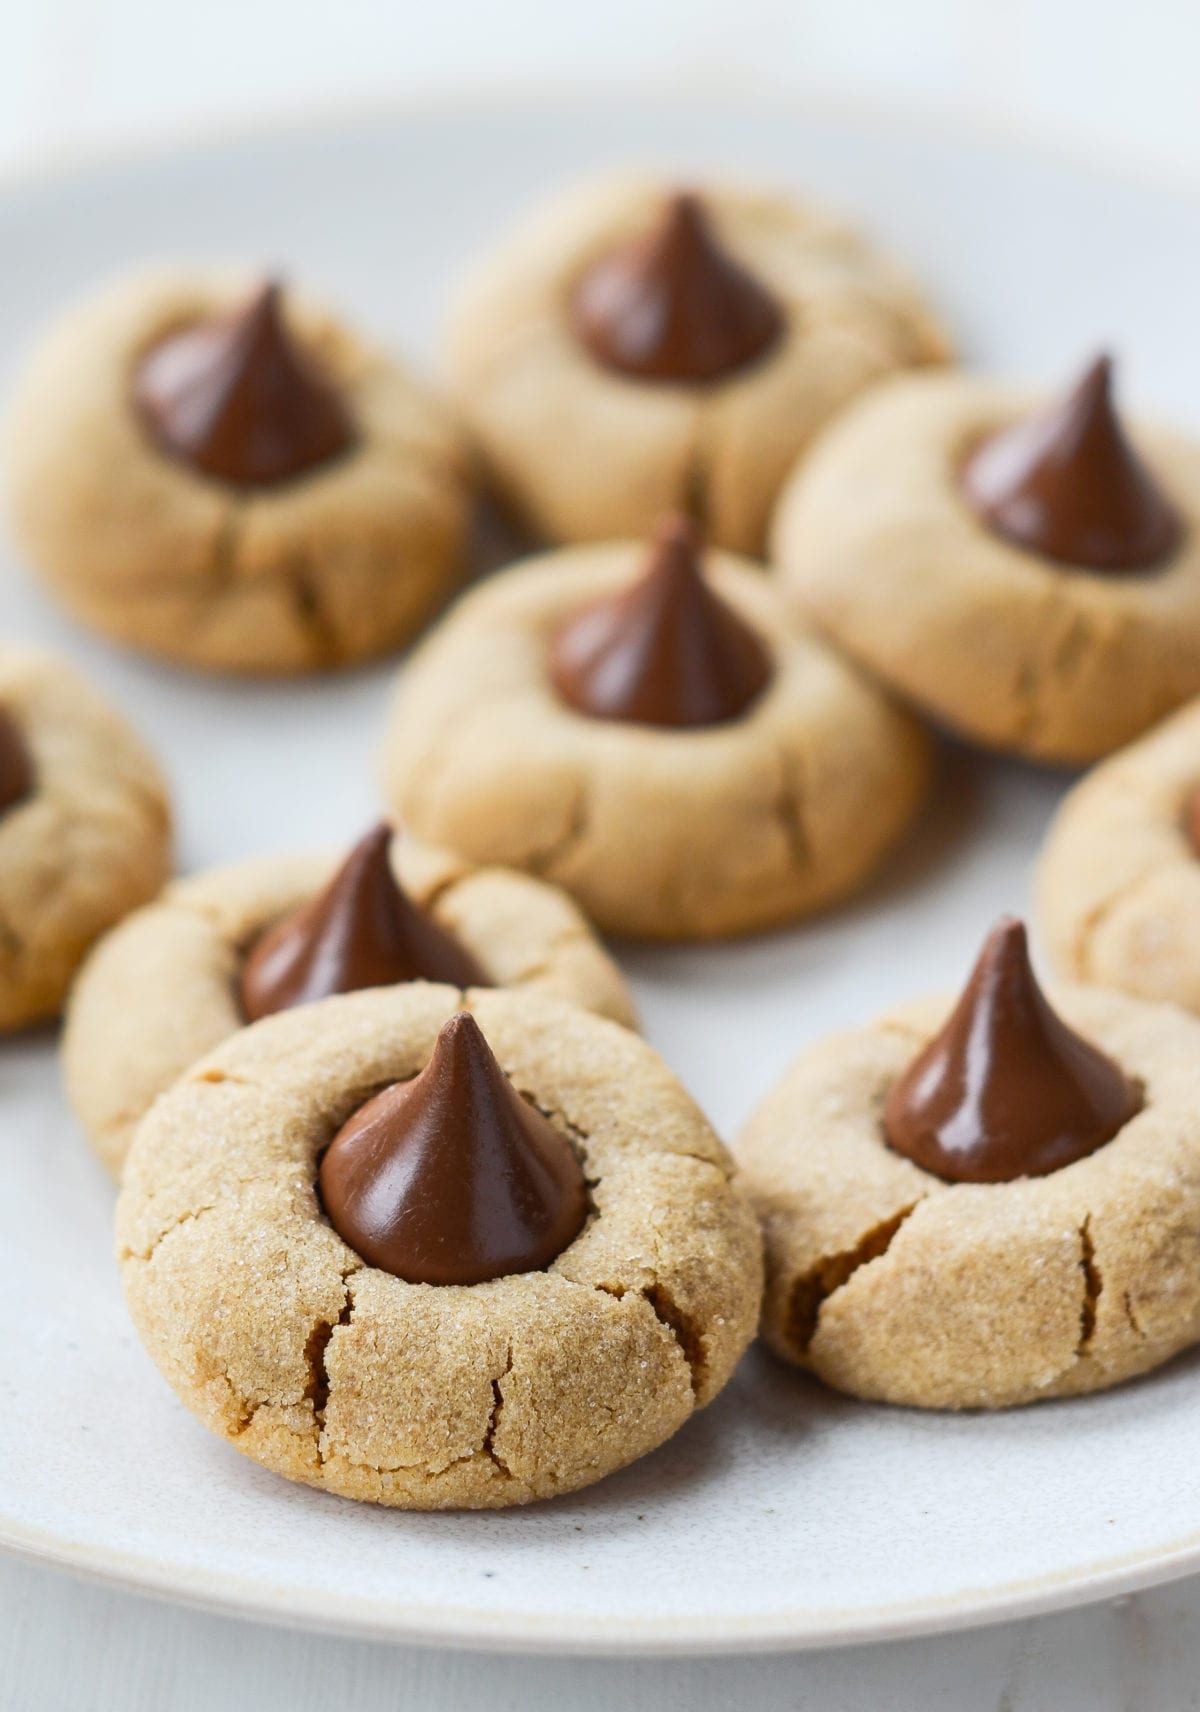
Peanut butter blossoms are soft and tender peanut butter cookies topped with milk chocolate Hershey’s kisses. They’re undeniably adorable, a breeze to make, and absolutely irresistible. For best results, use regular peanut butter, like Skippy, rather than all-natural. Regular peanut butter is creamy and thick, with added salt and sugar—it just makes better cookies. And don’t skip the final step of baking the cookies with the Hershey’s kisses for a few minutes. Most recipes don’t call for this, but I found that baking them briefly with the chocolate stabilizes the kisses, keeping their perfect shape and smooth finish.
If you enjoy peanut butter blossoms, or are a chocolate-peanut butter fan, be sure to add my buckeyes, chocolate peanut butter squares, and peanut butter pie to your baking bucket list!
“This recipe has the most peanut buttery goodness of all the Peanut Blossom recipes I’ve tried over the years. For the holidays, I roll some of the cookie balls in alternating red and green sanding sugar and some in nonpareils for a festive look.”
What You’ll Need To Make Peanut Butter Blossoms
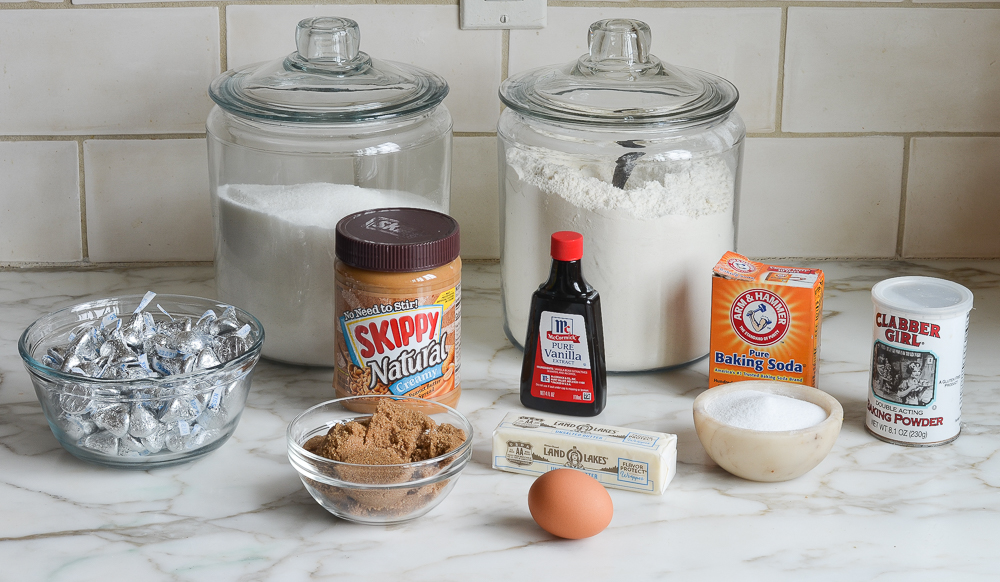
- All-Purpose Flour: Provides structure to the cookies. Measure it by spooning it into the measuring cup and leveling it off to ensure accuracy.
- Baking Powder And Baking Soda: Help the cookies rise.
- Butter: Adds richness and a tender texture.
- Creamy Peanut Butter: Gives the cookies their distinctive flavor and chewiness. For best results, use a smooth and creamy commercial peanut butter, like Skippy. (I do not recommend all-natural or chunky peanut butter.)
- Dark Brown Sugar And Granulated Sugar: Add sweetness and help the cookies stay moist. A portion of the granulated sugar is used for rolling the cookies.
- Vanilla Extract: Enhances the cookies’ flavor with sweet, aromatic notes.
- Large Egg: Binds the ingredients together and adds moisture.
- Hershey’s Kisses: For the iconic center and a big burst of chocolate flavor.
- Jump to the printable recipe for precise measurements
How To Make Peanut Butter Blossom Cookies
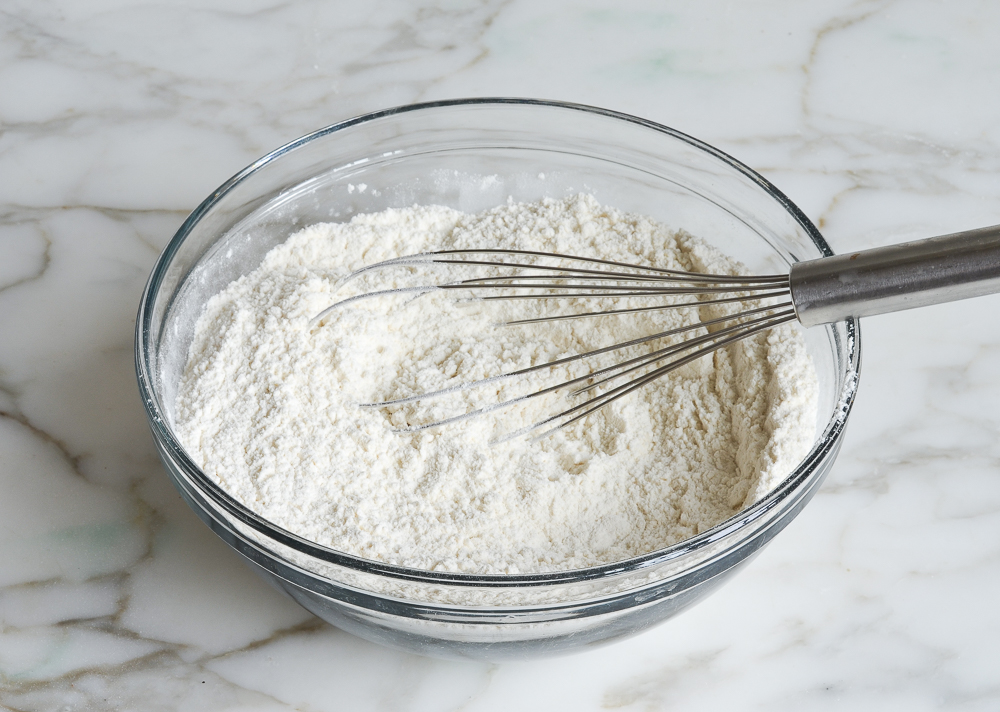
In a medium bowl, whisk together the flour, baking powder, baking soda and salt. Set aside.
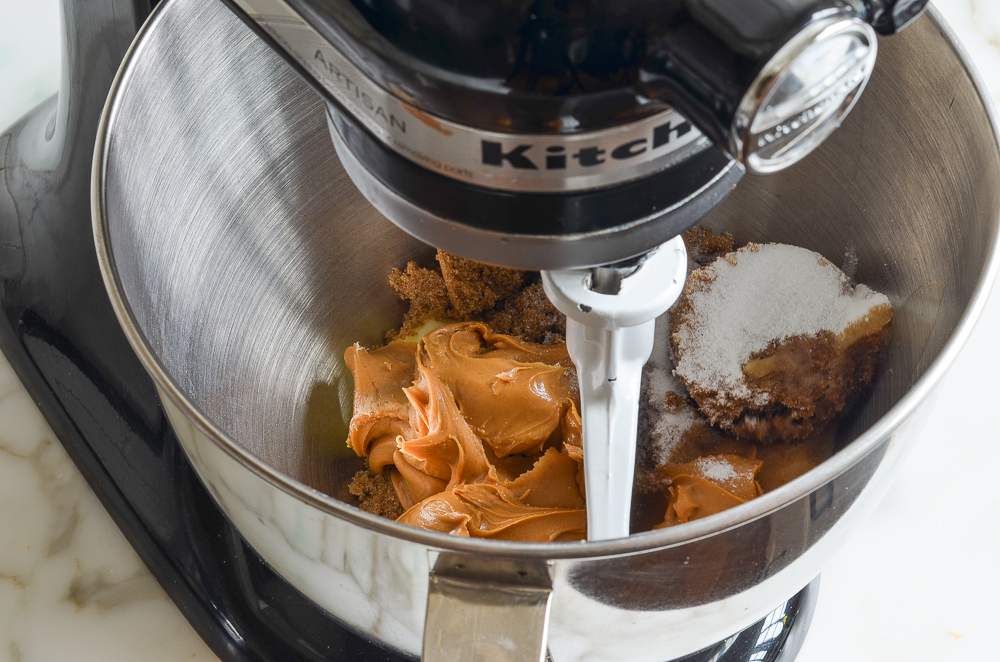
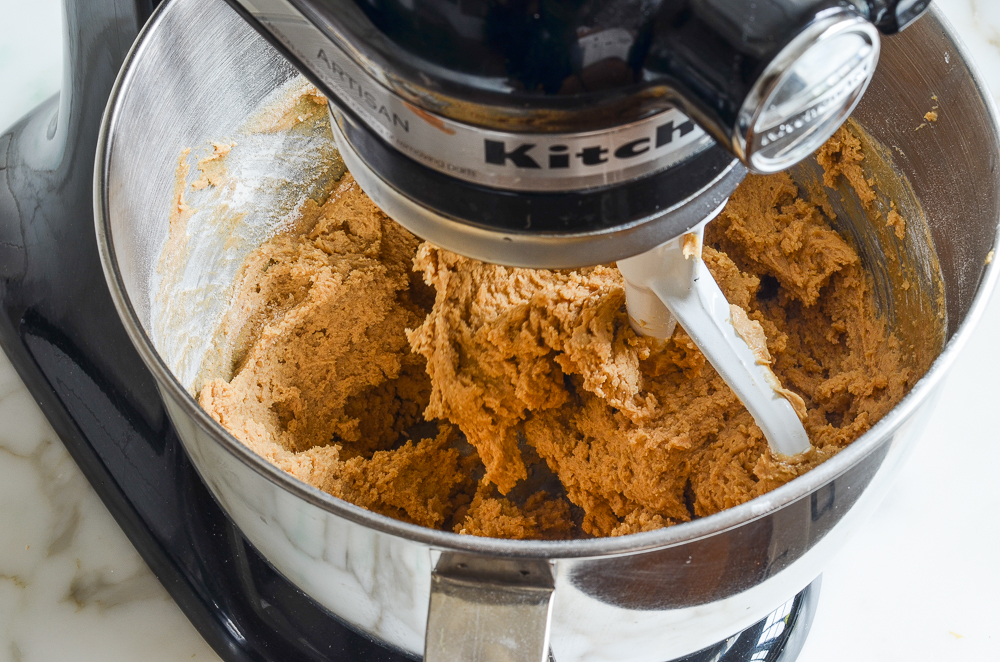
In the bowl of a stand mixer fitted with the paddle attachment (or use a hand mixer with beaters), beat the butter, peanut butter, brown sugar, 1/4 cup of the granulated sugar, and the vanilla on medium speed until well combined, about 1 minute.
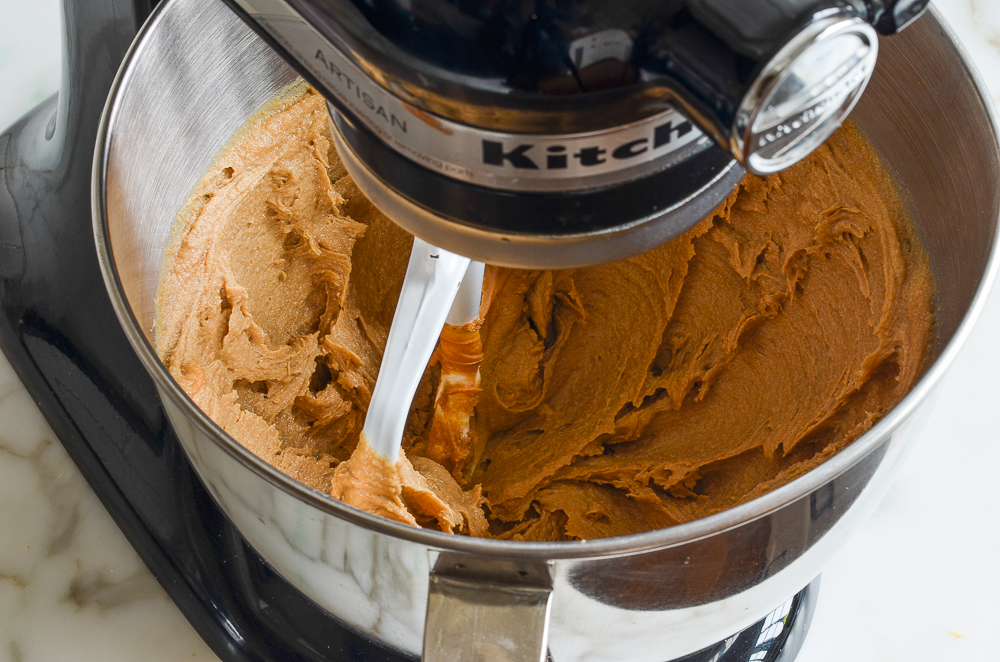
Scrape down the sides of the bowl with a rubber spatula and add the egg.
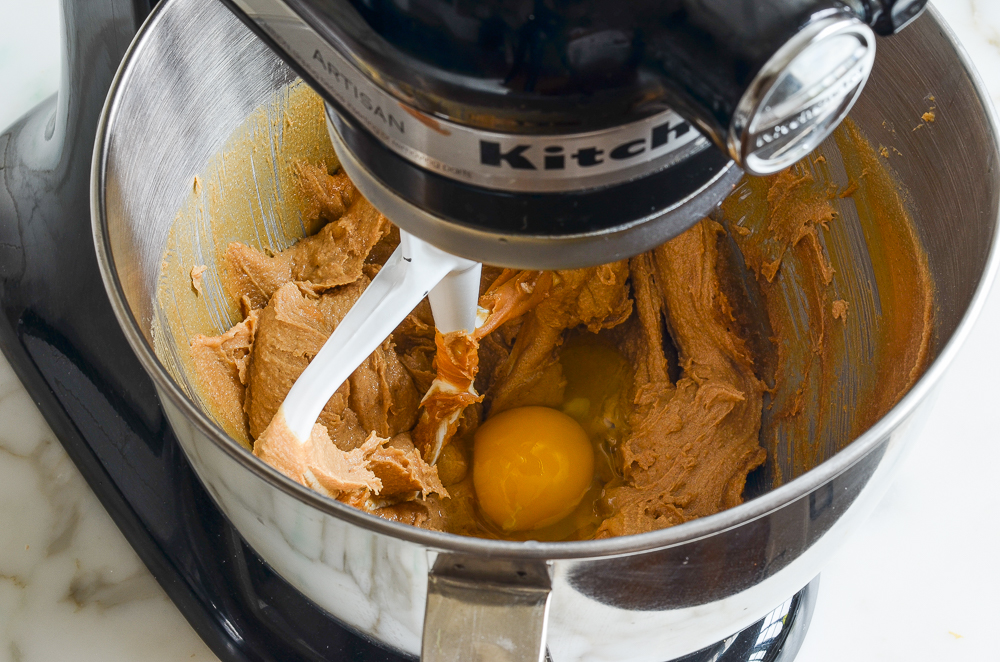
Beat until incorporated, about 20 seconds more.
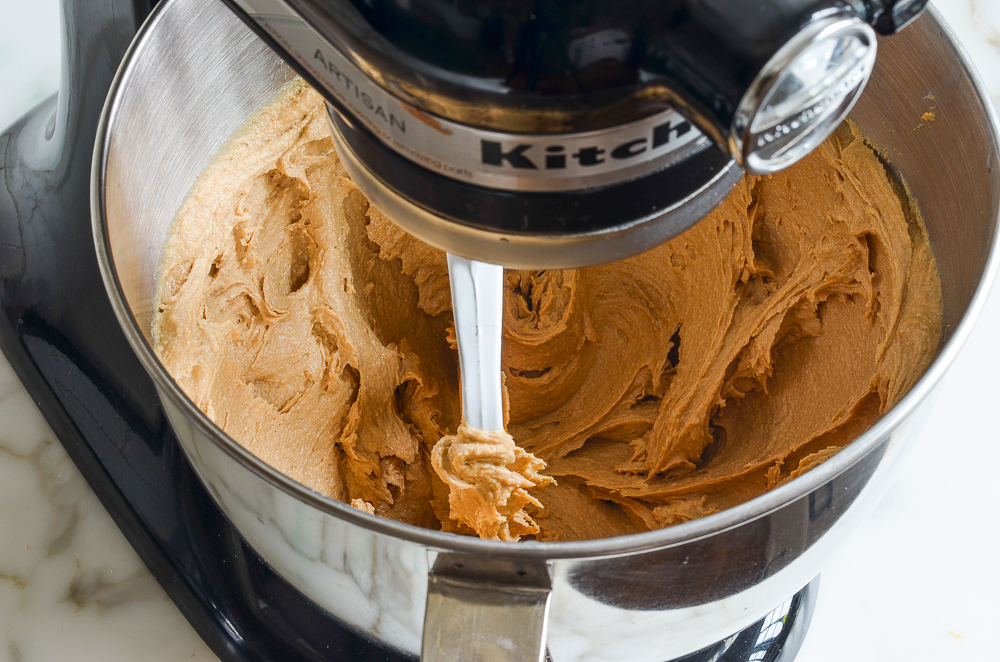
Add the flour mixture to the peanut butter mixture.
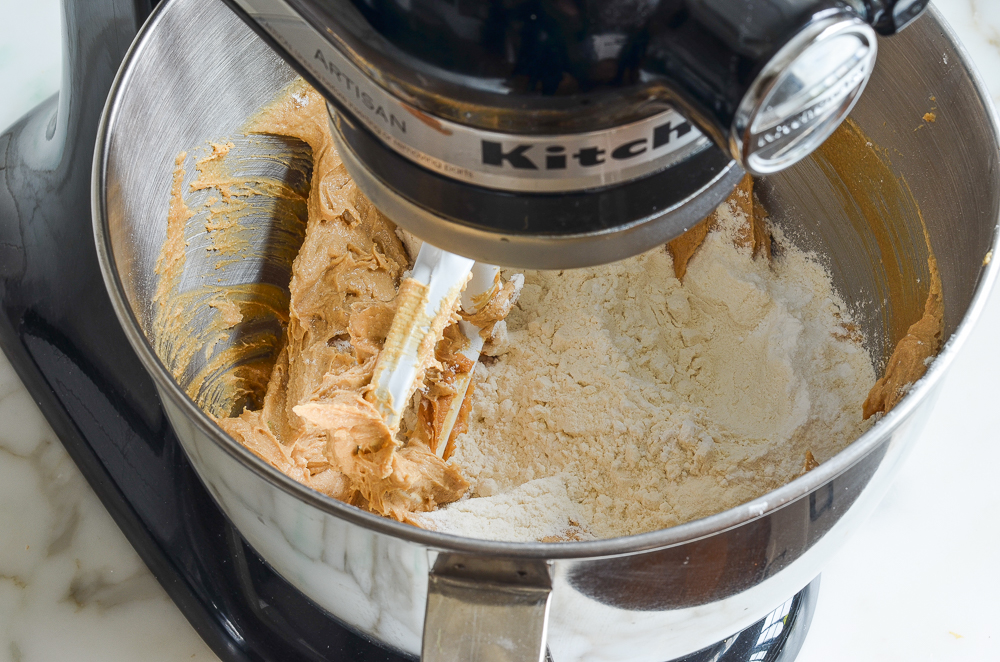
Mix on low speed until just combined, scraping the sides of the bowl as necessary. Refrigerate the dough for about 1 hour, or until firm enough to roll.
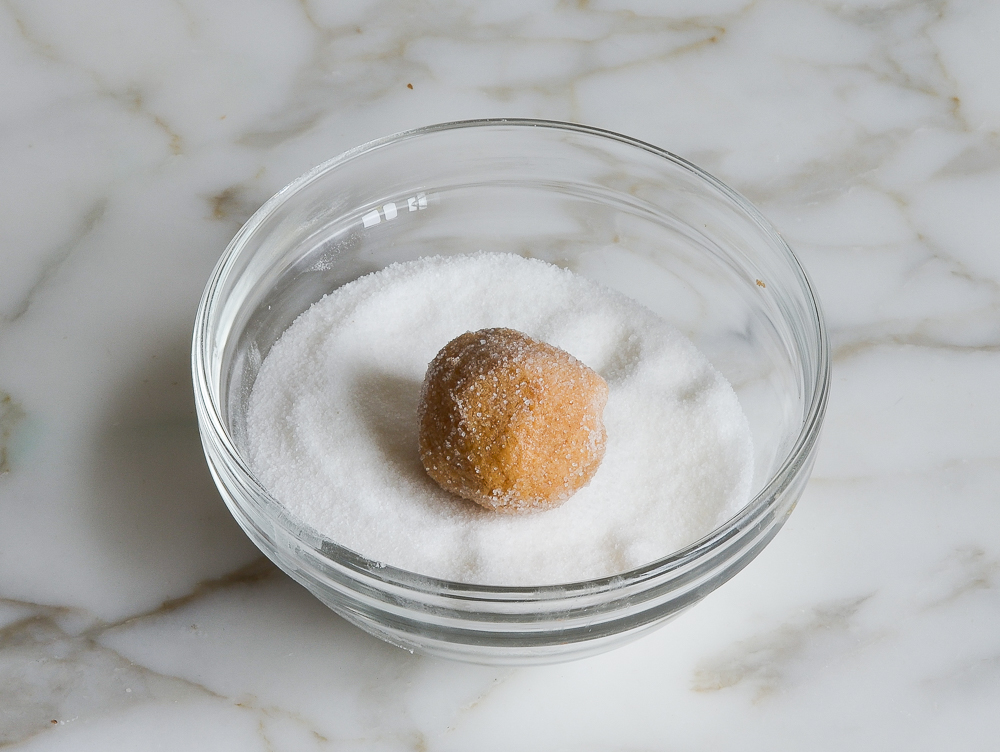
Roll the dough into tablespoon-size balls, then roll in granulated sugar.
Place the dough balls 2 inches apart on a parchment-lined baking sheet.
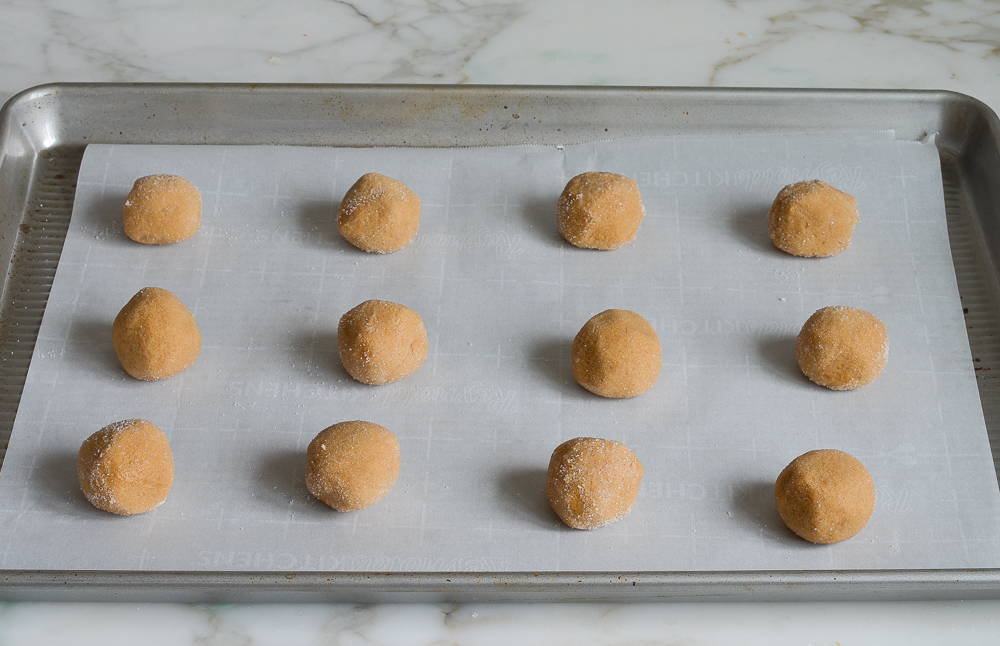
Bake until puffed, 7 to 9 minutes.
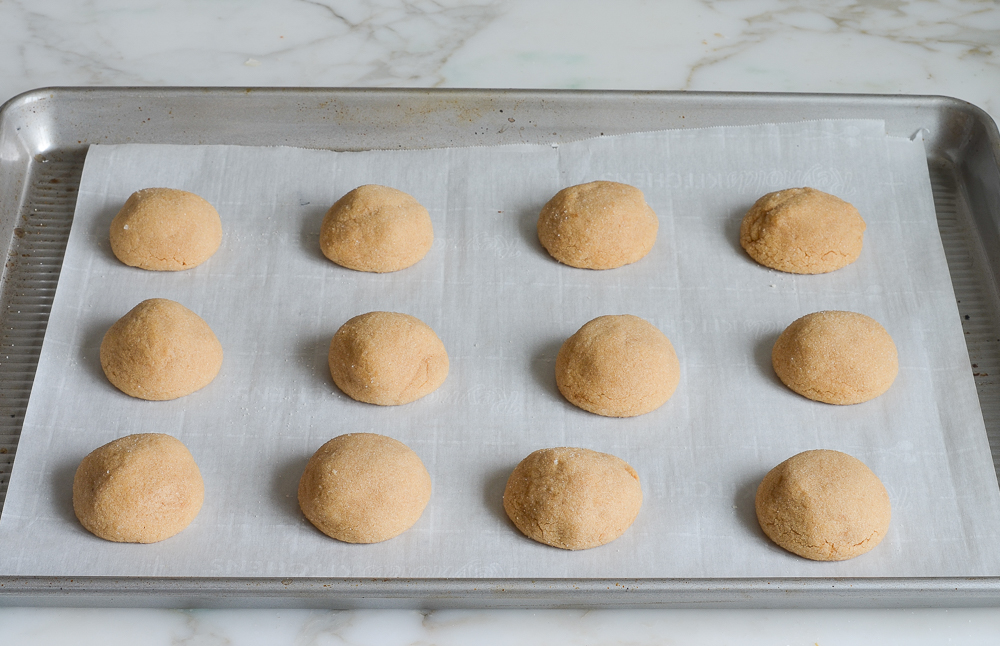
Lightly press a Hershey’s kiss into the center of each cookie (the dough will crack slightly).
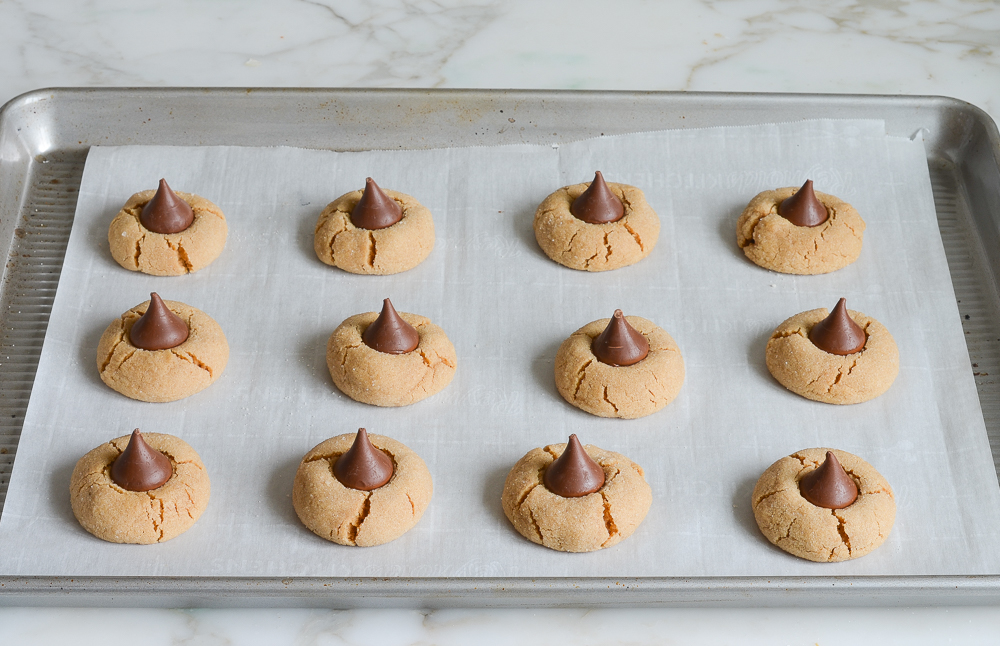
Return the cookies to the oven and bake until the cookies are golden and the chocolate is glossy, 2 to 3 minutes more.
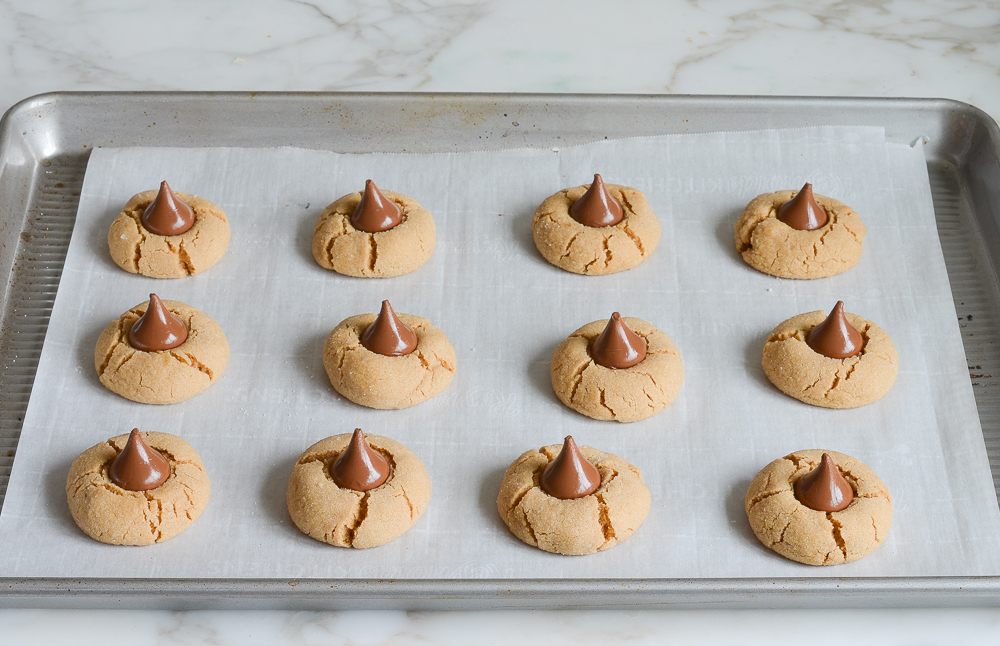
Let the cookies cool on the baking sheet for a few minutes, then transfer to a wire rack to cool to room temperature.
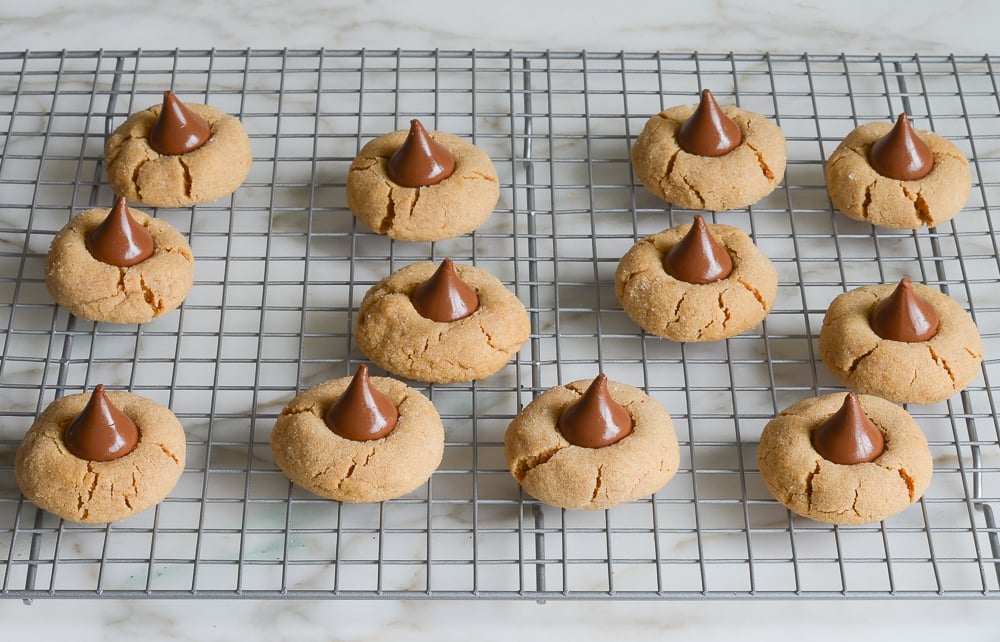
Repeat with the remaining cookie dough, storing the dough in the refrigerator between batches.
Make-Ahead, Freezing & Storage Instructions
The cookies can be stored in a single layer in an airtight container for up to 3 days. Additioinally, the dough can be made and refrigerated up to a day ahead of time. For longer storage, the cookie dough can be frozen for up to 3 months: Roll the dough into balls and then roll in granulated sugar. Let set on a baking sheet in the freezer for 1 hour, then place in a sealable bag and press out as much air as possible. Bake as needed directly from the freezer. (Allow 1 to 2 minutes longer in the oven.)
You May Also Like
Video Tutorial
Peanut Butter Blossoms
Peanut butter and chocolate kisses in a cookie? Yes, please! These peanut butter blossoms are the cutest cookies around.
Ingredients
- 1½ cups all-purpose flour, spooned into measuring cup and leveled-off
- ½ teaspoon baking powder
- ½ teaspoon baking soda
- ½ teaspoon salt
- 1 stick (½ cup) unsalted butter, softened
- 1 cup creamy peanut butter, at room temperature (I recommend Skippy Natural No Need To Stir)
- ¾ cup packed dark brown sugar
- ¼ cup granulated sugar, plus more for rolling the cookies
- 1 teaspoon vanilla extract
- 1 large egg
- 36 Hershey's kisses
Instructions
- In a medium bowl, whisk together the flour, baking powder, baking soda and salt. Set aside.
- In the bowl of an electric mixer fitted with the paddle attachment or beaters, beat the butter, peanut butter, brown sugar, granulated sugar, and vanilla on medium speed until well combined, about 1 minute. Scrape down the sides of the bowl with a rubber spatula. Add the egg and beat until incorporated, about 20 seconds more. Add the dry ingredients and mix on low speed until just combined, scraping the sides of the bowl as necessary. Refrigerate the dough for about 1 hour, or until firm enough to roll.
- Preheat the oven to 350°F and set an oven rack in the middle position. Line a baking sheet with parchment paper. Place about ½ cup granulated sugar in a small bowl for rolling.
- Roll the dough into tablespoon-size balls, then roll in the granulated sugar; place 2 inches apart on the prepared baking sheet. Bake until puffed, 8 to 9 minutes. Remove the baking sheet from the oven and lightly press a Hershey's kiss into the center of each cookie (the dough will crack slightly). Return the cookies to the oven and bake until the cookies are golden and the chocolate is glossy, about 2 minutes more. Let the cookies cool on the baking sheet for a few minutes, then transfer to a wire rack to cool completely. Repeat with the remaining cookie dough, storing the dough in the refrigerator between batches. Store the cookies in a single layer in an airtight container for up to 3 days.
- Make-Ahead Instructions: The dough can be made and refrigerated up to a day ahead of time.
- Freezer-Friendly Instructions: The cookie dough can be frozen for up to 3 months: Roll the dough into balls and then roll in granulated sugar. Let set on a baking sheet in the freezer for 1 hour, then place in a sealable bag and press out as much air as possible. Bake as needed directly from the freezer. (Allow 1 to 2 minutes longer in the oven.)
Nutrition Information
Powered by ![]()
- Serving size: 1 cookie
- Calories: 157
- Fat: 9 g
- Saturated fat: 4 g
- Carbohydrates: 18 g
- Sugar: 12 g
- Fiber: 1 g
- Protein: 3 g
- Sodium: 61 mg
- Cholesterol: 12 mg
This website is written and produced for informational purposes only. I am not a certified nutritionist and the nutritional data on this site has not been evaluated or approved by a nutritionist or the Food and Drug Administration. Nutritional information is offered as a courtesy and should not be construed as a guarantee. The data is calculated through an online nutritional calculator, Edamam.com. Although I do my best to provide accurate nutritional information, these figures should be considered estimates only. Varying factors such as product types or brands purchased, natural fluctuations in fresh produce, and the way ingredients are processed change the effective nutritional information in any given recipe. Furthermore, different online calculators provide different results depending on their own nutrition fact sources and algorithms. To obtain the most accurate nutritional information in a given recipe, you should calculate the nutritional information with the actual ingredients used in your recipe, using your preferred nutrition calculator.


These were very good but the dough seemed very dry to me- and I followed the recipe exactly. Any ideas? Maybe my egg was not large enough? Or maybe need more than just 1 stick of butter?
Hi Walt, did you refrigerate the cookie dough for significantly longer than an hour? Did you use the spoon and level method to measure your flour? Number 1 in this Baking Tips post explains it nicely.
I’ve baked several different recipes of blossoms over the years. These are far and away my family’s favorite. They gets lots of wows! I think it’s partially because they contain more peanut butter than the other recipes. Absolutely delicious. I can now stop my search for the perfect blossom recipe!
I am not very excellent with English but I line up this rattling easy to translate.
Ok I wasn’t sure if these were cooked enough, that being said once they cooled they were the most DELICIOUS peanut butter cookie. I cooked second batch 10 minutes then 3 with the kisses but BOTH were such a hit. A keeper for sure.. wasn’t much difference which cooking time was used, unlike other blossoms these definitely had the peanut butter flavor mixed perfectly with the kiss. SAVE THIS RECIPE
I just made these and followed the recommended baking times but they seem very soft. I even added a few extra minutes. Do they firm up after they cool? I fear I should have left them in longer pre-kiss and now if I bake longer the kiss will melt.
Hi Adina – they will firm up as they cool. How did they turn out?
Hi Can you freeze cookies that are not eaten within 3-5 days?
Rich
Hi Richard, You can, but chocolate tends to “bloom” in the freezer (which means it develops a white coating on the surface). It doesn’t go bad, but it doesn’t look pretty. Hope that helps!
I really love these cookies. You can really taste the peanut butter. Added to my favorites!