Pâte Sucrée (Sweet Tart Dough)
This post may contain affiliate links. Read my full disclosure policy.
A pâte sucrée is a crisp yet tender pastry crust that is slightly sweet. It maintains its shortbread-like texture when chilled, which makes it ideal for tarts that require refrigeration.
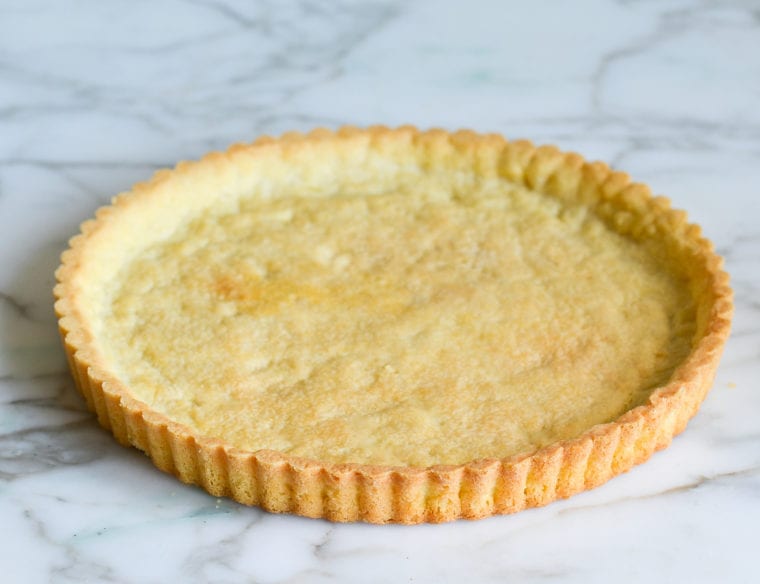
Enriched with egg yolk, butter, and sugar, pâte sucrée is a crisp yet tender pastry crust that is slightly sweet. (In French, pâte means dough and sucrée means sweet.) The dough maintains its shortbread-like texture even when chilled, which makes it ideal for tarts that require refrigeration, like a classic French fruit tart.
Pâte sucrée dough is typically rolled out using a rolling pin, but since it’s very prone to tearing, I find it easier to simply press the pastry into the bottom and up the sides of the pan; there’s also less risk of overworking the dough this way.
This recipe makes enough dough for one 9.5 x 1-inch high fluted tart pan with a removable bottom or a 9-inch pie shell. Feel free to double the recipe and freeze half for another time; it keeps well in the freezer for up to 3 months.
Table of Contents
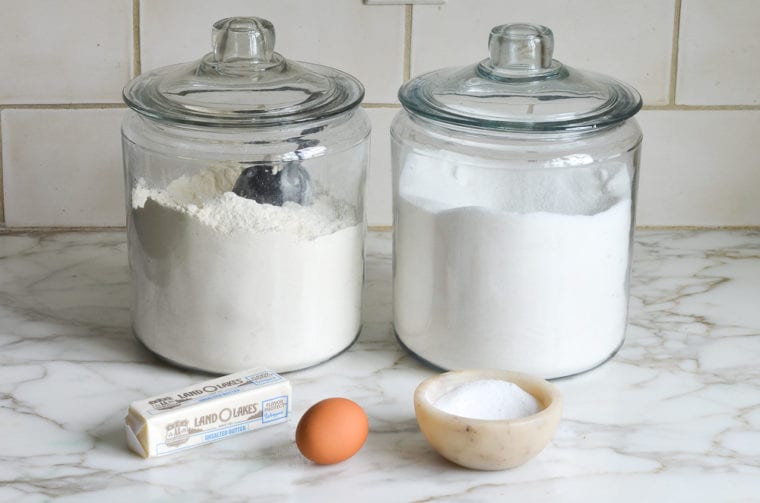
What You’ll Need To Make Pâte Sucrée (Sweet Tart Dough)
Step-By-Step Instructions
In a stand mixer fitted with a paddle attachment, combine the butter, sugar, and salt.
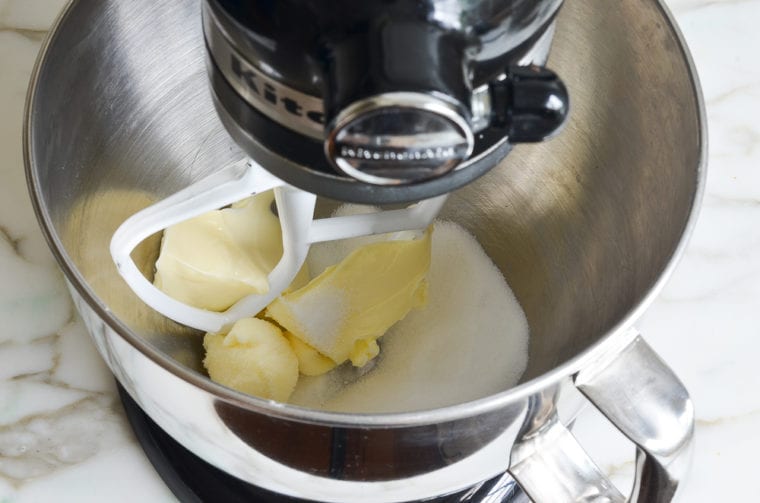
Beat on medium speed until pale and creamy, about 2 minutes. Scrape down the sides and bottom of the bowl with a rubber spatula and add the flour.
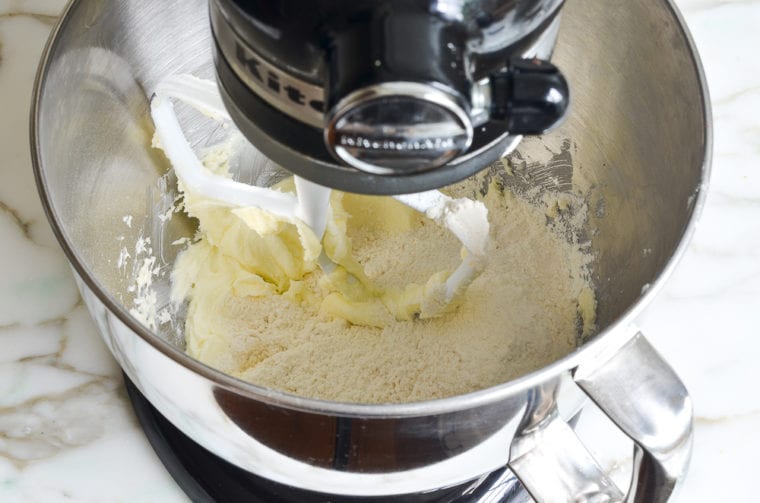
Mix on low speed for about 30 seconds, until the flour is incorporated, and then add the egg yolk.
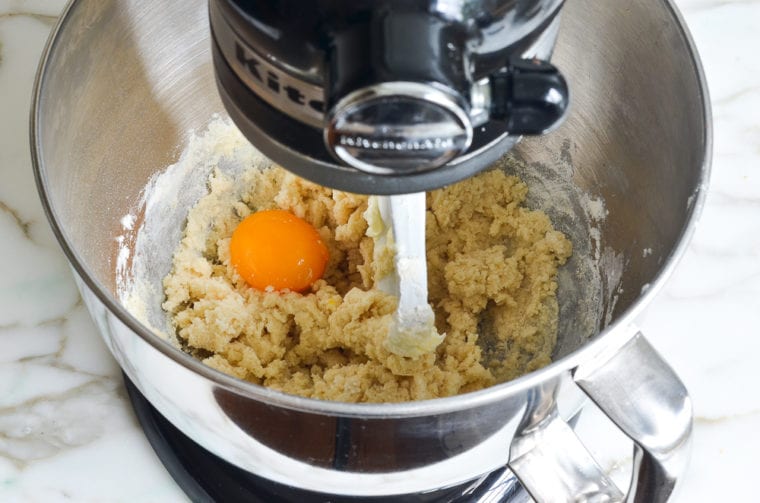
Mix on low speed until the yolk is evenly incorporated and the dough is clumpy, about 30 seconds.
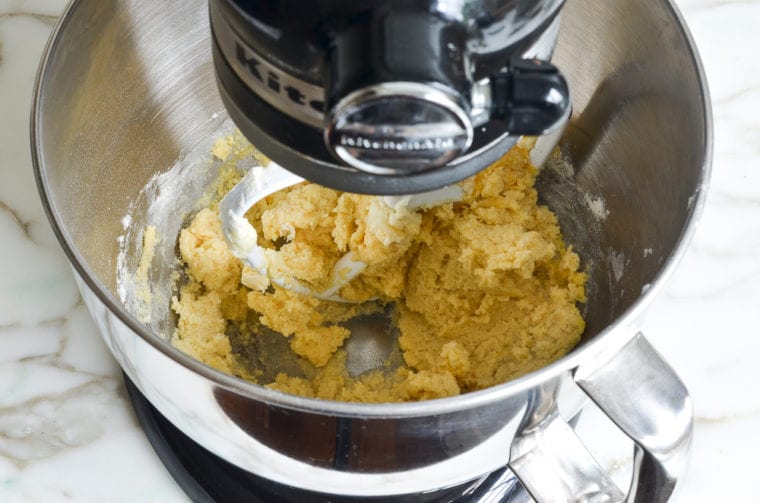
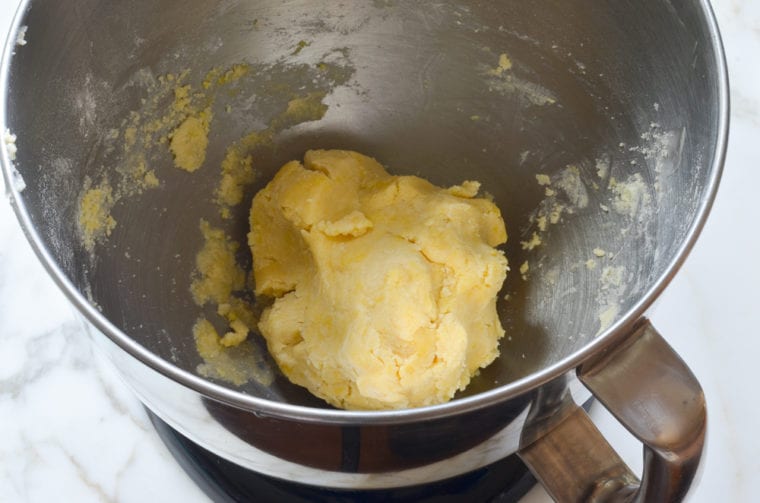
Using your hand, lightly knead the dough into a ball inside the bowl.
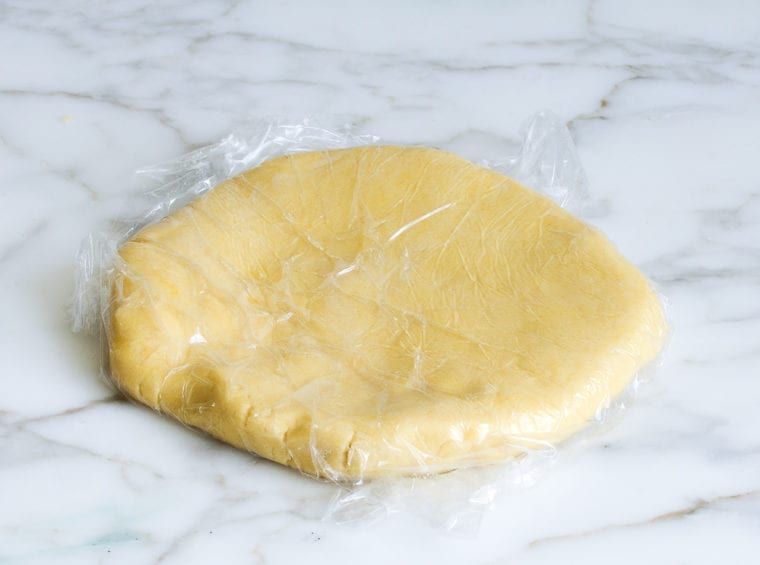
Remove the dough from the bowl, press it into a 6-inch disk, wrap it tightly in plastic wrap, and let it rest in the refrigerator for about 30 minutes. (The dough can be tightly wrapped in plastic and stored in the refrigerator for up to 5 days or in the freezer for up to 3 months. If frozen, thaw it in the refrigerator overnight before using.)
Lightly spray a 9.5-inch tart pan with a removable bottom or a 9-inch pie shell with nonstick cooking spray with flour. Place the chilled dough inside the pan. Pinch off pieces of dough and press them against the sides of the pan to reach about 1/8-inch thick and about 1/8 inch above the rim.
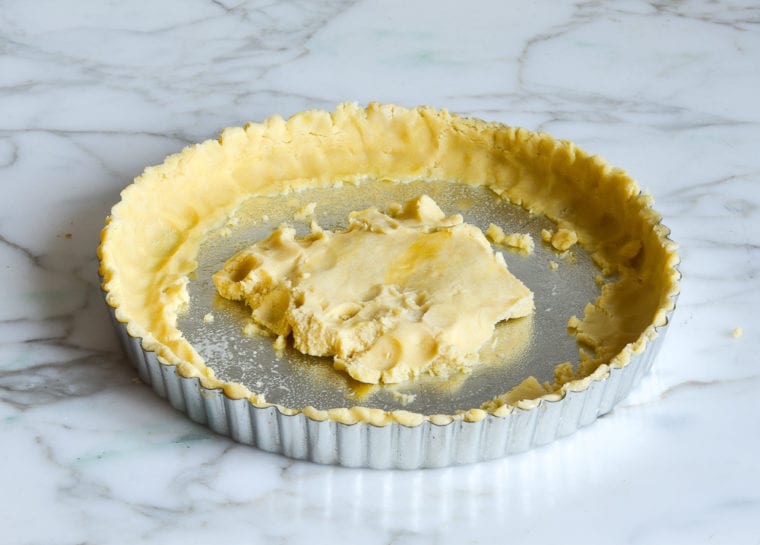
Using the heel of your hand, press the rest of the dough evenly into the bottom of the pan. It will look like a mess, and it may seem like you won’t have enough dough at first, but have faith, it will come together.
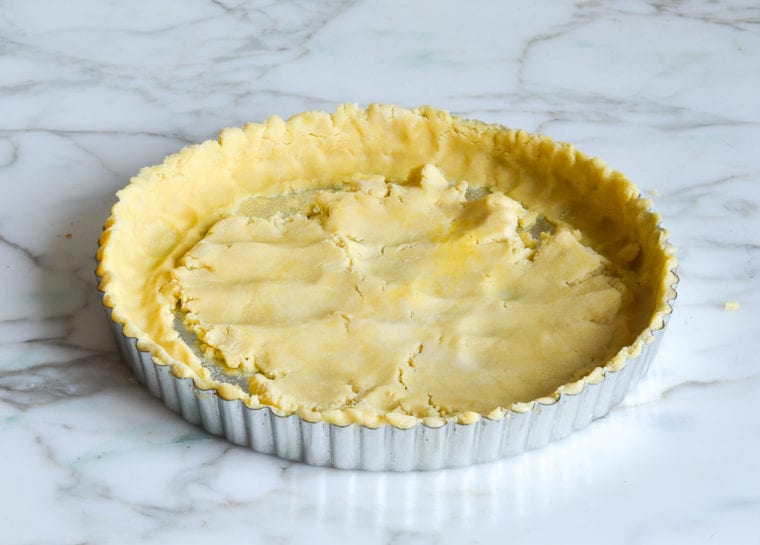
Be sure there are no seams in the dough, and press it squarely along the corners where the bottom meets the sides to avoid extra-thick edges. Use a paring knife to trim the top edge of the dough so it is even with the rim of the pan. Cover with plastic wrap and place in the freezer for about 30 minutes to chill.
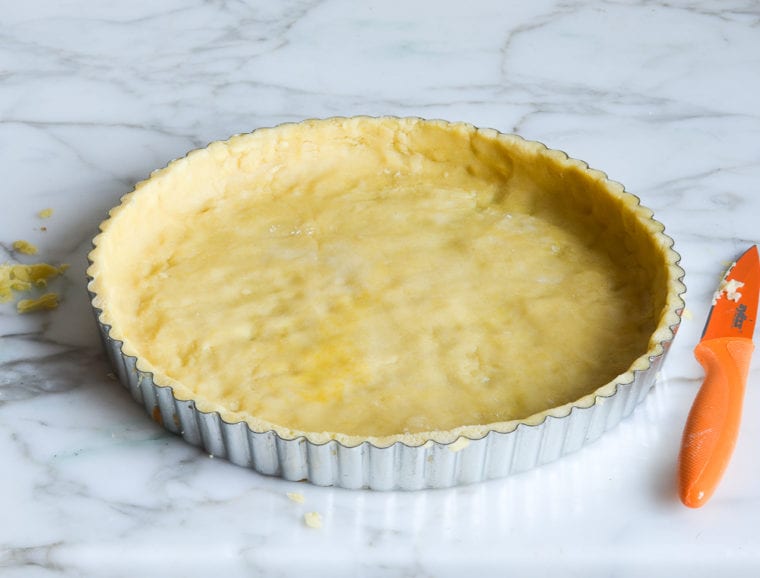
Preheat the oven to 350°F. Place the chilled pâte sucrée on a baking sheet (for easy handling).
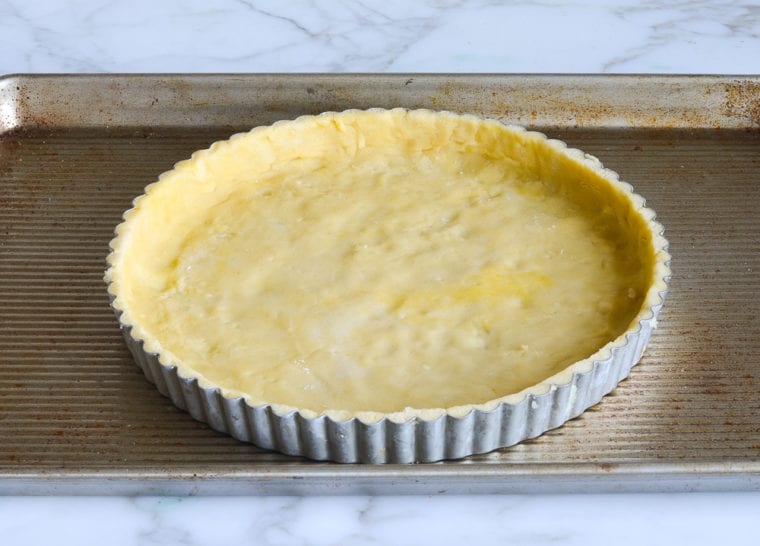
Bake for 23 to 26 minutes, or until lightly golden.
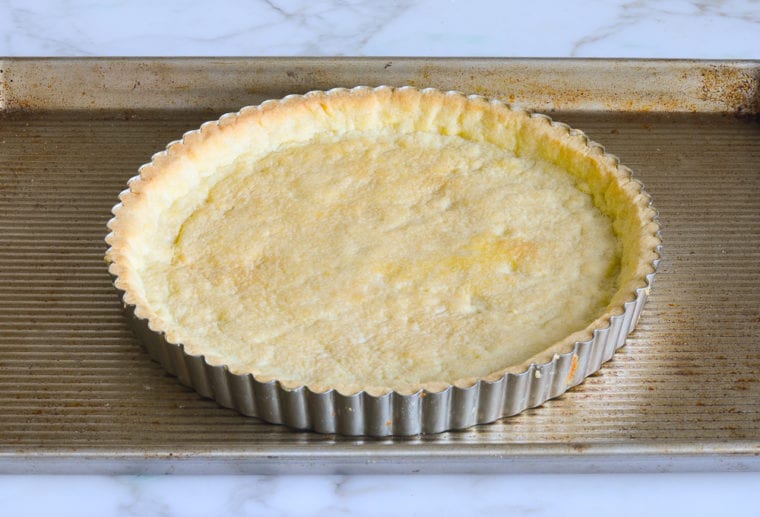
Let cool to room temperature.

You May Also Like
Pâte Sucrée (Sweet Tart Dough)
A pâte sucrée is a crisp yet tender pastry crust that is slightly sweet. It maintains its shortbread-like texture when chilled, which makes it ideal for tarts that require refrigeration.
Ingredients
- 1 stick (½ cup) unsalted butter, at room temperature
- ⅓ cup sugar
- ¼ teaspoon salt
- 1¼ cups all-purpose flour, spooned into measuring cup and leveled-off
- 1 egg yolk
- Nonstick cooking spray with flour, for baking
Instructions
- In a stand mixer fitted with a paddle attachment, cream the butter, sugar, and salt on medium speed until pale and creamy, about 2 minutes. Scrape down the sides and bottom of the bowl with a rubber spatula. Add the flour and mix on low speed for about 30 seconds, until the flour is incorporated. The mixture will look like wet, clumpy sand. Add the egg yolk and mix on low speed until the yolk is evenly incorporated and the dough is clumpy, about 30 seconds. Using your hand, lightly knead the dough into a ball inside the bowl. Remove the dough from the bowl, press it into a 6-inch disk, wrap it tightly in plastic wrap, and let it rest in the refrigerator for about 30 minutes. (The dough can be tightly wrapped in plastic and stored in the refrigerator for up to 5 days or in the freezer for up to 3 months. If frozen, thaw it in the refrigerator overnight before using.)
- Lightly spray a 9.5-inch tart pan with a removable bottom or a 9-inch pie shell with nonstick cooking spray with flour. Place the chilled dough inside the pan. Pinch off pieces of dough and press them against the sides of the pan to reach about ⅛-inch thick and about ⅛ inch above the rim (you'll trim the top later). Using the heel of your hand, press the rest of the dough evenly into the bottom of the pan. (It will look like a mess, and it may seem like you won't have enough dough at first, but have faith, it will come together.) Be sure there are no seams in the dough, and press it squarely along the corners where the bottom meets the sides to avoid extra-thick edges. Use a paring knife to trim the top edge of the dough so it is even with the rim of the pan. Cover with plastic wrap and place in the freezer for at least 30 minutes to chill.
- Preheat the oven to 350°F and set an oven rack in the middle position.
- Place the chilled pâte sucrée on a baking sheet (for easy handling) and bake for 23 to 26 minutes, or until lightly golden. Let cool to room temperature on a wire rack.
Nutrition Information
Powered by ![]()
- Per serving (10 servings)
- Calories: 169
- Fat: 10 g
- Saturated fat: 6 g
- Carbohydrates: 19 g
- Sugar: 7 g
- Fiber: 0 g
- Protein: 2 g
- Sodium: 60 mg
- Cholesterol: 39 mg
This website is written and produced for informational purposes only. I am not a certified nutritionist and the nutritional data on this site has not been evaluated or approved by a nutritionist or the Food and Drug Administration. Nutritional information is offered as a courtesy and should not be construed as a guarantee. The data is calculated through an online nutritional calculator, Edamam.com. Although I do my best to provide accurate nutritional information, these figures should be considered estimates only. Varying factors such as product types or brands purchased, natural fluctuations in fresh produce, and the way ingredients are processed change the effective nutritional information in any given recipe. Furthermore, different online calculators provide different results depending on their own nutrition fact sources and algorithms. To obtain the most accurate nutritional information in a given recipe, you should calculate the nutritional information with the actual ingredients used in your recipe, using your preferred nutrition calculator.


Adding stars to message
I make pie crust and tart shells fairly regularly. After creaming the butter and sugar, I added the flour. There is no way that the dough would ever look ‘wet’. I added the egg yolk and had a floury dry mass and realized immediately there was not enough wet ingredients to come together. I added a tablespoon or so of milk and all was good. Flavor was good and dough was easy to work with when moisture content got right. Heating the oven now to bake it off. Can’t give it five stars because it needed some moisture.
I had the same issue. I added an extra egg yolk and a couple tablespoons of cold water to bring everything together.
Love this recipe – I keep coming back because it’s never failed me! So tasty plus I always get compliments!
There’s a typo where you’re talking about how to prep the tin. It says “spray with nonstick cooking spray with flour”. Can you edit to clarify?
Hi Kelsey, Glad you like it! That’s actually not a typo — there’s cooking spray that contains flour that’s good for baking. Both Pam and Baker’s Joy are brands that make it. Hope that clarifies. 😊
Hi! Is it possible to bake this ahead of time and store it to be filled later? I find when I’m making a tart the crust/shell takes so long and I was wondering if I can break up the labor and make it a day or two early, ahead of filling it. Does it keep in the fridge once baked?
Hi Rebecca, Sure, you can make the shell up to a day ahead and refrigerate. 🙂
Bonjour Jen ,
I only have on hand a 11 inch wide X 3/4 inch height removable bottom tart pie. Would this be suitable ? Any adjustments to do ?
Merci !
Martine
Hi Martine, It will definitely work but it may be a little short. To be safe, I’d multiply all the ingredients by 1.25. Hope you enjoy!
TKS Jen- Did go to the mall to get the right size 🙂
👍
I substitute cane sugar with monk fruit (same ratio) and it was delicious. I’ll definitely will be making it again.
I’m making this right now and I’m wondering, is it ok that I’m making the crust today and assemble it tomorrow? If so, should I refrigerate it overnight or wrap it and leave it on the countertop? Thanks Jenn!
I’m probably weighing too late to help, but I’d refrigerate it overnight.
Using a springform pan. Do I remove the freezer-chilled pastry from the pan or bake pan and all ?
OK, got this figured out. The unbaked pastry shell will fall apart if I attempt to set it onto a baking sheet without the reinforcing wall of the springform…
I am using a glass pie pan for the crust. Says to freeze 1/2 hour then put on cookie sheet and bake. Should I do that? Afraid glass will break during baking?
Hi Teri, I would refrigerate for 1 hour instead. Hope that helps!
I’m not the type of person to leave a review/comment on a recipe site, but it’s 100% necessary this time.
*Everything * went according to plan when I made this recipe, and all of the instructions were perfectly clear. There was 0 struggle during the process.
The tart shell turned out AMAZINGLY. Imagine a shortbread cookie, almost, but with a little more of a melty crispness and less sweetness.
Luckily I made two tarts, because by the time I was done serving the first one, people were asking for me to cut into the second!!
I truly wish I had taken pictures of the tart shells alone, but here’s one of a complete tart https://imgur.com/a/XSEHOHC
Thank you for sharing this gem of a recipe! It will be bookmarked for eternity!
My only feedback that I can give is that my edges (they seemed pretty even) darkened a little quicker than I wanted, so I just covered them in foil and popped the shells back into the oven for a couple more minutes. Ya know, like you do with pies sometimes.
This recipe is just brilliant! I actually made it gluten free by just using gluten-free flour instead of regular flour (no other moderations) and it turned out beatifully! Actually didn’t crumble everywhere. Held its shape. Would highly recommend!!!
Perfect, one of the most accurate recipes I have ever made. It was dessert for today, Easter Sunday and it was well received. Made this along with the Classic French Fruit Tart recipe. https://www.onceuponachef.com/recipes/classic-french-fruit-tart.html
**** DO NOT Underestimate your smearing power with this dough and the amount you can spread and smooth it around the pan. At first I thought I didn’t have enough dough, there was plenty. Upon forming it to the sides the corners had a lot of hidden dough there that I eventually kneaded out and moved towards the middle. This gave it a perfect crust that was just the right amount of flaky with a beautiful butter cookie type flavor.
Can I use a regular mixer if I don’t have a stand mixer?
Sure, that should work. You may just need to increase the speed of the mixer a little.