Crispy Pan Fried Fish Fingers
This post may contain affiliate links. Read my full disclosure policy.
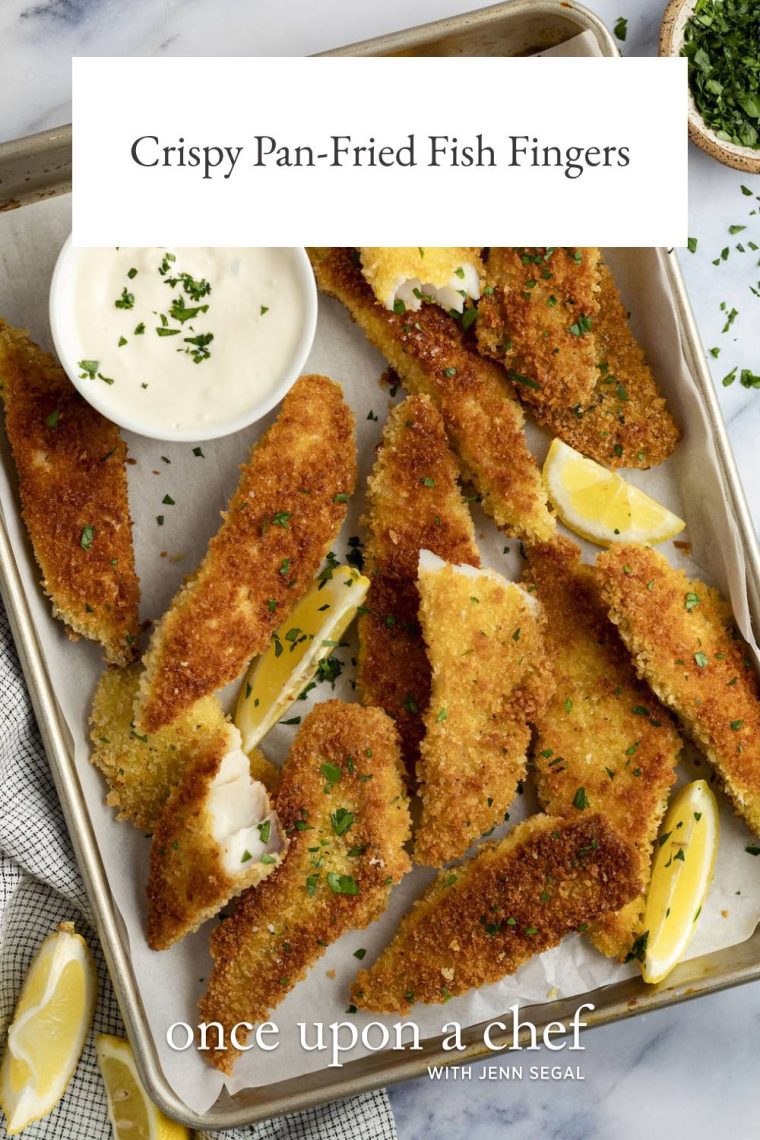
Prepare a fun hands-on weeknight dinner with these pan fried fish fingers — juicy on the inside, golden and crusty outside, with delicious lemon-garlic mayo for dipping.
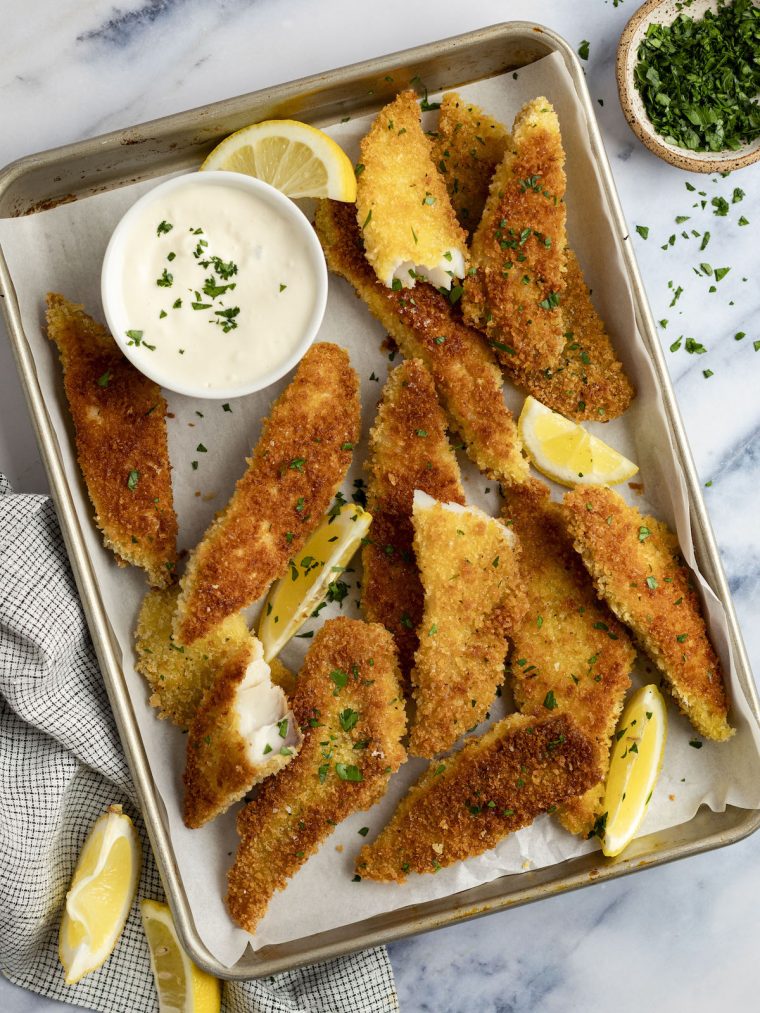
If you’re looking for a way to introduce your kids to fish, these pan fried fish fingers might just be the trick. They’ve got all the hallmarks of kid-friendly fare—crunchy and easy to eat with your hands—yet they appeal to grown-ups too. The fish fillets are lightly breaded with panko, pan-fried until golden-crisp, and paired with a tangy garlic and lemon mayonnaise. It’s my go-to recipe for turning ordinary tilapia into something special.
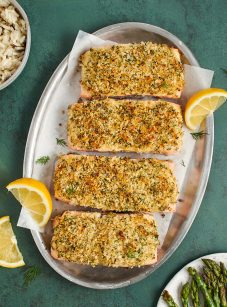
If tilapia isn’t your preference, cod or haddock also work nicely, so feel free to use whatever you have on hand. And for more crispy fish recipes, don’t miss my panko-crusted baked salmon, tortilla-crusted tilapia, and panko-coated fresh salmon cakes.
“My family LOVES this meal! My pickiest eater requests it weekly and that’s fine by me as I also love it and it’s easy to prep ahead of time. The lemon-garlic mayo really elevates the dish.”
What You’ll Need To Make Crispy Pan Fried Fish Fingers
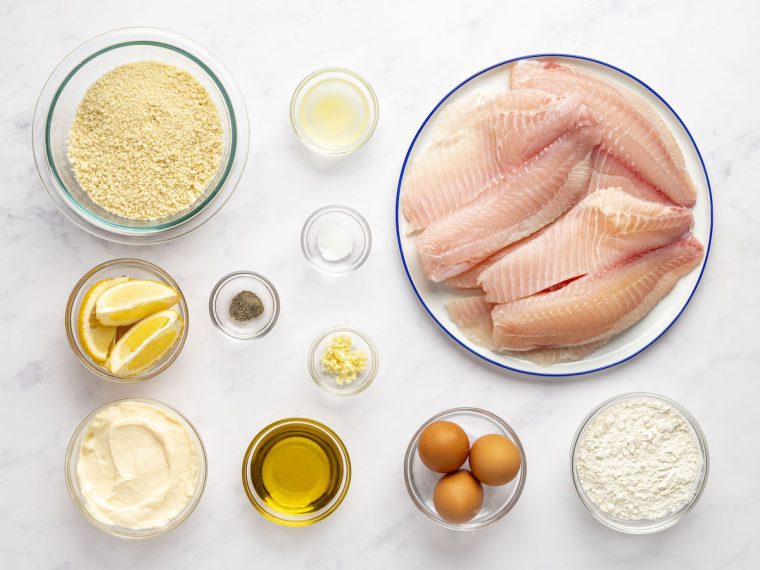
- Tilapia fillets: A mild, versatile, and readily-available fish, perfect for breading and frying.
- All-purpose flour: The first step in the breading process, it helps the egg wash adhere to the fish.
- Eggs: Act as a binding agent between the flour and panko, ensuring the breading sticks to the fish.
- Panko: Provides the outer layer, giving the fish sticks their signature crunchy texture.
- Olive oil: Used for pan-frying, it gives the fish sticks a golden color and crispy texture.
- Lemon: Brightens the flavor of the fish when squeezed over just before eating; also brightens the flavor of the dipping sauce.
- Mayonnaise, best quality such as Hellmann’s or Duke’s: Serves as the creamy base for the dipping sauce.
- Garlic: Infuses the dipping sauce with a pungent, aromatic flavor.
- Jump to the printable recipe for precise measurements
Step-by-Step Instructions
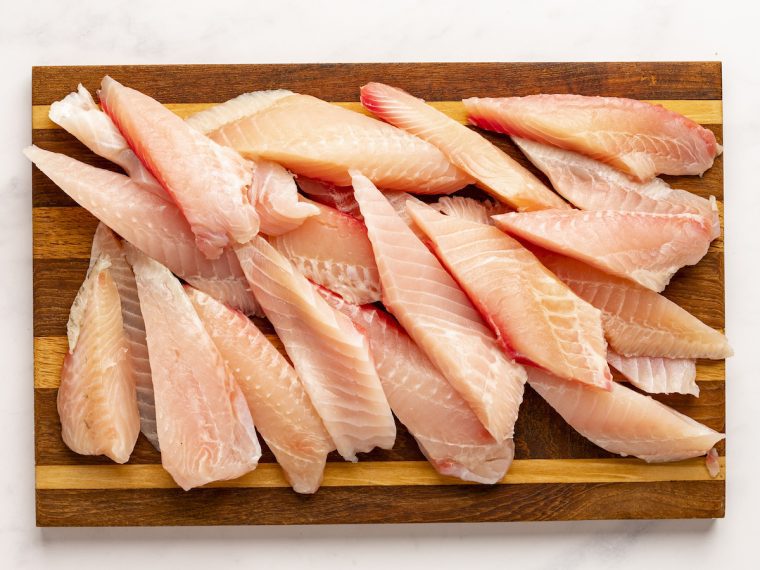
Cut the tilapia into “fingers” by first cutting the fillets in half. Leave the thin sides long, then cut the thicker sides in half on a diagonal so they appear longer.
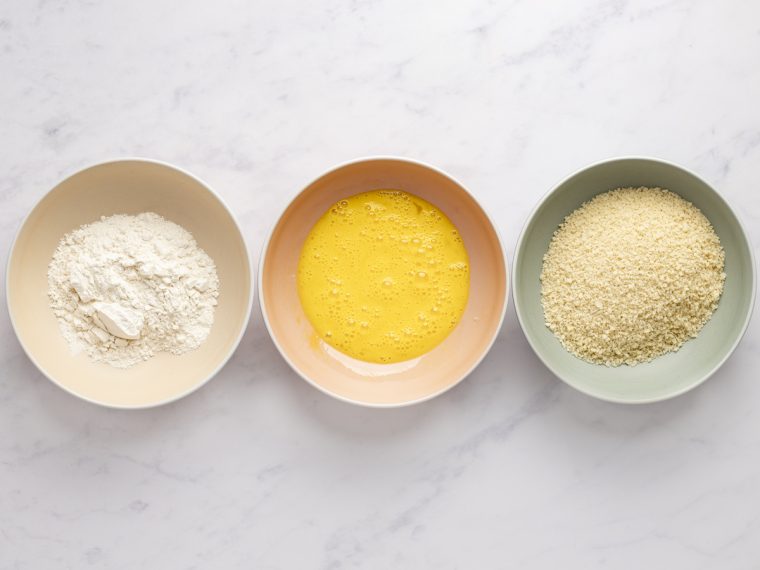
Set up three large shallow bowls in an assembly line. Put the flour in the first bowl; the beaten eggs in the second; and the panko in the third.
Line a baking sheet with aluminum foil. Dredge the fish fingers in the flour mixture, shaking excess into the bowl so just a light coating remains; then dip in the eggs and turn to coat evenly.
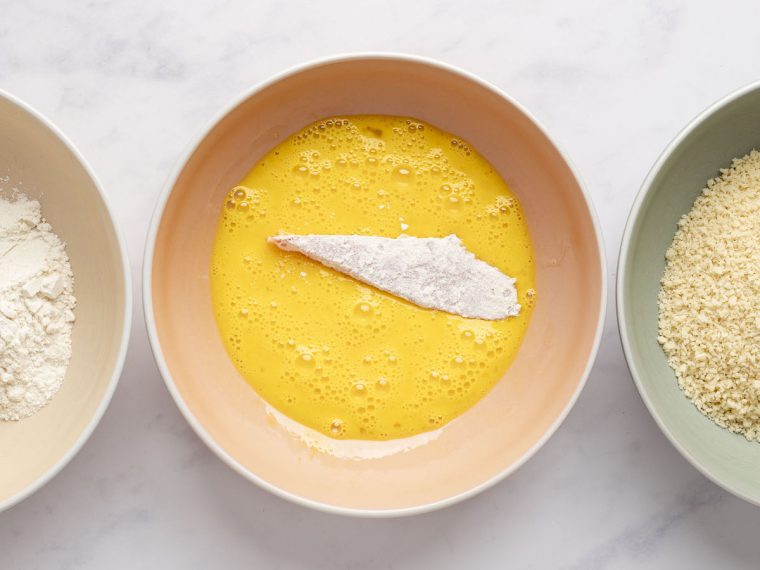
Finally, dredge in the panko, turning several times to coat evenly.
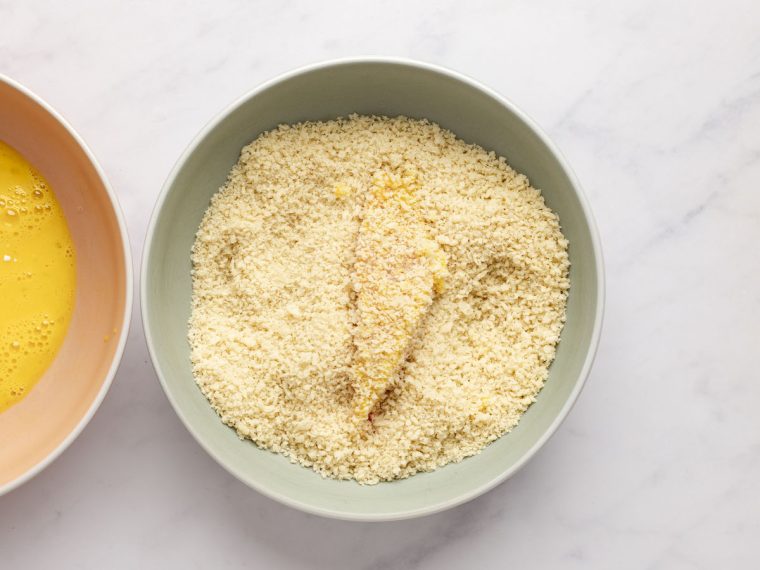
Set the breaded tilapia fingers on the prepared baking sheet and season generously with salt and pepper. Cover and refrigerate until ready to cook (this can be done several hours ahead of time).
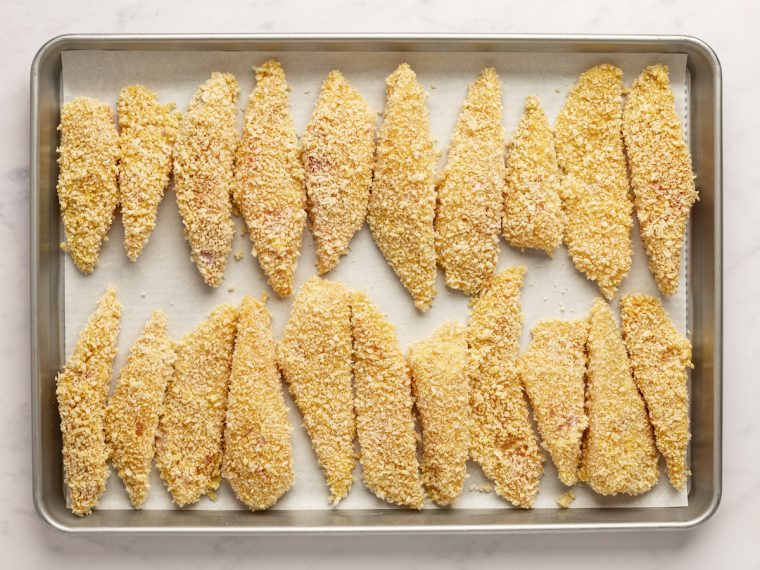
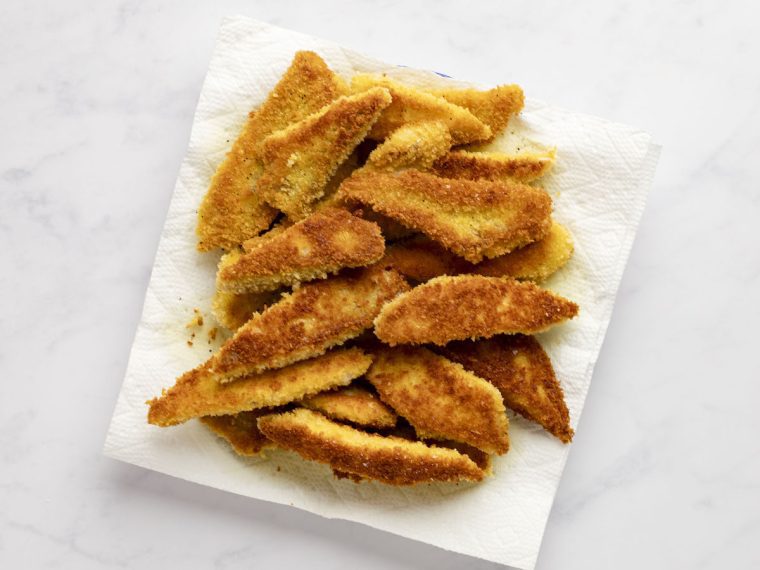
Line a plate with 3 paper towels and set by the stove. Coat a large non-stick skillet generously with olive oil and place over medium heat. When the pan is hot, place the first batch of tilapia fingers in the pan, without crowding, and cook until the first side is golden brown, 2 to 3 minutes. Flip and continue cooking until done, about 2 minutes more.
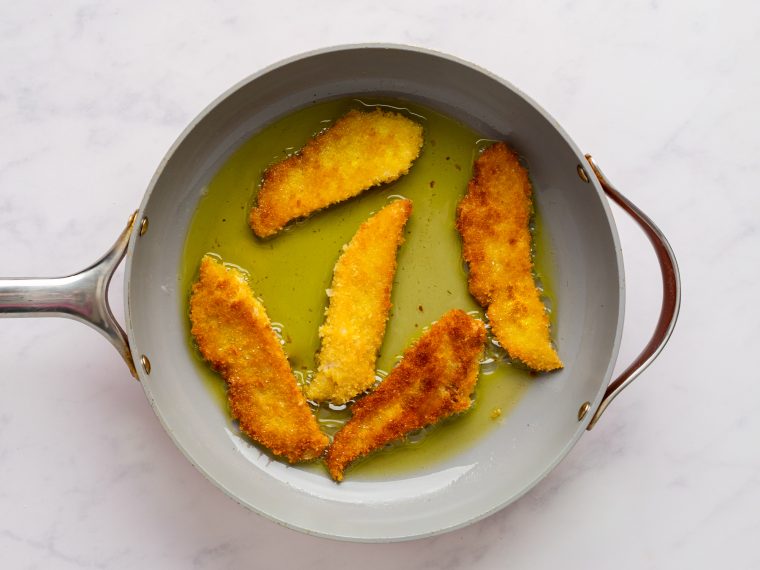
Transfer the fish fingers to the plate with paper towels and let sit for a minute to drain any excess oil. Remove any brown bits out of the pan, add more oil if necessary and continue to cook the fish in batches until done. Season the cooked tilapia fingers with more salt if desired.
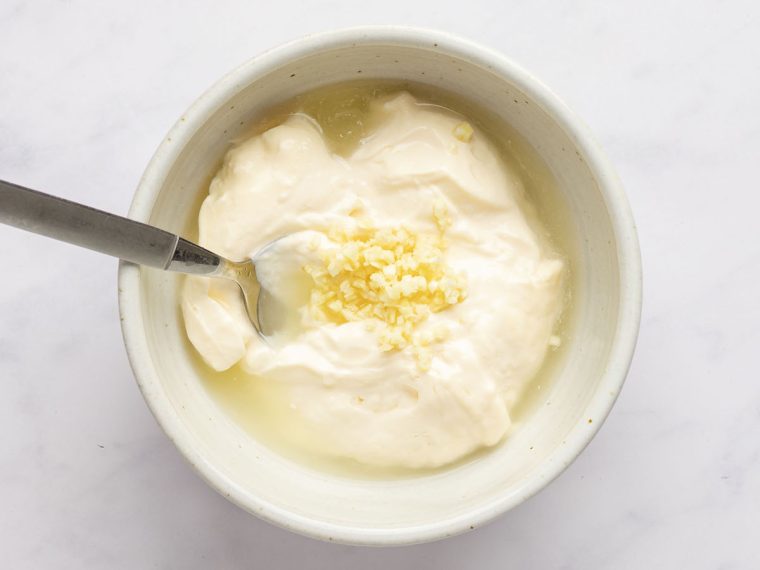
To make the sauce, combine the mayonnaise, lemon, and garlic in a small bowl.
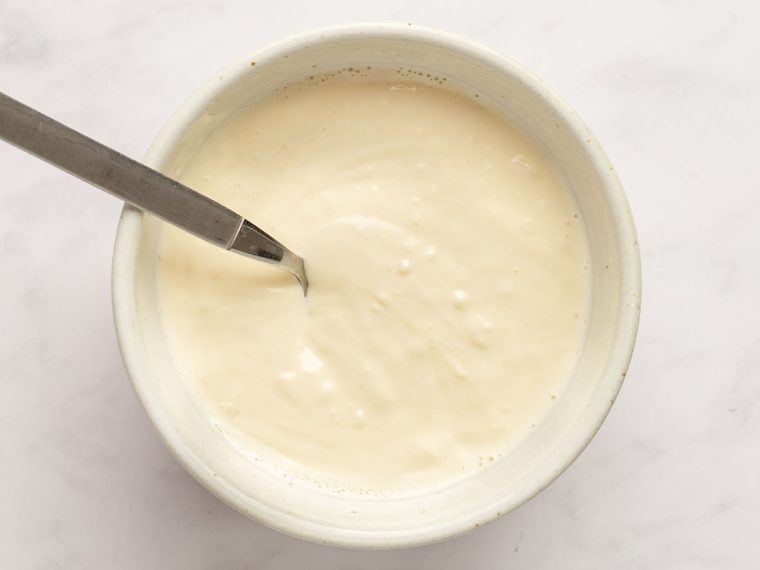
Stir to combine and season to taste with salt and pepper.
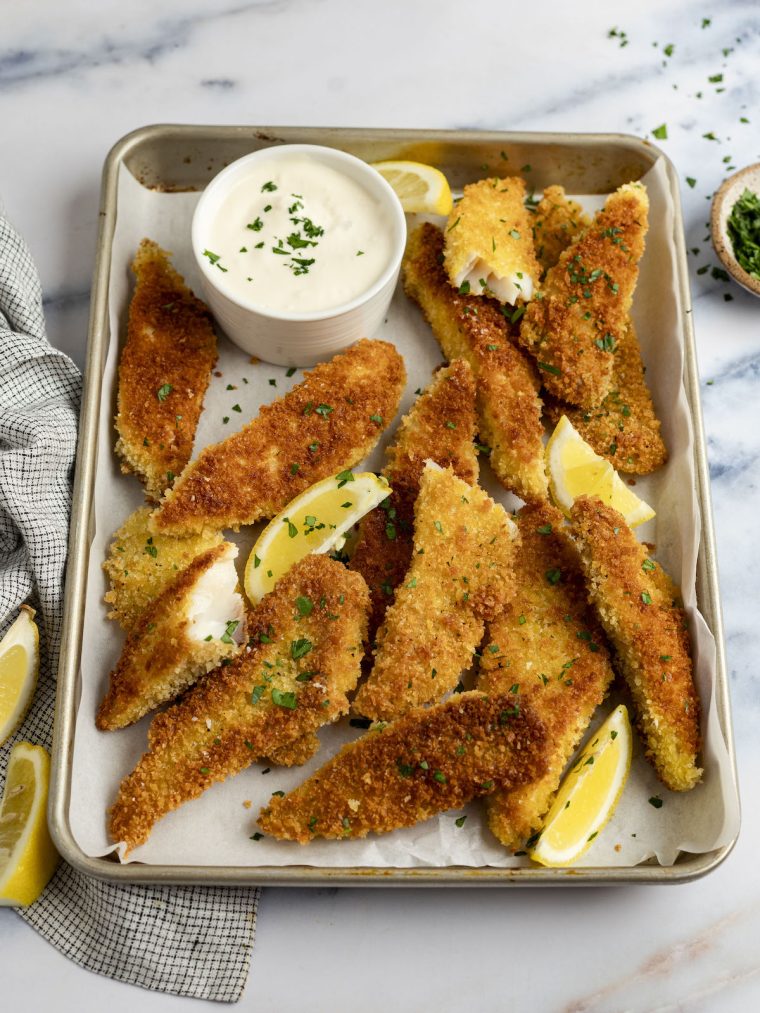
Serve the fried fish fingers with the sauce and lemon wedges.
Frequently Asked Questions
The fish sticks can be breaded and refrigerated up to 3 hours ahead of time. However, it’s important to pan-fry just before serving for best results.
Yes, you can freeze the fish sticks before frying for convenient future meals. After breading the fish sticks with flour, eggs, and panko, lay them on a baking sheet lined with parchment paper. Freeze them on the baking sheet until they’re solid, then transfer to a freezer-safe bag or container. They can be stored for up to 3 months. When you’re ready to cook, allow them to defrost slightly so they’ll lay flat in the pan, then follow the cooking instructions.
Yes, after frying, let the fish sticks cool completely. Then, freeze them in a single layer on a baking sheet before transferring to a freezer bag or container, preventing them from sticking together. Reheat in an oven preheated to 350°F until they are hot and crispy again.
You May Also Like
Crispy Pan Fried Fish Fingers
Prepare a fun hands-on weeknight dinner with these pan fried fish fingers — juicy on the inside, golden and crusty outside, with delicious lemon-garlic mayo for dipping.
Ingredients
For the Fish
- 2 pounds tilapia fillets (cod or haddock may be substituted)
- 1 cup all-purpose flour
- 3 eggs, beaten
- 2 cups panko
- Salt
- Ground black pepper
- Olive oil
- 1 lemon, cut into wedges
For the Lemon-Garlic Mayonnaise
- 1 cup mayonnaise, best quality such as Hellmann's or Duke's
- 1 clove garlic, minced
- 2 tablespoons freshly squeezed lemon juice, from 1 lemon
- Salt and ground black pepper, to taste
Instructions
For the Tilapia Fingers
- Cut the tilapia into "fingers" by first cutting the fillets in half. Leave the thin sides long, then cut the thicker sides in half on a diagonal so they appear longer.
- Set up three large shallow bowls in an assembly line. Put the flour in the first bowl; the beaten eggs in the second; and the panko in the third.
- Line a baking sheet with aluminum foil. Dredge the fish fingers in the flour mixture, shaking excess into the bowl so just a light coating remains; dip in the eggs and turn to coat evenly; then dredge in the panko, turning several times to coat evenly. (This can be a messy job...it's best to use one hand for the flour and eggs and the other for the panko.) Set the breaded tilapia fingers on the prepared baking sheet and season with salt and pepper. Cover and refrigerate until ready to cook (this can be done several hours ahead of time).
- Line a plate with 3 paper towels and set by the stove. Coat a large non-stick sauté pan generously with olive oil and place over medium heat. When the pan is hot, place the first batch of tilapia fingers in the pan (do not crowd) and cook until the first side is golden brown, 2 to 3 minutes. Flip and continue cooking until done, about 2 minutes more. Transfer the fish fingers to the plate with paper towels and let sit for a minute to drain any excess oil. Remove any brown bits out of the pan, add more oil if necessary and continue to cook the fish in batches until done. Season the cooked tilapia fingers with more salt if desired. Serve with lemon wedges and Lemon-Garlic Mayonnaise.
For the Lemon-Garlic Mayonnaise
- Mix the mayonnaise, garlic and lemon juice in a small bowl. Add salt and pepper to taste.
- Freezer-Friendly Instructions: You can freeze the fish sticks both before and after frying for convenience. To freeze before frying, bread the fish sticks according to the recipe, lay them out on a parchment-lined baking sheet to freeze solid, then transfer to a freezer-safe bag or container and store for up to 3 months; allow them to thaw slightly so they'll lay flat in the pan, then fry them according to the instructions. If you prefer to freeze them after frying, let the fish sticks cool completely, then freeze them on a baking sheet before transferring to a freezer bag. Reheat frozen, pre-fried fish sticks in an oven preheated to 350°F until they are hot and crispy.



This is a great go to recipe. My Grand Daughter loves fish and wants this all of the time. I make extra and freeze it for a quick meal for her. You did it again.
With the lemon wedge drizzle and the lemon garlic mayo… tilapia never tasted so good. Love your tips like slicing the thicker side at a diagonal to create an illusion of length and designating a wet hand and dry hand.
This is a great fish stick recipe using Tilapia which is so mild flavored! The dipping sauce pairs wonderfully with this. Easy to make – a great quick meal which ends up with me giving the recipe to all who try it!
All I can say is WOW! I’ve fried fish before but who would have thought that just using panko crumbs would make the fish so light and crispy! Also the fish came out very flaky. Definitely using this recipe again.
Wow wow wow! This recipe is ridiculously delicious! I never thought tilapia could possibly taste soooooo good! I’m extremely impressed & thanks for sharing…Wow
By the way I rarely leave comments but this was totally worth it.
So glad you enjoyed, April!
This was awesome! I did tweek this a little bit. I seasoned the fish 1st with salt and cayenne pepper for some kick. I also added some parm to the panko. For the garlic mayo I subbed 1/2 sour cream and 1/2 mayo, no salt needed. Heated up leftovers in the oven and made yummy fish tacos. Thanks.
The Tilapia Fingers are delicious. It’s so hard to get my kids to eat fish… my daughter went back for thirds and even requests this dish for dinner. Thank you!
Do you use tilapia out of the seafood case or frozen?
Hi Sharon, I use fresh but it’s fine to use frozen; just be sure to defrost before proceeding with recipe.
These turned out amazing! Loved the sauce too!
This was without a doubt a five star recipe for making fish at home. The recipe is easy to follow and the fact that the fish can be prepared ahead makes the preparation and clean up a snap. Be sure to make to lemon/garlic mayonnaise it is the best I have ever tasted. The fish can be reheated the next day and tastes as good as if it were fresh cooked.