Onion-Braised Beef Brisket
This post may contain affiliate links. Read my full disclosure policy.
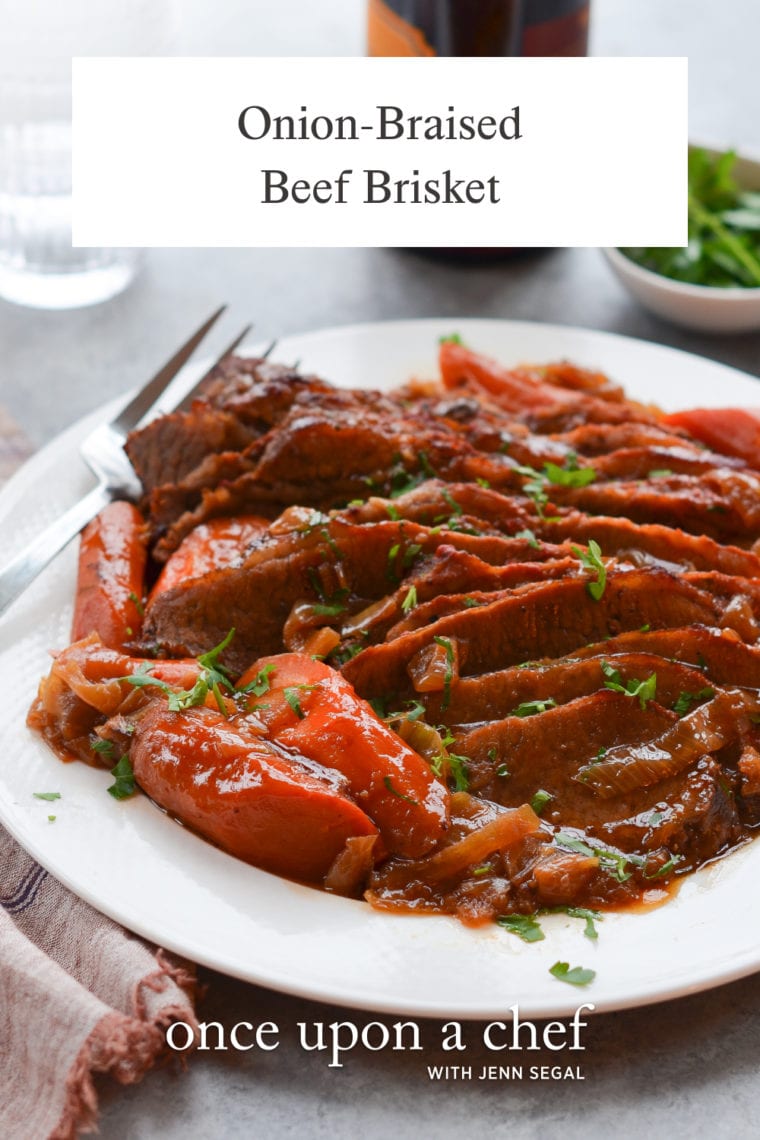
Prepare a memorable dinner with this incredibly simple, make-ahead beef brisket recipe. It’s a foolproof crowd-pleaser, complete with a French onion soup-like gravy.
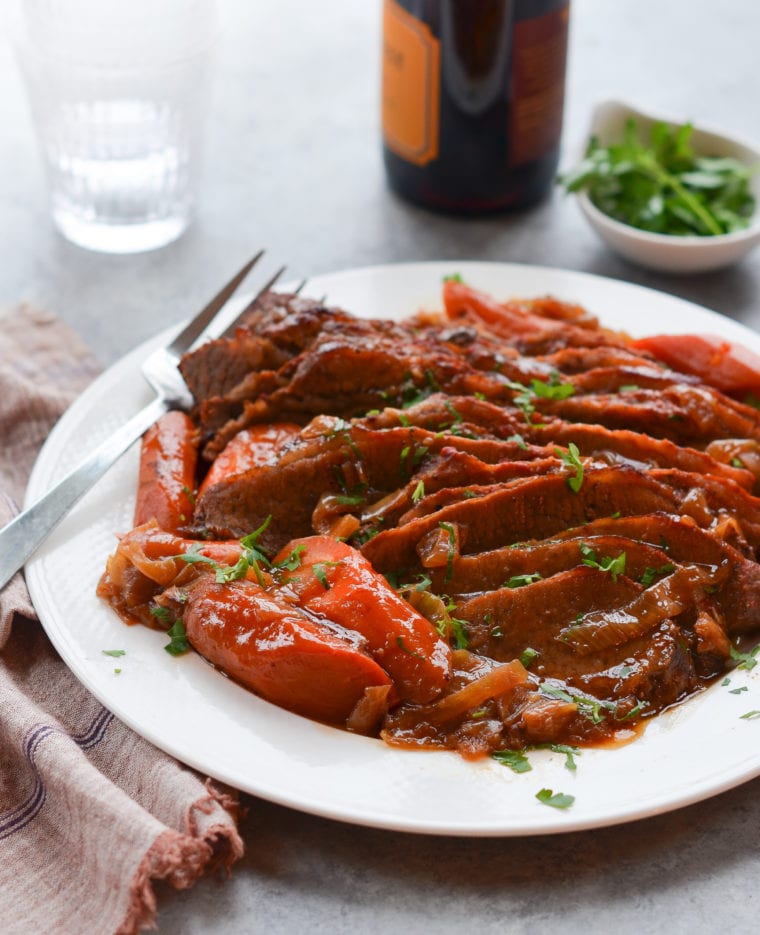
This celebrated beef brisket recipe comes from the late Nach Waxman, owner of the beloved New York City cookbook shop Kitchen Arts & Letters. First published in The Silver Palette New Basics Cookbook in 1989, it is apparently the world’s most Googled brisket recipe. The recipe is surprisingly simple. Unlike all other briskets I’ve made, there’s no wine, stock, or bottled sauces added. Instead, the brisket is cooked on top of a massive heap of onions, which slowly caramelize and release their natural juices, making a rich French onion soup-like braising liquid and gravy.
Table of Contents
“This brisket is AMAZING! It turns out perfect each time. Cutting it, then rearranging the slices back in the pan works great! Such beautiful flavor, delicious gravy, and juicy tender meat. Highly recommended!”
I have made some modifications to the recipe over the years, though the original can still be found here. This dish is ideal for preparing ahead of time, as the flavors deepen when served the following day. For me, it’s a Jewish holiday staple, alongside classics like matzo ball soup, challah, latkes and more. For those observing Passover, the flour in this recipe can easily be substituted with matzo meal to keep it compliant with Passover dietary guidelines.
What You’ll Need To Make Onion-Braised Beef Brisket
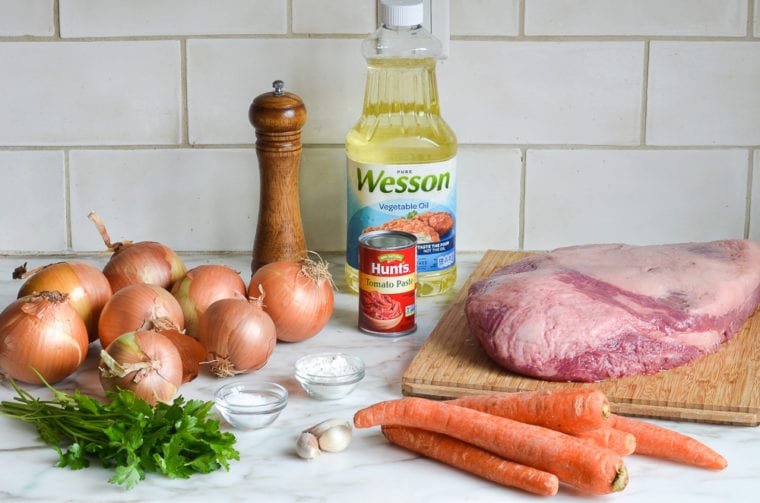
Butchers typically sell two types of brisket: flat cut and point cut. These two pieces together make up a full brisket, a large slab of muscle from the cow’s chest. The point cut has more marbling, while the flat cut (also called first cut or center cut) is lean but topped with a thick fat cap. This recipe calls for a first-cut/flat-cut brisket. Don’t let your butcher trim all the fat off! A small fat cap bastes the meat, adding flavor and keeping it from getting dry and tough.
Step-by-Step Instructions
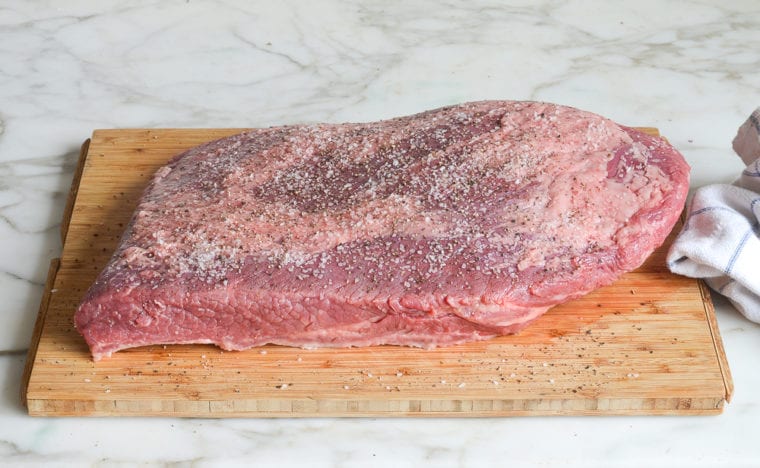
Begin by seasoning the meat with lots of kosher salt and pepper.
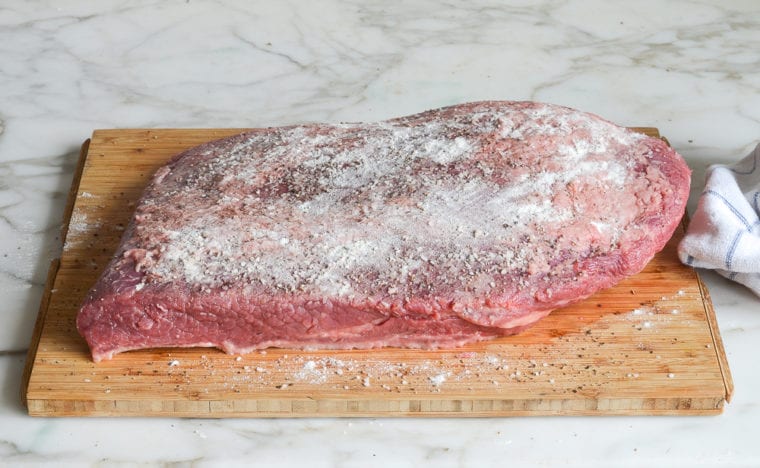
Dust both sides with flour.
Heat the oil in a heavy flameproof roasting pan or ovenproof enameled cast iron pot until shimmering, then sear the brisket on both sides until brown and crusty in spots.
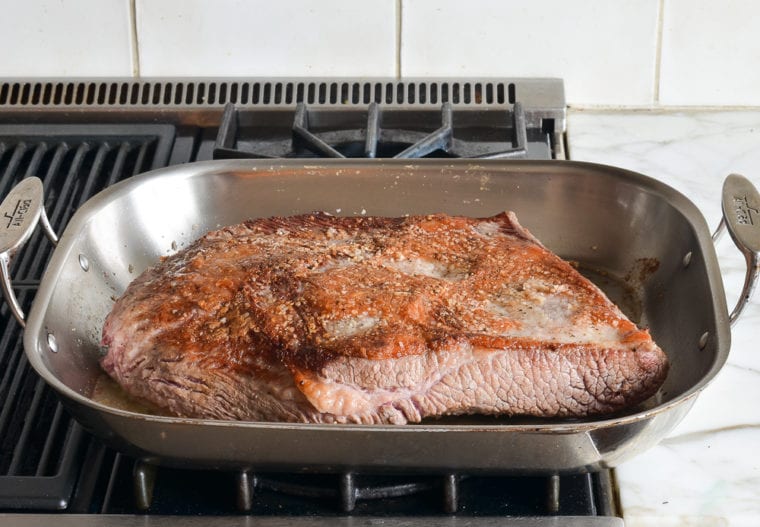
Transfer the meat to a platter, then add the onions to the pan.
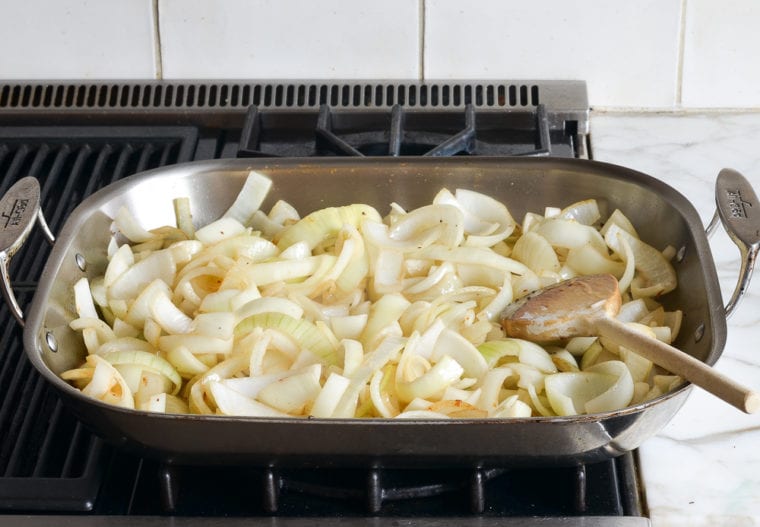
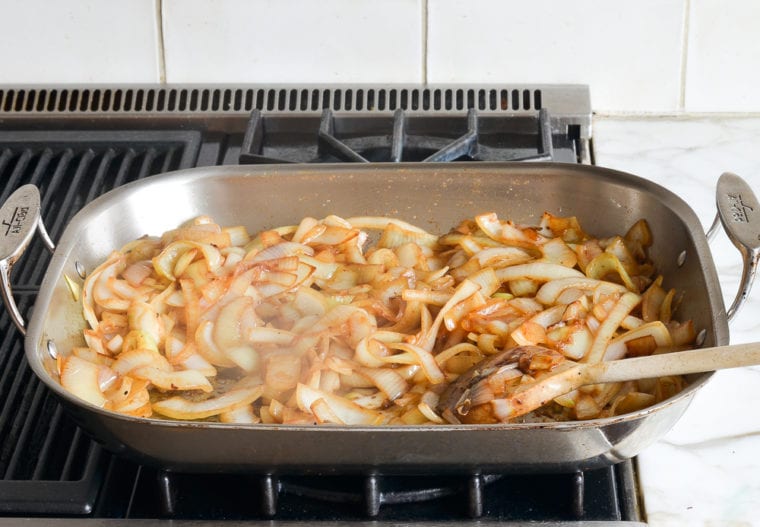
Cook, stirring and scraping up the browned bits from the bottom of the pan, until softened and golden brown, about 15 minutes.
Place the brisket back in the pan on top of the onions and spread the tomato paste on top. Scatter the carrots and garlic around the edges.
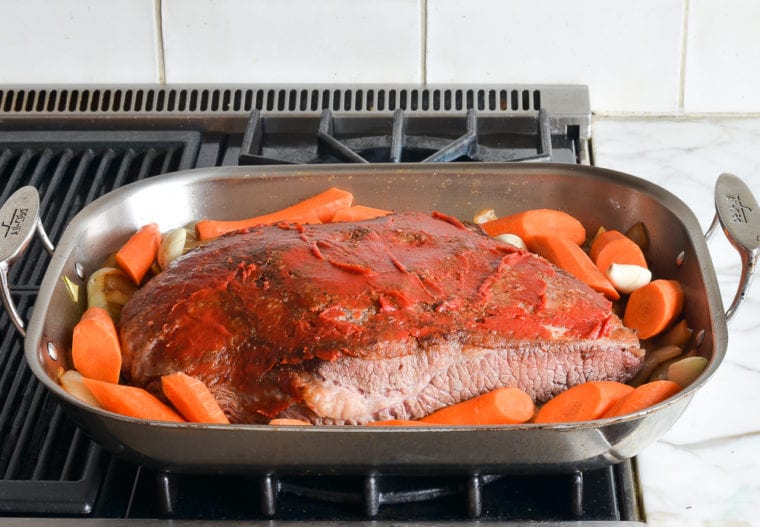
Cover the pan tightly with aluminum foil or a lid, and bake for 1-1/2 hours.
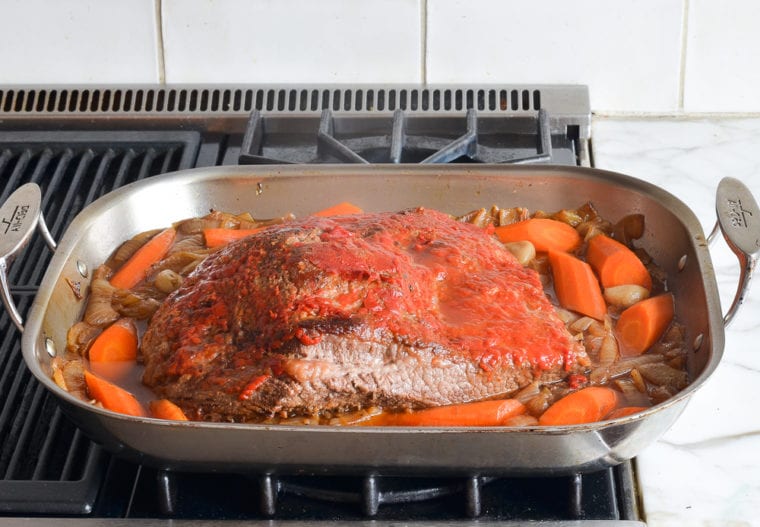
Remove the pan from the oven and transfer the brisket to a cutting board. Using an electric or sharp knife, slice the beef into 1/8 to 1/4-inch thick slices against the grain. It’s much easier to cut at this point than it is at the end.
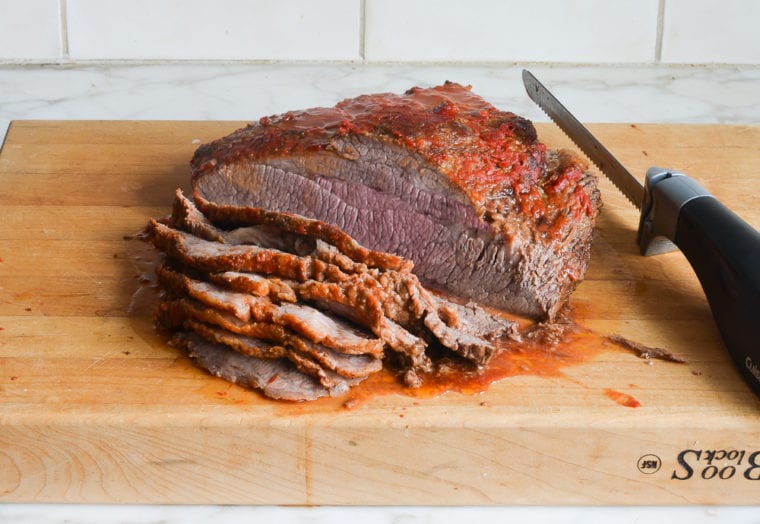
Place the slices back in the pan on an angle, so that the top edge of each slice is showing. Baste the meat with the pan juices.

Cook for a few more hours, until the meat is tender.
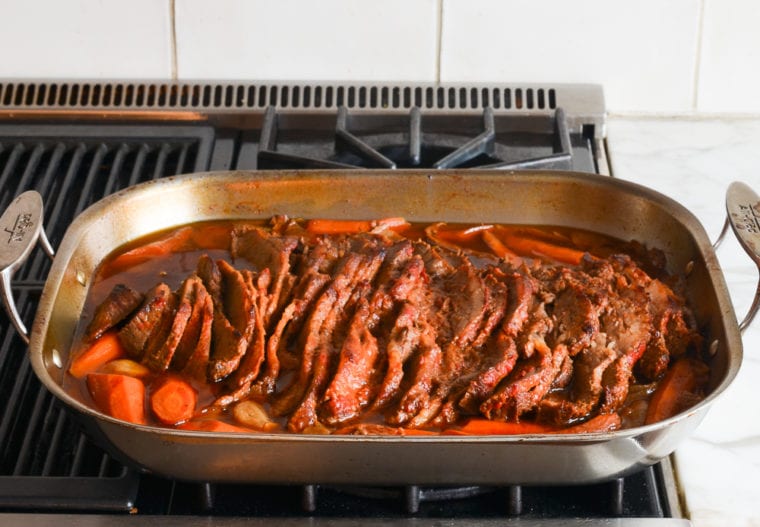
You can serve it right away, but it’s better to refrigerate it overnight and reheat it the next day. It also freezes well.

“This is a 5-star, easily repeatable main dish that is now my go-to special occasion meal for larger groups. Do yourself a favor and make it ahead of time as suggested; enjoy that the cooking is already DONE the day of your dinner, and impress yourself with how truly flavorful and delicious this meal is.”
You May Also Like
Onion-Braised Beef Brisket
Prepare a memorable dinner with this incredibly simple, make-ahead beef brisket recipe. It’s a foolproof crowd-pleaser, complete with a French onion soup-like gravy.
Ingredients
- 1 5 to 6 pound first-cut (or flat-cut) beef brisket, trimmed so a thin layer of fat remains in some spots (do not over trim!)
- 1½ tablespoons kosher salt
- 1 teaspoon ground black pepper
- 2 tablespoons all-purpose flour (okay to substitute matzo cake meal for Passover)
- 3 tablespoons vegetable oil
- 8 medium yellow onions, peeled and sliced ½-inch thick
- 3 tablespoons tomato paste
- 3 cloves garlic, roughly chopped
- 6 carrots, peeled and sliced into large chunks on a diagonal
- Handful fresh chopped parsley, for garnish (optional)
Instructions
- Set an oven rack in the middle position and preheat the oven to 350°F.
- Season the brisket on both sides with the salt and pepper. Lightly dust the brisket with the flour, then shake and turn to coat evenly. Heat the oil over medium-high heat in a heavy flameproof roasting pan or ovenproof enameled cast-iron pot just large enough to hold the brisket and carrots snugly. Add the brisket to the pan and sear on both sides until crusty brown areas appear on the surface, 5 to 7 minutes per side.
- Transfer the brisket to a platter, then add the onions to the pan and stir constantly with a wooden spoon, scraping up any browned bits stuck to the bottom of the pan. Cook until the onions are softened and golden brown, about 15 minutes. (If browned bits stick to the bottom of the pan and start to burn, add a few tablespoons of water and scrape with a wooden spoon to release them.)
- Turn off the heat and place the brisket, fatty side up, and any accumulated juices on top of the onions. Spread the tomato paste evenly over the brisket, then scatter the garlic and carrots around the edges of the pan. Cover the pan very tightly with aluminum foil (preferably heavy-duty or two layers) or a lid, then transfer to the oven and cook for 1½ hours.
- Transfer the brisket to a cutting board and, using an electric or very sharp knife, slice the meat across the grain into approximately ⅛ to ¼-inch-thick slices. Return the slices to the pan, overlapping them at an angle so that you can see a bit of the top edge of each slice. The end result should resemble the original unsliced brisket leaning slightly backward. Cover the pan tightly and return to the oven.
- Lower the heat to 325°F and cook the brisket until it is fork-tender, 1¾ to 2½ hours, or longer if necessary. The brisket is ready to serve with its juices, but it is even better the second day. (Note: If the sauce seems greasy, transfer the meat and vegetables to a platter and cover with foil to keep warm. Pour the sauce into a bowl and let sit until the fat rises to the top. Using a small ladle, spoon out the fat. Pour the skimmed gravy back over the meat.)
- Note: Nutritional information was calculated for a 5-pound brisket.
- Make-Ahead/Freezer-Friendly Instructions: The brisket can be made up to 3 days ahead of time and refrigerated. Reheat the brisket in a 300°F oven until hot, about 45 minutes. The brisket also freezes well for up to 2 months; defrost in the refrigerator 2 days ahead of time.
Pair with
Nutrition Information
Powered by ![]()
- Per serving (10 servings)
- Calories: 726
- Fat: 55 g
- Saturated fat: 21 g
- Carbohydrates: 14 g
- Sugar: 6 g
- Fiber: 3 g
- Protein: 42 g
- Sodium: 844 mg
- Cholesterol: 213 mg
This website is written and produced for informational purposes only. I am not a certified nutritionist and the nutritional data on this site has not been evaluated or approved by a nutritionist or the Food and Drug Administration. Nutritional information is offered as a courtesy and should not be construed as a guarantee. The data is calculated through an online nutritional calculator, Edamam.com. Although I do my best to provide accurate nutritional information, these figures should be considered estimates only. Varying factors such as product types or brands purchased, natural fluctuations in fresh produce, and the way ingredients are processed change the effective nutritional information in any given recipe. Furthermore, different online calculators provide different results depending on their own nutrition fact sources and algorithms. To obtain the most accurate nutritional information in a given recipe, you should calculate the nutritional information with the actual ingredients used in your recipe, using your preferred nutrition calculator.



I would like to make this recipe but one of my guests is celiac. Is it possible to use a GF flour or omit it entirely? There doesn’t seem to be a large amount and looks to be used to ‘crust’ the meat. Thanks in advance!
I seriously don’t see why not. Recipes are not written in stone.
I see arrowroot powder used often in GF recipes to achieve a similar result!
This was the flagship recipe of yours that I tried, Jenn. If only my dutch oven held more onions! It was a feat to get as many in as I did, but I crammed those suckers in. Absolutely fabulous!
My husband sends his sincerest thanks. He has a low salt diet (CKD) with lots of restrictions. We usually limit beef so he was happy when I suggested this recipe. Though I didn’t salt the meat, I sprinkled with onion powder , garlic powder and pepper. When I pre-cooked the onions I did add a pinch of salt to sweat them, I also added a pint of sliced baby bella mushrooms. Anything to add some flavor back from the missing salt. I have to say, I was very pleased with the results. Now he’s looking forward to tomorrow’s sandwiches! Thanks again.
This is a lovely recipe that my family has been using for years. However it’s easy to overcook at 350. I prefer 250 or even lower to ensure that the liquid never boils. Also we find it easiest to remove the leftover fat once it’s been sliced and has cooled overnight in the fridge.
My first brisket and I’m so happy I followed your recipe (after doing a lot of research on cooking brisket). It was simply outstanding. The meat was so tender and flavourful. Your tip about preslicing was awesome. ❤️your website.
I have always made my brisket using a recipe given to me by mother in law many years ago. Basically it included the brisket, onions and Campbells golden mushroom soup, covered with foil and baked for hours and delicious. Extremely easy but I’m sure it had artificial stuff from the golden mushroom soup. I can’t wait to try this one.
No way around it……This is definitely a labor intensive recipe. But the end result is well worth the effort. Doesn’t matter how big of brisket we buy, there are never ever any left overs when this is made!
Living in Texas, I needed something besides the everyday smoked brisket that Texans swear by. This was delicious. I will be making this again especially in cooler weather.
This brisket is AMAZING! It turns out perfect each time. Cutting it, then rearranging the slices back in the pan works great! Such beautiful flavour, delicious gravy and juicy tender meat. Highly recommended!
This recipe will not disappoint! It is excellent and very easy to make. I followed the recipe exactly and my whole family raved about it. I’ve made it a couple of times this winter.