Molten Chocolate Cakes
This post may contain affiliate links. Read my full disclosure policy.
Molten chocolate cakes, also known as lava cakes, are rich individual chocolate cakes with oozing molten centers.
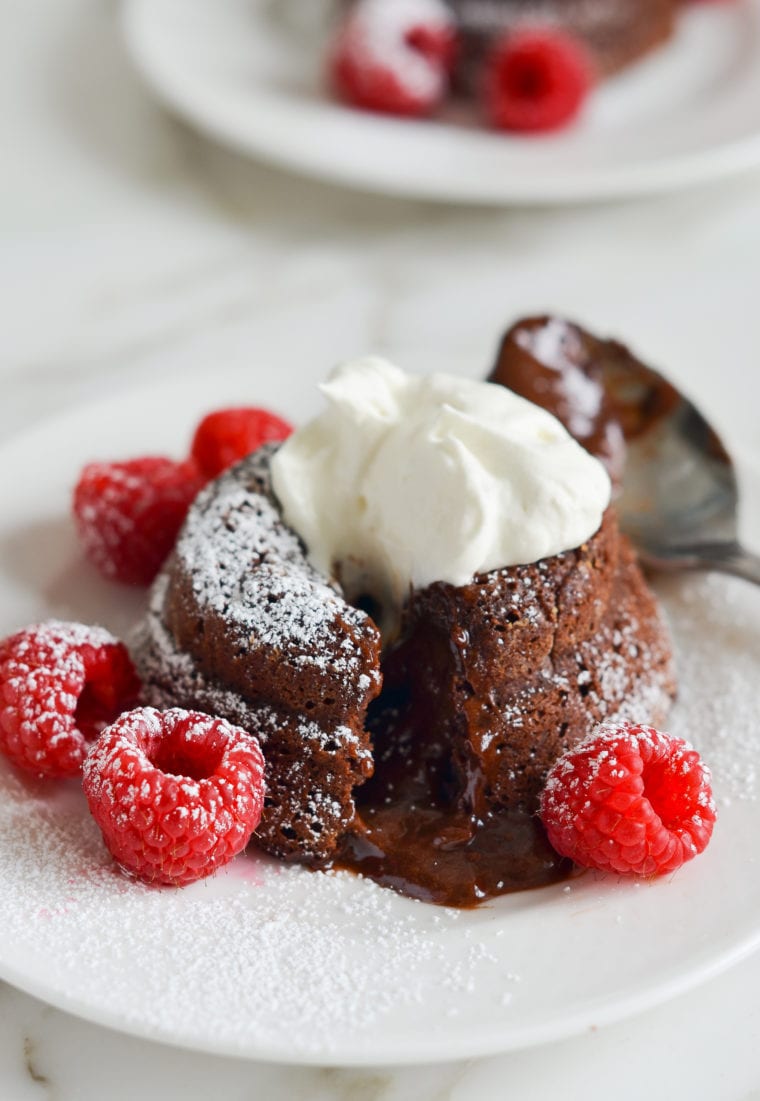
Molten chocolate cakes—also known as chocolate lava cakes—are a dream for chocolate lovers: rich, individual chocolate cakes with irresistibly molten centers. The original recipe was created by master chef Jean-Georges Vongerichten fortuitously, when he pulled a chocolate cake out of the oven before it was done and discovered the center to be enticingly warm and pudding-like. Surprisingly, molten chocolate cakes are easy enough for even the novice baker to make at home. What’s more, they can be prepared ahead of time, stored in the fridge, and then baked at the last minute. The key is to serve them right out of the oven; if they sit too long after baking, the molten centers will cook through.
“I made this for a dinner party, and it turned out perfectly…All my guests raved about it, and it is a wonderful stress-free dessert because it can be made ahead of time.”
What You’ll Need To Make Molten Chocolate Cakes
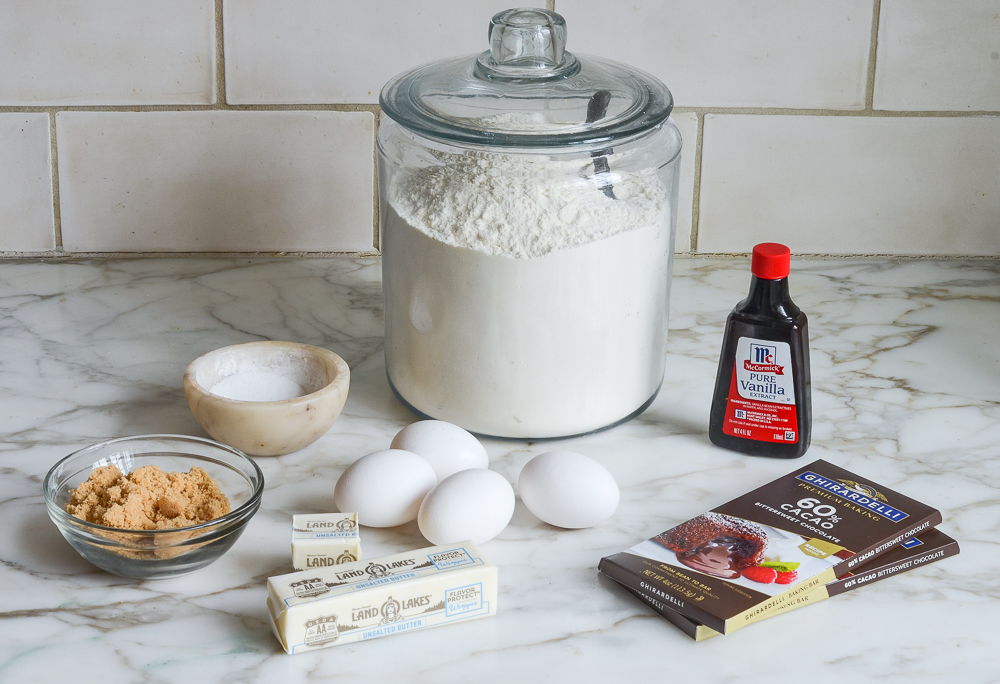
- Butter: Gives the cakes a rich flavor and smooth texture, plus more for buttering the ramekins.
- Bittersweet Chocolate: Bittersweet chocolate offers a deep, rich chocolate taste. The quality of chocolate significantly impacts the flavor of the cakes, so use a high-quality brand, such as Ghirardelli or Guittard—it makes a difference!
- Eggs + Egg Yolks: Provide structure and richness to the cakes. The additional yolks make the cakes extra rich.
- Light Brown Sugar: Adds sweetness and a hint of molasses flavor.
- Vanilla Extract: Adds warmth and complements the chocolate flavor.
- Salt: A small amount helps balance the sweetness and intensify the chocolate flavor.
- All-Purpose Flour: Gives the cakes structure, but only a small amount is used to keep them moist and fudgy.
- Jump to the printable recipe for precise measurements
Step-By-Step Instructions
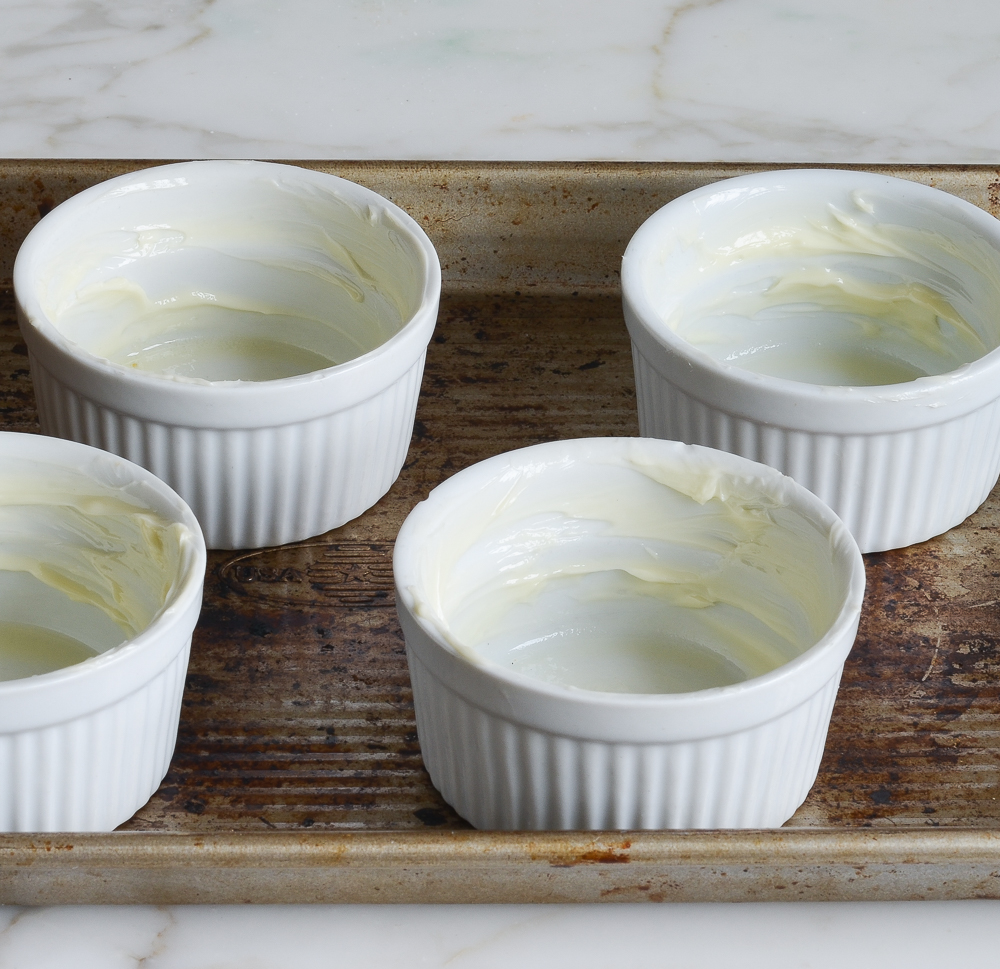
You’ll need six oven-proof 6-ounce ramekins for the recipe, which you can find at any kitchen store. If you have ramekins that are slightly larger, the recipe is still doable, but you’ll likely need to add a minute or two from the baking time (and this will also impact the number of servings you get from the batter).
Begin by buttering the ramekins liberally to ensure the cakes release easily.
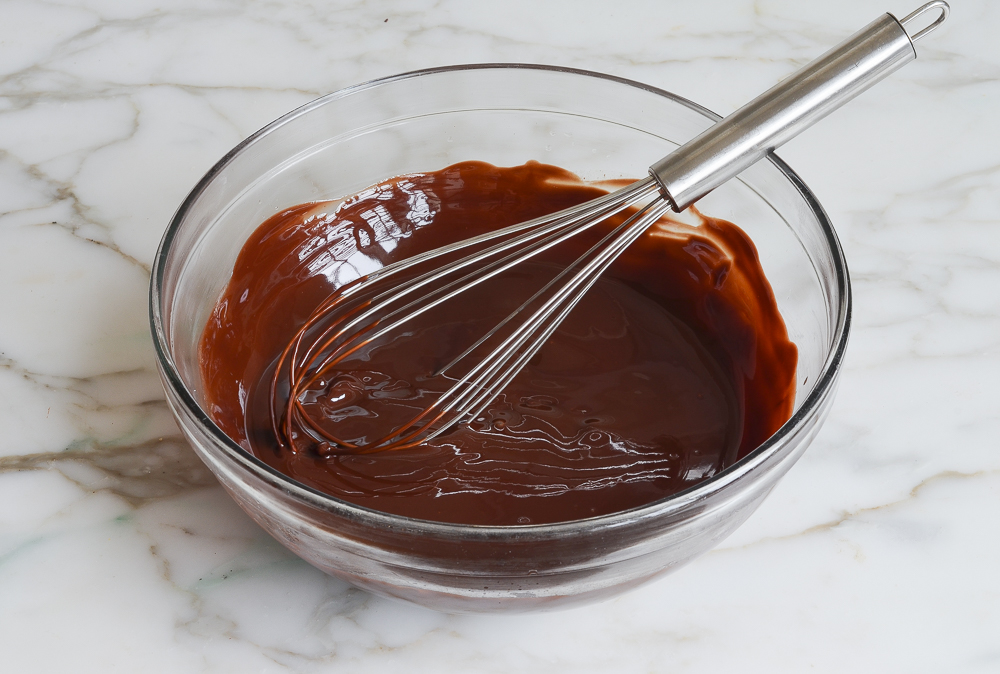
Melt one stick of butter and add the chopped chocolate to a medium bowl.
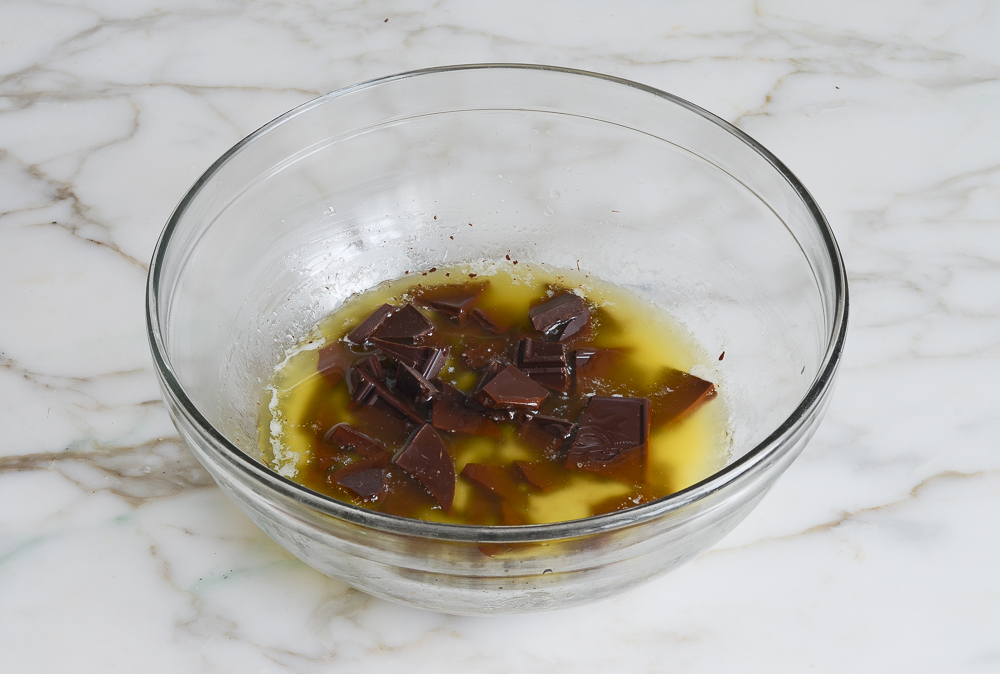
Stir until the chocolate is melted and smooth. If a few chunks of chocolate remain, place the bowl back in the microwave for 20 seconds, then stir again.
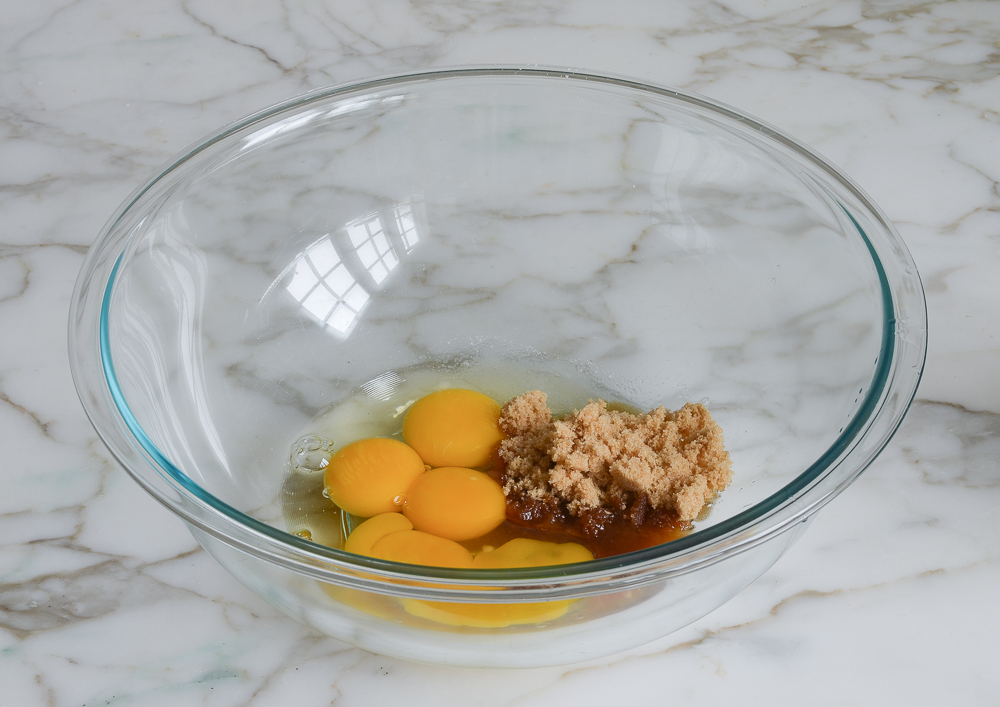
In a small bowl, whisk together the eggs, egg yolks, brown sugar, salt, and vanilla extract.
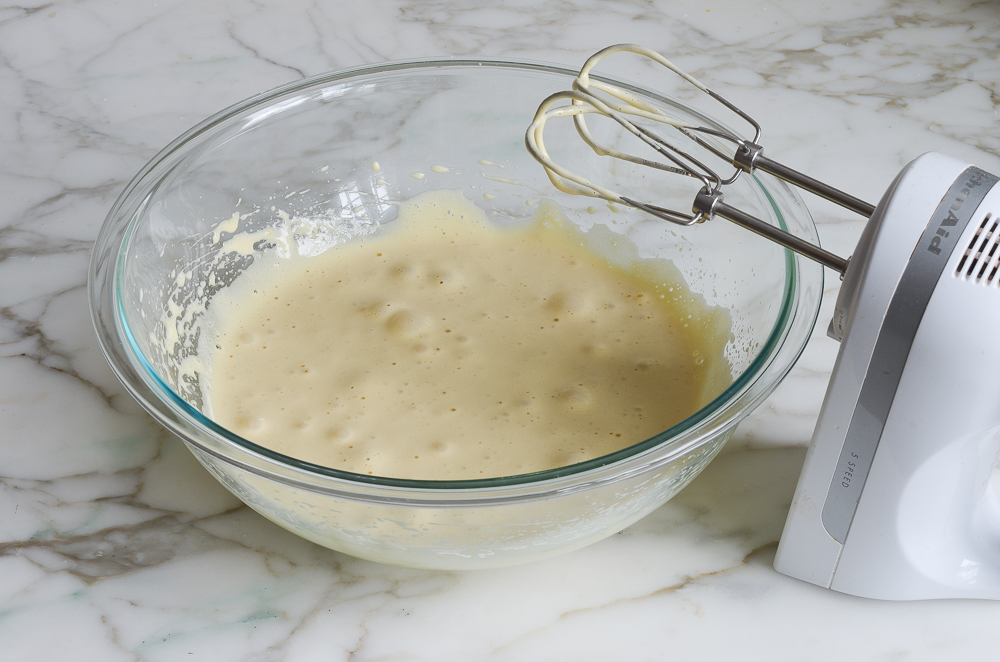
Beat until pale and thick, about 4 minutes.
Add the flour and melted chocolate mixture (the chocolate mixture sinks to the bottom).
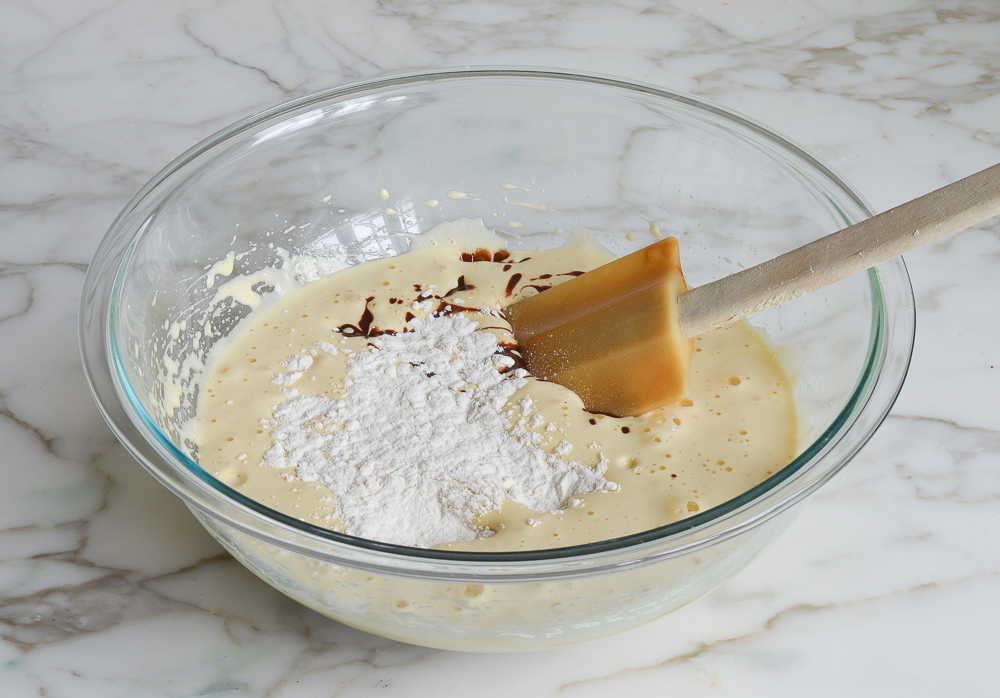
Gently fold to combine.
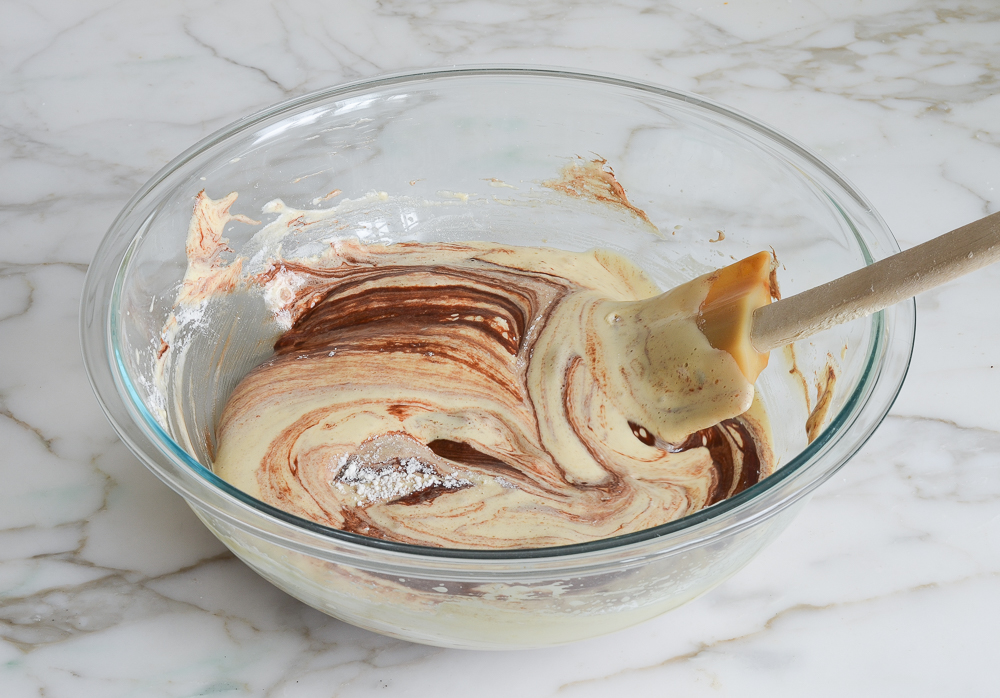
It will deflate a bit—that’s okay.
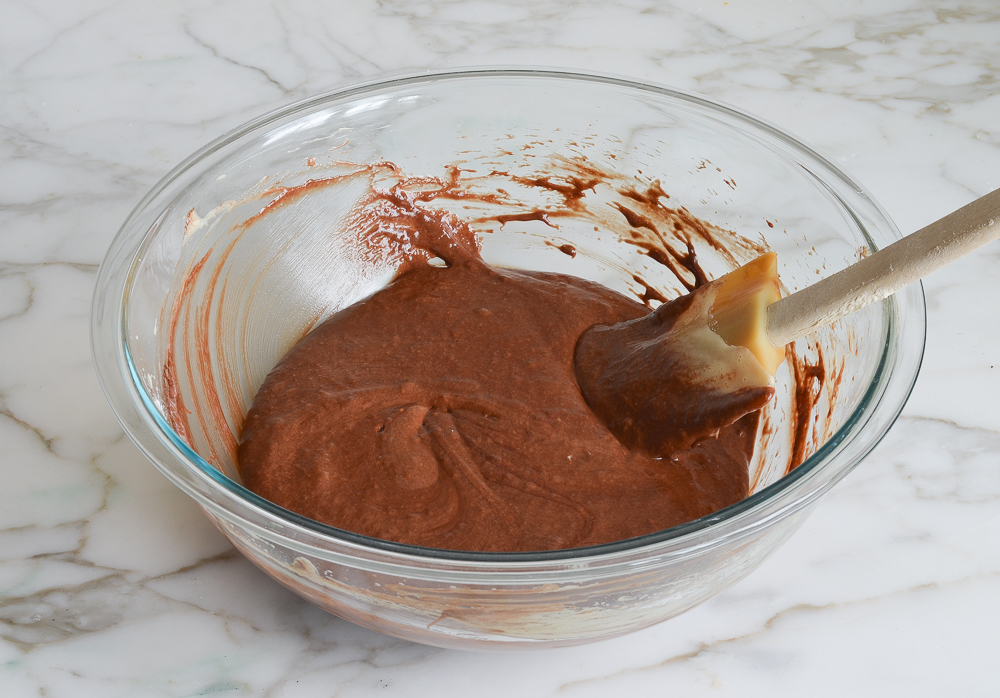
Spoon the batter evenly into the prepared ramekins.
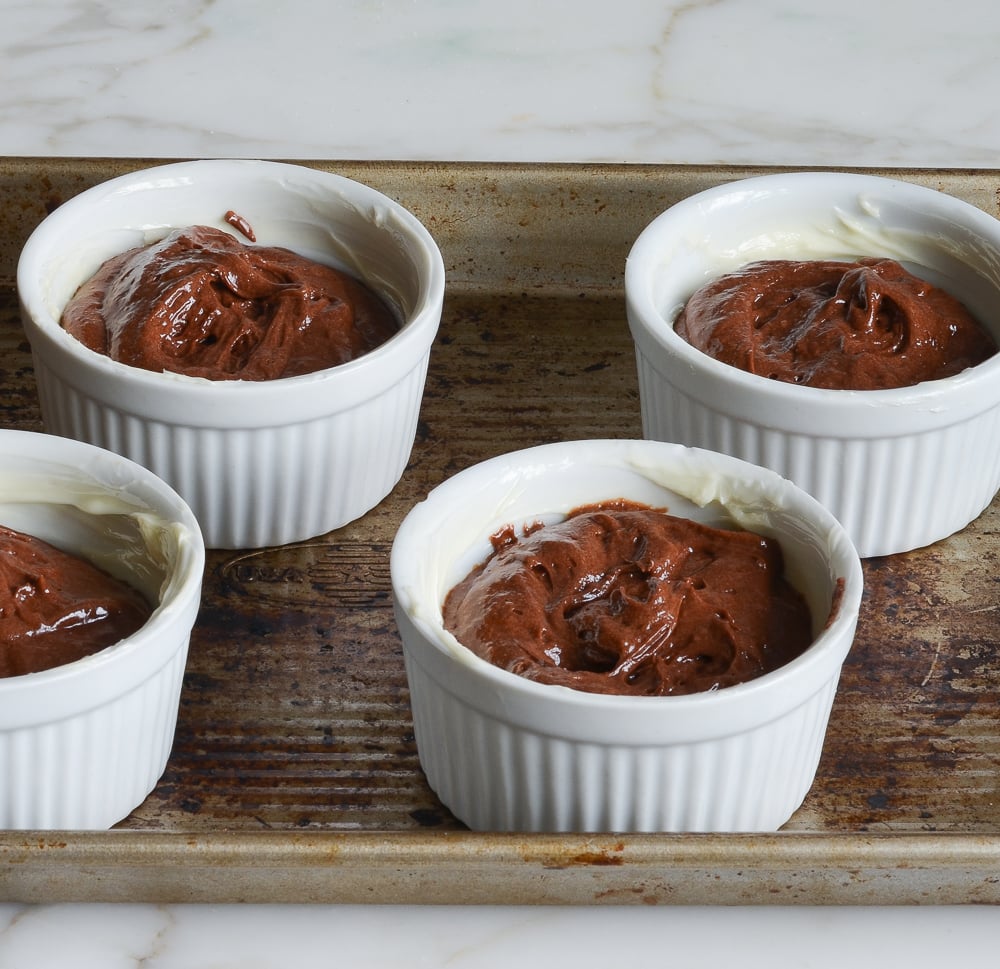
Bake for 10 minutes in a 450°F oven.
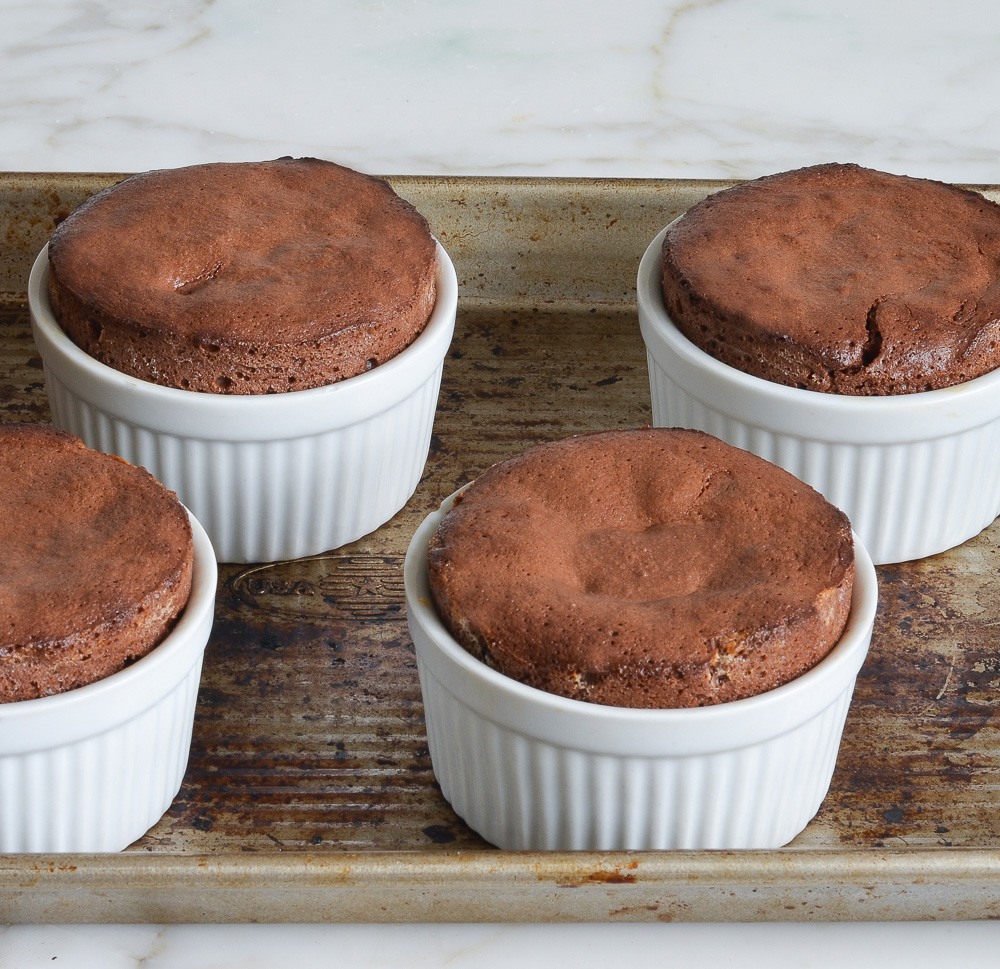
They’ll puff up just over the edge of the ramekins when done. Be sure not to overcook them, or the centers won’t be molten. Let the cakes sit in the ramekins for a minute, then carefully invert them onto plates.
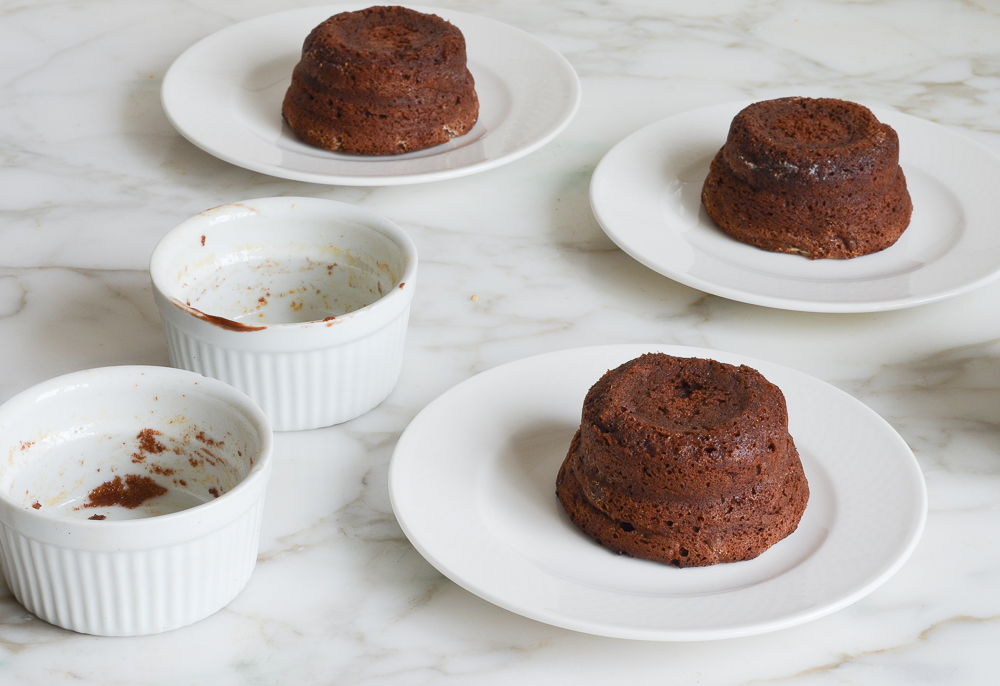
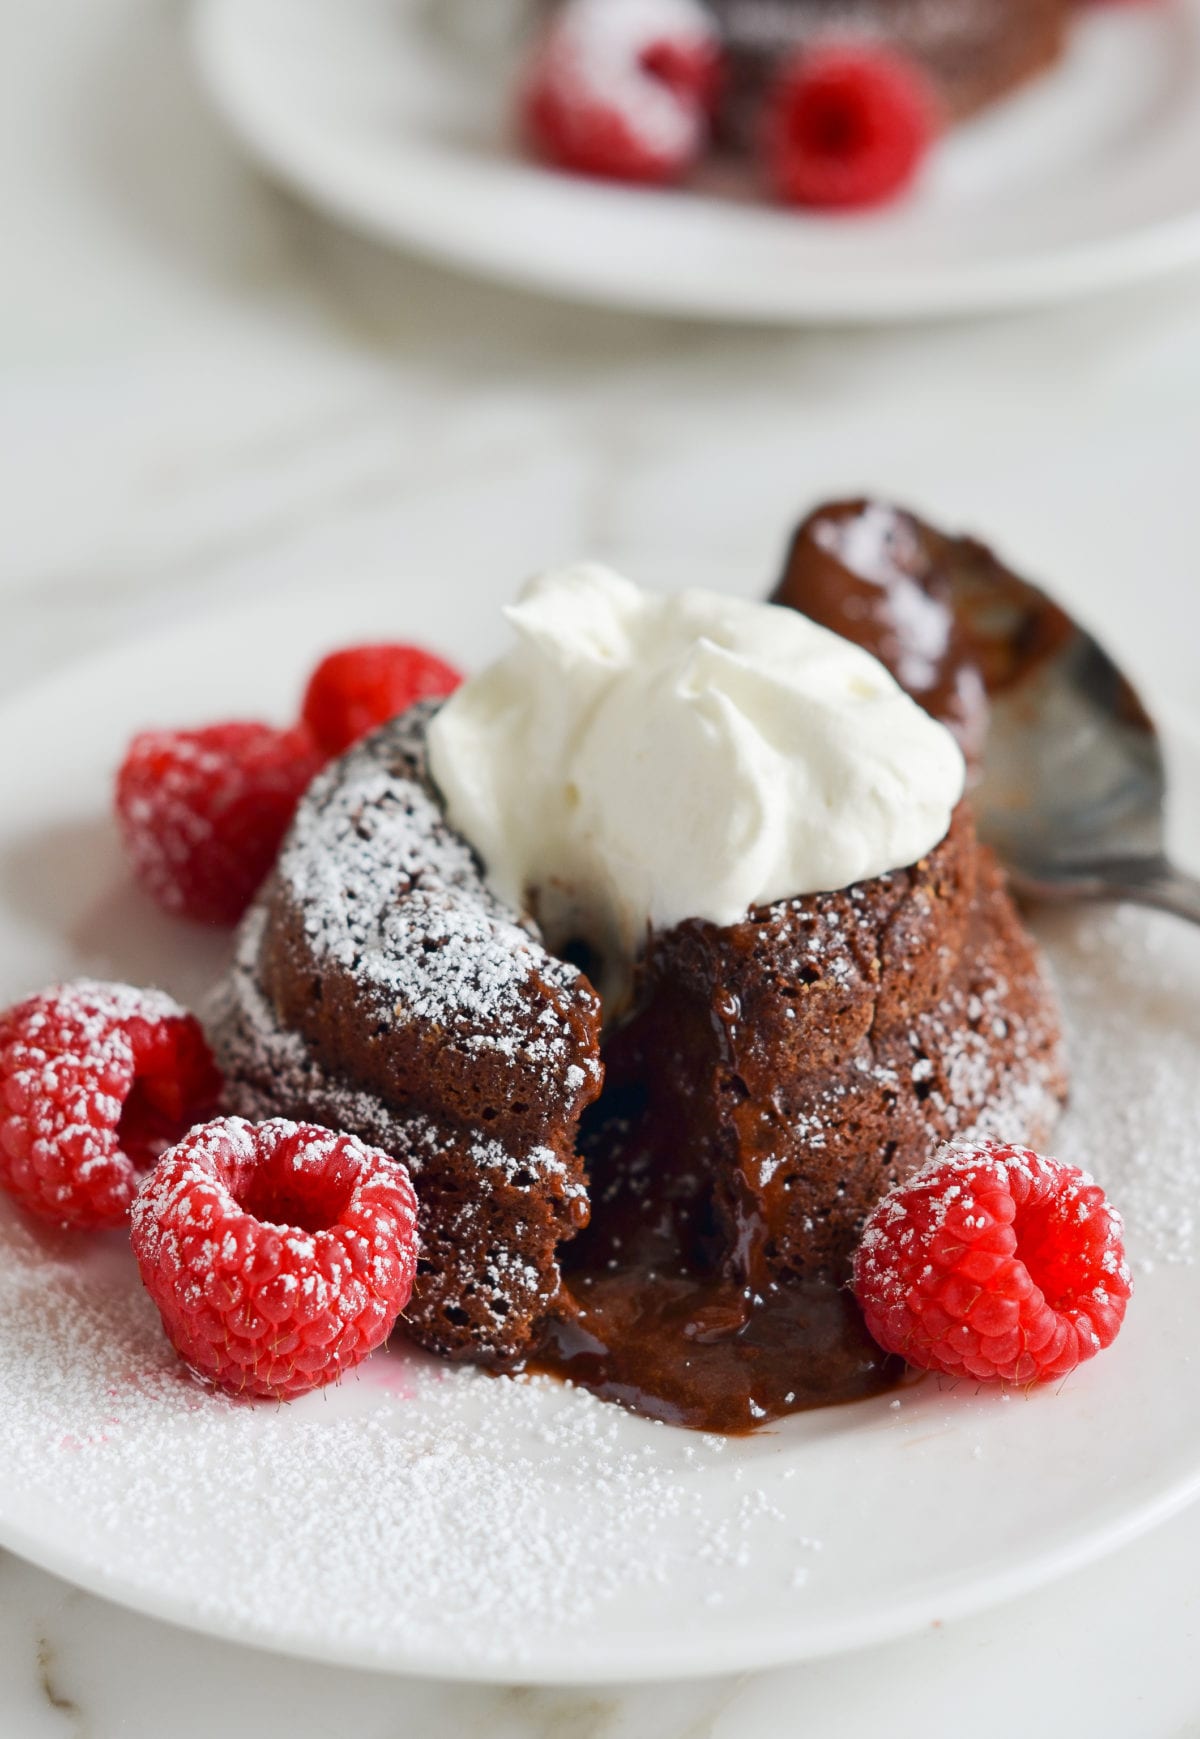
Dust with confectioners’ sugar and serve with vanilla ice cream or sweetened whipped cream and fresh berries.
Make-Ahead Instructions
The batter can be spooned into the ramekins, covered, and refrigerated for several hours before baking. Take them out of the fridge about 30 minutes before baking so they come to room temperature, and proceed with the recipe.
You may also like
Molten Chocolate Cakes
Molten chocolate cakes, also known as lava cakes, are rich individual chocolate cakes with oozing molten centers.
Ingredients
- 1 stick (½ cup) unsalted butter, plus more for buttering the ramekins
- 6 ounces bittersweet chocolate, chopped, best quality such as Ghirardelli
- 2 large eggs
- 2 large egg yolks
- ¼ cup plus 2 tablespoons light brown sugar, packed
- 1 teaspoon vanilla extract
- Pinch of salt
- 3 tablespoons all purpose flour
For Serving (optional)
- Confectioners' sugar
- Vanilla ice cream
- Sweetened whipped cream
- Berries
Instructions
- Preheat the oven to 450°F and set an oven rack in the middle position. Generously butter six 6-ounce ramekins (really be generous, and do not substitute non-stick cooking spray). Set the ramekins on a baking sheet.
- Melt the butter in a medium bowl in the microwave. Immediately add the chopped chocolate and stir until the chocolate is completely smooth and melted. If a few chunks remain, place the bowl back in the microwave for 20 seconds, then stir again. Repeat if necessary. Set aside.
- In the bowl of an electric mixer fitted with the paddle or beaters, beat the eggs, egg yolks, brown sugar, vanilla and salt at high speed until thickened and pale, about 4 minutes. Add the melted chocolate mixture and flour to the egg mixture and fold with a rubber spatula until just combined (the chocolate sinks to the bottom so be sure to scrape it up into the batter).
- Spoon the batter evenly into the prepared ramekins and bake for 10 minutes, until the cakes are set and puffed over the edges of the ramekins. Let the cakes cool in the ramekins for 1 to 2 minutes; then, holding the hot ramekins with a dish towel, carefully invert the cakes onto dessert plates. They should pop right out, but you can run a thin-bladed knife around the edges if necessary. Serve immediately. (It's important not to let the cakes sit after baking, as the centers will continue to cook.) Dust with confectioners' sugar and serve with vanilla ice cream or sweetened whipped cream and berries, if desired.
- Make-Ahead Instructions: The batter can be spooned into the ramekins, covered and refrigerated for several hours before baking. Take them out of the fridge about 30 minutes before baking so they come to room temperature.
Nutrition Information
Powered by ![]()
- Per serving (6 servings)
- Calories: 416
- Fat: 31 g
- Saturated fat: 18 g
- Carbohydrates: 35 g
- Sugar: 29 g
- Fiber: 2 g
- Protein: 5 g
- Sodium: 85 mg
- Cholesterol: 174 mg
This website is written and produced for informational purposes only. I am not a certified nutritionist and the nutritional data on this site has not been evaluated or approved by a nutritionist or the Food and Drug Administration. Nutritional information is offered as a courtesy and should not be construed as a guarantee. The data is calculated through an online nutritional calculator, Edamam.com. Although I do my best to provide accurate nutritional information, these figures should be considered estimates only. Varying factors such as product types or brands purchased, natural fluctuations in fresh produce, and the way ingredients are processed change the effective nutritional information in any given recipe. Furthermore, different online calculators provide different results depending on their own nutrition fact sources and algorithms. To obtain the most accurate nutritional information in a given recipe, you should calculate the nutritional information with the actual ingredients used in your recipe, using your preferred nutrition calculator.


Finally got around to making this dessert. Simplistic, delicious. To top it off, I made my own raspberry sauce by sprinkling some sugar on raspberries and threw them into a food processor with a few drops of water. Really brought it all home for me, much like I imagine the ice cream or fresh raspberries would.
I was not able to bake the cake and the mixture has been refrigerated for 5 days. Is it still usable or should I throw it out?
While I didn’t make this dessert, it was made for me, it was quite tasty and seemed really simple to put together. And I had it served with a raspberry sauce- totally pulled it together.
I had some leftovers and they didn’t do well the next day, but they did taste like a brownie- so they didn’t go to waste!
I think I’ll try this again and add some cayenne spice to it- making it more like a “mexican molten lava cake”.
Taste good and easy. A keeper.
I made these for my sister on her birthday and she loved them! I did everything that the recipe called for and just added strawberry syrup that I made on top and that was it… She loved them and wants me to make them every year for her birthday. 🙂
Would it be possible to have metric equivalents of the amounts? I looked at an online conversion, but I really want to make these and I’m nervous about trusting the online conversions because the amounts look weird.
Bryony, Unfortunately, I don’t use metric measurements — and trust me, you don’t want me doing the math 🙂 But this is a good conversion chart:http://www.foodgeeks.com/resources/conversion_charts#fm
Here are equivalent measures:
http://www.craftybaking.com/howto/measuring-techniques-conversions
These look great! If I freeze them should I bake them first or freeze the batter? Also – once I take them out of the freezer do they need to come to room temperature before I bake them?
Thanks!
Hi Christina, You can freeze them raw and put them in the oven frozen; they’ll take a few more minutes to cook.
Hi! If you freeze them, do you take them out of the ramekin once frozen? Or do you keep them in the ramekin to put them in the oven? Wouldn’t it be bad for the ramekin to go from the freezer directly to the oven? Or do you put them in a new room temperature ramekin to put them in the oven?
Hi Wendi, You don’t need to put the cakes in room temperature ramekins. I’d just take them out of the freezer and let them sit for about 30 minutes before putting them in the oven. Hope you enjoy!
Thanks!
Hi- How many days can the batter stay in the fridge covered?
Thank you-
Hi Jessica, I’d say 1-2 days. Hope you enjoy!
WOW!!! These we’re AMAZING! And I’m so glad they were not overly sweet, since we added a scoop of vanilla ice cream and fresh strawberries on top. And it was so quick and easy to make, too. Thanks Jenn, for another perfect recipe!
A really easy recipe with delicious results! If you want to impress but want something easy to prepare, this is a fantastic recipe!
OK, i love chocolate….no, really, i LOVE chocolate. These molten chocolate cakes are wonderful! They are chocolatey, gooey, and wonderful! I have made them for guests before also – made the batter earlier in the day & covered ramekins like she suggests, took them out of refrigerator & let sit out for 30 min & they were perfect! Easy, yummy, and everyone loved them! I’ve also made them just for my husband & I (no, we didn’t eat all 6 at one time) – another great recipe! Try them!