Marble Cake
This post may contain affiliate links. Read my full disclosure policy.
This marble cake may look fancy, but its flavor is pure old-fashioned goodness.
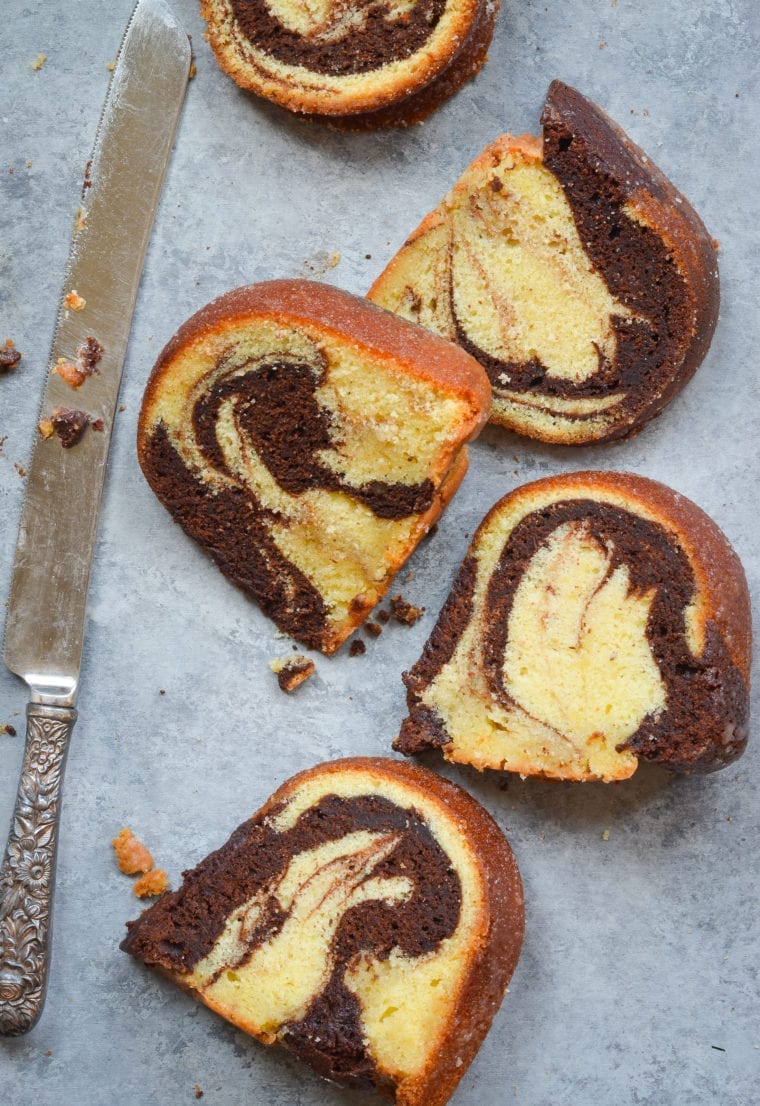
With swirls of tender vanilla and fudgy chocolate cake, this marble cake looks fancy but tastes like pure old-fashioned goodness, and it appeals to kids and grown-ups alike. It’s essentially a marbled version of this award-winning Kentucky Butter Cake. Surprisingly, you don’t need two completely different batters to make marble cake. You simply take a third of the vanilla batter and mix it with melted chocolate and cocoa powder and voilà — that’s your chocolate batter! Be careful not to over-marble the batters or the flavors will get muddled; a few swirls around the pan with a knife will do the trick.
What You’ll Need To Make Marble Cake
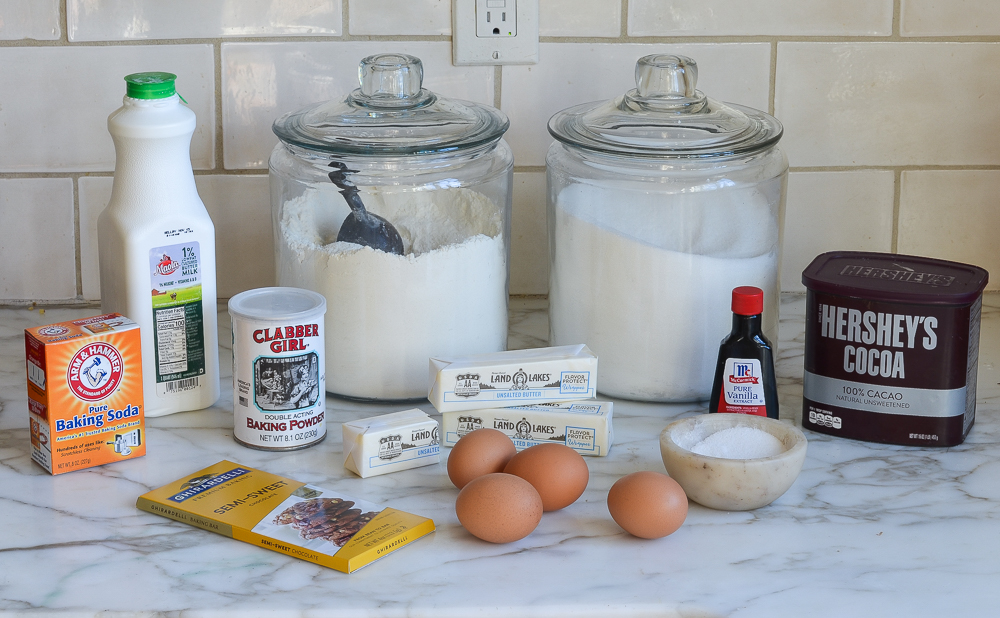
Most recipes for marble cake call solely for cocoa powder for the chocolate portion of the cake. I like to add real chocolate as well for a more intense, fudgy flavor; this makes the chocolate swirl portion of the cake taste almost like a brownie.
If you’d rather not buy a whole carton of buttermilk for this recipe, it’s easy to make your own. Simply add 1 tablespoon of lemon juice or white vinegar to a liquid measuring cup. Then add regular milk to the 1-cup line and let sit for 10 to 15 minutes, or until slightly curdled and thickened.
The Method
This butter cake is a “high-ratio” cake, which means that the weight of the sugar equals or exceeds the weight of the flour. Instead of the more common “creaming” method (where the butter and sugar are beaten together before the eggs, flour, and liquid are added), high-ratio cakes can be made using the “high-ratio” or “quick-mix” method. This involves mixing all the dry ingredients with the butter and some of the liquid first, then adding the remaining liquid ingredients. This method is not only faster and easier than the traditional creaming method, but it also yields incredibly tender and fine-textured cakes.(Other high-ratio cakes on the site include pound cake, yellow cake, and rum cake.)
How To Make Marble Cake
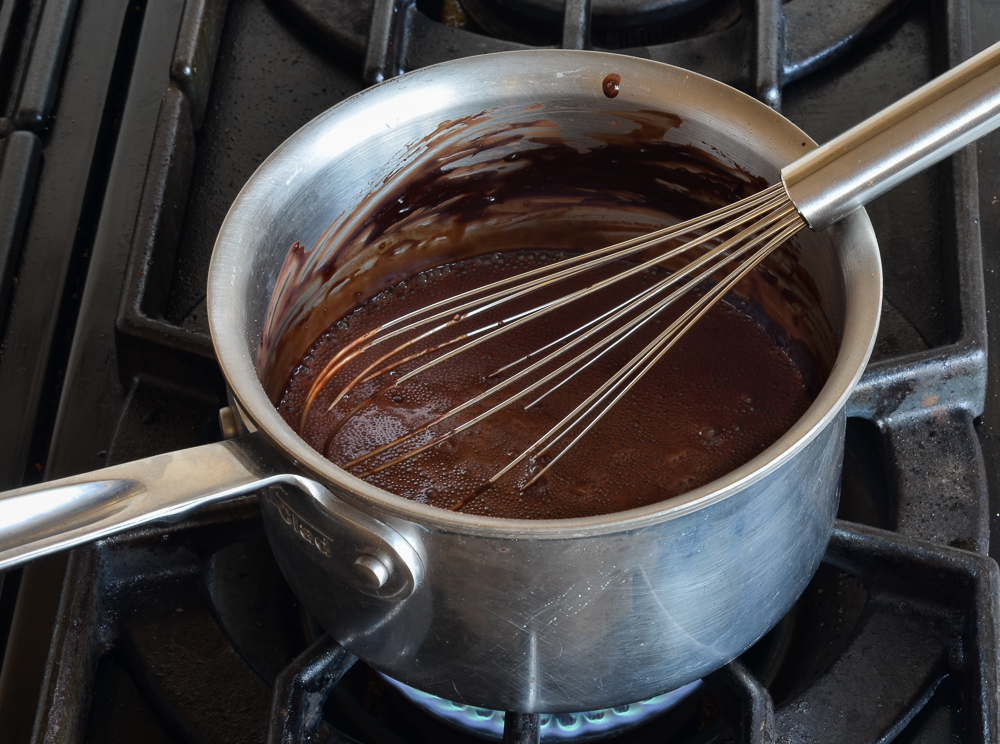
In a small saucepan, combine the cocoa powder, 1/2 cup of the sugar, and the water. Bring to a simmer over high heat, whisking until smooth.
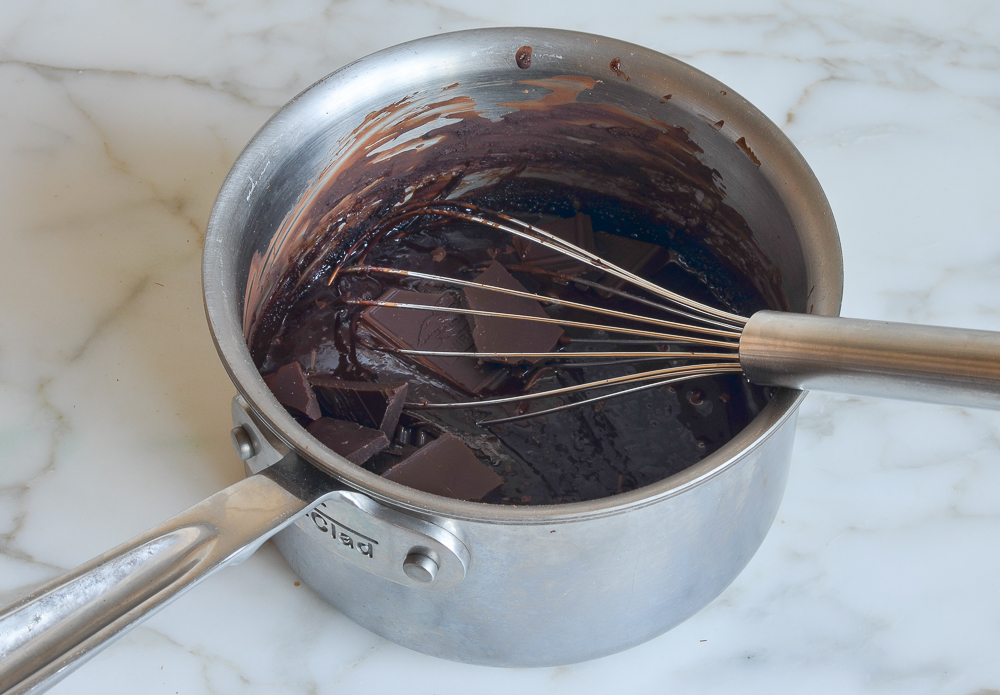
Off the heat, immediately add the chocolate; whisk until the chocolate is melted and the mixture is smooth. Set aside.
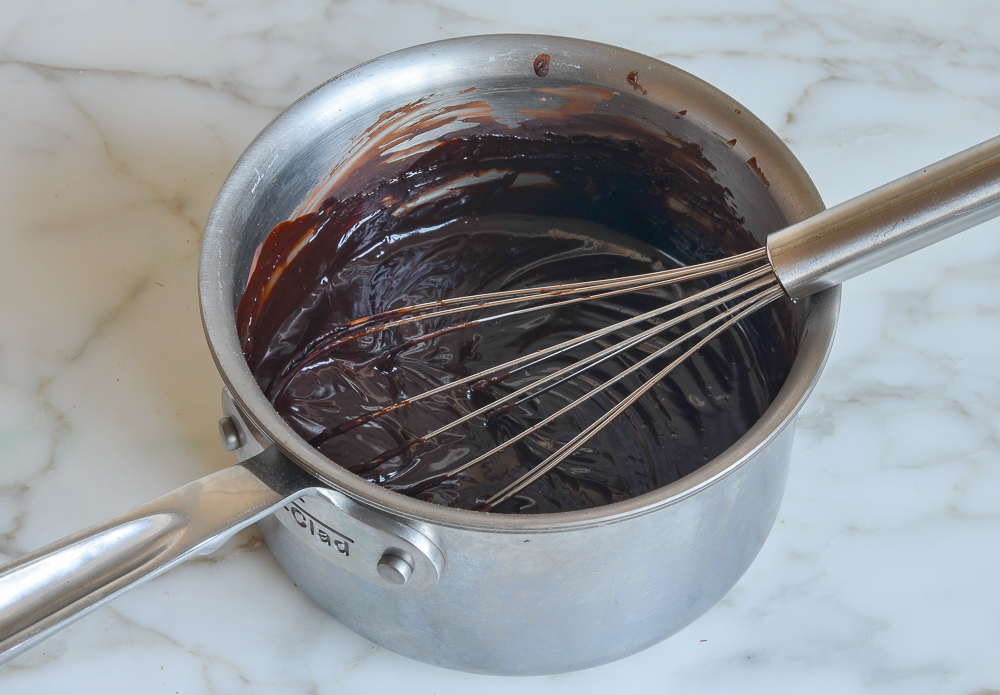
In a medium bowl, combine the buttermilk, eggs, and vanilla.
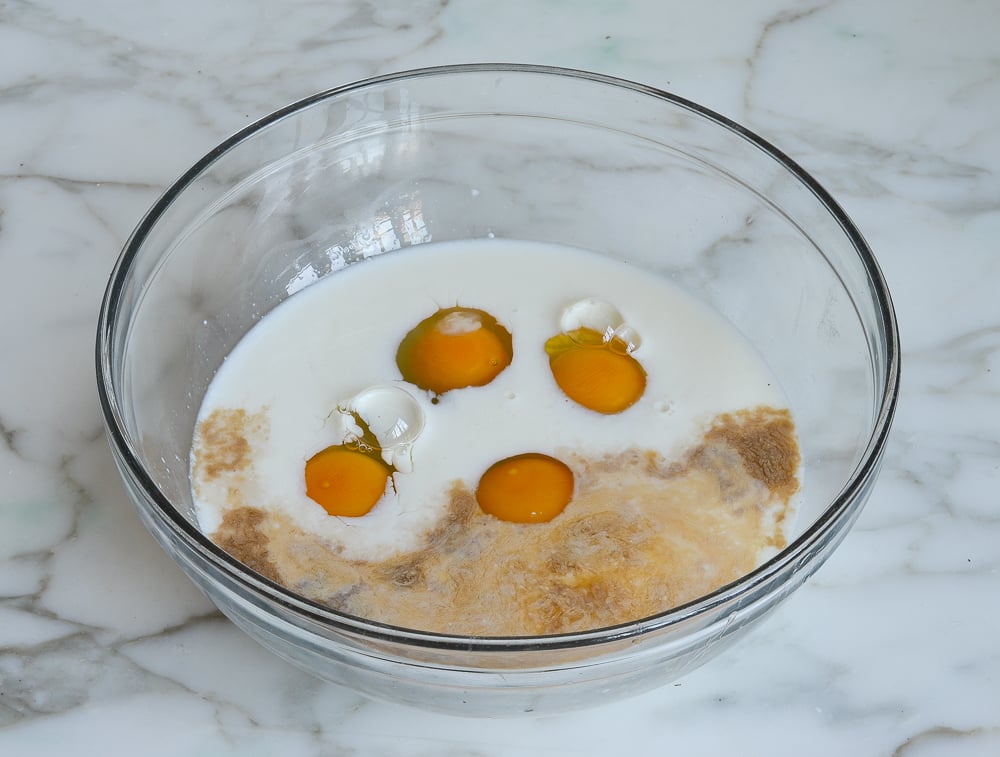
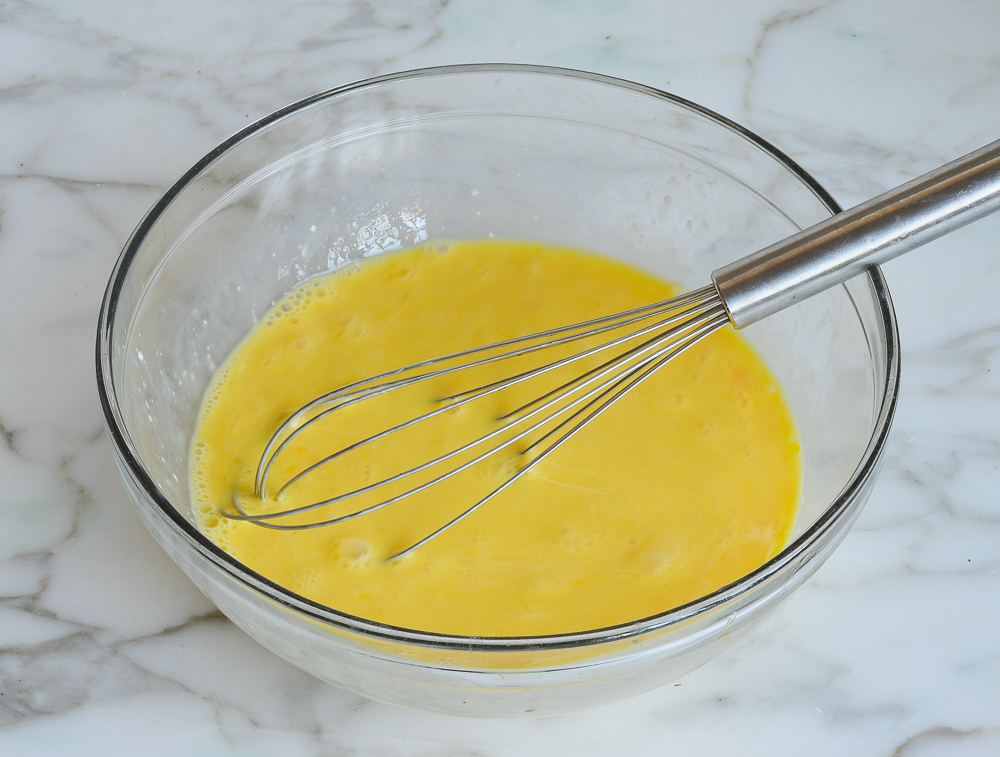
Whisk and set aside. (Note that the mixture will start to look curdled as it sits; that’s okay.)
In the bowl of an electric mixer fitted with the paddle attachment or beaters, combine the flour, baking powder, baking soda, and remaining 2 cups of sugar. Beat on low speed for 30 seconds to combine.
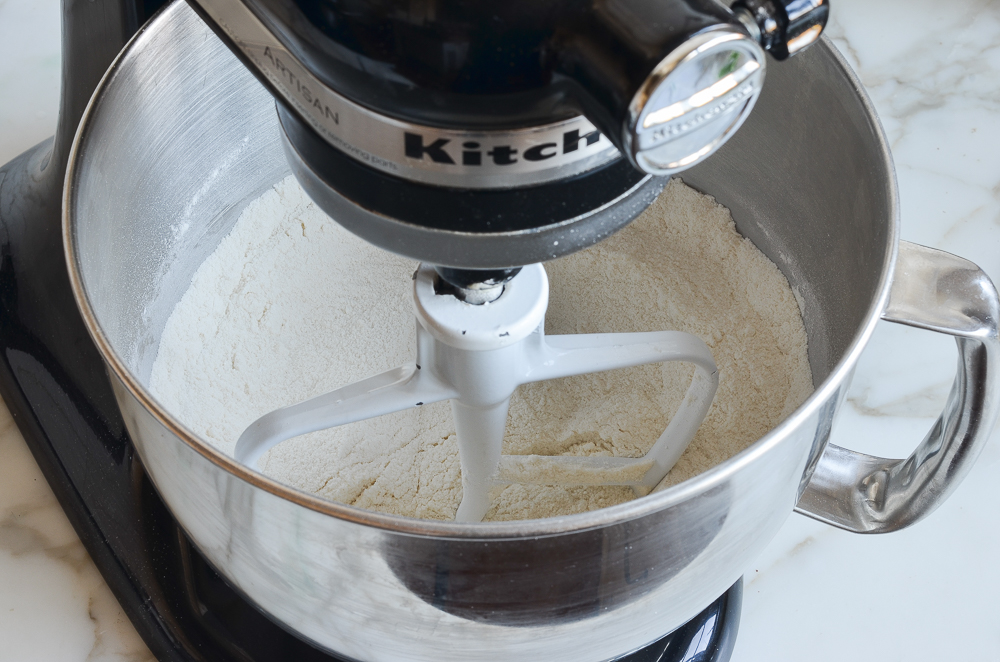
Add the softened butter and half of the buttermilk mixture and mix on low speed until moistened but still a little crumbly, about 1 minute.
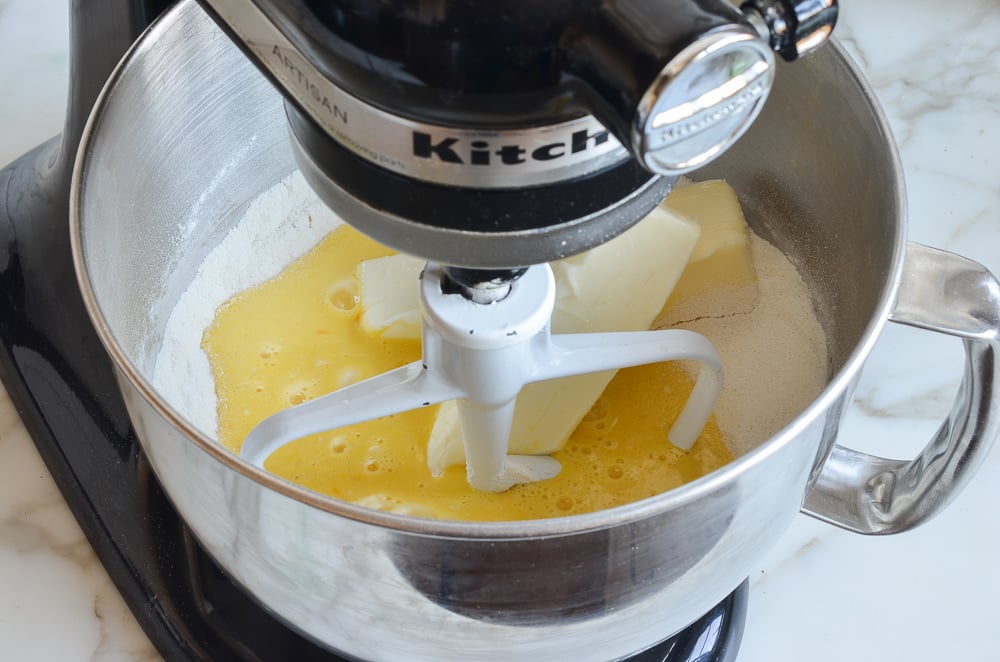
With the mixer running on low, gradually add the remaining buttermilk mixture until incorporated.
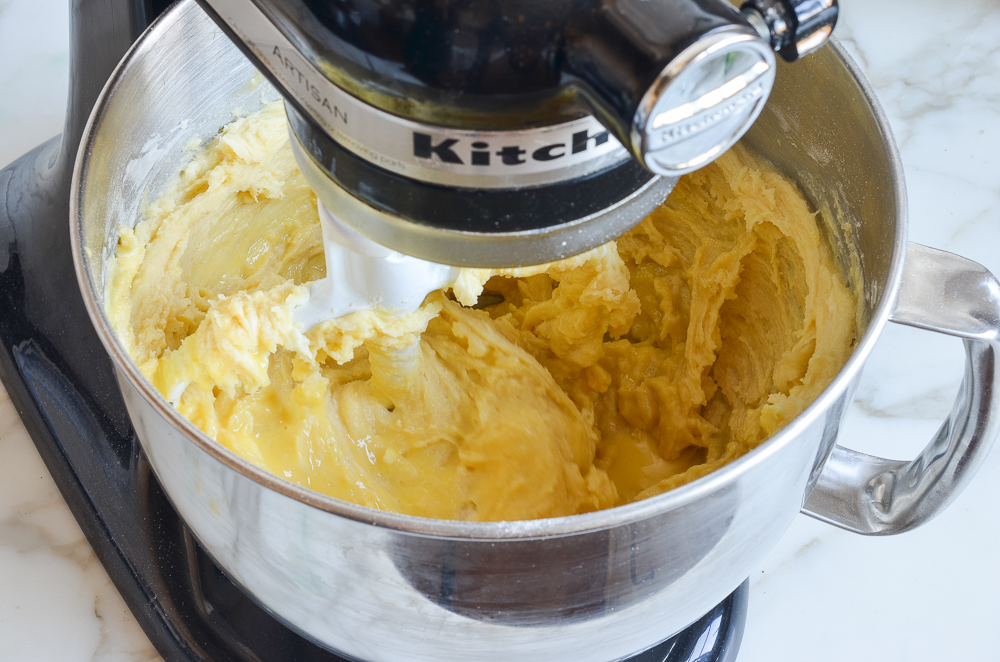 Increase the speed to medium and mix for three minutes, stopping once to scrape down the sides and bottom of the bowl with a rubber spatula. The batter should look pale and creamy. Scrape down the sides and bottom of the bowl again, making sure the batter is evenly mixed.
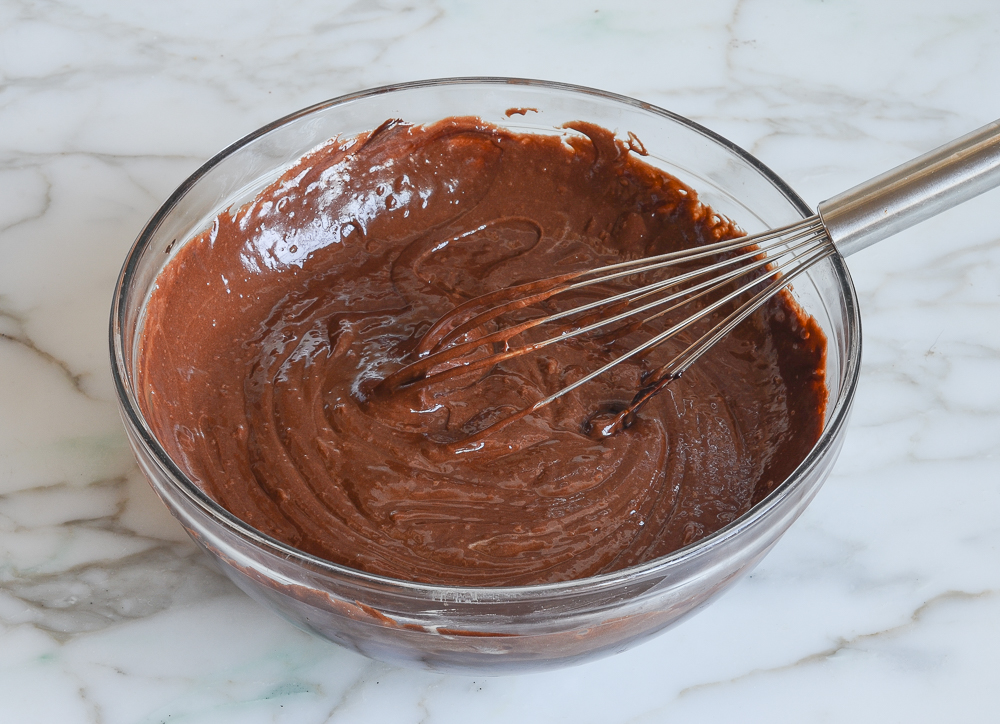
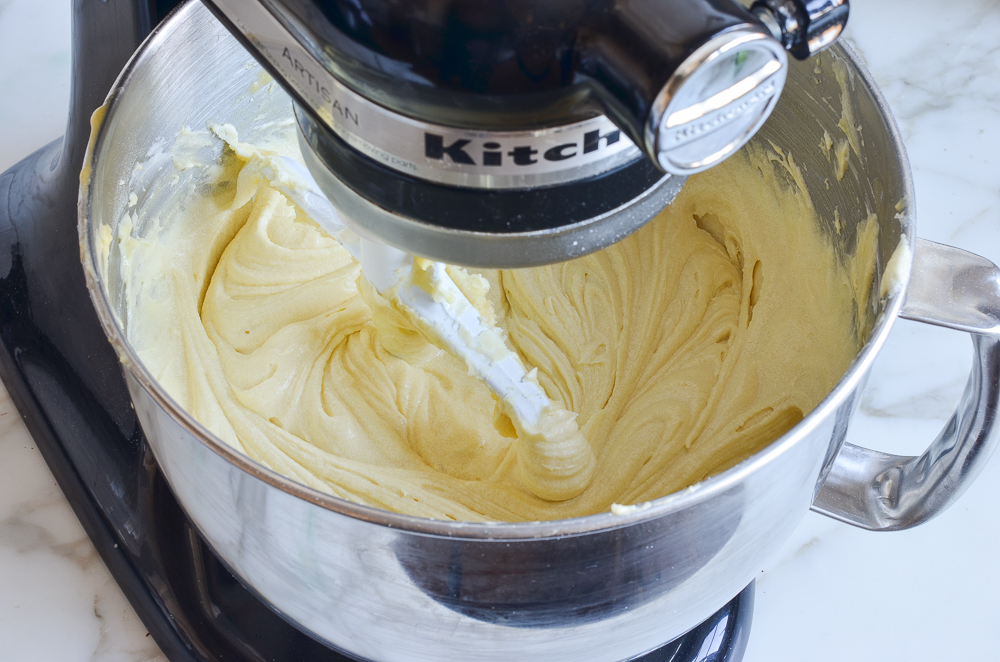 Transfer about 2-1/2 cups of the batter to a medium bowl and add the chocolate mixture.
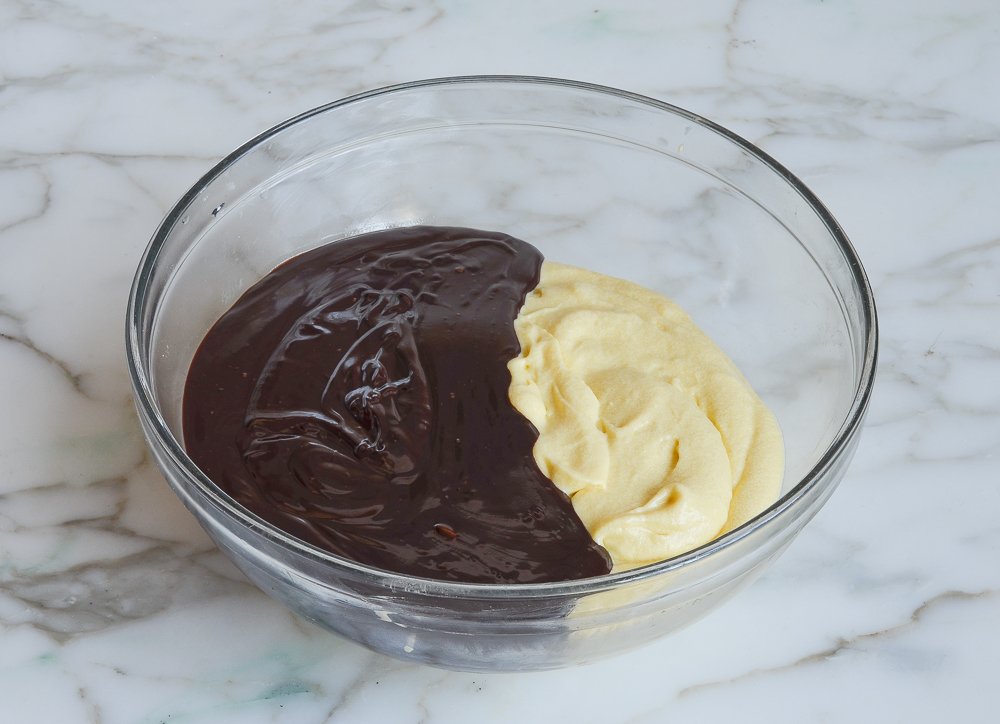
Whisk until smooth — that’s your chocolate batter.
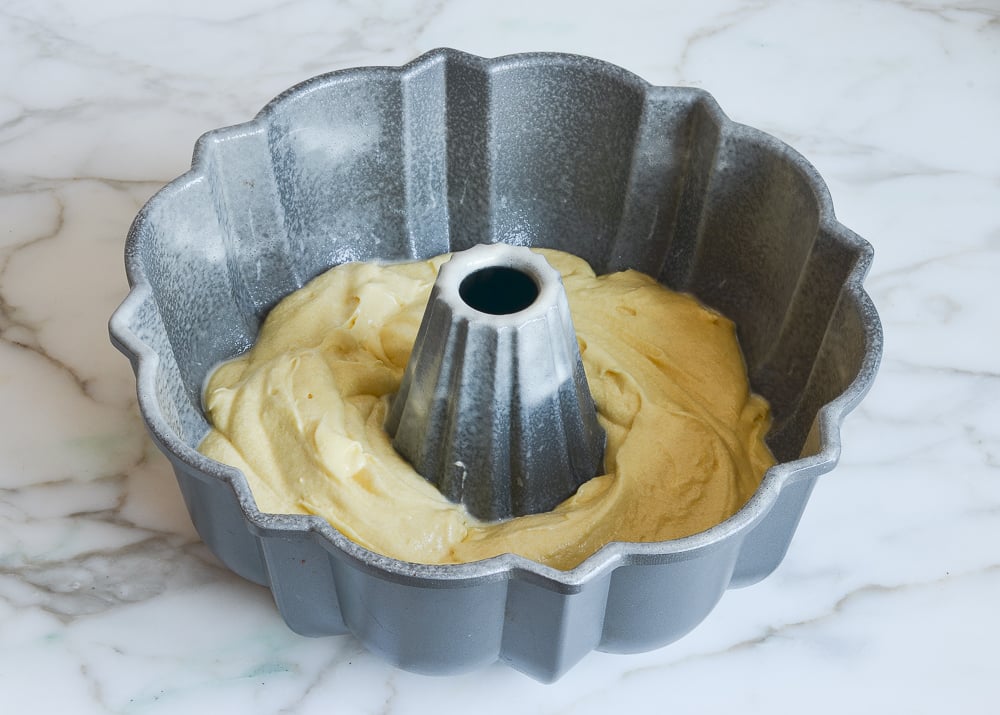
 Spoon half of the remaining vanilla batter into a greased Bundt pan.
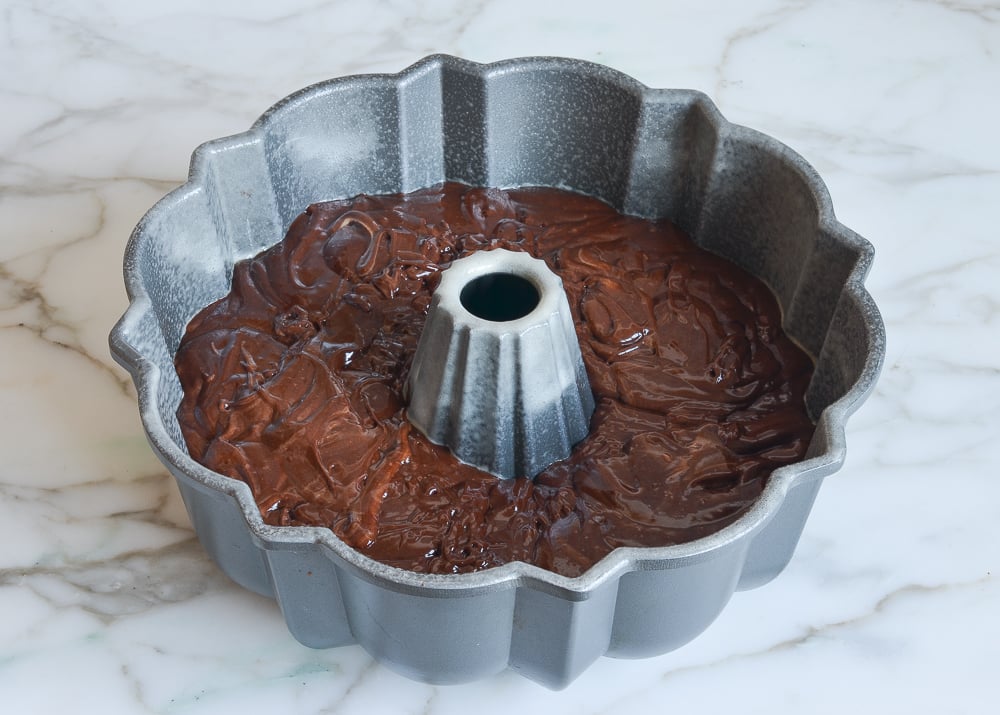
 Pour the chocolate batter over top.
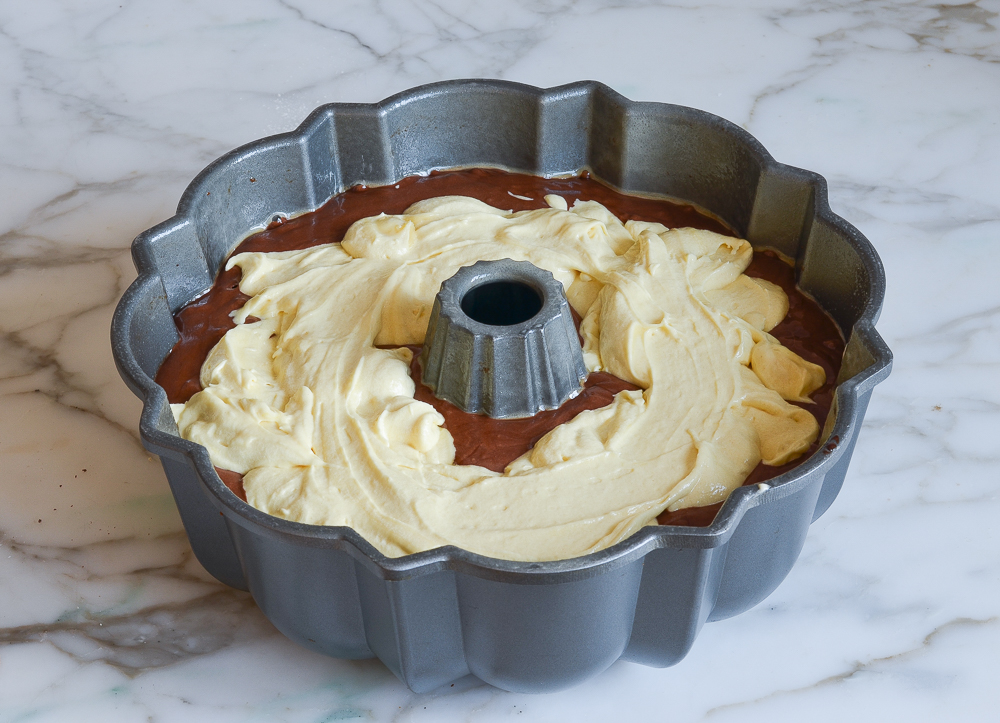
 Finish by spooning the remaining vanilla batter over the chocolate (don’t worry about covering the chocolate layer completely).
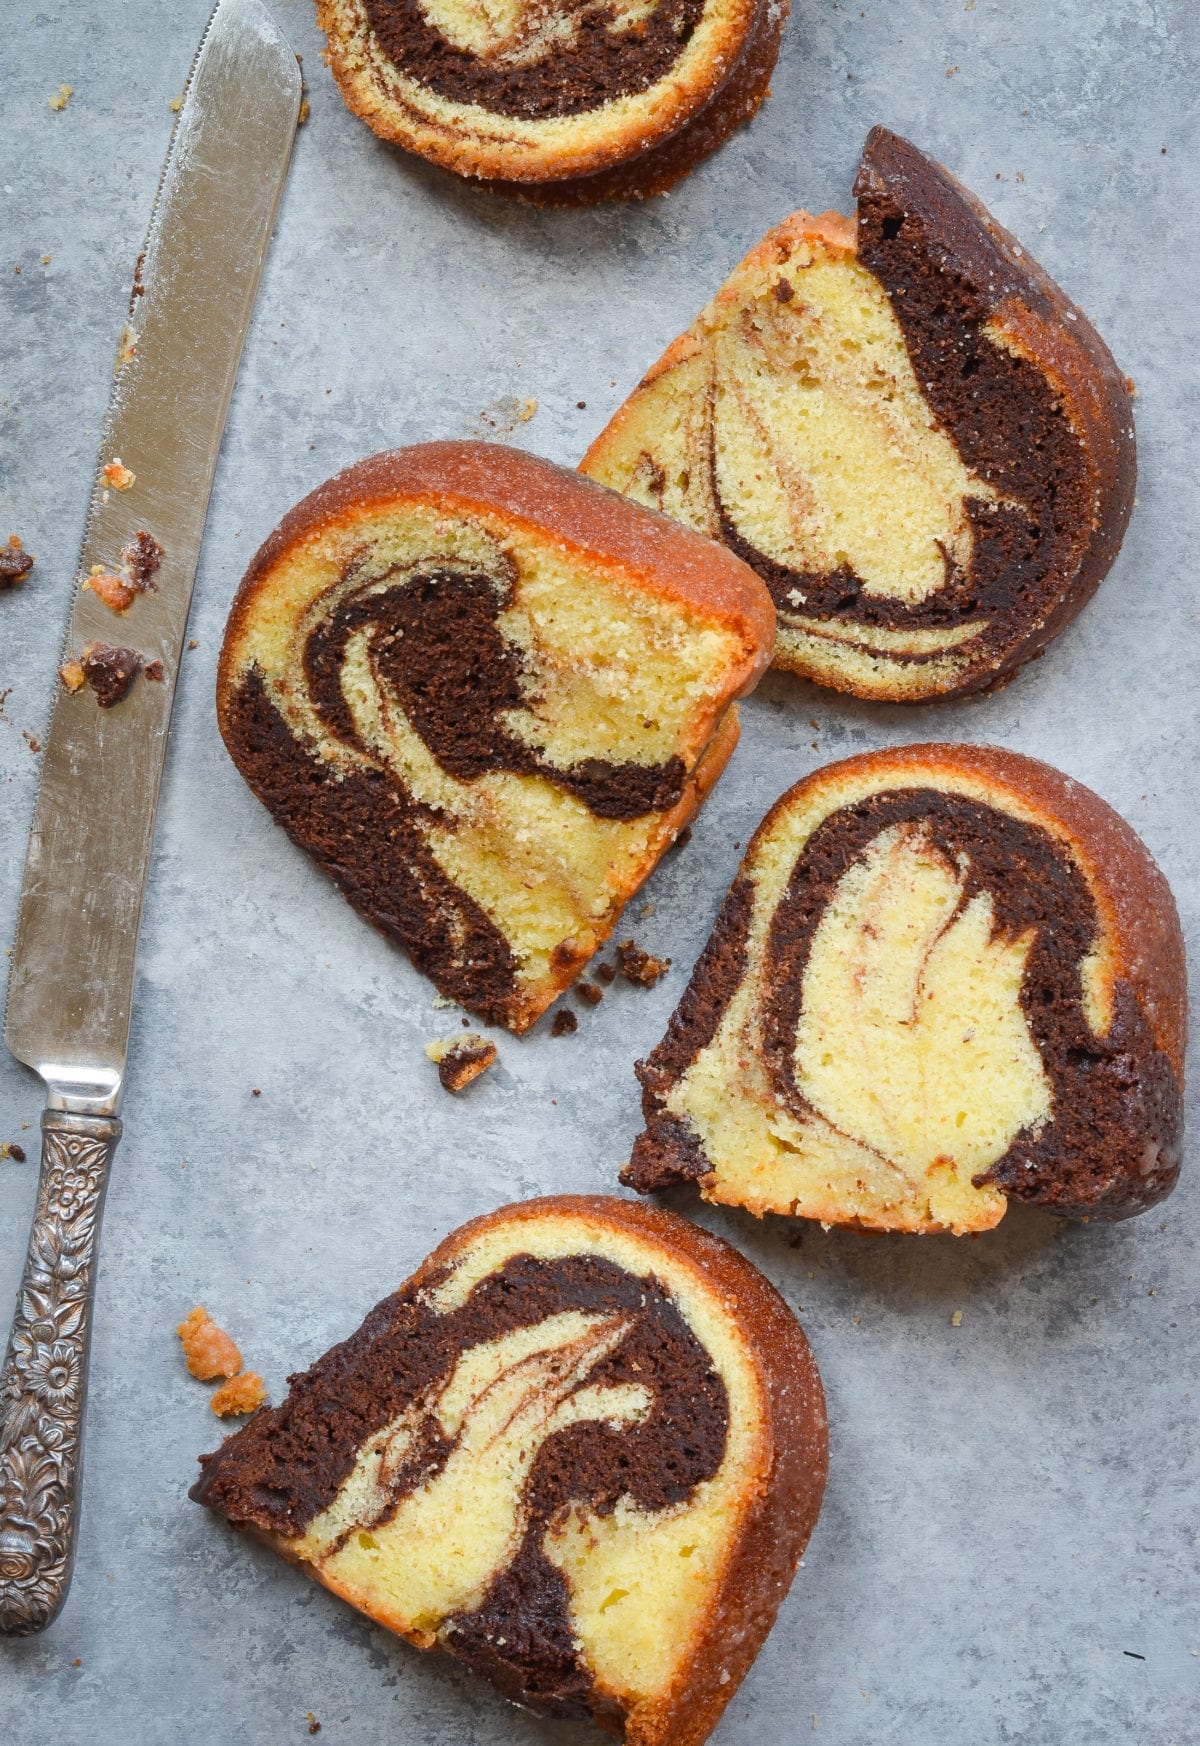
 Using a butter knife, swirl the batters together with a zig-zag motion, going three times around the pan. It may not look like the batters are swirled; that’s okay. It’s important not to overswirl.
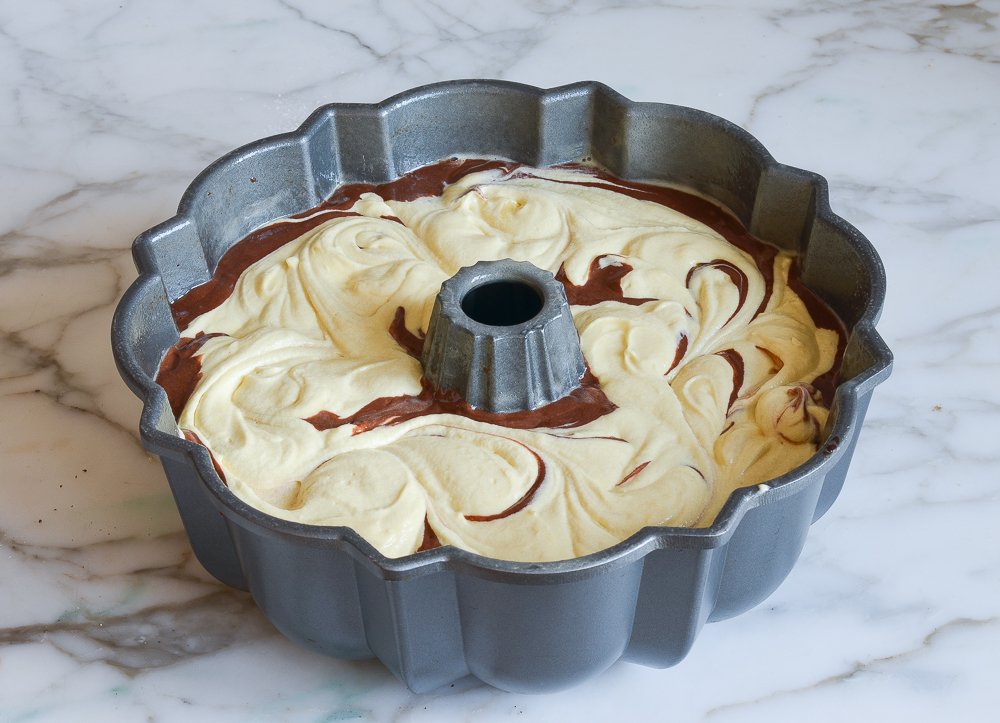
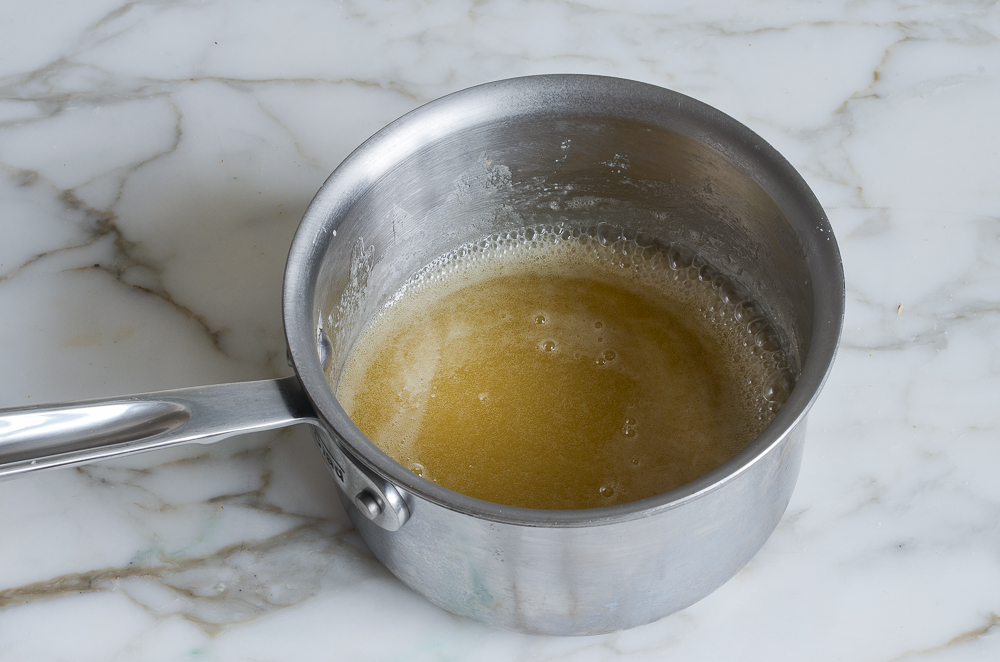
Bake for 60 to 70 minutes, or until a cake tester comes out clean. While the cake bakes, make the glaze. In a small saucepan, combine the butter, sugar, water, and vanilla. Bring to a boil, then reduce the heat and simmer until the sugar is dissolved, about 1 minute.
 Set the baked cake on a cooling rack. Using a skewer or toothpick, poke about 40 holes in the bottom of the still-hot cake, going about 3/4 of the way down. Spoon or brush half of the glaze evenly over the bottom of the cake. If the glaze starts to pool on the surface, poke more holes to help it absorb.
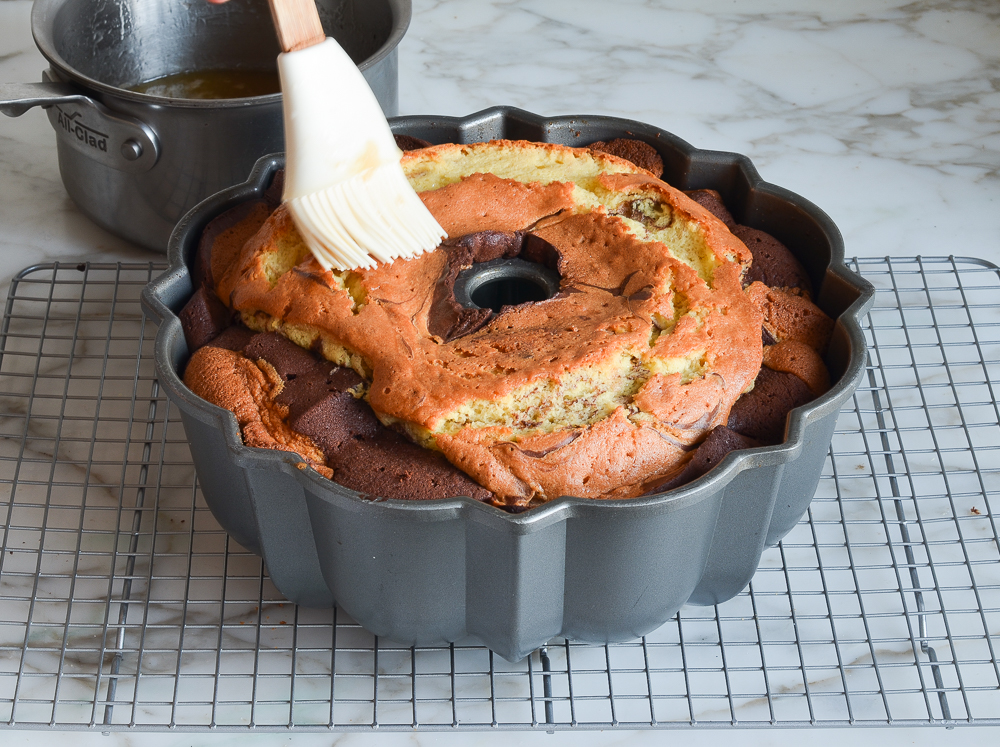 Leave the cake on the rack to cool for 30 minutes.
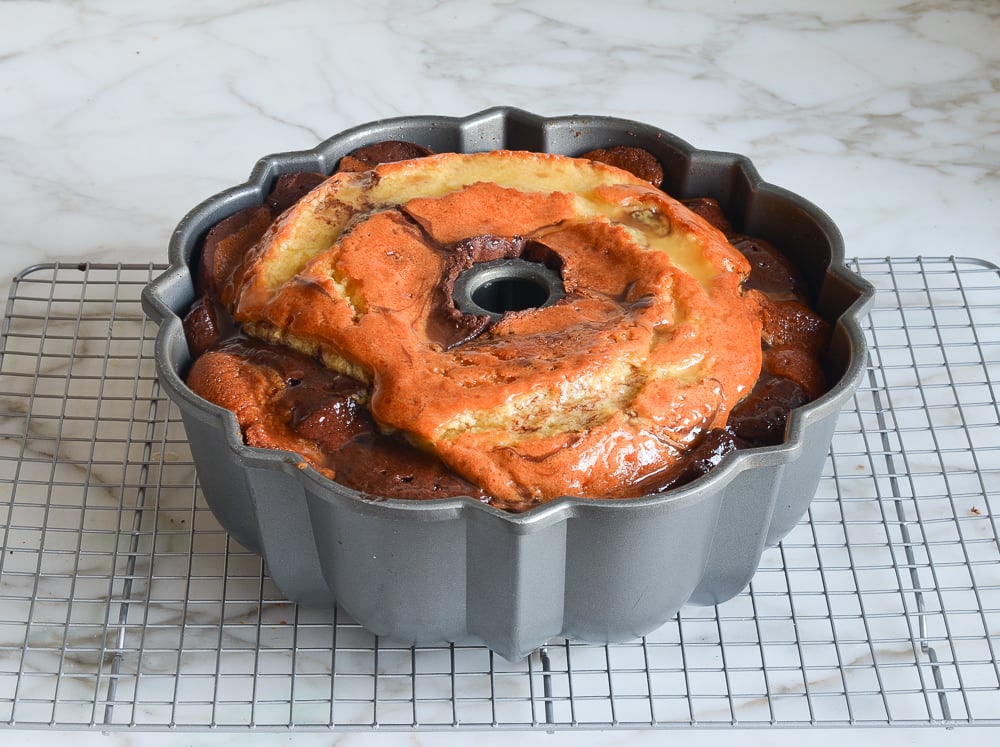
Invert the cake onto a serving platter. Brush the remaining glaze evenly over the top and sides of the cake, letting it soak in as you go. (Go slowly so that the glaze gets absorbed.)
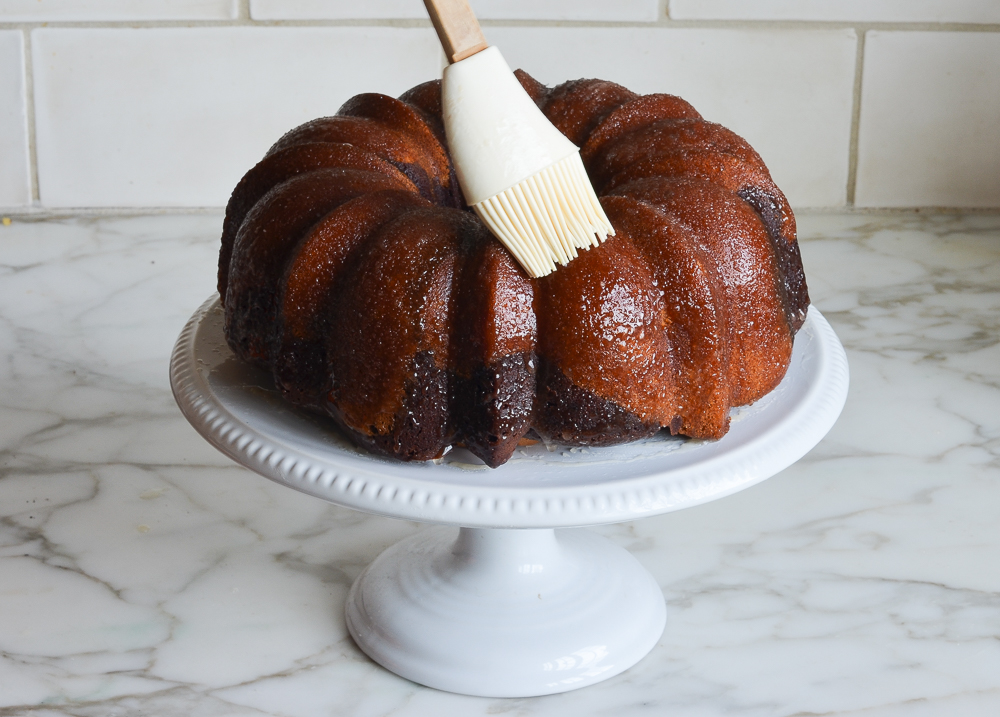
Let the cake sit for at least two hours before serving. Cut with a serrated knife.
You May Also Like
- Kentucky Butter Cake
- Sour Cream Coffee Cake with Cinnamon Walnut Swirl
- Sour Cream Chocolate Chip Coffee Cake
- Lemon Pound Cake
- German Chocolate Cake
- Chocolate Bundt Cake
Marble Cake
This marble cake may look fancy, but its flavor is pure old-fashioned goodness.
Ingredients
For the Cake
- ½ cup natural cocoa powder, such as Hershey's
- 2½ cups sugar, divided
- ½ cup water
- 4 oz semi-sweet chocolate, best quality such as Ghirardelli, broken into 1-in pieces
- 1 cup buttermilk (see note)
- 4 large eggs
- 2 teaspoons vanilla extract
- 3 cups all-purpose flour, spooned into measuring cup and leveled-off
- 1 teaspoon baking powder
- ½ teaspoon baking soda
- ¾ teaspoon salt
- 1 cup (2 sticks) unsalted butter, softened
For the Glaze
- 5 tablespoons unsalted butter
- ¾ cup sugar
- ¼ cup water
- 2 teaspoons vanilla extract
Instructions
For the Cake
- Preheat the oven to 325°F and set an oven rack in the middle position. Spray a 10-in (12-cup) Bundt pan generously with nonstick cooking spray with flour, such as Baker's Joy or Pam with Flour.
- In a small saucepan, combine the cocoa powder, ½ cup of the sugar, and the water. Bring to a simmer over high heat, whisking until smooth. Off the heat, immediately add the chocolate; whisk until the chocolate is melted and the mixture is smooth. Set aside.
- In a medium bowl, whisk together the buttermilk, eggs, and vanilla. Set aside. (Note that the mixture will start to look curdled as it sits; that's okay.)
- In the bowl of an electric mixer fitted with the paddle attachment or beaters, combine the flour, baking powder, baking soda, salt, and remaining 2 cups of sugar. Beat on low speed for 30 seconds to combine. Add the softened butter and half of the buttermilk mixture and mix on low speed until moistened but still a little crumbly, about 1 minute. With the mixer running on low, gradually add the remaining buttermilk mixture until incorporated, then increase the speed to medium and mix for three minutes, stopping once to scrape down the sides and bottom of the bowl with a rubber spatula. The batter should look pale and creamy. Scrape down the sides and bottom of the bowl again, making sure the batter is evenly mixed.
- Transfer about 2½ cups of the batter to a medium bowl. Add the chocolate mixture and whisk until smooth.
- Spoon half of the remaining vanilla batter into the prepared Bundt pan. Pour the chocolate batter over top. Finish by spooning the remaining vanilla batter over the chocolate (don't worry about covering the chocolate layer completely). Using a butter knife, swirl the batters together with a zig-zag motion, going three times around the pan. It may not look like the batters are swirled; that's okay. It's important not to over-swirl.
- Bake for 60 to 70 minutes, or until a cake tester comes out clean.
- While the cake bakes, make the glaze: In a small saucepan, combine the butter, sugar, water, and vanilla. Bring to a boil, then reduce the heat and simmer until the sugar is dissolved, about 1 minute.
- Set the pan on a cooling rack. Using a skewer or toothpick, poke about 40 holes in the bottom of the still-hot cake, going about ¾ of the way down. Spoon or brush half of the glaze evenly over the bottom of the cake. If the glaze starts to pool on the surface, poke more holes to help it absorb. Leave the cake on the rack to cool for 30 minutes.
- Invert the cake onto a serving platter. Brush the remaining glaze evenly over the top and sides of the cake, letting it soak in as you go. (Go slowly so that the glaze gets absorbed.) Let the cake sit for at least two hours before serving. Cut with a serrated knife.
- Note: If you’d like to make your own buttermilk, check out the easy method here.
- Make-Ahead Instructions: This cake keeps well for several days. Once cool, store in a cake dome (or cover with plastic wrap) at room temperature until ready to serve.
- Freezer-Friendly Instructions: The cake can be frozen for up to 3 months. After it is completely cooled, double-wrap it securely with aluminum foil or plastic freezer wrap, or place it in heavy-duty freezer bag. Thaw overnight on the countertop before serving.
Nutrition Information
Powered by ![]()
- Per serving (16 servings)
- Calories: 443
- Fat: 19 g
- Saturated fat: 12 g
- Carbohydrates: 66 g
- Sugar: 45 g
- Fiber: 2 g
- Protein: 5 g
- Sodium: 223 mg
- Cholesterol: 87 mg
This website is written and produced for informational purposes only. I am not a certified nutritionist and the nutritional data on this site has not been evaluated or approved by a nutritionist or the Food and Drug Administration. Nutritional information is offered as a courtesy and should not be construed as a guarantee. The data is calculated through an online nutritional calculator, Edamam.com. Although I do my best to provide accurate nutritional information, these figures should be considered estimates only. Varying factors such as product types or brands purchased, natural fluctuations in fresh produce, and the way ingredients are processed change the effective nutritional information in any given recipe. Furthermore, different online calculators provide different results depending on their own nutrition fact sources and algorithms. To obtain the most accurate nutritional information in a given recipe, you should calculate the nutritional information with the actual ingredients used in your recipe, using your preferred nutrition calculator.

I was trying to figure out what dessert I was going to make to go along with Sunday dinner. This recipe called for ingredients I already had in the pantry so I gave it a shot. I cut the sugar by 1/2 because I don’t care for really sweet dessert. OMG!!! This recipe was spot on!! It is so delicious and moist, I am a fan and so is my family. Thanks for completing our Sunday dinner. 🙂
I made the Marble Cake today!!It is absolutely awesome!
Hi Jenn,
I’ve been using your recipes for years and love too many to name…a couple of my favorites are the Big Italian Salad and grilled chicken breasts…yum!
For this cake, I’d love to reduce the sugar without losing texture/consistency…how much less can I get away with?
Hi Ruthie, So glad you like the recipes! You can get away with reducing the sugar by 1/2 cup without impacting the texture/moisture of the cake. Hope you enjoy. 🙂
I made the Marble Cake the same day I received the recipe and made it exactly as your recipe states. It is absolutely awesome! My cake looks just like the photo and the flavor and texture is fabulous—so moist, tender, and chocolaty. I WILL be making it again. Your site is my go-to when looking for beautiful, delicious food.
definitely I will try this delicious cake. I was waiting for a long time till you create Marble Cake. what size would you recommend for loaf pan? i want to cut the cake more like square looking shape?
Hi Edith, You’ll need two 8-1/2 by 4-1/2 loaf pans. Please LMK how it turns out if you make it! 🙂
Hi. Please clarify the size of the Bundt pan to use. At the top of the recipe it says 10″, but in the body it says 12″. Maybe it doesn’t matter? Thanks!
Hi Linda, Sorry for any confusion. A 10-inch bundt pan holds 12 cups, which is what the instructions indicate, but I can understand why it would be confusing. I’ve updated the recipe to make it more clear. Hope you enjoy if you make it! 🙂
Hi Jenn,
Love your recipes and they are my go-to’s for Always Good dishes. Your Marble Cake looks excellent as well, although I have yet to give it a try. I am always looking for Holiday food gifts for friends and am wondering if this cake might be a good choice and if it would translate well in a mini bundt pan? How would the baking time alter? And also if you have a source for small bundt pans.
Thank you so much!
Hi Susan, While the marbling step may be a bit more challenging in minis, I think it’s doable. What size are the mini pans? (That would help to determine the amount of time they need in the oven.) And I don’t have mini bundts but I really like my standard-size Nordic Ware bundt pan.
I have a mini bundt pan that I bought several years ago from Pampered Chef. It’s stoneware…I bet they still carry it.
Just curious, what is the purpose of the butter glaze? How different is the cake without applying it?
Hi Cynthia, The cake is good on its own but the glaze adds wonderful flavor, moisture, and a slightly crisp texture on the outside of the cake. It really does take the cake up a notch (and also helps it keep much longer). Hope you enjoy!
Hi Jenn! I am looking forward to trying this recipe after making your marbled banana bread! I am wondering if I can substitue the buttermilk with sour cream? Thanks so much!!
Hi Trish, You can but I would thin it with a bit of water or milk to get it to the consistency of buttermilk.
Can’t wait to make this…it is the Kentucky Butter Cake with the addition of a chocolate layer…yum! I have never made a marble cake and know this one will be delicious! Will review it after I make it. Thanks for another great recipe.
Hope you enjoy it, Karen! 🙂
For some reason my cake came out dry! I poured half the glaze over the cake as described intl the directions, but i don’t feel like it penetrated the cake well …the bottom was tasty… but the middle was kind of dry and crumbly. Maybe cooked it too long?
This definitely shouldn’t be dry. Dryness is usually caused by measuring the flour incorrectly. Did you use the spoon and level method to measure the flour? Even a few extra ounces can make a big difference. This article/video explains it nicely. Also, did you serve it on the same day? Like most homemade cakes, it doesn’t stay fresh for long.
Measuring the flour could have been the issue.
Do you find it’s done at 60 min?
Also, i feel like my glaze didn’t soak into the cake. I poked holes with a wooden skewer…and just poured the glaze over the top of the cake once you flip correct??
My cake is usually done at about 60 minutes but there’s a lot of variation in ovens so I give the range of 60 to 70 minutes. And assuming you poked holes and spooned half of the glaze over the bottom of the cake, let it absorb, and then brushed the remaining glaze over top of the cake once you inverted it, you went about it correctly. Hope you have better luck if you try it again!