Latkes (Stovetop & Oven Method)
This post may contain affiliate links. Read my full disclosure policy.
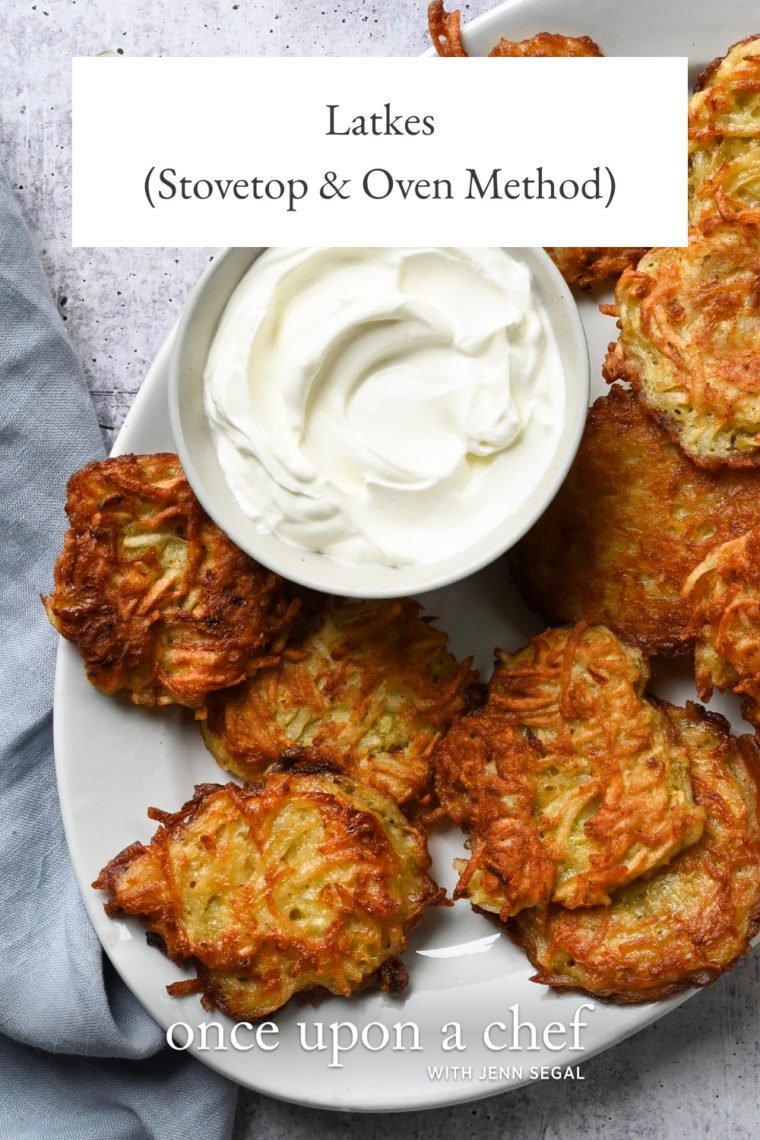
Make your Hanukkah celebration extra special with golden crispy latkes. You can make them on the stove or in the oven — your choice!
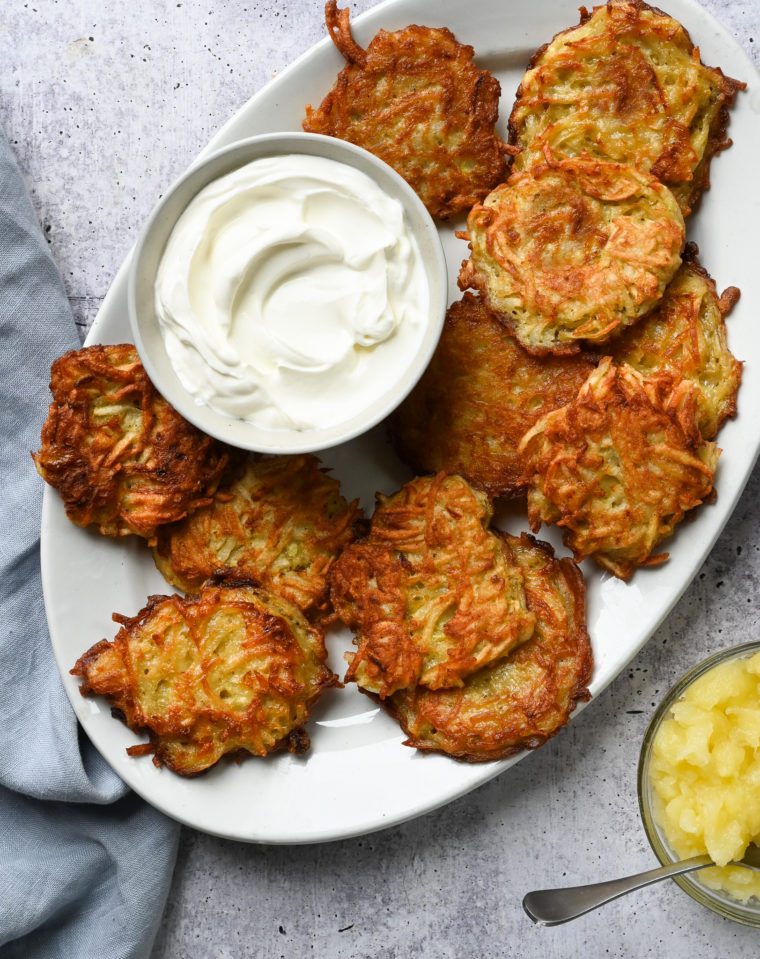
Latkes, or crisp onion-scented potato pancakes, are traditionally eaten during the Jewish holiday of Hanukkah, when it is customary to eat foods fried in oil. At any Hanukkah party, you’ll likely find an apron-clad Jewish mother standing at the stove frying and serving up these savory treats. This tradition can be fun, but it can also be messy and hectic with hot oil splattering all over the stove and children running underfoot. That’s why I was thrilled to discover that potato latkes can also be fried in the oven!
This recipe offers the option of using either the traditional stovetop method or the oven method. The stovetop method is faster, but requires cooking the latkes in batches. The oven method takes longer, but allows all the latkes to be cooked at the same time and is less messy. The latkes are delicious either way. Serve them warm with sour cream and applesauce. Now that you’ve got latkes covered, check out my other Hanukkah recipes to round out your holiday celebration.
Table of Contents
“These were brilliant!! I used the oven method which resulted in the perfect crispy brown result I was looking for without having the mess from the frying pan.”
What You’ll Need To Make Potato Latkes
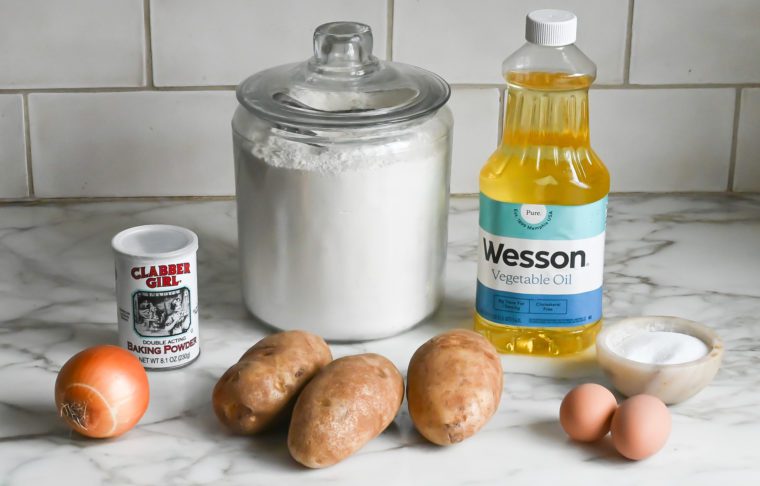
- Russet Potatoes: These starchy potatoes are perfect for latkes, giving them a crispy exterior and fluffy interior.
- Yellow Onion: Adds a subtle sweetness and depth of flavor.
- Eggs: Help bind the ingredients together, ensuring the latkes hold their shape when frying.
- Salt: Enhances the flavors of the potatoes and onions, making the latkes more flavorful.
- Baking Powder: Adds a touch of lift, making the latkes light and crisp.
- All-Purpose Flour: Helps absorb moisture and adds structure to the latke batter.
- Vegetable Oil: Used for frying, it creates a golden, crispy crust.
- Sour Cream and Applesauce: Classic, tangy and sweet accompaniments to balance the taste of the savory latkes.
- Jump to the printable recipe for precise measurements
If using the oven method, you’ll need two heavy nonstick rimmed baking sheets. Be sure they are truly nonstick and in good shape, otherwise the latkes may stick.
Step-By-Step Instructions
Step 1: Make the Batter
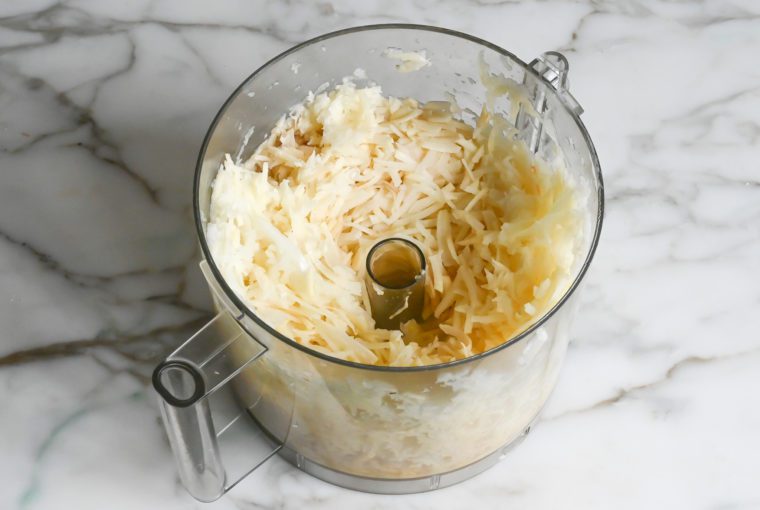
Peel the potatoes, then coarsely grate them with the onion together using a food processor or by hand, using a box grater.
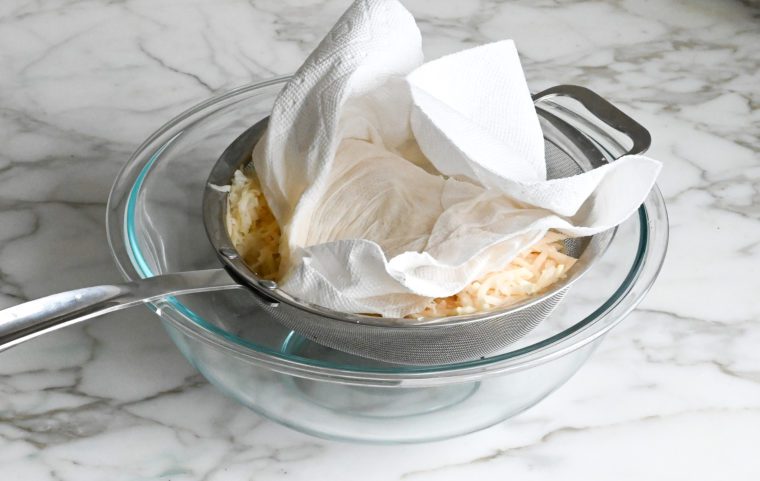
Place the potato and onion mixture in a fine sieve over the sink or a large bowl and press down firmly with a wad of paper towels or a clean dishcloth to wring out excess moisture. Stir and repeat a few times with fresh paper towels until the liquid is mostly drained.
Beat the eggs in a large bowl. Add the potato and onion mixture, salt, baking powder, and flour.
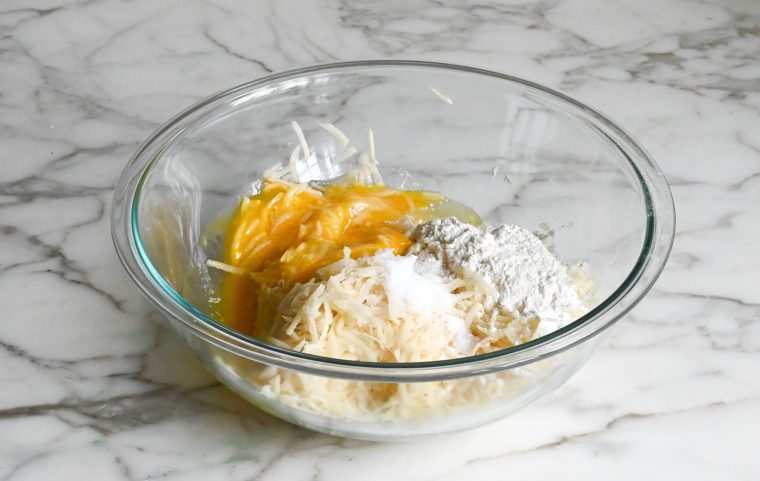
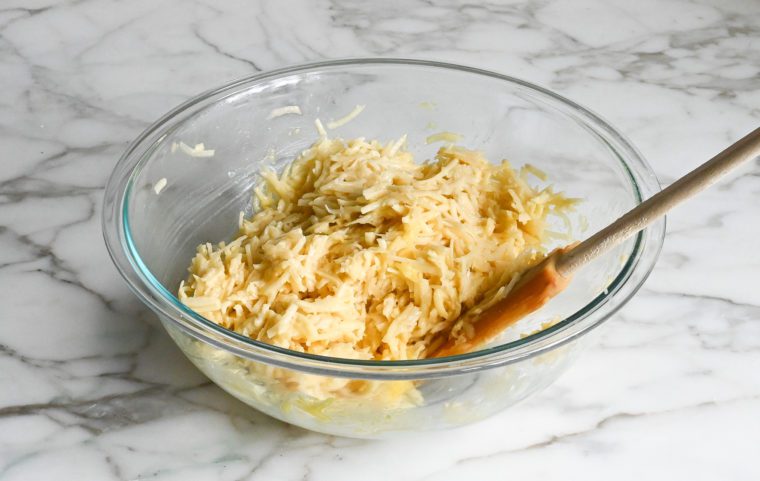
Mix until evenly combined.
Fry the Latkes: Stovetop Method
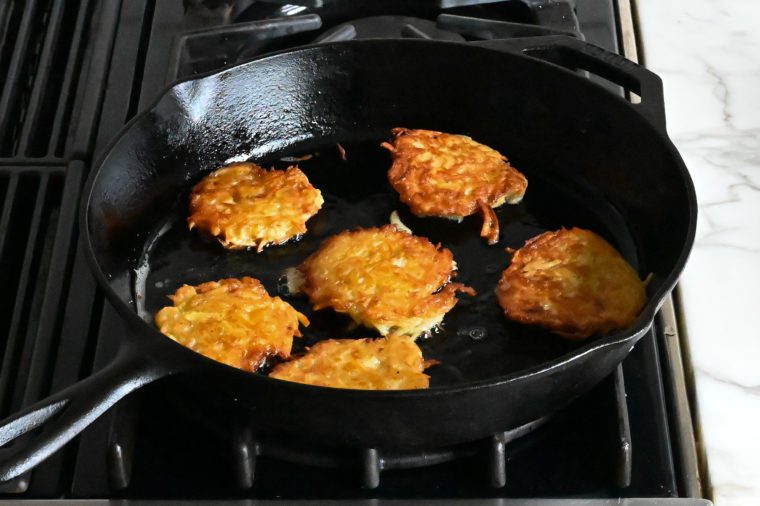
In a large cast iron or nonstick skillet over medium-high heat, heat about ¼ cup of oil. Once the oil is hot, drop mounds of batter into the hot pan. Flatten the mounds slightly with a spatula and reduce the heat to medium. Cook until the bottom of the latkes are golden brown and crispy, about 5 minutes.
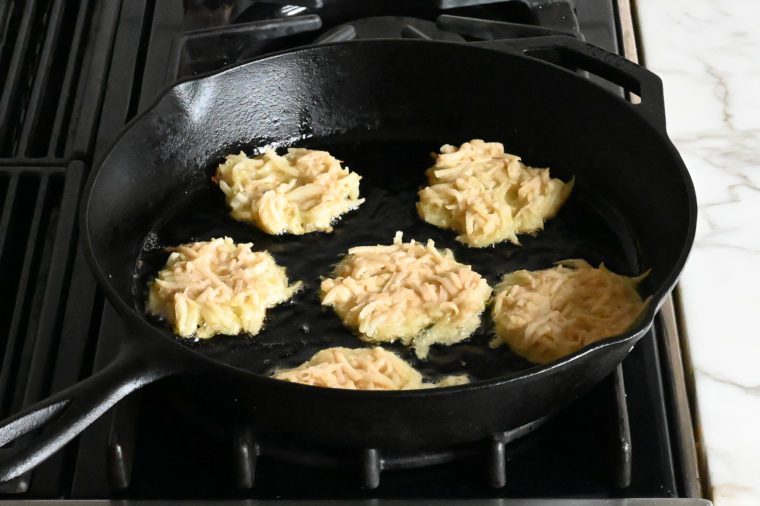
Flip and cook until the second side is golden, another 4 to 5 minutes, adjusting the heat as necessary. Drain on paper towels and repeat with the remaining batter.
Fry the Latkes: Oven Method
Preheat oven to 425°F and put 2 oven racks in the centermost positions. Fill two heavy nonstick rimmed baking sheets with ½ cup oil each.
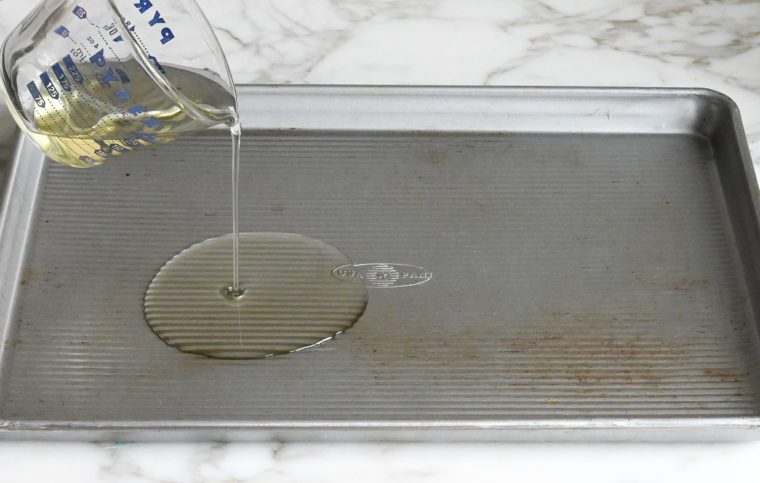
Place the pans in the oven for 10 minutes to heat the oil. Wearing oven mitts, very carefully remove the pans from the oven. Drop mounds of batter onto the baking sheets, spacing the latkes about 1½ inches apart. Using the back of a spoon, press down on the latkes to flatten just slightly.
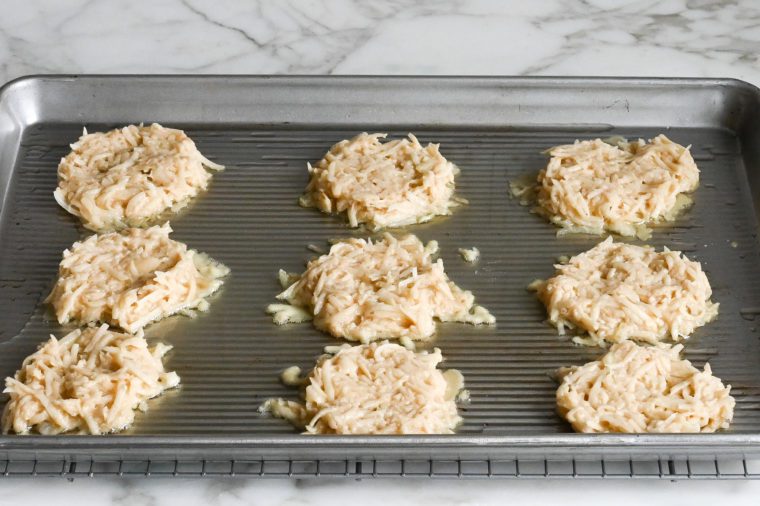
Bake for 15 to 20 minutes, or until the bottoms are crisp and golden. Carefully remove the pans from oven.
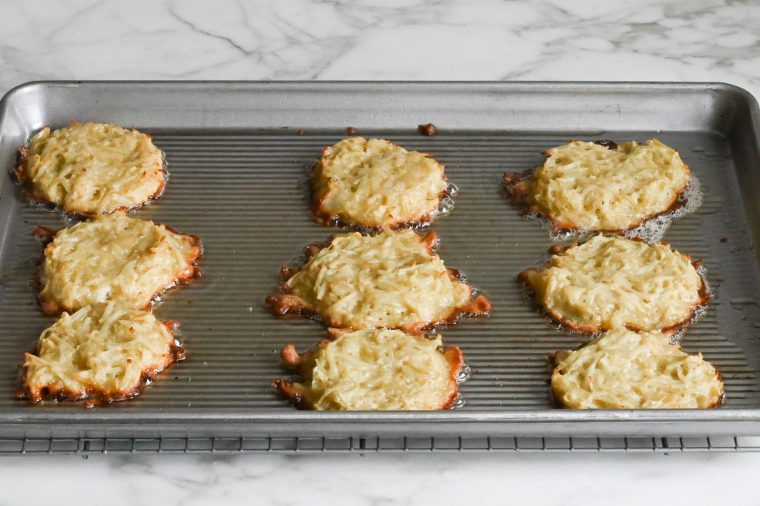
Flip the latkes (tongs are the best tool as a spatula may cause oil to splatter).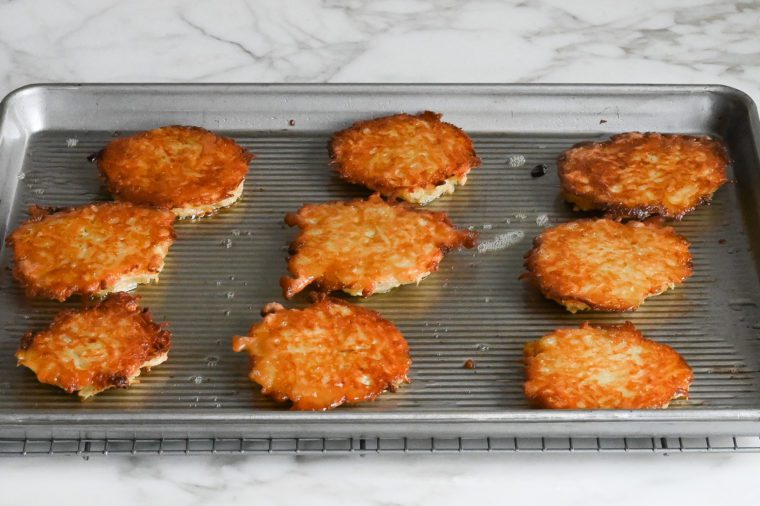
Place the pans back in the oven and cook until the latkes are crisp and golden brown all over, about 10 minutes more.
Drain the Latkes
After cooking on the stovetop or in the oven, transfer the latkes to a baking sheet lined with paper towels to drain.
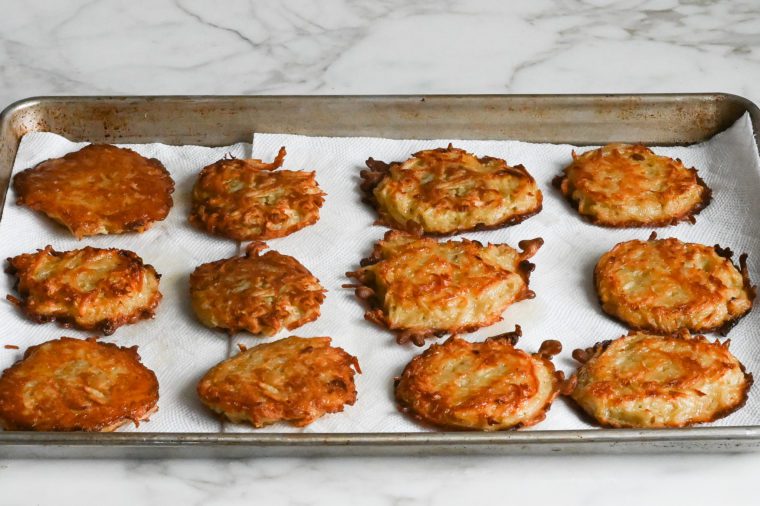
Serve the latkes with sour cream and applesauce.

You May Also Like
Latkes (Stovetop & Oven Method)
Make your Hanukkah celebration extra special with golden crispy latkes. You can make them on the stove or in the oven — your choice!
Ingredients
- 2 pounds russet potatoes (2 to 3 potatoes)
- 1 medium yellow onion, peeled (about the size of a baseball)
- 2 large eggs
- 1½ teaspoons salt
- 2 teaspoons baking powder
- ¼ cup all-purpose flour
- Vegetable oil, for frying
- Sour cream and applesauce, for serving
Instructions
- If using the oven method, preheat the oven to 425°F and set two oven racks in the centermost positions.
- Make the Batter: Peel the potatoes, then coarsely grate them with the onion together using a food processor fitted with the steel blade or by hand, using a box grater. Place the potato and onion mixture in a fine sieve over the sink or a large bowl and press down firmly with a wad of paper towels or a clean dishcloth to wring out excess moisture. Stir and repeat a few times with fresh paper towels until the liquid is mostly drained. Beat the eggs in a large bowl. Add the potato and onion mixture, salt, baking powder, and flour. Mix until evenly combined.
- Stovetop Method: In a large cast iron or nonstick skillet over medium-high heat, heat about ¼ cup of oil. Once the oil is hot and shimmering, drop mounds of batter (about 3 tablespoons) into the hot pan (the batter should sizzle when you drop it in). Flatten the mounds slightly with a spatula. Reduce the heat to medium and cook until the bottom of the latkes are golden brown and crispy, about 5 minutes. Flip and cook until the second side is golden, another 4 to 5 minutes, adjusting the heat as necessary. Transfer the latkes to a baking sheet lined with paper towels to drain. Repeat with the remaining batter, adding more oil as necessary.
- Oven Method: Fill two heavy nonstick rimmed baking sheets with ½ cup oil each (see note). Place the pans in the oven for 10 minutes to heat the oil. Wearing oven mitts, very carefully remove the pans from the oven. Drop mounds of batter (about 3 tablespoons) onto the baking sheets, spacing the latkes about 1½ inches apart. Using the back of a spoon, press down on the latkes to flatten just slightly. Bake for 15 to 20 minutes, or until the bottoms are crisp and golden. Carefully remove the pans from oven and flip the latkes (tongs are the best tool as a spatula may cause oil to splatter). Place the pans back in the oven and cook until the latkes are crisp and golden brown all over, about 10 minutes more. Remove the pans from the oven and transfer the latkes to a baking sheet lined with paper towels.
- Serve the latkes warm with sour cream and applesauce.
- Note: If using the oven method, you'll need two heavy nonstick rimmed baking sheets. Be sure they are truly nonstick and in good shape, otherwise the latkes will stick.
- Note: Nutritional information was calculated assuming that approximately 2 tablespoons of the oil is absorbed into the latkes when frying.
- Make-Ahead/Freezer Friendly Instructions: Latkes are best served fresh from the skillet or oven, but they reheat well. Place them on a foil-lined baking sheet in a 375°F-oven for about 10 minutes, or until hot. They can also be frozen for up to three months; reheat directly from the freezer; allow a few extra minutes in the oven.
Nutrition Information
Powered by ![]()
- Per serving (18 servings)
- Serving size: 1 latke
- Calories: 71
- Fat: 2 g
- Saturated fat: 0 g
- Carbohydrates: 11 g
- Sugar: 1 g
- Fiber: 1 g
- Protein: 2 g
- Sodium: 153 mg
- Cholesterol: 21 mg
This website is written and produced for informational purposes only. I am not a certified nutritionist and the nutritional data on this site has not been evaluated or approved by a nutritionist or the Food and Drug Administration. Nutritional information is offered as a courtesy and should not be construed as a guarantee. The data is calculated through an online nutritional calculator, Edamam.com. Although I do my best to provide accurate nutritional information, these figures should be considered estimates only. Varying factors such as product types or brands purchased, natural fluctuations in fresh produce, and the way ingredients are processed change the effective nutritional information in any given recipe. Furthermore, different online calculators provide different results depending on their own nutrition fact sources and algorithms. To obtain the most accurate nutritional information in a given recipe, you should calculate the nutritional information with the actual ingredients used in your recipe, using your preferred nutrition calculator.



I tried again this year:(. Bought the heavy gauge pans you suggested and still oil ran to one side😢… so made in cast iron pan. Great recipe nonetheless! Maybe my kitchen or oven isn’t level.
Hi Nellie, so sorry you had a problem with this! I’m surprised that the heavy gauge pans didn’t work for you – they shouldn’t warp in the oven. ☹️
I just made these using non-stick foil in the pan since I don’t remember if my pan was “non-stick” or not. Absolutely fantastic!! Another reviewer had suggested the non-stick foil. I used the Cuisinart large grate disk for the onion and the medium julienne disk for the potatoes and got a great texture. Followed the rest of the recipe as printed: 15 minutes first in the oven, then 10 more minutes after turning over. I will make these for my Christmas/Hannukah dinner. Just thrilled with the results!
Hi Jenn!
Have you or anyone you know tried making these with an egg substitute? Maybe flax eggs or Egg Replacer?
Hi J, I can’t say that I have, but will let other readers weigh in. 🙂
Sarah from The Woks of Life here! Was looking for a way to fry latkes for a holiday party I’m hosting tonight, without having to stand at the stove all night. Of course, when I saw your post pop up, I clicked right away! Love this method, and I know it will work! Thanks Jenn. 🙂
Hope you enjoy it, Sarah! 💕
Happy to report that they were so perfectly golden and crispy! I’ll be making latkes this way from now on. So much easier!
👍
Hi Jen!
I would like to make these and wonder if it will work on a pan that is not non stick?
thanks! Paula 🙂
Hi Paula, Unfortunately, non-stick baking sheets are an absolute must here. Sorry!
What temp for the oven?
425 degrees. Enjoy! 🙂
Jenn, I made these delicious latkes today for Easter Brunch & used as the base for individual smoked salmon potato galettes & they were a big hit! I will definitely make these again. To not have the mess & time consuming task of frying the latkes stove top was awesome! Once again, a delicious, no-fail Once Upon a Chef recipe…thank you, Jenn!
My family is definitely hooked on these Latkes. After searching for a good recipe that didn’t make a mess of the kitchen this one is the best. I found it easier to remove the excess moisture from the potatoes by putting them on a flour sack towel and pressing the liquid out that way. This recipe has been added to our yearly Hanukkah celebration.
I loved how much easier this method is than standing over the frying pan all evening. I did decrease the oil to 1/3 cup per sheet. I also lined the sheet pans with aluminum foil and then parchment paper. I got nice crisp and browned latkes with minimal clean up! A new Hanukkah tradition.
I went out and bought two new non-stick pans yesterday and used them to make these latkes. I will never use a frying pan for these again; they were perfect, and everyone loved them. I found that a 1/2 cup measuring cup to measure the batter was too big, and switched to 1/4 cup about halfway through; I didn’t get anywhere near the number predicted (I used a whole bag of potatoes and ended up with maybe 30 latkes). I also had to turn the oven up to 450 and used a little more oil. I also used peanut oil, because it can tolerate a high heat.
Thanks so much for this time-saving and mess-sparing recipe!
So pleased with this technique. Great time saver, much less mess and the family loved the results. I did make some changes – I saw that someone else used parchment paper and I did the same. I find that if I heat oil to a high temperature that my non-stick pans just aren’t the same, even though they are a heavy gauge. I made two pans and set up two rectangular cooling racks on my counter to ensure that I wouldn’t have to place the baking pans on the stove top as I needed to have an element on and didn’t want to risk possibly spilling hot oil after preheating the pans and/or getting the edge of the parchment paper too close to the flame. A kitchen fire would definitely put a damper on Hanukkah. I also cooked the latkes at a lower temperature. Wanted to roast carrots at the same time and set the temp. for 375 on convection roast. I placed the latkes on the bottom two racks and the carrots on the top. Worked great – nice and crisp on the outside and beautifully moist and completely cooked inside. The bottom pan cooked a bit faster than the middle rack, as expected, but placed those latkes in the warming drawer till the others were done, in just a few more minutes. So glad I decided to look for a new option this year. So many recipes have you parboil the potatoes first or do a combination of raw and cooked to expedite cooking and avoid too crispy exteriors with under cooked interiors, but that requires many more steps. Thank you!!