Hummus

This post may contain affiliate links. Read my full disclosure policy.
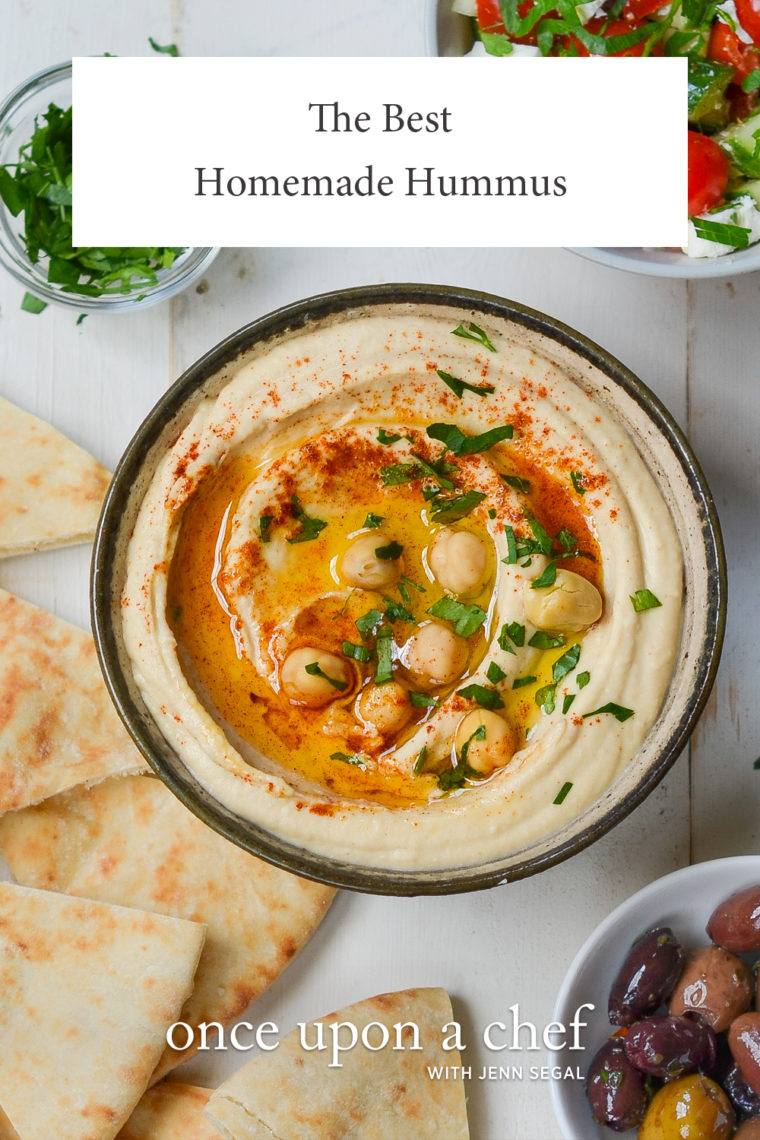
Say goodbye to mediocre store-bought hummus—this authentic recipe delivers a creamy, flavor-packed dip, perfect for pita or as a standout on any Middle Eastern table.
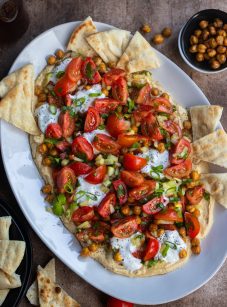
Hummus is a Middle Eastern spread made from a blend of chickpeas, tahini, lemon juice, olive oil, garlic, and spices. It’s commonly served as a starter or mezze, paired with pita bread, or as a side to dishes like falafel, kofta, Israeli salad, shakshuka, or chicken kabobs. I was fortunate enough to learn this authentic hummus recipe from a kabob maker in the Old City of Jerusalem. Using a few smart shortcuts I’ll share with you, it’s surprisingly easy to replicate at home.
So, why go to the effort of making homemade hummus when you can just grab a tub at the store? For starters, homemade hummus skips the soybean oil often found in store-bought varieties, staying true to traditional olive oil, and it swaps the artificial tang of citric acid with fresh lemon juice. Plus, no preservatives! Packed with protein and healthy fats, this homemade hummus recipe isn’t just healthier—it also delivers a flavor that’s miles ahead of anything you’ll find on the shelf.
Table of Contents
“This hummus recipe is FANTASTIC — the best I have ever had — and also ridiculously easy to make. No more store-bought hummus for me!”
What You’ll Need To Make Hummus
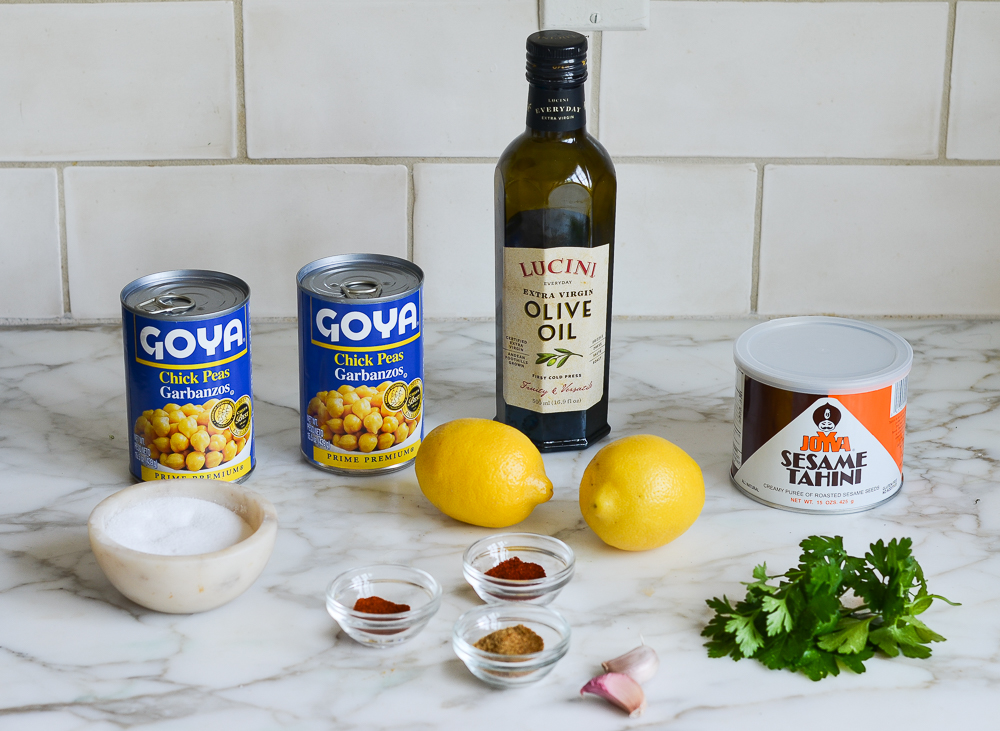
- Canned Chickpeas (also called Garbanzo beans): The base of the hummus, providing a smooth texture and a nutty flavor. While many hummus aficionados insist on using dried chickpeas that have been soaked for authenticity, I assure you, it’s not necessary. I’ve made hummus both ways and find there’s virtually no difference in the final product’s taste or texture. The convenience of canned chickpeas makes the process simpler and just as delicious.
- Lemon juice: Adds brightness and acidity.
- Sesame Tahini: Made from ground sesame seeds, tahini contributes a rich, nutty flavor and creamy texture. It is also used in other Middle East dishes, such as baba ghanoush, tahini sauce, and halva. You can find it in most supermarkets near the other nut butters.
- Garlic: Adds a pungent kick and depth of flavor.
- Ground Cumin and Cayenne Pepper: These spices provide earthiness and a slight heat, respectively.
- Extra-Virgin Olive Oil: Olive oil adds richness, smoothness, and a fruity aroma to the hummus. It also helps in blending the ingredients into a cohesive mixture. A drizzle of olive oil on top before serving also adds an extra layer of flavor and makes a gorgeous presentation.
- Paprika: Adds a pop of color and a subtle, smoky flavor. If you’re looking to switch things up, try sumac or za’atar instead. Sumac is a tangy, lemony spice made from dried and ground berries, which lends a bright, citrusy note. Za’atar is a Middle Eastern spice blend that typically includes thyme, sesame seeds, sumac, and salt.
- Jump to the printable recipe for precise measurements
Step-by-Step Instructions
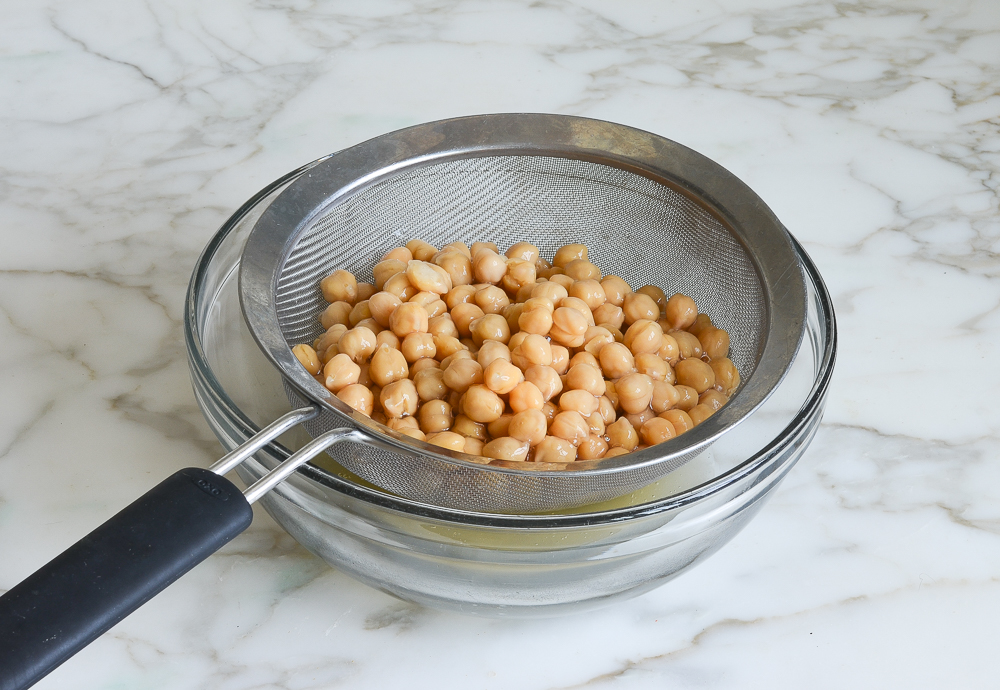
Begin by draining the chickpeas in a colander (no need to rinse them). You’ll need to save the canning liquid for the recipe and set aside a few whole chickpeas for serving.
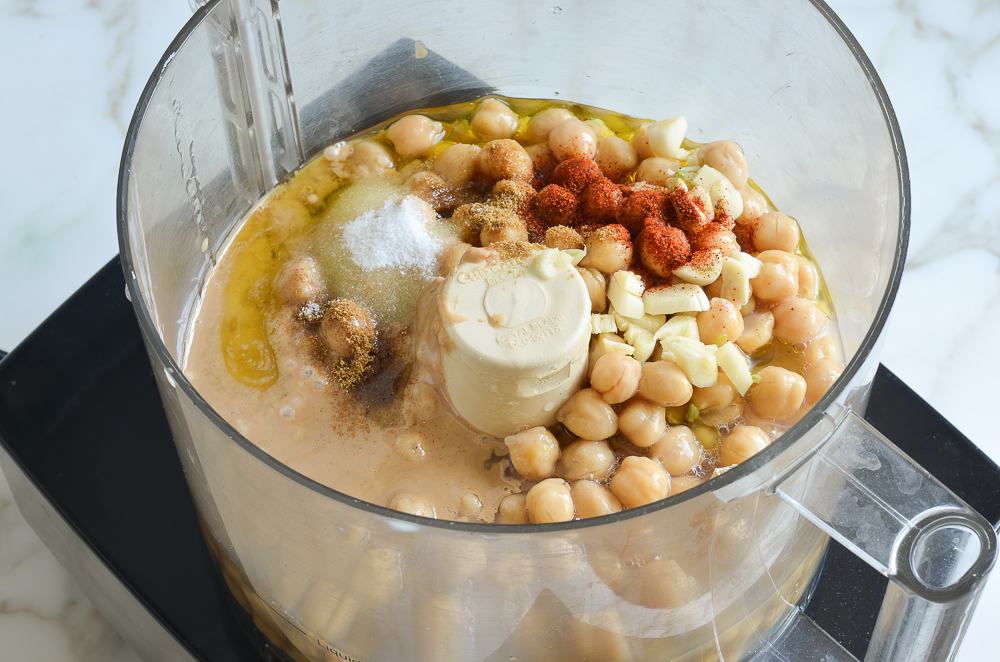
Next, combine the drained chickpeas, tahini, lemon juice, olive oil, garlic, salt, spices and 1/3 cup of the canning liquid in the bowl of a food processor. While a high-powered blender can also be used, you might need to stop and scrape down the sides more frequently, and it could take a bit longer to achieve the same smooth and creamy texture.
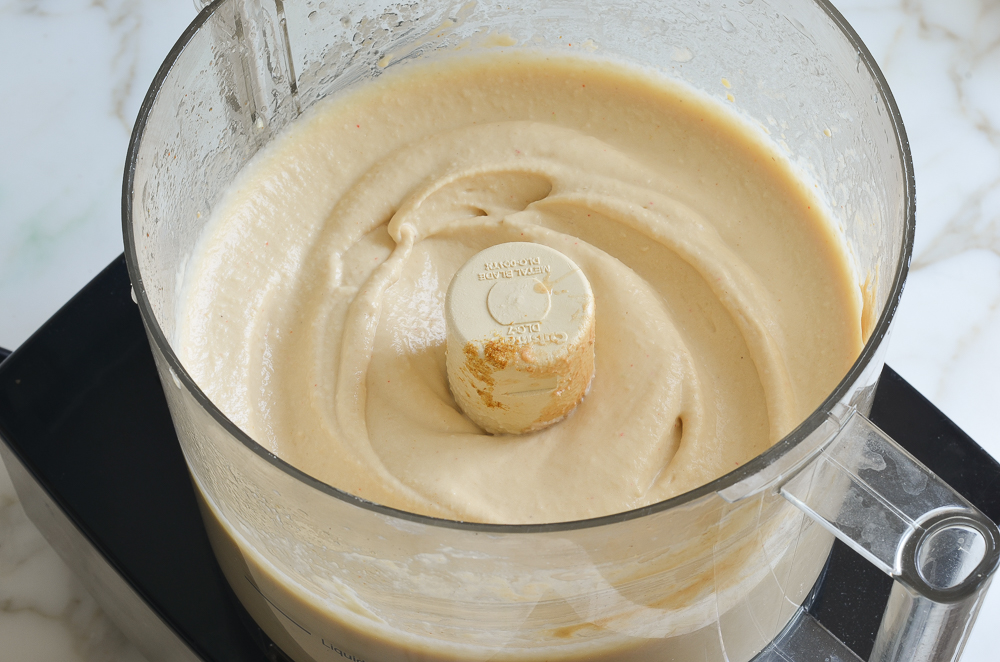
Blitz for a few minutes until smooth and creamy, adding more of the reserved liquid to thin the hummus if desired. The hummus should just hold its shape when you drag a spoon through it.
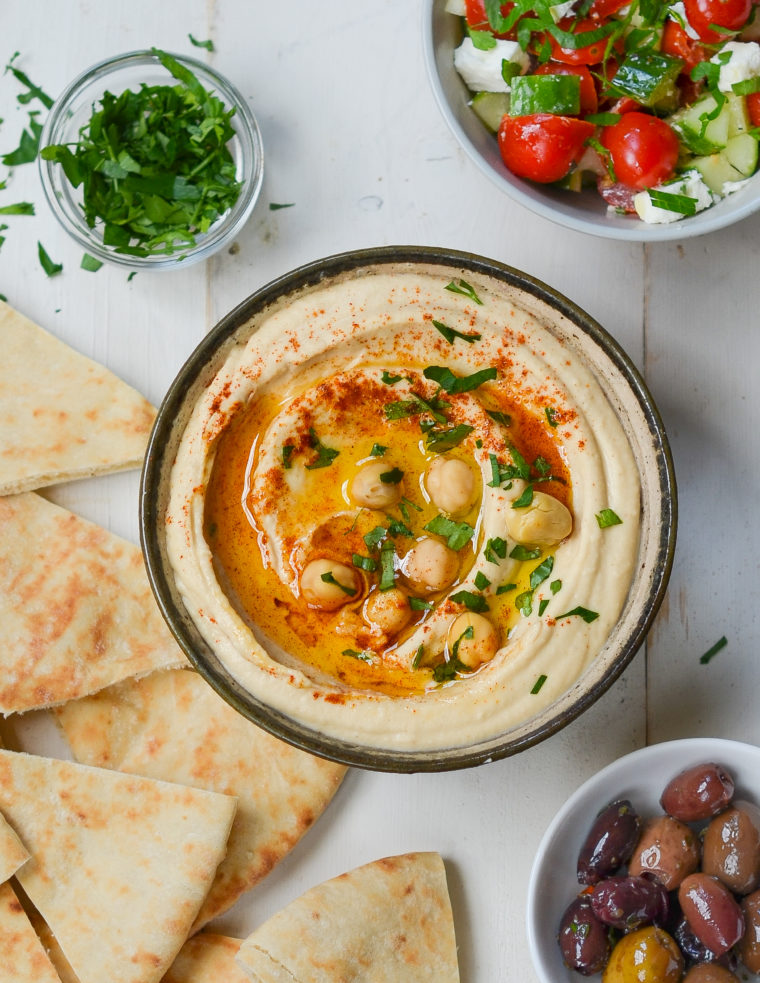
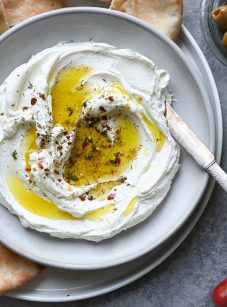
Transfer the dip to a bowl and use a spoon to form a shallow well in the center. Drizzle a bit of olive oil in the well, sprinkle with paprika and fresh parsley, and top with the reserved whole chickpeas. Serve with pita wedges, pita chips or crudités.
Make-Ahead Instructions
This hummus recipe can be made up to 2 days ahead of time and stored in a covered container in the refrigerator. Bring to room temperature before serving.
Frequently Asked Questions
I have seen recipes that call for peeling the chickpeas, supposedly because the skins prevent the hummus from getting super creamy. I tried it—it took forever, and I could not tell the difference. Keep it simple!
When you open a can of tahini, you will notice that the solids settle in the bottom the can, similar to natural peanut butter. It is very difficult to stir tahini in the can (the solids on the bottom are quite stiff) so I suggest scraping the entire contents of the can into a bowl, then using a whisk or hand-held electric mixer to blend. Place whatever tahini you don’t use back in the can and refrigerate until needed.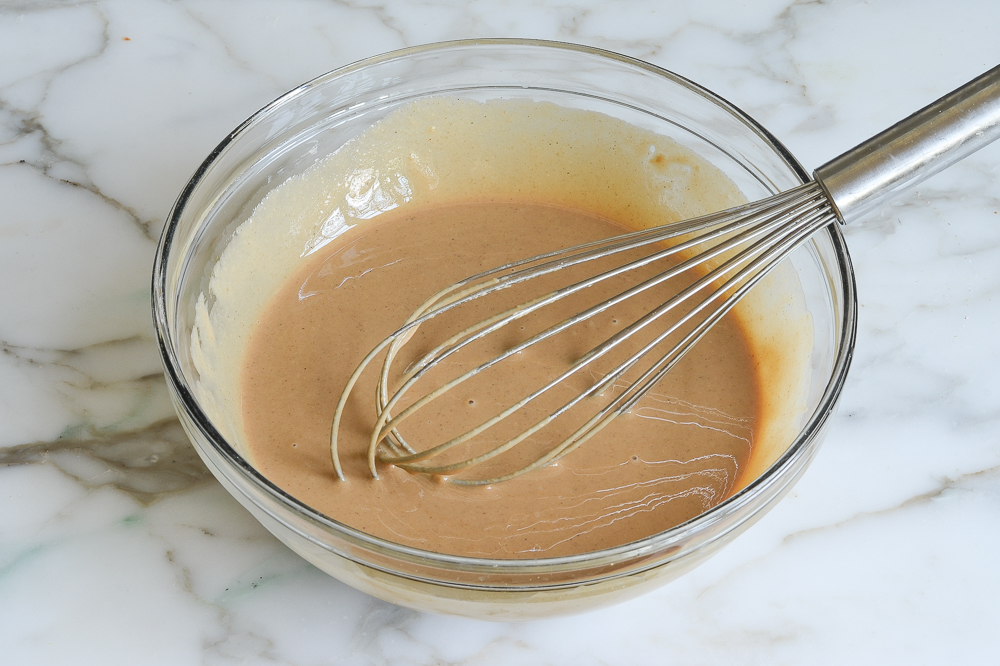
Video Tutorial

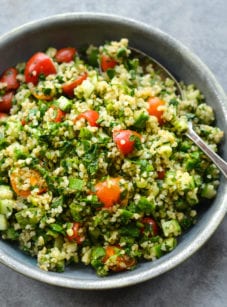
You May Also Like

Hummus
Say goodbye to mediocre store-bought hummus—this authentic recipe delivers a creamy, flavor-packed dip, perfect for pita or as a standout on any Middle Eastern table.
Ingredients
- 2 (15½ oz.) cans chickpeas
- ¼ cup freshly squeezed lemon juice, from 2 lemons
- ¼ cup sesame tahini, well stirred (preferably Joyva Sesame Tahini)
- 2 cloves garlic, roughly chopped
- Heaping ¼ teaspoon cumin
- ⅛ teaspoon cayenne pepper
- 1 teaspoon salt
- 3 tablespoons extra virgin olive oil, plus more for drizzling
- 1 tablespoon freshly chopped parsley, for serving (optional)
- Paprika, for serving (optional)
Instructions
- Reserving the liquid from the cans, drain the chickpeas in a colander (no need to rinse them). Set a few chickpeas aside for garnishing the hummus.
- In the bowl of a food processor fitted with metal blade, combine the chickpeas, lemon juice, tahini, garlic, cumin, cayenne pepper, salt, olive oil, and ⅓ cup of the reserved canning liquid. Process for several minutes until smooth and creamy. The hummus should hold its shape when you drag a spoon through it; add more liquid and process again if it seems too thick. Taste and add adjust seasoning, if necessary.
- Transfer the hummus to a serving bowl. Use the back of a spoon to swirl a shallow well in the center. Drizzle a little olive oil in the well; sprinkle with parsley and paprika, then garnish with the reserved chickpeas. Serve at room temperature with pita bread, pita chips or crudités.
- Make-Ahead Instructions: Hummus can be made and stored in a covered container in the refrigerator up to two days ahead of time. Bring to room temperature before serving.
Nutrition Information
Powered by ![]()
- Serving size: 1/4 cup
- Calories: 98
- Fat: 4 g
- Saturated fat: 1 g
- Carbohydrates: 12 g
- Sugar: 0
- Fiber: 4 g
- Protein: 5 g
- Sodium: 225 mg
- Cholesterol: 0
This website is written and produced for informational purposes only. I am not a certified nutritionist and the nutritional data on this site has not been evaluated or approved by a nutritionist or the Food and Drug Administration. Nutritional information is offered as a courtesy and should not be construed as a guarantee. The data is calculated through an online nutritional calculator, Edamam.com. Although I do my best to provide accurate nutritional information, these figures should be considered estimates only. Varying factors such as product types or brands purchased, natural fluctuations in fresh produce, and the way ingredients are processed change the effective nutritional information in any given recipe. Furthermore, different online calculators provide different results depending on their own nutrition fact sources and algorithms. To obtain the most accurate nutritional information in a given recipe, you should calculate the nutritional information with the actual ingredients used in your recipe, using your preferred nutrition calculator.
Gluten-Free Adaptable Note
To the best of my knowledge, all of the ingredients used in this recipe are gluten-free or widely available in gluten-free versions. There is hidden gluten in many foods; if you're following a gluten-free diet or cooking for someone with gluten allergies, always read the labels of your ingredients to verify that they are gluten-free.
Do you have a homemade pita recipe?
As of now, I don’t — I’m sorry! I’ll have to add that to my list of recipes to potentially develop. 🙂
I would LOVE a homemade pita recipe! Commercial bread is a poor substitute for fresh.
I’ve made a lot of hummus in my day and this is by far the best hummus recipe I’ve used. I’ve deleted all the others. 🙂
I just recently started making hummus at home, and this is about the 5th recipe I have tried and it is far and away the best! Creamy, flavorful, and delicious! I saved it on Pinterest so I won’t lose it. Thank you for the time and effort you put in to create this wonderful recipe.
Just made hummus for the first time ever using your recipe. It was fantastic and so easy. I’m a convert to homemade hummus! I made a half batch, although that might not last very long even with just one person. 😋
I just made this hummus! It took sheer will power to not eat half a bowl! So easy and probably the best hummus I’ve had. I made 1/2 the recipe because I only had 1 can of chick peas, so I made it in my magic bullet instead of the food processor. That worked great. I also left out the cayenne because we tend to be a little spice intolerant. Otherwise followed the recipe exactly. Fabulous…no more store bought hummus for me 😀
Thanks for a great recipe, Jen.
We LOVED this hummus! It’s so creamy and delicious. We used it for dipping vegetables and pita, as a sandwich spread (cucumbers, medium cheese and hummus on toasted multigrain bread), and as a bed for Falafel. Thank you for sharing the recipe, it now has a home in our ‘favourites’ file. 🙂
I served store bought hummus last night to guests. After they left, without eating hardly any of it, I tasted it and threw it away. Awful. Your email popped up for your recipe and I made it tonight. Honestly can’t stop eating it. Per usual with ANY recipe you post, delicious, easy and spot on. So happy I have your cookbook and have given as gifts to others-can’t wait for the next one Jenn!
💗
This is our family go -to Hummus recipe and I have shared it many times with friends and family. I think the proportions of lemon, tahini, garlic and spices are perfect. I use canned or soaked and pressure-cooked beans. When I cook the beans, I use a little of the cooking liquid to thin the hummus. It is good both ways, although I prefer when I cook my own beans as they just seem a bit more “soft” than canned. Of course, good quality olive oil is key to the deliciousness of the dish. I like to use the brand Tassos, the organic Greek Evoo from Costco😊
This hummus recipe is easy to follow and has converted me to making my own. I have made it 3 times now and we take it for lunch with veggies. I half the recipe when making it (prefer it for a few days and make a fresh batch the next week). We also prefer more lemon juice so added a bit more juice and less liquid from the beans. Comes out every time. Sprinkle a little feta on top of the serving in your lunch container and feels like a gourmet lunch at a restaurant.
This was excellent! I added a roasted red pepper to the mix and gave it a whirl. My husband loved it. Good either without the peppers or the traditional way!