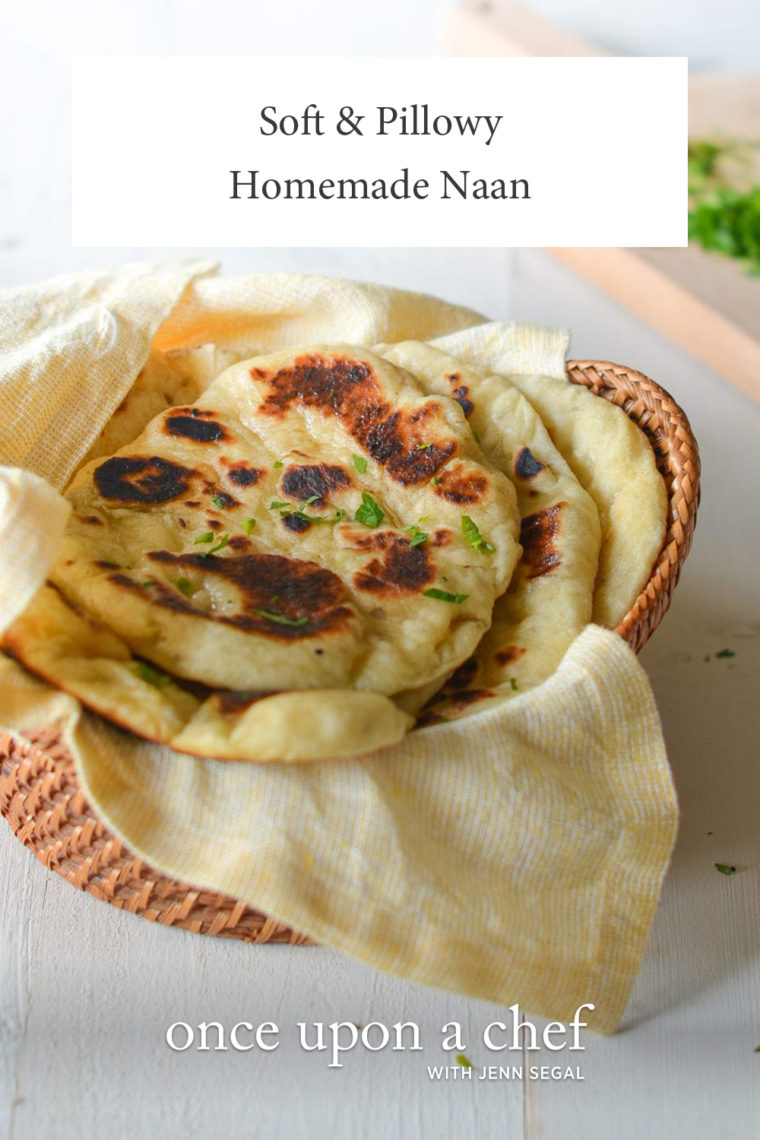
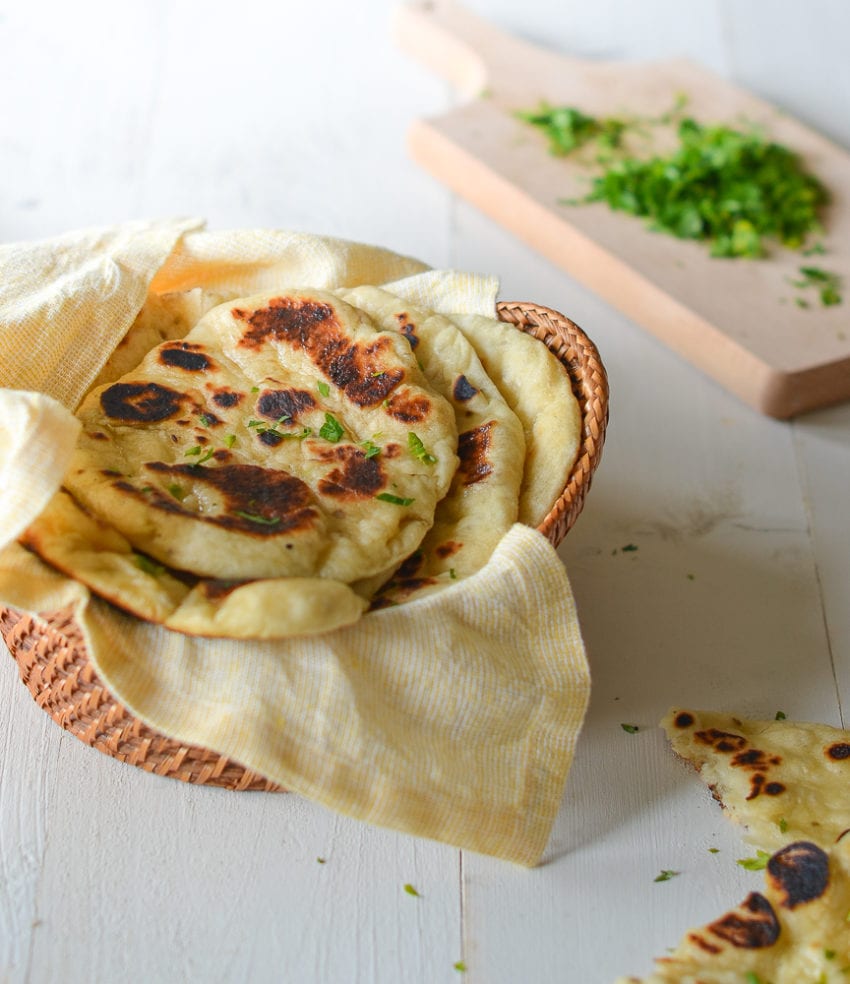
Homemade Naan

This post may contain affiliate links. Read my full disclosure policy.
Learn to make irresistibly soft and pillowy naan in your own kitchen with this simple recipe – it far outshines any store-bought version.
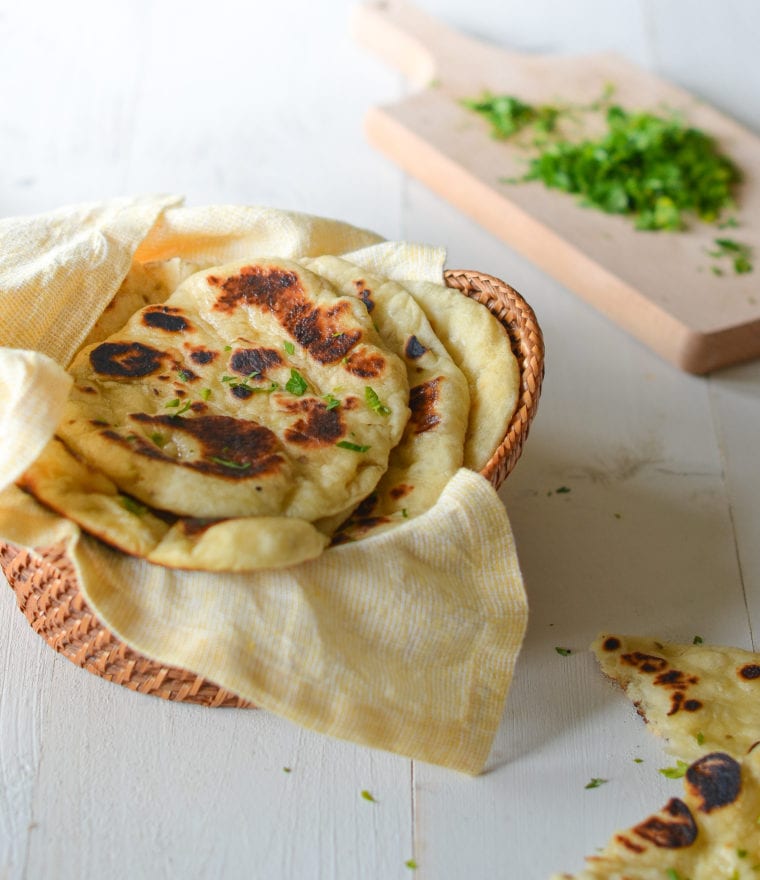
Naan is a soft, pillowy flatbread traditionally baked in a tandoor. This cylindrical clay or metal oven, prevalent in restaurant kitchens across the Indian subcontinent, the Middle East, and Central Asia, reaches scorching temperatures, imparting a distinct smoky flavor to foods. Naan dough, enriched with yogurt and olive oil and flavored with anise seeds, is rolled out and slapped against the tandoor’s inner walls, where it adheres and bakes swiftly over open flames. Once done, it’s brushed with melted butter.
In this recipe, I’ve replicated the tandoor’s high heat and charred flavor using a very hot cast iron skillet or nonstick pan. Making naan at home is so worth the effort—aside from the rising time, it’s quick to prepare, and the taste is leagues above store-bought versions! Paired with saucy dishes like chicken curry, butter chicken, or chicken tikka masala, homemade naan truly shines.
“The dough came together easily, was nice to work with and cooked up beautifully… My search for the perfect naan bread is over—this recipe is the best!”
What You’ll Need To Make Naan
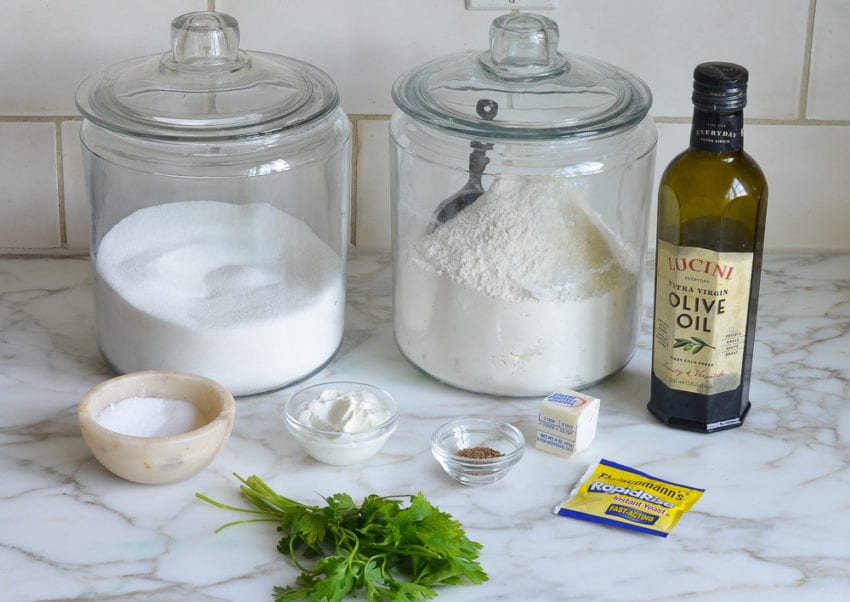
As you can see, the ingredients are very basic. The yogurt and olive oil add a bit of tang and richness. The anise seeds add just a hint of licorice flavor; feel free to leave them out, or replace them with nigella seeds (which have a subtle onion flavor), poppy seeds, or sesame seeds.
Step-by-Step Instructions
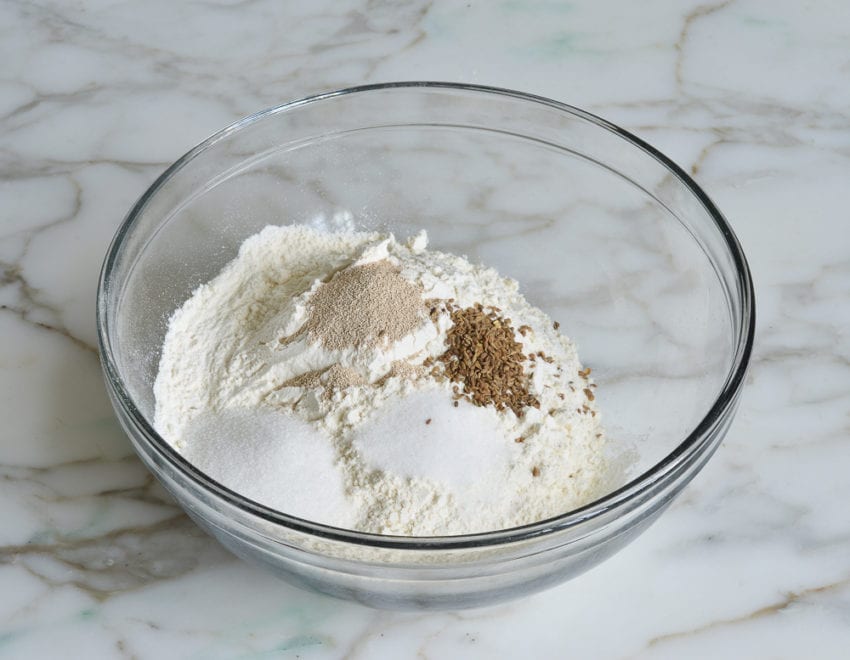
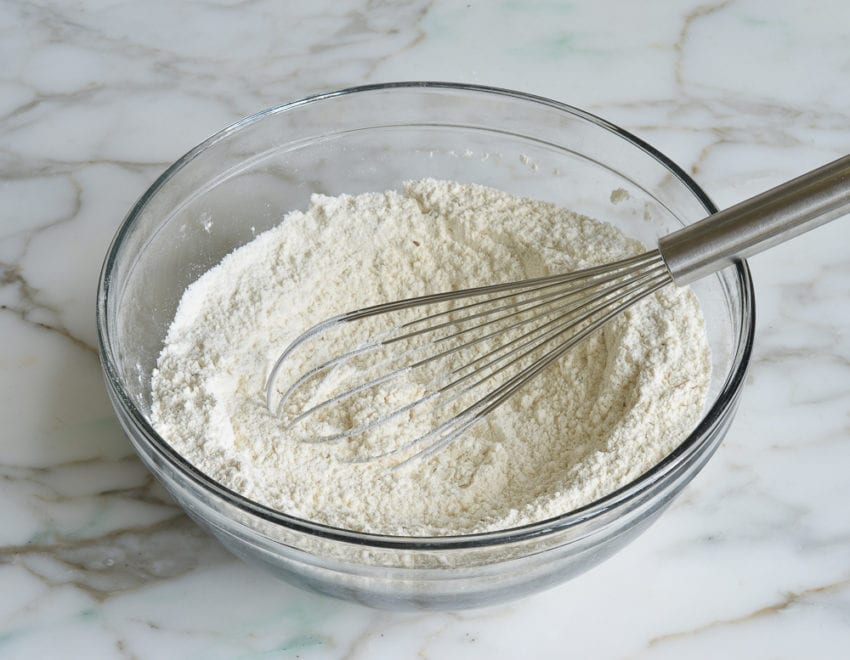
Begin by combining the flour, yeast, sugar, anise seeds and salt in a large bowl, then whisk to combine.
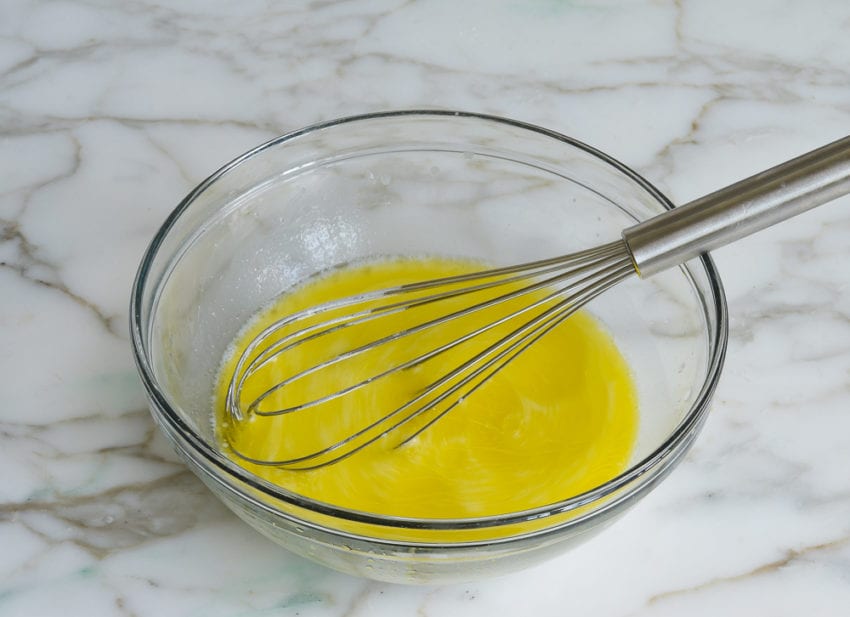
Whisk together the yogurt, olive oil, and warm water.
Add the liquid mixture to the dry ingredients.
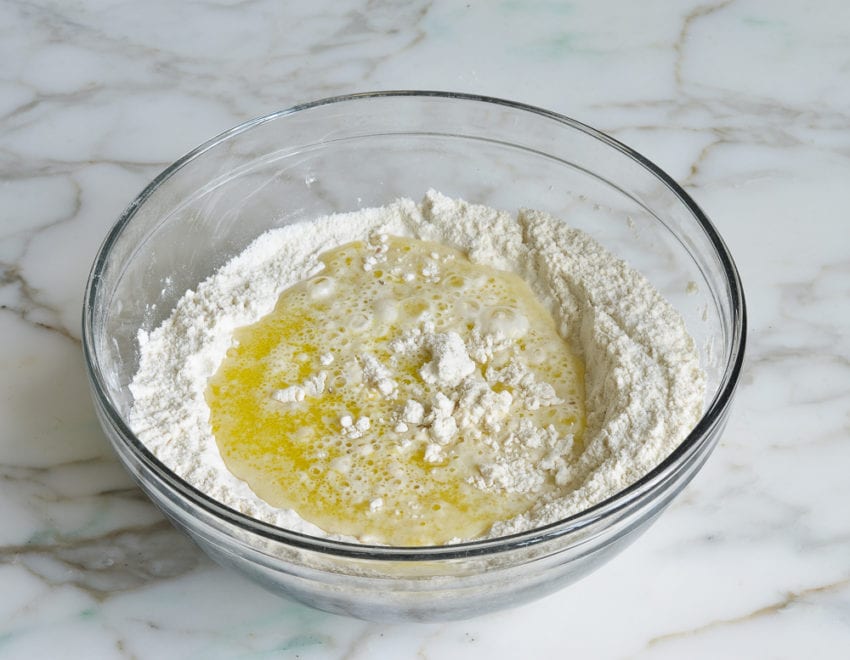
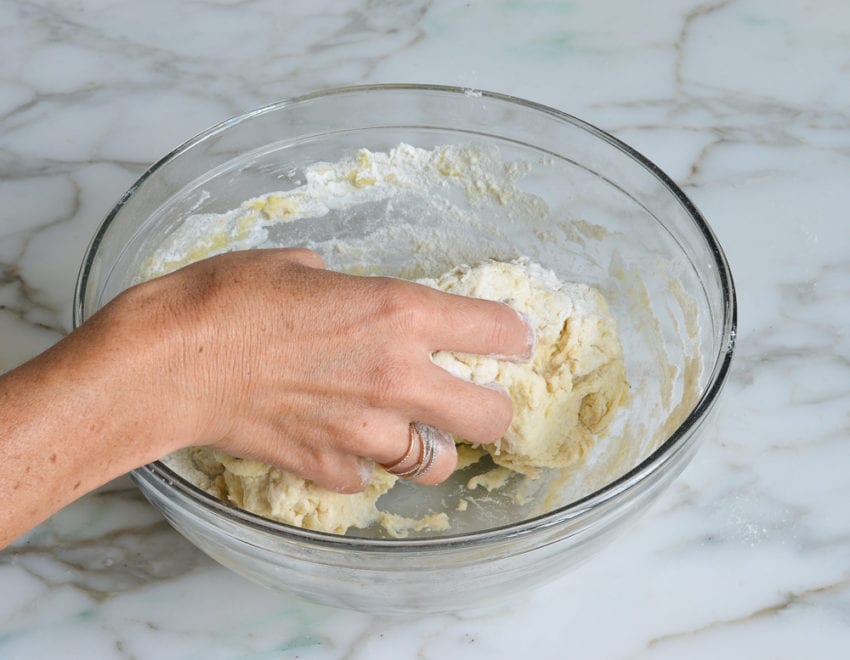
And stir with a fork until the dough comes together.
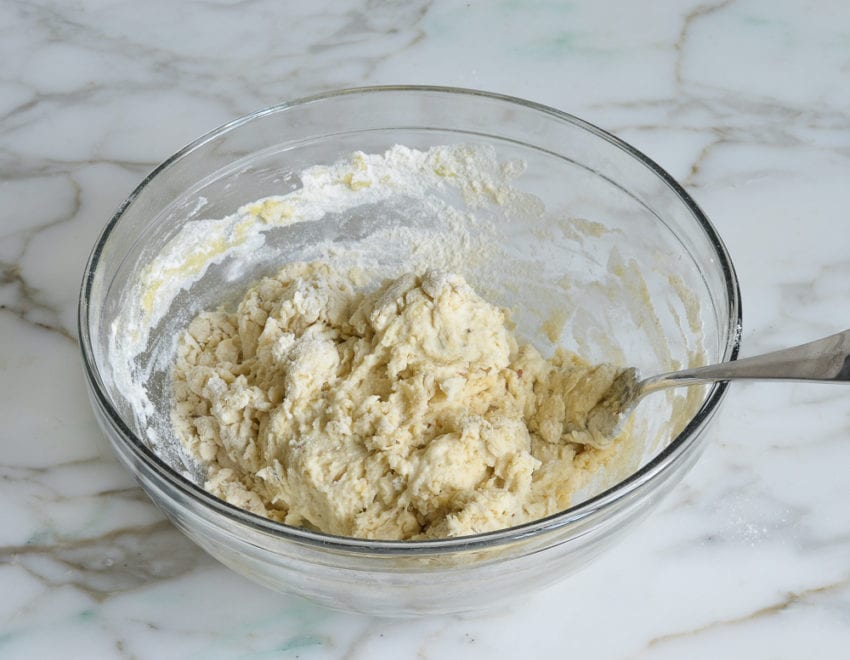
Dust your hands with flour and knead into a soft, sticky ball.
Cover with plastic wrap.
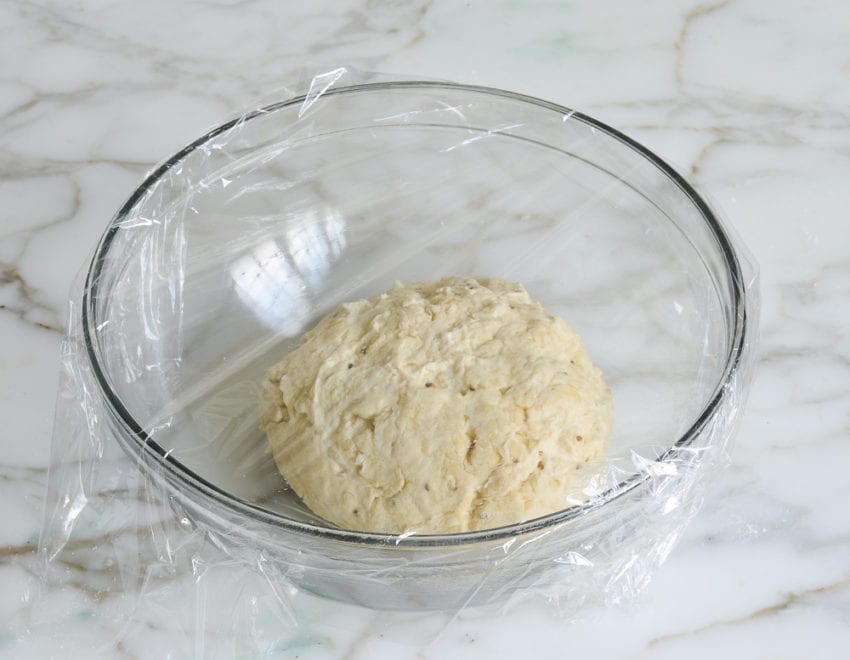
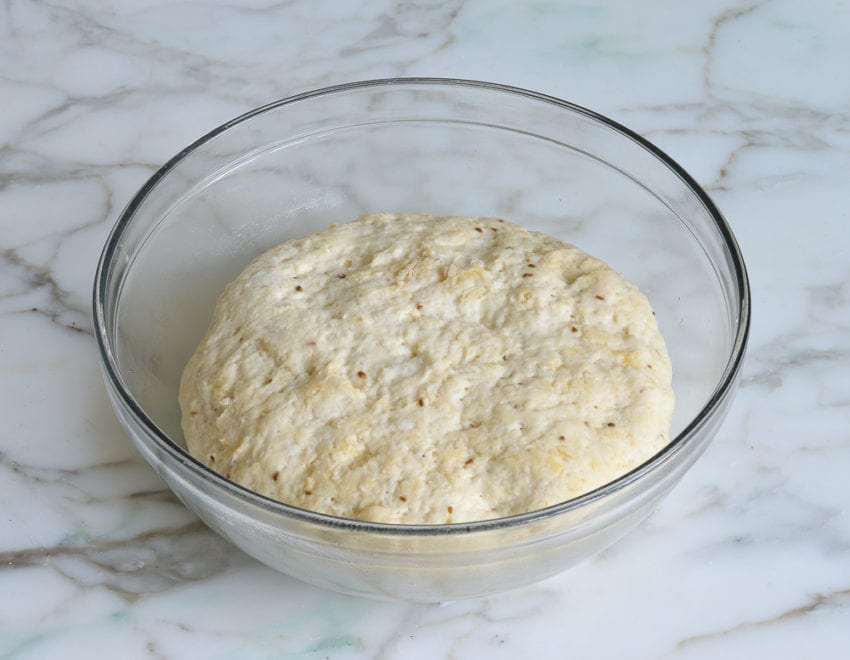
Let rise in a warm spot until about doubled in size, 1 to 1-1/2 hours. Hint: the warmer the spot, the faster it will rise.
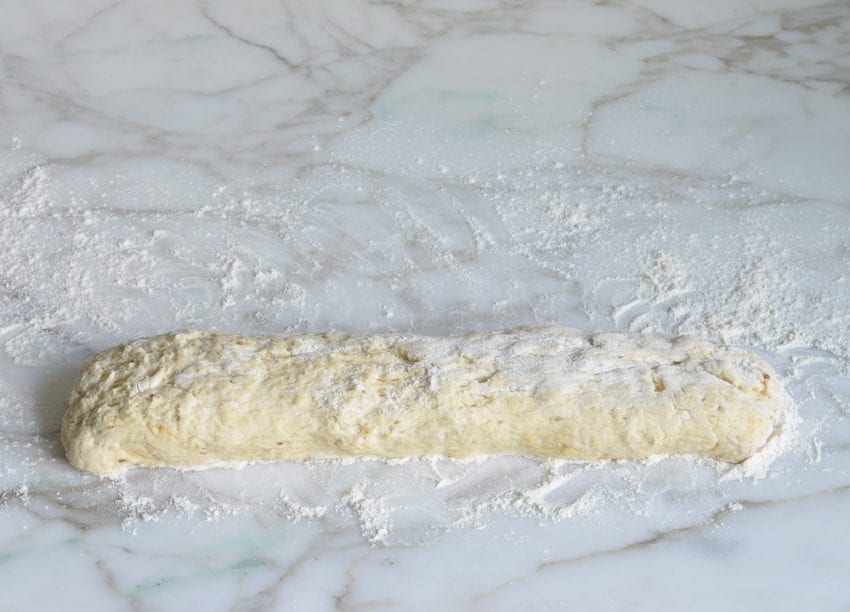
Fill a small bowl with flour. Dust some of the flour onto a work surface. Dump the dough on top and sprinkle the dough with more flour.
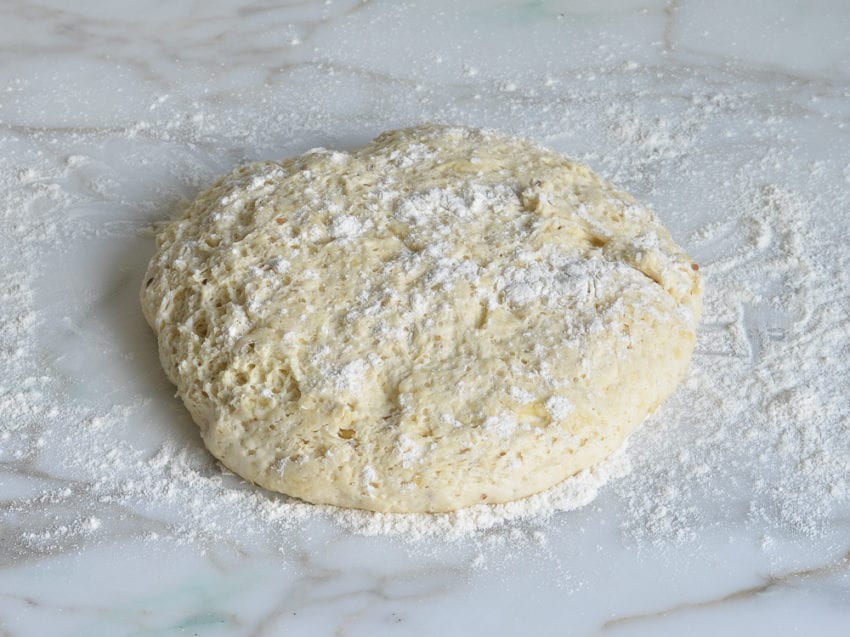
Shape the dough into a rectangle, adding more flour as necessary so it doesn’t stick.
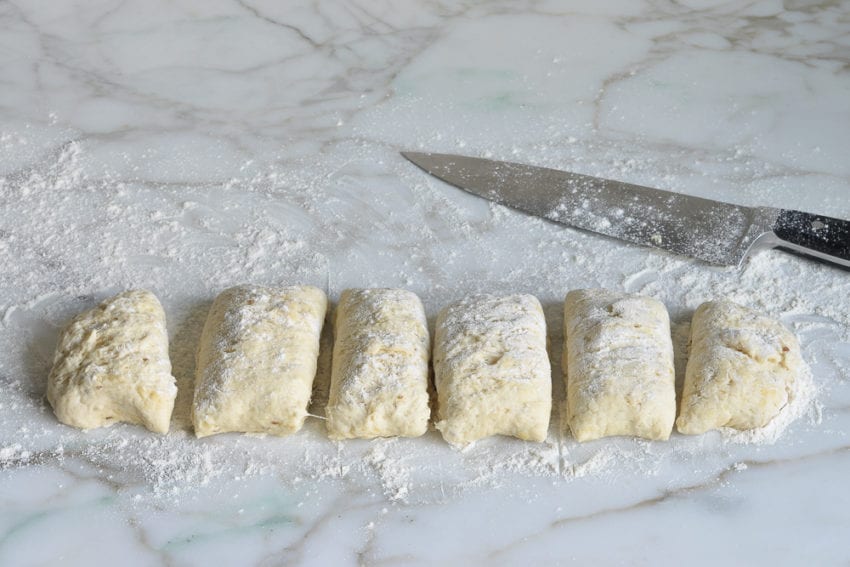
Then, divide into six equal portions.
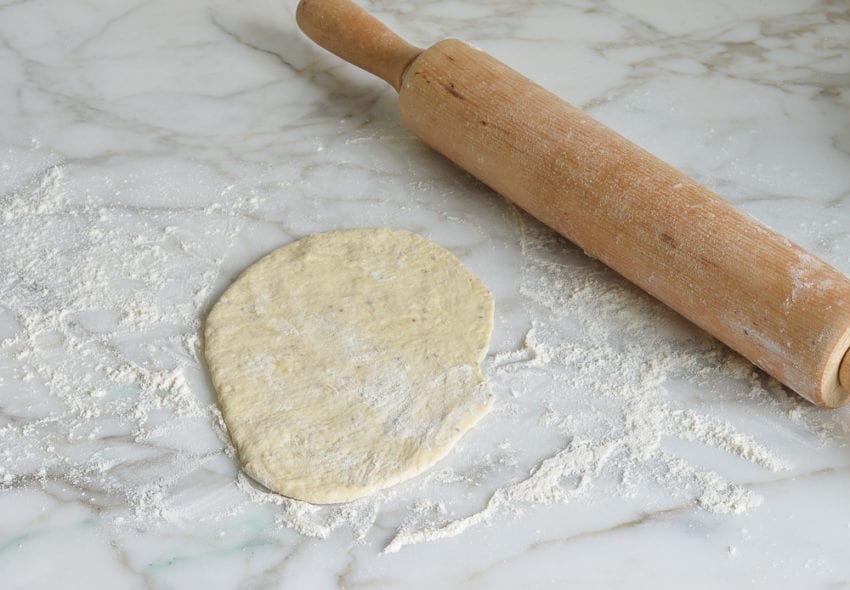
Heat a cast iron or heavy nonstick skillet over medium-high heat until very hot. While it heats, roll one of the dough balls into an oval about 1/8-inch thick.
Place the dough in the hot, dry skillet and cook until the surface is full of air bubbles and the bottom is browned and blistered in spots.
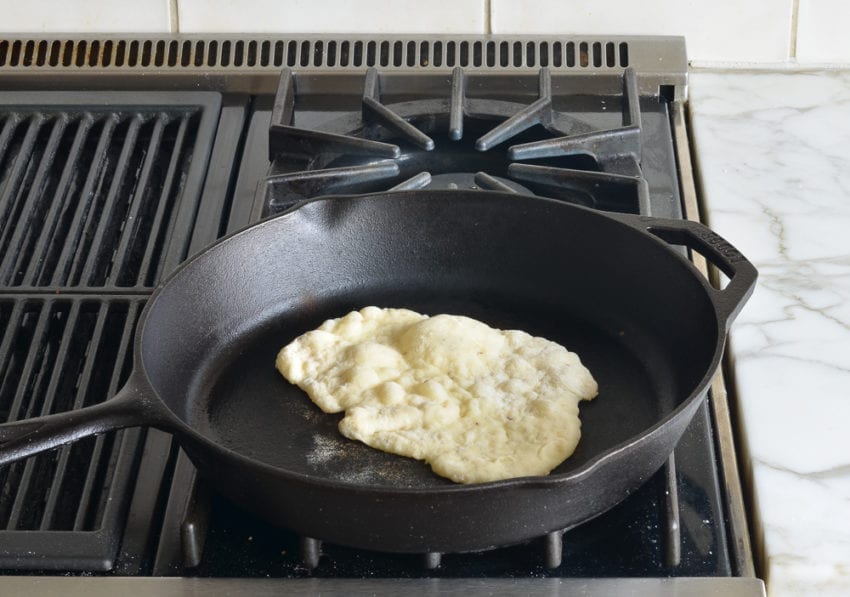
Flip the naan and cook a few minutes more.

Brush the cooked naan with melted butter, and repeat with remaining dough balls.

Sprinkle with parsley, if using, then serve warm.
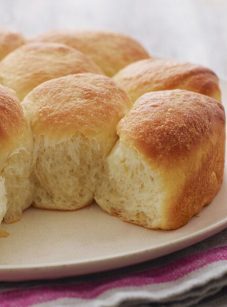
You may also like


Frequently Asked Questions
A: Depending on how far ahead you want to make the naan, you have a few options. If serving within one day, store the naan in resealable plastic bag at room temperature. For longer storage, wrap each piece of cooled naan securely in plastic wrap and put all the rounds in a sealable plastic bag, then freeze for up to 3 months. To reheat, wrap the naan in aluminum foil and warm in a 350°F oven until hot.
A: Instant yeast and active dry yeast are both types of yeast used in baking, but they have distinct differences. Active dry yeast has larger granules surrounded by a protective shell, which often requires it to be dissolved in warm water (a process known as proofing) before mixing with other ingredients. In contrast, instant yeast features finer granules without this protective layer, allowing it to dissolve and activate more rapidly. This means that instant yeast can typically be mixed directly into dry ingredients without the need for proofing.
A: Active dry yeast may be used instead of instant/rapid-rise yeast in this recipe, however, the dough will take longer to rise. To give active dry yeast a “head start” and speed things up, you can dissolve it in the lukewarm water and let it sit until frothy, about 10 minutes. After that, add it to the flour, sugar, salt, and anise seeds, and proceed with the recipe.
A: Sure! I’d add some minced garlic to some melted butter and brush it on the bread after it’s cooked.
Video Tutorial
Homemade Naan
Learn to make irresistibly soft and pillowy naan in your own kitchen with this simple recipe – it far outshines any store-bought version.
Ingredients
- 2 cups all purpose flour, spooned into measuring cup and leveled off with a knife, plus more for rolling (see note)
- 1 tablespoon sugar
- 1 teaspoon instant dry yeast/rapid-rise yeast (see note)
- 1 teaspoon salt
- Heaping ½ teaspoon anise seeds (optional)
- 3 tablespoons plain yogurt
- 2 tablespoons extra virgin olive oil
- ¾ cup warm water (about 100°F)
- 2 tablespoons melted salted butter, for brushing on finished naans
- 1 tablespoon chopped fresh Italian parsley (optional), for serving
Instructions
- In a large bowl, whisk together the flour, sugar, yeast, salt and anise seeds (if using). Set aside.
- In a medium bowl, whisk together, the yogurt, olive oil, and ¾ cup warm water (about 100°F). Add the yogurt mixture to the dry ingredients and mix with a fork. When the dough is about to come together, dust your hands with flour and knead gently into a soft, slightly sticky dough (sprinkle more flour, little by little, if the dough is too wet to work with). As soon as it comes together, stop kneading.
- Lightly oil or spray a clean bowl with nonstick cooking spray (the bowl should be large enough to allow the dough to double in size). Transfer the dough to the prepared bowl and cover with plastic wrap or a damp kitchen towel. Let sit in a warm place for 1 to 1½ hours, or until about doubled in size (hint: the warmer the spot, the faster the dough will rise).
- Fill a small bowl with about ½ cup flour. Dust a work surface with some of the flour and dump the dough on top. Sprinkle some of the flour on top of the dough and on your hands. Shape the dough into a long rectangle and cut into 6 equal portions, dusting with more flour as necessary so the dough doesn't stick. Roll each portion of dough in the bowl of flour to keep them from sticking.
- Warm a large cast iron or heavy nonstick pan over medium-high heat until very hot. Using a rolling pin, roll one of the dough balls into an oval shape about ⅛-inch thick (it should be about 9 x 4 inches). Pick up the dough and flip-flop it back and forth between your hands to release any excess flour; then gently lay the dough in the dry skillet and cook until the top is bursting with air bubbles and the bottom is golden and blackened in spots, a few minutes. Flip the naan and cook about 1-2 minutes more until the the bottom is lightly browned and blistered in spots. Remove the naan from the skillet and brush with melted butter. Place the naan in a tea towel-lined dish to keep warm. Repeat with the remaining naans, adjusting the heat lower if necessary as you go (I usually find it necessary to lower the heat to medium after the first naan). Sprinkle with parsley, if using, and serve warm.
- To keep the cooked naan warm, place them in a 200°F oven. Store leftovers in a Ziplock bag and reheat in a 350°F oven wrapped in foil.
- Note: I use King Arthur flour, which is higher in protein than some other all-purpose flours. If using a flour with a lower protein content, such as Gold Medal, you will likely need to add a few more tablespoons of flour.
- Note: Active dry yeast may be used instead of instant/rapid-rise yeast, however, the dough will take longer to rise. To give active dry yeast a boost, you can dissolve it in the lukewarm water and let it sit until frothy, about 10 minutes. After that, add it to the flour, sugar, salt, and anise seeds, and proceed with the recipe.
- Freezer-Friendly Instructions: The naan can be frozen for up to 3 months. Once it’s completely cooled, wrap each piece securely in plastic wrap and put all the rounds in a sealable plastic bag prior to putting in the freezer. To reheat, wrap the naan in aluminum foil and warm in a 350°F oven until hot.
Nutrition Information
Powered by ![]()
- Serving size: 1 naan
- Calories: 241
- Fat: 9 g
- Saturated fat: 3 g
- Carbohydrates: 35 g
- Sugar: 3 g
- Fiber: 1 g
- Protein: 5 g
- Sodium: 323 mg
- Cholesterol: 11 mg
This website is written and produced for informational purposes only. I am not a certified nutritionist and the nutritional data on this site has not been evaluated or approved by a nutritionist or the Food and Drug Administration. Nutritional information is offered as a courtesy and should not be construed as a guarantee. The data is calculated through an online nutritional calculator, Edamam.com. Although I do my best to provide accurate nutritional information, these figures should be considered estimates only. Varying factors such as product types or brands purchased, natural fluctuations in fresh produce, and the way ingredients are processed change the effective nutritional information in any given recipe. Furthermore, different online calculators provide different results depending on their own nutrition fact sources and algorithms. To obtain the most accurate nutritional information in a given recipe, you should calculate the nutritional information with the actual ingredients used in your recipe, using your preferred nutrition calculator.
Seriously the best naan I’ve had
This is the best naan recipe I’ve tried by far! I didn’t have yogurt, so I had to sub sour cream. Just about the easiest bread you can make!
I used this recipe with fresh whole wheat flour and vegan sour cream, coated it with garlic and cilantro at the end, and it turned out so beautifully! I’ll always use this recipe from now on yum yum!! Thank you:)
I have made this several times and love it!
Can you make the dough the night before and put it in the refrigerator to raise in the morning?
Thank you,
Jane
Hi Jane, You mentioned putting the dough in the refrigerator to rise. I’m assuming you meant to say that you’d remove it from the fridge the next morning to rise? If so, yes, that should work. It may take a bit longer to rise as the dough will be cold. See more tips here about preparing the dough in advance. Hope you enjoy!
I loved this! Thanks for such a simple stove recipe. I forgot yogurt, so I put in a little vinegar and whole milk. I made some coconut curry and wanted some naan to dip in the sauce. My daughter loved it too. I bought naan about two weeks ago and it was $3.99 for two big pieces. Which meant I had none and my daughter ate those. Thank you thank you!
I made this with my 7 yr old at the helm. It came out beautifully. We tasted the first one off of the skillet and, for our taste buds it was bland, but a great base. We ended up adding some garlic powder and season salt on the dough where we rolled it out. I also added oregano to the butter we brushed on and it was a HUGE hit. I love the recipe because we can tailor it to various taste buds. This was our second time making it and honestly, it was more supervising my little one. Lol. Very easy and even her brother ate it 😉
I did not use the anise and I used regular yeast and just wanted to share these are delicious and simple! Thank you!
Let me say how I’ve been looking absolutely everywhere for the perfect naan recipe to make at home. I honestly can tell you the joy it gives me to make this recipe!! It is absolutely wonderful!! I have made it like 6 times!! One of them a double batch and honestly the best one done!! Thank you thank you so much for this recipe!! 🥰🥰
I’ve tried a number of Naan recipes and this is the one that works the best! I love this recipe and make it often. Always receive compliments from friends when I serve it. It keeps well in the freezer for those times when you have unexpected guests and need a quick appetizer… Join it with cheese, fruit, olives, veggies, dips, etc.
I often serve it with Spinach-Artichoke dip…Yum! Or Hummus! Or just cheese and veggies…(sometimes that’s my dinner!). I also love to make little pizzas with it. As a single person that makes a great meal alongside a salad. Just add pizza sauce, mozzarella cheese and your favorite toppings. 5 stars cause I do love this recipe!!!!
Hello, does the fat content of the yogurt matter?
No, Elena, the fat content on the yogurt will not have an impact on the naan. Hope you enjoy!
Made these tonight. They were AMAZING and so easy to make. Thank you for this great recipe!
My husband is Sri Lankan and he made curries tonight for dinner. I decided to make some naan to go with it. After perusing a number of Naan recipes online I’m glad I chose yours to try. Primarily, you had me at the picture! I read through reviews and was a bit disheartened to read several who suggested you paid for fake reviews and that recipe didn’t work at all. Well, I’m not paid. And I’ll say that these Naan were the bomb! Unfortunately, I didn’t have yogurt on hand so substituted the equal amount of sour cream. I’ll try yogurt next time. These turned out beautifully!!! I did brush with butter after cooking and a sprinkling of minced parsley and an extra sprinkle of kosher salt. MAN, were they great! For sure I’ll make a double batch next time. And I’d like to experiment with adding some caramelized onion and garlic and poppy seed. These were SO good. I did use Rapid Rose yeast as suggested and the rise time was about 1 1/2 hrs, next to the heater vent. Thanks so much for the recipe. I’ll be looking at more of yours now. I’ll try to post a picture on your Instagram.