Holiday Cut-Out Sugar Cookies

This post may contain affiliate links. Read my full disclosure policy.
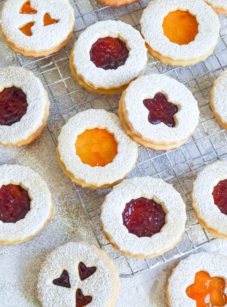
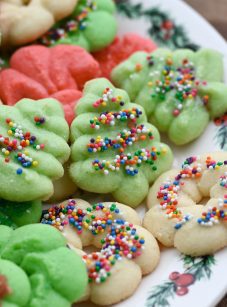
These holiday cut-out butter cookies are a dream to make, and they’re as delicious as they are pretty!

Photo by Suzana Marinkovic
I usually think of cut-out sugar cookies as something to admire rather than eat, but this easy sugar cookie recipe from King Arthur Flour is different. The cookies are buttery and tender-crisp, and the frosting adds just the right amount of sweetness. They’re also a dream to make—the dough is super easy to roll out and cut, and the cookies won’t puff up or spread in the oven, so go ahead and break out all those ornate cookie cutters!
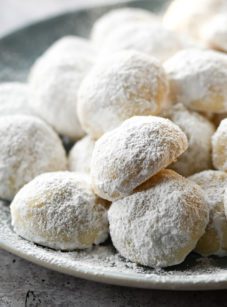
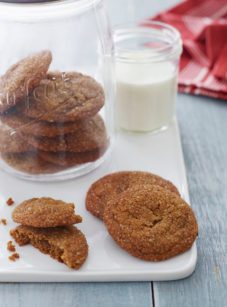
If you’re on the lookout for more fun holiday baking projects, be sure to check out my Christmas wreath cookies, gingerbread cookies, and linzer cookies. They’re just as easy to make and will add a festive touch to your Christmas cookie spread.
Table of Contents
“I just made these cookies for the first time and loved them!! The dough was easy to work with and the cookies taste so good!!!”
What You’ll Need To Make Holiday Cut-Out Sugar Cookies
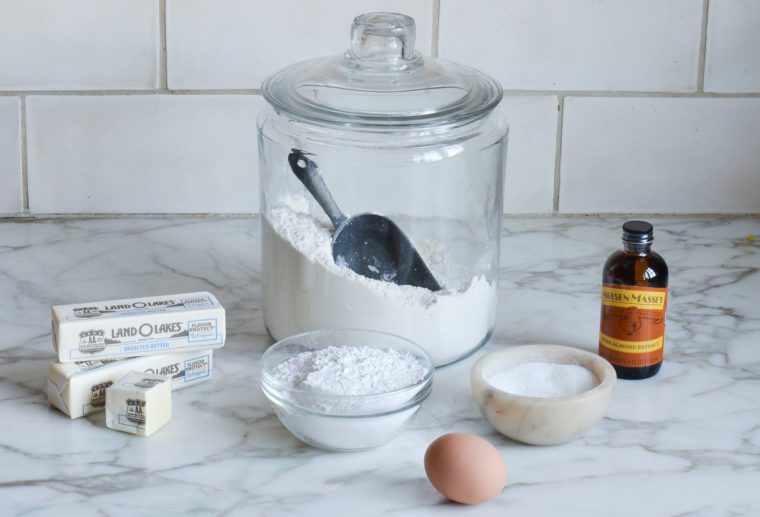
- Confectioners’ Sugar: Sweetens the dough. The cornstarch in confectioners’ sugar gives the cookies a wonderfully tender texture.
- Butter: Adds moisture and helps create a flavorful cookie. Bringing the butter to room temperature makes it easy to combine with the other ingredients.
- Egg Yolk: Contributes to the dough’s structure and adds richness.
- Almond Extract: Adds a distinct, aromatic flavor to the cookies. If you don’t have almond extract, substitute with vanilla extract.
- All-Purpose Flour: The base for the cookies; to ensure you’re using the correct amount of flour, spoon it into the measuring cup and level it off.
- Royal Icing, Easy Glaze Icing, or Store-Bought Icing: Used for decorating the cookies and adding a sweet, decorative finish. The recipe for easy glaze icing can be found below.
- Jump to the printable recipe for precise measurements
Step-By-Step Instructions
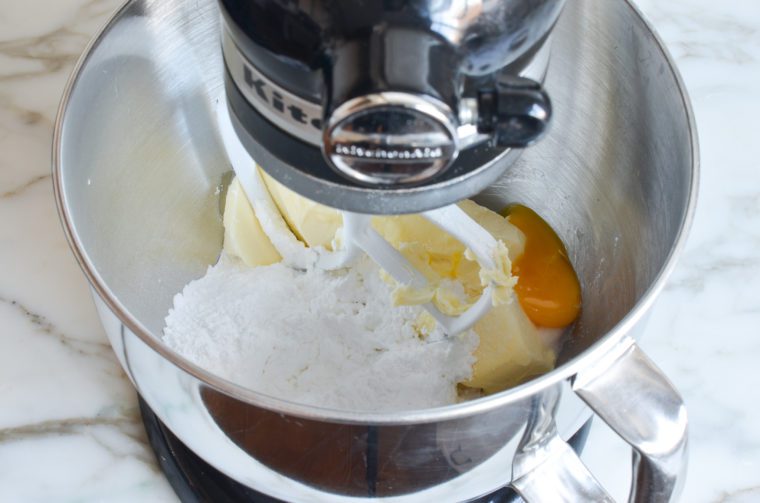
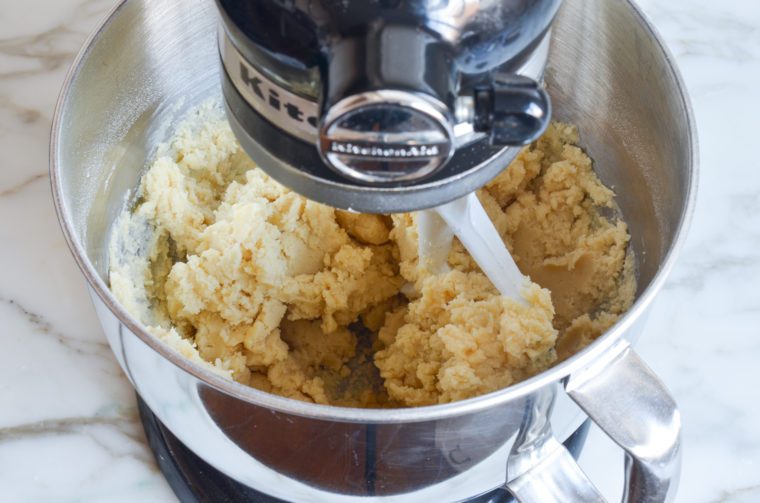
Begin by combining the confectioners’ sugar, butter, egg yolk, salt, and almond extract in the bowl of an electric mixer fitted with the paddle attachment.
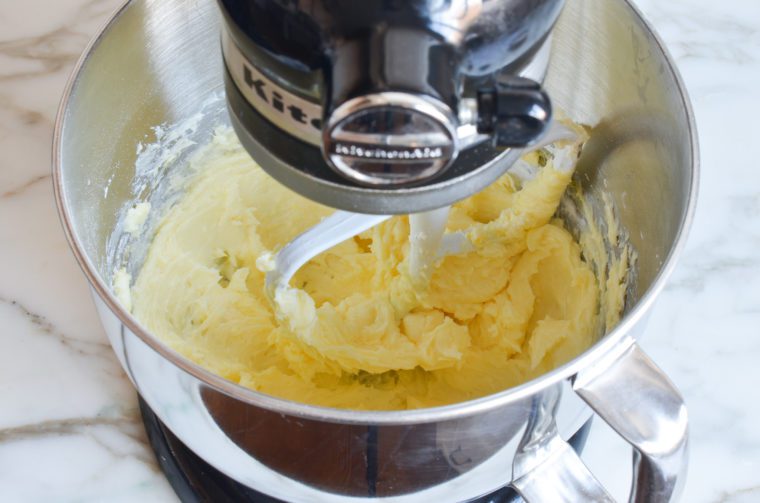
Beat until smooth.
Add the flour.
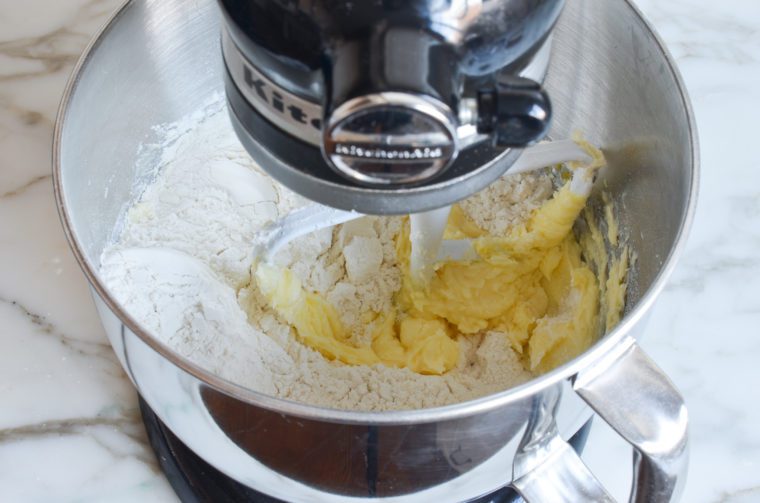
Mix on low speed until well combined. The mixture will seem dry at first but don’t worry, it will come together.
Scrape the dough onto a work surface (if it’s sticky, dust very lightly with flour).
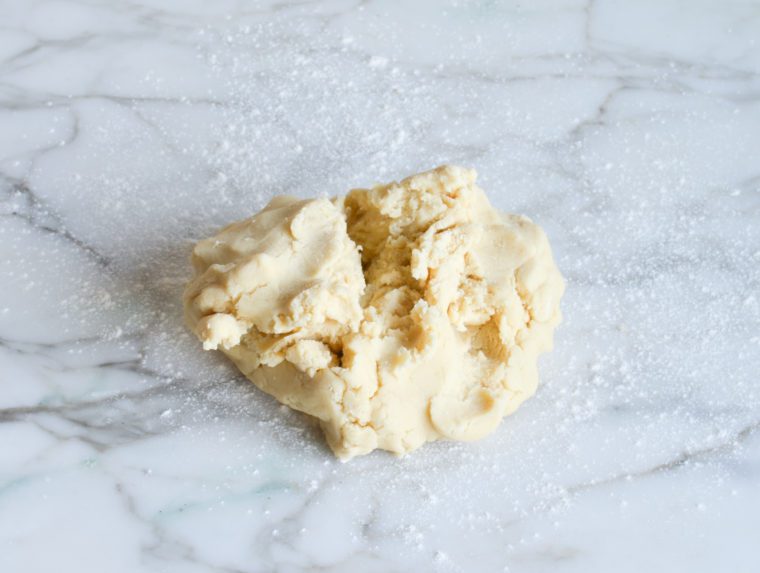
Knead into a ball and then cut it in half.
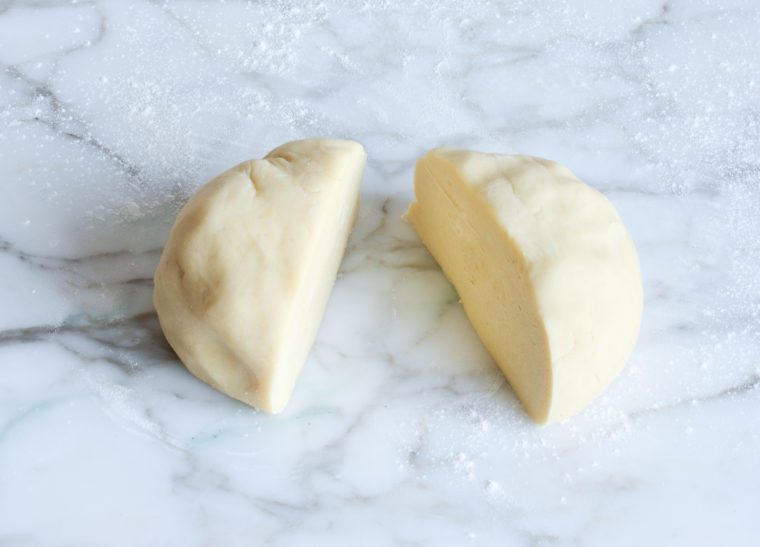
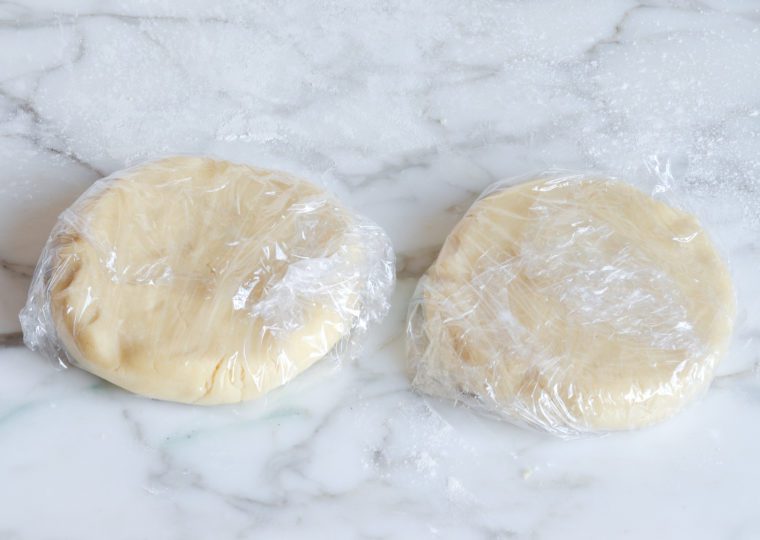
Shape the dough into 2 discs, then wrap in plastic and chill in the refrigerator for at least 2 hours.
When you’re ready to bake, remove the dough from the refrigerator, and let it soften for 30 minutes to 1 hour. Work it with your hands for a minute or so, until it feels soft and pliable enough to roll. Be careful not to overwork it; it should still feel cool.
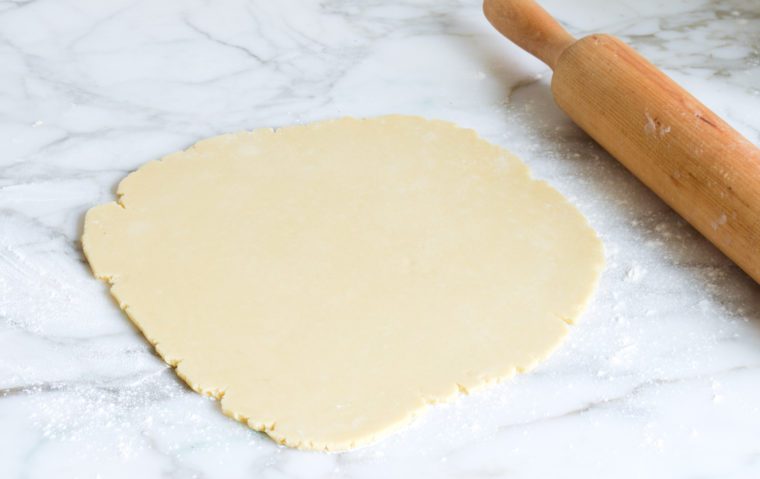
Sprinkle your work surface lightly with flour. Lightly sprinkle the top of the dough and rolling pin as well. Working with one piece of dough at a time, roll to between 1/8″ and 1/4″ thick.
Use cookie cutters to cut shapes, then use a thin metal spatula to lift the dough off of the counter and onto parchment paper-lined baking sheets (they can be close together; they don’t spread). Re-roll and cut the dough scraps.
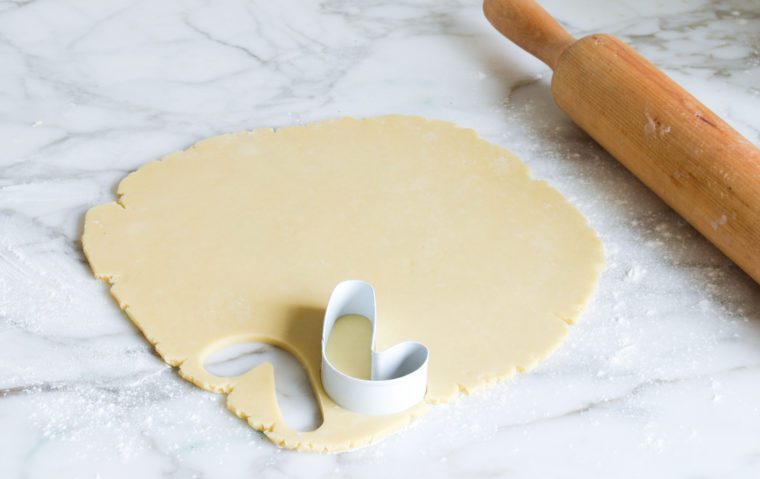
Place the cut-out cookies on parchment-lined baking sheets.

Bake the cookies in a preheated 350°F oven for 10 to 14 minutes, until they’re set and have slightly crisp edges. Note that the bake time will vary depending on the thickness and size of the cookies. Very small cookies might be done in 8 minutes.
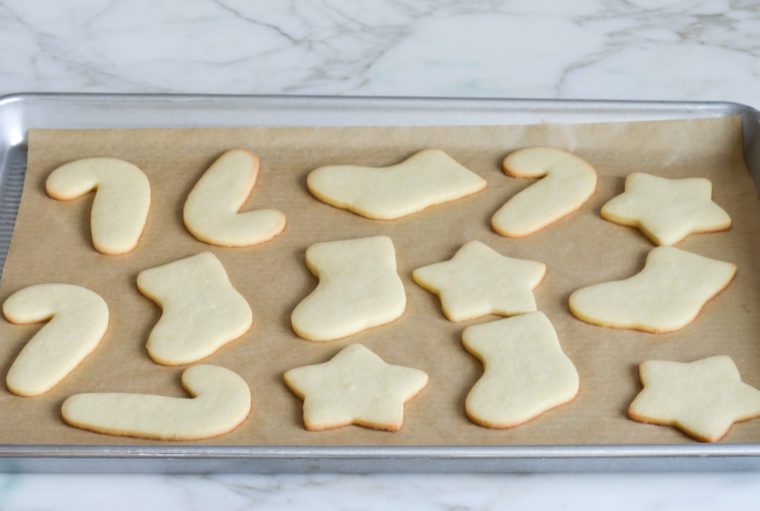
Let cool, then ice the cookies with royal icing, glaze icing (recipe below), or store-bought icing.
Make-Ahead, Freezing & Storage Instructions
The cookies are best eaten within a day or two when they are perfectly tender and crisp. They’ll keep much longer stored in an airtight container, but they’ll soften up.
The cookie dough can be made up to 4 days ahead of time and refrigerated, or frozen for up to 3 months. To freeze, wrap each dough disc securely in plastic wrap, and place in a sealable bag. When ready to bake, remove the disks from the freezer, thaw on the counter until pliable, and proceed with the recipe. The cookies can also be frozen after baking. Let the cookies cool completely and store in an airtight container separating layers with parchment paper or aluminum foil. Before serving, remove the cookies from the container and let them come to room temperature.
You May Also Like
Holiday Cut-Out Sugar Cookies
These holiday cut-out butter cookies are a dream to make, and they’re as delicious as they are pretty!
Ingredients
- 1¼ cups Confectioners' sugar
- 1 cup (2 sticks) plus 2 tablespoons unsalted butter, at room temperature
- 1 large egg yolk
- ¾ teaspoon salt
- 1 teaspoon almond extract (or 2 teaspoons vanilla extract)
- 2¾ cups all purpose flour, spooned into measuring cup and leveled-off with knife
- Royal Icing, Easy Glaze Icing (see recipe below), or store-bought icing, for decorating
Instructions
- Combine the confectioners' sugar, butter, egg yolk, salt, and almond extract in the bowl of an electric mixer fitted with the paddle attachment. Beat on low speed at first to incorporate the sugar, then increase the speed to medium and beat until smooth, about 30 seconds. Add the flour and mix on low speed until well combined. The mixture will seem dry and crumbly at first, but don't worry—it will come together into a cohesive dough.
- Lightly dust a clean work surface with flour. Scrape the dough onto the work surface and knead into a smooth ball. Cut the ball in half and form 2 discs, then wrap each disc in plastic and refrigerate for at least 2 hours or overnight.
- When you're ready to bake, remove the dough from the refrigerator and let it soften on the countertop for 30 minutes to 1 hour. Preheat the oven to 350°F. Line two baking sheets with parchment paper and set two oven racks in the centermost positions.
- Begin with one disc of dough, kneading it with your hands for about a minute until it becomes soft and pliable, similar in consistency to play dough. Remember, the longer the dough has been refrigerated, the more kneading it may require. Aim for a dough that’s neither crumbly nor cracking at the edges, yet be cautious not to over-knead; it should retain a cool temperature. If it becomes too warm or soft at any point, feel free to pop it back in the fridge for a bit.
- Sprinkle your work surface lightly with flour. Lightly sprinkle the top of the dough and the rolling pin with flour as well. Roll to between ⅛" and ¼" thick, sprinkling more flour over and under the dough as needed so that it doesn't stick. Use cookie cutters to cut shapes. Use a thin metal spatula to lift the cut dough off of the counter and onto the prepared baking sheets (they can be close together; they don't spread). Re-roll and cut the dough scraps, dusting more flour as necessary so the dough doesn't stick. Bake the cookies for 10 to 14 minutes, until they're set and barely browned around the edges. (Note that the cook time will vary depending on the thickness and size of the cookies. And mini cookies might be done in as little as 8 minutes.)
- Let the cookies cool on the baking sheet for a few minutes, then transfer to a wire rack to cool completely before icing.
- Note: The cookies are best eaten within a day or two, when they are perfectly tender and crisp. They'll keep much longer stored in an airtight container, but they'll soften up.
- Make-Ahead/Freezer-Friendly Instructions: The cookie dough can be made up to 4 days ahead of time and refrigerated, or frozen for up to 3 months. To freeze, wrap each dough disc securely in plastic wrap, and place in a sealable bag. When ready to bake, remove the disks from the freezer, thaw on the counter until pliable, and proceed with recipe. The cookies can also be frozen after baking. Let the cookies cool completely and store in an airtight container separating layers with parchment paper or aluminum foil. Before serving, remove the cookies from the container and let them come to room temperature.
- To Make Easy Glaze Icing: Combine 2¼ cups confectioners' sugar, 2 tablespoons light corn syrup, and 2 tablespoons milk. Stir with a spoon to make a thick but spreadable glaze. If the glaze is too thin, add additional confectioners’ sugar. If it's too thick, dribble in additional milk ½ teaspoon at a time. (You'll know the consistency is right when a ribbon of glaze dribbled from the spoon will sit atop the glaze in the bowl briefly, before settling and disappearing. Be careful not to make it too thin, or it will drip right off the cookies and make a sticky mess.) Using a small spoon, dollop the icing on the center of the cookies and use a spoon, knife, toothpick or your finger to spread it all the way to the edges. Sprinkle with colored sugar or other sugar decorations while the icing is still wet. Allow the glaze to harden before storing the cookies.
Nutrition Information
Powered by ![]()
- Serving size: 1 cookie
- Calories: 82
- Fat: 4g
- Saturated fat: 2g
- Carbohydrates: 12g
- Sugar: 7g
- Fiber: 0g
- Protein: 1g
- Sodium: 2mg
- Cholesterol: 12mg
This website is written and produced for informational purposes only. I am not a certified nutritionist and the nutritional data on this site has not been evaluated or approved by a nutritionist or the Food and Drug Administration. Nutritional information is offered as a courtesy and should not be construed as a guarantee. The data is calculated through an online nutritional calculator, Edamam.com. Although I do my best to provide accurate nutritional information, these figures should be considered estimates only. Varying factors such as product types or brands purchased, natural fluctuations in fresh produce, and the way ingredients are processed change the effective nutritional information in any given recipe. Furthermore, different online calculators provide different results depending on their own nutrition fact sources and algorithms. To obtain the most accurate nutritional information in a given recipe, you should calculate the nutritional information with the actual ingredients used in your recipe, using your preferred nutrition calculator.
Dawn, which brand of flour did you use? Bleached or unbleached? Did you reduce the flour in any of your attempts or use 360g each time?
I just made a batch of these delicious cookies. Crispy edges, soft middle and very tasty. Thank you Jennifer for another great recipe.
I’ve used this recipe for years and have always had wonderful results. She changed the name from holiday cut-out butter cookies to holiday cut-out sugar cookies…I’m not sure why, but it’s still the same delicious butter cookie recipe. My tip for people struggling with the dough coming together would be to WEIGH your ingredients. Digital kitchen scales are inexpensive and help give you consistent results in all your baking. As a self admitted perfectionist, I’ll never go back to unreliable “scoop and level”measurements.
This is a very good recipe. These Cookies were amazing🥰.
Excellent! Don’t add all the flour to the recipe. just add 90-95% and check the consistency ( in the case that your flour is taking more liquid as my does) and then adjust accordingly. I would like to dip them in Chocolate. Will they remain crunchy?
Hi Eugenia, Glad you enjoyed the cookies! I do think it would work to dip them in chocolate.
I’ve just trashed a lot of products with this recipe. The dough is not a good consistency for cut-out. It results in a one jumbo cookie in the oven.
So sorry you had trouble, Ann. These cookies should not spread or rise – did you by chance use self-rising flour?
Amazing cookies! It’s important to really read the instructions carefully, but they are SO worth the effort 😊
Such a disaster…..was hoping to have fun with my grand-daughter decorating Christmas cookies but this dough was so dry and crumbly I threw most of it out. Managed to get two cookie sheets of cookies but bakers beware – this is a difficult dough and I wish I had read the comments which indicate exactly the same issue that I had. Lots of ingredients wasted, too. First disaster from Once upon a chef for me.
I was intimidated by some of the negative reviews. But I trust Jenn and figured this was my best chance to attempt to master cut-out cookies decorated with royal icing. Once again, Jenn did not disappoint. In fact, she not only provided me with two tasty and easy recipes — she created a wonderful memory for me today because I got to make these cookies with my two teenage girls. Thank you, Jenn!
This was my first time baking cutout cookies and followed the recipe to the tee … it was a dry crumbly mess once the flour was mixed in. Almost threw it out but then decided to knead the crumbs together with my hand right there in the mixing bowl and it eventually looked just like the finished dough in your photo.