General Tso’s Chicken
This post may contain affiliate links. Read my full disclosure policy.
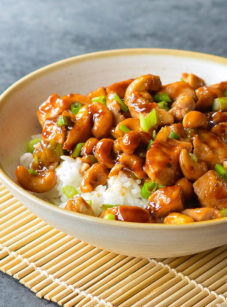
Master a classic Chinese restaurant dish at home with this simple and delicious General Tso’s Chicken recipe.

General Tso’s chicken, that oh-so-delicious Chinese-American favorite, similar in preparation to orange chicken, features crispy chicken pieces smothered in a sweet, tangy, spicy sauce. While it’s a popular choice at Chinese restaurants, takeout or delivery never does it justice, as the chicken’s crispy texture is best enjoyed right after it’s cooked. The good news is that you can easily whip up authentic General Tso’s chicken right in your own kitchen. Not only will you enjoy a delicious meal, but you’ll also feel a sense of pride in mastering a classic restaurant dish.
To maximize your time in the kitchen, use the 30-minute marinating window to make the sauce and chop the garlic, scallions, and ginger. By the time you’re done prepping, the chicken will be ready for coating and shallow-frying. Don’t be daunted — with this simple recipe, you’ll be dishing out the most amazing General Tso’s chicken in under an hour!
Table of Contents
“W.O.W. Literally one of the best dinners ever made! A few more steps than I’d normally bother with on a weeknight, but sooooooo worth it!!”
What You’ll Need To Make General Tso’s Chicken
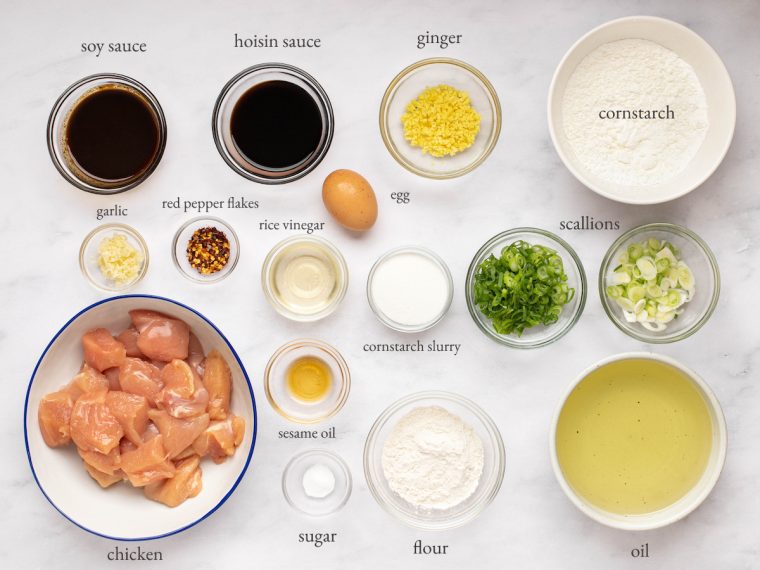
Although most restaurants opt for boneless chicken thighs for this dish, white meat, particularly chicken tenderloins, works well, too; I actually prefer it. A blend of flour, cornstarch, and baking soda ensures that the chicken browns evenly and retains its crispiness, even when drenched in that delightful sauce.
Step-by-Step Instructions
Step 1: Marinate the Chicken
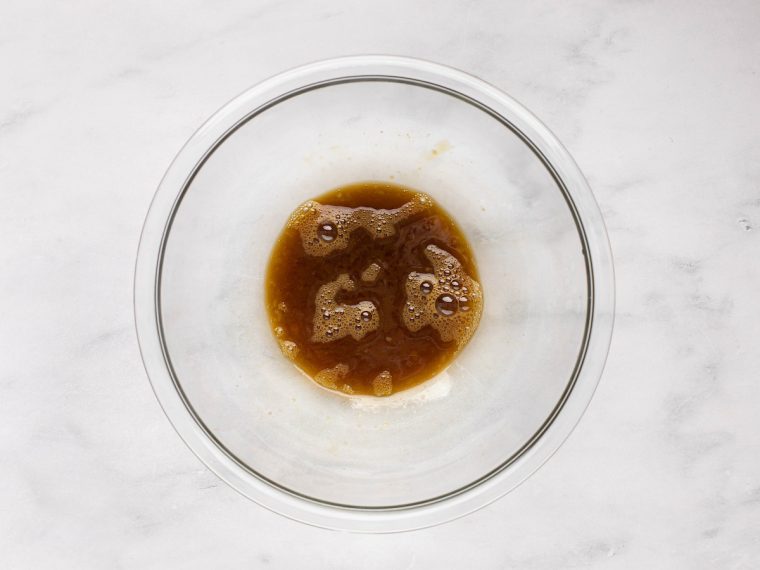
In a large bowl, beat the egg with the sugar and soy sauce.
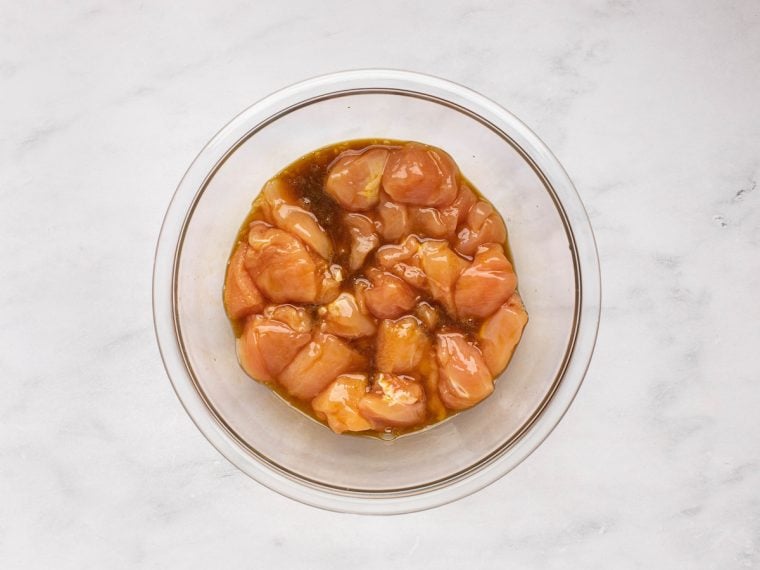
Add the chicken to the bowl and toss until evenly coated. Let marinate at room temperature for 30 minutes.
Step 2: Make the Sauce
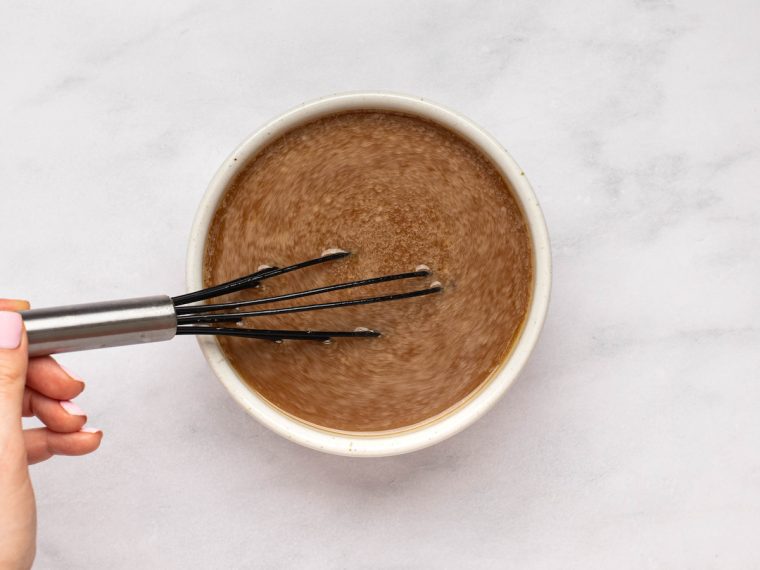
In a small bowl, mix the hoisin sauce, soy sauce, sugar, rice vinegar, cornstarch, sesame oil, and water together. Set aside.
Step 3: Coat the Chicken
In a medium bowl, whisk the cornstarch, flour, and baking soda.
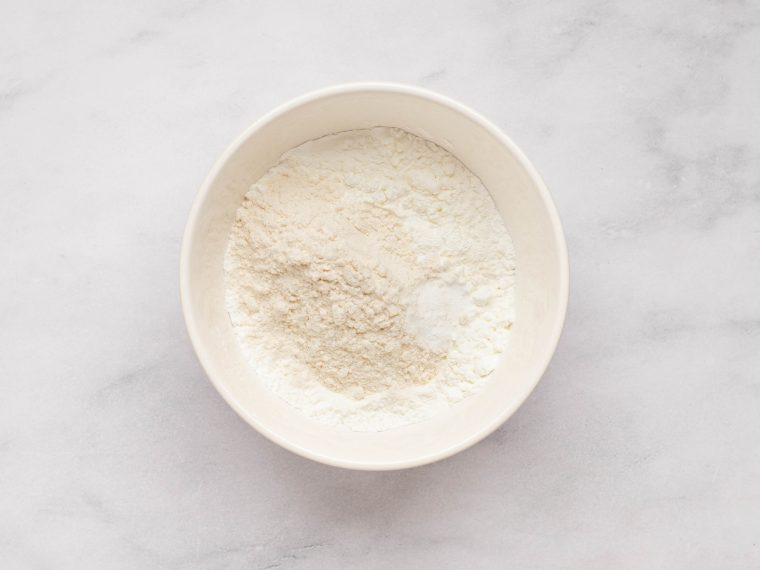
Sprinkle over the chicken/marinade mixture.
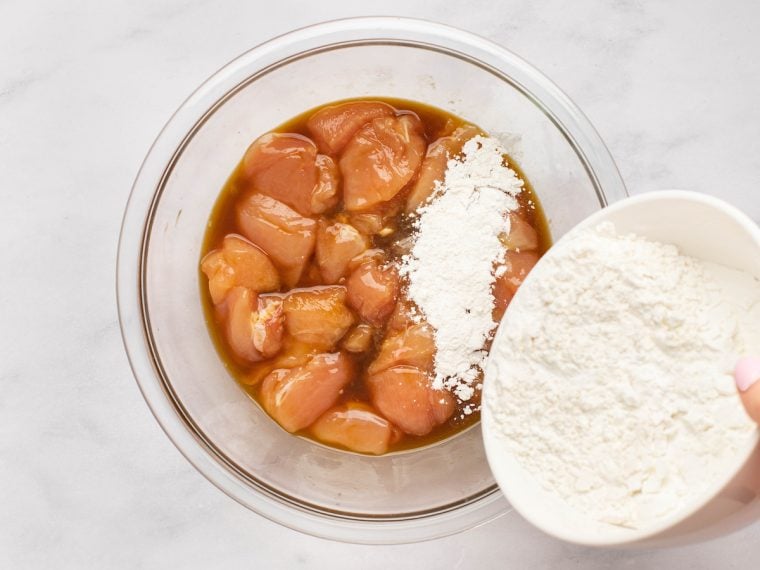
Toss until each piece of meat separates and has a dry, clumpy coating.
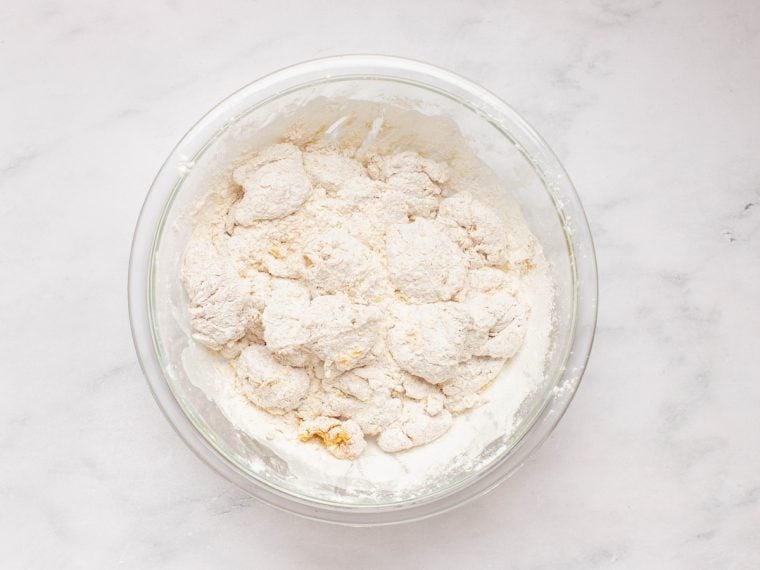
Step 4: Fry the Chicken
In a large nonstick skillet over medium-high heat, heat about ¼ inch of oil to 350°F (180°C). You’ll know it’s ready when you drop a piece of chicken in and it sizzles vigorously.

Working in three batches so as not to crowd the pan, shallow-fry a third of the coated chicken until golden brown and crispy, 4 to 5 minutes, turning once midway through cooking and adjusting the heat as needed.
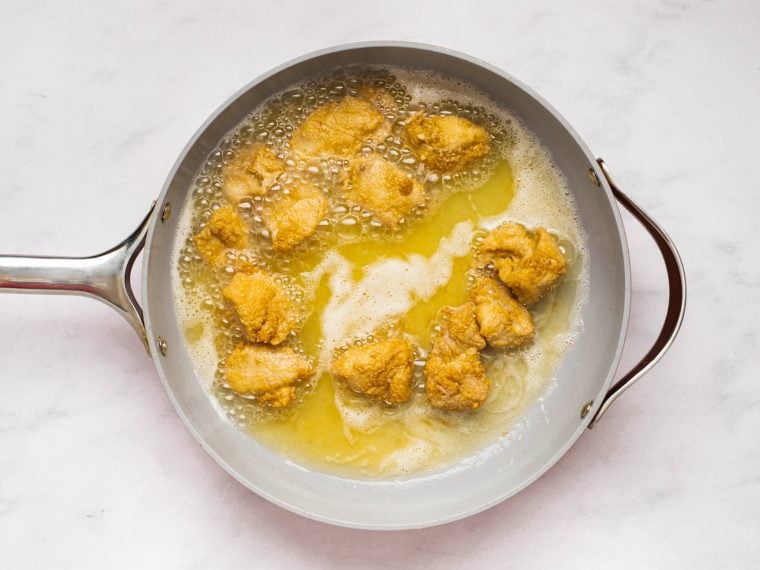
Transfer the chicken to a plate lined with paper towels. Repeat with the remaining chicken.
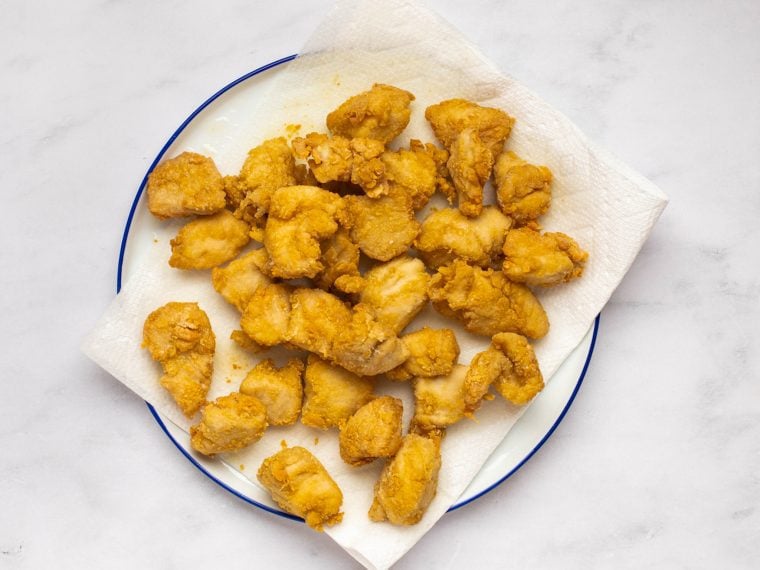
Step 5: Finish the Dish
Carefully drain the oil from the pan and wipe the pan clean with a paper towel. Add about 1 tablespoon of oil. Over medium heat, add the ginger, red pepper flakes, garlic, and scallion whites.
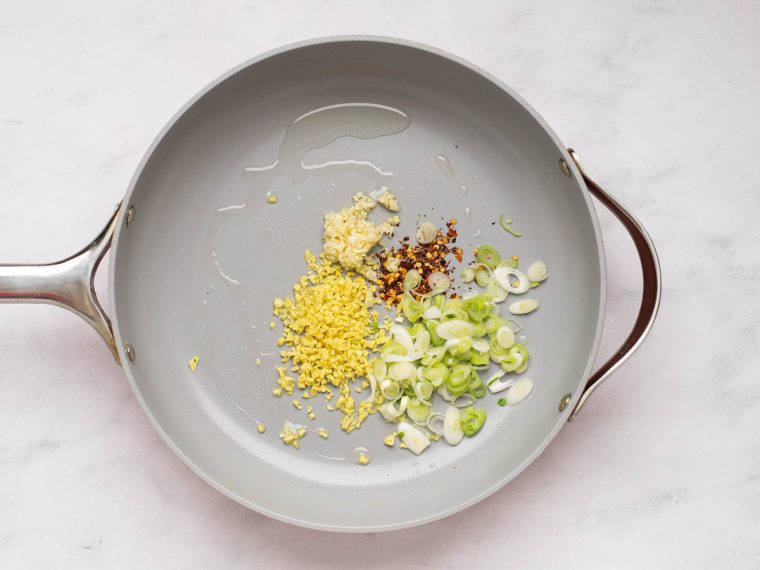
Cook, stirring constantly, for about 30 seconds until fragrant; do not brown. Add the sauce.
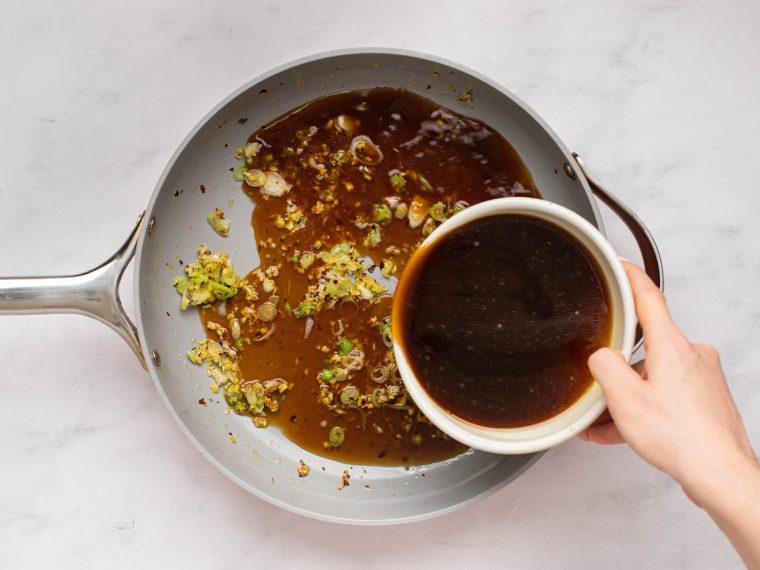
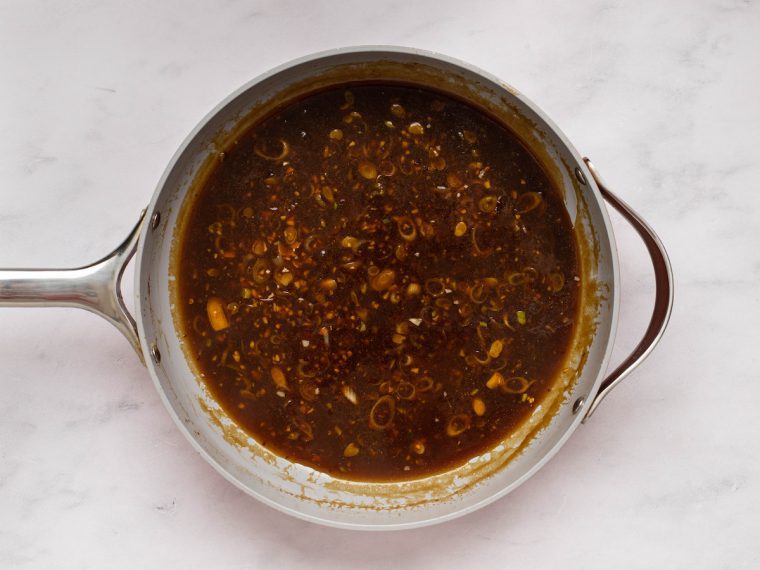
Bring the sauce to a boil, and let it cook until thickened and glossy, 2 to 3 minutes.
Add the crispy chicken.
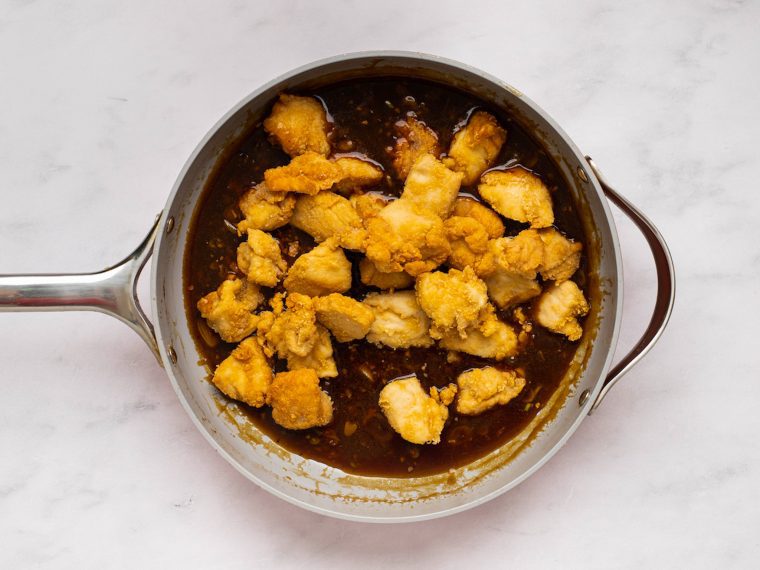
Toss until the sauce fully coats the chicken, 1 to 2 minutes.
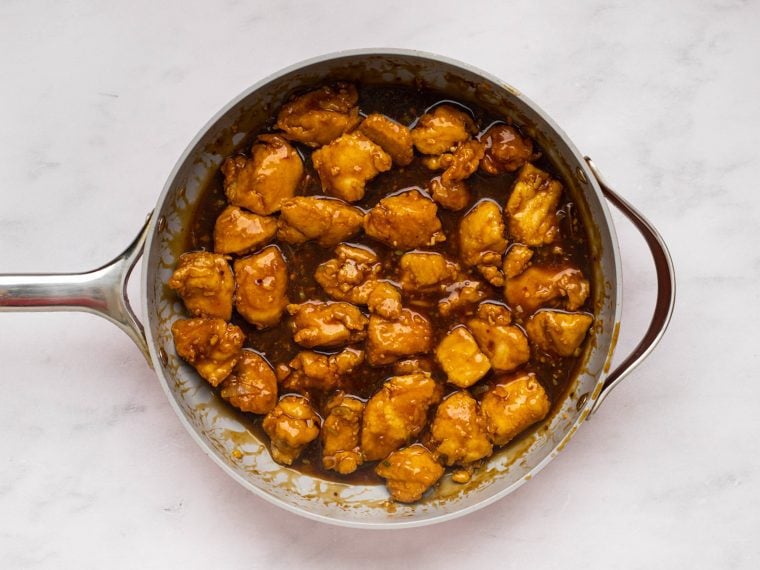
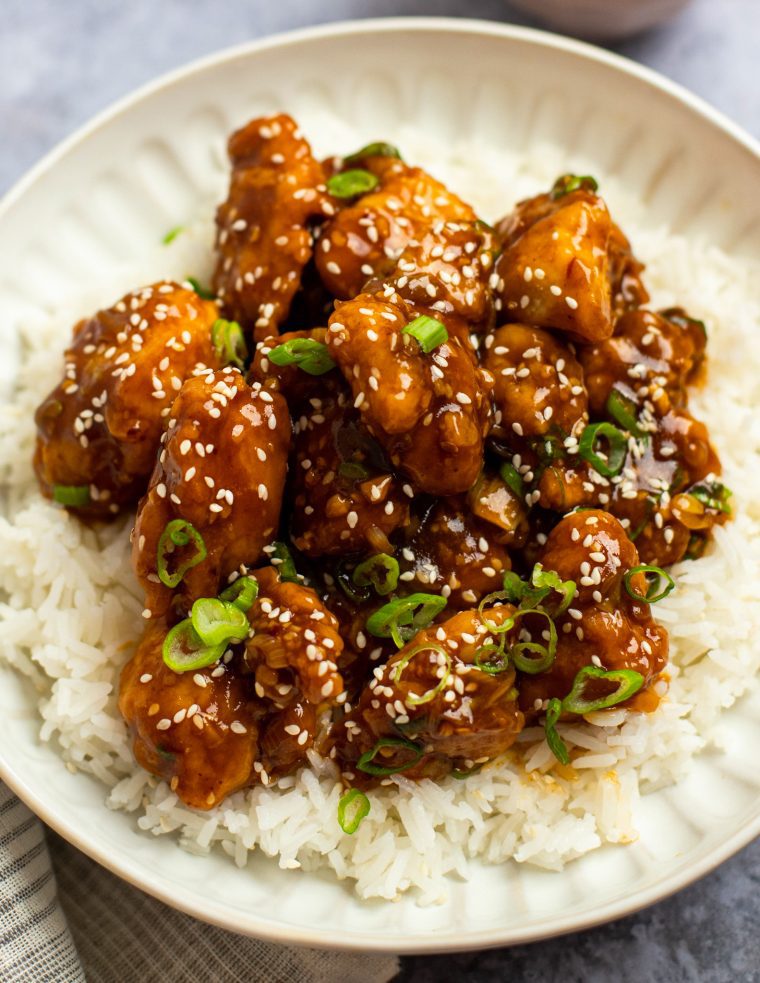
Sprinkle with the dark green scallions and sesame seeds, if using.

Serve over rice.
You May Also Like
Video Tutorial
General Tso's Chicken
Master a classic Chinese restaurant dish at home with this simple and delicious General Tso’s Chicken recipe.
Ingredients
For the Marinade
- 1 large egg
- 1 tablespoon soy sauce
- ½ teaspoon sugar
- 1½ pounds chicken tenderloins or boneless, skinless chicken breasts or thighs, cut into 1-inch pieces
For the Sauce
- ¼ cup hoisin sauce
- 3 tablespoons soy sauce
- 3 tablespoons sugar
- 3 tablespoons unseasoned rice vinegar
- 1½ tablespoons cornstarch
- 1 teaspoon sesame oil
- 1¼ cups water
For Coating the Chicken
- 1 cup cornstarch
- ⅓ cup all-purpose flour
- Heaping ¼ teaspoon baking soda
For Cooking and Serving
- Vegetable oil
- 1½ tablespoons fresh minced ginger (see note)
- ½ teaspoon crushed red pepper flakes
- 3 cloves garlic, minced
- 4 scallions, thinly sliced, white and green parts separated
- Sesame seeds (optional), for serving
- Rice, for serving
Instructions
- Marinate the chicken: In a large bowl, beat the egg, soy sauce and sugar. Add the chicken to the bowl and toss until evenly coated. Let marinate at room temperature for 30 minutes.
- Make the sauce: In a small bowl, mix the sauce ingredients together. Set aside.
- Coat the chicken: In a medium bowl, whisk the cornstarch, flour, and baking soda. Sprinkle over the chicken/marinade mixture and toss until each piece of meat separates and has a dry, clumpy coating.
- Fry the chicken: In a large nonstick skillet over medium-high heat, heat about ¼ inch of oil to 350°F. You'll know it's ready when you drop a piece of chicken in and it sizzles vigorously. Working in three batches so as not to crowd the pan, shallow-fry a third of the coated chicken until golden brown and crispy, 4 to 5 minutes, turning once midway through cooking and adjusting the heat as needed. Transfer the chicken to a plate lined with paper towels. Repeat with the remaining chicken.
- Finish the dish: Carefully drain the oil from the pan and wipe the pan clean with a paper towel. Add about 1 tablespoon of oil. Over medium heat, add the ginger, red pepper flakes, garlic, and scallion whites. Cook, stirring constantly, for about 30 seconds until fragrant; do not brown. Add the sauce, bring it to a boil, and let it cook until thickened and glossy, 2 to 3 minutes. Add the crispy chicken, tossing until the sauce fully coats it, 1 to 2 minutes. Sprinkle with the dark green scallions and sesame seeds, if using, and serve over rice.
- Note: Check out easy guidance on how to peel, grate, and chop fresh ginger here.
- Note: Nutritional information was calculated assuming that approximately 2 tablespoons of the oil is absorbed into the chicken when frying.
Nutrition Information
Powered by ![]()
- Per serving (4 servings)
- Calories: 801
- Fat: 37 g
- Saturated fat: 7 g
- Carbohydrates: 85 g
- Sugar: 15 g
- Fiber: 4 g
- Protein: 30 g
- Sodium: 2,020 mg
- Cholesterol: 117 mg
This website is written and produced for informational purposes only. I am not a certified nutritionist and the nutritional data on this site has not been evaluated or approved by a nutritionist or the Food and Drug Administration. Nutritional information is offered as a courtesy and should not be construed as a guarantee. The data is calculated through an online nutritional calculator, Edamam.com. Although I do my best to provide accurate nutritional information, these figures should be considered estimates only. Varying factors such as product types or brands purchased, natural fluctuations in fresh produce, and the way ingredients are processed change the effective nutritional information in any given recipe. Furthermore, different online calculators provide different results depending on their own nutrition fact sources and algorithms. To obtain the most accurate nutritional information in a given recipe, you should calculate the nutritional information with the actual ingredients used in your recipe, using your preferred nutrition calculator.




Five stars for sure!! My family loved it. I served it with vegetable fried rice to get more vegetables into my family but it really wasn’t necessary. The sauce is so flavourful, plain rice would have been better. Any suggestions for a simple way to add more veggies to this meal would be appreciated.
Hi Gwen, so glad your family enjoyed it! If you’d like to add vegetables, I’d sauté them separately and add them in at the very end along with the sauce. Depending on the volume of vegetables, you want to add, you may want to make 1.5 times the sauce. Hope that helps!
I should say that my rating is in advance of actually making this dish, based on previous experience with your site and particularly ones where you showcase Asian flavors. I love the General, and your version looks really good, and not too difficult to execute. I do have a question though. One family member has some recently diagnosed food allergies and intolerances. I’ve got some good alternative flours available, but do you think egg substitute would be a decent sub for the whole egg? Also, I have found that San-J organic, gluten-free tamari is an excellent replacement for soy sauce (most contain wheat). It has a nice, rich flavor and is readily available.
Thanks for your nice words about the recipes! Yes, I think a store-bought egg substitute would work perfectly fine for the egg here. Hope you enjoy!
I made this last night, followed the directions as written, but doubled it to serve 6 people. It was delicious! Highly recommend! I did fry the chicken before my guests arrived ( about an hour in advance) and just warmed the pieces in a 325 oven for 10 min before adding to the sauce to finish the dish. This recipe is a keeper and everyone raved about it! Thanks for another great recipe, Jenn.
Another 5-star hit, Jenn! Whole family loved it and will add to the rotation! Super easy and absolutely delicious. Wouldn’t change a thing.
I just made this tonight for dinner and it was amazing! My husband asked for it to be added to our meal rotations. The only thing was I didn’t have Hoisin sauce, but I did find a recipe online for a substitute and it worked well in the sauce. Thank you for another great recipe.
I made this tonight… Incredibly flavorful and not too difficult.
My family loved it and it was so easy to prepare. It works well with broccoli, if you would like to add a vegetable to the rice.
Hey Jen, thank you so much for sharing your wonderful recipes! I just finished the Gen Tso chicken and can’t wait to eat! You’ve not let me down thus far and it looks absolutely scrumptious! My next is the Vietnam meatballs🙌🏾🙌🏾🙌🏾
Wonderful recipe! My husband played sous chef. I couldn’t have done it without him but it was definitely worth it. Thank you, Jenn!
Once again this recipe was a hit!! My family loved it and definetely will go on my top list.
Thanks Jenn for your detailed and step by step instructions!!!
I made this for dinner tonight for my husband and myself. It took a bit of time to get all the ingredients ready for cooking but worth the time. My husband and I agree it was excellent and restaurant quality. We even have leftovers for dinner tomorrow night. That is, unless I sneak them for tomorrows lunch!😉 I have shared your website Jenn with many friends. We send messages back and forth with our new creations. My newly married son loves your
Recipes and step by step direction with pictures too. Keep the hits coming! Many thx.❤️
💕