Flag Cake

This post may contain affiliate links. Read my full disclosure policy.
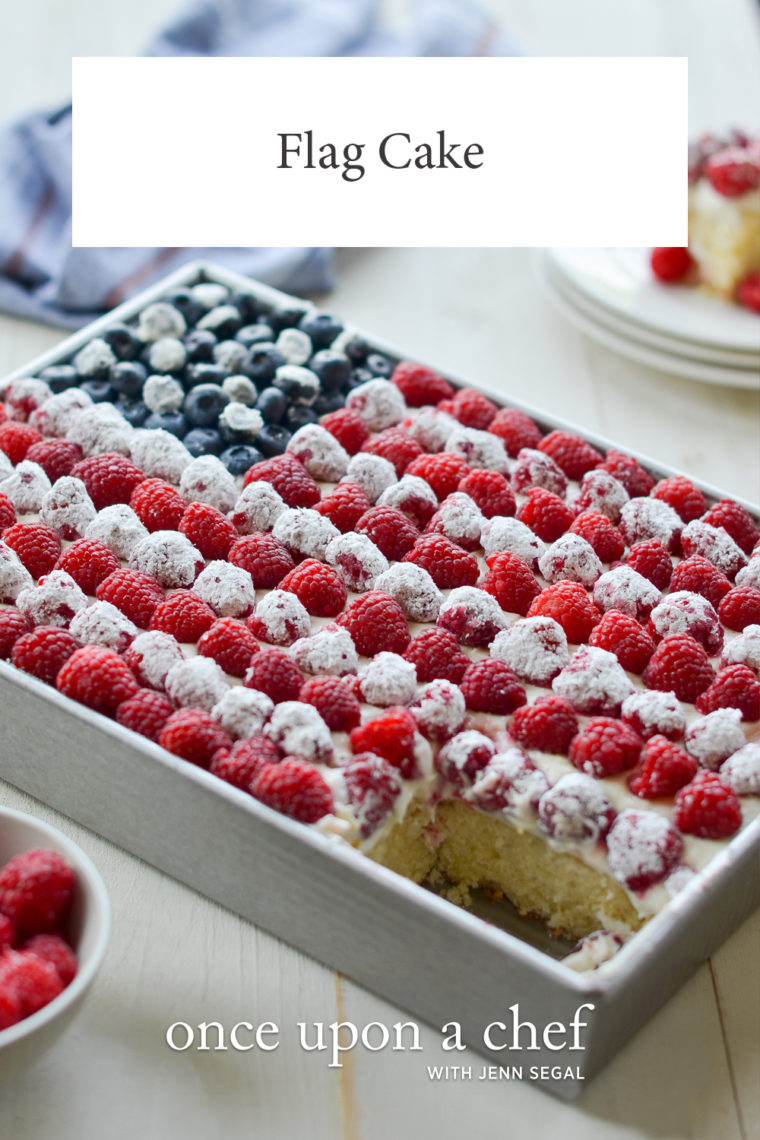
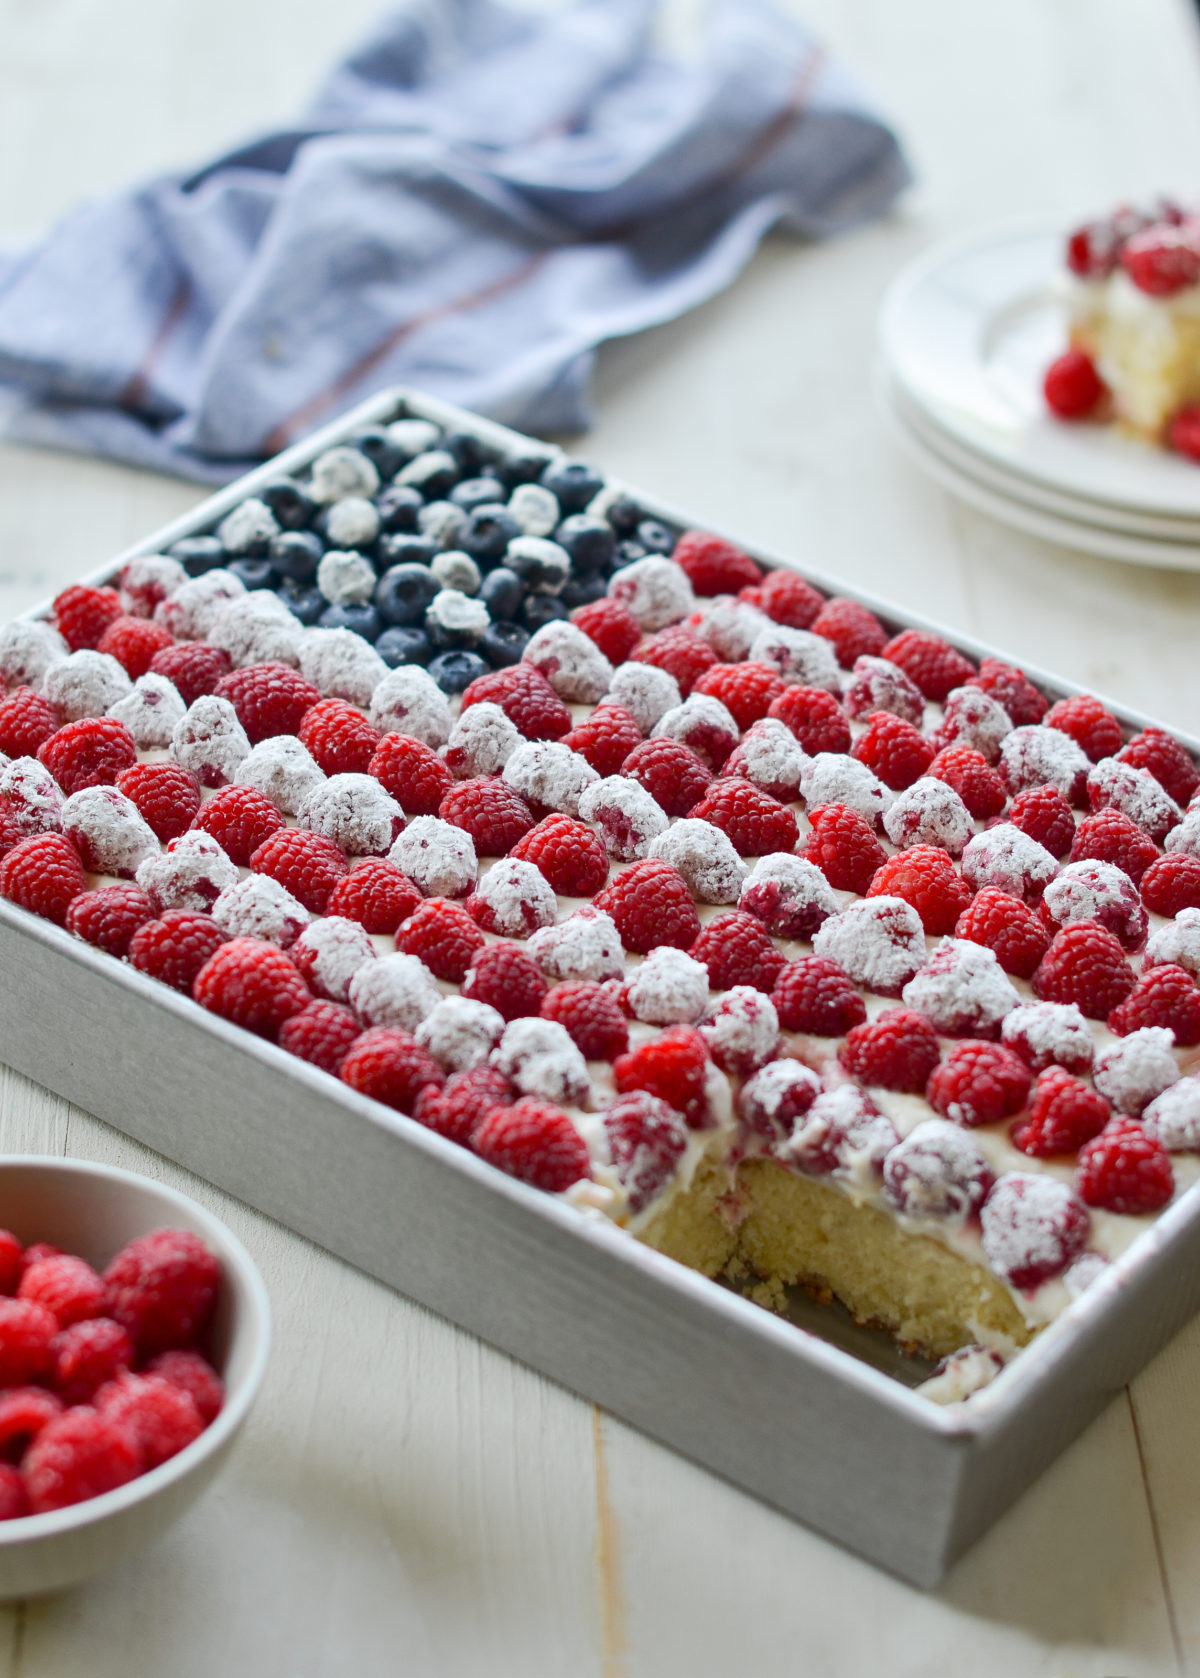
A soft yellow cake topped with cream cheese frosting and fresh berries, this flag cake is the perfect patriotic dessert for a crowd.

A soft yellow cake topped with luscious cream cheese frosting and fresh berries, this festive flag cake is the ultimate July 4th dessert. I know that decorating cakes can be intimidating, especially for non-bakers, but this one is quick and easy — promise!
Before we get to the step-by-step, I have to give credit where it’s due. The cake portion of this recipe comes from my all-time favorite cake cookbook, Perfect Cakes by Nick Malgieri. Decorating inspiration comes from Gaby Dalkin of the fun cooking blog What’s Gaby Cooking, whose easy method for creating the stars and stripes I copied. Instead of using a frosting-filled pastry bag fitted with a star tip to make the white portions of the flag design, she coats half of the berries in powdered sugar. This makes decorating the cake doable for everyone, even kids.
What You’ll Need To Make A Flag Cake
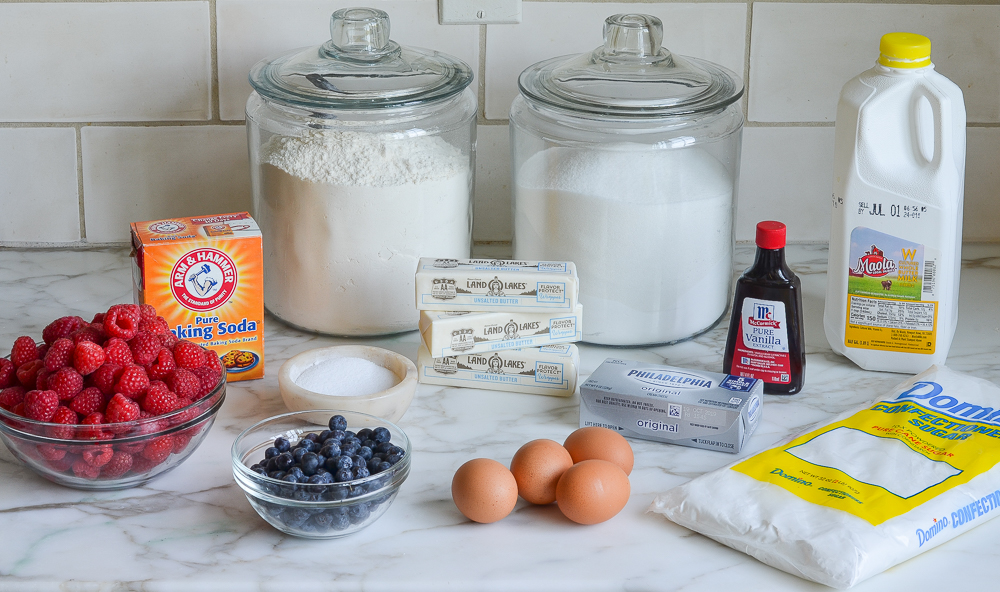
The ingredients for this flag cake are pretty straightforward. My only advice is to get the prettiest, firmest berries you can find. It will make decorating the cake much easier.
How To Make A Flag Cake
Step 1: Bake the Cake
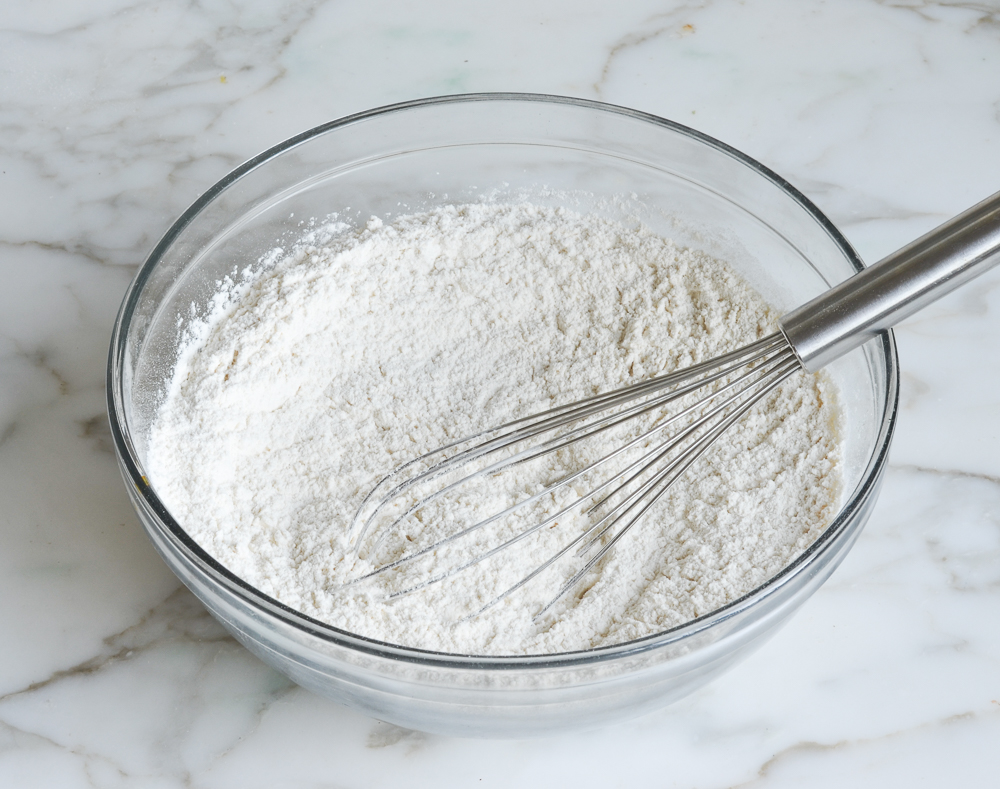
In a medium bowl, whisk together the flour, salt and baking soda. Set aside.
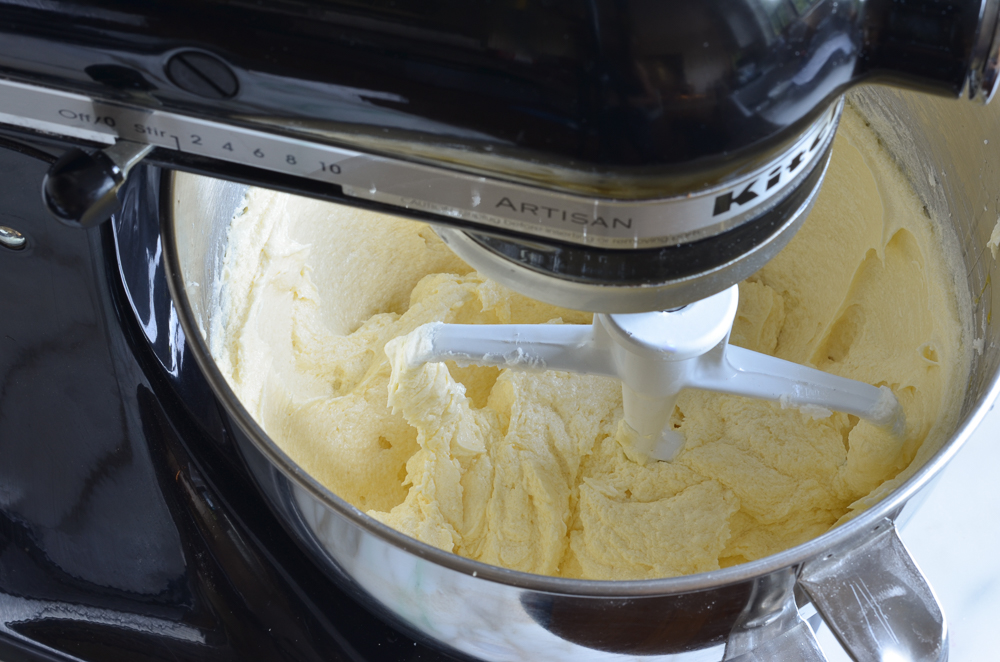
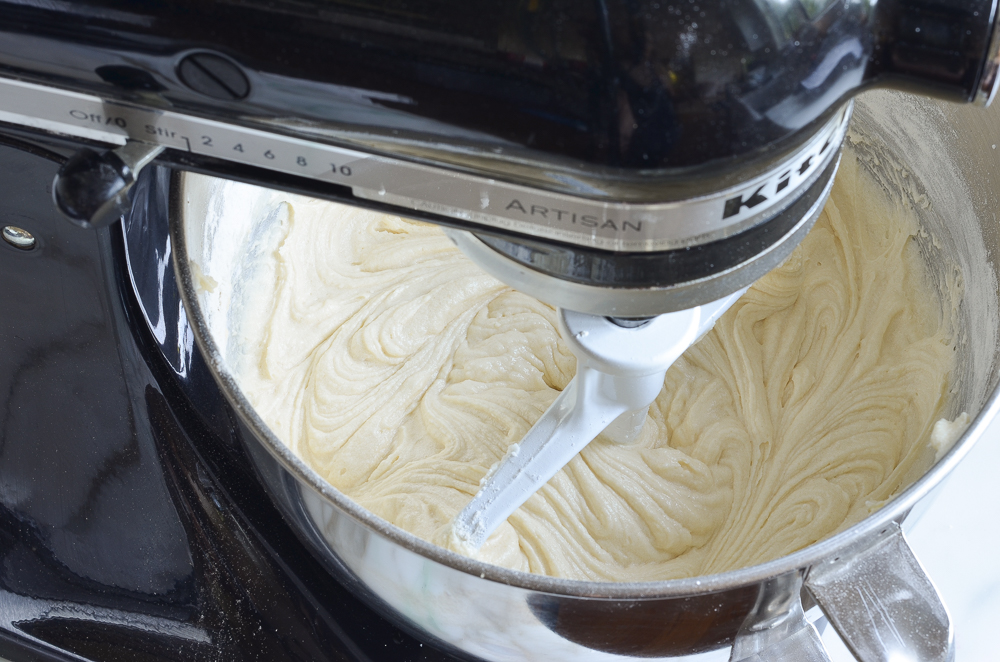
In the bowl of an electric mixer fitted with the paddle attachment (or beaters), beat the butter and sugar on medium speed until light and fluffy, about 5 minutes.
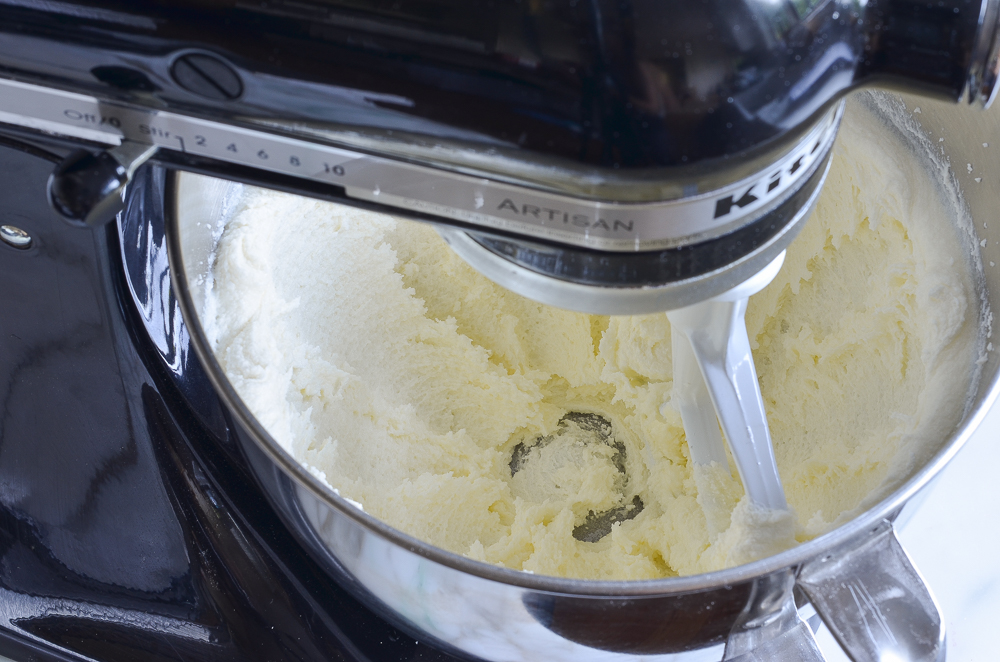
Beat in the vanilla.

Beat in the eggs, one at a time, scraping down the sides of the bowl as necessary.
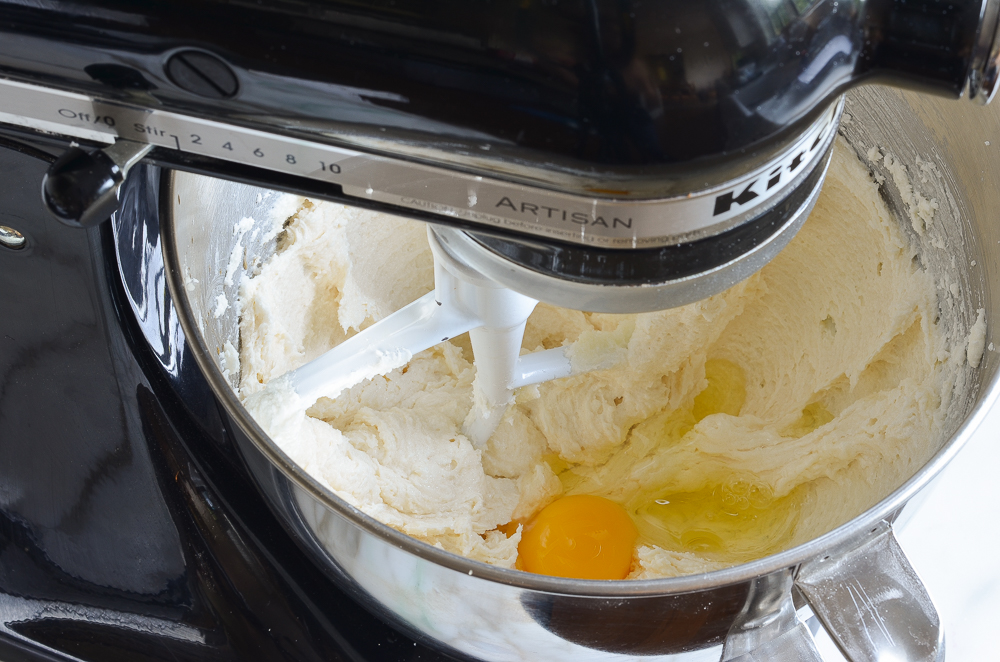
Don’t worry if the batter looks a little curdled at this point.
Reduce the speed to low, then beat in one-third of the flour mixture, followed by half of the buttermilk. 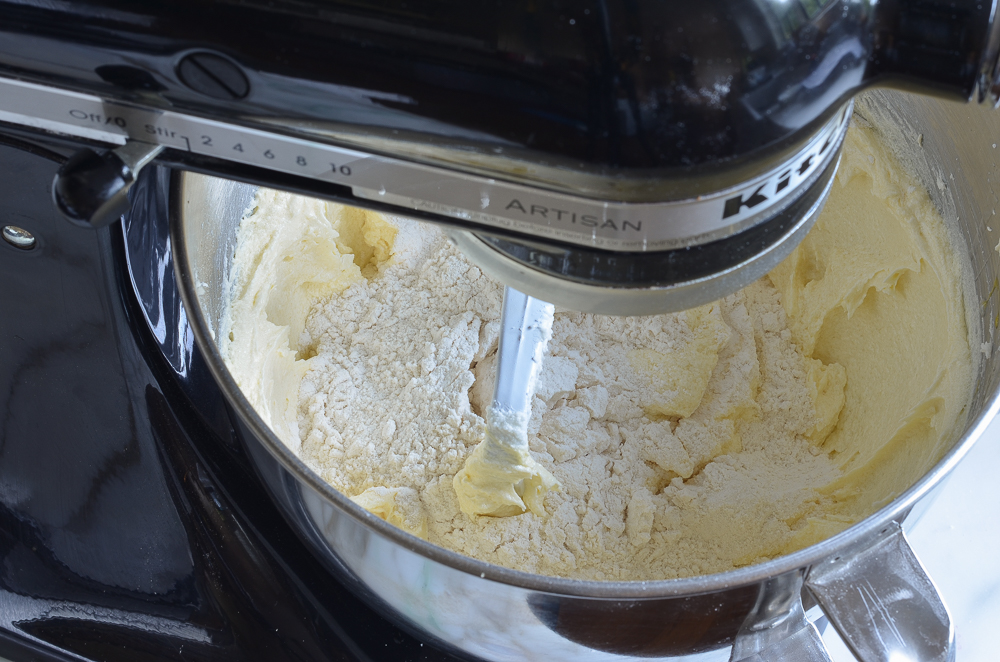
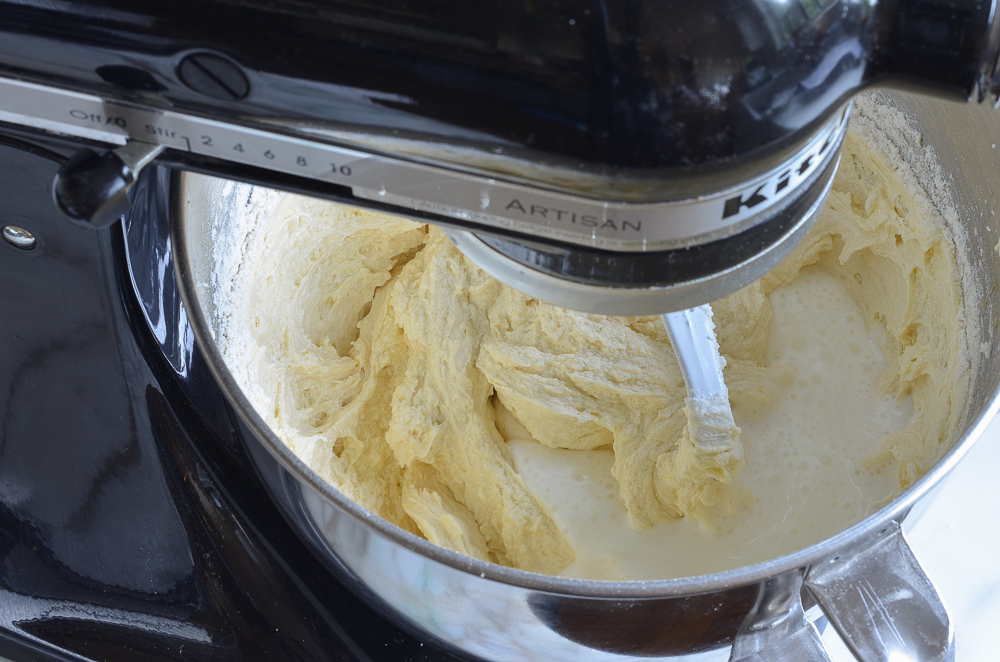
Scrape down the sides and bottom of the bowl, then add another third of the flour, followed by the remaining buttermilk. Beat in the remaining flour, then scrape down the bowl and beat again until the batter is evenly combined. Do not overmix.
Scrape the batter into the prepared baking pan.
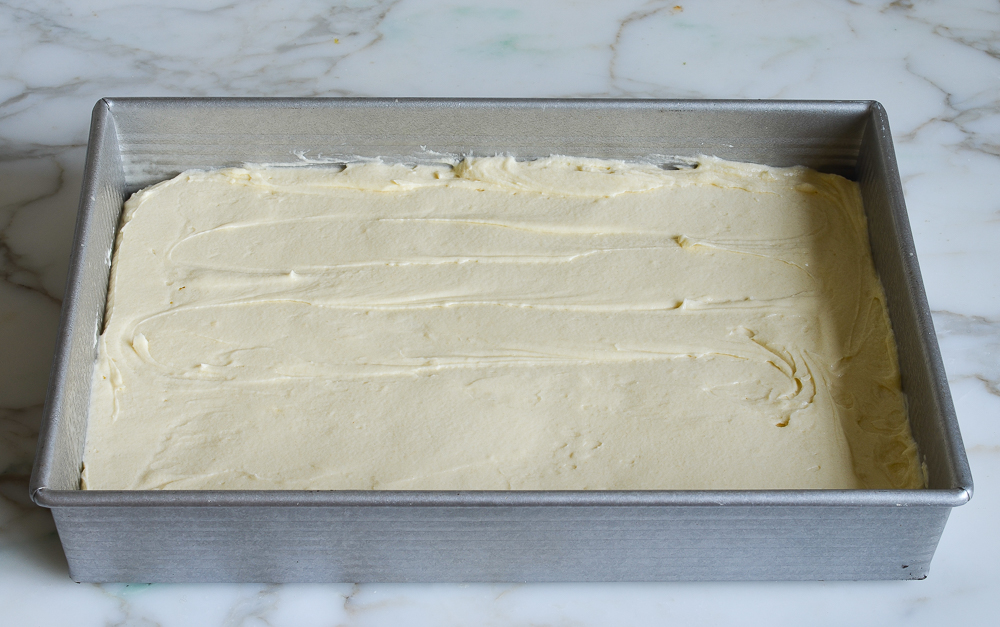
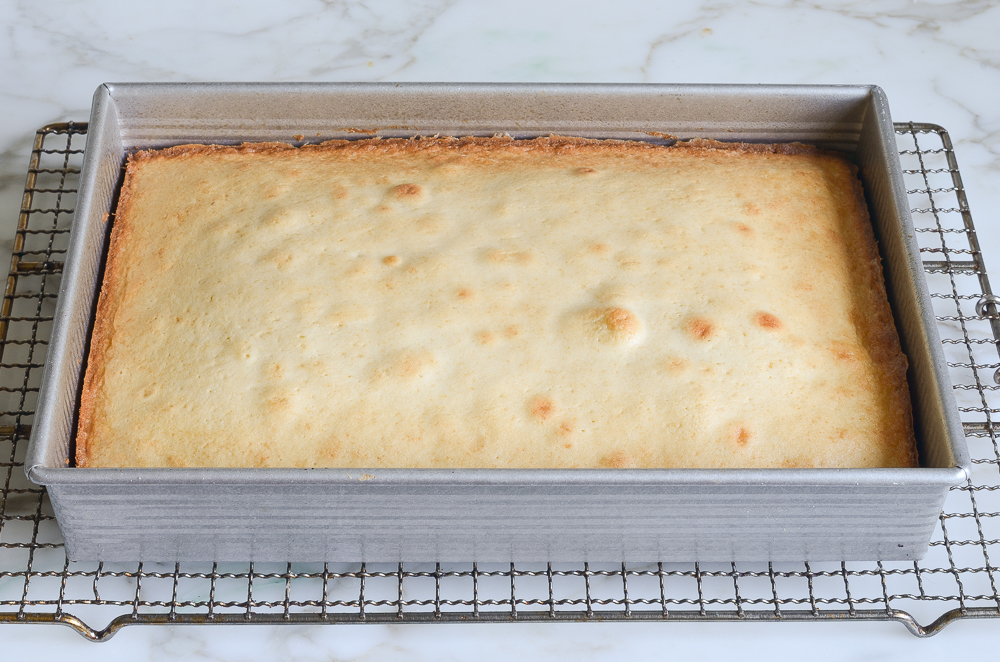
Bake for about 30 minutes, until the cake is set and lightly golden around the edges, and a toothpick inserted into the center comes out clean. Set the cake on a wire rack to cool completely.
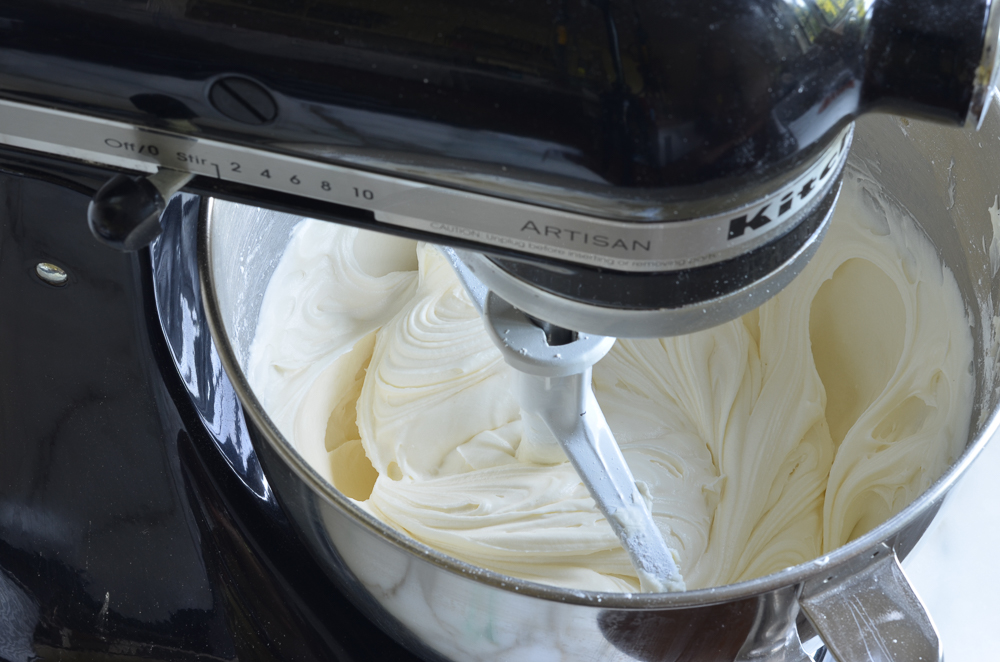
Step 2: Make the Frosting
In the bowl of a stand mixer fitted with the paddle attachment (or large bowl if using a hand mixer), combine the cream cheese, butter, vanilla and salt. Mix on low speed until combined, then increase the speed to medium-high and beat until aerated and light, about 2 minutes. 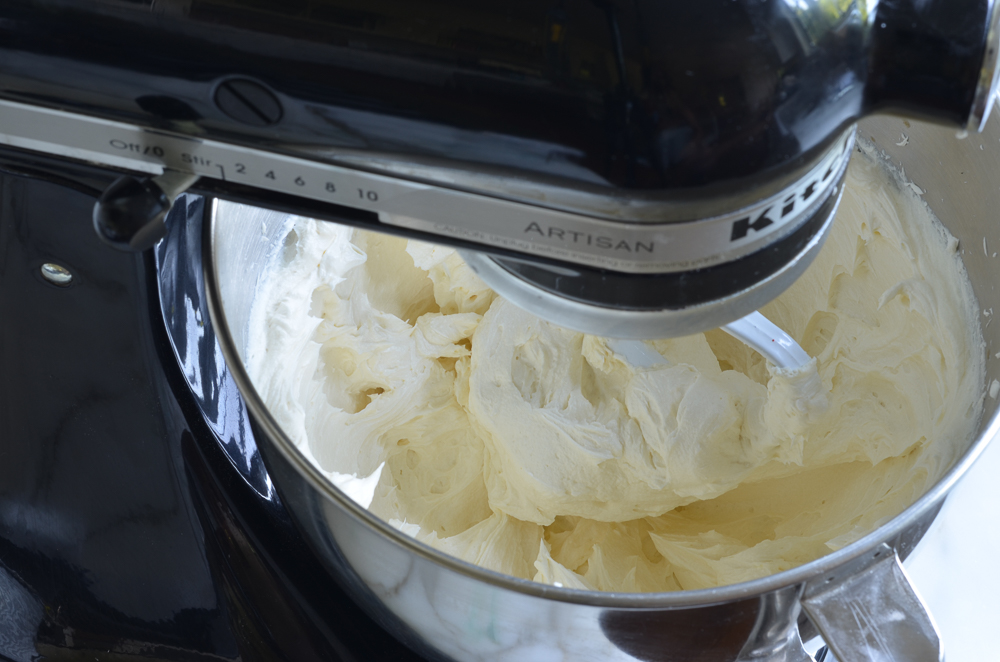
Gradually add 4 cups of the confectioners’ sugar, mixing on low speed to combine.
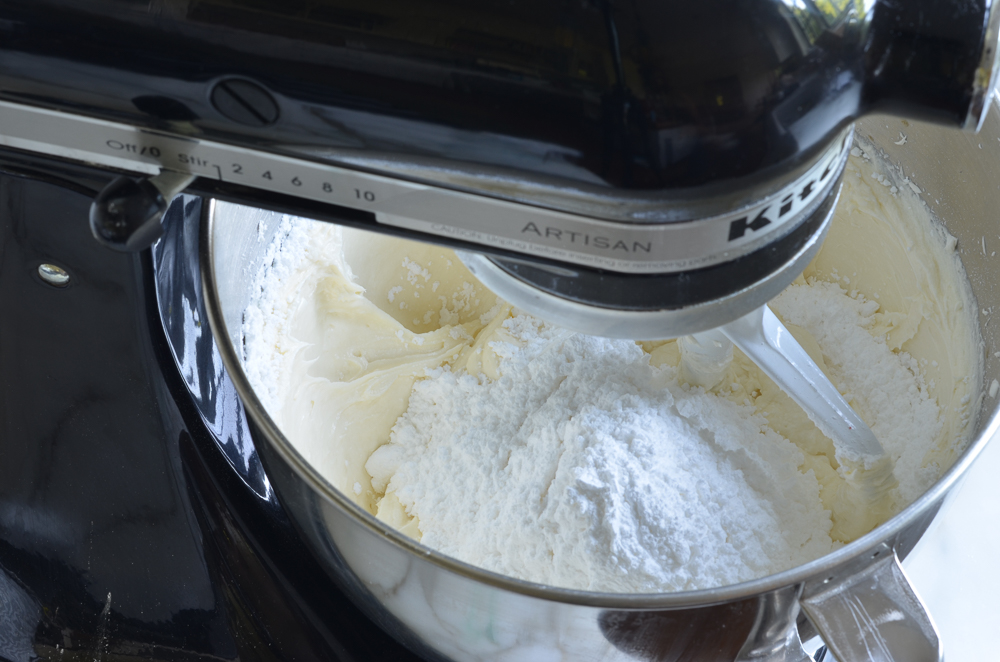
Once the confectioners’ sugar is mixed in, increase the speed to medium-high and beat until fluffy, about 1 minute. Set aside 1 tablespoon of the frosting (you’ll need it for the blueberry “stars.”)
Step 3: Frost The Cake
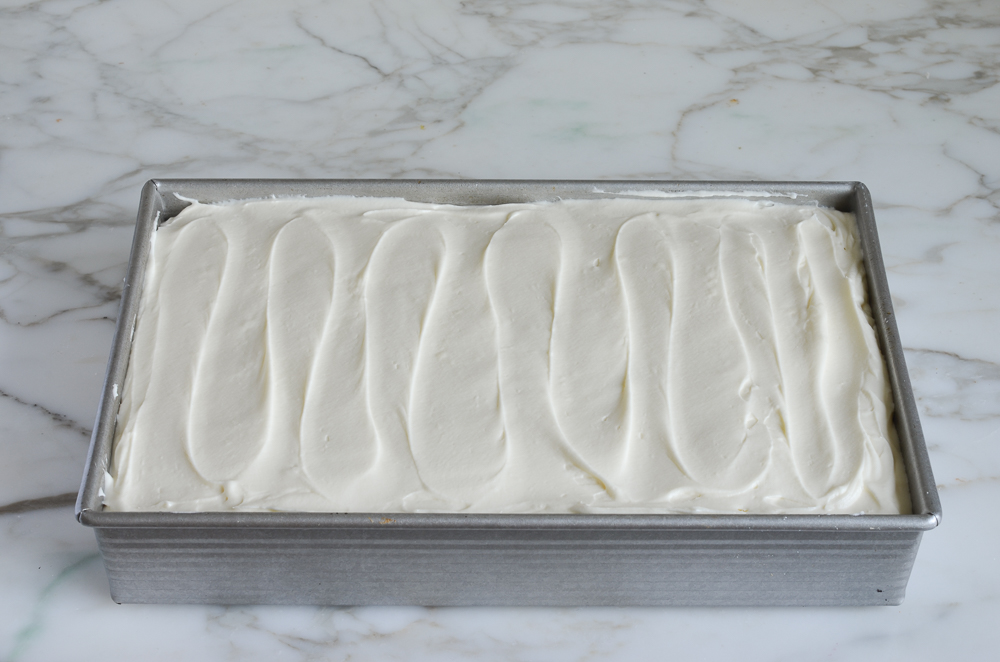
When the cake is completely cool, use an offset spatula to spread the frosting evenly over top. The frosting won’t show, so no need to fuss over making it perfect.
Step 4: Decorate with “Stars” and “Stripes”
Outline the “stars” section on the upper left corner of the cake with a toothpick (or skip this step and just eyeball it) and fill with a generous layer of blueberries. Arrange 1 row of raspberries across the top of the cake, laying them sideways, like a red stripe. Gently roll the next row of raspberries in the confectioners’ sugar to make a white stripe, and alternate until the flag is completed.
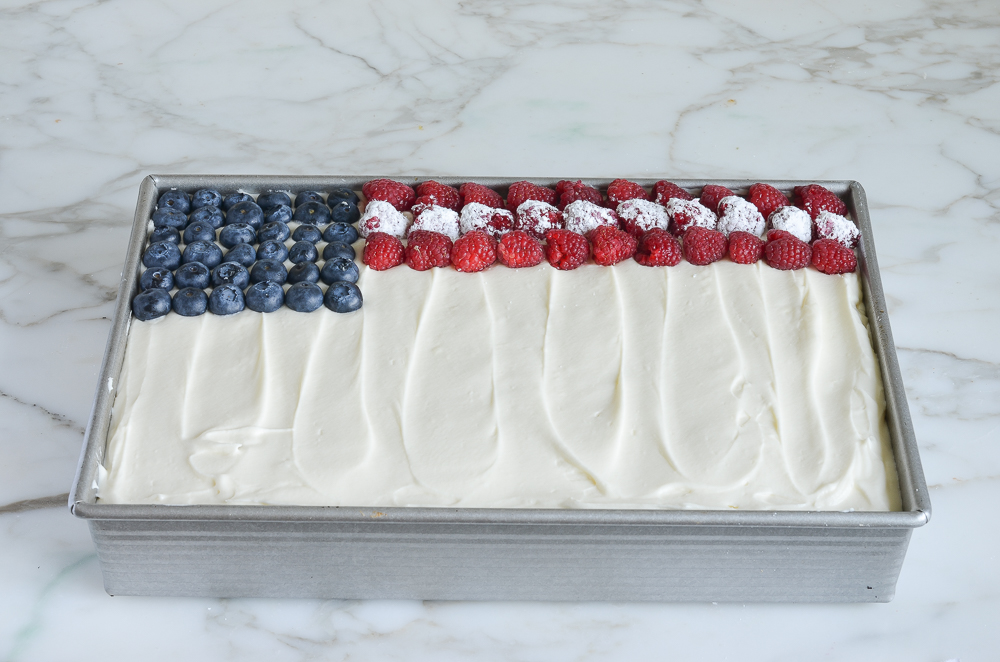 Dip a small handful of the remaining blueberries in the reserved frosting, and then in the remaining cup of confectioners’ sugar to make white “stars.” Evenly scatter the “stars” among the section of blueberries.
Serve the cake directly from the pan. This flag cake is best made on the day of serving or one day ahead of time at most.
You May Also Like
- How to Make Buttermilk
- Vanilla Cupcakes with Cream Cheese Frosting
- Summer Berry Trifle
- Fresh Strawberry Cake
- New York-Style Cheesecake
Flag Cake
A soft yellow cake topped with cream cheese frosting and fresh berries, this flag cake is the perfect patriotic dessert for a crowd.
Ingredients
For the Cake
- 2¾ cups all-purpose flour, spooned into measuring cup and leveled-off
- ½ teaspoon salt
- ½ teaspoon baking soda
- 2 sticks (1 cup) unsalted butter, softened
- 2 cups sugar
- 2 teaspoons vanilla extract
- 4 large eggs, at room temperature
- 1 cup buttermilk (see note)
For the Frosting and Topping
- 8 oz cream cheese, at room temperature
- 1 stick (½ cup) unsalted butter, at room temperature
- 1 teaspoon vanilla extract
- Pinch salt
- About 5½ cups confectioners' sugar, divided
- 1 half-pint (6 oz) blueberries (see note)
- 4 half-pints (24 oz) raspberries (see note)
Instructions
For the Cake
- Preheat the oven to 350°F and set an oven rack in the middle position. Butter and flour a 9x13-in metal pan, or use nonstick cooking spray with flour in it, such as Baker's Joy or Pam with Flour.
- In a medium bowl, whisk together the flour, salt and baking soda. Set aside.
- In the bowl of an electric mixer fitted with the paddle attachment (or beaters), beat the butter and sugar on medium speed until light and fluffy, about 5 minutes. Beat in the vanilla, then beat in the eggs, one at a time, scraping down the sides of the bowl as necessary. (Don't worry if the batter looks a little curdled at this point.)
- Reduce the speed to low, then beat in one-third of the flour mixture, followed by half of the buttermilk. Scrape down the sides and bottom of the bowl, then add another third of the flour, followed by the remaining buttermilk. Beat in the remaining flour, then scrape down the bowl and beat again until the batter is evenly combined. Do not overmix.
- Scrape the batter into the prepared baking pan and bake for 30 to 35 minutes, until the cake is set and lightly golden around the edges, and a toothpick inserted into the center comes out clean. Set the cake on a wire rack to cool completely.
For the Frosting and Topping
- In the bowl of a stand mixer fitted with the paddle attachment (or large bowl if using a hand mixer), combine the cream cheese, butter, vanilla and salt. Mix on low speed until combined, then increase the speed to medium-high and beat until aerated and light, about 2 minutes. Gradually add 4 cups of the confectioners' sugar, mixing on low speed to combine. Once the confectioners' sugar is mixed in, increase the speed to medium-high and beat until fluffy, about 1 minute. Set aside 1 tablespoon of the frosting (you'll need it for the blueberry "stars.")
- When the cake is completely cool, use an offset spatula to spread the frosting evenly over top. The frosting won't show so no need to fuss over making it perfect.
- Outline the "stars" section on the upper left corner of the cake with a toothpick (or skip this step and just eyeball it) and fill with a generous layer of blueberries. Dip a small handful of the remaining blueberries in the reserved frosting, and then in the remaining 1½ cups of confectioners' sugar to make white "stars." Evenly scatter the "stars" over the section of blueberries. Arrange 1 row of raspberries across the top of the cake, laying them sideways, like a red stripe. Gently roll the next row of raspberries in the confectioners' sugar to make a white stripe, and alternate until the flag is completed. (I suggest using one hand for rolling and one for placing; if any powdered sugar accidentally gets on the red "stripes," use your fingertip to dab the berries lightly with water and it will come right off. )
- Cut the cake into squares and serve directly from the pan.
- Note: If you’d like to make your own buttermilk, check out the easy method here.
- Note: The berries should be dry before decorating the cake. (In general, I don't rinse raspberries because they are so delicate.)
- Make-Ahead Instructions: The cake itself can be made one day ahead of time. Cover with plastic wrap and store at room temperature. Frost and decorate the cake before serving.
Nutrition Information
Powered by ![]()
- Per serving (24 servings)
- Serving size: 1 piece
- Calories: 393
- Fat: 16 g
- Saturated fat: 9 g
- Carbohydrates: 60 g
- Sugar: 46 g
- Fiber: 2 g
- Protein: 4 g
- Sodium: 143 mg
- Cholesterol: 72 mg
This website is written and produced for informational purposes only. I am not a certified nutritionist and the nutritional data on this site has not been evaluated or approved by a nutritionist or the Food and Drug Administration. Nutritional information is offered as a courtesy and should not be construed as a guarantee. The data is calculated through an online nutritional calculator, Edamam.com. Although I do my best to provide accurate nutritional information, these figures should be considered estimates only. Varying factors such as product types or brands purchased, natural fluctuations in fresh produce, and the way ingredients are processed change the effective nutritional information in any given recipe. Furthermore, different online calculators provide different results depending on their own nutrition fact sources and algorithms. To obtain the most accurate nutritional information in a given recipe, you should calculate the nutritional information with the actual ingredients used in your recipe, using your preferred nutrition calculator.
Can I bake this in my glass 9×13 Pyrex? Would I need to adjust temperature or time?
Thanks,
Chris
Hi Chris, Glass will work — just keep an eye on it and reduce the heat by 25°F if it looks like it’s starting to brown around the edges. Enjoy!
Just made this (even without the fruit) for a Birthday cake! It is delicious!! It was easy to make, and turned out perfectly! Whole family really enjoyed it… as always, another great recipe!! Thank you, this will be a keeper.
This cake was a hit at our Independence Day cookout. I used a USA brand baking pan in my wonky oven and it took 40 minutes to bake through. I added lemon zest, juice and extract to the batter, but not enough because I could barely detect the difference. I didn’t want to roll each berry, so I made raspberry stripes with equal space between each row and a few clusters of blueberries in the corner and sifted powdered sugar over these berries. I filled in the spaces between with the rest of the (very dry) berries (so the sugar doesn’t melt). I reduced the powdered sugar in the frosting to three cups although extra sugar was sifted onto the open spaces, but it all worked out. Perfect patriotic dessert. Thanks.
Great cake if you like a dense texture. Added about 15 more minutes to the baking time, eliminated the extra sugar by not rolling any fruit in powdered sugar, and used about half the sugar called for in the icing. It was delicious; will definitely make it again!
Entire family enjoyed this, I did need to extend the baking time to almost 45 min, checked it every 5 minutes after the 30 minute mark. My 9 year old daughter helped at every step.
I used a glass 9×13 pan and after 30minutes the toothpick was still wet.
Hi AZ, Sorry you had a problem with this. I’ve gotten similar feedback about this recently so I’ve increased the baking time a touch. Hope you have better luck next time if you make this again!
Hi Jenn,
I’ve made this cake several times and have trouble with the bake time. It always takes much longer to get the center set. This last time I tried with a non-coated, aluminum pan. I’ve also checked my oven temp to be sure it’s running at 350 degrees and the thermometer measured 350 exactly. Is 350 the correct temperature? It always tastes delicious but I think the texture is a bit drier and tougher around the sides due to the longer bake time.
Hi Jen, sorry you’ve had a problem with this! You mentioned that you are using a non-coated aluminum pan. Is it dark or light in color? What brand is it?
Thanks for your reply, Jen! It’s a Nordicware light colored aluminum pan similar to what you have pictures except the corners are rounded. I’ve also tried baking it in a Farberware nonstick (coated) pan and had the same results although the Nordicware pan seemed to be a little more even in the baking. Still, it took around 42 minutes for the center to set and a toothpick to come out clean.
Hi Jen, Unfortunately, the pans you used don’t shed any light on the problem. Keep in mind that it is normal for some browning around the edges but obviously you don’t want it to be overbaked. I’m going to increase the bake time on this recipe by a few minutes to combat the underbaked center, but if you find that the edges are browning too much, loosely lay a piece of foil on top of the cake for the remainder of the baking time. Also, you may want to try King Arthur flour – – not sure if the flour would have any impact here but I always have good luck with it. Hope that helps at least a bit!
Hi Jenn,
I’m back to follow up regarding the bake time of this cake. I baked it again this morning and had the best results as of yet. I used King Arthur as suggested but I believe I did last time too as that is the brand I typically buy. What I definitely did differently was the temperature of the butter and eggs. After reading your “How to: Baking Tips” article, I realized I haven’t been letting the eggs get warm enough before adding them to the batter. So, I took both ingredients out of the fridge around 7:30 this morning and didn’t actually mix the batter until 11:30. The cake still took 40 minutes to bake, but the center didn’t dome at all and the edges “doneness” is more consistent with the rest of the cake. I’ll be emailing you a picture shortly. : )
Jen R—Hi, I had exactly the same problem in making this twice. We love the flavor of the cake, but it is always more done around the perimeter, as you said. I have a Calphalon 9×13, which is dark coated. Did you decrease by 25 degrees, by chance? I haven’t had to do it with other cakes, but I’m thinking about trying it with this one. I’m interested in knowing if you have tried again! Thank you 🙂
Hi, Ali!
Yes, I did try reducing the temp to 325 but got the same results with an even longer bake time. That was using the Farberware nonstick (light color coating) pan.
I will say the Nordicware pan seemed to keep the edges from getting too dried out. Just takes a lot longer than 30 minutes.
I made this today for my husband’s birthday and it turned out wonderfully! My kids really enjoyed decorating with fruit, and it was actually such a simple recipe that they pretty much managed making it themselves too.
We followed the instructions exactly as written, but I think next time I will reduce the sugar a bit for both the cake and frosting (especially the frosting which was a bit too sweet).
Thank you so much for such great easy to follow recipes! I am definitely a better cook because of your site – and have gifted your cookbook to my mother in law.
Glad you enjoyed it! 🙂
Can you substitute mascarpone for the cream cheese in the frosting?
Thanks!
Lee
Sure, Lee, that should work. Hope you enjoy!
I made your delish flag cake for a friends BBQ on the 4th; everyone loved and raves about it ! I baked the cake the night before on the 3rd. The next morning , my 6 yo and I frosted the cake and assembled the fruits on top, according to your directions . The flag cake was spectacular and the perfect dessert Potluck to share. The only hang up was … since I assembled the cake in the morning and put plastic wrap in the frig, the powdered sugar on the raspberries ( especially) made the fruit sweat and powdered sugar was gone . Before the party , I had to put powdered sugar into a bent at the top – paper cup and align along the row of raspberries to cover . Next time, I’ll just do that last part at the party or event . Other then that, the cake was a perfect match to my homemade vanilla bean ice cream! Thank you.. ps, I have a photo too and can email you , if you’d like.
So glad it was a hit, Sandra. Please do email me a photo at jennifer@onceuponachef.com. I’d love to see!
I made this cake for a post 4th of July BBQ at our house. Everyone loved it. I did make a few modifications, however, to suit our taste. I reduced the sugar in the cake itself by 1/2 cup, thus using 1.5 cups of sugar, and I modified the frosting to add lemon juice and lemon zest, and again reduced the sugar to around 2 and 3/4 cup. It was the perfect sweetness for us and our guests. I also cheated on the decoration, going for alternate layers of raspberries and frosting, instead of rolling the raspberries in sugar, for the white stripes. It was still very pretty and a great basic cake, which can be modified. I can see myself adding lemon to the cake itself, or even almond essence, to make an “almond” cake. Like someone else said, I’ve used recipes from this blog before, and they’ve all come out wonderful, which make me comfortable using a recipe “blind” for my party. Thank you for some very wonderful recipes!