Easy High-Heat Roast Turkey with Gravy
This post may contain affiliate links. Read my full disclosure policy.
Ideal for turkeys under 14 pounds, the high-heat method guarantees a juicy and crisp-skinned turkey.
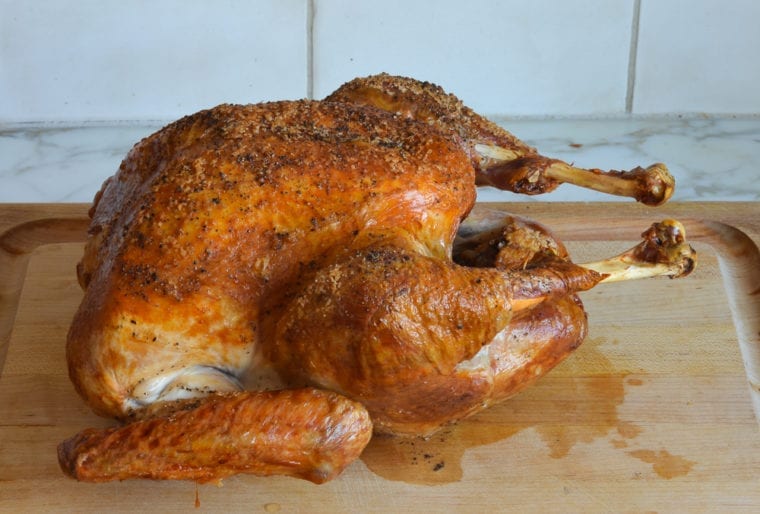
The high-heat roasting method is one of my favorite ways to cook a turkey. The prep time is minimal, the cooking time is short, and the turkey emerges from the oven juicy and crisp-skinned. The only drawback is that the high heat can cause a little smoke in the kitchen, so be sure your oven is spotless prior to cooking — and while the bird roasts, turn on your exhaust fan and crack a window. This cooking method only works for turkeys under 14 pounds. For larger birds, I recommend this dry-brined turkey recipe.
For Thanksgiving, I typically make one roast turkey along with a rolled stuffed turkey breast (a make-ahead family favorite) so we have variety and plenty of leftovers. Finally, if you’re a turkey novice or cooking a turkey feels intimidating, check out my best turkey advice; it will make you feel better!
What you’ll need to make roast turkey with Gravy
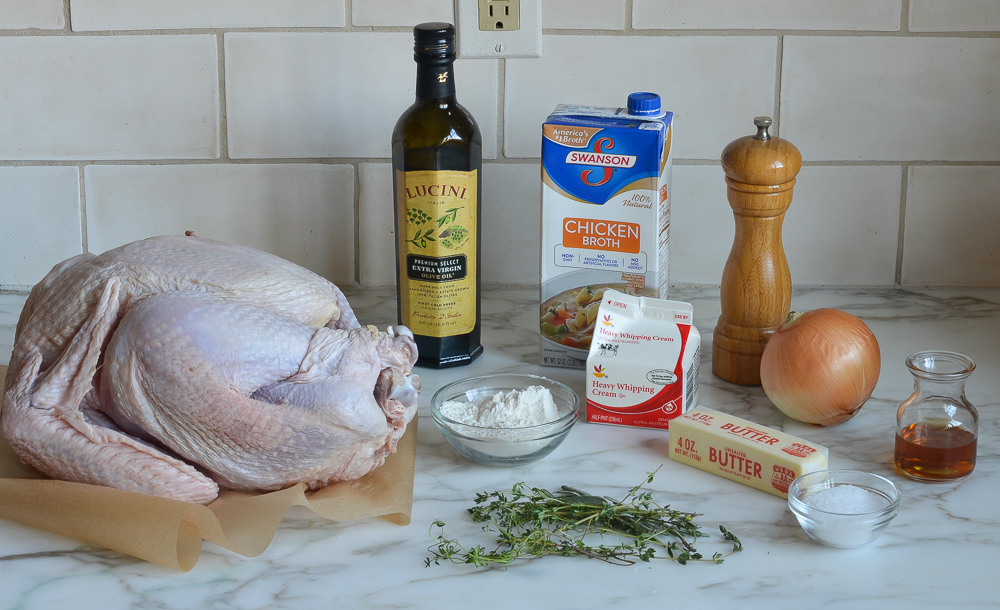
How to make roast turkey with Gravy
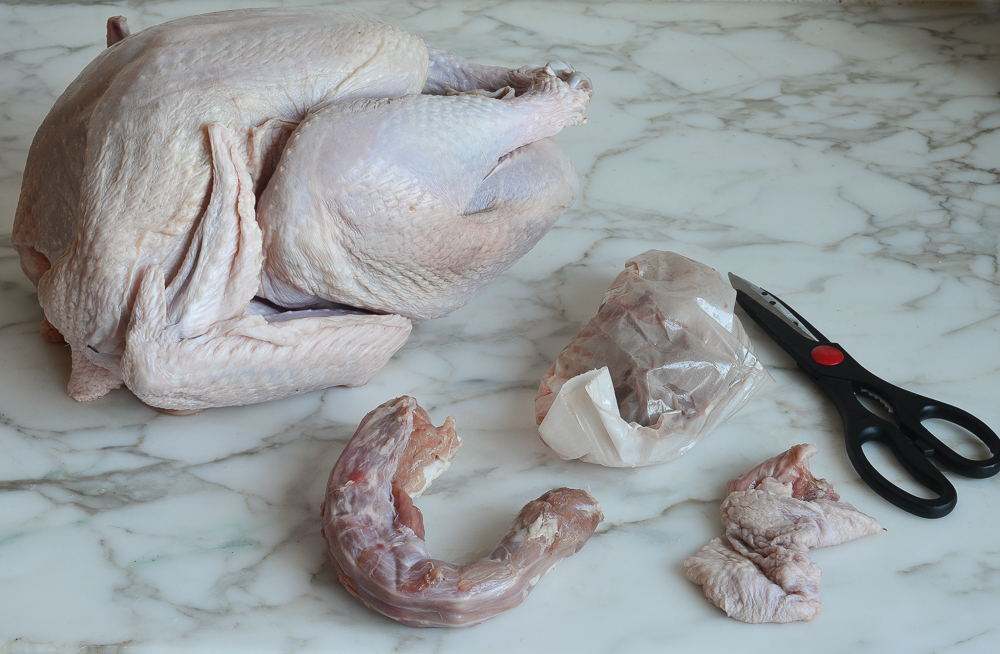
To begin, remove and discard truss that holds turkey legs together. Trim off and discard any excess fat in the neck or body cavity. Remove giblets and neck; discard or save for stock.
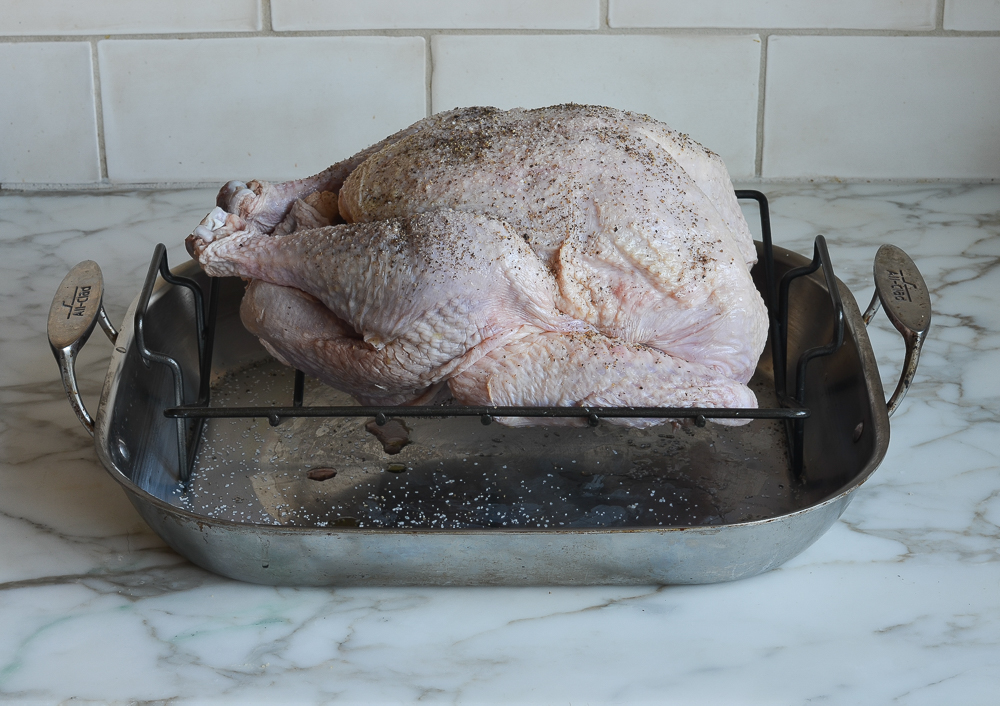
Rinse turkey inside and out with warm water. Pat dry with paper towels. Place a V-shaped rack in a 13 x 16 x 3-inch heavy stainless-steel roasting pan. (Do not use a dark roasting pan or a disposable aluminum pan.)
Rub the turkey skin all over with the olive oil and sprinkle with the salt and pepper. Set the bird breast-side-up on the rack. Pull the wings away from the body, then firmly twist them to push the wing tips under the bird.
Using aluminum foil, form caps over the tips of the end of each drumstick. (Do not tie the legs together, add stuffing, or close the body cavity.) Insert a digital leave-in meat thermometer near the center of the breast through thickest part until the tip touches the bone. Turn on your exhaust fan and crack a kitchen window.
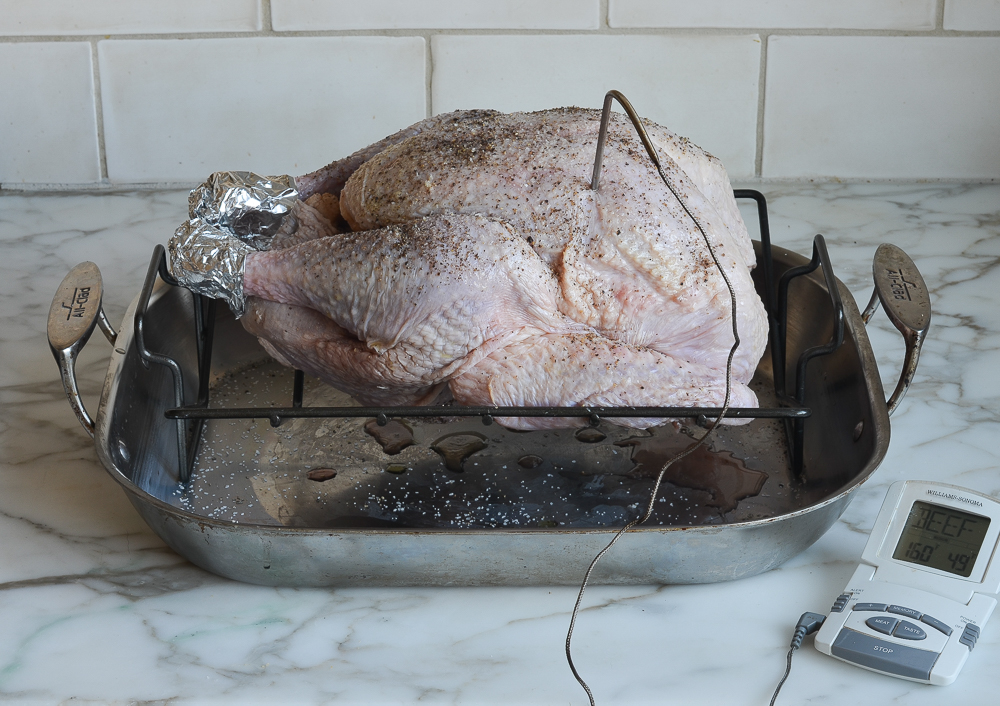
Place the turkey in the oven and roast, without basting, until the thermometer reaches 160°F, 1 to 1-1/2 hours. Halfway through roasting time, rotate the pan in the oven to assure even cooking and browning. (If at any point your kitchen gets unbearably smoky or the fat is spitting, pour a cup of tepid water in the roasting pan. Just keep in mind that liquid will create steam, which prevents the skin from getting as crispy.) Remove the pan from the oven.
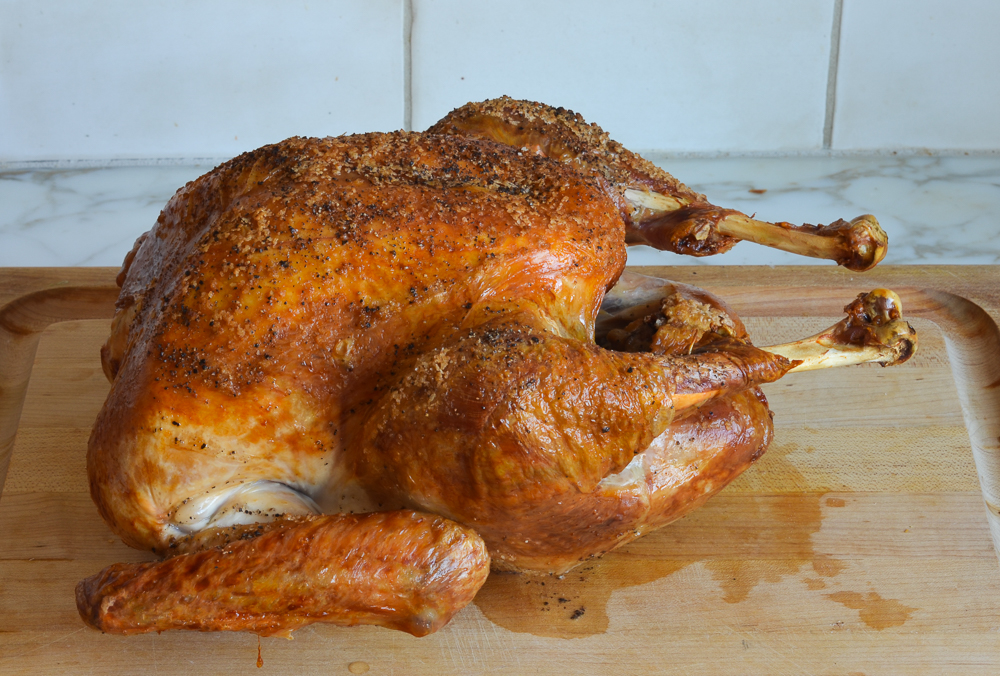
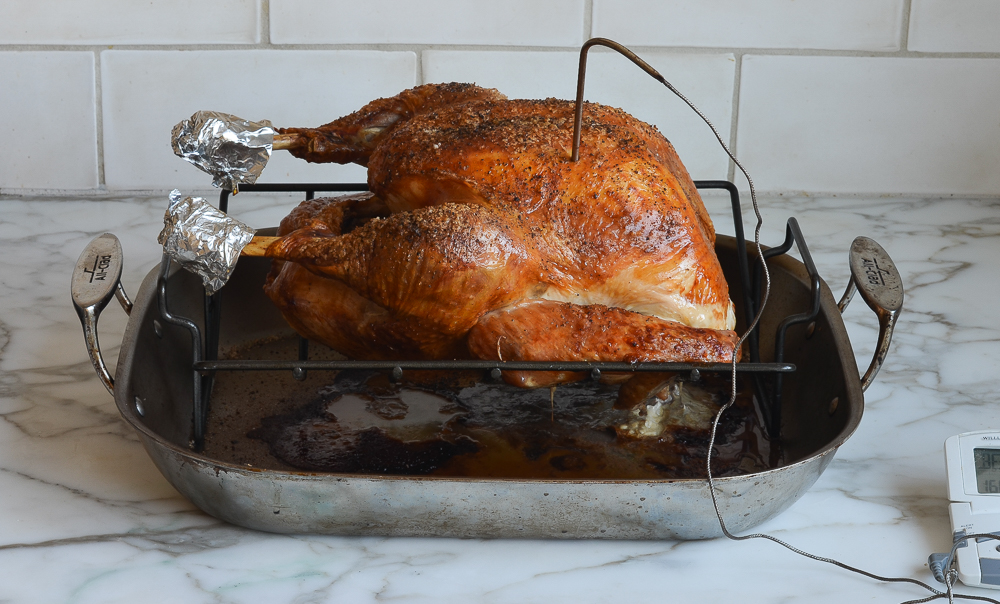 Using oven mitts that you don’t mind getting dirty, carefully tilt the turkey so that the juices from the cavity run into the roasting pan. Transfer the turkey to a platter or cutting board (do not clean the roasting pan), tent the turkey with foil, and let it rest for 20 to 30 minutes. This will allow the internal temperature to reach at least 165°F (the USDA safe-cooking temperature for turkey) and the juices to settle.
How To Make Gravy
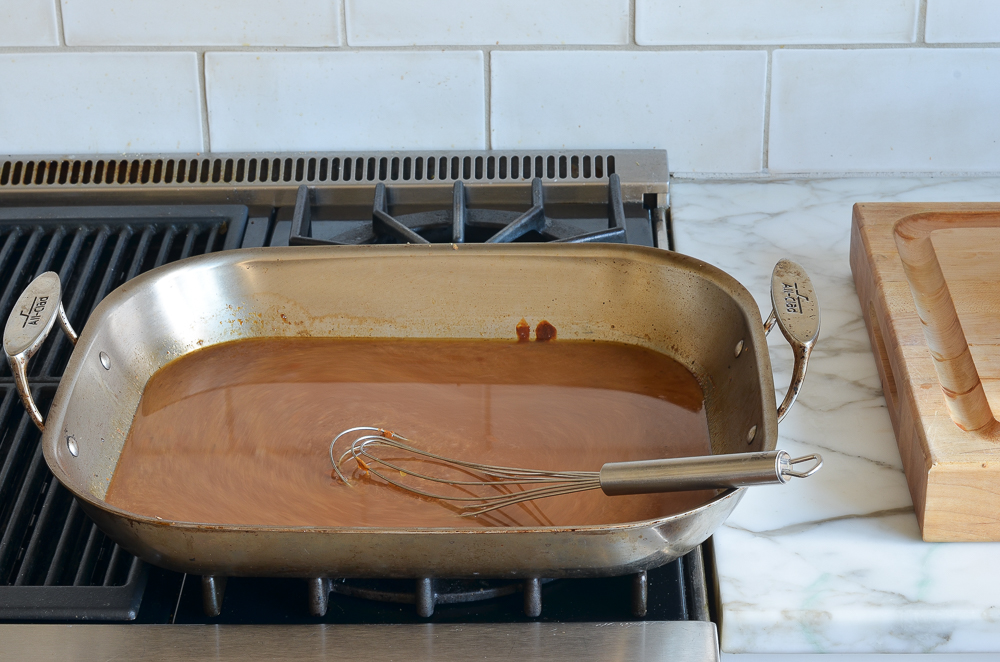
While the turkey rests, make the gravy: Place the roasting pan over a burner on your stove. (Be careful handling the pan, as the handles will be hot.) Skim away any excess fat or solids that have accumulated in the pan.
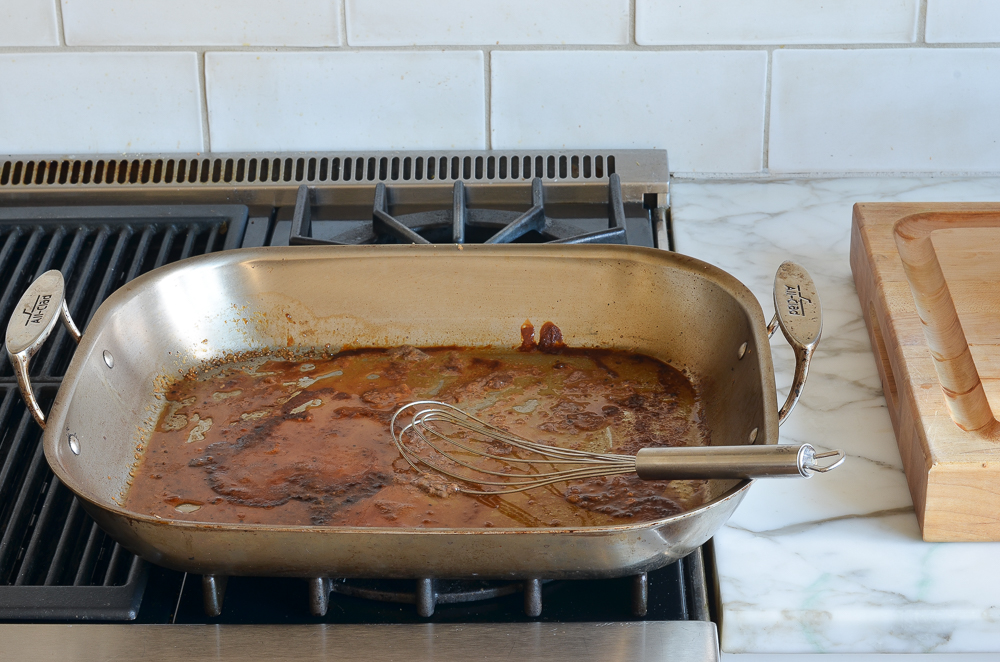
Add the broth and cook over medium heat, scraping the bottom of the pan with a whisk or wooden spoon to loosen any brown bits, until simmering. Turn off the heat and set aside.
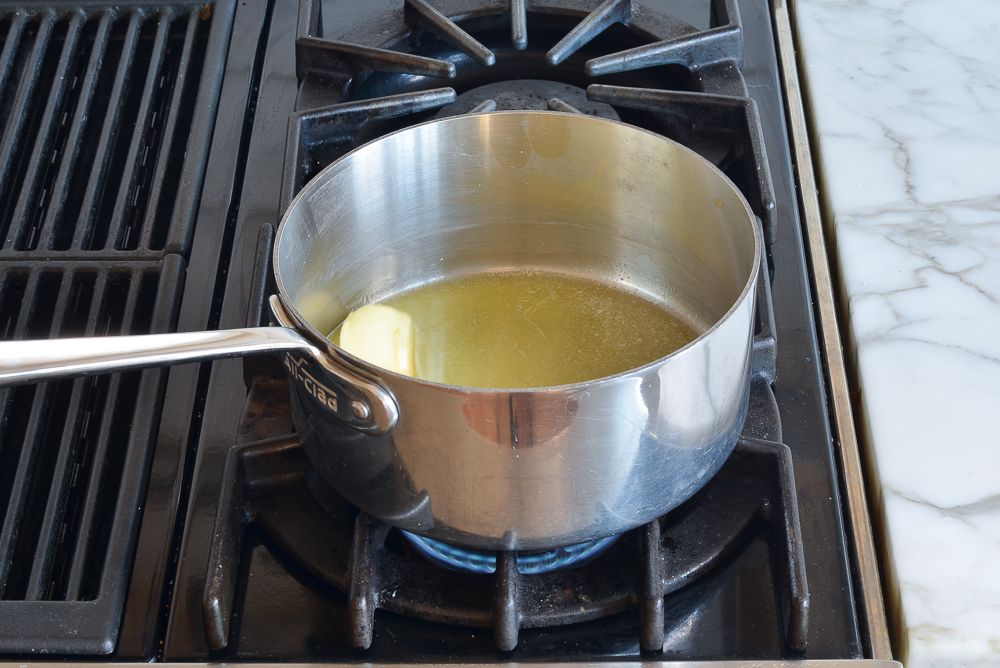
In a medium saucepan, melt the butter over medium-low heat.
Add the onions.
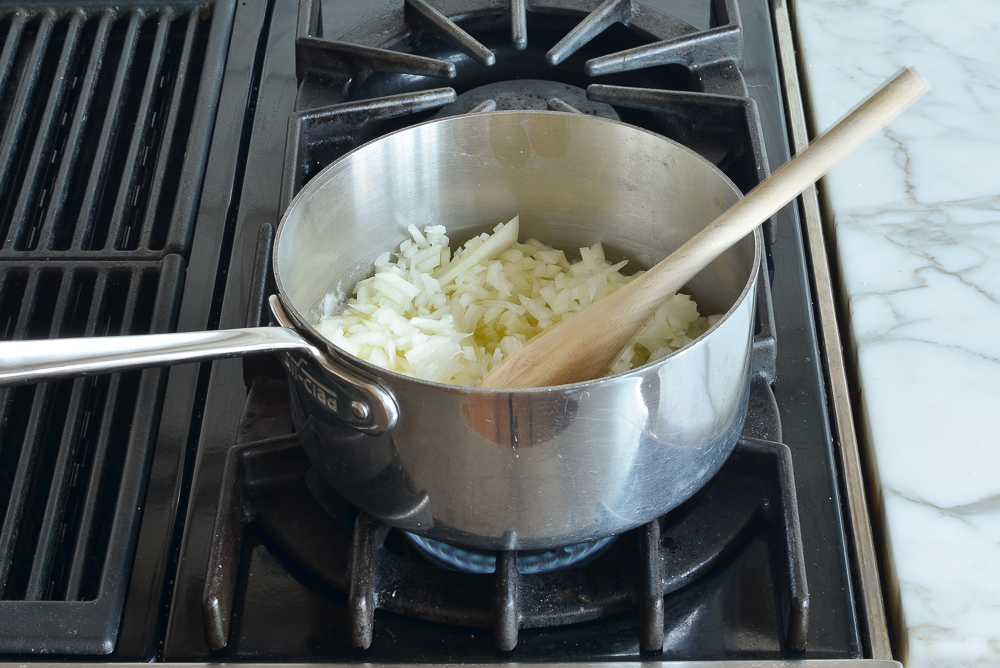
Cook until very soft and translucent, about 15 minutes. Do not brown.
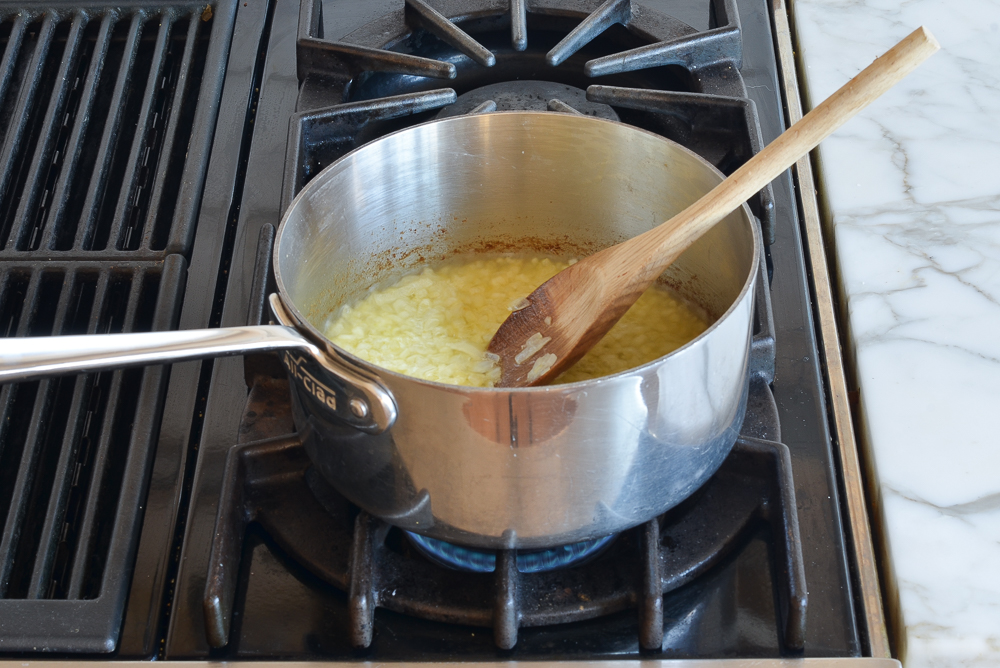
Add the flour.
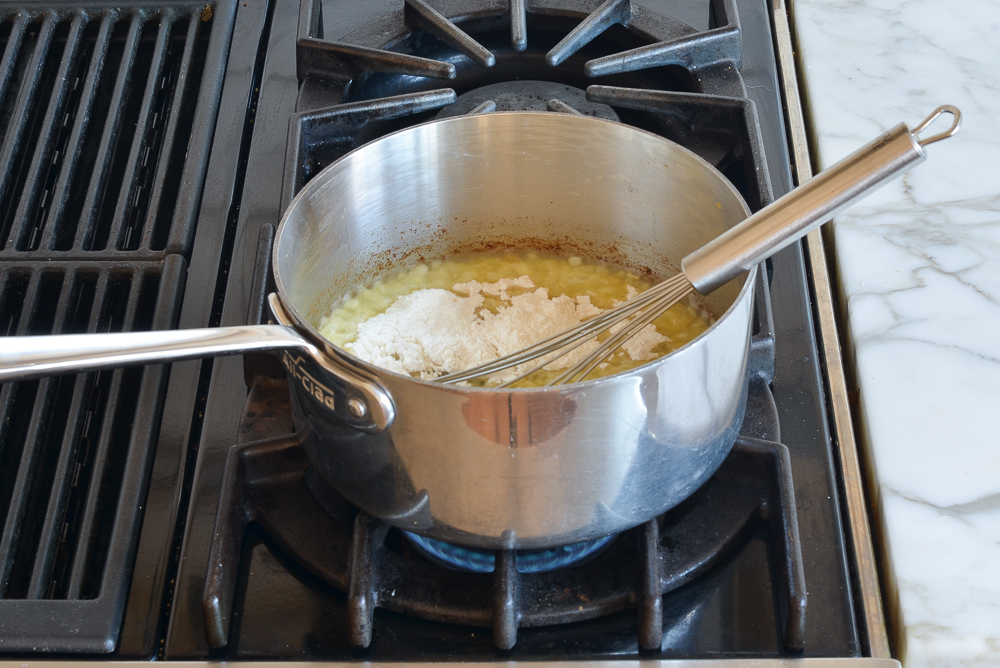
Whisk and cook for 2 to 3 minutes, stirring occasionally.
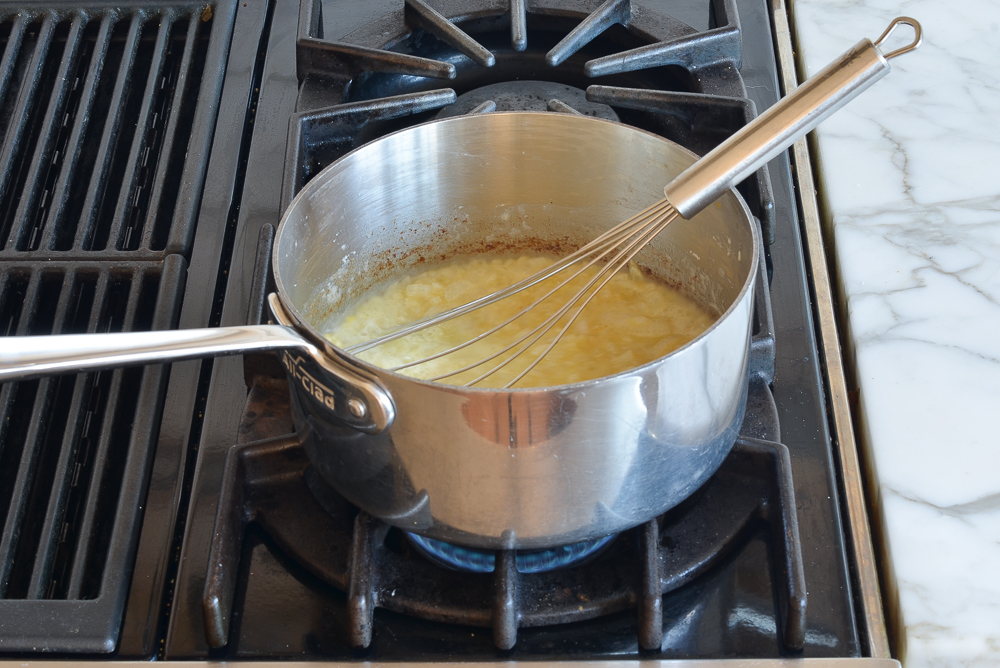
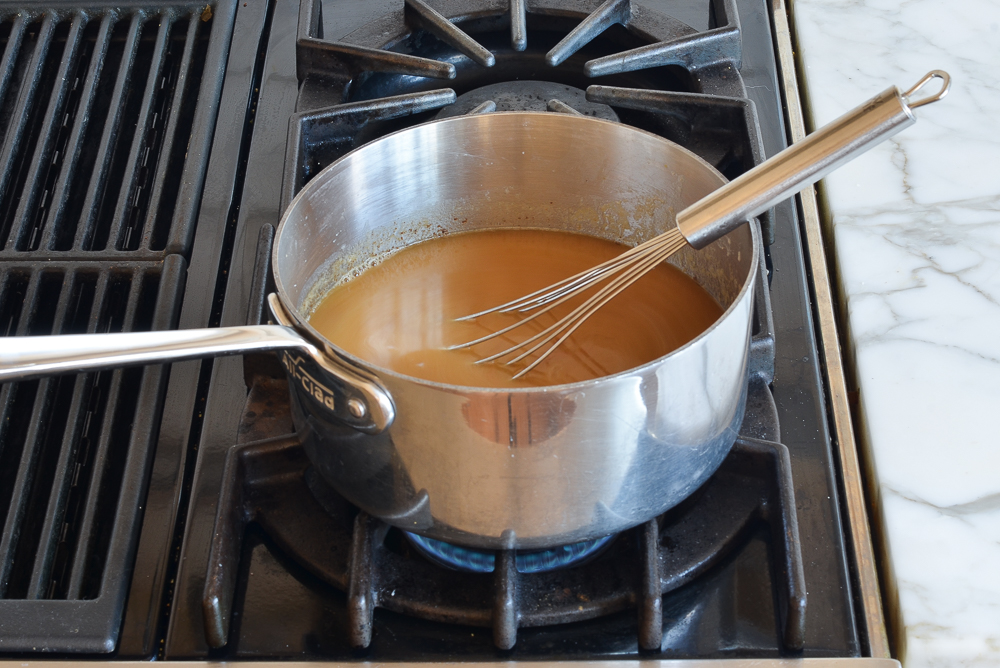
Whisk in the turkey dripping-chicken broth mixture and Cognac and cook, uncovered, stirring occasionally, for about 5 minutes until thickened.
Stir in the cream (if using) and chopped herbs. Taste and adjust seasoning with salt and pepper, if necessary.
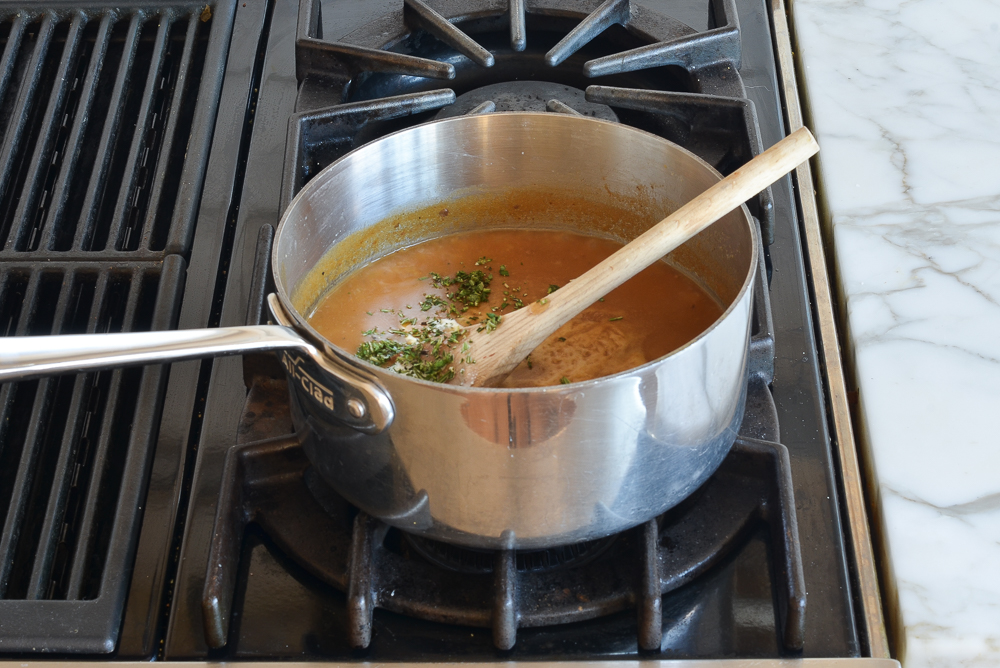
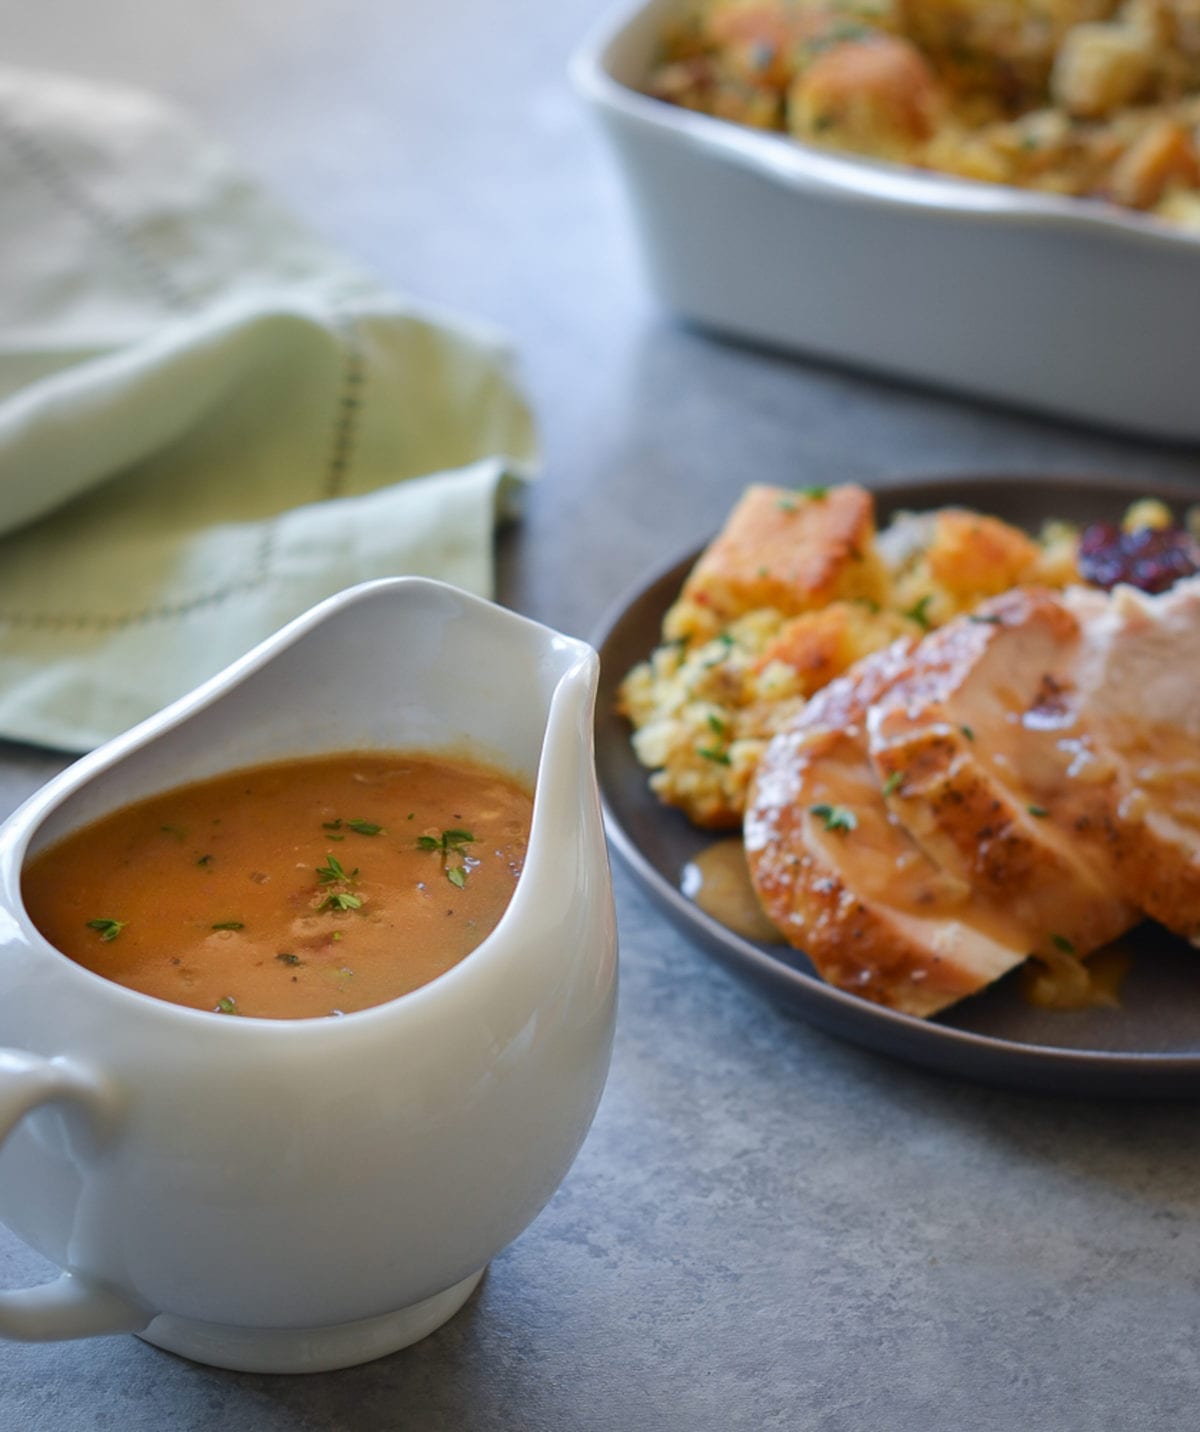
Transfer to a gravy bowl. Carve the turkey and serve with the gravy on the side.
You may also like
- Rolled Turkey Breast with Sausage and Herb Stuffing
- Fresh Orange Cranberry Sauce
- Brussels Sprouts Gratin
Easy High-Heat Roast Turkey With Gravy
Ideal for turkeys under 14 pounds, the high-heat method guarantees a juicy and crisp-skinned turkey.
Ingredients
- 1 fresh turkey (11 to 14 lbs)
- 1 tablespoon olive oil
- 1½ tablespoons kosher salt
- 1 teaspoon freshly ground black pepper
- 2¼ cups chicken broth
- 8 tablespoons (1 stick) unsalted butter
- 1½ cups finely chopped yellow onion, from 1 large yellow onion
- ¼ cup all-purpose flour
- 2 tablespoons Cognac or brandy
- 1 tablespoon heavy cream, optional
- 1 tablespoon chopped fresh herbs (such as thyme, sage, rosemary, or parsley)
You Will Need:
- 13 x 16 x 3-inch heavy stainless-steel roasting pan
- V-shaped roasting rack
- Leave-in digital meat thermometer, like this one
Instructions
- Before cooking, be sure that your oven is VERY clean to prevent smoking. Preheat the oven to 450°F and set an oven rack in the lowest position.
- Remove and discard truss that holds turkey legs together. Trim off and discard any excess fat in the neck or body cavity. Remove giblets and neck; discard or save for stock.
- Rinse the turkey inside and out with warm water. Pat dry with paper towels. Place a V-shaped rack in a 13 x 16 x 3-inch heavy stainless-steel roasting pan. (Do not use a dark roasting pan or a disposable aluminum pan.) Rub the turkey skin all over with the olive oil and sprinkle with the salt and pepper. Set the bird breast-side-up on the rack. Pull the wings away from the body, then firmly twist them to push the wing tips under the bird. Using aluminum foil, form caps over the tips of the end of each drumstick. (Do not tie the legs together, add stuffing, or close the body cavity.) Insert a digital leave-in meat thermometer near the center of the breast through the thickest part until the tip touches the bone.
- Turn on your exhaust fan and crack a kitchen window. Place the turkey in the oven and roast, without basting, until the thermometer reaches 160°F, 1 to 1½ hours. If your oven has hot spots, rotate the pan halfway through cooking to assure even browning. (If at any point your kitchen gets unbearably smoky or the fat is spitting, pour a cup of tepid water in the roasting pan. Just keep in mind that the liquid will create steam in the oven, so the skin won't be quite as crispy.)
- Remove the pan from the oven. Using clean oven mitts (that you don't mind getting dirty), carefully tilt the turkey so that the juices from the cavity run into the roasting pan. Transfer the turkey to a platter or cutting board (do not clean the roasting pan), tent the turkey with foil, and let it rest for 20 to 30 minutes. This will allow the internal temperature to reach at least 165°F (the USDA safe-cooking temperature for turkey) and the juices to settle.
- While the turkey rests, make the gravy: Place the roasting pan on a burner on your stove. (Be very careful handling the pan; it's easy to forget that it's hot.) Skim away any excess fat or solids that have accumulated in the pan. Add the broth and cook over medium heat, scraping the bottom of the pan with a whisk or wooden spoon to loosen any brown bits, until simmering. Turn off the heat and set aside.
- In a medium sauce pan, melt the butter over medium-low heat. Add the onions and cook until very soft and translucent, about 15 minutes. Do not brown. Whisk in the flour and cook for 2 to 3 minutes, stirring occasionally. Whisk in the turkey dripping-chicken broth mixture and Cognac and cook, uncovered, stirring occasionally, for about 5 minutes or until thickened. Stir in the cream (if using) and chopped herbs. Taste and adjust seasoning with salt and pepper, if necessary. Transfer to a gravy bowl.
- Carve the turkey and serve with the gravy on the side.
- Note: Nutritional information is based on an 11-pound turkey with 10 servings.
- Make-Ahead Instructions: If you don't mind losing the crispy skin, the turkey can be roasted and carved ahead of time. Pour a thin layer of the gravy into an ovenproof serving platter. Arrange the carved turkey nicely on top of the gravy; cover tightly with plastic wrap and refrigerate for up to two days. Refrigerate the remaining gravy in a separate container. To reheat: remove the plastic wrap and cover the platter with aluminum foil. Place in a 325°F-oven for 20 to 30 minutes, until the turkey is hot. Reheat the gravy in the microwave or on the stovetop.
Pair with
Nutrition Information
Powered by ![]()
- Per serving (8 servings)
- Calories: 859
- Fat: 39 g
- Saturated fat: 13 g
- Carbohydrates: 7 g
- Sugar: 2 g
- Fiber: 1 g
- Protein: 110 g
- Sodium: 1,386 mg
- Cholesterol: 385 mg
This website is written and produced for informational purposes only. I am not a certified nutritionist and the nutritional data on this site has not been evaluated or approved by a nutritionist or the Food and Drug Administration. Nutritional information is offered as a courtesy and should not be construed as a guarantee. The data is calculated through an online nutritional calculator, Edamam.com. Although I do my best to provide accurate nutritional information, these figures should be considered estimates only. Varying factors such as product types or brands purchased, natural fluctuations in fresh produce, and the way ingredients are processed change the effective nutritional information in any given recipe. Furthermore, different online calculators provide different results depending on their own nutrition fact sources and algorithms. To obtain the most accurate nutritional information in a given recipe, you should calculate the nutritional information with the actual ingredients used in your recipe, using your preferred nutrition calculator.

Can this recipe be prepared using a countertop electric roaster?
Hi Mary, I’ve never used an electric roaster so I can’t say for sure but assuming it has room to hold the turkey/roasting pan, I assume it should be okay. Just make sure it’s VERY clean to prevent smoking.
I have made your recipe numerous times using the roaster. It works great except the skin is not as crispy.
I have limited oven space. Is it okay to prepare this turkey recipe using a countertop electric roasting oven?
Hi Mary, It’s hard to say as I’m not sure how it will do at such a high temperature. You could try it and if it starts to smoke, just turn the heat down a bit.
I thought I would give this recipe a try, big mistake. I used a Butterball turkey like I have for the last 20 years. The high heat method and short cooking time ruin the bird, it was tough, chewy, and a complete disappointment. I followed the recipe exactly, and the bird did reach an internal temperature of 160 degrees. I let it rest for the required 20 minutes and it did rise to 165 degrees. However, the shorter high temperature cooking method did not give adequate time for the breast thighs and legs to adequately relax that typically will happen with a longer cooking time.
Hello. I have an All-Clad roasting pan with a v-shaped rack, but the interior is a dark nonstick material, not light stainless. Will this work? Why does the recipe advise against using a dark pan? I love your recipes and use them often! Many thanks.
Hi Cathy, so glad you like the recipes! That pan should work – it’s those dark speckled pans that a lot of people have that cause problems. Enjoy!
when the recipe calls for a fresh turkey, is it okay to use a completely thawed previously-frozen turkey?
Yep 🙂
I will be roasting a turkey for Thanksgiving for the first time. (I’ve roasted duck legs in the past but, when we were visiting assisted living communities for my mother-in-law shortly after Thanksgiving last year, one of the communities gave us a turkey as a thank you. I assumed they must have had fewer people show up for Thanksgiving dinner and had to unload them. Needless to say, we were not expecting to be given a turkey, and I suspect we looked like a deer caught in headlights when they handed us the turkey. So now, by golly, I am determined to roast that thing.) I noticed in the reviews and your comments that some people found the legs to be undercooked. I saw a similar high-heat recipe on the web that instructed that thermometers should be stuck in the fleshy part of each leg (not the breast), not touching the bone, and each should be allowed to register 170 degrees before removing the turkey from the oven. I would welcome any comments you might have as to whether this risks the breast/white meat becoming dried out. The reason I have made duck legs in the past is that my wife, and more so my daughter, do not like white meat because it is too dry. Is the prudent approach to measure the temperature in the breast, examine the legs and cook them longer if necessary. I have three three, remote read thermometers that I could use for each leg and the breast. Any thoughts on covering the breast with foil once it reaches 160 degrees? I’d just as soon keep everything as simple as possible given everything else I am trying to coordinate, including baking your wild mushroom dressing, which we enjoyed last year. Thank you.
Hi Brian, I’ve never had a problem with that but if you’re concerned, you could put meat thermometers in both the breast and the legs. Once the breast hits the necessary temperature, if the legs aren’t cooked enough, remove the turkey from the oven, cut the legs off the turkey, and put them back in the oven. Hope that helps!
Thank you.
Thank you.
Separately, thank you for thoughtfully posting pictures. Quite helpful.
Glad you find them helpful!
Hello Jenn,
I am a novice cook and wanted to double check the oven setting. I realize this recipe is called “Roast” Turkey so should I use the oven in Roast mode or Bake mode? Would you recommend using convection as well?
Thank you very much.
Hi Eric, I would use the bake mode in your oven. I would not recommend the convection setting as the fan tends to dry out meat. Hope that clarifies!
Hi Jenn, I’m just wondering, should we baste the turkey with this recipe??? And if so how often??
Hi Bruce, The high-heat method does not require basting (and it is not recommended). Hope that helps!
I’m not the one who makes the turkey at thanksgiving, my mother in law has her secret recipe. This year I made it with this recipe with the word Easy in the title I thought I could manage it. It was absolutely easy and delicious. The gravy was a hit with the family as well. My father in law who had complained when I last made the turkey 15 years ago cooking in a bag thought this was better than his wife’s!! My son who hates thanksgiving meal asked why don’t I make turkey more often it was so delicious. That’s a compliment to chef Lisa! I’ve kept this recipe for the future and they may have me make again! Enjoy
This past Thanksgiving was my first year ever cooking a Turkey and making the whole dinner by myself. This recipe was so clear and helpful. The turkey and gravy turned out better than I could have hoped (especially since it was my first time cooking a turkey) and I will definitely not be needing to try any other recipes in future years. This will always be my go-to! The skin was so crispy and delicious and the meat was the perfect texture!