Easy High-Heat Roast Turkey with Gravy
This post may contain affiliate links. Read my full disclosure policy.
Ideal for turkeys under 14 pounds, the high-heat method guarantees a juicy and crisp-skinned turkey.
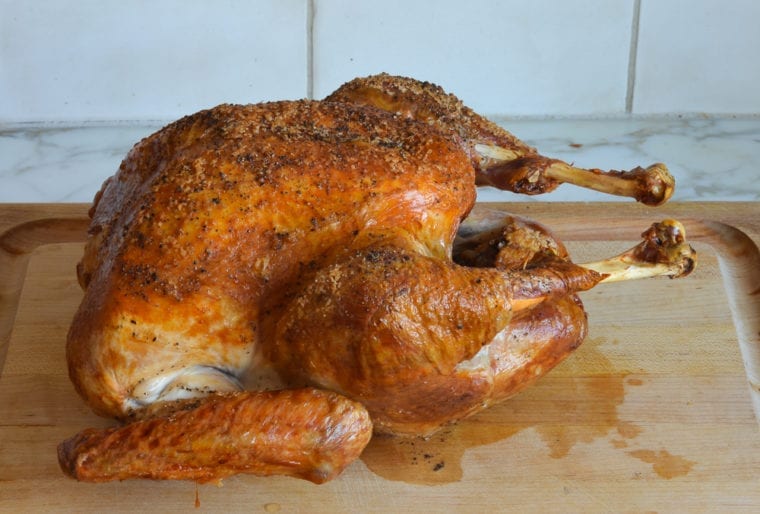
The high-heat roasting method is one of my favorite ways to cook a turkey. The prep time is minimal, the cooking time is short, and the turkey emerges from the oven juicy and crisp-skinned. The only drawback is that the high heat can cause a little smoke in the kitchen, so be sure your oven is spotless prior to cooking — and while the bird roasts, turn on your exhaust fan and crack a window. This cooking method only works for turkeys under 14 pounds. For larger birds, I recommend this dry-brined turkey recipe.
For Thanksgiving, I typically make one roast turkey along with a rolled stuffed turkey breast (a make-ahead family favorite) so we have variety and plenty of leftovers. Finally, if you’re a turkey novice or cooking a turkey feels intimidating, check out my best turkey advice; it will make you feel better!
What you’ll need to make roast turkey with Gravy
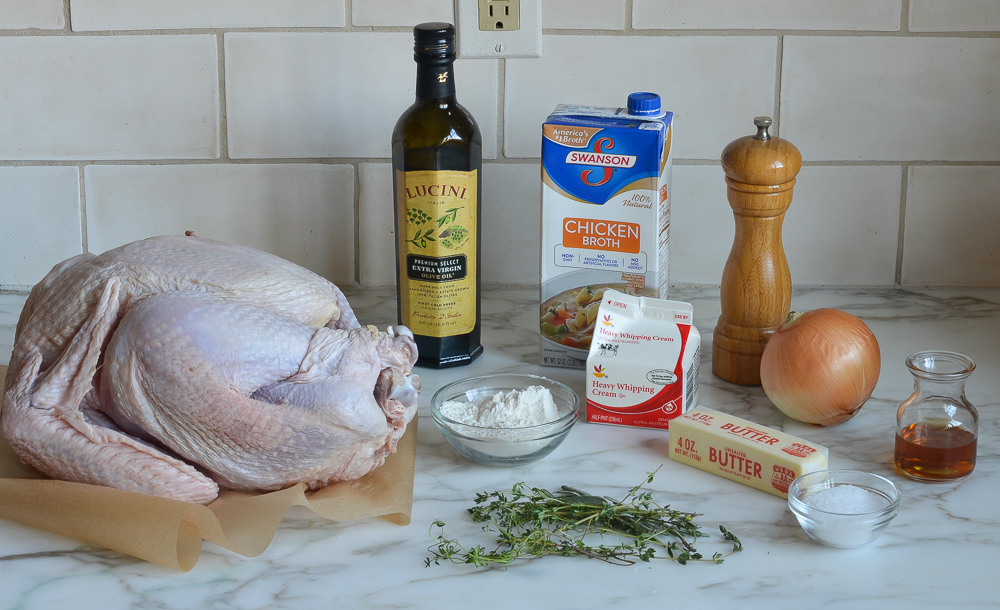
How to make roast turkey with Gravy
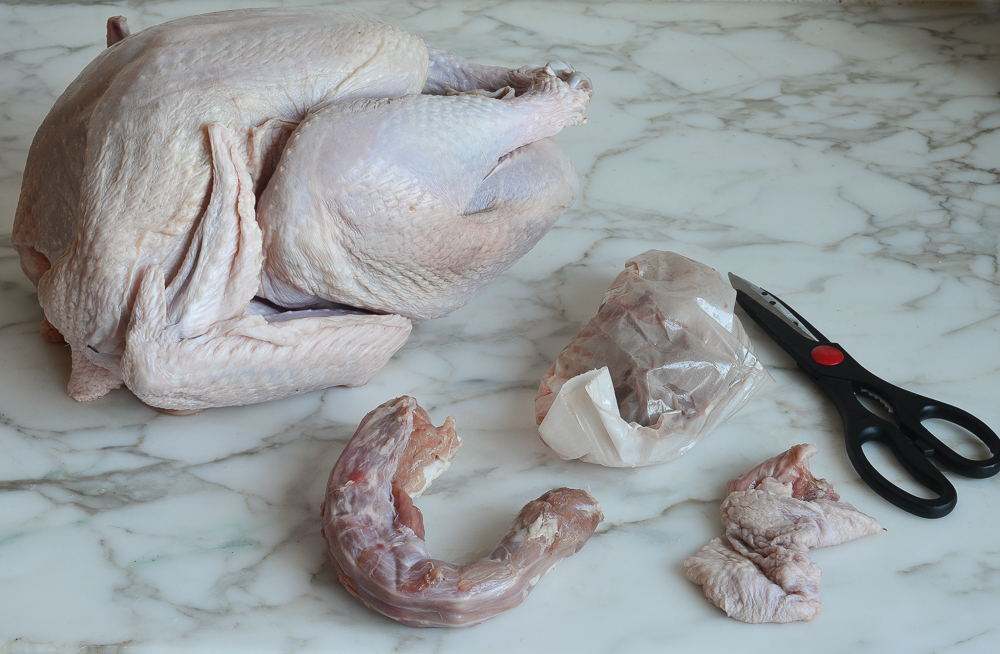
To begin, remove and discard truss that holds turkey legs together. Trim off and discard any excess fat in the neck or body cavity. Remove giblets and neck; discard or save for stock.
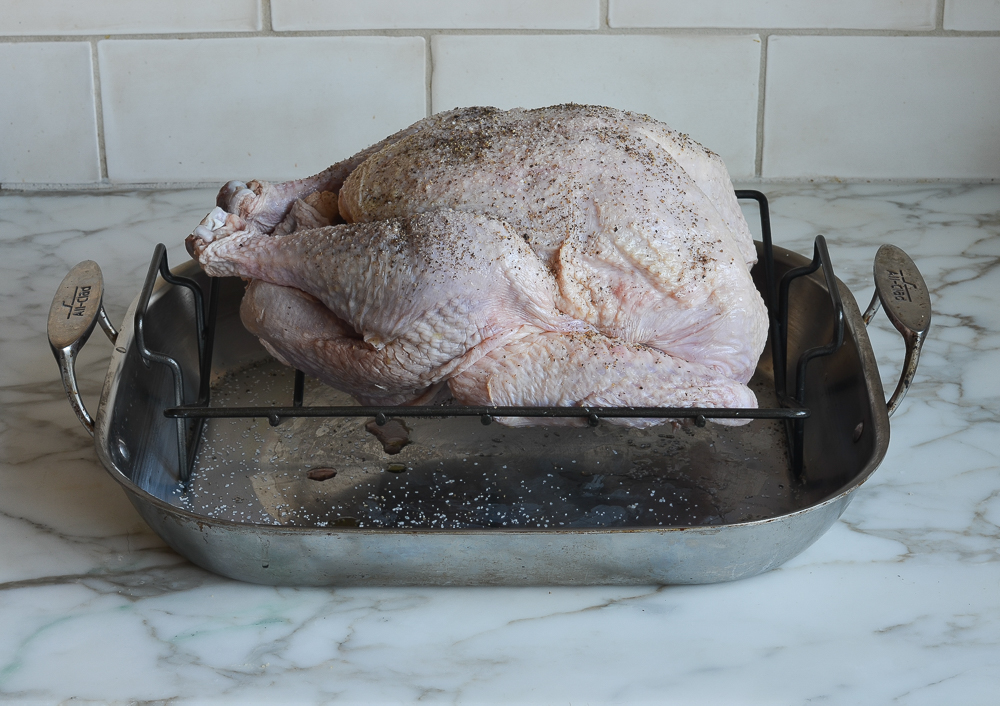
Rinse turkey inside and out with warm water. Pat dry with paper towels. Place a V-shaped rack in a 13 x 16 x 3-inch heavy stainless-steel roasting pan. (Do not use a dark roasting pan or a disposable aluminum pan.)
Rub the turkey skin all over with the olive oil and sprinkle with the salt and pepper. Set the bird breast-side-up on the rack. Pull the wings away from the body, then firmly twist them to push the wing tips under the bird.
Using aluminum foil, form caps over the tips of the end of each drumstick. (Do not tie the legs together, add stuffing, or close the body cavity.) Insert a digital leave-in meat thermometer near the center of the breast through thickest part until the tip touches the bone. Turn on your exhaust fan and crack a kitchen window.
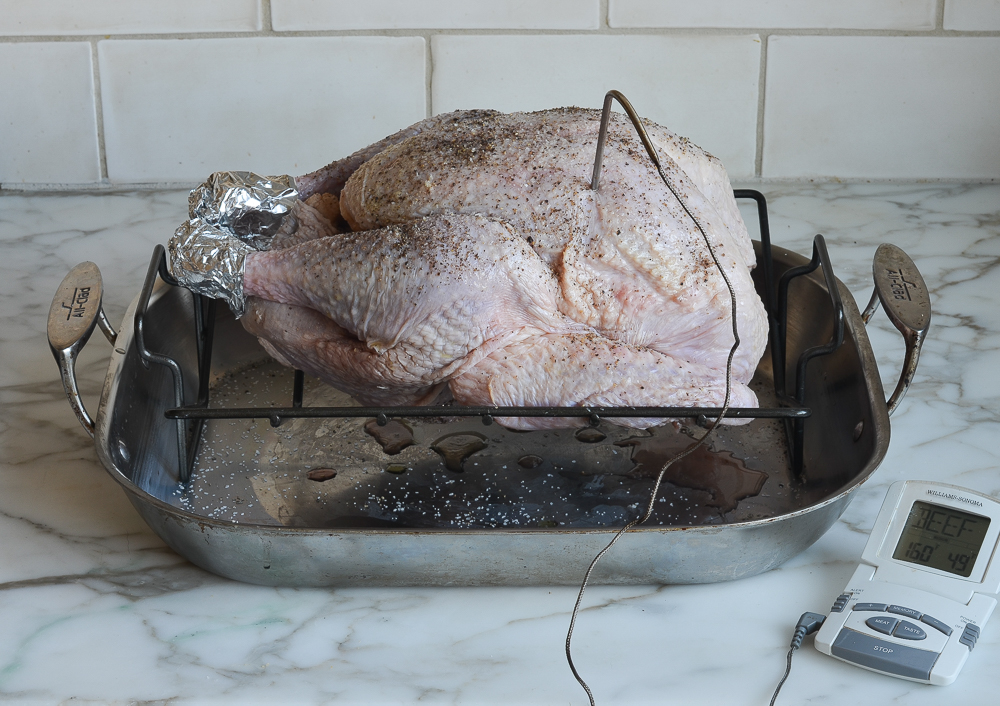
Place the turkey in the oven and roast, without basting, until the thermometer reaches 160°F, 1 to 1-1/2 hours. Halfway through roasting time, rotate the pan in the oven to assure even cooking and browning. (If at any point your kitchen gets unbearably smoky or the fat is spitting, pour a cup of tepid water in the roasting pan. Just keep in mind that liquid will create steam, which prevents the skin from getting as crispy.) Remove the pan from the oven.
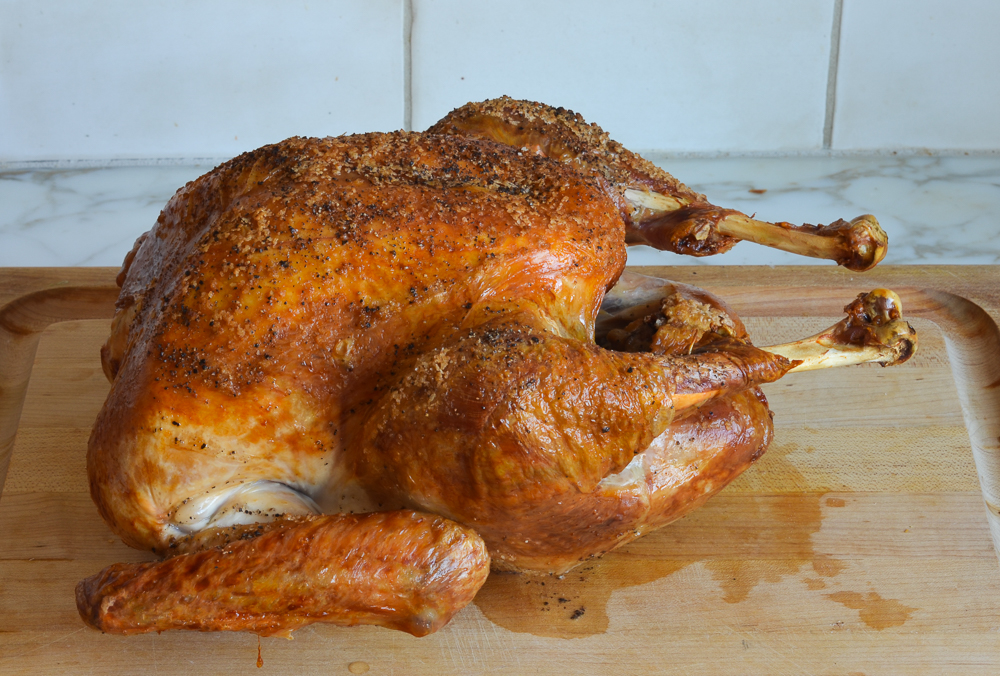
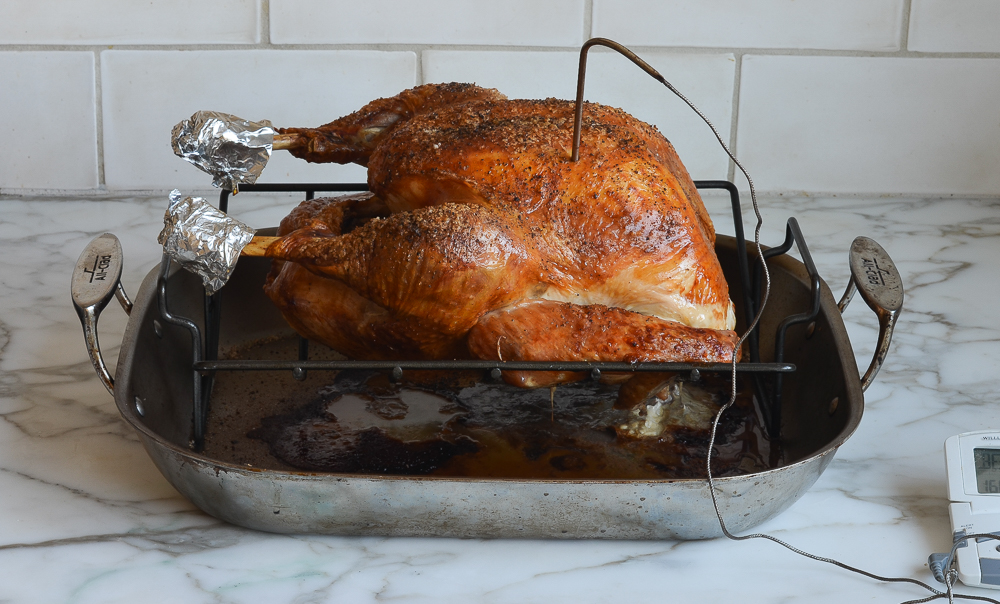 Using oven mitts that you don’t mind getting dirty, carefully tilt the turkey so that the juices from the cavity run into the roasting pan. Transfer the turkey to a platter or cutting board (do not clean the roasting pan), tent the turkey with foil, and let it rest for 20 to 30 minutes. This will allow the internal temperature to reach at least 165°F (the USDA safe-cooking temperature for turkey) and the juices to settle.
How To Make Gravy
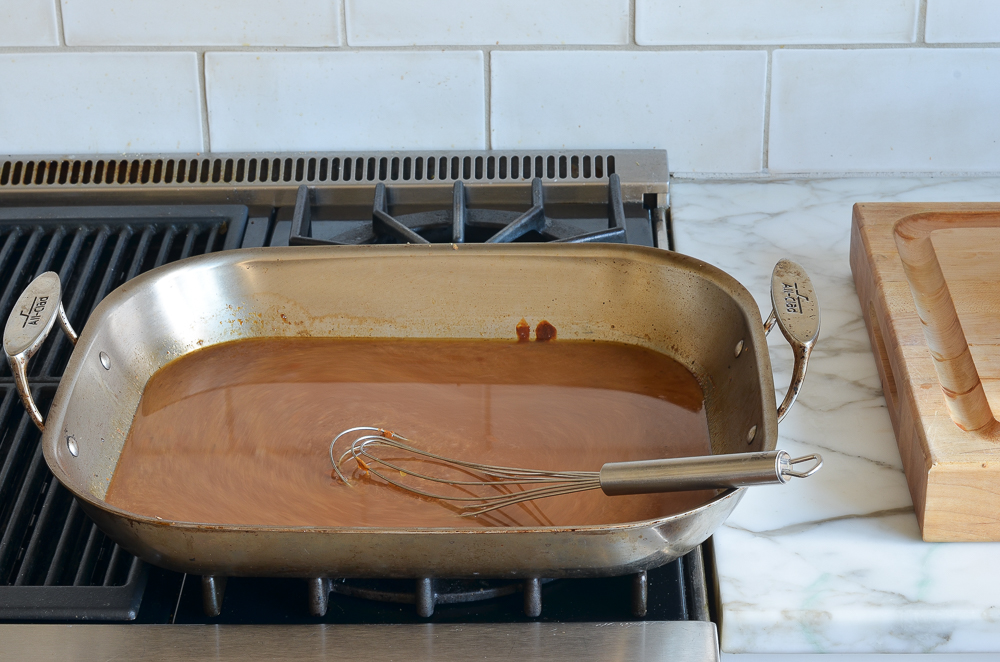
While the turkey rests, make the gravy: Place the roasting pan over a burner on your stove. (Be careful handling the pan, as the handles will be hot.) Skim away any excess fat or solids that have accumulated in the pan.
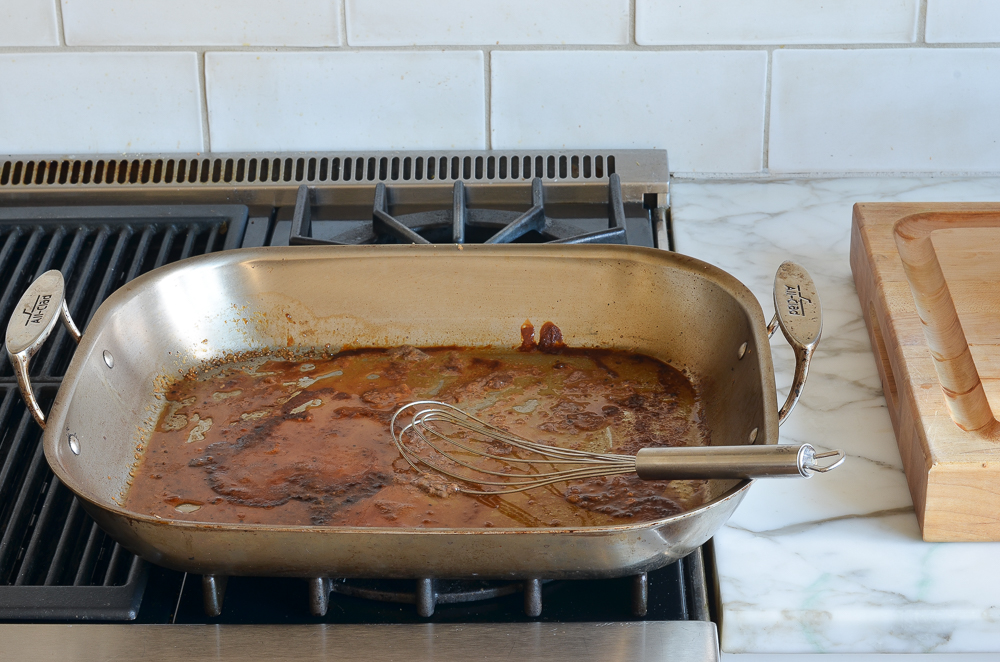
Add the broth and cook over medium heat, scraping the bottom of the pan with a whisk or wooden spoon to loosen any brown bits, until simmering. Turn off the heat and set aside.
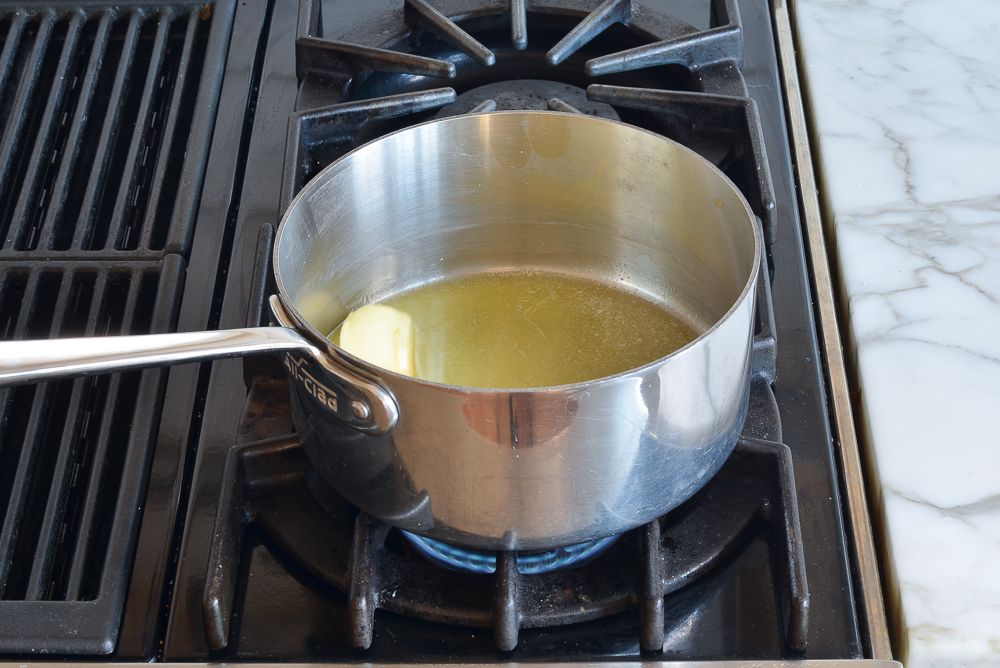
In a medium saucepan, melt the butter over medium-low heat.
Add the onions.
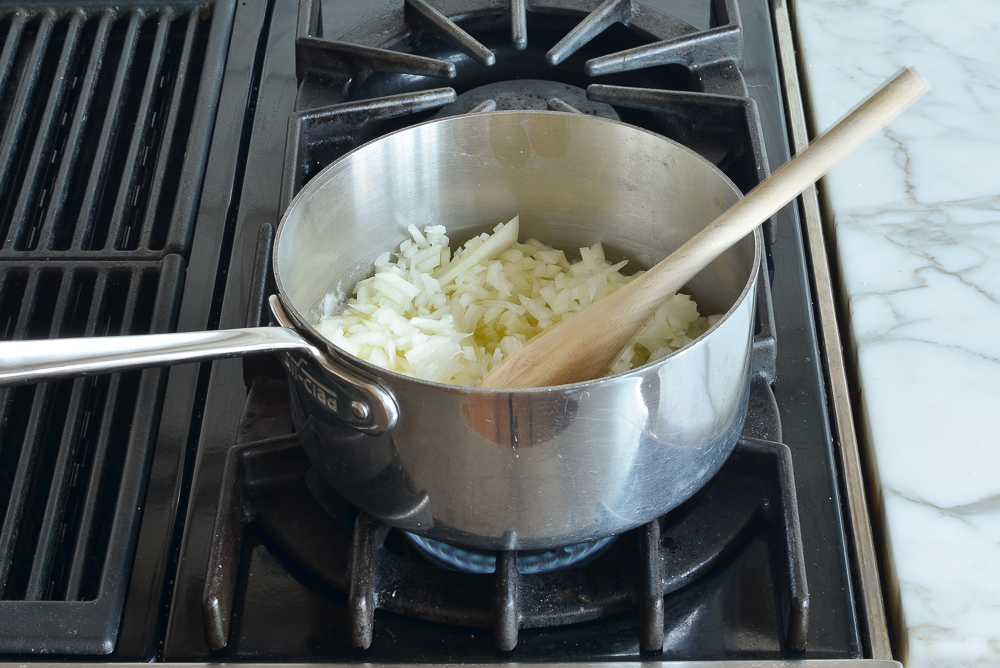
Cook until very soft and translucent, about 15 minutes. Do not brown.
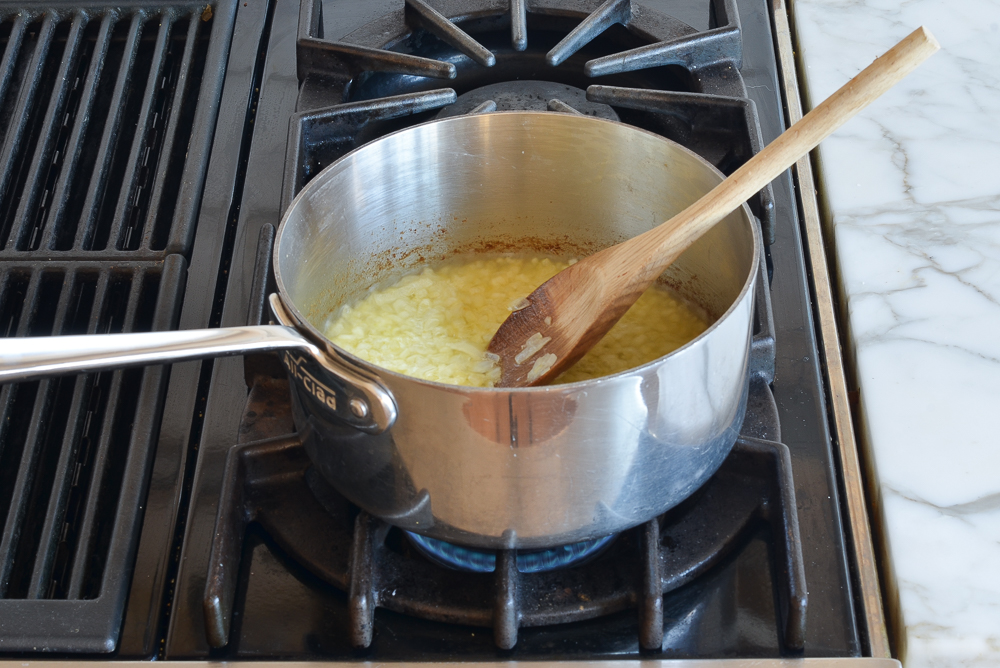
Add the flour.
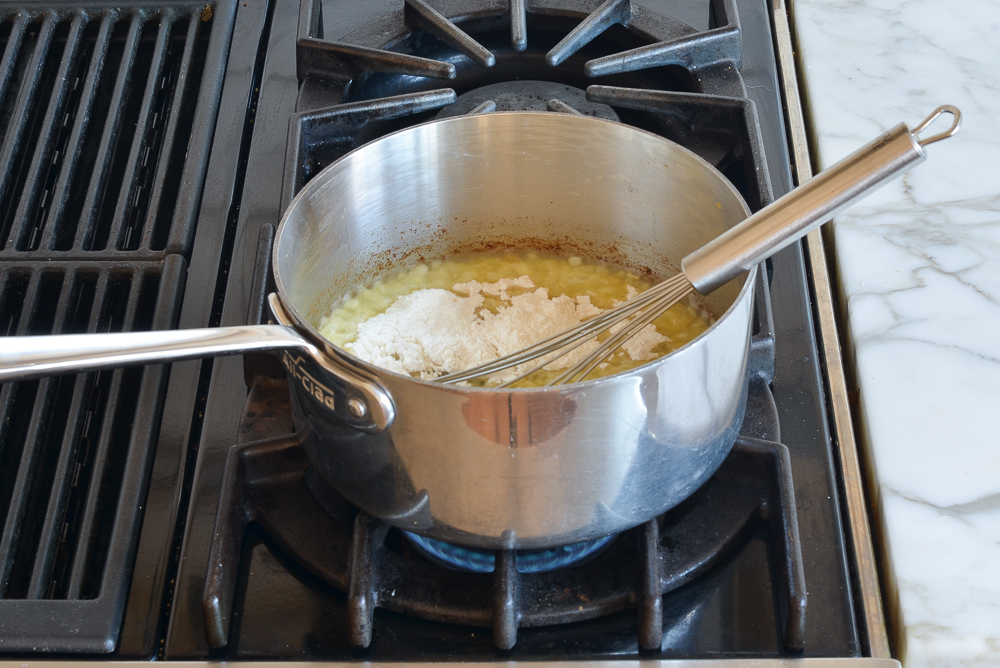
Whisk and cook for 2 to 3 minutes, stirring occasionally.
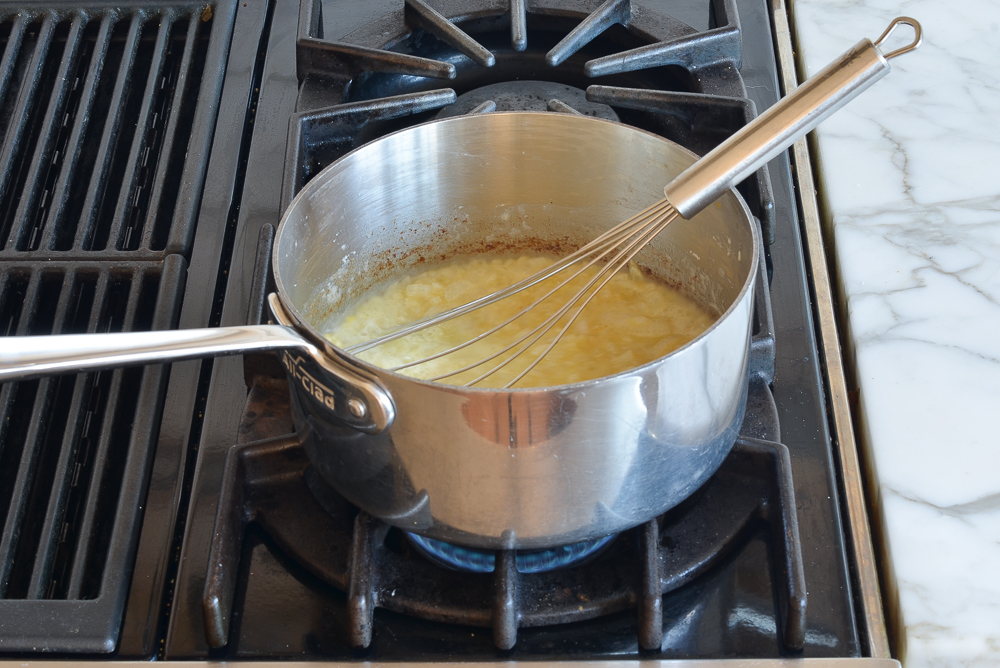
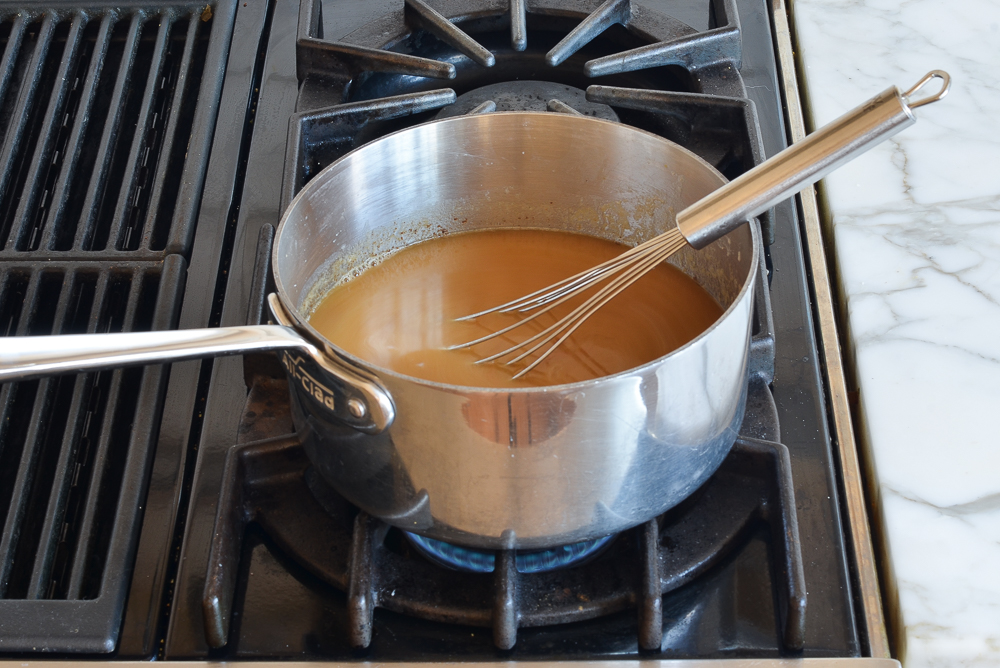
Whisk in the turkey dripping-chicken broth mixture and Cognac and cook, uncovered, stirring occasionally, for about 5 minutes until thickened.
Stir in the cream (if using) and chopped herbs. Taste and adjust seasoning with salt and pepper, if necessary.
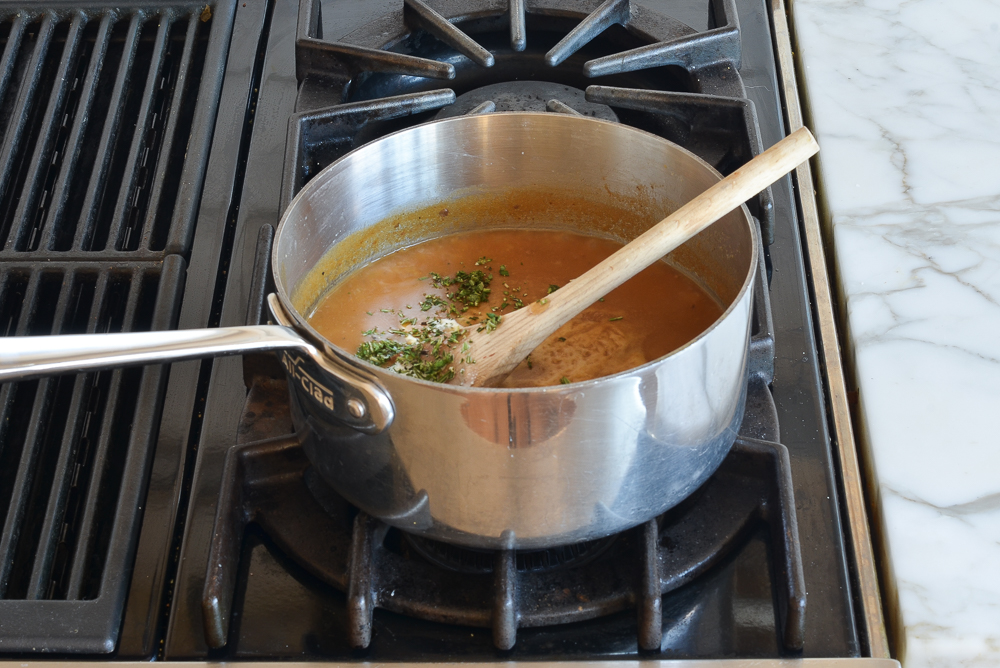
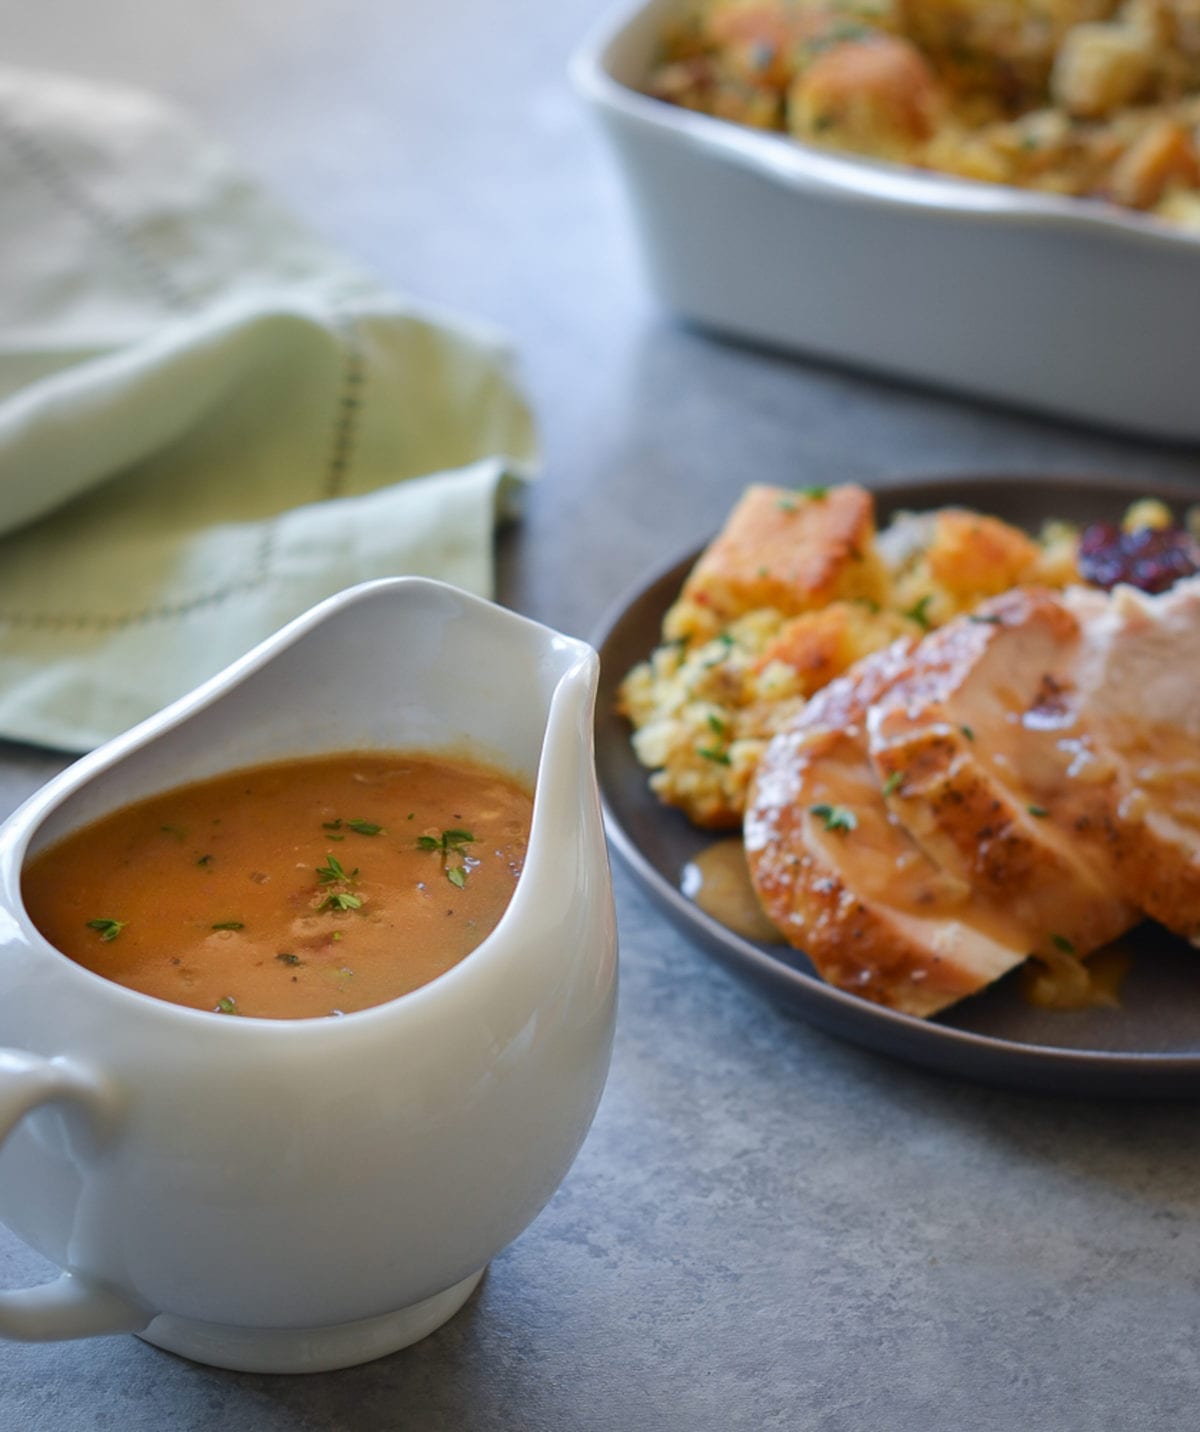
Transfer to a gravy bowl. Carve the turkey and serve with the gravy on the side.
You may also like
- Rolled Turkey Breast with Sausage and Herb Stuffing
- Fresh Orange Cranberry Sauce
- Brussels Sprouts Gratin
Easy High-Heat Roast Turkey With Gravy
Ideal for turkeys under 14 pounds, the high-heat method guarantees a juicy and crisp-skinned turkey.
Ingredients
- 1 fresh turkey (11 to 14 lbs)
- 1 tablespoon olive oil
- 1½ tablespoons kosher salt
- 1 teaspoon freshly ground black pepper
- 2¼ cups chicken broth
- 8 tablespoons (1 stick) unsalted butter
- 1½ cups finely chopped yellow onion, from 1 large yellow onion
- ¼ cup all-purpose flour
- 2 tablespoons Cognac or brandy
- 1 tablespoon heavy cream, optional
- 1 tablespoon chopped fresh herbs (such as thyme, sage, rosemary, or parsley)
You Will Need:
- 13 x 16 x 3-inch heavy stainless-steel roasting pan
- V-shaped roasting rack
- Leave-in digital meat thermometer, like this one
Instructions
- Before cooking, be sure that your oven is VERY clean to prevent smoking. Preheat the oven to 450°F and set an oven rack in the lowest position.
- Remove and discard truss that holds turkey legs together. Trim off and discard any excess fat in the neck or body cavity. Remove giblets and neck; discard or save for stock.
- Rinse the turkey inside and out with warm water. Pat dry with paper towels. Place a V-shaped rack in a 13 x 16 x 3-inch heavy stainless-steel roasting pan. (Do not use a dark roasting pan or a disposable aluminum pan.) Rub the turkey skin all over with the olive oil and sprinkle with the salt and pepper. Set the bird breast-side-up on the rack. Pull the wings away from the body, then firmly twist them to push the wing tips under the bird. Using aluminum foil, form caps over the tips of the end of each drumstick. (Do not tie the legs together, add stuffing, or close the body cavity.) Insert a digital leave-in meat thermometer near the center of the breast through the thickest part until the tip touches the bone.
- Turn on your exhaust fan and crack a kitchen window. Place the turkey in the oven and roast, without basting, until the thermometer reaches 160°F, 1 to 1½ hours. If your oven has hot spots, rotate the pan halfway through cooking to assure even browning. (If at any point your kitchen gets unbearably smoky or the fat is spitting, pour a cup of tepid water in the roasting pan. Just keep in mind that the liquid will create steam in the oven, so the skin won't be quite as crispy.)
- Remove the pan from the oven. Using clean oven mitts (that you don't mind getting dirty), carefully tilt the turkey so that the juices from the cavity run into the roasting pan. Transfer the turkey to a platter or cutting board (do not clean the roasting pan), tent the turkey with foil, and let it rest for 20 to 30 minutes. This will allow the internal temperature to reach at least 165°F (the USDA safe-cooking temperature for turkey) and the juices to settle.
- While the turkey rests, make the gravy: Place the roasting pan on a burner on your stove. (Be very careful handling the pan; it's easy to forget that it's hot.) Skim away any excess fat or solids that have accumulated in the pan. Add the broth and cook over medium heat, scraping the bottom of the pan with a whisk or wooden spoon to loosen any brown bits, until simmering. Turn off the heat and set aside.
- In a medium sauce pan, melt the butter over medium-low heat. Add the onions and cook until very soft and translucent, about 15 minutes. Do not brown. Whisk in the flour and cook for 2 to 3 minutes, stirring occasionally. Whisk in the turkey dripping-chicken broth mixture and Cognac and cook, uncovered, stirring occasionally, for about 5 minutes or until thickened. Stir in the cream (if using) and chopped herbs. Taste and adjust seasoning with salt and pepper, if necessary. Transfer to a gravy bowl.
- Carve the turkey and serve with the gravy on the side.
- Note: Nutritional information is based on an 11-pound turkey with 10 servings.
- Make-Ahead Instructions: If you don't mind losing the crispy skin, the turkey can be roasted and carved ahead of time. Pour a thin layer of the gravy into an ovenproof serving platter. Arrange the carved turkey nicely on top of the gravy; cover tightly with plastic wrap and refrigerate for up to two days. Refrigerate the remaining gravy in a separate container. To reheat: remove the plastic wrap and cover the platter with aluminum foil. Place in a 325°F-oven for 20 to 30 minutes, until the turkey is hot. Reheat the gravy in the microwave or on the stovetop.
Pair with
Nutrition Information
Powered by ![]()
- Per serving (8 servings)
- Calories: 859
- Fat: 39 g
- Saturated fat: 13 g
- Carbohydrates: 7 g
- Sugar: 2 g
- Fiber: 1 g
- Protein: 110 g
- Sodium: 1,386 mg
- Cholesterol: 385 mg
This website is written and produced for informational purposes only. I am not a certified nutritionist and the nutritional data on this site has not been evaluated or approved by a nutritionist or the Food and Drug Administration. Nutritional information is offered as a courtesy and should not be construed as a guarantee. The data is calculated through an online nutritional calculator, Edamam.com. Although I do my best to provide accurate nutritional information, these figures should be considered estimates only. Varying factors such as product types or brands purchased, natural fluctuations in fresh produce, and the way ingredients are processed change the effective nutritional information in any given recipe. Furthermore, different online calculators provide different results depending on their own nutrition fact sources and algorithms. To obtain the most accurate nutritional information in a given recipe, you should calculate the nutritional information with the actual ingredients used in your recipe, using your preferred nutrition calculator.

Question
Jenn:
we have a 20lb bird ( turkey).
And I do not have time to prepare the oven, meaning cleaning before.
I’m concerned over the amount of time the turkey will need to roast at high heat.
What are your thoughts or suggestions?
Also, unstuffed is it 10 min., or 15 per pound?
Thanks for consistently answering our questions. I learn so much from others comments & questions- as I do my own.
Hi Lisa, I don’t recommend this method for a 20-lb bird. You might try this recipe (and I’d cook it at 325°F for 3.5 to 4 hrs).
Thank you so much !!!!!
Lisa
Hello Jenn,
Do you recommend this recipe for a 6 pound turkey? Thanks!
Hi Michele, Yes, it will work with a turkey that size. It will obviously take less time to cook, so make sure you use a meat thermometer. Hope you enjoy!
This is fantastic. I don’t think I’ll ever make roast turkey any other way. Much easier than wet-brining in buckets and meat is incredibly moist.
If you are skeptical about this method, I encourage you to try it! This was my first Thanksgiving making the turkey, so, of course, I turned to Jenn to see what she suggests! When I told my mom I was trying this, she said the turkey would probably end up burned on the outside and not done on the inside. I also read a lot of the reviews and was a tad worried about smoke, since I had an almost 16-lb turkey and a dark roasting pan (not speckled). Even with all of that, this turkey was perfect! I didn’t have a problem with smoke or my roasting pan (although I made the gravy in a pot, not my pan), and my husband couldn’t stop commenting on how moist and delicious it turned out. Thanks, Jenn, for helping me make my first turkey!!!
I made this yesterday and it was my FIRST time ever making a whole turkey. I was incredibly nervous, but Jenn’s never lead me astray, and didn’t fail me this time! I asked her so many questions leading up to the big day and she was so helpful in the comments! My turkey turned out perfectly! I had my boyfriend’s parents over to keep things small and they were raving about how juicy and perfectly cooked the turkey was. Skin was crispy and perfectly golden! I even wrote down Jenn’s website and sent it home with his Mom! haha! I do feel Jenn should add an extra item on the “ingredient” list…..heavy duty oven cleaner! just kidding! She sure wasn’t joking around that things do get smokey, even with a clean oven. Good thing I had plenty of ventilation. Thank you Jenn – this is my official go to recipe from now on and I’m going to be sure to continue to pass along your website to people who are looking for help on their first turkeys!
Found the best method to enjoy a truly moist and delicious turkey. Love all your recipes but fail to comment. Always go to your site first to find a recipe I need. Thank you!
Great turkey roasting method! And quick and easy too. My 12.5 lb turkey looked just like the picture. The breast meat was perfect, not dry at all, but not overly moist either. And the gravy was delicious too! I also cooked Jenn’s make ahead mashed potatoes the day before Thanksgiving. My family said they were the best potatoes I’ve made yet. Thanks Jenn!
Tried this on Thanksgiving and it was overall fast, but an hour and a half didn’t quite cook it as my bird was 14 pounds. I placed it on a v rack and the underside of the turkey was not fully cooked. Not sure if I should of started it bottom up and then maybe flipped it over halfway as I had to put it back in and took about 2 hours. The gravy was great and easy to make, I ended up using almost 30 ounces of chicken broth as I had to dilute the saltiness.
Hi Jenn! As with every holiday, our menu consisted of several of your recipes. Your name has come up at every occasion that someone compliments a dish I make…. “THANKS! It’s a Jenn Segal recipe.” You have NEVER steered me wrong (and I don’t believe you did this time either), but I do need some advice. The Easy High Heat Turkey was a hit tonight and your instructions were great. I had a 10 lb Whole Foods turkey and followed your steps, including rotating my stainless steel roasting pan with the turkey halfway through for even cooking, using a probe thermometer and taking the turkey out when it was 160. When I took ot out, the pop up button hadn’t popped up yet. The temp got to 166 F once I tented. When I went to carve, both wing joints were bloody and the surrounding meat was undercooked. I was so confused how it could look so magazine perfect on the outside and like this on the inside. I cut it into parts, covered with foil and put back in the oven on 350 for probably 40 mins and it looked much better, registering in the 180s. Lucky for the out-of-this- world gravy or it would’ve been incredible dry.
What do you think went wrong? I’d be so disappointed to never know because I’d love to make it again!
Thanks!
Hi Amy, sorry to hear that you had a problem with the wings on the turkey! While not very often, I’ve heard that mentioned before. Dark meat cooks more slowly than white meat so if you experience that again, I would cut the breasts off the turkey, tent them to keep them warm, and stick the dark meat back in the oven until it’s cooked through. Hope that helps!
I love this method and it is my 3rd year for doing it this way. I have even had an 18# bird and it was successful. I do all the recommended steps: clean oven, open window, etc. I have even had a floor fan on the ready. My first year I sorta obsessively watched Safeway video and read many reviews. I was very nervous but it has been a success each time! Thanks Jenn!
Sorry but this method didn’t work too well for me. I cooked exactly as written but the meat on the drumsticks was stuck to the skin and hard and couldn’t chew it. I used a meat thermometer to exactly 160 and let rest after cooking. It was a 14 lb butterball turkey that I normally have good luck with. Not sure what I did wrong since everyone raved about the method. I probably will go back to a cooking bag next time.