Easy High-Heat Roast Turkey with Gravy
This post may contain affiliate links. Read my full disclosure policy.
Ideal for turkeys under 14 pounds, the high-heat method guarantees a juicy and crisp-skinned turkey.
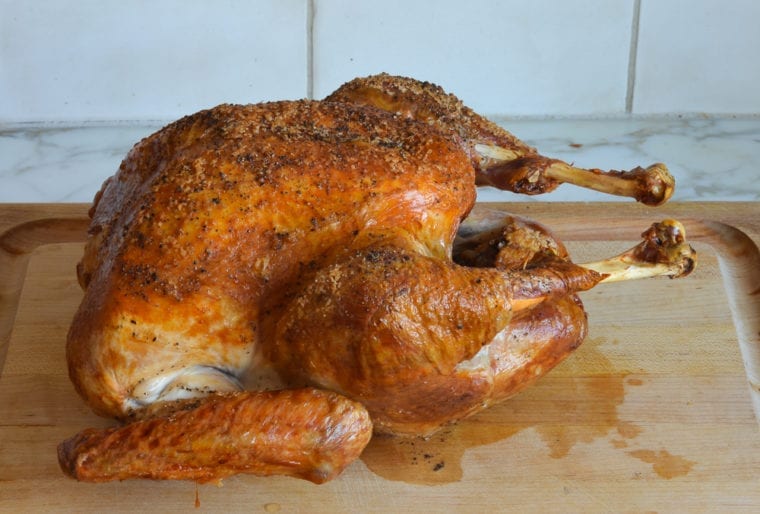
The high-heat roasting method is one of my favorite ways to cook a turkey. The prep time is minimal, the cooking time is short, and the turkey emerges from the oven juicy and crisp-skinned. The only drawback is that the high heat can cause a little smoke in the kitchen, so be sure your oven is spotless prior to cooking — and while the bird roasts, turn on your exhaust fan and crack a window. This cooking method only works for turkeys under 14 pounds. For larger birds, I recommend this dry-brined turkey recipe.
For Thanksgiving, I typically make one roast turkey along with a rolled stuffed turkey breast (a make-ahead family favorite) so we have variety and plenty of leftovers. Finally, if you’re a turkey novice or cooking a turkey feels intimidating, check out my best turkey advice; it will make you feel better!
What you’ll need to make roast turkey with Gravy
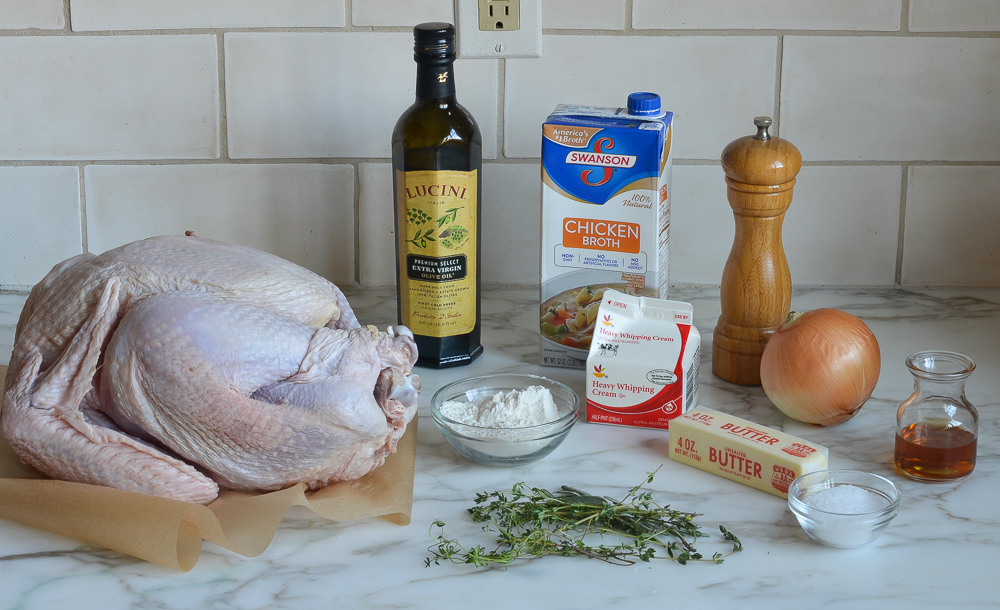
How to make roast turkey with Gravy
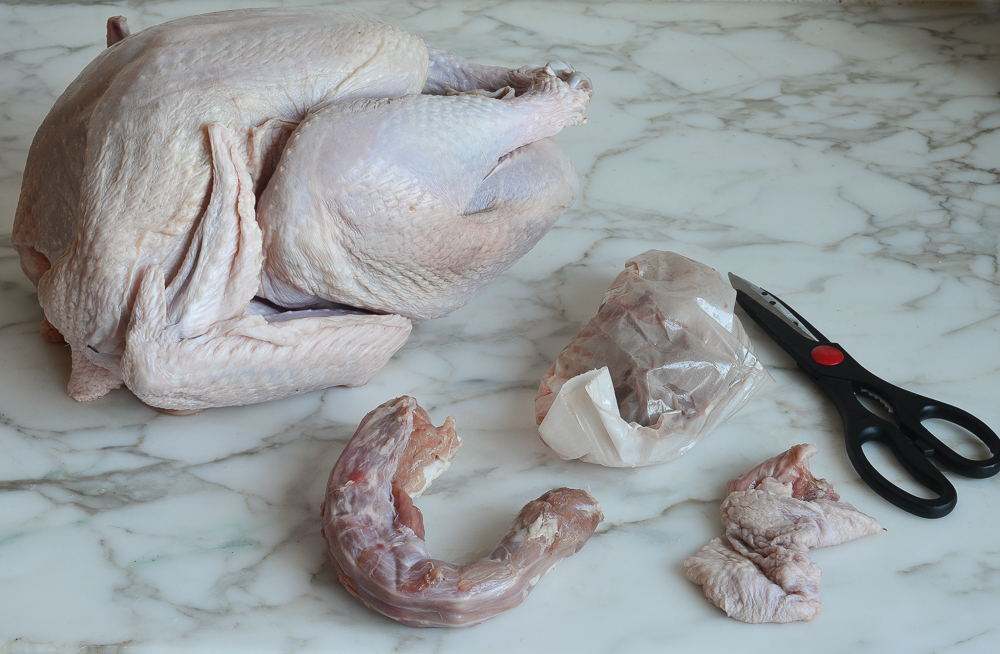
To begin, remove and discard truss that holds turkey legs together. Trim off and discard any excess fat in the neck or body cavity. Remove giblets and neck; discard or save for stock.
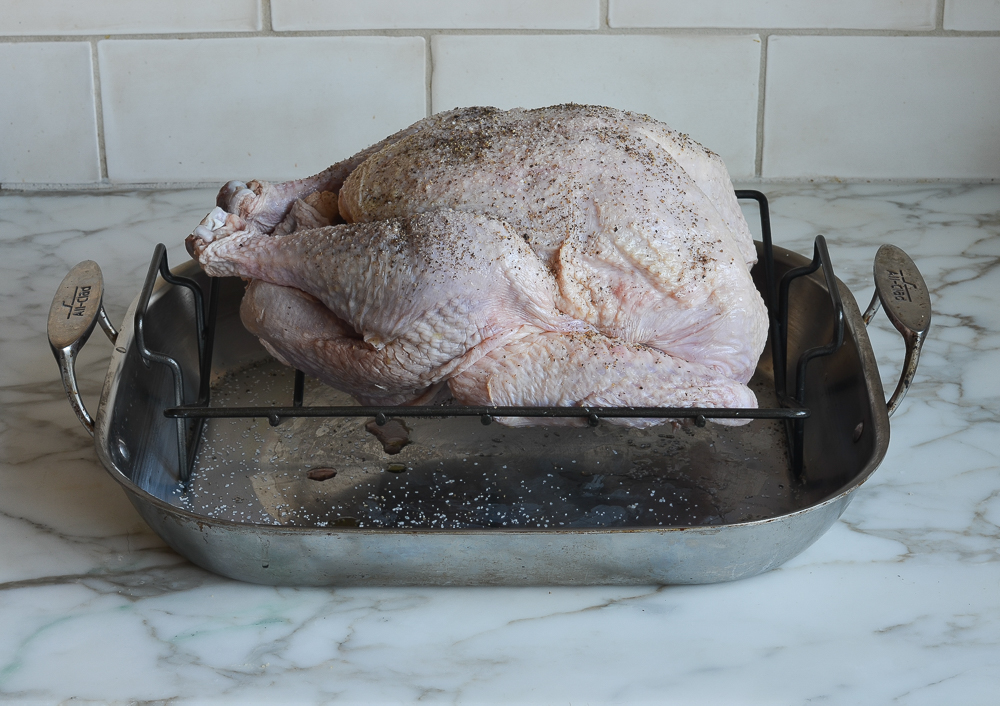
Rinse turkey inside and out with warm water. Pat dry with paper towels. Place a V-shaped rack in a 13 x 16 x 3-inch heavy stainless-steel roasting pan. (Do not use a dark roasting pan or a disposable aluminum pan.)
Rub the turkey skin all over with the olive oil and sprinkle with the salt and pepper. Set the bird breast-side-up on the rack. Pull the wings away from the body, then firmly twist them to push the wing tips under the bird.
Using aluminum foil, form caps over the tips of the end of each drumstick. (Do not tie the legs together, add stuffing, or close the body cavity.) Insert a digital leave-in meat thermometer near the center of the breast through thickest part until the tip touches the bone. Turn on your exhaust fan and crack a kitchen window.
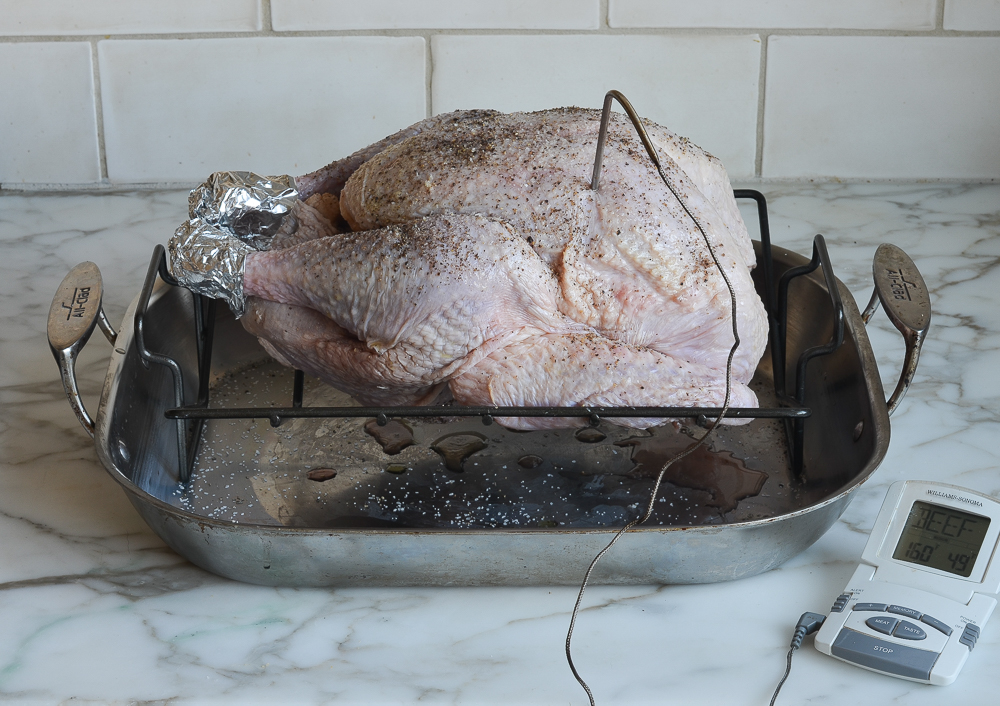
Place the turkey in the oven and roast, without basting, until the thermometer reaches 160°F, 1 to 1-1/2 hours. Halfway through roasting time, rotate the pan in the oven to assure even cooking and browning. (If at any point your kitchen gets unbearably smoky or the fat is spitting, pour a cup of tepid water in the roasting pan. Just keep in mind that liquid will create steam, which prevents the skin from getting as crispy.) Remove the pan from the oven.
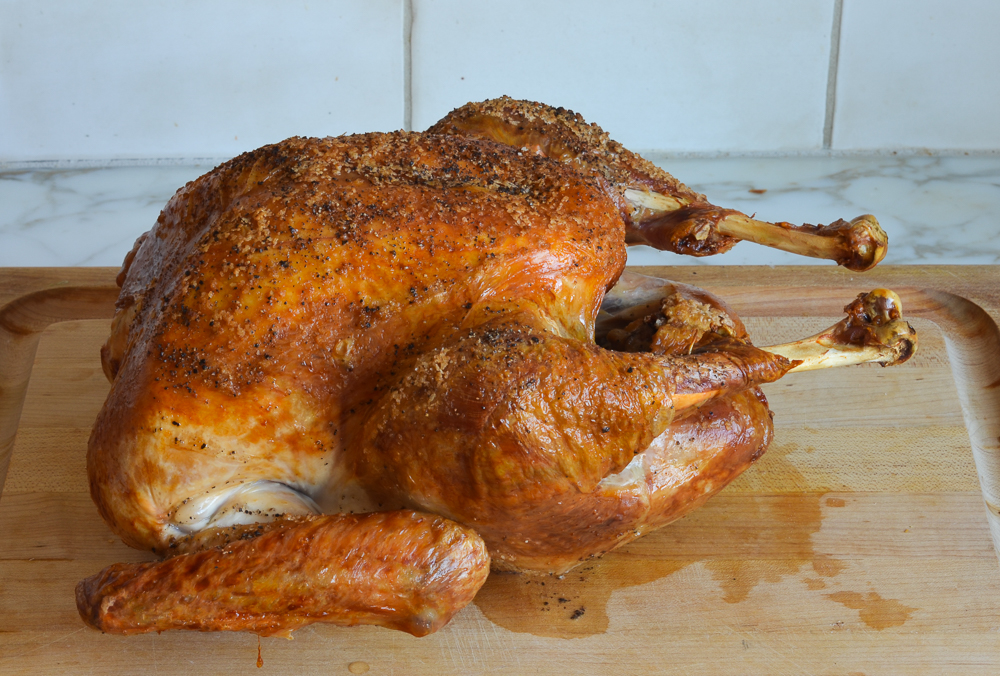
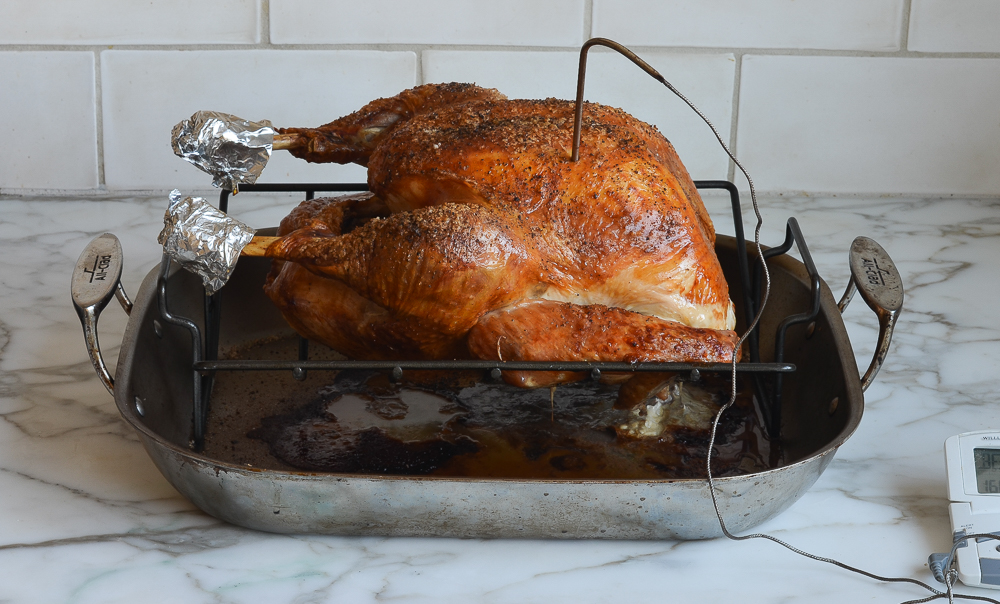 Using oven mitts that you don’t mind getting dirty, carefully tilt the turkey so that the juices from the cavity run into the roasting pan. Transfer the turkey to a platter or cutting board (do not clean the roasting pan), tent the turkey with foil, and let it rest for 20 to 30 minutes. This will allow the internal temperature to reach at least 165°F (the USDA safe-cooking temperature for turkey) and the juices to settle.
How To Make Gravy
While the turkey rests, make the gravy: Place the roasting pan over a burner on your stove. (Be careful handling the pan, as the handles will be hot.) Skim away any excess fat or solids that have accumulated in the pan.
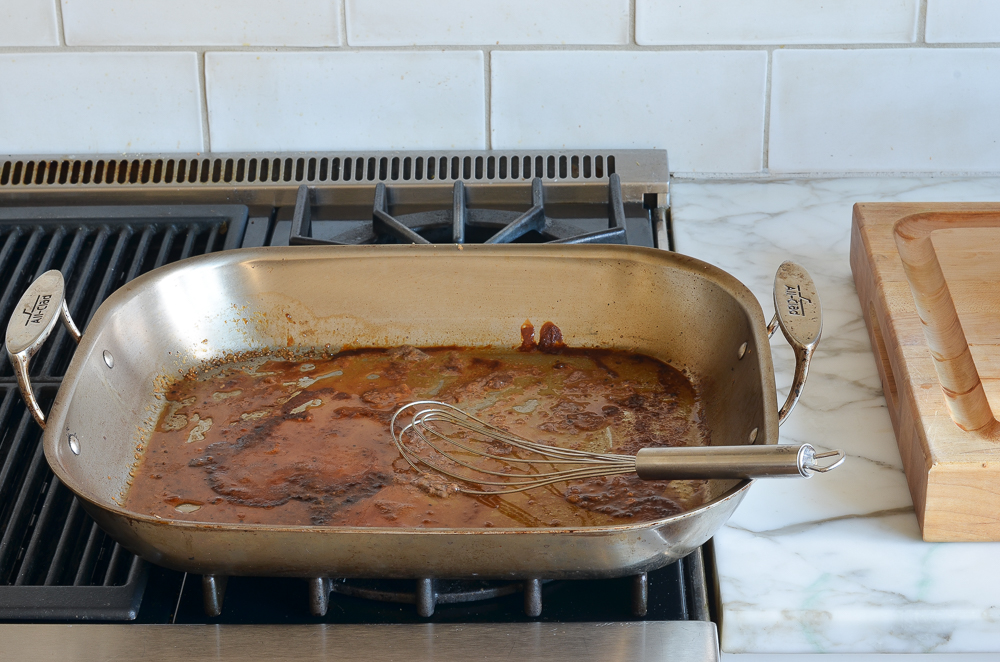
Add the broth and cook over medium heat, scraping the bottom of the pan with a whisk or wooden spoon to loosen any brown bits, until simmering. Turn off the heat and set aside.
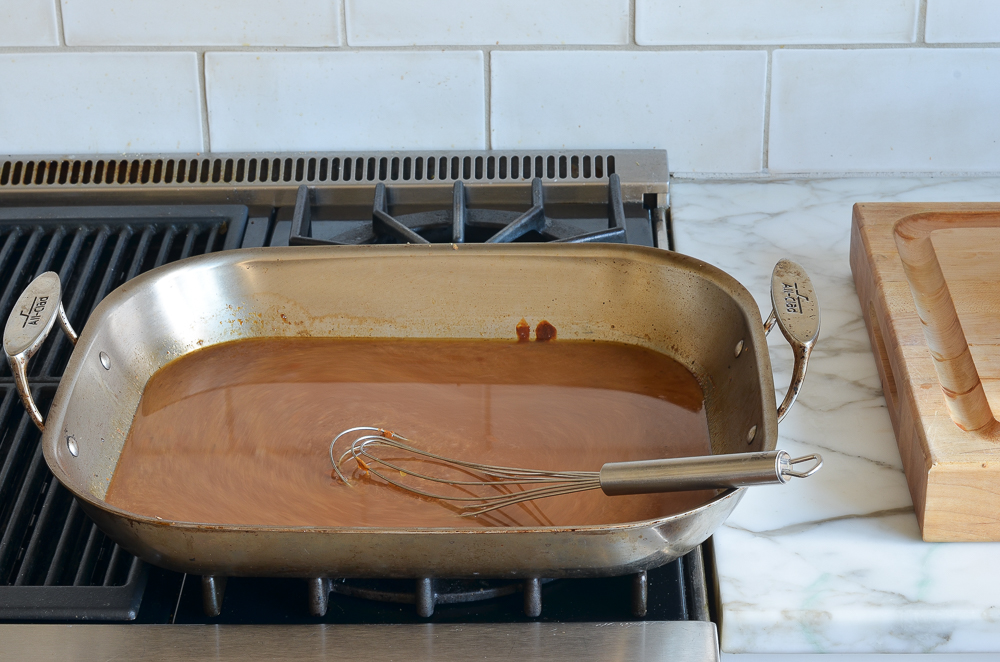
In a medium saucepan, melt the butter over medium-low heat.
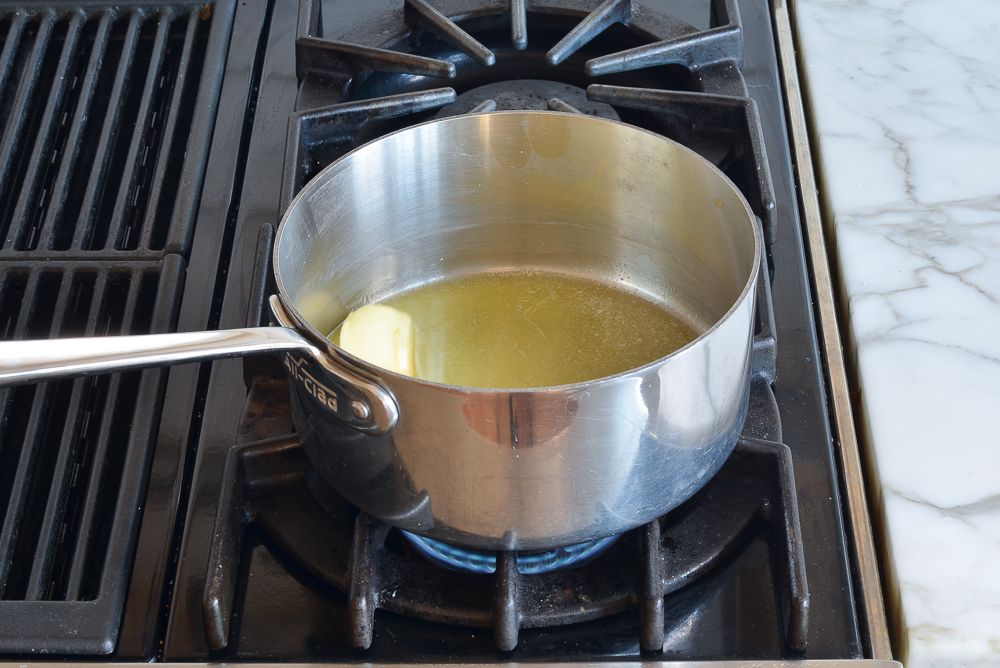
Add the onions.
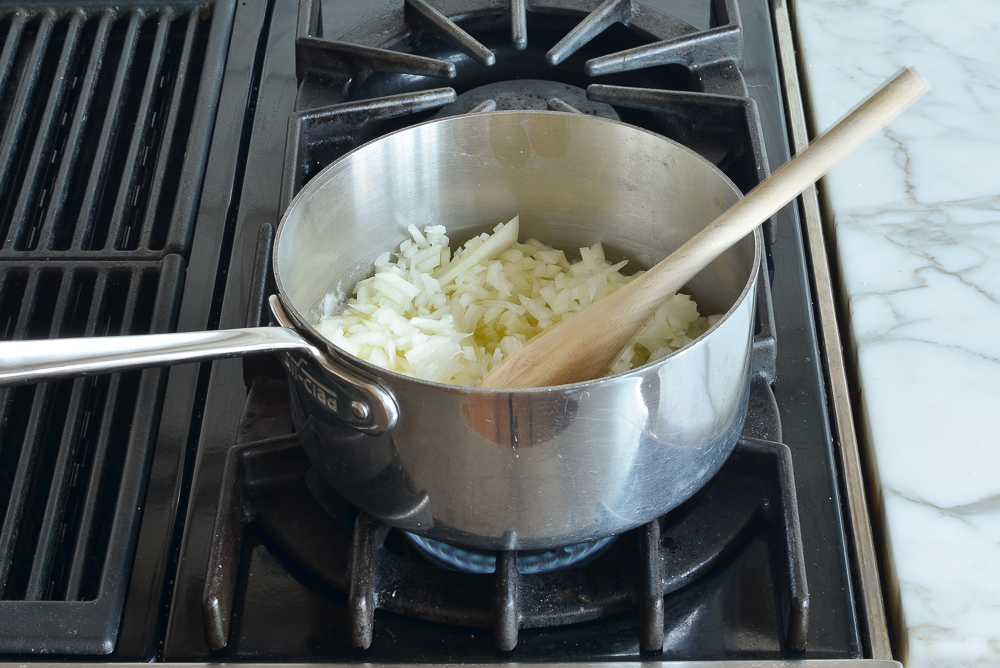
Cook until very soft and translucent, about 15 minutes. Do not brown.
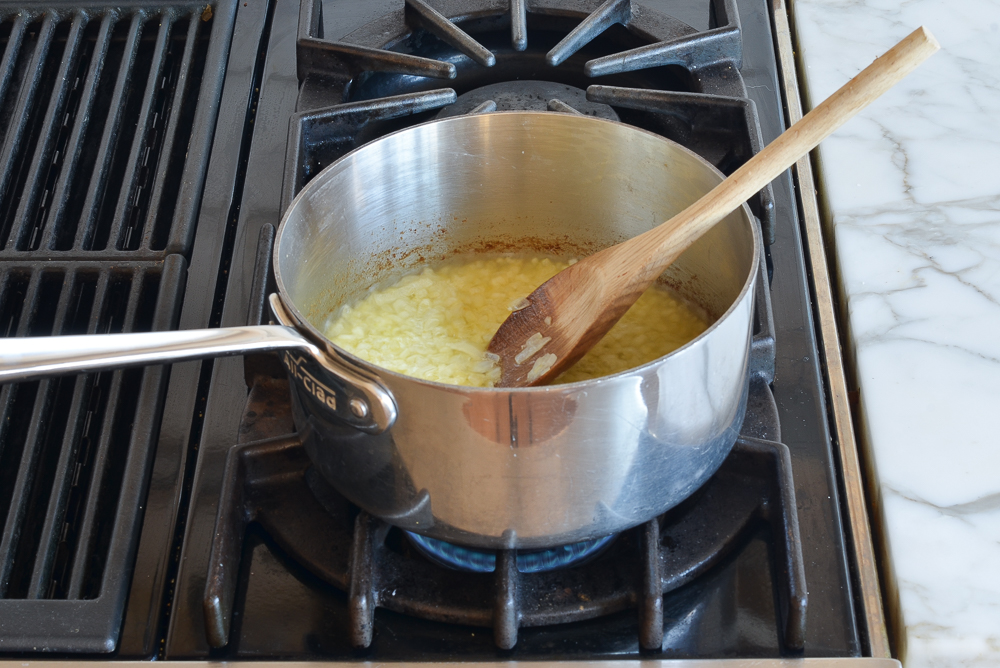
Add the flour.
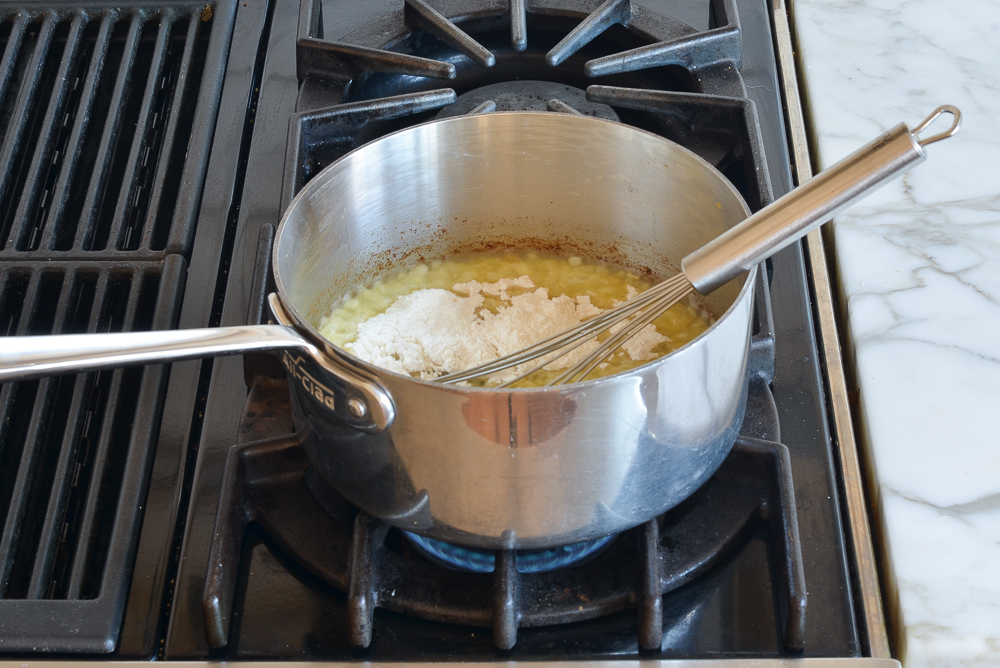
Whisk and cook for 2 to 3 minutes, stirring occasionally.
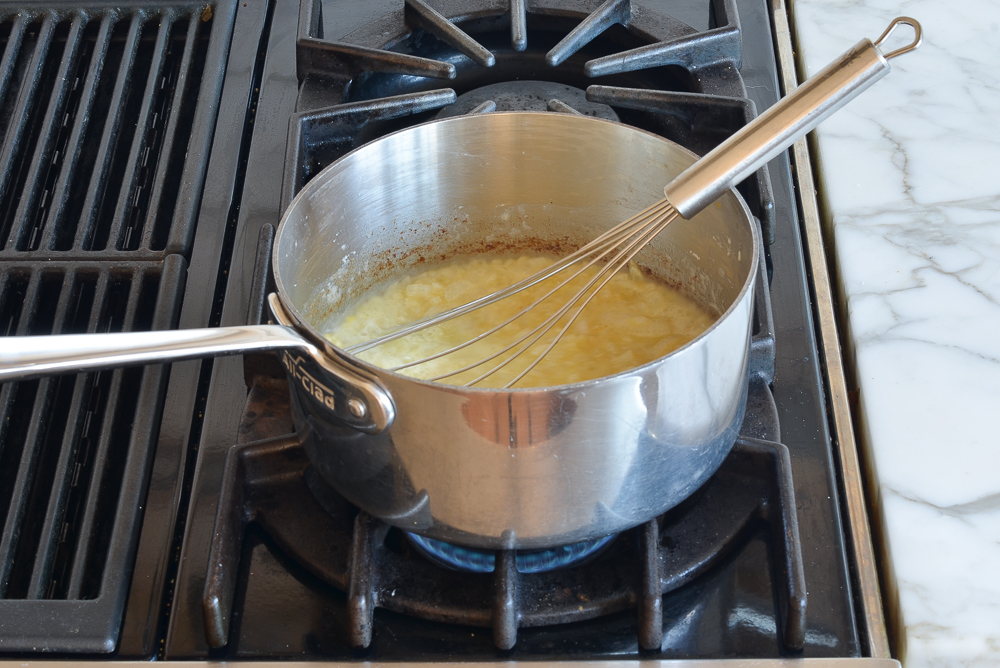
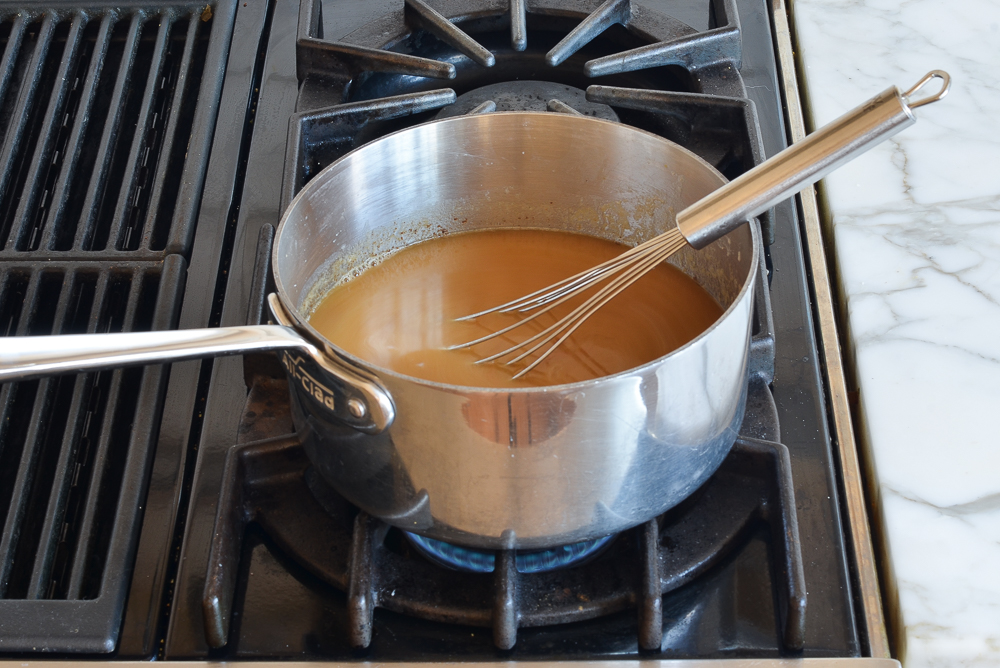
Whisk in the turkey dripping-chicken broth mixture and Cognac and cook, uncovered, stirring occasionally, for about 5 minutes until thickened.
Stir in the cream (if using) and chopped herbs. Taste and adjust seasoning with salt and pepper, if necessary.
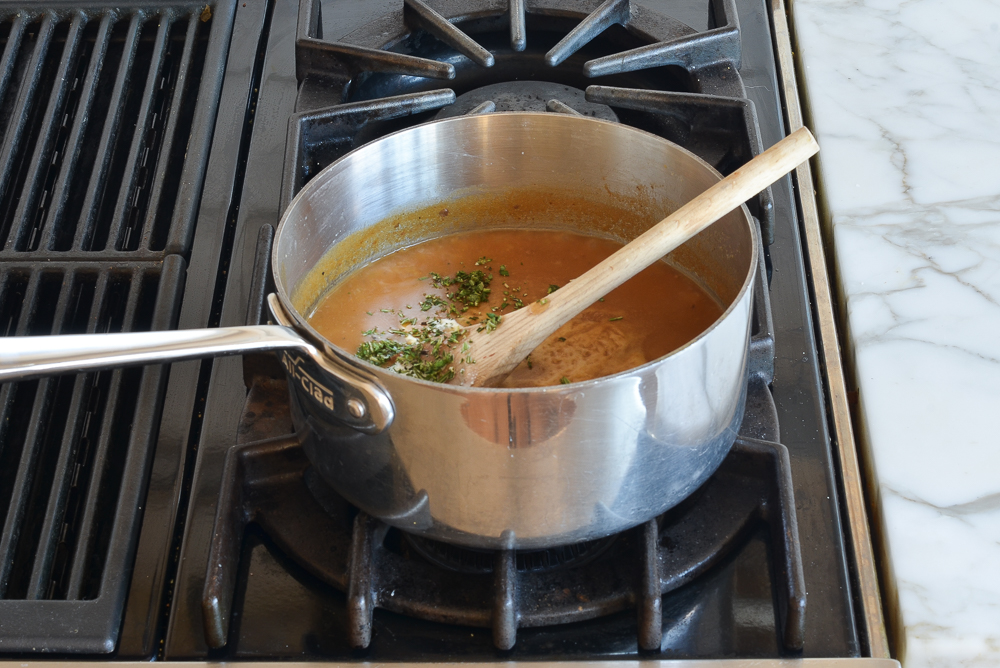
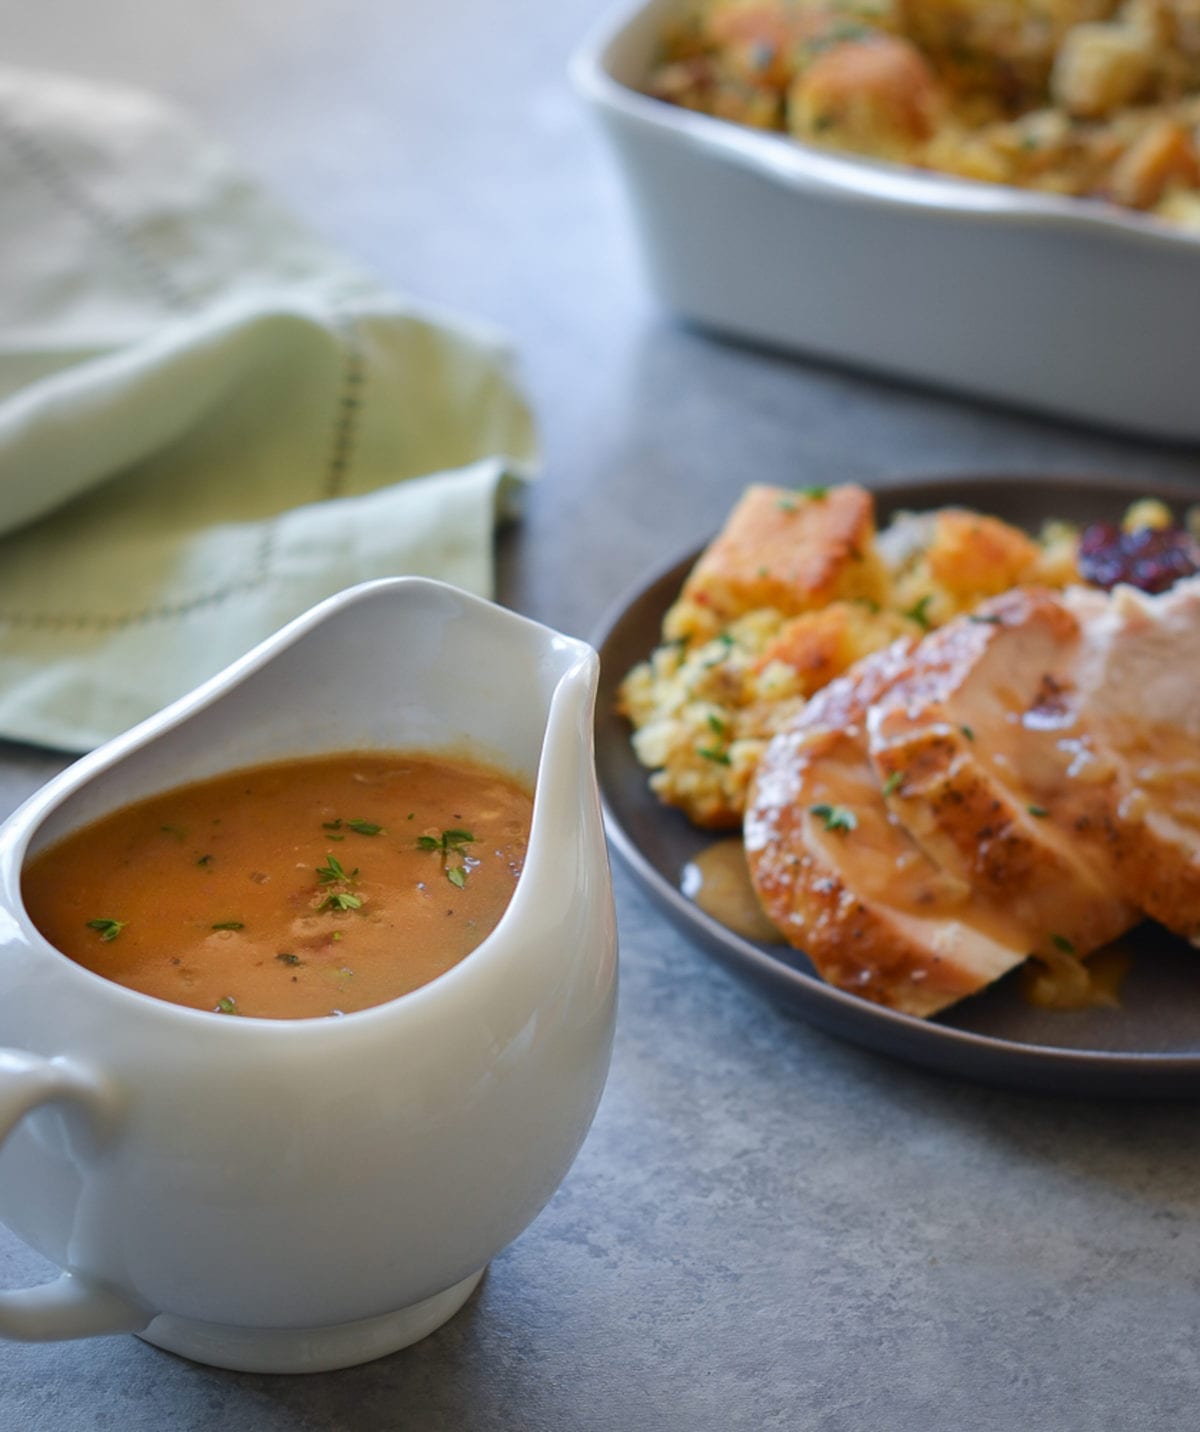
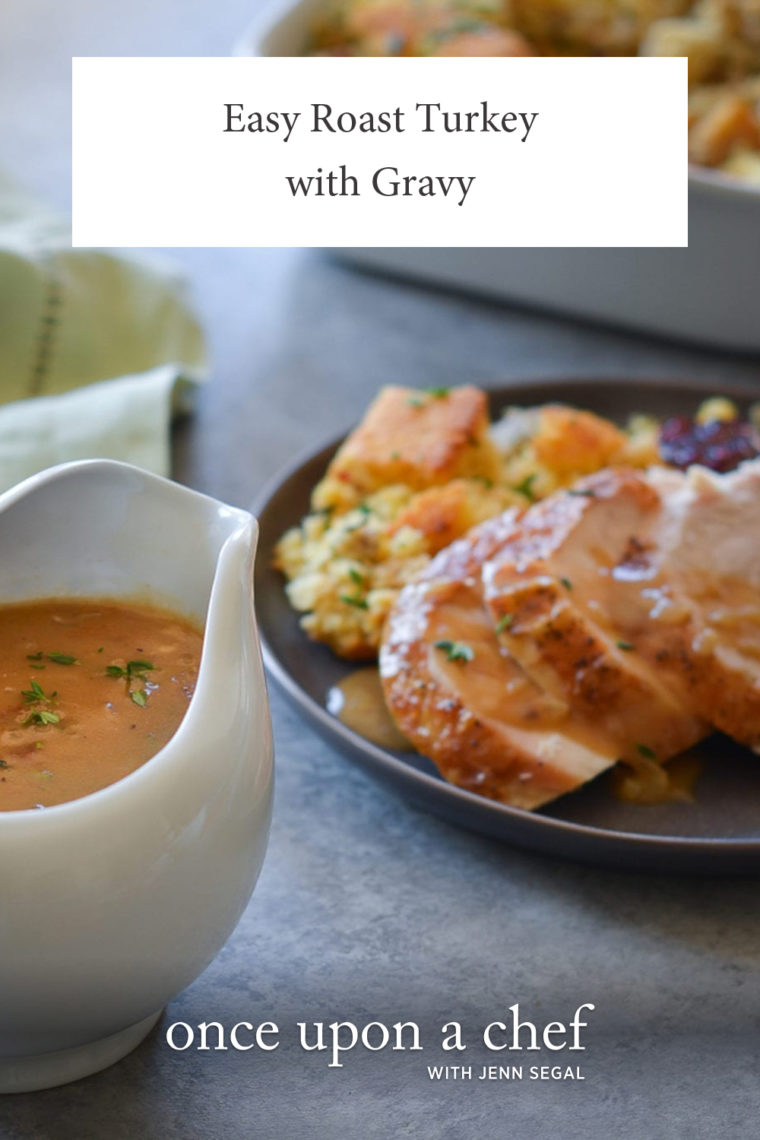
Transfer to a gravy bowl. Carve the turkey and serve with the gravy on the side.
You may also like
- Rolled Turkey Breast with Sausage and Herb Stuffing
- Fresh Orange Cranberry Sauce
- Brussels Sprouts Gratin
Easy High-Heat Roast Turkey With Gravy
Ideal for turkeys under 14 pounds, the high-heat method guarantees a juicy and crisp-skinned turkey.
Ingredients
- 1 fresh turkey (11 to 14 lbs)
- 1 tablespoon olive oil
- 1½ tablespoons kosher salt
- 1 teaspoon freshly ground black pepper
- 2¼ cups chicken broth
- 8 tablespoons (1 stick) unsalted butter
- 1½ cups finely chopped yellow onion, from 1 large yellow onion
- ¼ cup all-purpose flour
- 2 tablespoons Cognac or brandy
- 1 tablespoon heavy cream, optional
- 1 tablespoon chopped fresh herbs (such as thyme, sage, rosemary, or parsley)
You Will Need:
- 13 x 16 x 3-inch heavy stainless-steel roasting pan
- V-shaped roasting rack
- Leave-in digital meat thermometer, like this one
Instructions
- Before cooking, be sure that your oven is VERY clean to prevent smoking. Preheat the oven to 450°F and set an oven rack in the lowest position.
- Remove and discard truss that holds turkey legs together. Trim off and discard any excess fat in the neck or body cavity. Remove giblets and neck; discard or save for stock.
- Rinse the turkey inside and out with warm water. Pat dry with paper towels. Place a V-shaped rack in a 13 x 16 x 3-inch heavy stainless-steel roasting pan. (Do not use a dark roasting pan or a disposable aluminum pan.) Rub the turkey skin all over with the olive oil and sprinkle with the salt and pepper. Set the bird breast-side-up on the rack. Pull the wings away from the body, then firmly twist them to push the wing tips under the bird. Using aluminum foil, form caps over the tips of the end of each drumstick. (Do not tie the legs together, add stuffing, or close the body cavity.) Insert a digital leave-in meat thermometer near the center of the breast through the thickest part until the tip touches the bone.
- Turn on your exhaust fan and crack a kitchen window. Place the turkey in the oven and roast, without basting, until the thermometer reaches 160°F, 1 to 1½ hours. If your oven has hot spots, rotate the pan halfway through cooking to assure even browning. (If at any point your kitchen gets unbearably smoky or the fat is spitting, pour a cup of tepid water in the roasting pan. Just keep in mind that the liquid will create steam in the oven, so the skin won't be quite as crispy.)
- Remove the pan from the oven. Using clean oven mitts (that you don't mind getting dirty), carefully tilt the turkey so that the juices from the cavity run into the roasting pan. Transfer the turkey to a platter or cutting board (do not clean the roasting pan), tent the turkey with foil, and let it rest for 20 to 30 minutes. This will allow the internal temperature to reach at least 165°F (the USDA safe-cooking temperature for turkey) and the juices to settle.
- While the turkey rests, make the gravy: Place the roasting pan on a burner on your stove. (Be very careful handling the pan; it's easy to forget that it's hot.) Skim away any excess fat or solids that have accumulated in the pan. Add the broth and cook over medium heat, scraping the bottom of the pan with a whisk or wooden spoon to loosen any brown bits, until simmering. Turn off the heat and set aside.
- In a medium sauce pan, melt the butter over medium-low heat. Add the onions and cook until very soft and translucent, about 15 minutes. Do not brown. Whisk in the flour and cook for 2 to 3 minutes, stirring occasionally. Whisk in the turkey dripping-chicken broth mixture and Cognac and cook, uncovered, stirring occasionally, for about 5 minutes or until thickened. Stir in the cream (if using) and chopped herbs. Taste and adjust seasoning with salt and pepper, if necessary. Transfer to a gravy bowl.
- Carve the turkey and serve with the gravy on the side.
- Note: Nutritional information is based on an 11-pound turkey with 10 servings.
- Make-Ahead Instructions: If you don't mind losing the crispy skin, the turkey can be roasted and carved ahead of time. Pour a thin layer of the gravy into an ovenproof serving platter. Arrange the carved turkey nicely on top of the gravy; cover tightly with plastic wrap and refrigerate for up to two days. Refrigerate the remaining gravy in a separate container. To reheat: remove the plastic wrap and cover the platter with aluminum foil. Place in a 325°F-oven for 20 to 30 minutes, until the turkey is hot. Reheat the gravy in the microwave or on the stovetop.
Pair with
Nutrition Information
Powered by ![]()
- Per serving (8 servings)
- Calories: 859
- Fat: 39 g
- Saturated fat: 13 g
- Carbohydrates: 7 g
- Sugar: 2 g
- Fiber: 1 g
- Protein: 110 g
- Sodium: 1,386 mg
- Cholesterol: 385 mg
This website is written and produced for informational purposes only. I am not a certified nutritionist and the nutritional data on this site has not been evaluated or approved by a nutritionist or the Food and Drug Administration. Nutritional information is offered as a courtesy and should not be construed as a guarantee. The data is calculated through an online nutritional calculator, Edamam.com. Although I do my best to provide accurate nutritional information, these figures should be considered estimates only. Varying factors such as product types or brands purchased, natural fluctuations in fresh produce, and the way ingredients are processed change the effective nutritional information in any given recipe. Furthermore, different online calculators provide different results depending on their own nutrition fact sources and algorithms. To obtain the most accurate nutritional information in a given recipe, you should calculate the nutritional information with the actual ingredients used in your recipe, using your preferred nutrition calculator.

My turkey is about 17.5lbs. Am I still able to prepare this turkey in the same manner or can I alter the recipe some way?
Hi Frances, This method works best for smaller turkeys because of the smoke issue but it’s doable with a bigger turkey if your oven is VERY clean and you use the correct type of roasting pan. Also, be sure that no parts of the turkey extend beyond the rim of the pan. (If any parts extend beyond the rim, the drippings will cause a LOT of smoke.) And if the turkey starts to get too dark on top toward the end, just cover it with foil. I’d estimate the cook time for a 17.5-lb turkey would be about 1 1/2 to 1 3/4 hours (but your best bet is to rely on the meat thermometer and remove the turkey from the oven when the temperature reaches 160°F). Hope that helps!
I just took out the Turkey from the oven and it looks delicious! It turned out perfectly roasted. I made it ahead of time, and my guests will be eating it tomorrow. I’ll have it all ready for them. Thanks!
👍 Hope everyone enjoys!
Update – we ate the Turkey the next day and it was delicious. I didn’t carve the turkey the day I made it (I covered in tin foil and sealed in wrap), but carved it the next day for Thanksgiving. The skin wasn’t crispy as you previously mentioned, but I don’t serve it so it wasn’t an issue. I was told that it was very moist and delicious. Thanks again. Love your recipes.
Hi Jenn,
Can I stuff aromatics inside of the turkey…onion, orange, bay leaves? Will that change the cooking time much? Also do you recommend regular roasting or convection roasting. My oven has both functions.
You are our absolute go to resource for fabulous, never fail recipes…both your website and your terrific cookbook. Thank you!
Happy Thanksgiving,
Leslie
Hi Leslie, Glad you like the recipes! I don’t think using aromatics in the turkey cavity should impact the cooking time. And I always test my recipes using the conventional/non-fan setting in my oven so for the most predictable results, I’d go that route. Happy Thanksgiving!
Do you still cook the 17lbs turkey at 450 or do you reduce the heat to 425 and cook for an hour and 3/4? TIA
Hi M, I’d probably reduce to 425.
Hi Jenn,
I wanted to make a trial run of this using a turkey breast. How long should it roast and also could I set it on a flat rack in my roasting pan?
Thanks!
Katy
Hi Katy, It’s hard to say how long a turkey breast will take as it really depends on the size. I’d use an instant-read thermometer and remove the turkey from the oven when the temperature reaches 160°F. And yes, I’d use either a V-shaped or flat rack in your roasting pan. Please let me know how it turns out if you try it!
Hi Jenn,
I prepared a 3 lb. turkey breast tonight using the method above. I used a V-shaped rack in my roasting pan. I rubbed the skin with 1 teaspoon of olive oil and then sprinkled it with 1 teaspoon of kosher salt and probably 1/4 teaspoon of pepper. I removed from the oven after just less than an hour when the instant read thermometer temperature hit 160°F and then tented for 1/2 an hour. It was fabulous!!! The skin was really crispy and the meat was incredibly juicy. My husband and son both gave it a “10”. We used it to make turkey and cranberry sandwiches on sourdough bread. This was incredibly easy and probably some of the best turkey I’ve had. It definitely beats the deli turkey breasts sold in the store. Fantastic!!!! Thanks again for a wonderful recipe. I’m looking forward to seeing if you have any new recipes coming out for the holidays :).
Happy to hear it turned out nicely — thanks so much for the follow-up! 🙂
I have cooked turkey dinners at least twice a year for the last 35+ years. Like Chef Jen I have tried I all. I totally agree with Chef Jen’s method. Simple is better. I want to add one thing that I learned years ago from an article about what professional chefs do. I forget who the chef was, but this is what you do: Cook the turkey the DAY BEFORE the big event. Let it cool, wrap completely in aluminum foil, put it in the fridge. The next morning, take it out and carve it completely. Then put all the meat in a pan and heat over water. I use a big lasagna pan with a rack at the bottom. I lay the slices of meat on the rack. Put about 1/2 inch of water in the bottom of the pan (under the meat, but not touching ). Cover the whole thing tightly with foil. About 30 minutes before serving, put the pan in the oven 325-350 degrees to reheat. The first thing people say when you serve it is, “This turkey is so moist!” I have heard this comment over and over. This method avoids the dreaded carving of a warm turkey (such a mess), the dreaded timing issue (oh no, the turkey isn’t done!). The long-ago chef said, if you absolutely must have a beautiful roasted turkey to show everyone, cook a “presentation turkey” the day of the event, bring it out to the table on a platter for the ooohs and aaaahs, take it back to the kitchen “to carve”, and then serve the turkey you cooked the day before. You can save the presentation turkey for soup or whatever. (I have never made the second turkey, no one seems to miss the show.) you can make the gravy the day before too and just reheat on the stove top.
This was the easiest turkey roasting I’ve ever found!!! And at nearing 70 I’ve tried a few. I didn’t have any problems with smoke and the bird was great. Thanks!
The turkey cooked quickly and the skin was nice and crispy. It did smoke a bit but the smoke was worth it for the short cooking time and cripsy skin. The meat was also incredibly juicy. The gravy was rich and salty , I will cut the butter back and add more broth next time. The gravy as is was decadent, I’m just looking to take it back a notch. My mother generally cooks Thanksgiving dinner and I didn’t have a go-to recipe for turkey or gravy. I do now. There is no need to go in search of other turkey and gravy recipes. These are perfect.
I’ve been brining for days and roasting & basting for many hours for 15+ years…never again!! This was SO easy and my 20 lb turkey turned out beautifully. I used a heavy Calphalon roasting pan and the kitchen did get a little smoky, not too bad. Thank you Jen for taking the stress out of Thanksgiving! Bought your cookbook; love everything you do!!
Great, easy turkey recipe. Thank you!
If you put your thermometer probe touching the bone, will you get an accurate reading as the bone gets very hot?
Hi Linda, I know it goes against conventional wisdom, but it works. I’ve been doing it that way for years and I always get an accurate reading. 🙂
I made the gravy, but it is very buttery. I followed the recipe exactly with drippings from a 12 lb. turkey. How can I adjust the flavor?
Hi Beth, If it is too rich for your liking, you can add a little more broth.
Hi Jenn,
I’m going to try your high heat method of cooking my 24 lb bird this year, after making sure my oven is good and clean, turning on the fan and opening a window. My question is….why can I not use a large dark pan (non-stick) with V-rack to cook the bird? I notice your recipe specifically advises against this and wasn’t sure why.
Many thanks and Happy Thanksgiving!
Sincerely,
Mary from LA
Hi Mary from LA! Dark metal absorbs and distributes heat more quickly than lighter-colored pans so this can cause the burning/smoking I mentioned. But if it’s a good quality heavy pan, it should be fine (it’s those dark speckled pans that a lot of people use that cause problems). With such a large bird, you want to be extra sure that no parts of the bird extend beyond the rim of the pan, as splatters in the oven cause smoke. And if the skin starts to get too dark on the top towards the end, cover it with foil. The cook time for 24-lb bird would be 2.5 to 3 hours. If at any point your kitchen gets too smoky you can always turn the heat down to 350°F to finish cooking the bird (just leave yourself enough time). Hope that helps and please let me know how it turns out!
Jenn, I just wanted to let you know that the high heat method was FANTASTIC! My ovens were fairly clean (although not spotless) and I had absolutely no trouble with burning or smoking. I did turn on a low exhaust fan, cracked a window and used a pan large enough for the bird (even that non-stick one) which must have helped too. My 24-lb bird cooked in 2 hours! It was amazing! I couldn’t believe how ahead of the game I was. Thanks so much for this wonderful recipe. FYI, even with a 24-lb bird, I still made your turkey roulade (which was fabulous – check out my review there)! One hour and 15 min exactly and so gorgeous looking – wow! Thanks Jenn! Hope your holiday was calm and relaxing 🙂