Dry-Brined Turkey
This post may contain affiliate links. Read my full disclosure policy.
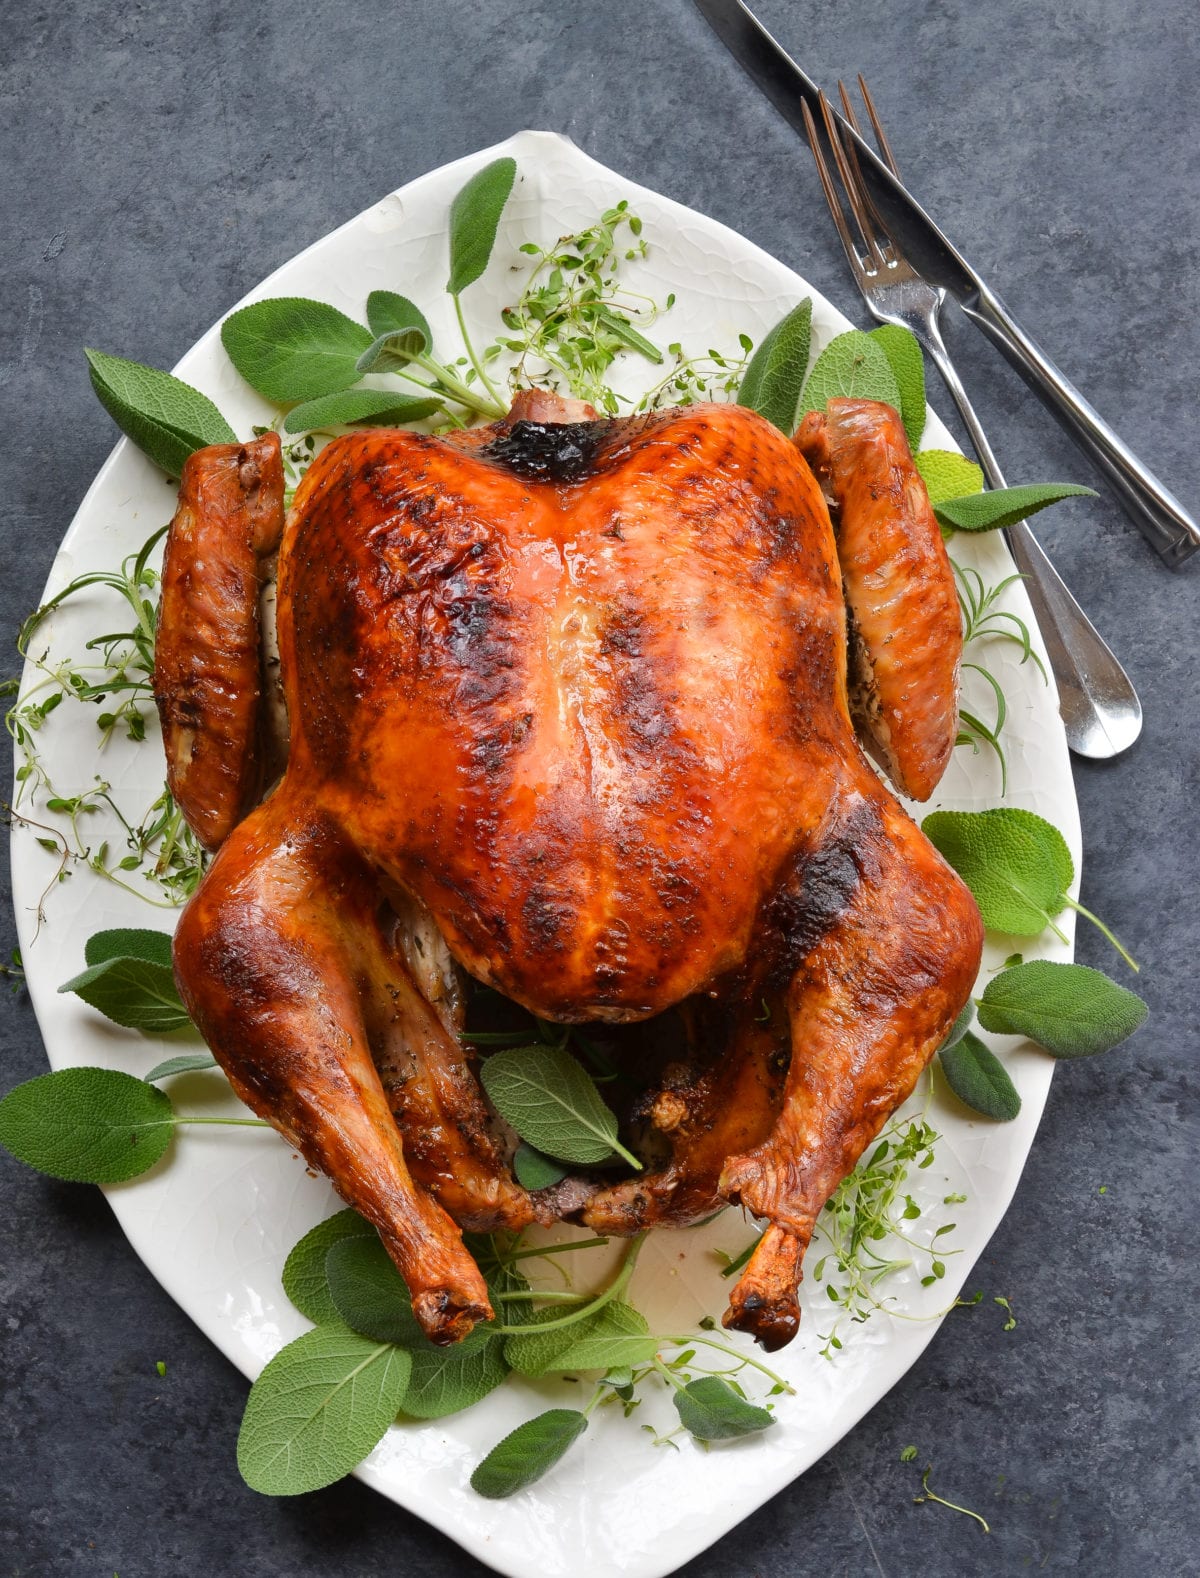
Discover the secret to a perfectly juicy and flavor-packed bird with this easy dry-brined turkey recipe—it’s a holiday game-changer!
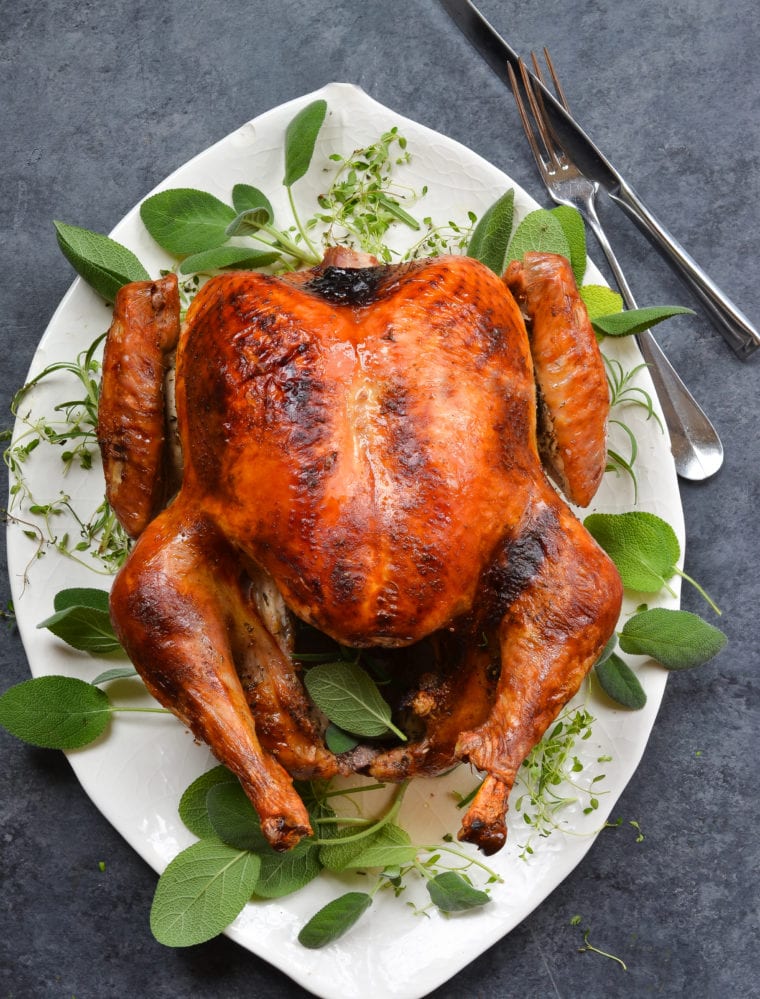
This fantastic dry-brined turkey, adapted from a Jeff Mauro recipe featured in Rachel Ray Magazine, was passed on to me by the talented food stylist Rebecca Jurkevich, who styled my second cookbook. What I particularly love about this recipe is its simplicity. You start by rubbing a mixture of salt and seasonings—the dry brine—onto the turkey’s skin, then let it rest in the fridge overnight. The salt not only thoroughly seasons the meat but also draws out the bird’s natural juices, creating a self-brine that the meat reabsorbs, guaranteeing a turkey that’s flavorful and juicy from the inside out. Plus, the rest in the fridge dries out the exterior of the bird, so when you cook it, you end up with the most beautifully crispy, golden-brown skin. Whether you’re a seasoned cook or a turkey first-timer, this dry-brined turkey recipe is a must-try for its ease and dependable results.
“My husband just declared this is the best turkey we’ve made in 40 years!!!! I concur!!”
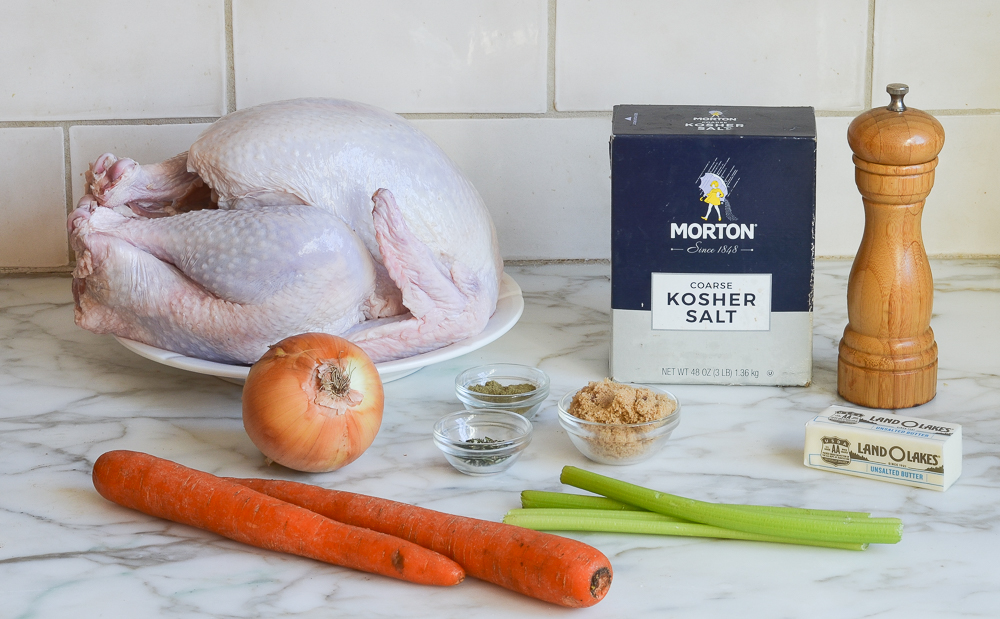
What You’ll Need To Make A Dry-Brined Turkey
Step-by-Step Instructions
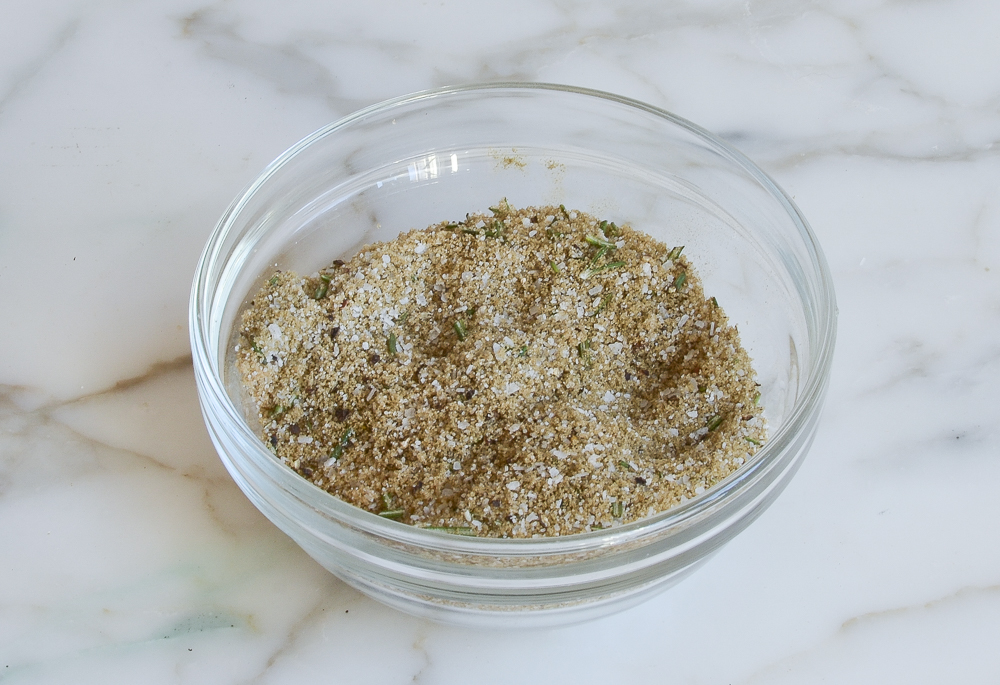
In a small bowl, mix the sugar, salt, thyme, sage, and pepper for the dry brine.
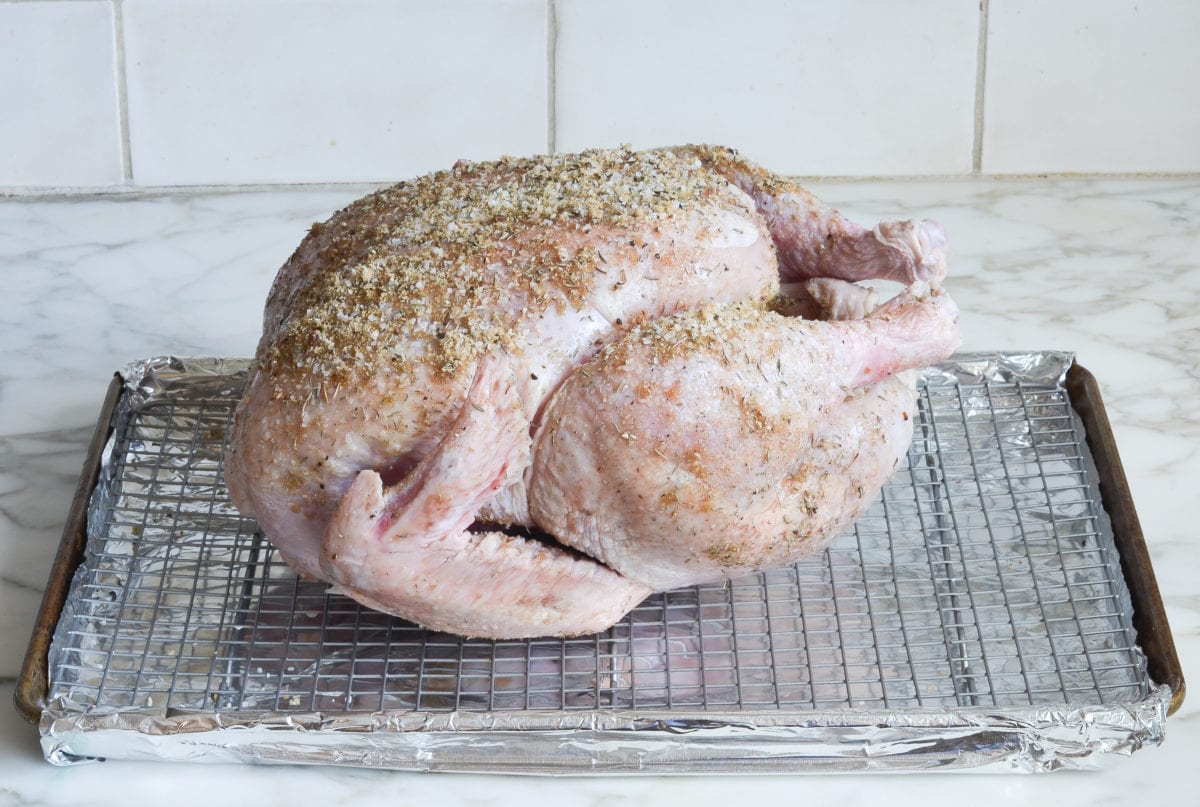
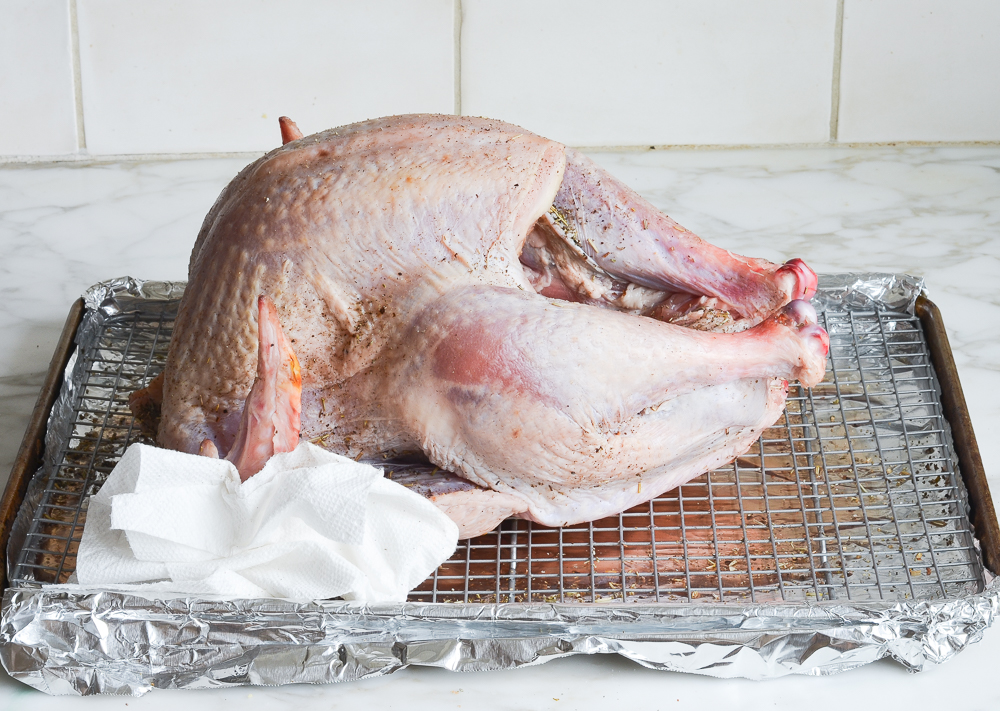
Place the turkey on the rack of a baking sheet. Rub and pat the dry brine all over the turkey, including inside the cavity. Refrigerate, uncovered, for at least 24 hours and up to 48 hours.
Using damp paper towels, brush the dry brine off the turkey.
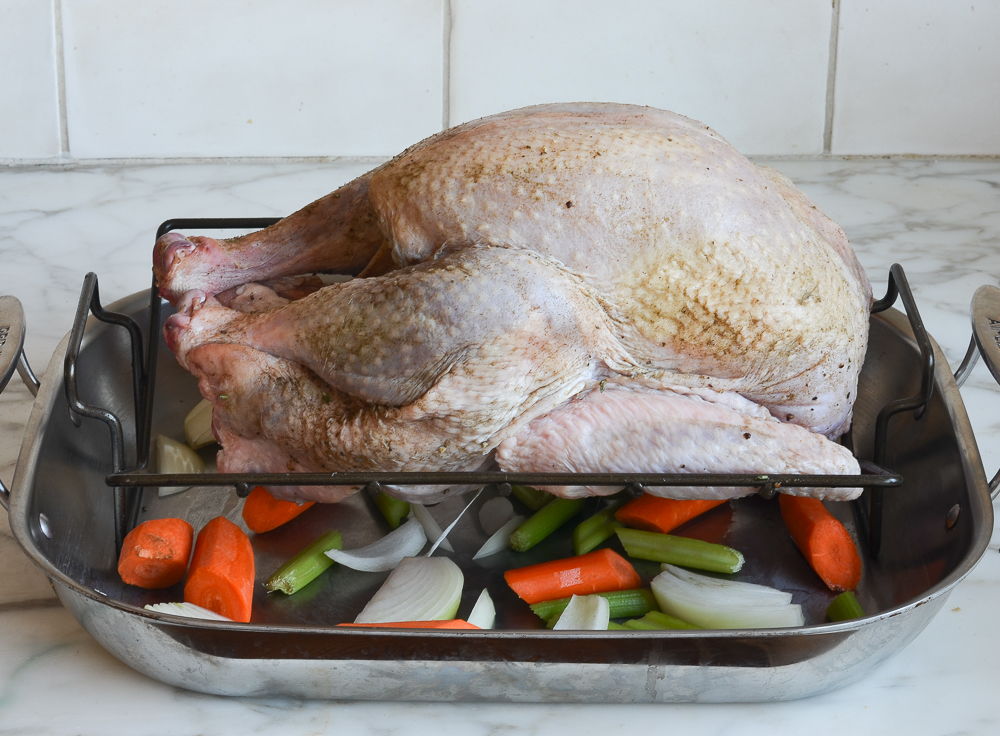
Scatter the onion, carrots, and celery in the bottom of a large roasting pan. Place a roasting rack inside the pan and place the turkey on the rack. Tuck the wings underneath the bird.
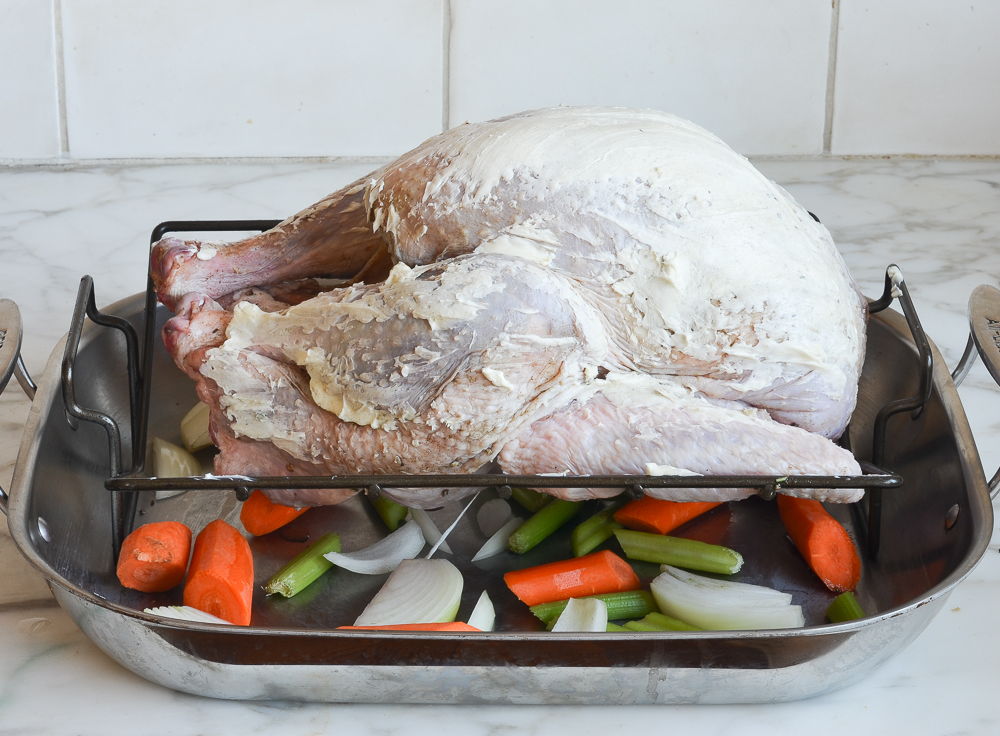
Using your hands, smear the butter all over the turkey.
Roast the turkey until the skin is deep golden and an instant-read thermometer registers 165°F when inserted into the thickest part of the breast and the thigh, 1-3/4 to 2-1/2 hours. Check the turkey after 1-1/2 hours. If it’s getting too dark, cover it loosely with foil.
Note: The cooking time will depend on the size of your turkey. For best results, I recommend using a digital thermometer with a leave-in probe and remote monitor, like the one shown below. That way, you can monitor the temperature of the turkey without ever opening your oven.
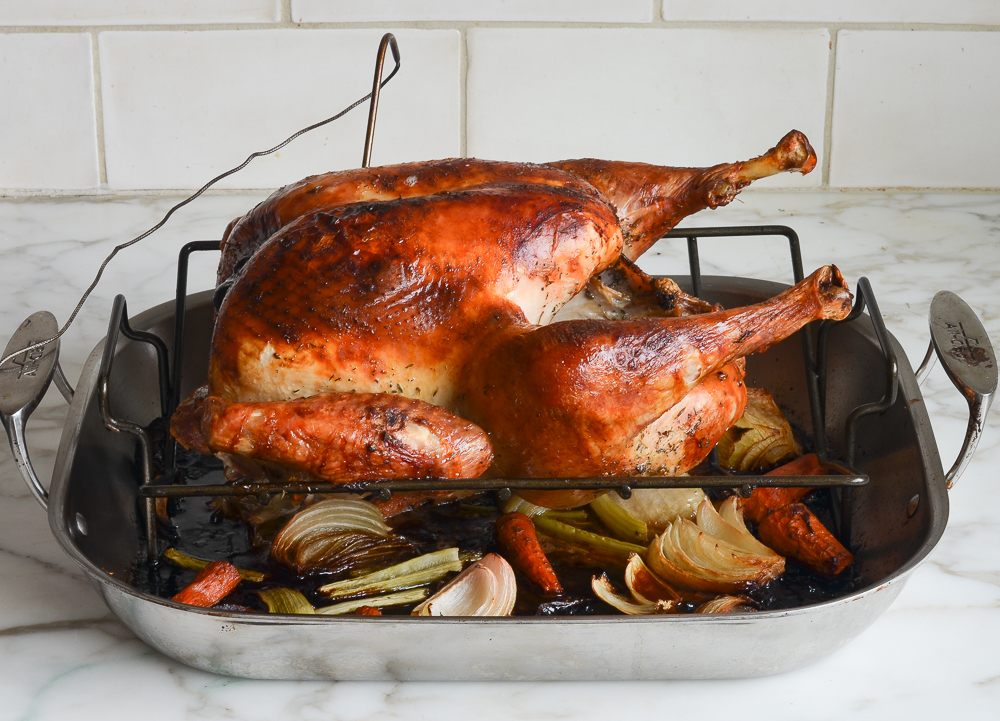
Using clean oven mitts (that you don’t mind getting dirty), carefully tilt the turkey so any juices from the cavity pour into the roasting pan. Transfer the turkey to a platter or cutting board. Tent with foil and let rest for 20 to 30 minutes. Remove the vegetables from the pan and discard (or if they aren’t too soft/brown, save them and arrange on the serving platter with the turkey). Reserve the drippings in the pan for the gravy. While the turkey rests, make the turkey gravy.
Carve the turkey and serve with the gravy on the side.
Frequently Asked Questions
A: Dry brining involves rubbing salt, herbs, and spices onto the turkey skin and letting it sit in the fridge overnight (or longer). Wet brining, in contrast, requires soaking the turkey in a seasoned saltwater solution, often necessitating a large cooler or bag and can be quite cumbersome. While both methods enhance flavor and juiciness, dry brining is much simpler and produces crisper skin.
A: The recommended time for dry brining is at least 1 day and up to 3 days. The longer you allow the turkey to brine, the more flavorful and moist it will be. However, even just 24 hours of brining can make a significant difference. You can adjust the salt quantity based on the brining duration to avoid over-salting.
A: If your turkey has been pre-injected with a solution (as is common with many store-bought turkeys), you can still use this dry-brined recipe effectively. These types of turkeys still benefit from additional seasoning for enhanced flavor. However, since they already contain some salt, you should reduce the amount of salt used in the dry brine by half to prevent the turkey from becoming overly salty.
You May Also Like
- 24 Best Thanksgiving Side Dishes
- 18 Thanksgiving Desserts Worth Saving Room For
- Rolled Turkey Breast with Sausage & Herb Stuffing
- Fresh Cranberry Sauce
- Creamy Make-Ahead Mashed Potatoes
- Easy Sausage & Herb Stuffing
Dry-Brined Turkey
Discover the secret to a perfectly juicy and flavor-packed bird with this easy dry-brined turkey recipe—it’s a holiday game-changer!
Ingredients
- 1 (12 to 14-pound) turkey, patted dry (see note)
- ¼ cup (packed) light brown sugar
- 3 tablespoons Morton kosher salt (or ¼ cup Diamond kosher salt)
- 2 teaspoons dried thyme
- 2 teaspoons dried sage leaves or ground sage
- 1 teaspoon freshly ground black pepper
- 6 tablespoons unsalted butter, at room temperature
- 1 large yellow onion, cut into wedges
- 2 carrots, cut into 2-inch pieces
- 2 stalks celery, cut into 2-inch pieces
Instructions
- Line a rimmed baking sheet with aluminum foil for easy clean up, and set an oven rack on top.
- Remove and discard the truss that holds turkey legs together (if the legs are held together with turkey skin, cut the skin to release them). Trim off and discard any excess fat in the neck or body cavity. Remove giblets and neck; discard or save for stock. Rinse the turkey inside and out with warm water. Pat dry with paper towels.
- In a small bowl, mix the sugar, salt, thyme, sage, and pepper for the dry brine. Place the turkey on the rack of the prepared baking sheet. Rub and pat the dry brine all over the turkey, including inside the cavity. Refrigerate, uncovered, for at least 24 hours and up to 48 hours. (For food safety, ensure the turkey remains in the refrigerator at 40°F or lower during the entire brining period. If brining for longer than 24 hours, you can cover the turkey loosely with plastic wrap for the first part of the brining process and then uncover it for the final 24 hours to allow the skin to dry.)
- Preheat the oven to 375°F and set an oven rack in the lower third of the oven. Using damp paper towels, brush the dry brine off the turkey.
- Scatter the onion, carrots, and celery in the bottom of a large roasting pan. Place a roasting rack inside the pan and place the turkey on the rack. Tuck the wings underneath the bird. Using your hands, smear the butter all over the turkey.
- Roast the turkey until the skin is deep golden and a leave-in or instant-read thermometer registers 165°F when inserted into the thickest part of the breast and the thigh, 1¾ to 2½ hours (see note). Check the turkey after 1½ hours. If the skin is getting too browned, cover it loosely with foil.
- Using clean oven mitts (that you don't mind getting dirty), carefully tilt the turkey so any juices from the cavity pour into the roasting pan. Transfer the turkey to a platter or cutting board. Tent with foil and let rest for 20 to 30 minutes. Remove the vegetables from the pan and discard (or if they aren't too soft/brown, save them and arrange on the serving platter with the turkey). Reserve the drippings in the pan for the gravy.
- While the turkey rests, make the gravy.
- Carve the turkey and serve with the gravy on the side.
- Make-Ahead Instructions: If you don't mind losing the crispy skin, the turkey can be roasted and carved ahead of time. Pour a thin layer of the gravy into an ovenproof serving dish. Arrange the carved turkey nicely on top of the gravy; cover tightly with plastic wrap and refrigerate for up to two days. Refrigerate the remaining gravy in a separate container. To reheat: remove the plastic wrap and cover the platter with aluminum foil. Place in a 325°F-oven for 20 to 30 minutes, until the turkey is hot. Reheat the gravy in the microwave or on the stovetop.
- Note on Selecting Your Turkey: For the best results with this dry-brining method, look for a turkey that is not kosher, injected, or labeled as "self-basting." These types of turkeys have already been treated with salt or a brining solution. However, if you can only find a kosher, injected, or self-basting turkey, you can still use this recipe, as these birds do still benefit from additional seasoning. Just halve the amount of salt in the dry brine to avoid over-salting.
- Note: I've given a range for the cooking time, which will depend on the size of your turkey. For best results, I recommend using a digital thermometer with a leave-in probe and remote monitor (like this one). That way, you can monitor the temperature of the turkey without ever opening your oven.
Pair with
Nutrition Information
Powered by ![]()
- Per serving (8 servings)
- Calories: 1,075
- Fat: 47 g
- Saturated fat: 15 g
- Carbohydrates: 6 g
- Sugar: 5 g
- Fiber: 0 g
- Protein: 147 g
- Sodium: 1,619 mg
- Cholesterol: 513 mg
This website is written and produced for informational purposes only. I am not a certified nutritionist and the nutritional data on this site has not been evaluated or approved by a nutritionist or the Food and Drug Administration. Nutritional information is offered as a courtesy and should not be construed as a guarantee. The data is calculated through an online nutritional calculator, Edamam.com. Although I do my best to provide accurate nutritional information, these figures should be considered estimates only. Varying factors such as product types or brands purchased, natural fluctuations in fresh produce, and the way ingredients are processed change the effective nutritional information in any given recipe. Furthermore, different online calculators provide different results depending on their own nutrition fact sources and algorithms. To obtain the most accurate nutritional information in a given recipe, you should calculate the nutritional information with the actual ingredients used in your recipe, using your preferred nutrition calculator.
Gluten-Free Adaptable Note
To the best of my knowledge, all of the ingredients used in this recipe are gluten-free or widely available in gluten-free versions. There is hidden gluten in many foods; if you're following a gluten-free diet or cooking for someone with gluten allergies, always read the labels of your ingredients to verify that they are gluten-free.

The turkey was amazing, the gravy as well.
The one addition we made is to cook it at 375F, after turning it over so the whole thing was perfect. My son in law doesn’t care for turkey because it’s dry so often but he kept complimenting me this year.
Brown sugar is my favourite thing, one of them at least, so it didn’t hurt that the aesthetic of it fit so well.
Seriously this is my new best turkey and only one from now on. So thank you so much. And the leftovers were amazing as well.
Outstanding recipe. I used it on a 9 lb bone-in breast and it could not have been more flavorful and juicy. Because the breast already had a brine solution from the factory I used only half of the salt. I added a poultry seasoning blend (lazy) in the dry rub and rested it uncovered in the fridge for 24 hours. The next day I roasted in on a bed of celery and carrot sticks, along with two lemon halves and a package of fresh chopped poultry herbs. The house smelled wpnderful and the turkey was a huge hit. Thanks, Jen.
Jenn, I followed this recipe for Thanksgiving. Best – Turkey – Ever. I bought a 23 lb bird that, after being thawed and had all the “innards” removed, weighed in at 18 lbs. Used a leave-in thermometer, (which, IMHO, is absolutely necessary to avoid under/overcooking) and cooked to 165F. (Took about 3hrs & 45 min at 335f). Rested it a good 20 min and enjoyed a juicy, tender, perfectly cooked turkey. Thank you for the perfect turkey!
Thank you for the wonderful recipes that always work. I made this one yesterday and impressed everyone. Had 18lb Turkey and baked it at 350F. So delicious!
I made this recipe for the second time this year, and again, it was a huge hit. I recommend spatchcocking the turkey before dry brining it (use sharp kitchen sheers to cut out the backbone, then press down on the breast so it lies flat). I also spray it with olive oil instead of coating with butter. My 12-lb turkey finished cooking in 80 minutes (still at 375F, as written), and it was evenly cooked, crispy all over, simple to carve, and most importantly, delicious!
Best turkey I have ever made! I actually tried this recipe using a smaller turkey (about 8 lbs), and still had a fabulous outcome. The only change I made was that I did not remove the brine prior to adding the butter/cooking, and enjoyed the flavor it added to the crispy skin. My turkey reached 165F in about 90 minutes, and had perfect skin and juiciness. Definitely recommend giving this recipe a try!
Best turkey ever! The white meat was moist and had great flavor. The skin was perfectly browned and crisp. I also made your make ahead potatoes, gravy and perfect pumpkin pie. (Truly perfect!) Everything was. delicious. I will put these recipes on repeat for next year. Thank you for saving my Thanksgiving, Jenn. I know I can always count on your recipes.
This was the best turkey I ever made. I followed the turkey exactly but used Americas Test Kitchen our favorite turkey gravy. I also made your make ahead potatoes, Brussels sprouts, pumpkin cheesecake with caramel sauce to die for. Spectacular meal. Thank you!
Does anyone know if any modifications need to be made when using a roaster with a 16lb turkey? Thanks!
Hi Catherine, For a 16-lb bird, I’d cook it at 350°F and I’d start checking for doneness around 3-1/2 hrs. Hope that helps!
Hi Jenn. Love your recipes! I’m brining a 17 pound turkey using this recipe and I have two questions. Can you confirm that the turkey should not be covered in foil while cooking? I’m afraid it may dry out. My other question is how long to roast a 17 pound unstuffed Turkey at 325 oven temp? Is it typically 15 min per pound at 325? I’m also baking a fresh smoked ham in the same oven so 325 is the highest temp I can go for my ham recipe. Thanks!
Hi Rose, That’s correct — there’s no need to cover the turkey with foil (unless it starts to get too brown towards the end). I’d count on 12-15 min per pound when cooking an unstuffed turkey at 325°F, so for a 17-lb turkey I would start checking around 3.5 hours. Hope that helps!
Thank you Jenn!