Dry-Brined Turkey
This post may contain affiliate links. Read my full disclosure policy.
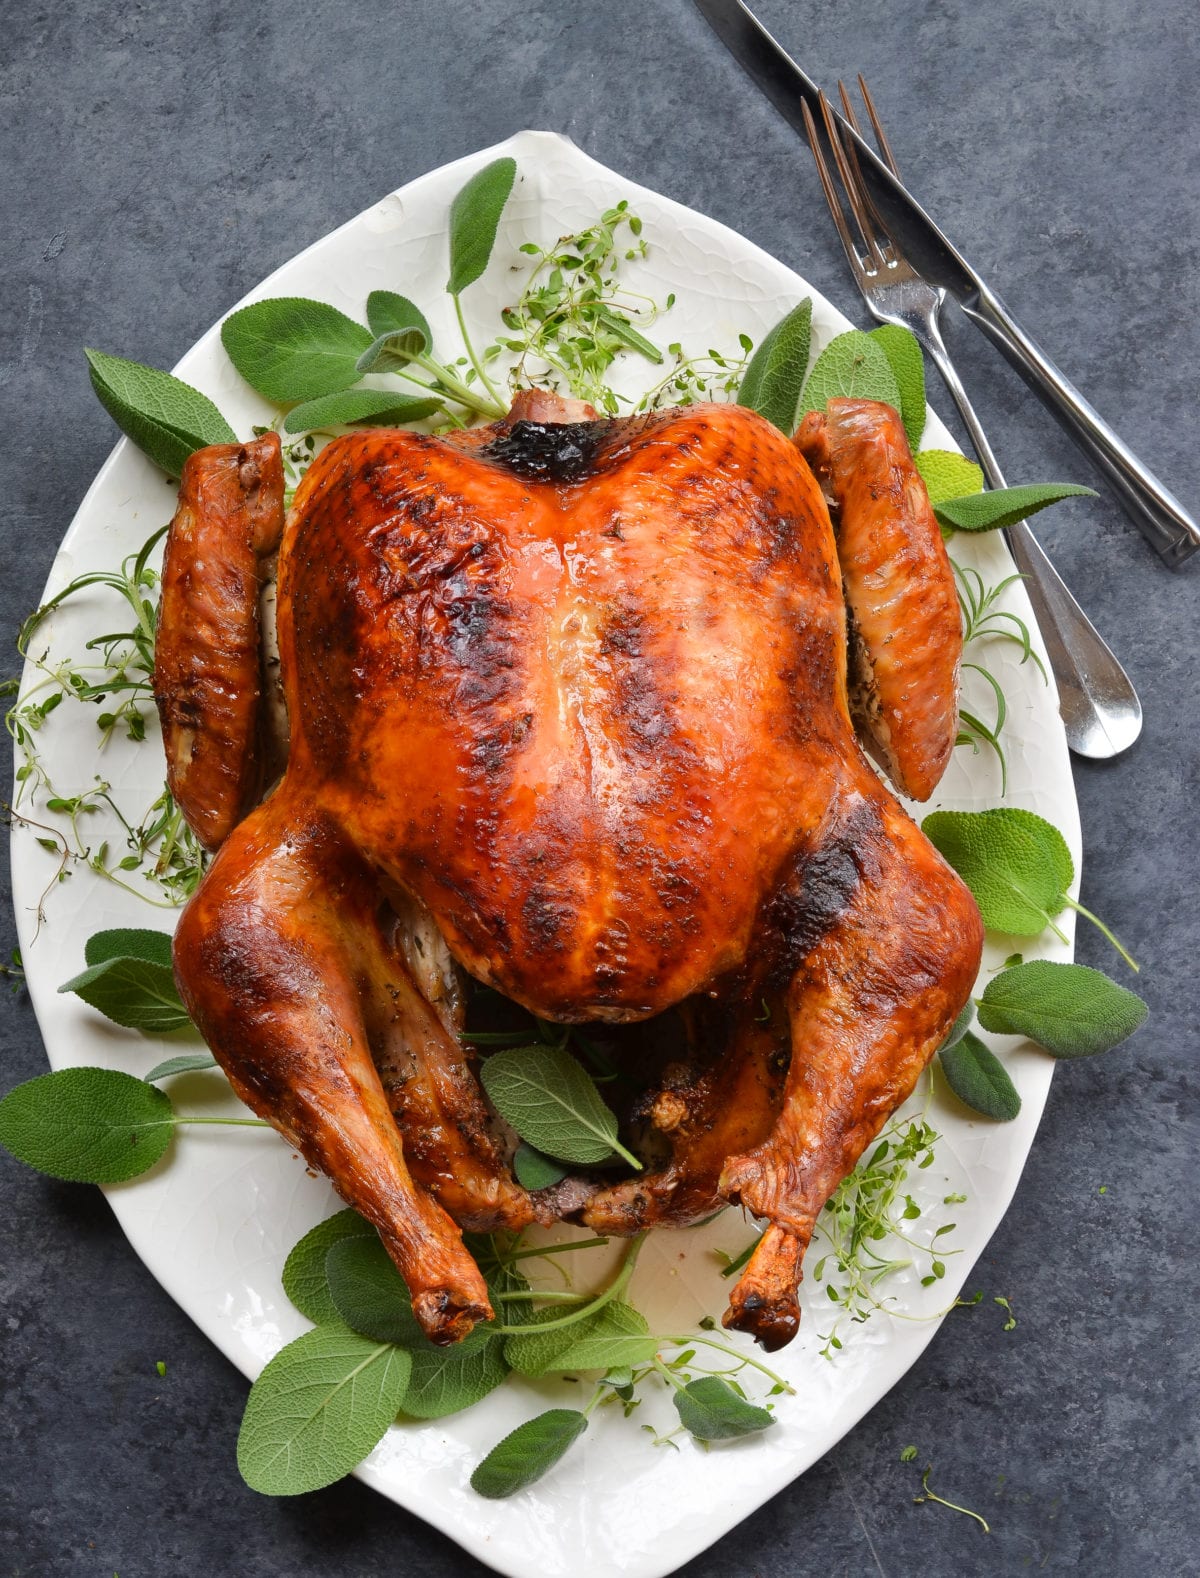
Discover the secret to a perfectly juicy and flavor-packed bird with this easy dry-brined turkey recipe—it’s a holiday game-changer!
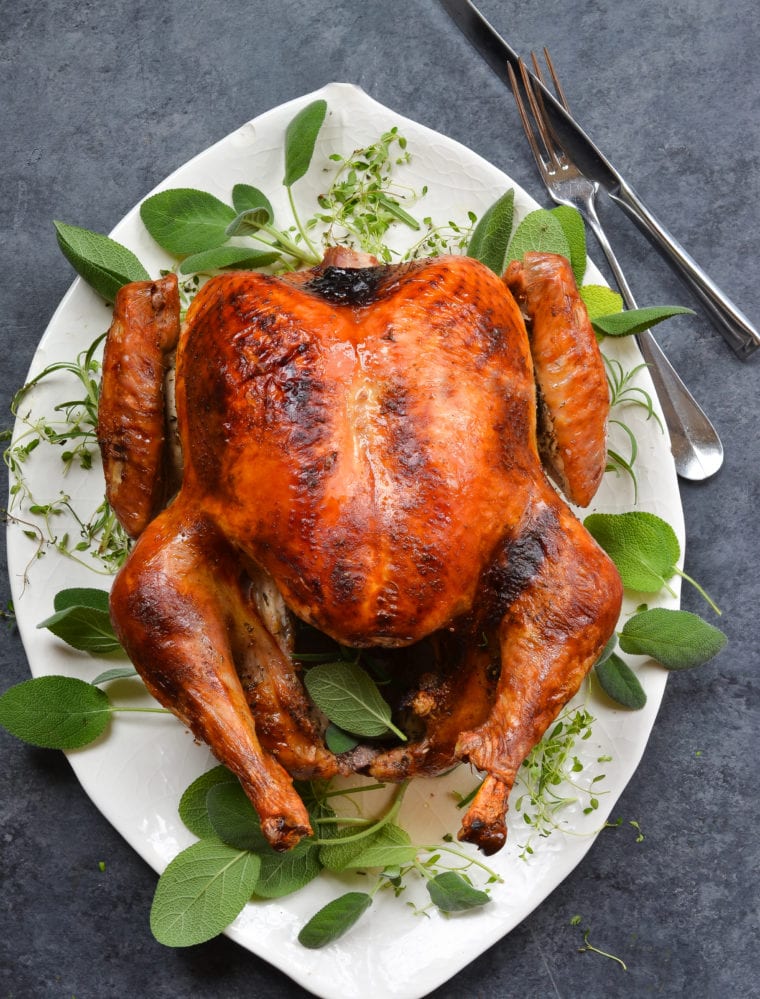
This fantastic dry-brined turkey recipe was shared with me by the talented food stylist Rebecca Jurkevich, who styled my second cookbook. Rebecca told me it was the best turkey she’d ever made—and she’s made her fair share! Adapted from Jeff Mauro and featured in Rachel Ray Magazine, the recipe’s biggest draw is its simplicity.
You start by rubbing a salt and seasoning mixture—the dry brine—onto the turkey’s skin, then let it rest in the fridge overnight. The salt not only deeply seasons the meat but also draws out the turkey’s natural juices, creating a self-brine that the meat reabsorbs, guaranteeing flavorful, juicy, tender results from the inside out. Plus, the overnight rest in the fridge dries out the skin, so when you cook it, you end up with the most beautifully crispy, golden-brown exterior. Whether you’re a seasoned cook or tackling Thanksgiving turkey for the first time, this dry-brine method is a must-try for its ease and reliability.
Table of Contents
“My husband just declared this is the best turkey we’ve made in 40 years!!!! I concur!!”
Wet Brining vs. Dry Brining
Dry brining involves rubbing salt, herbs, and spices onto the turkey skin and letting it rest in the fridge overnight (or longer). In contrast, wet brining requires soaking the turkey in a seasoned saltwater solution, which often means dealing with a large cooler or bag—a process that can be quite cumbersome. Both methods enhance flavor and juiciness, but dry brining is much simpler and produces beautifully crisp skin.
What You’ll Need To Make A Dry-Brined Turkey
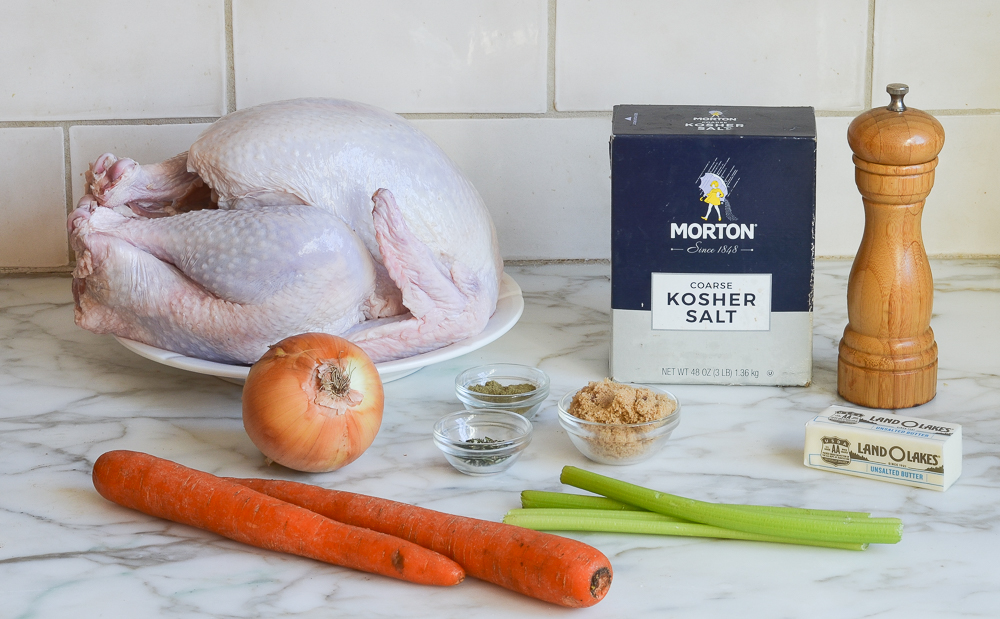
- Turkey – For the best results with this dry-brining method, avoid kosher turkeys, injected turkeys, or self-basting turkeys. These birds have already been treated with salt or a brining solution. However, if you can only find one of these, you can still use this recipe—just halve the amount of salt in the dry brine to avoid over-salting.
- Light brown sugar – Adds a touch of sweetness to balance the salt in the brine and enhances the turkey’s natural flavors.
- Kosher salt – The essential component of the dry brine; it draws moisture out of the skin for extra-crispy results while seasoning the meat throughout. I use Morton brand kosher salt; if you’re using Diamond Crystal kosher salt, which has lighter, flakier grains, you’ll need to increase the amount to ¼ cup to achieve the same level of seasoning. The difference is due to the way the salts are processed: Morton has denser, more compact granules, so it measures saltier per tablespoon than the lighter Diamond Crystal.
- Herbs (dried thyme and sage) – Infuse the turkey with earthy, savory flavors and bring that quintessential holiday flavor.
- Freshly ground black pepper – Provides a mild, peppery bite to balance the other seasonings.
- Unsalted butter – Coats the turkey for baking, enhancing richness and helping to brown the skin.
- Aromatics (yellow onion, carrots, and celery) – Add depth and sweetness to the drippings, creating a flavorful base for the gravy.
- Jump to the printable recipe for precise measurements
Step-by-Step Instructions
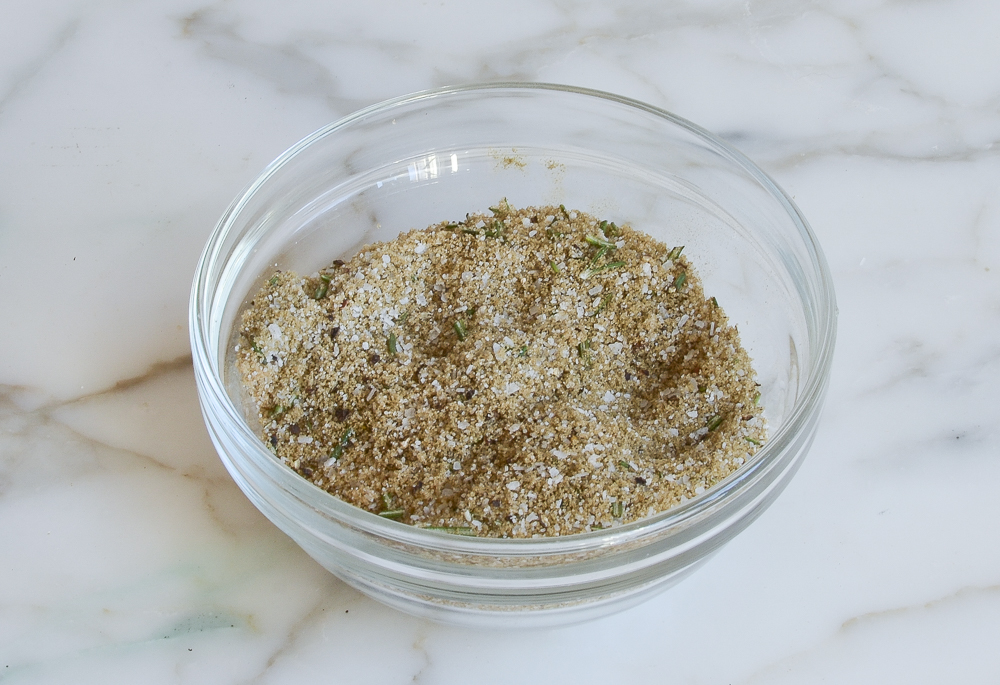
In a small bowl, mix the sugar, salt, thyme, sage, and pepper for the dry brine.
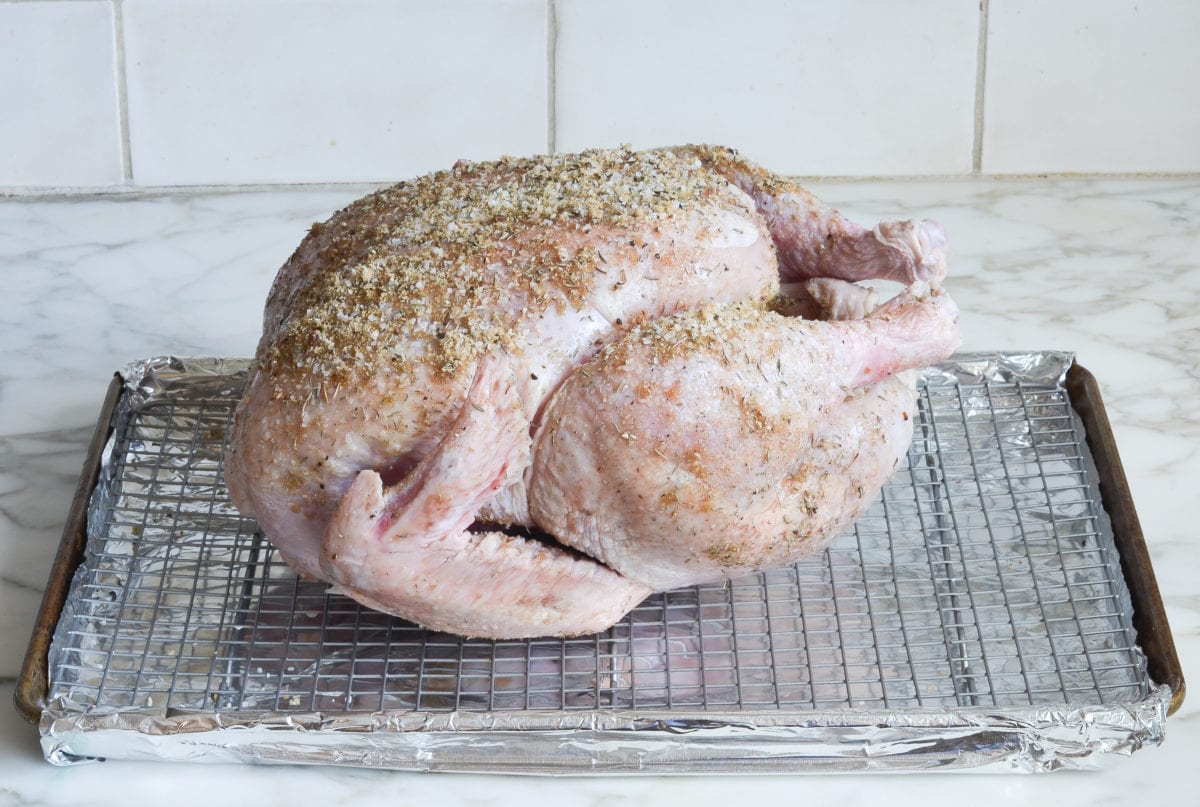
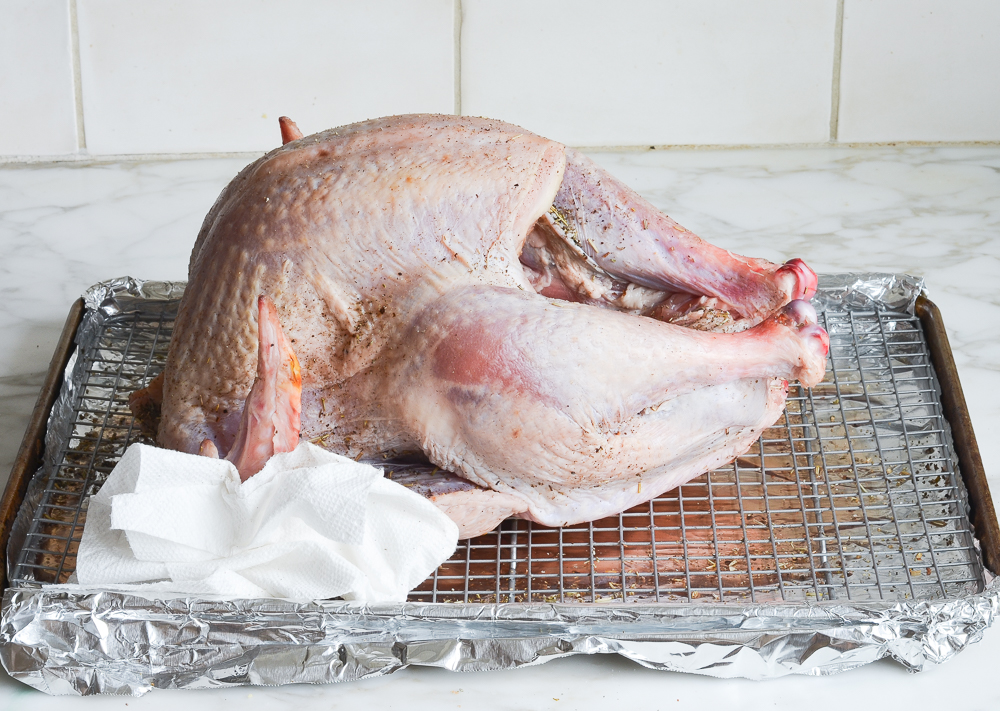
Place the turkey breast side up on the rack of a baking sheet. Rub and pat the dry brine all over the turkey, including inside the cavity. Refrigerate, uncovered, for at least 24 hours and up to 48 hours. The longer you allow the turkey to brine, the more flavorful and moist it will be, but don’t go past the max recommended time.
Using damp paper towels, brush the dry brine off the turkey.
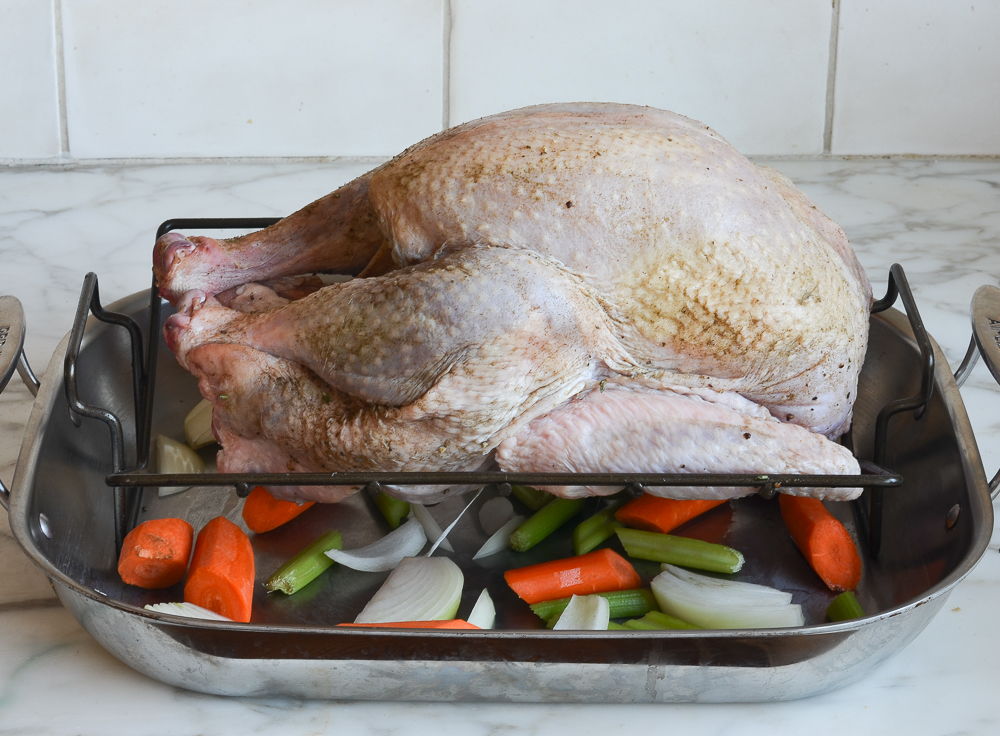
Scatter the onion, carrots, and celery in the bottom of a large roasting pan. Place a roasting rack inside the pan and place the turkey on the rack. Tuck the wings underneath the bird.
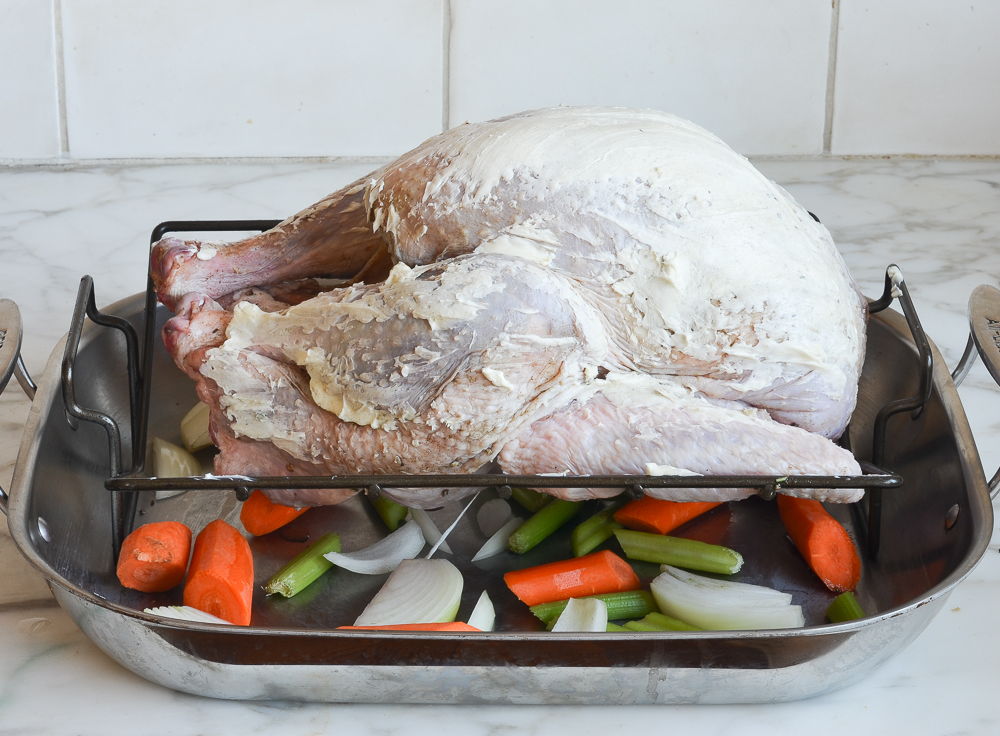
Using your hands, smear the butter all over the turkey.
Roast the turkey until the skin is deep golden and an instant-read thermometer registers 165°F when inserted into the thickest part of the breast and the thigh, 1-3/4 to 2-1/2 hours. Check the turkey after 1-1/2 hours. If it’s getting too dark, cover it loosely with foil.
Note: The cooking time will depend on the size of your turkey. For best results, I recommend using a digital thermometer with a leave-in probe and remote monitor, like the one shown below. That way, you can monitor the temperature of the turkey without ever opening your oven.
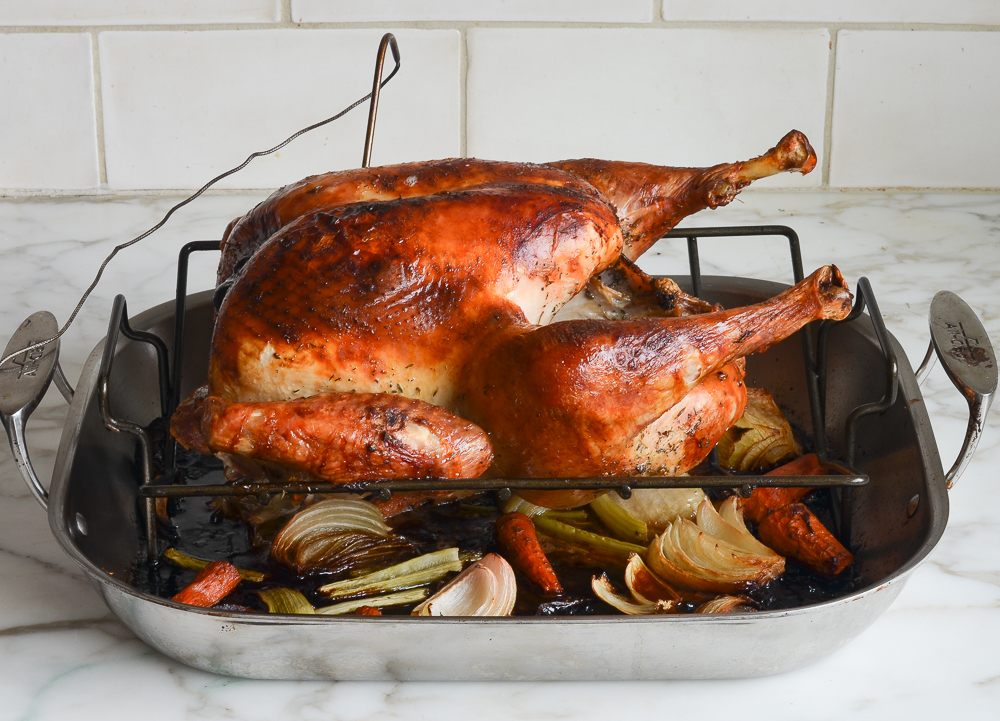
Using clean oven mitts (that you don’t mind getting dirty), carefully tilt the turkey so any juices from the cavity pour into the roasting pan. Transfer the turkey to a platter or cutting board. Tent with foil and let rest for 20 to 30 minutes. Remove the vegetables from the pan and discard (or if they aren’t too soft/brown, save them and arrange on the serving platter with the turkey). Reserve the drippings in the pan for the gravy. While the turkey rests, make the turkey gravy.
Carve the turkey and serve with the gravy on the side. Serve with stuffing and cranberry sauce.
You May Also Like
Dry-Brined Turkey
Discover the secret to a perfectly juicy and flavor-packed bird with this easy dry-brined turkey recipe—it’s a holiday game-changer!
Ingredients
- 1 (12 to 14-pound) turkey, patted dry (see note)
- ¼ cup (packed) light brown sugar
- 3 tablespoons Morton kosher salt (or ¼ cup Diamond kosher salt)
- 2 teaspoons dried thyme
- 2 teaspoons dried sage leaves or ground sage
- 1 teaspoon freshly ground black pepper
- 6 tablespoons unsalted butter, at room temperature
- 1 large yellow onion, cut into wedges
- 2 carrots, cut into 2-inch pieces
- 2 stalks celery, cut into 2-inch pieces
Instructions
- Line a rimmed baking sheet with aluminum foil for easy clean up, and set an oven rack on top.
- Remove and discard the truss that holds turkey legs together (if the legs are held together with turkey skin, cut the skin to release them). Trim off and discard any excess fat in the neck or body cavity. Remove giblets and neck; discard or save for stock. Rinse the turkey inside and out with warm water. Pat dry with paper towels.
- In a small bowl, mix the sugar, salt, thyme, sage, and pepper for the dry brine. Place the turkey on the rack of the prepared baking sheet. Rub and pat the dry brine all over the turkey, including inside the cavity. Refrigerate, uncovered, for at least 24 hours and up to 48 hours. (For food safety, ensure the turkey remains in the refrigerator at 40°F or lower during the entire brining period. If brining for longer than 24 hours, you can cover the turkey loosely with plastic wrap for the first part of the brining process and then uncover it for the final 24 hours to allow the skin to dry.)
- Preheat the oven to 375°F and set an oven rack in the lower third of the oven. Using damp paper towels, brush the dry brine off the turkey.
- Scatter the onion, carrots, and celery in the bottom of a large roasting pan. Place a roasting rack inside the pan and place the turkey on the rack. Tuck the wings underneath the bird. Using your hands, smear the butter all over the turkey.
- Roast the turkey until the skin is deep golden and a leave-in or instant-read thermometer registers 165°F when inserted into the thickest part of the breast and the thigh, 1¾ to 2½ hours (see note). Check the turkey after 1½ hours. If the skin is getting too browned, cover it loosely with foil.
- Using clean oven mitts (that you don't mind getting dirty), carefully tilt the turkey so any juices from the cavity pour into the roasting pan. Transfer the turkey to a platter or cutting board. Tent with foil and let rest for 20 to 30 minutes. Remove the vegetables from the pan and discard (or if they aren't too soft/brown, save them and arrange on the serving platter with the turkey). Reserve the drippings in the pan for the gravy.
- While the turkey rests, make the gravy.
- Carve the turkey and serve with the gravy on the side.
- Make-Ahead Instructions: If you don't mind losing the crispy skin, the turkey can be roasted and carved ahead of time. Pour a thin layer of the gravy into an ovenproof serving dish. Arrange the carved turkey nicely on top of the gravy; cover tightly with plastic wrap and refrigerate for up to two days. Refrigerate the remaining gravy in a separate container. To reheat: remove the plastic wrap and cover the platter with aluminum foil. Place in a 325°F-oven for 20 to 30 minutes, until the turkey is hot. Reheat the gravy in the microwave or on the stovetop.
- Note on Selecting Your Turkey: For the best results with this dry-brining method, look for a turkey that is not kosher, injected, or labeled as "self-basting." These types of turkeys have already been treated with salt or a brining solution. However, if you can only find a kosher, injected, or self-basting turkey, you can still use this recipe, as these birds do still benefit from additional seasoning. Just halve the amount of salt in the dry brine to avoid over-salting.
- Note: I've given a range for the cooking time, which will depend on the size of your turkey. For best results, I recommend using a digital thermometer with a leave-in probe and remote monitor (like this one). That way, you can monitor the temperature of the turkey without ever opening your oven.
Pair with
Nutrition Information
Powered by ![]()
- Per serving (8 servings)
- Calories: 1,075
- Fat: 47 g
- Saturated fat: 15 g
- Carbohydrates: 6 g
- Sugar: 5 g
- Fiber: 0 g
- Protein: 147 g
- Sodium: 1,619 mg
- Cholesterol: 513 mg
This website is written and produced for informational purposes only. I am not a certified nutritionist and the nutritional data on this site has not been evaluated or approved by a nutritionist or the Food and Drug Administration. Nutritional information is offered as a courtesy and should not be construed as a guarantee. The data is calculated through an online nutritional calculator, Edamam.com. Although I do my best to provide accurate nutritional information, these figures should be considered estimates only. Varying factors such as product types or brands purchased, natural fluctuations in fresh produce, and the way ingredients are processed change the effective nutritional information in any given recipe. Furthermore, different online calculators provide different results depending on their own nutrition fact sources and algorithms. To obtain the most accurate nutritional information in a given recipe, you should calculate the nutritional information with the actual ingredients used in your recipe, using your preferred nutrition calculator.
Gluten-Free Adaptable Note
To the best of my knowledge, all of the ingredients used in this recipe are gluten-free or widely available in gluten-free versions. There is hidden gluten in many foods; if you're following a gluten-free diet or cooking for someone with gluten allergies, always read the labels of your ingredients to verify that they are gluten-free.

Hi Jen! Your recipes are always my go-to for just about any occasion, I’d like to try this dry brine. Since the media is saying that small (12 lbs or under) turkeys are going to be
almost impossible to find this Thanksgiving, we are going to try t turkey parts (1 breast and 2 leg/thighs for our small family gathering. Can you let me know how to adjust the amount of dry brine…just 1/2 the amount as you’ve recommended to others for turkey breast or??? Also temperature and cooking time?
Hi Lisette, The amount of brine you need really depends on the amount/weight of the turkey you get, so based on that, I’d cut the brine back proportionally. I’d keep the temperature the same but it’s really hard to say how long the cooking time will be. Your best bet is to use a leave-in thermometer. Hope you enjoy!
This is a really interesting preparation, and I agree that for a large bird like a turkey, wet brining is challenging. We typically cook our bird on a Weber charcoal kettle grill, and wrap it in bacon to protect the more delicate areas from burning (great flavor, and allows more oven space for side dishes). I’m thinking I want to adapt portions of this recipe for our pre-grilling part of the process. I have never been disappointed in one of your recipes. I’ll let you know how it goes.
Dry brine is the way to go,using duck fat in place of butter puts it over the top.
I have made this recipe for the last 6 yrs ( a little variation on the dry rub,but same results.I always cook a 21 lb turkey at 350 degrees ,timing according to thermometer testing.Guests always comment on how moist and tender the turkey is! Am 89 and trust me I have cooked many, many turkeys and trust me again this is the winner!
What a surprise. I just placed a 13 lb. dry brined turkey (just kosher salt) on a tray in my fridge for an early turkey meal this week-end. Can never get enough of Thanksgiving spirit or the bird. I will just add the extra ingredients to my salt to measure your recipe. I have already given you 5 stars for the recipe and great pictures. Well done. Maybe mine will look as good.
Hi Jenn,
I made this turkey recipe last year and it was perfection! I roasted a 15 1/4 lb. turkey with no changes to the recipe and it took around 2 hours, 40 min. My question today: This year I plan to buy a larger turkey, 16-18lb. I know you say to lower cooking temp from 375 to 325 degrees for larger birds. To be clear about what you mean by “larger bird”, would you recommend that change for this size range?
Also, if you are permitted to say, ….do you have a preference for any particular turkey brand?
Thanks so much!
Lisa
Hi Lisa, For a 16 lb bird, I’d split the difference and cook at 350°F; anything bigger I’d go with 325°F. And I like Bell & Evans turkeys. 🙂
Why does the temperature change when cooking a larger bird? Thank you
Hi Mary, the reason for the temperature change is because if you cook a bigger turkey at a higher temperature the outside will burn before the inside is fully cooked. Hope that clarifies!
Could I using this brining/roasting method on a spatchcocked turkey? Obviously the cooking time would be shorter. Thanks.
Sure, Ellen, that should work. Hope you enjoy!
We used this recipe for Thanksgiving this past year and it was hands down the best turkey we have ever made. The turkey was super moist and so full of flavor. We will use this recipe every year from now on. It was super simple too, which is a bonus during a busy holiday prep time.
I used this method on a turkey breast two weeks ago – fantastic! Hands-down the very best roasted turkey we’ve ever had. Thankfully, I have the remaining carcass to create turkey noodle soup.
Divine! Works just as well in the slow cooker, just brown first.