Dinner Rolls
This post may contain affiliate links. Read my full disclosure policy.
Perfectly soft, fluffy, and buttery—these are the absolute best homemade dinner rolls, and they’re sure to make any meal feel extra special.
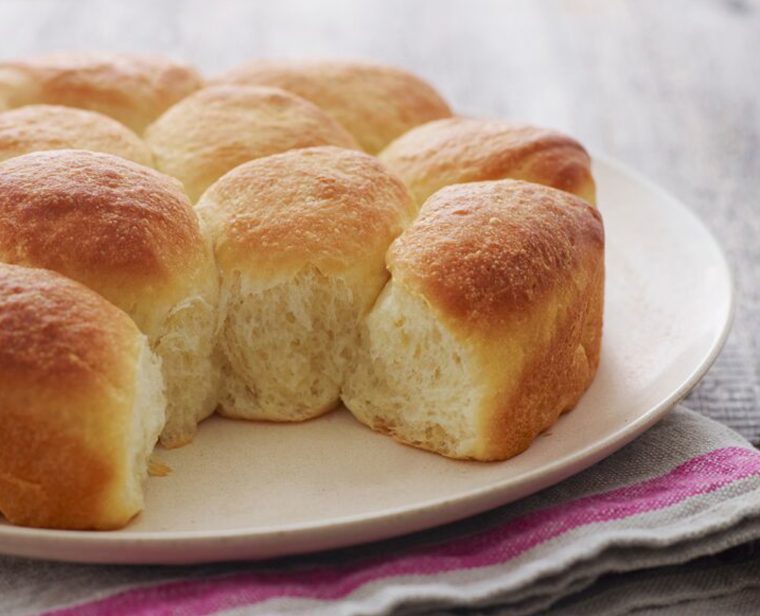
Photo by Alexandra Grablewski (Chronicle Books, 2018)
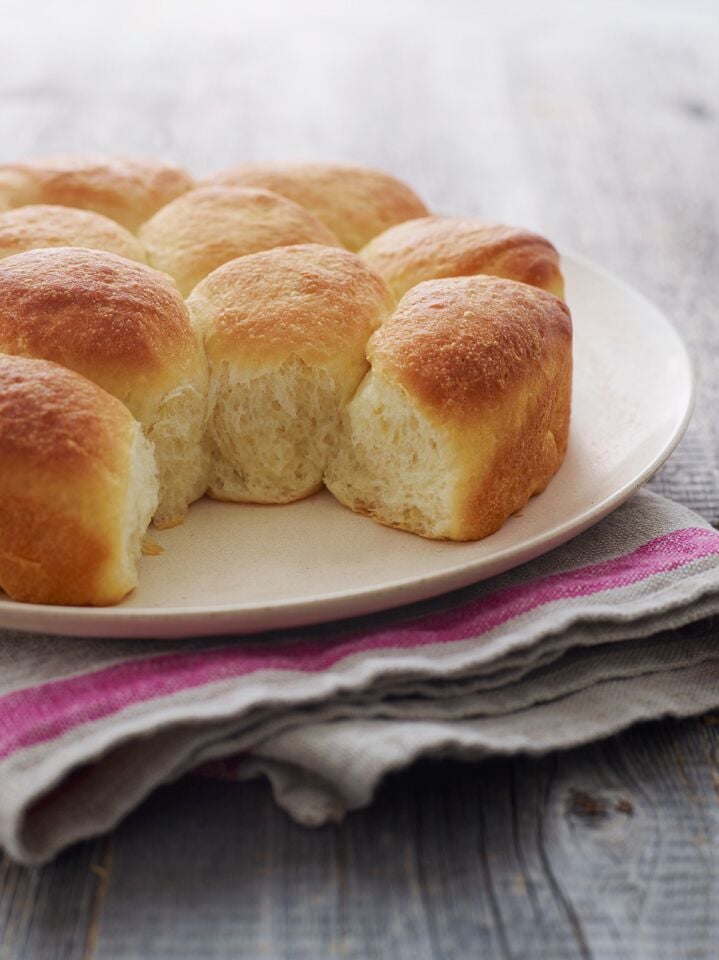
In my first cookbook, I dedicated a whole chapter to homemade breads, from traditional challah and cornbread to sweet cinnamon swirl bread. When my editor suggested I include a simple dinner roll recipe in the mix, I set to work testing dozens of recipes. While many were quick and easy with short rising times—a plus, for sure—they were also disappointingly bland and dense. I finally came up with this recipe, which uses instant potato flakes and nonfat dried milk to tenderize the bread and add flavor. These dinner rolls are soft and fluffy, with an open crumb and rich, buttery flavor. While they may not the fastest dinner rolls out there, I firmly believe they are the very best.
“These were a hit! Surprised because I thought was making just a basic dinner roll. Nope!”
What You’ll Need To Make Dinner Rolls
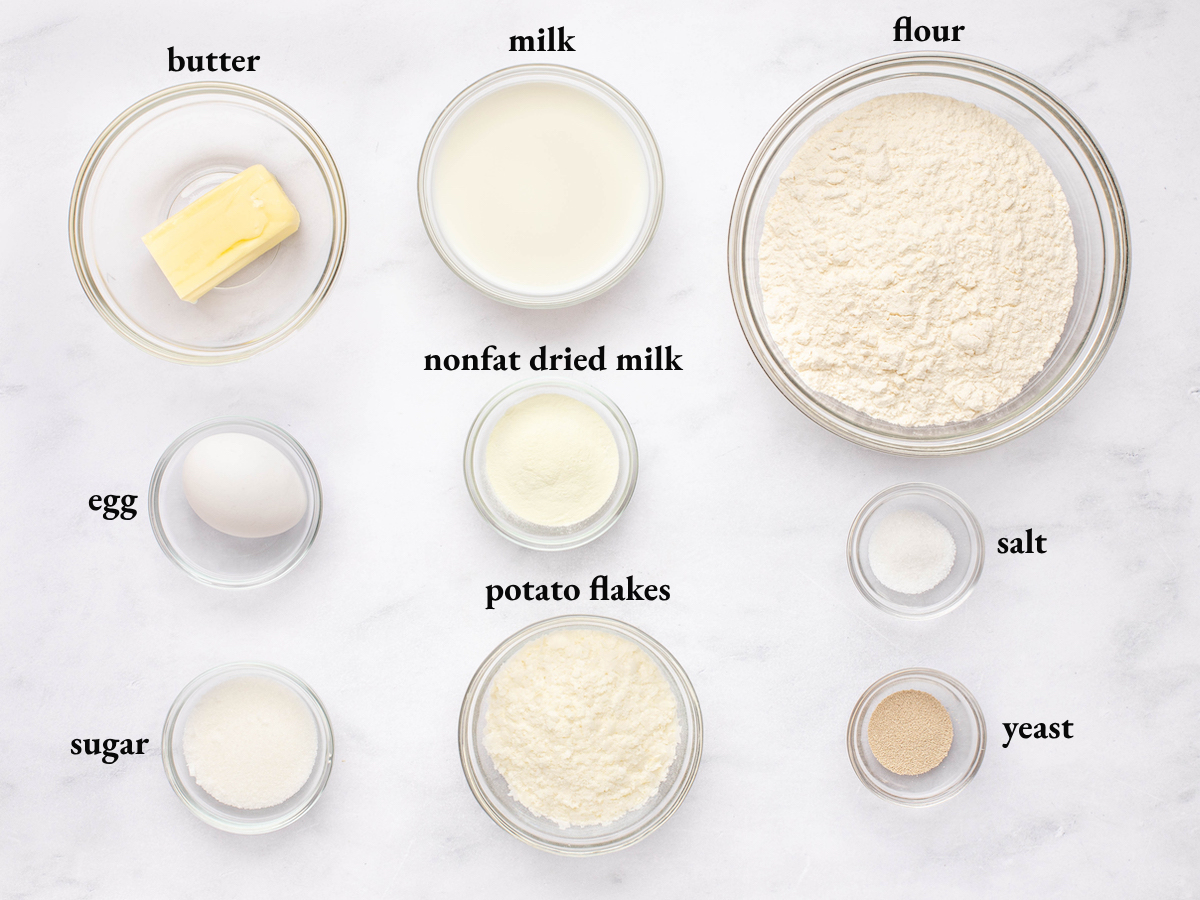
- Milk: Adds richness and flavor to the dough, contributing to the tender texture of the rolls.
- Water: Provides additional moisture needed for the dough.
- Egg: Contributes to the richness and color of the rolls.
- All-purpose flour: The base of the rolls, providing the necessary gluten for the rolls’ texture.
- Instant potato flakes: Add moisture, tenderness, and flavor to the rolls, also help to retain freshness.
- Nonfat dried milk: Adds protein, fat, and flavor to baked goods without impacting the liquid-to-dry ratios. This enhances flavor, tenderness, and the browning of the crust.
- Sugar: Adds a touch of sweetness to the rolls to enhance their flavor.
- Instant, quick, or rapid-rise yeast: Leavening agent that causes the dough to rise, making the rolls light and fluffy.
- Butter: Adds flavor, richness, and tenderness to the rolls; also used for brushing on finished rolls for a soft, flavorful crust.
- Jump to the printable recipe for precise measurements
Step-by-Step Instructions
Step 1: Make the Dough
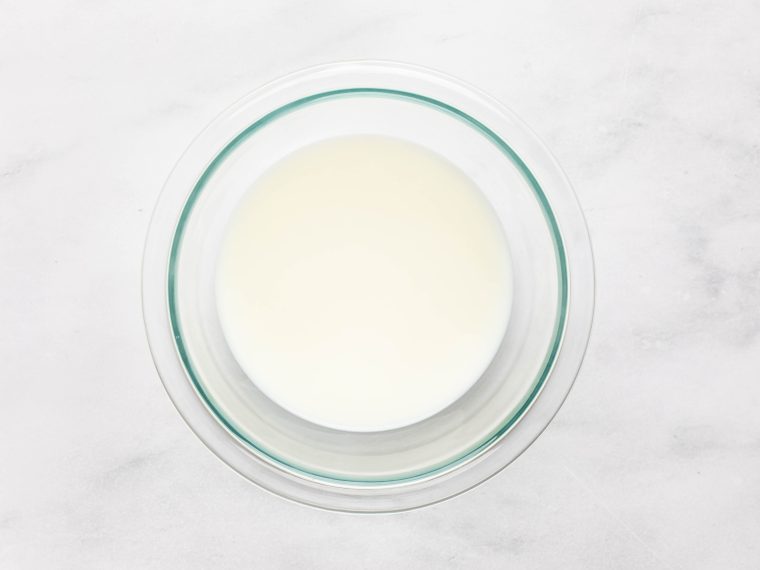
In a small microwave-safe bowl combine the milk and ¼ cup water. Heat until lukewarm, 20 to 30 seconds on high heat. (This can also be done in a small saucepan on the stove.)
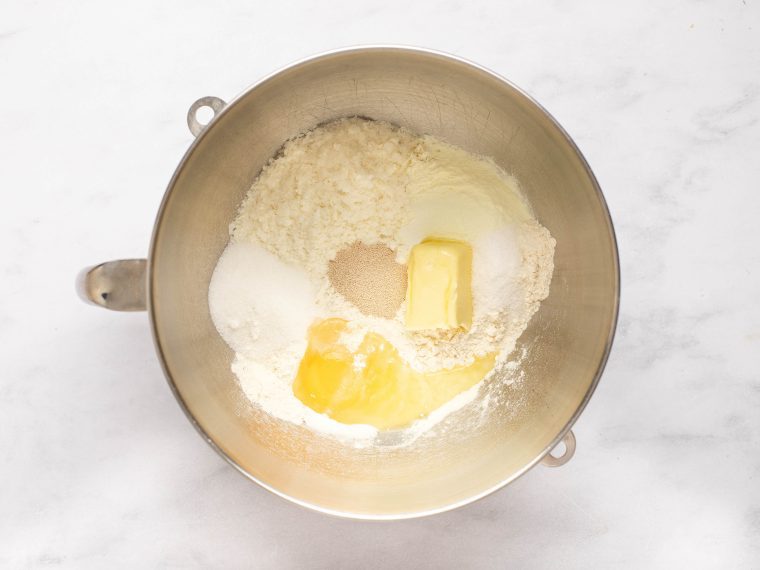
In the bowl of an electric mixer fitted with the dough hook, combine the egg, flour, potato flakes, dried milk, sugar, yeast, salt, and 3 tablespoons of the butter.
Add the warm milk/water mixture.
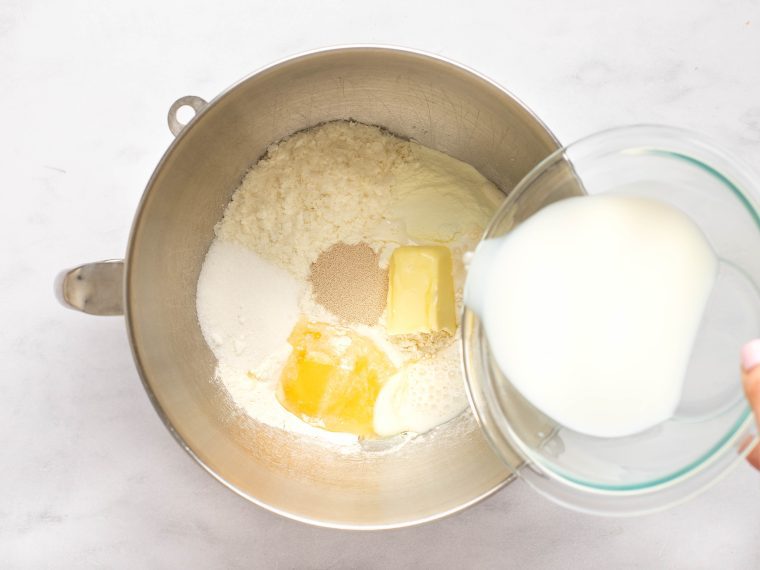
Knead on medium-low speed for about 5 minutes until you have a smooth, soft dough. (Don’t worry if the dough sticks a bit to the bottom of the bowl.)
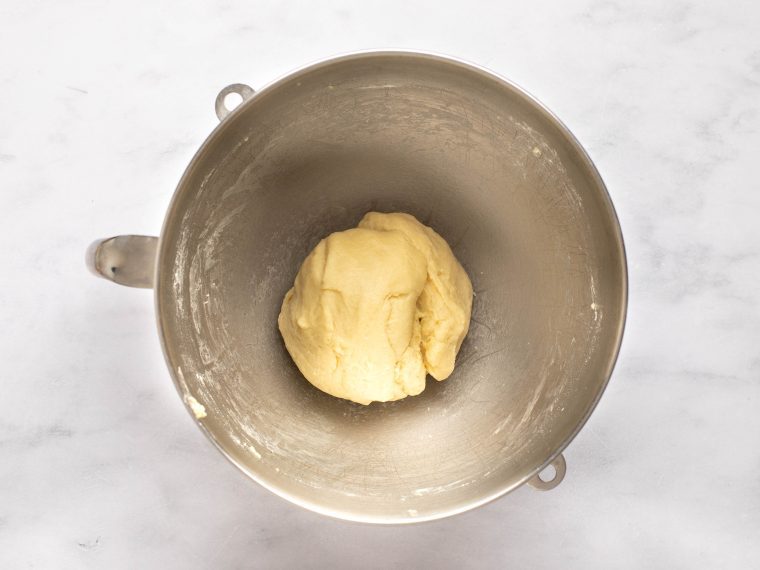
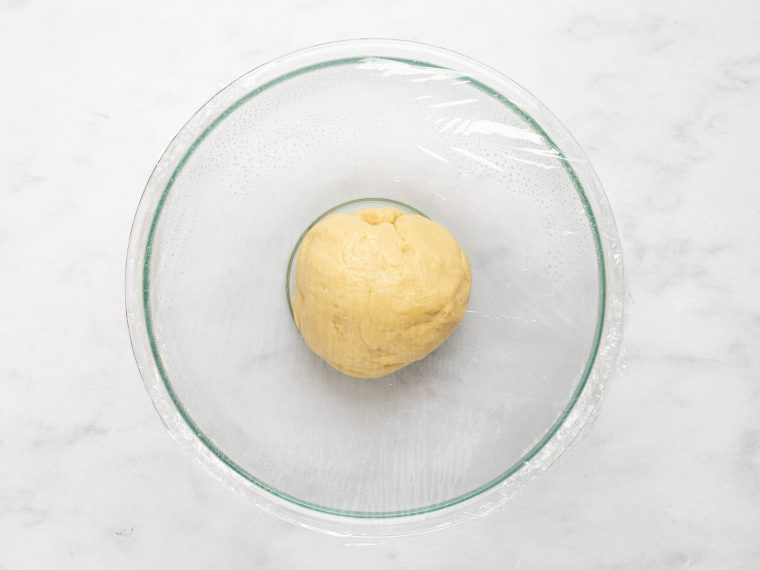
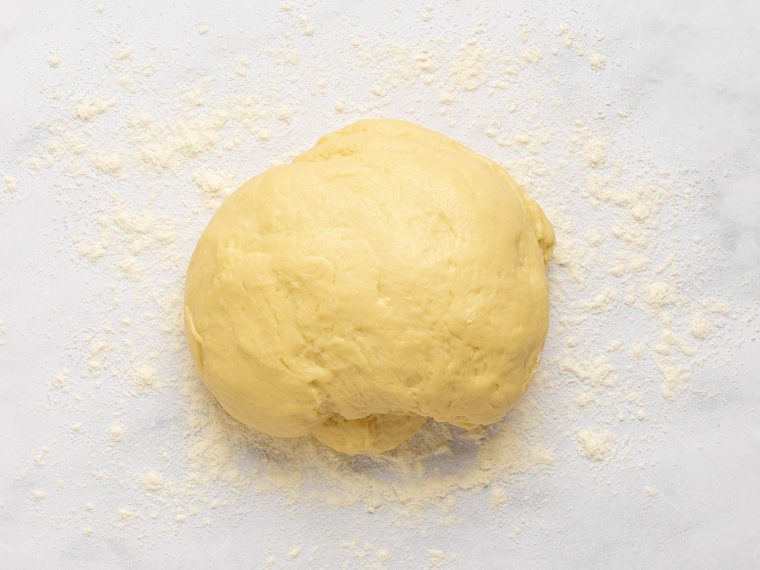
To remove the dough from the bowl, dust your hands with flour and scrape it out. Using your hands (dust them with more flour if necessary), shape the dough into a ball and place in a lightly greased bowl. Cover the bowl with plastic wrap or a damp kitchen towel.
Step 2: Allow the Dough to Rise
Let the dough rise in a warm, draft-free place until it’s doubled in bulk, about 90 minutes.
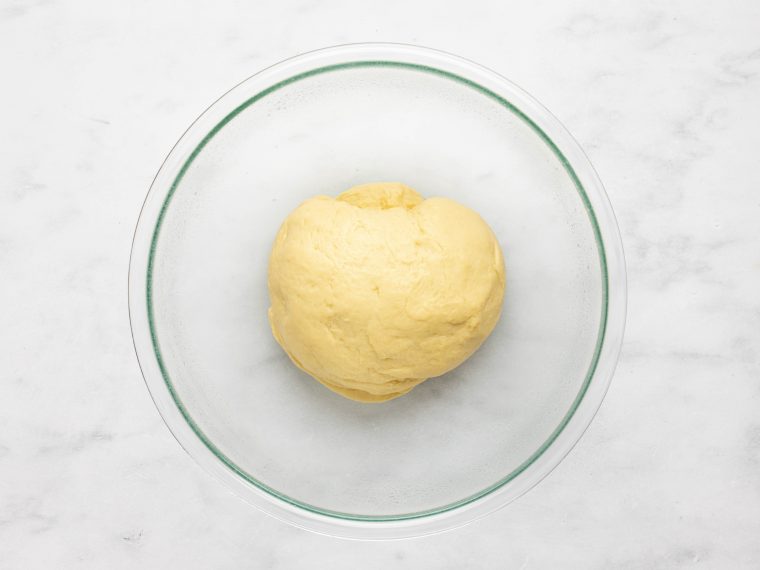
Invert the dough onto a lightly floured work surface (it will deflate).
Step 3: Form Buns and Let Rise Again
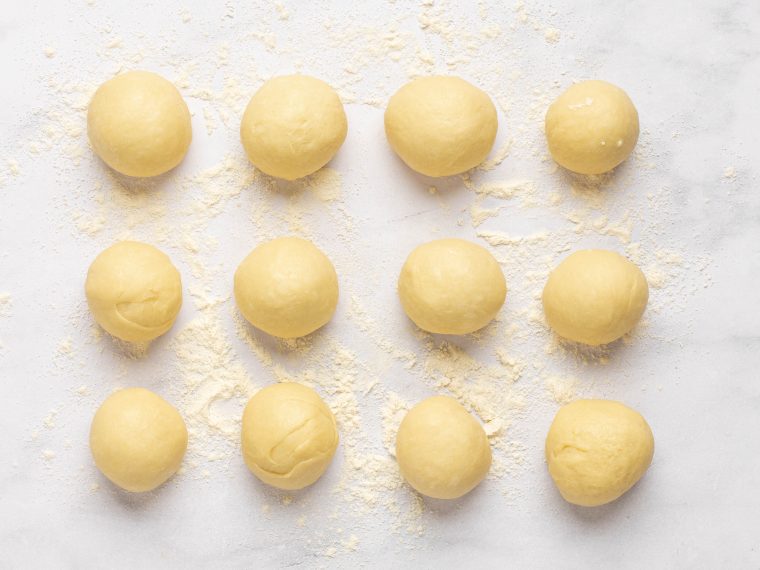
Divide it into 12 even pieces (each piece should weigh 1¾ to 2 ounces). Shape each piece of dough into a smooth ball by tucking and pinching the edges underneath to form a plump little bun.
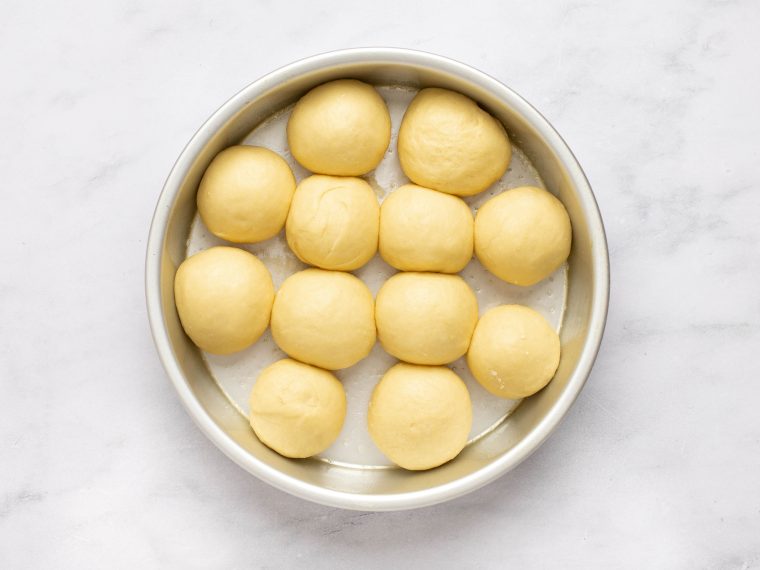
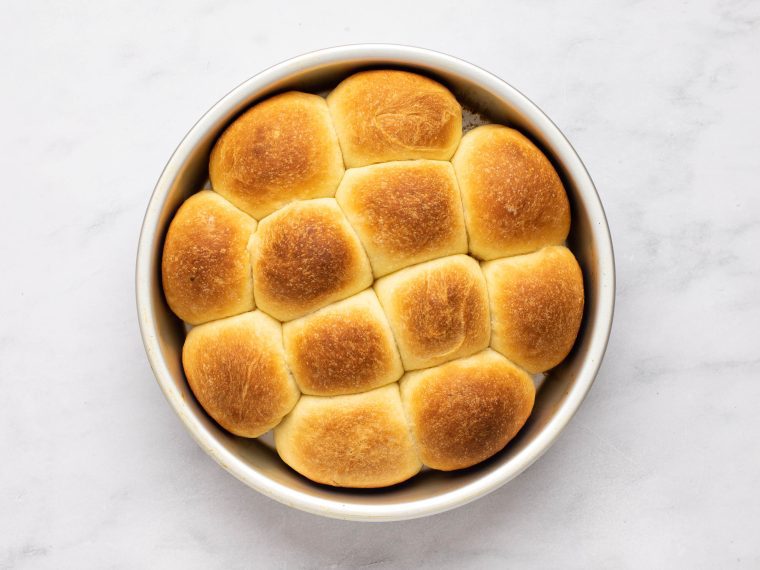
Grease a 9-inch round baking pan with nonstick cooking spray. Place the rolls in the pan, arranging 8 evenly around the perimeter and 4 in the center. Cover the pan with plastic wrap or a damp kitchen towel and let the rolls rise until they’re almost doubled in bulk, puffy, and touching, about 1 hour. Toward the end of the rising time, preheat the oven to 350°F and set an oven rack in the middle position.
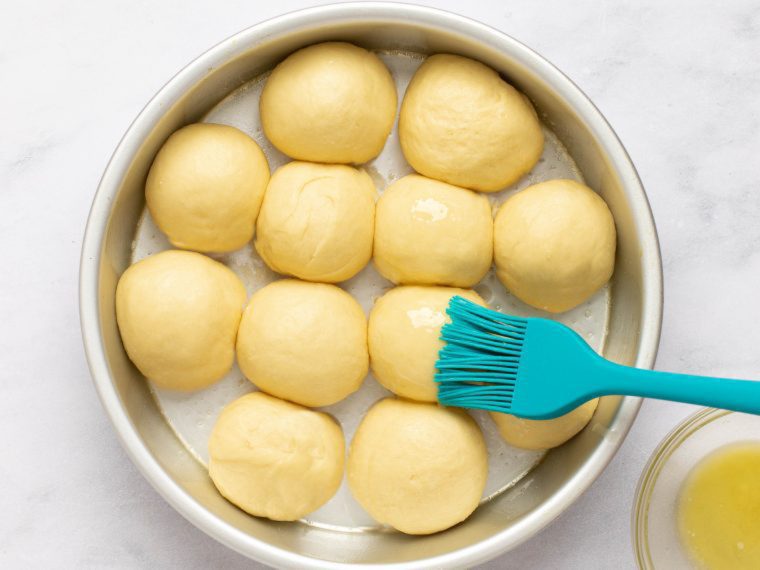
Melt the remaining 1 tablespoon butter. Brush the rolls with the melted butter.
Step 4: Bake
Bake for 23 to 25 minutes, until golden brown. Remove from the oven, and turn out onto a wire rack. Serve warm or at room temperature with butter. Store the rolls in a sealable plastic bag for several days at room temperature, or freeze for longer storage.
Frequently Asked Questions
Potato flakes and nonfat dried milk may seem like unusual ingredients for rolls, but they actually serve an important purpose in the baking process. Potatoes have a lot of starch, which is able to absorb and retain a lot of moisture. Adding potato flakes to the bread dough results in soft, fluffy rolls with an extended shelf-life. Additionally, dried milk — which is milk in its most concentrated form — adds protein, fat, and flavor to baked goods without impacting the liquid-to-dry ratios. This translates to bread and rolls that are especially tender and flavorful.
Yes! While the recipe calls for instant, quick, or rapid-rise yeast, it’s fine to use active dry yeast if that’s what you have on hand. In the past, active dry yeast needed to be dissolved in liquid before incorporating it into a recipe, but it has now been reformulated into a smaller particle size, making it easier to use without dissolving it first. The dough will just take a little longer to rise.
Yes, you can freeze the rolls before or after baking. To freeze before baking, after completing the first rise and shaping the dough into 12 balls, put the dough balls on a baking sheet, pop them in the freezer for about an hour or until they are no longer tacky, and then put then in a resealable freezer bag in the freezer for up to 3 months. When ready to bake, thaw the dough balls at room temperature for a minimum of 3 hours. Once thawed, place the dough balls in the baking dish for the second rise and proceed with recipe.
To freeze the baked rolls, let them cool completely, wrap tightly in aluminum foil, and place in a freezer bag in the freezer for up to 1 month. To thaw, remove the rolls from the freezer and let sit at room temperature for at least 3 hours. Place the foil-wrapped rolls in a preheated 350°F (180°C) oven for 10 to 15 minutes, until warm.
You May Also Like
Dinner Rolls
Perfectly soft, fluffy, and buttery—these are the absolute best homemade dinner rolls, and they’re sure to make any meal feel extra special.
Ingredients
- ½ cup milk
- ¼ cup water
- 1 egg
- 2 cups all-purpose flour, spooned into measuring cup and leveled-off, plus more for dusting
- ½ cup instant potato flakes
- 2 tablespoons nonfat dried milk
- 2½ tablespoons sugar
- 1¼ teaspoons instant, quick, or rapid-rise yeast
- 1¼ teaspoons salt
- 4 tablespoons unsalted butter, at room temperature, plus more for serving
Instructions
- In a small microwave-safe bowl combine the milk and water. Heat until lukewarm, 20 to 30 seconds on high heat. (This can also be done in a small saucepan on the stove.)
- In the bowl of an electric mixer fitted with the dough hook, combine the egg, flour, potato flakes, dried milk, sugar, yeast, salt, and 3 tablespoons of the butter. Add the warm milk and water mixture and knead on medium-low speed for about 5 minutes until you have a smooth, soft dough. (Don’t worry if the dough sticks a bit to the bottom of the bowl.) To remove the dough from the bowl, dust your hands with flour and scrape it out.
- Using your hands (dust them with more flour if necessary), shape the dough into a ball and place in a lightly greased bowl. Cover the bowl with plastic wrap or a damp kitchen towel and let the dough rise in a warm, draft-free place until it's doubled in bulk, about 90 minutes.
- Invert the dough onto a lightly floured work surface (it will deflate). Divide it into 12 even pieces (each piece should weigh 1¾ to 2 ounces). Shape each piece of dough into a smooth ball by tucking and pinching the edges underneath to form a plump little bun.
- Grease a 9-inch round baking pan with nonstick cooking spray. Place the rolls in the pan, arranging 8 evenly around the perimeter and 4 in the center. Cover the pan with plastic wrap or a damp kitchen towel and let the rolls rise until they're almost doubled in bulk, puffy, and touching, about 1 hour. Toward the end of the rising time, preheat the oven to 350°F and set an oven rack in the middle position.
- Melt the remaining 1 tablespoon butter. Brush the rolls with the melted butter and bake for 23 to 25 minutes, until golden brown. Remove from the oven, and turn out onto a wire rack. Serve warm or at room temperature with butter. Store the rolls in a sealable plastic bag for several days at room temperature, or freeze for longer storage.
- Freezing Instructions: You can freeze the rolls before or after baking. To freeze before baking, after completing the first rise and shaping the dough into 12 balls, put the dough balls on a baking sheet, pop them in the freezer for about an hour or until they are no longer tacky, and then put then in a resealable freezer bag; freeze for up to 3 months. When ready to bake, thaw the dough balls at room temperature for a minimum of 3 hours. Once thawed, place the dough balls in the baking dish for the second rise and proceed with recipe. To freeze the baked rolls, let them cool completely, wrap tightly in aluminum foil, and place in a freezer bag. Freeze for up to 1 month. To thaw, remove the rolls from the freezer and let sit at room temperature for at least 3 hours. Place the foil-wrapped rolls in a preheated 350°F oven for 10 to 15 minutes, until warm.
Nutrition Information
Powered by ![]()
- Per serving (12 servings)
- Calories: 139
- Fat: 5 g
- Saturated fat: 3 g
- Carbohydrates: 20 g
- Sugar: 3 g
- Fiber: 1 g
- Protein: 3 g
- Sodium: 119 mg
- Cholesterol: 25 mg
This website is written and produced for informational purposes only. I am not a certified nutritionist and the nutritional data on this site has not been evaluated or approved by a nutritionist or the Food and Drug Administration. Nutritional information is offered as a courtesy and should not be construed as a guarantee. The data is calculated through an online nutritional calculator, Edamam.com. Although I do my best to provide accurate nutritional information, these figures should be considered estimates only. Varying factors such as product types or brands purchased, natural fluctuations in fresh produce, and the way ingredients are processed change the effective nutritional information in any given recipe. Furthermore, different online calculators provide different results depending on their own nutrition fact sources and algorithms. To obtain the most accurate nutritional information in a given recipe, you should calculate the nutritional information with the actual ingredients used in your recipe, using your preferred nutrition calculator.



Can I use potato starch or can I use potato flour instead of the flakes?
Hi Sandra, I’ve never tried it with anything but potato flakes, but I think potato flour should work.
These rolls look amazing. I’m wondering if a stand mixer is an absolute must to make them? Mine is currently in storage but I’d love to try these if I can get away with mixing by hand.
Hi Anna, I think you can get away with kneading them by hand, and I’d stick to the 5 minutes. Please LMK how they turn out!
I really would like to bake this recipe…
Question regarding ingredients for “DINNER ROLLS’… One of the dry ingredients lists a small quantity of powdered milk… I do not have, nor do I use powdered milk; is it acceptable, (for this recipe) to use whole milk in its place? Failing that, what may I substitute? Although I have not yet baked this recipe, I really like it. Maybe I will just go to Bulk Barn and purchase a scoop full so I do not miss out…
Thanks very much.
Hi Elaine, I wouldn’t use whole milk in place of the powdered milk as it will throw off the wet to dry ratio. If you don’t go to Bulk Barn, I’d just omit the powdered milk. Just keep in mind that the rolls may not be quite as tender.
OK, thank you Jen… I learned friend’s brother uses powdered milk in his regular diet… My friend prevailed upon him to “gift” me a small quantity… minor problem solved…
Thanks again; it is always a pleasure dealing with “chefs-who-know.”
/e
Got the dry milk flakes… Mixed in recipe exactly as instructed… Fantastic dinner rolls…Wonderful how light and fluffy…Problem is all were “snarfed” down before I had an opportunity to snap a photo… I guess the powdered milk is, after all, a key ingredient…
Thanks again…
E/
So glad they turned out well!
Having trouble locating potato flakes – is it the same as instant potato mix? Recipe looks delicious – hoping to make it for Thanksgiving!
Hi LV – I do think it’s the same product. Enjoy!
Hi Jenn
We love these rolls, I have made them several times. And I have been wondering would this recipe work as a loaf of bread instead of rolls?
Sure, I think that would work – I’d love to hear how they turn out if you try it!
The texture was more like a biscuit than a traditional roll but I do like biscuits so that was okay for me. My husband not so much. I have to admit I made a mistake and perhaps this altered the recipe. I assembled the balls in the pan and then brushed with butter before the second rise in the pan!!! I love all of Jenn’s recipes and my recent favourite is the “lemon ice’. Thanks Jenn!
Have made this recipe several times and the rolls are loved loved by everyone.
Have one (selfish) request: can you put the ingredients in by weight? I find measuring utensils to be somewhat variable and scales more reliable.
Another not so selfish request is: do you have any variation using different flour, i.e., whole wheat?
Hi Frank, So glad you’ve enjoyed these enough to make them several times already! Regarding the measurements, the great majority of my recipes (including this one) include conversions to metric/weight measurements. To view them, scroll down to the recipe, and immediately under the recipe title on the right side, you’ll see a little toggle. If you move it from “cup measures” to metric, you’ll see measurements that will work for you. And as of now, I don’t have any variations on the recipe that use whole wheat flour, but it will keep it in mind as I develop new recipes. 🙂
Dear Jenn,
Please could I ask a little advice about the mixer, if possible?
I am a novice in using the stand mixer for bread dough (although I have been kneading by hand for a few years).
I bought 4.8L bowl-lift Kitchenaid Mixer (as Kitchenaid was recommended in the first Once Upon a Chef cookbook).
It only has the settings ‘0, 1, 2, 4, 6, 8, 10’ written along the side.
I have tried kneading on setting 2, but it seems so fast and the bread dough doesn’t come out well.
I am not sure whether it would be safe for the machine to work on setting 1…
I would be grateful for any advice on which speed to use, and how to know when the dough is done?
Very many thanks
Hi Savanna, if you’re finding that the number 2 setting seems too fast and the dough isn’t coming out well, I’d try working with setting 1. Just keep in mind it may take a little bit longer for things to come together. Please, LMK if I can help in any other way!
Can you make the dough ahead and store overnight in refrigerator or freezer?
Yep, I would store in the fridge.
These were great! The best part is that they were so easy to prepare and used ingredients I had readily available. I appreciated that the weight (ounces) of each dough roll was provided so I could use my scale to weigh them and then adjust the amount of dough in those that needed it prior to baking. They were a huge hit at dinner tonight!