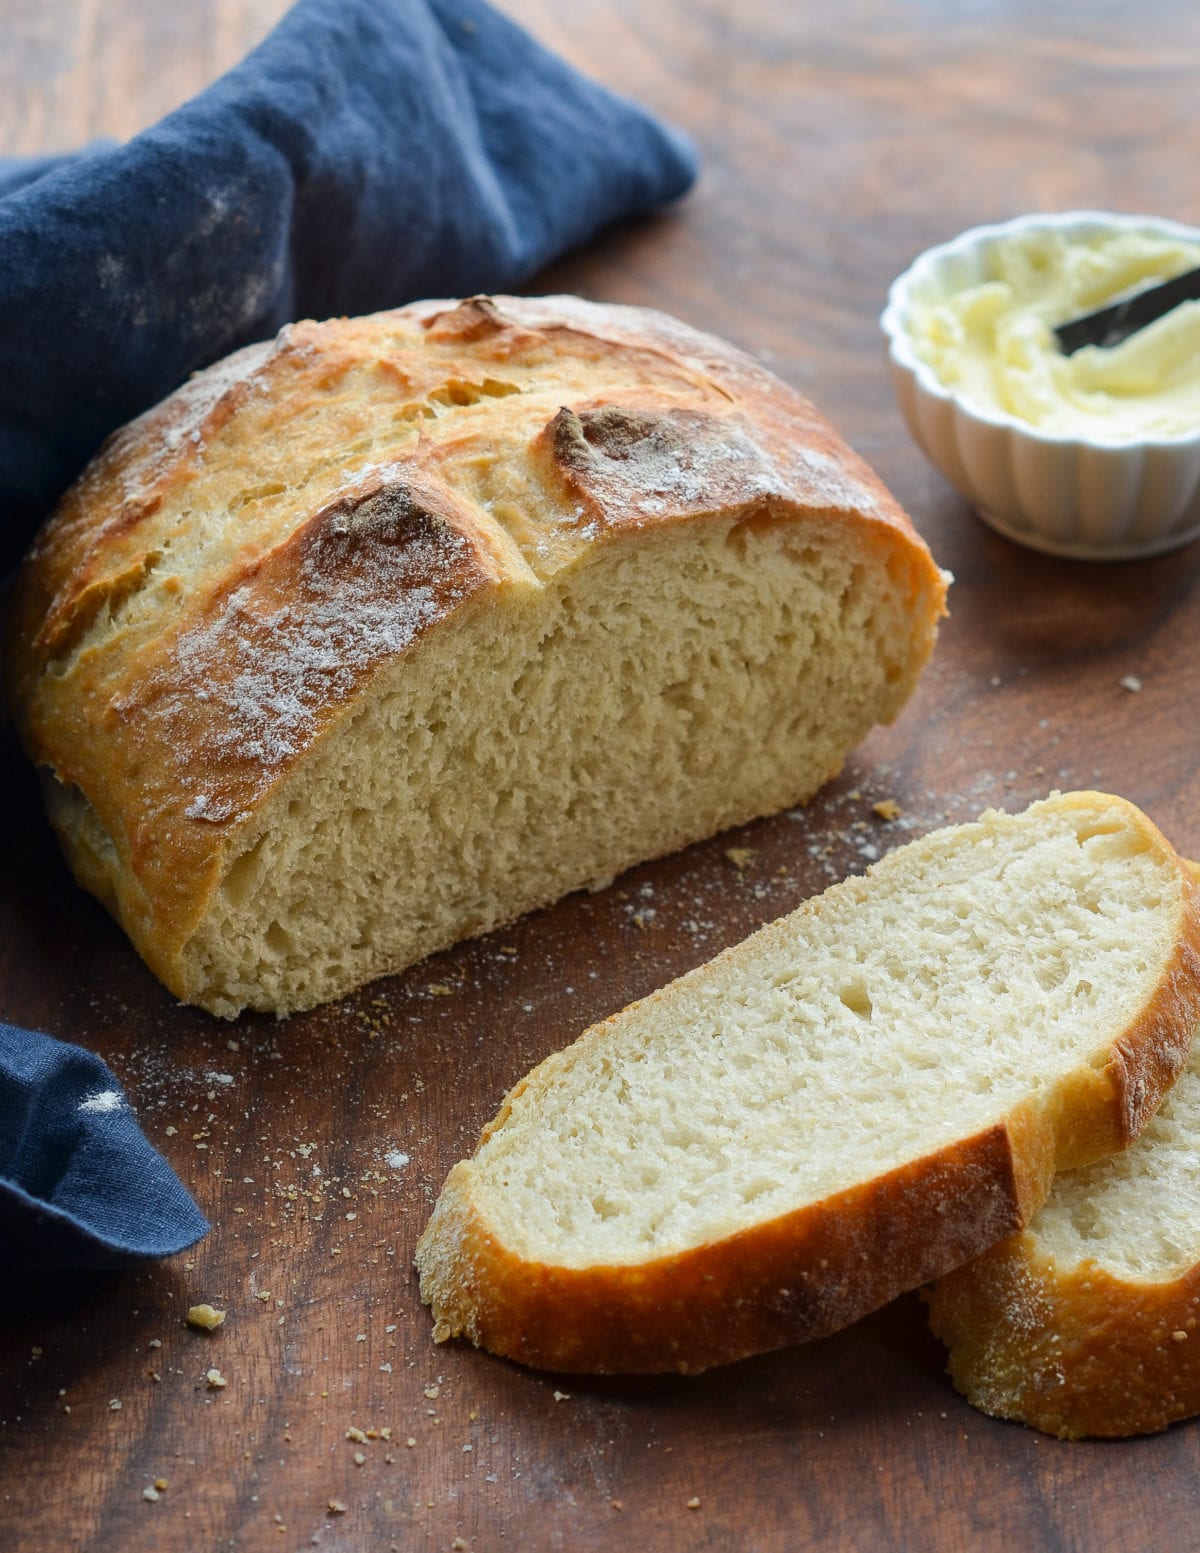
Crusty Artisan Bread

This post may contain affiliate links. Read my full disclosure policy.
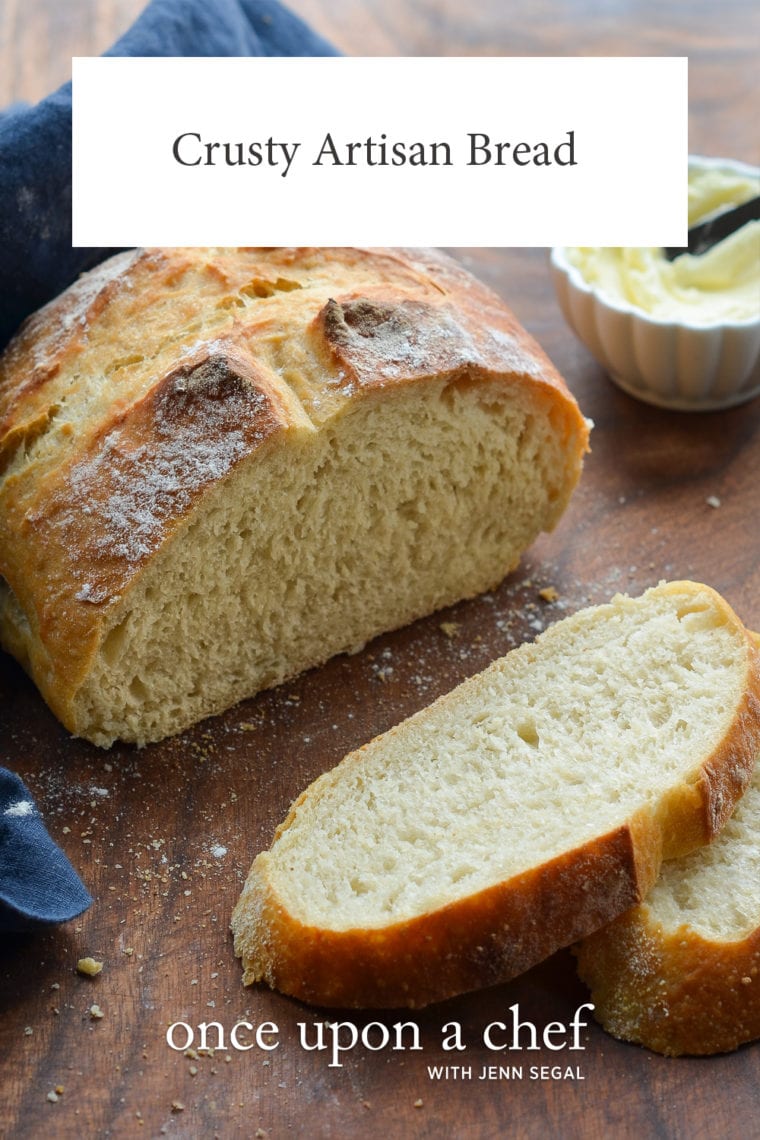
This crusty bread recipe is astonishingly easy—no kneading required—and makes three beautiful loaves, which you can bake as needed.

This homemade artisan bread recipe is astonishingly easy, and it makes enough for three delicious loaves, which you can bake as needed. What’s more, the dough takes just five minutes to make, does not require kneading or any special equipment, and can rest in the fridge for up to two weeks (the flavor becomes more complex the longer it sits). The recipe is modestly adapted from one of my favorite baking books, Artisan Bread in 5 Minutes A Day by Jeff Hertzberg M.D. and Zoë François.
Table of Contents
What You’ll Need To Make Crusty Artisan Bread

This recipe has just four ingredients: all-purpose flour, instant yeast, kosher salt, and water. (The cornmeal is for dusting the pan.) As you can see, I use instant (or rapid-rise) yeast. Active dry yeast may be used instead of instant yeast, however, the dough will take longer to rise. To give active dry yeast a boost, you can dissolve it in the lukewarm water and let it sit until frothy, about 10 minutes. After that, add it to the flour and proceed with the recipe.
How To Make Crusty Artisan Bread
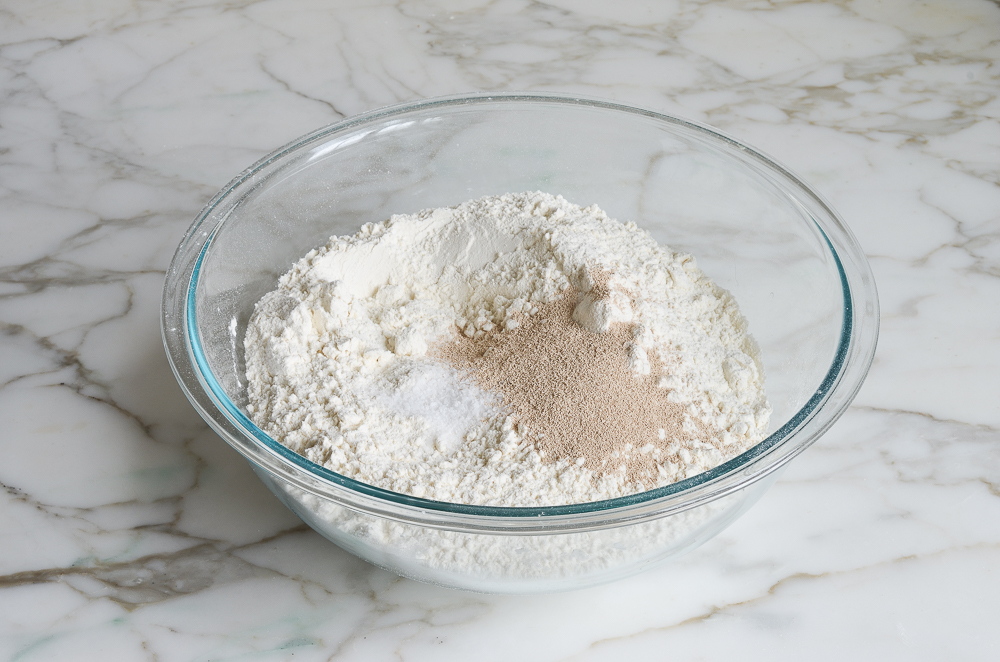
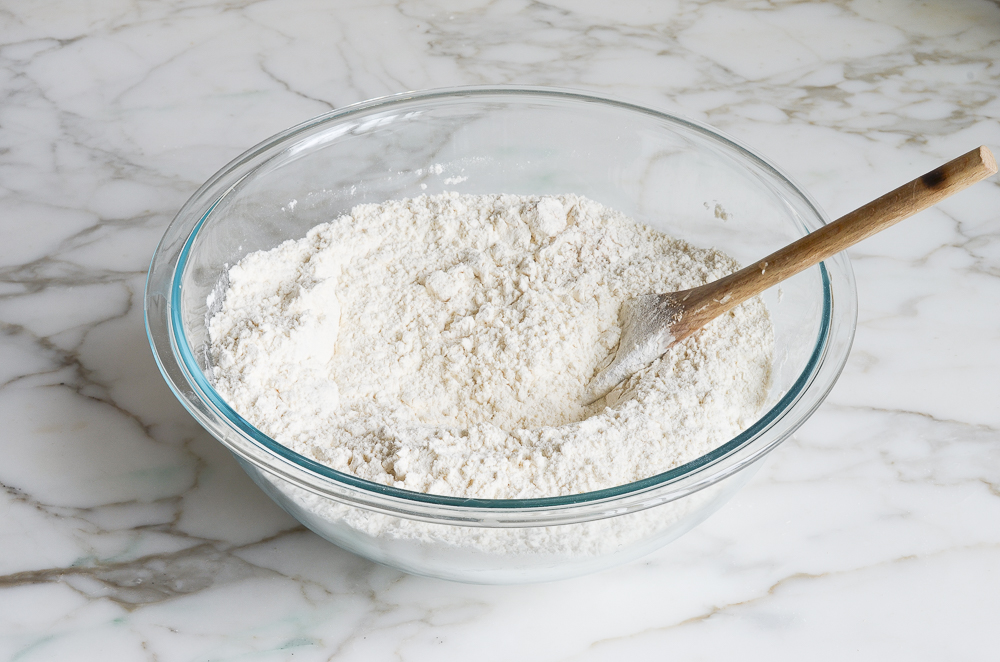
In a very large (6-quart) bowl, combine the flour, salt, and yeast. Mix to combine.
Add 3 cups of lukewarm water (no need to be exact but lukewarm is about 100°F).
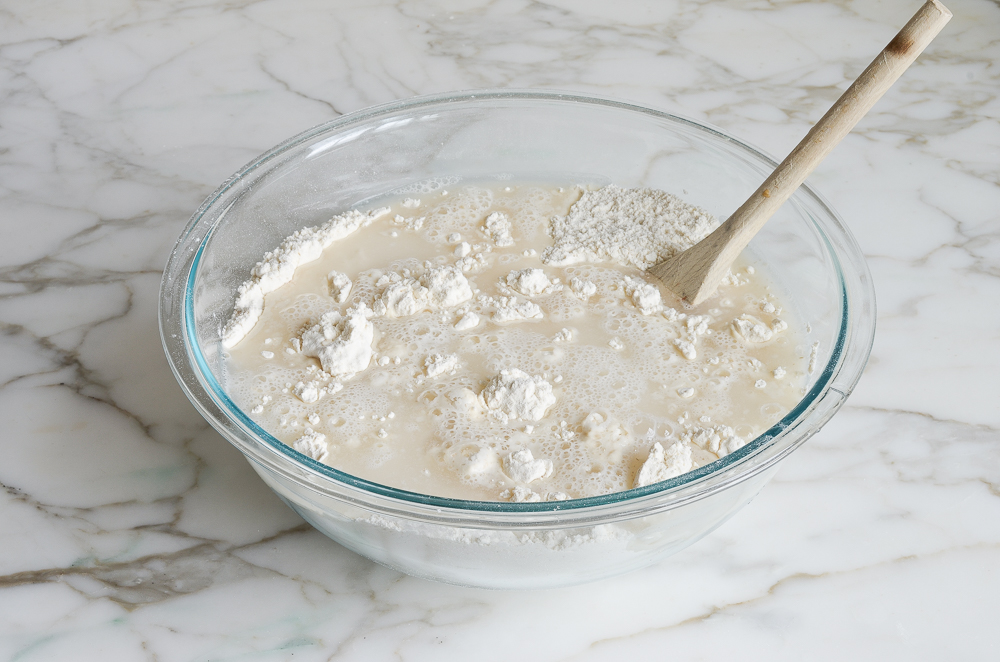
Stir with a wooden spoon until the mixture is uniformly moist, without any patches of flour.
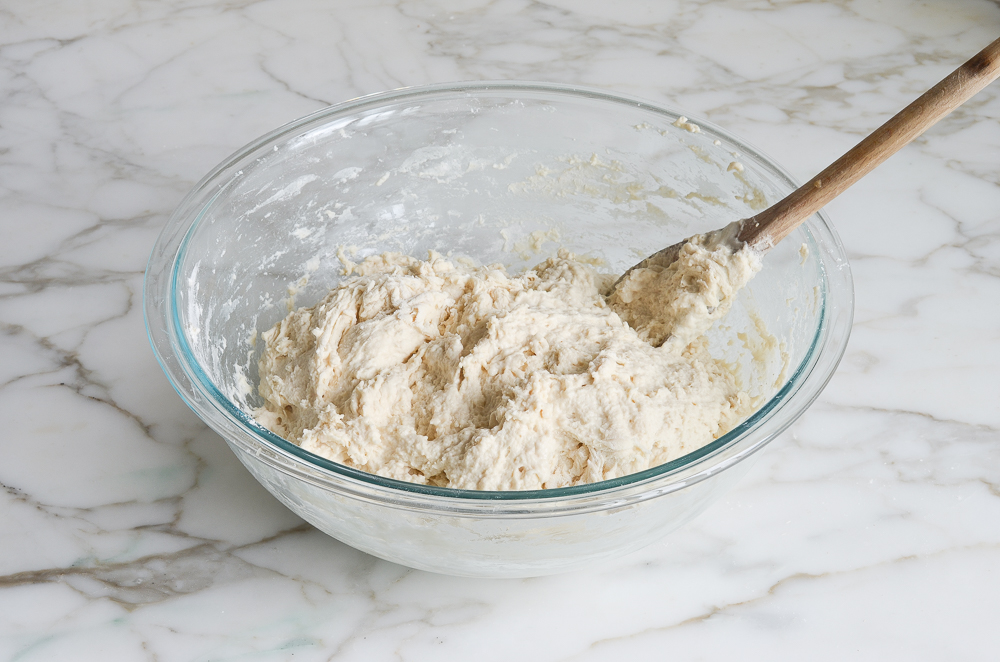
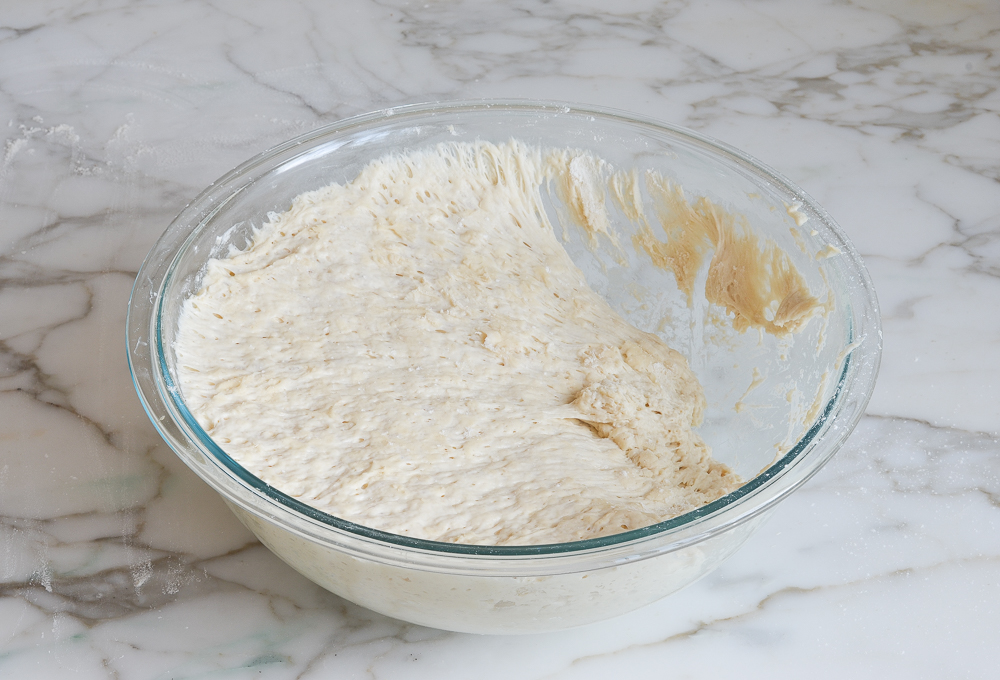
The dough should be sticky and conform to the shape of the bowl. If your dough is too dry, add a few tablespoons more warm water. If it’s too wet, add a few tablespoons of flour. Cover the bowl loosely with plastic wrap and let it sit on the counter in a warm spot for 2 hours. As you can see below, it will rise a lot!
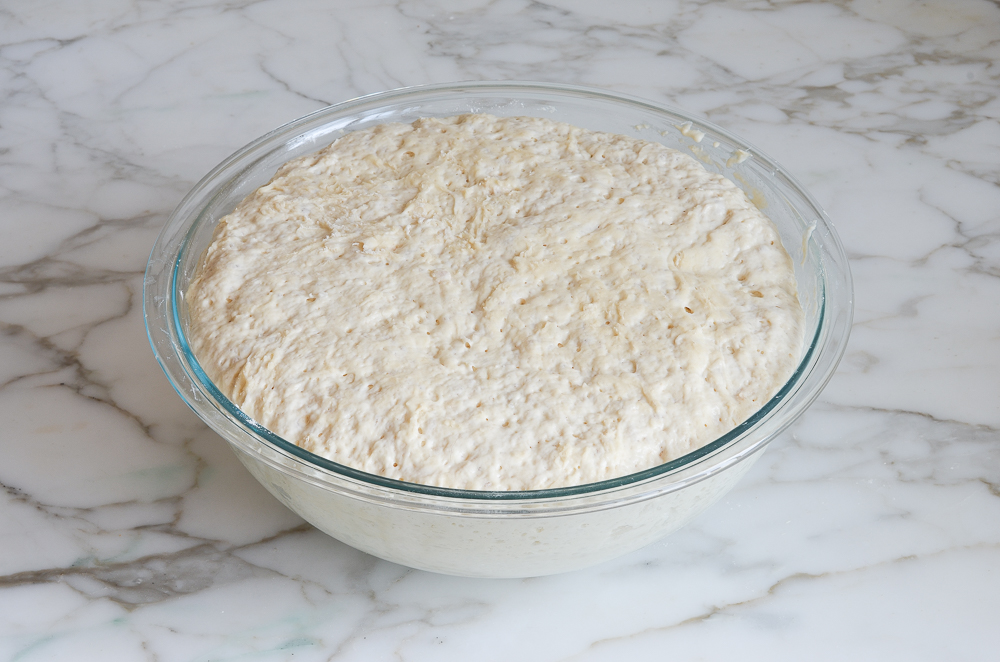
When you’re ready to bake a loaf, pull out one-third of the dough.
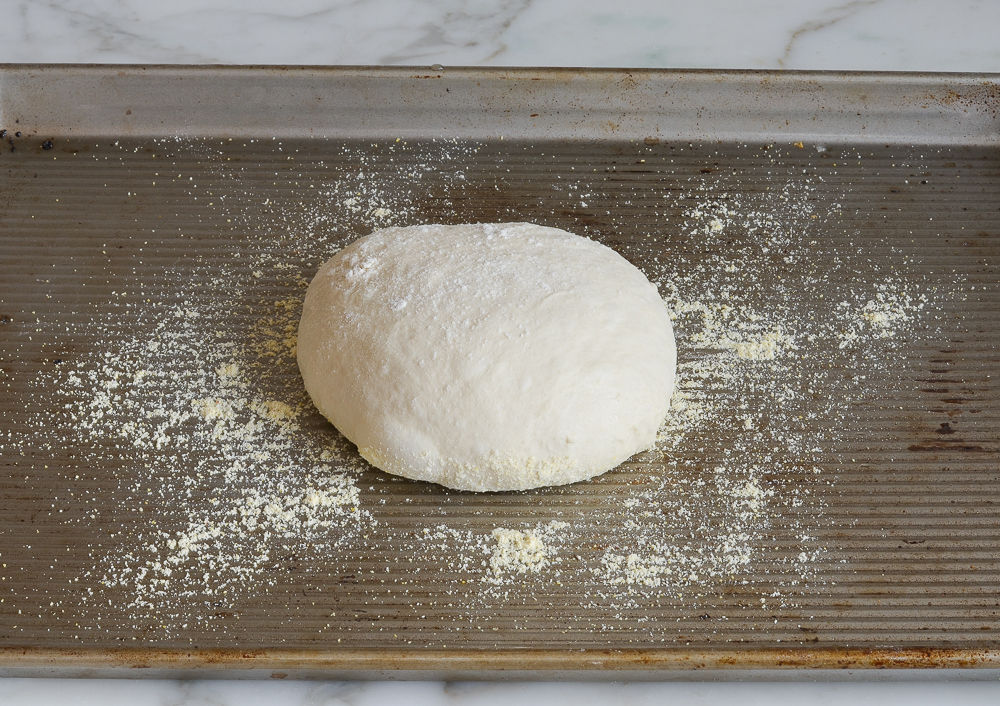
Coat the outside lightly with flour (you don’t want to incorporate more flour into the dough, you just want to be able to handle it). Gently work the dough into a smooth ball, stretching the surface and tucking the ends underneath.
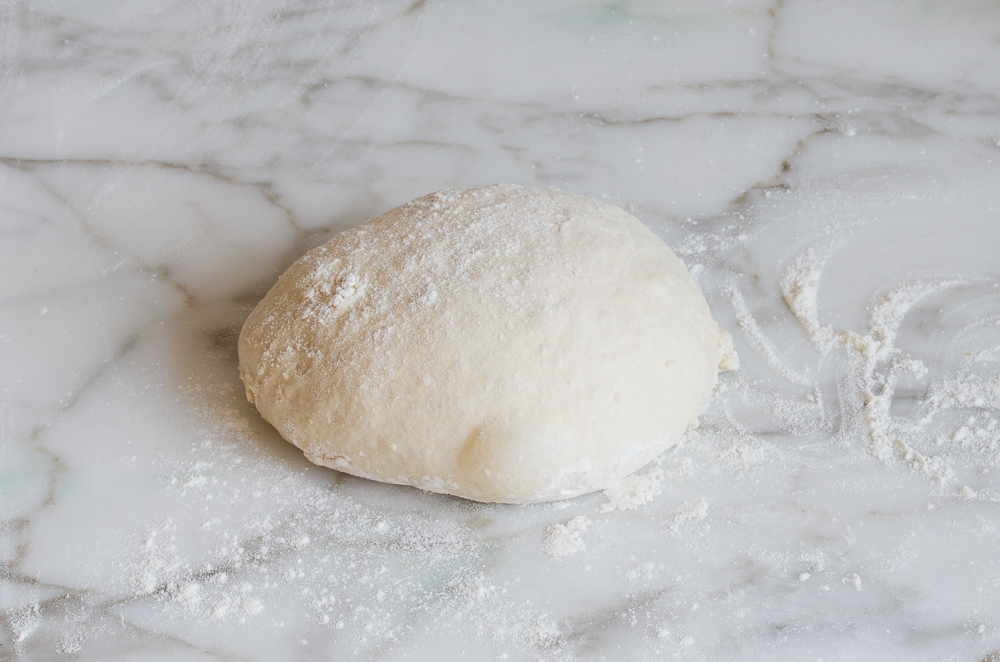
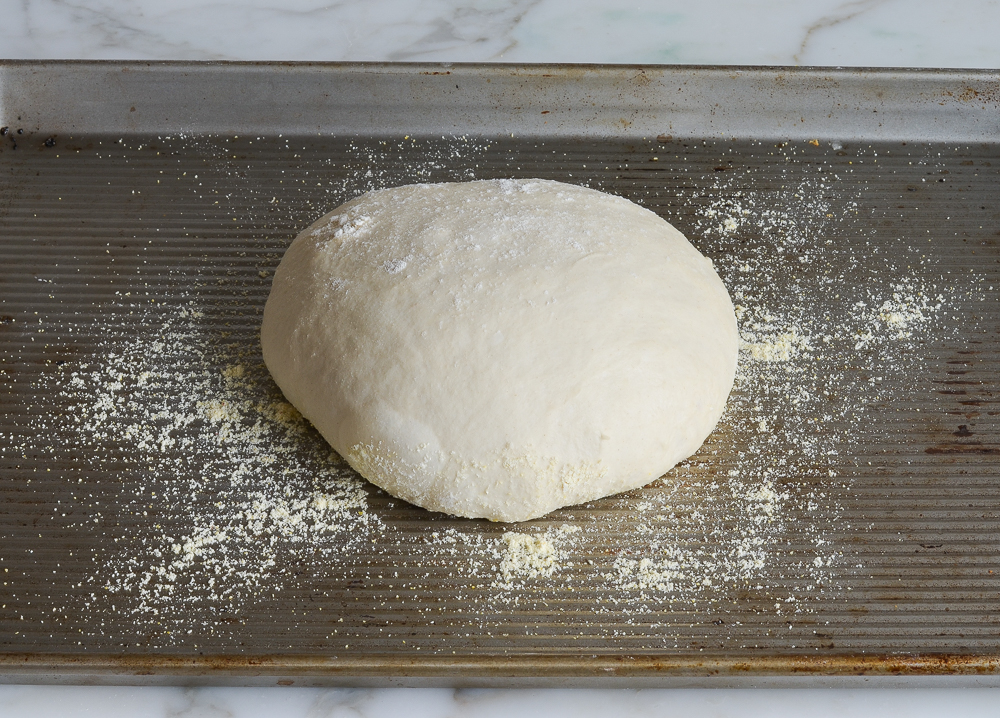
Put the dough ball onto a cornmeal-dusted baking sheet and let rest at room temperature, uncovered, for about 40 minutes. (If the dough has been refrigerated, allow it to rise for 60 minutes, or up to 90 minutes if you want a more open and airy crumb structure.) The dough will rise a bit. It may also spread/flatten a bit; that’s okay.
The dough will rise a bit.
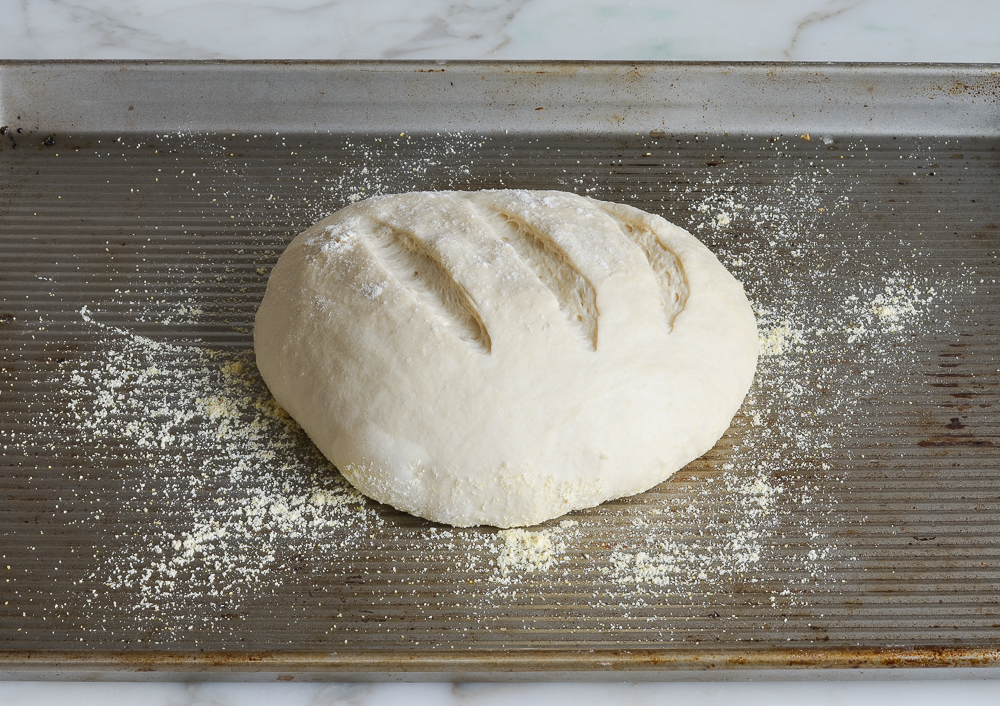
Generously dust the dough with flour. Using a sharp knife, make a few 1/2-inch-deep slashes in the dough — a scallop, cross, or tic tac toe pattern all look nice.
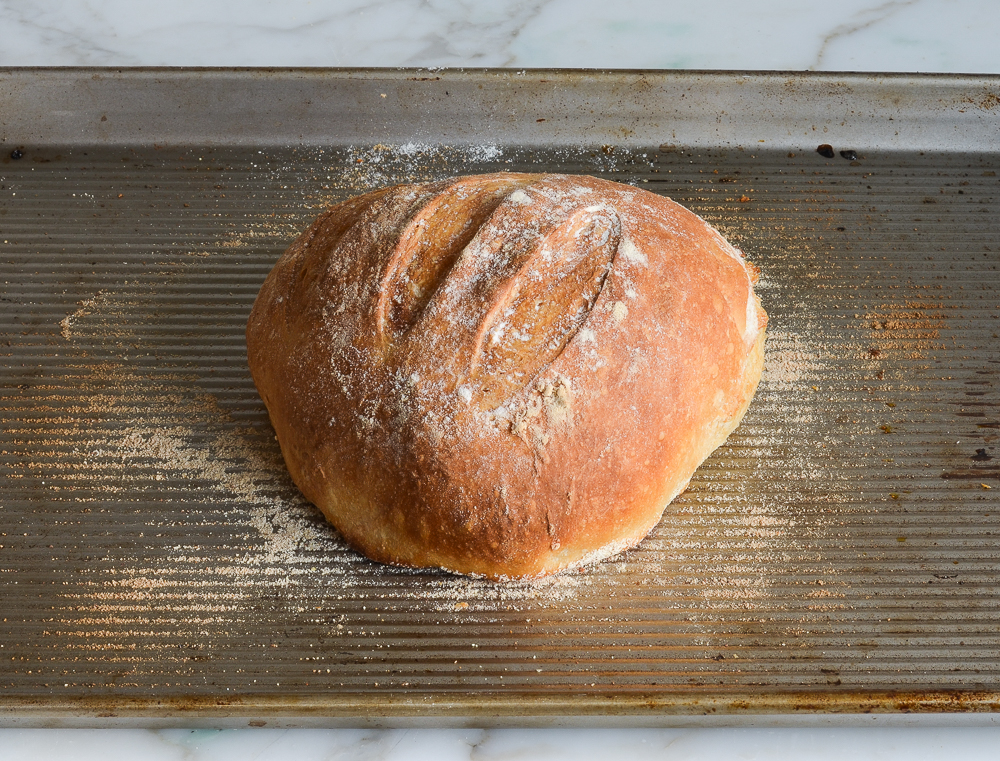
Set a metal pan on the bottom rack of a preheated 450°F-oven. Slide the baking sheet with the dough into the oven, and carefully fill the metal cake pan with one cup of hot tap water. This creates steam in the oven. (Try to do this quickly so as not to let heat out of the oven.) Bake until the loaf is golden brown, about 30 minutes. Cool completely on a wire rack.
This bread is best enjoyed fresh on the day it is made. Once sliced, place the loaf cut-side down on a cutting board or plate and leave it uncovered.
How To Freeze
The dough can be portioned into thirds and frozen in airtight plastic containers for up to 1 month. Defrost the dough in the refrigerator overnight, then shape, rest and bake as usual. The baked loaves can also be frozen whole or sliced. Wrap in a zip-top freezer bag and freeze for up to 1 month. To thaw, take the bread out of the freezer and let it come to room temperature, about 3 hours. Reheat in a 350°F oven until warmed through, about 10 minutes.
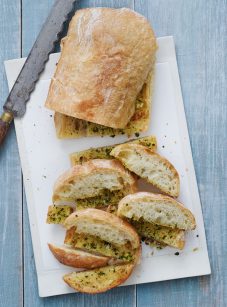
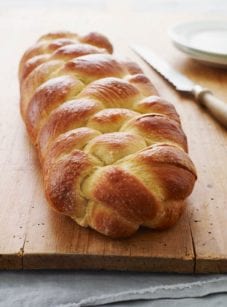
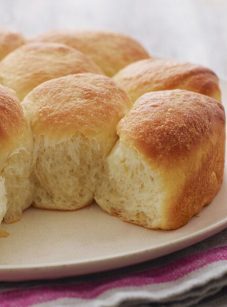
You May Also Like

Crusty Artisan Bread
This crusty bread recipe is astonishingly easy—no kneading required—and makes three beautiful loaves, which you can bake as needed.
Ingredients
- 6½ cups all-purpose flour, spooned into measuring cup and leveled-off (preferably King Arthur; see note)
- 4 teaspoons kosher salt
- 1½ tablespoons instant/rapid-rise yeast (see note)
- 3 cups lukewarm water (no need to be exact but lukewarm is about 100°F)
- Cornmeal, for dusting the pan
Instructions
- In a very large (6-quart) bowl, whisk together the flour, salt, and yeast. Add the water and stir with a wooden spoon until the mixture is uniformly moist, without any patches of flour. The dough should be sticky and conform to the shape of the bowl. If your dough is too dry, add a few tablespoons more warm water. If it's too wet, add a few tablespoons of flour. (See the step-by-step photos for guidance on what the dough should look like.) Cover the bowl loosely with plastic wrap and let it sit on the counter in a warm spot for 2 hours. If you plan to bake a loaf immediately, proceed to the next step. Otherwise, place the bowl of dough in the refrigerator to be used over the next 14 days. (Once refrigerated, the dough will shrink back a bit; that's okay. Do not punch down the dough at any point, and keep it loosely covered with plastic wrap.)
- Dust a sturdy baking sheet with cornmeal.
- Dust the surface of the dough and your hands lightly with flour. Pull out one-third of the dough and coat the outside lightly with flour (you don't want to incorporate more flour into the dough, you just want to be able to handle it). Gently work the dough into a smooth ball, stretching the surface and tucking the ends underneath, adding more flour as needed so it doesn't stick to your hands. (Don't overwork the dough; this process should only take about 30 seconds.) Put the dough ball onto the prepared baking sheet and let it rest at room temperature, uncovered, for about 40 minutes. (If the dough has been refrigerated, allow it to rise for 60 minutes, or up to 90 minutes if you want a more open and airy crumb structure.) The dough will rise a bit. It may also spread/flatten a bit; that's okay.
- Preheat the oven to 450°F. Set one rack in the lowest position of the oven and one rack in the middle position. Place a metal pan (any metal cake pan or broiler pan will work; just don't use glass) on the bottom rack. (You will fill this with water later to create steam in the oven).
- Generously dust the dough with flour. Using a sharp knife, make a few ½-inch-deep slashes in the dough -- a scallop, cross, or tic tac toe pattern all look nice.
- Slide the baking sheet with the dough into the oven, and carefully fill the metal cake pan with one cup of hot tap water. (Try to do this quickly so as not to let heat out of the oven.) Bake until the loaf is golden brown, about 30 minutes. Cool completely on a wire rack.
- This bread is best enjoyed fresh on the day it is made. Once sliced, place the loaf cut-side down on a cutting board or plate and leave it uncovered. (If it lasts beyond a day, I suggest slicing and freezing.)
- Freezer-Friendly Instructions The dough can be portioned into thirds and frozen in airtight plastic containers for up to 1 month. Defrost the dough in the refrigerator overnight, then shape, rest and bake as usual. The baked loaves can also be frozen whole or sliced: Wrap in a zip-top freezer bag and freeze for up to 1 month. (If you plan to use slices one at a time, place pieces of parchment between them so they don't stick.) To thaw, take the bread out of the freezer and let it come to room temperature on the countertop. Reheat in a 350°F oven until warmed through, about 10 minutes.
- Note: Active dry yeast may be used instead of instant/rapid-rise yeast, however, the dough will take longer to rise. To give active dry yeast a boost, you can dissolve it in the lukewarm water and let it sit until frothy, about 10 minutes. After that, add it to the flour and salt, and proceed with the recipe.
- Note: I use King Arthur flour, which is higher in protein than some other all-purpose flours. If using a flour with a lower protein content, such as Gold Medal, you will likely need to add a few more tablespoons of flour.
Nutrition Information
Powered by ![]()
- Serving size: 1 slice
- Calories: 100
- Fat: 0 g
- Saturated fat: 0 g
- Carbohydrates: 21 g
- Sugar: 0 g
- Fiber: 1 g
- Protein: 3 g
- Sodium: 64 mg
- Cholesterol: 0 mg
This website is written and produced for informational purposes only. I am not a certified nutritionist and the nutritional data on this site has not been evaluated or approved by a nutritionist or the Food and Drug Administration. Nutritional information is offered as a courtesy and should not be construed as a guarantee. The data is calculated through an online nutritional calculator, Edamam.com. Although I do my best to provide accurate nutritional information, these figures should be considered estimates only. Varying factors such as product types or brands purchased, natural fluctuations in fresh produce, and the way ingredients are processed change the effective nutritional information in any given recipe. Furthermore, different online calculators provide different results depending on their own nutrition fact sources and algorithms. To obtain the most accurate nutritional information in a given recipe, you should calculate the nutritional information with the actual ingredients used in your recipe, using your preferred nutrition calculator.
This recipe is amazing. I have found, however, that I need to add an additional 1/2 cup of water to get it sticky, though I’m not sure whether its the flour I used or the time of year. Now that I’ve discovered the “proof” setting on my oven, it’s even easier.
This is like magic bread! It works perfectly, as long as you follow all the directions. The second time I tried it, I forgot about the water at first, and it didn’t poof up as it should. I do tuck the edges around the bread under just a bit, very very carefully and gently, after it rises and before I put it into the oven, to help it’s height. And, I find that, after the wonderful freshness of the first day, it makes lovely toast for my breakfast. I received Jenn’s cookbook for a Christmas gift, and am always looking through it for ideas — it has a nice photo for every recipe, and I feel like I want to try almost every recipe in the book!
Not sure what went wrong. I have been baking bread for many years. A friend gave me a recipe (turns out it was this one). I made it yesterday. It was so loose that even after sitting to rise, I could not shape a loaf. So I added more flour. I use the spoon into the measuring cup and level method of measuring flour, and sometimes you do not get as much flour as if you scoop directly. After adding quite a lot more flour bit by bit, I thought I had something better. Let it rise, and shaped my loaves. They simply spread and rose very little. I always have fresh yeast. My friend told me to put it on parchment paper, which I use all the time. Was a bit worried about baking at 450, but I did it. Parchment paper burned, house filled with smoke, and the bottoms of the breads were burnt badly in 15 minutes. Also the water pan had burned dry. That being said, I did salvage it, as the outer crust was perfect, and what was left of the inner loaf, was quite nice. I checked the recipe about 6 times, figuring she gave me something wrong. But this morning, while searching for a recipe, to see what I did wrong, I happened upon this one, and lo and behold it is the exact recipe she gave me, minus the use of parchment paper. I will try it again, minus the parchment paper, and maybe figuring out the flour, and weighing it instead. This should be a good bread, judging by what I did get to eat.
Sorry you had challenges with this! What brand of flour did you use? I always have good luck with King Arthur flour. I hope you have better luck next time around!
I sooo love this recipe. As with other recipes I’ve used from Jen, it is tested and perfected so you want to follow each instruction. I left the loaves on the baking sheet a tad longer than suggested and my husband had to help me get them off. However they came off intact and scrumptious. I was skeptical of letting the dough in the refrigerator for up to 14 days but I tried it and it was perfect. I love your recipes, Jen. Gratefully.
Gwen King
So easy and delicious!! Great for a bread making newbie. I make a loaf every weekend now! Also I’ve branched out to adding chunks of cheddar in the dough! Next I’m trying a bagel topper “everything bagel” and adding it to the dough. It works perfectly in my silicon loaf pan. Crispy on the outside and soft on the inside – like me sometimes! Thank you so very much for this recipe!
I love this bread!!! I have been making it for the last year because it’s so easy and my family loves it. It has been a perfect addition to so many of my dinners and totally wowed my family when I served it up warm with a side of olive oil and spices. I think my husband even said he felt like he was dining at a pricey restaurant hahaha… oh and my neighbors 4-year-old son loved it. It’s just so easy to put together and keeps for at least two weeks in the fridge. Thank you so much for this !!
THIS IS THE BEST BREAD RECIPE EVER!!!
My family looks forward to our weekly loaves to go with various soups and and stews.
Thank you Jenn!
I have not had to buy bread all quarantine thanks to this recipe and the challah recipe (also on here). I use one less teaspoon of salt and its the perfect saltiness for me. I found that my dough can spread and gets flat as it rests so I started resting it on a large a piece of parchment in a pot or big bowl and that helps it keep its shape. When it’s ready to bake, I lift it out by the parchment and bake it with the parchment on a baking sheet.
I just made loaves of these for my girlfriends for our annual “favorite things” exchange and it was a big hit. I also made this with a teaspoon of “everything but the bagel” seasoning and it is becoming a favorite in our house with some Boursin cheese.
Absolutely love this recipe~!! Not only for the taste and simplicity, but the convenience. It’s great to be able to make delicious home made bread out of one batch so many times. Thanks for sharing.
Enjoyed this bread with two different soups this week. Used King Arthur flour and followed recipe as written. Baked three loaves a couple of days ago. I froze two loaves in an airtight bag. Second day, I warmed half (leftover) loaf in 350 oven for 5 minutes and it crisped the crust back up and tasted great. Notes: I was convinced my first batch of dough was too wet and threw it out. Decided to weigh my ingredients the second time, which I usually do when baking bread. It was still a wet dough and I regretted tossing the first batch! I used plenty of flour to get the dough into balls without incorporating more into the dough. Baked beautifully and is delicious!