Crème Brûlée
This post may contain affiliate links. Read my full disclosure policy.
Crème brûlée is a classic French dessert with a rich vanilla custard and a crackly caramelized sugar crust. It’s surprisingly easy to make at home with just a few simple ingredients!
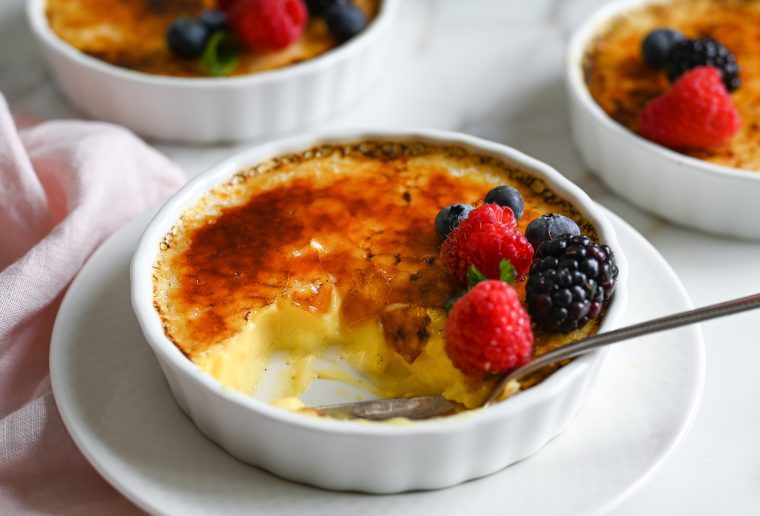
Julia Child famously said, “I think every woman should have a blowtorch.” While we don’t know exactly which recipe she was referring to, it certainly applies to one of the most iconic French desserts: crème brûlée. This luscious dessert features a creamy vanilla custard topped with a shatteringly crisp layer of caramelized sugar—its name even translates to “burnt cream.” Though it often shows up on the menus of fancy restaurants, it’s surprisingly simple to make at home.
If you don’t have a blowtorch, no worries—a broiler will do the job (though, I’ll admit, using a blowtorch is pretty fun!). You’ll need four 8-ounce custard dishes or ramekins and a large roasting pan. Much like cheesecake and flan, crème brûlée needs to be cooked in a water bath to ensure it cooks gently and evenly.
Table of Contents
What You’ll Need To Make Crème Brûlée
- Heavy cream: The rich, creamy base for the custard, providing a smooth and velvety texture.
- Vanilla: The primary flavor in crème brûlée. Traditionally, a whole vanilla bean is steeped in the cream, but vanilla bean paste or extract can be used as substitutes. See the explainer below on choosing the right option.
- Large Egg yolks: Thicken the custard as they cook, creating the luxurious, creamy consistency typical of crème brûlée. Save the leftover egg whites for another recipe—use them for egg white bites, pavlova, coconut macaroons, macarons, vanilla cake, or coconut cake.
- Sugar: Sweetens the custard and creates the signature crunchy topping when caramelized with a kitchen torch or broiled.
- Salt: Enhances the overall flavor by balancing the sweetness and deepening the richness of the custard.
- Jump to the printable recipe for precise measurements
Choosing the Right Vanilla for Crème Brûlée
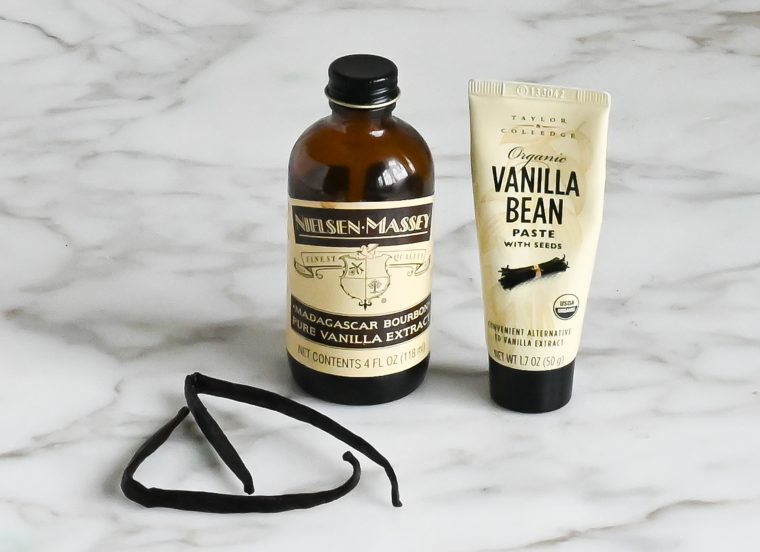
When it comes to crème brûlée, vanilla is the star flavor, and there are a few different forms to choose from. Whole vanilla beans are the purest form of vanilla, with tiny seeds inside the pod that can be scraped out to flavor the custard. Vanilla bean paste combines the seeds with vanilla extract in a convenient paste form, offering great flavor and visible specks of vanilla. Then there’s vanilla extract, made by soaking vanilla beans in alcohol to create a liquid extract. While whole vanilla beans deliver the most intense, complex flavor, vanilla bean paste and extract are perfectly good alternatives and still give the custard that classic vanilla taste.
Step-by-Step Instructions
Step 1: Scald the Cream
Preheat the oven to 325°F and set an oven rack in the middle position.
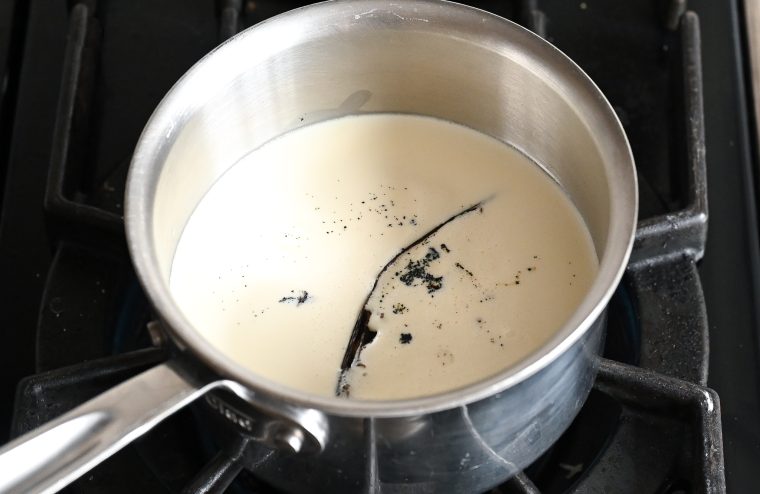
In a medium saucepan, bring the cream to a gentle simmer, then immediately remove from the heat. Split the vanilla bean in half lengthwise and scrape out the seeds; add both the seeds and the pod to the cream and let sit for 15 minutes. (Alternatively, add the vanilla bean paste or vanilla extract.)
Step 2: Make the Custard Mixture
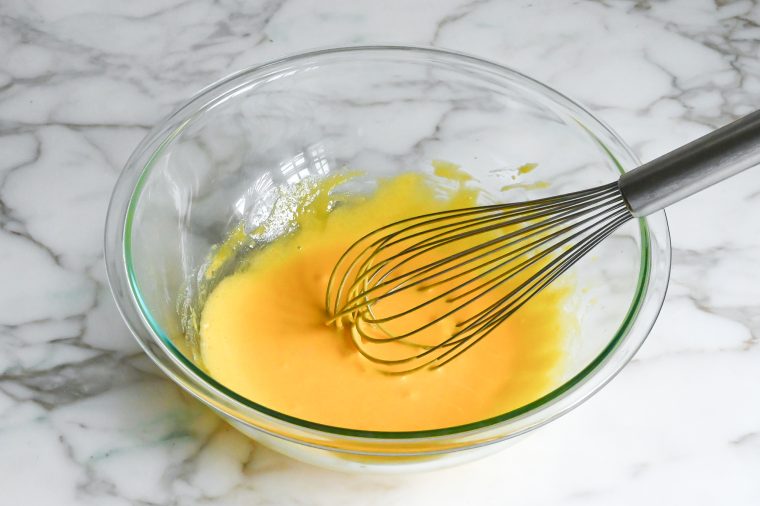
Bring a kettle of water to a boil (you’ll need the boiling water to create a water bath for cooking the custards evenly in the oven). In a large bowl, combine the eggs yolks, sugar, and salt.
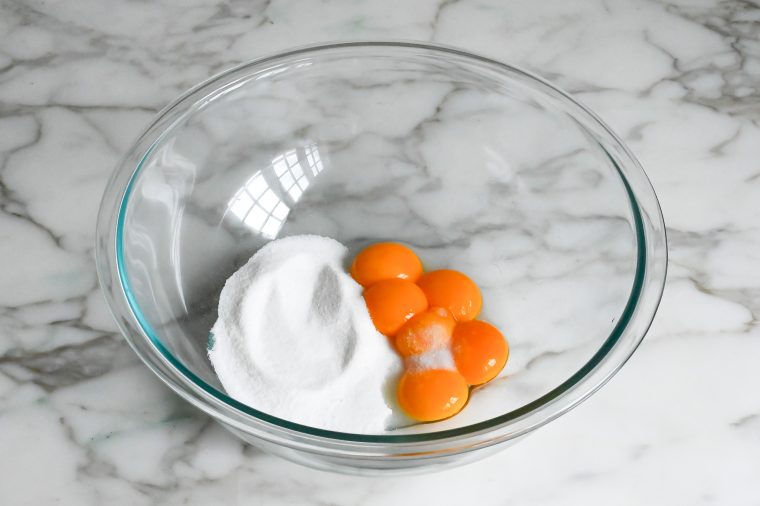
Whisk until well combined and slightly pale, about 1 minute.
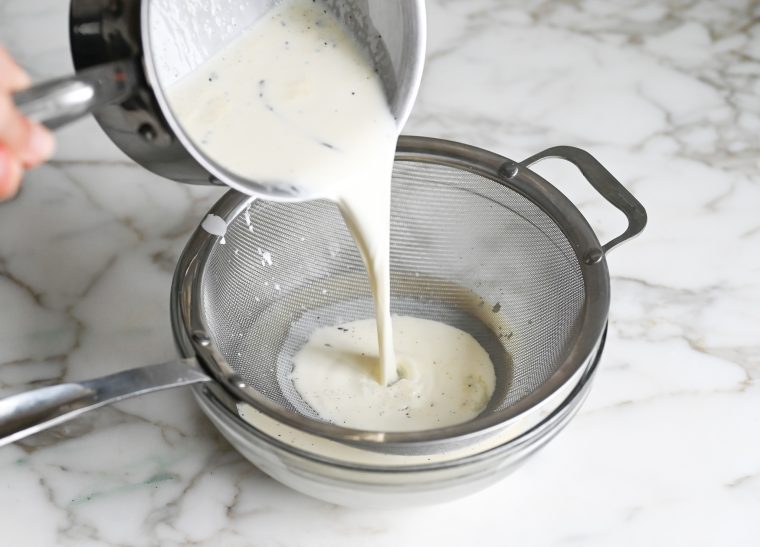
Over a medium bowl, strain the cream through a fine mesh strainer to remove any bits of the vanilla bean pod (skip this step if using vanilla bean paste or vanilla extract).
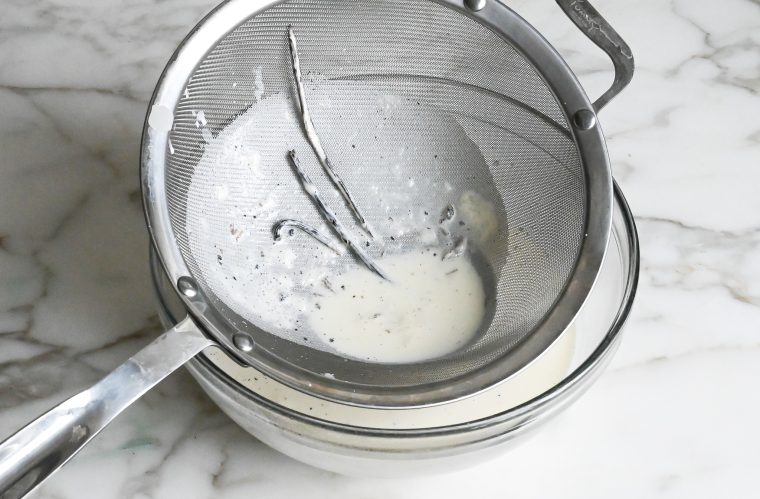
Discard the bean pod.
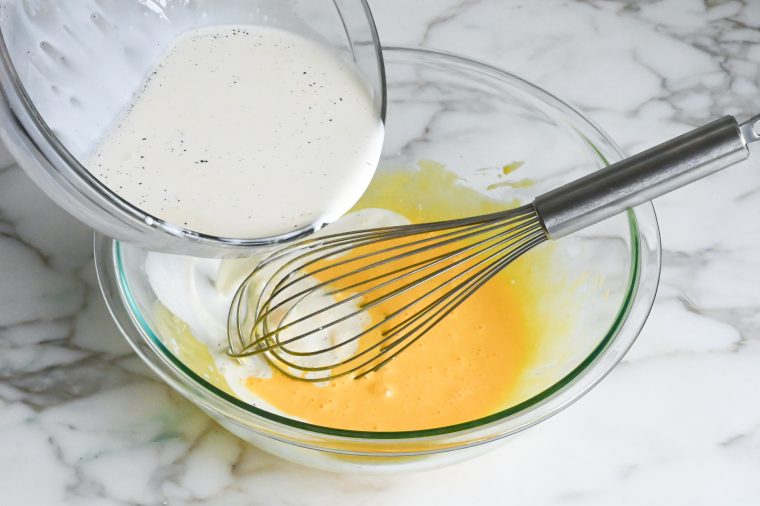
Gradually pour the warm cream into the egg mixture, a little at a time, whisking constantly.
Transfer the custard mixture to a bowl with a pour spout or a large measuring cup.
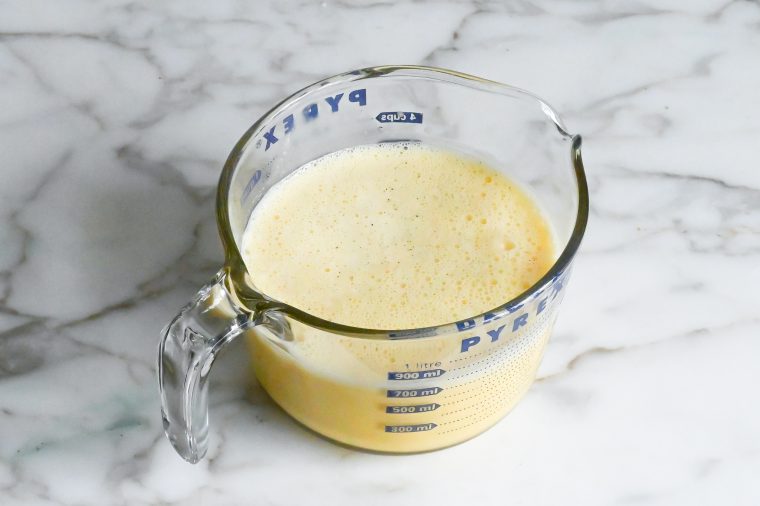
Step 3: Bake the Custards
Place 4 (8-ounce) custard dishes or ramekins into a large roasting pan. Pour the custard mixture into the dishes or ramekins. Pour enough hot water from the kettle into the pan to come about halfway up the sides of the ramekins/custard dishes.
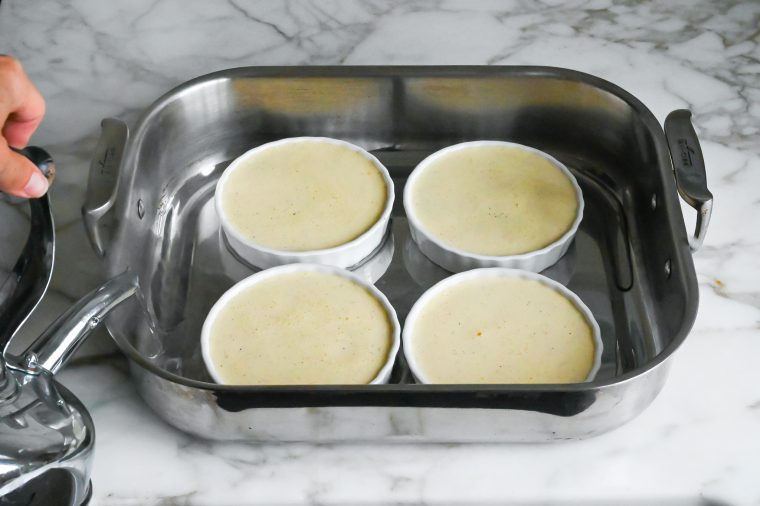
Carefully transfer the pan to the preheated oven and bake for 30 to 40 minutes, or until the centers are just set.
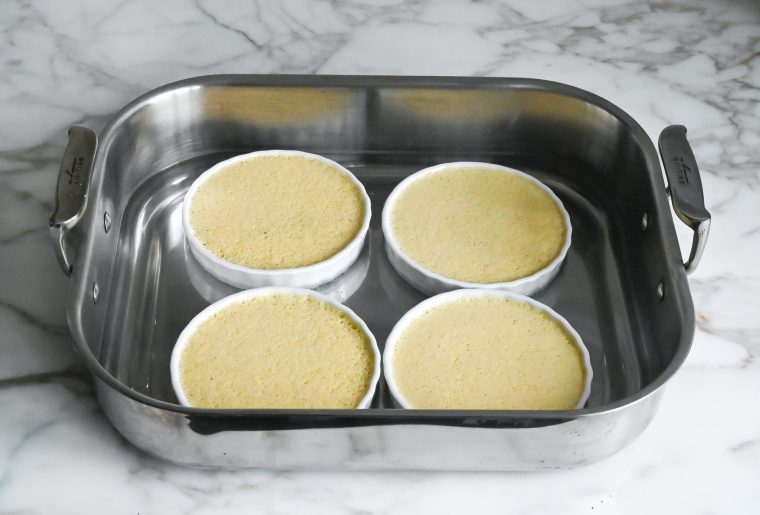
Carefully remove the pan from the oven and, using tongs or a wide spatula, remove the custards from the roasting pan. Refrigerate for several hours and up to 3 days.
Step 4: Caramelize the Custards
Before serving, sprinkle each custard with 1½ to 2 teaspoons sugar in a thin layer. Use a blowtorch to caramelize the sugar until it is deeply golden.
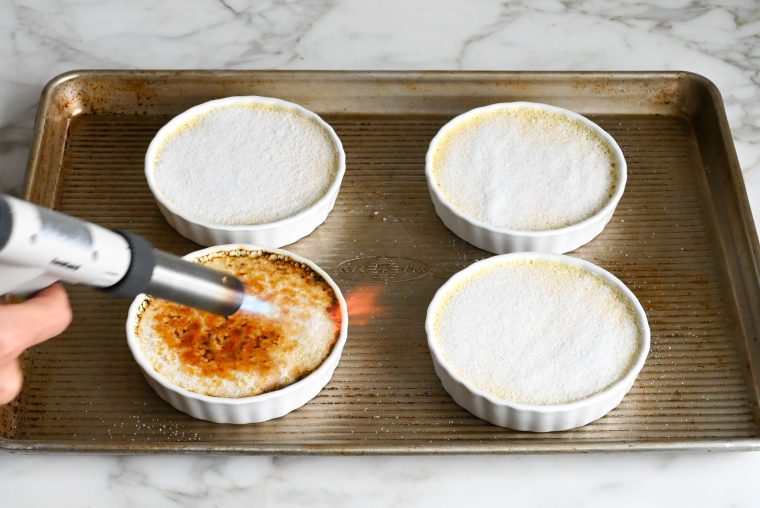
Alternatively, place the custard dishes on a baking sheet and broil 2 to 3 inches from the heat source for a few minutes, or until the sugar melts and browns (keep a close eye to make sure they don’t burn).
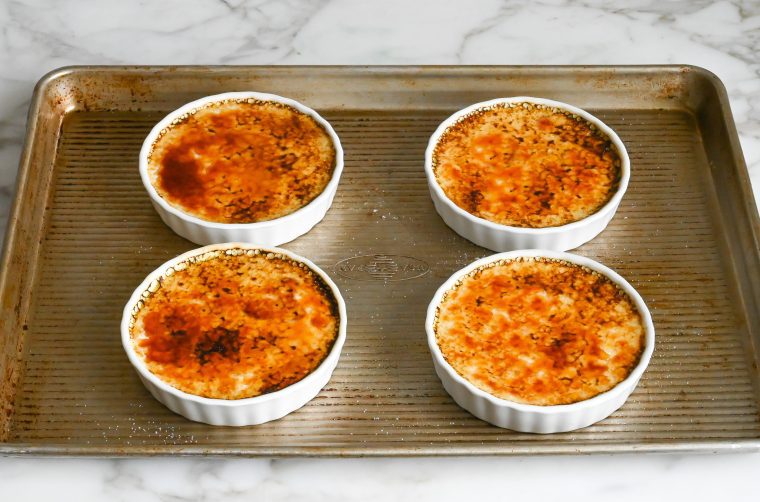
Let sit for at least 5 minutes or up to 1 hour before serving.

Make-Ahead Instructions
The creme brulee can be prepared up to 3 days ahead and refrigerated. To make ahead, follow the recipe through the baking and chilling steps. Once the custards are fully cooled, cover each ramekin tightly with plastic wrap and store them in the refrigerator. When you’re ready to serve, remove the custards from the fridge. Sprinkle the tops with sugar and caramelize just before serving to get that perfect crackly finish!
Video Tutorial
You May Also Like
Crème Brûlée
Crème brûlée is a classic French dessert with a rich vanilla custard and a crackly caramelized sugar crust. It’s surprisingly easy to make at home with just a few simple ingredients!
Ingredients
- 2 cups heavy cream
- 1 whole vanilla bean (or 1 teaspoon vanilla bean paste or vanilla extract)
- 6 egg yolks
- ½ cup sugar, plus more for topping
- Heaping ¼ teaspoon salt
Instructions
- Preheat the oven to 325°F and set an oven rack in the middle position.
- In a medium saucepan, bring the cream to a gentle simmer, then immediately remove from the heat. Split the vanilla bean in half lengthwise and scrape out the seeds; add both the seeds and the pod to the cream and let sit for 15 minutes. (Alternatively, add the vanilla bean paste or vanilla extract.)
- Bring a kettle of water to a boil.
- In a large bowl, whisk the eggs yolks, sugar, and salt until well combined and slightly pale, about 1 minute.
- Over a medium bowl, strain the cream through a fine mesh strainer to remove any bits of the vanilla bean pod (skip this step if using vanilla bean paste or vanilla extract). Discard the bean pod. Gradually pour the warm cream into the egg mixture, a little at a time, whisking constantly. Transfer the mixture to a bowl with a pour spout or a large measuring cup.
- Place 4 (8-ounce) custard dishes or ramekins into a large roasting pan. Pour the custard mixture into the dishes or ramekins. Pour enough hot water from the kettle into the roasting pan to come about halfway up the sides of the custard dishes/ramekins. Carefully transfer the pan to the oven and bake for 30 to 40 minutes, or until the centers are just set. Carefully remove the pan from the oven and, using tongs or a wide spatula, remove the custards from the roasting pan. Refrigerate for least 2 hours and up to 3 days (cover them with plastic wrap if making more than a few hours ahead).
- Before serving, sprinkle each custard with 1½ to 2 teaspoons sugar, depending on the size of the custard dish. Use a blowtorch to caramelize the sugar until it is deeply golden but not burnt. Alternatively, place the custard dishes on a baking sheet and broil 2 to 3 inches from the heat source for a few minutes, or until the sugar melts and browns (keep a close eye to make sure they don't burn). Let sit for at least 5 minutes or up to 1 hour before serving.
- Make-Ahead Instructions: The custards be prepared up to 3 days ahead and refrigerated. Follow the recipe through the baking and chilling steps. Once the custards are fully cooled, cover each ramekin tightly with plastic wrap and store them in the refrigerator. When you’re ready to serve, remove the custards from the fridge. Sprinkle the tops with sugar and caramelize just before serving to get that perfect crackly finish.
Nutrition Information
Powered by ![]()
- Per serving (4 servings)
- Calories: 588
- Fat: 50 g
- Saturated fat: 29 g
- Carbohydrates: 33 g
- Sugar: 32 g
- Fiber: 0 g
- Protein: 6 g
- Sodium: 281 mg
- Cholesterol: 382 mg
This website is written and produced for informational purposes only. I am not a certified nutritionist and the nutritional data on this site has not been evaluated or approved by a nutritionist or the Food and Drug Administration. Nutritional information is offered as a courtesy and should not be construed as a guarantee. The data is calculated through an online nutritional calculator, Edamam.com. Although I do my best to provide accurate nutritional information, these figures should be considered estimates only. Varying factors such as product types or brands purchased, natural fluctuations in fresh produce, and the way ingredients are processed change the effective nutritional information in any given recipe. Furthermore, different online calculators provide different results depending on their own nutrition fact sources and algorithms. To obtain the most accurate nutritional information in a given recipe, you should calculate the nutritional information with the actual ingredients used in your recipe, using your preferred nutrition calculator.
Gluten-Free Adaptable Note
To the best of my knowledge, all of the ingredients used in this recipe are gluten-free or widely available in gluten-free versions. There is hidden gluten in many foods; if you're following a gluten-free diet or cooking for someone with gluten allergies, always read the labels of your ingredients to verify that they are gluten-free.

Hi, can you make this as one whole recipe poured into a 9×13 pan for a crowd? I’m assuming the recipe has to be doubled at least. If you have any suggestions as to how to do that I sure would appreciate it. Thanks for all your wonderful recipes.
Hi Jan, while technically, it may work, there are a lot of variables, (i.e. if doubling, it would be enough, baking time), I’d be concerned that you wouldn’t get a great result. Have you considered my flan which would be fairly similar, and definitely more predictable.
Hi Jenn,
My husband went grocery shopping for me and inadvertently picked up golden sugar instead of regular white sugar. The label said that it it is less processed and it is golden in color. Would it be ok to substitute this for regular white sugar in recipes.
Maria
Hi Maria, yes it should be fine to use. 😊
My first time ever making creme brulee! After measuring the volume of my ramekins in my creme brulee set I received last year as a gift, I decided to half the recipe. The ingredient amounts were perfect for that. I did have to bake it about 10 minutes longer, and used the temperature of 170 degrees F to help with the baking time. We also finally got a blow torch….my husband uses it to smoke cocktails. Anyway, this is one of those ridiculously simple recipes with a big return in terms of flavor, visual appeal. My husband told me it was restaurant worthy….as good or better than any he’d had in a restaurant. It happens to be his choice for dessert…next to coconut cream pie (your recipe). Thank you once again for a wonderful, simple end to a delicious simple celebration (New Year’s Eve) meal.
This was SO good. I learned that organic sugar burns more easily than non-organic, but it’s worth it.
Hi! Could you do this in a 2 1/2 quart ceramic dish or do you need to do in the smaller portions?
Hi Samantha, I haven’t tried it but think it should work. Please LMK how it comes out if you try it!
I’m looking forward to trying this recipe…I’ve got my torch. 🙂 I only want to make a sample-size creme brulee portion because there will be other desserts to enjoy. What size ramekin could be used? I’m thinking 4oz.
Hi Noreen, Yes that should be a good “tasting” portion. Keep in mind the cook time will be less.
Recipe was delicious in flavor. I used deeper ramekins as that was what the store had. Baked for 40 min. The inside thought was liquid. Did not get congealed. What am I doin wrong ?
Hi JJ, I’m guessing you need to cook them a bit longer with the deeper ramekins.
Creme Brulee is definitely a family favorite, & your recipe will surely top the others I’ve tried. Do you have any helpful hints as to exactly how to get that sugar crust hard & crackly, so that a spoon makes the famous hard tapping/clicking sound when breaking through? Would it help to refrigerate it after caramelizing, but before serving? Every time I’ve it made it the sugar crust is bendable, but not audibly cracking when broken through.
Thank you for your continuous supply of delicious recipes!!
Hi TL, I would be generous with the sugar you sprinkle on top as that will help. And I would not refrigerate it after you’ve made the crust. Instead, try to serve it soon after browning the top. Hope that helps and that you enjoy!
Hi Jenn:
Going to try this recipe. Can you provide baking instructions for 6 oz custard dishes. Also, the 8oz cups shown in your picture look shallow; I’m assuming a deeper custard cup (seems more common) would need to take longer. Thoughts?
Thanks for all the great recipes!
Hi Briar, The recipe will work with any size custard dish; I’m guessing you’ll get 5 portions with the 6-oz, and the cook time will likely be shorter. That said, if your ramekins are deeper, there may not be much difference. Hope that helps!
Delicious recipe but crème brûlée wasn’t originally a classic French dessert. It originated at Trinity College Cambridge England around 1630. It was referred to in France as ‘crème de l’angloise,’ in 1691 and had been already served at Trinity College for about 60 years.
I would love to make this as it’s one of my favorite desserts. Do you have a particular blowtorch that you like to use? I will need to get one. Thanks for your delicious recipes. The Best!
Hi Peggy, This is the one I have. Hope you enjoy!
Can half and half be used instead of heavy cream which is hard to find in my grocery store?
Hi Jeany, I do think half and half will work, although the texture custard won’t be quite as rich.