Cranberry Orange Bread
This post may contain affiliate links. Read my full disclosure policy.
Sweet, orange-scented, and packed with cranberries and walnuts, this cranberry orange bread is the perfect festive treat for the holidays.

Sweet, orange-scented, and packed with tart cranberries and walnuts, this cranberry orange bread recipe is tailor-made for the Thanksgiving and Christmas holidays. As a classic quick bread, it’s incredibly easy to throw together. The trickiest part? Chopping up the fresh cranberries—they tend to roll everywhere! But don’t be tempted to use dried cranberries; the fresh ones burst as they bake, mingling with the batter to create jammy, tart-sweet pockets throughout.
Since cranberries are abundant during the holiday season, be sure to check out my Nantucket cranberry pie, fresh cranberry sauce, and cranberry chutney for even more festive inspiration.
Table of Contents
What You’ll Need to Make Cranberry Orange Bread
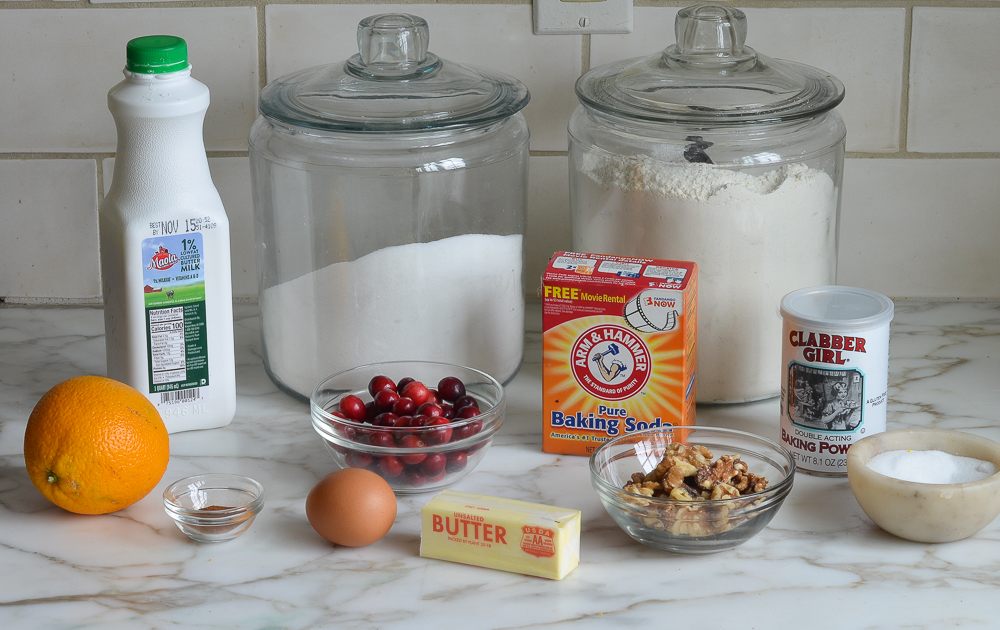
- Buttermilk: Adds a tangy flavor and keeps the bread super moist.
- Orange zest: Brightens up the bread with a fresh citrusy kick.
- Orange juice: Enhances the sweet orange flavor and adds natural sweetness.
- Unsalted butter: Makes the bread rich and tender.
- Egg: Holds everything together and gives the bread structure.
- All-purpose flour: The foundation of the cranberry bread. Always measure flour using the spoon-and-level method to ensure accuracy.
- Sugar: Sweetens things up and balances the tart cranberries.
- Salt: A pinch to bring out all the flavors.
- Ground cinnamon: Adds warmth and coziness that pairs perfectly with the orange and cranberries.
- Baking powder & baking soda: Give the bread a nice rise, making it light and fluffy.
- Fresh or frozen cranberries: Bursts of tart, juicy flavor in every bite.
- Chopped walnuts or pecans: Add a bit of crunch and a delicious nutty flavor.
- Jump to the printable recipe for precise measurements
Step-by-Step Instructions
Begin by combining the buttermilk, orange zest, orange juice, melted butter and egg in a small bowl.
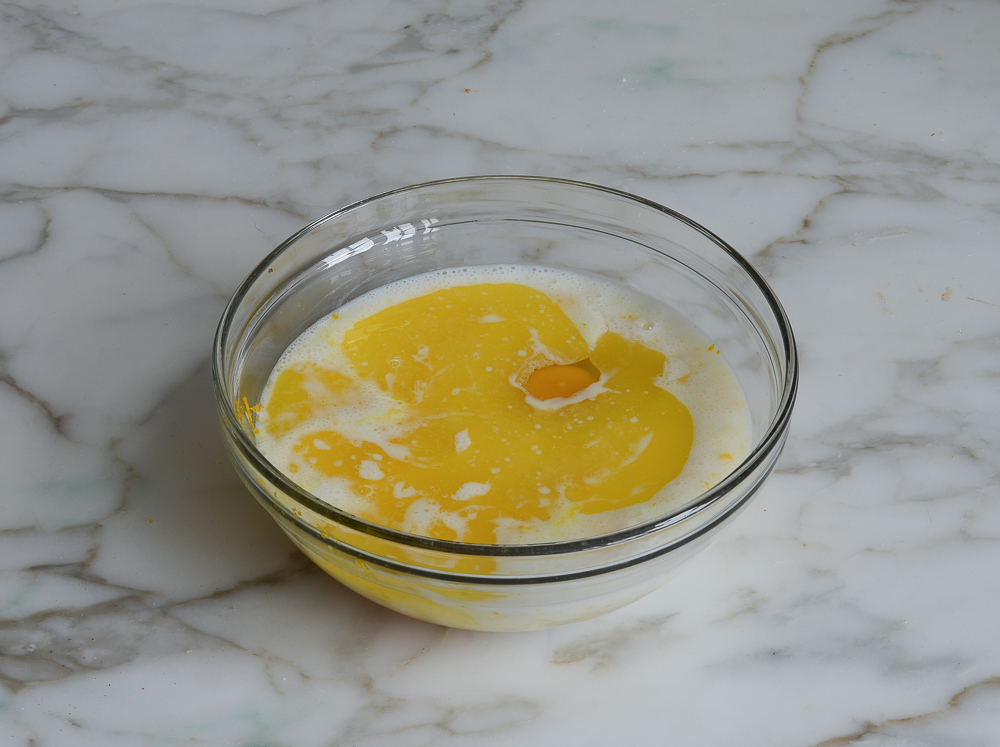
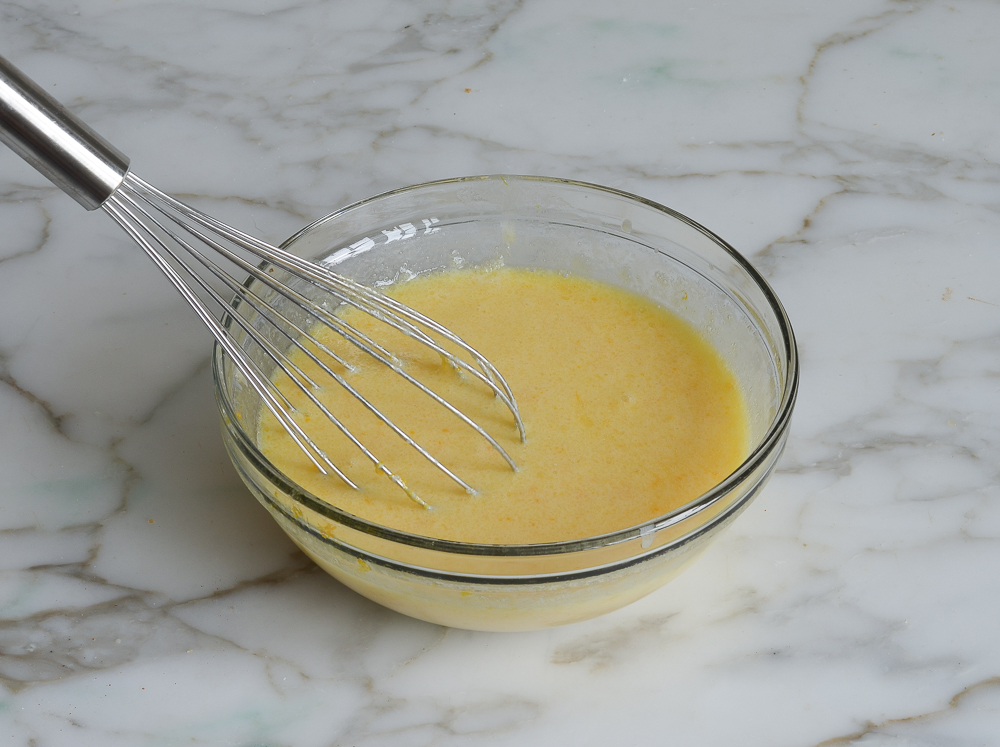
Since the recipe calls for only 2/3 cup of buttermilk, you might not want to buy a whole carton. It’s easy to make your own by combining regular milk with a bit of lemon juice or vinegar (see recipe below for exact quantities). Whisk well to combine and set aside.
Next, combine the dry ingredients together in a large bowl.
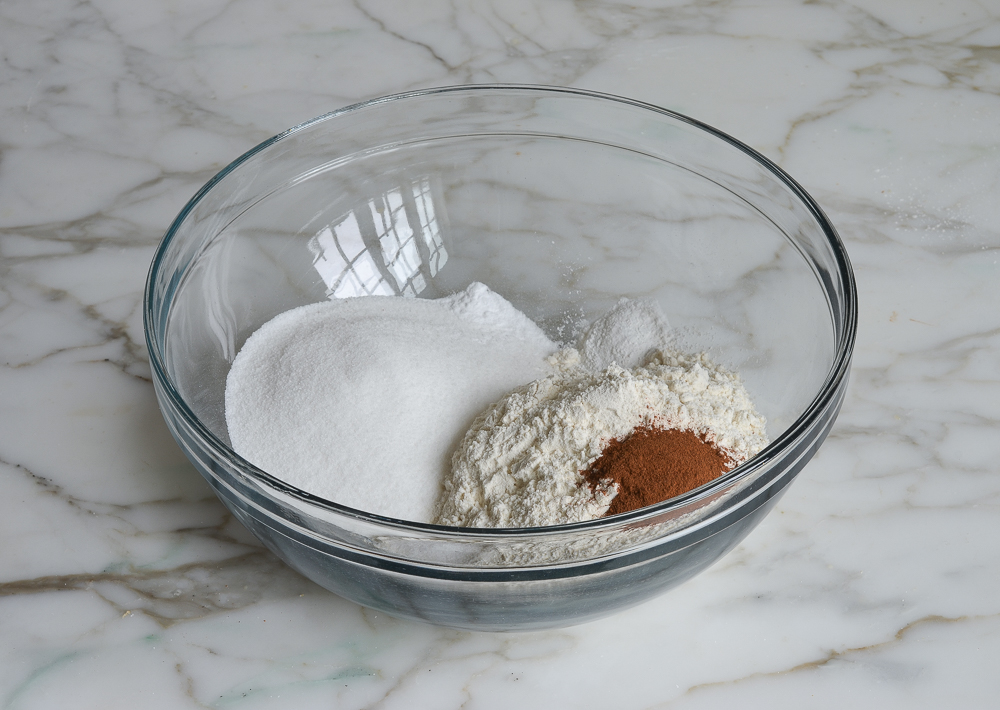
Whisk well.
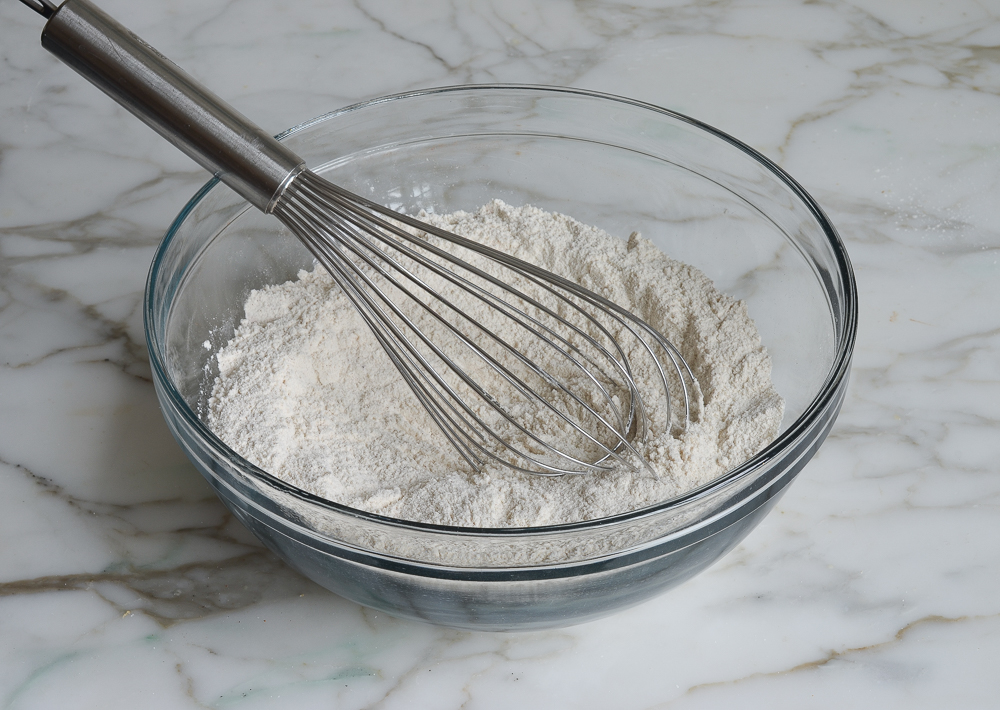
Add the wet ingredients to the flour mixture.
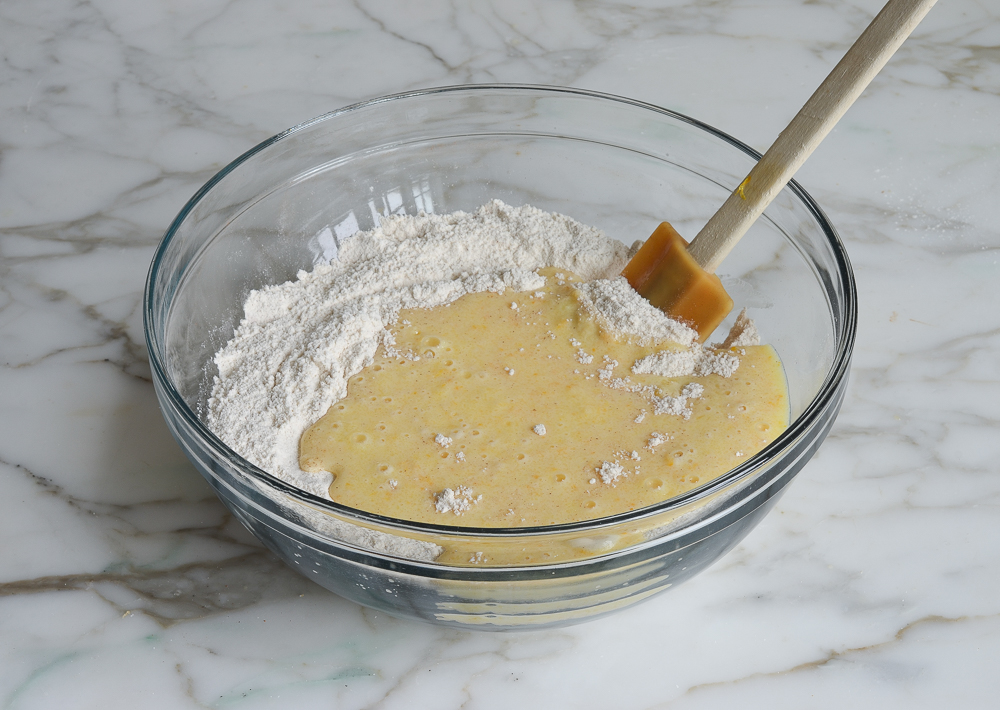
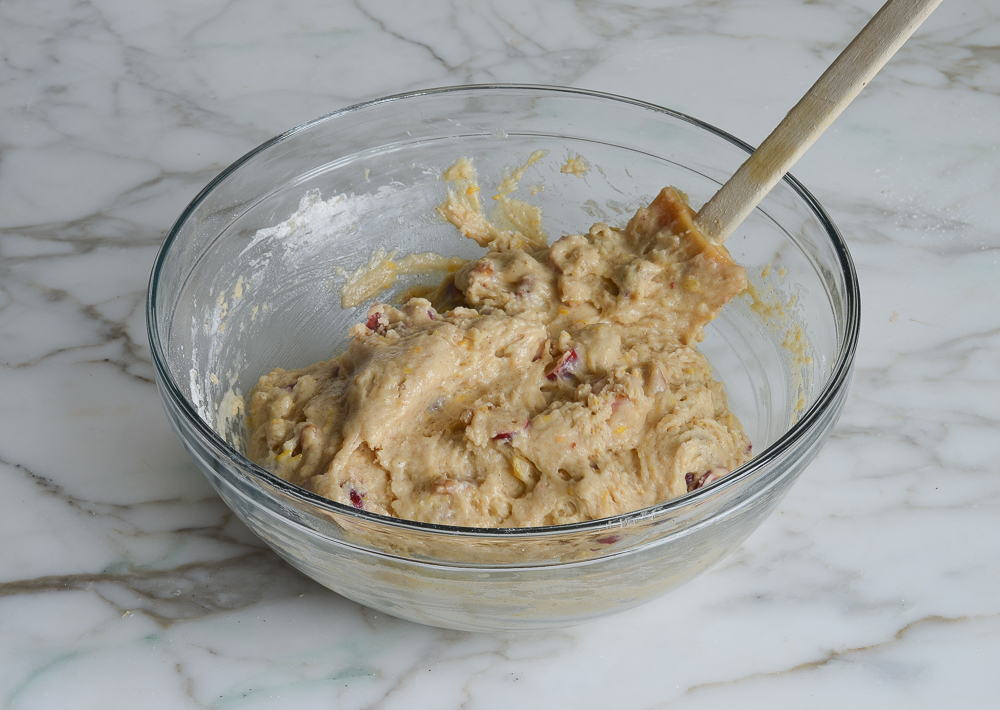
Stir gently with a rubber spatula until just combined.
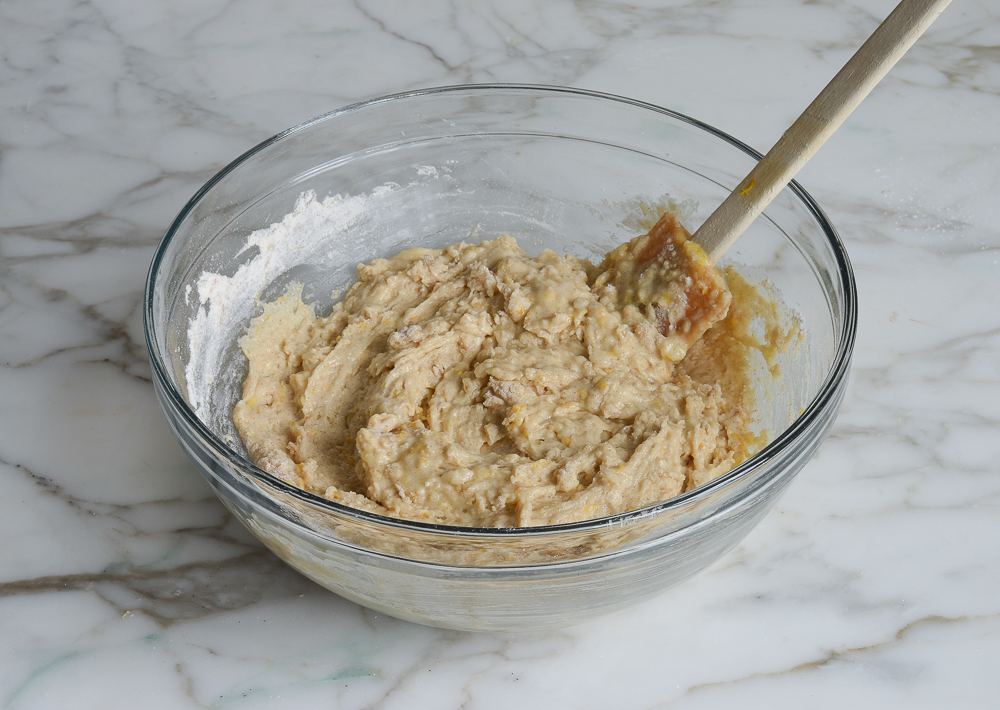
Add the halved cranberries and nuts.
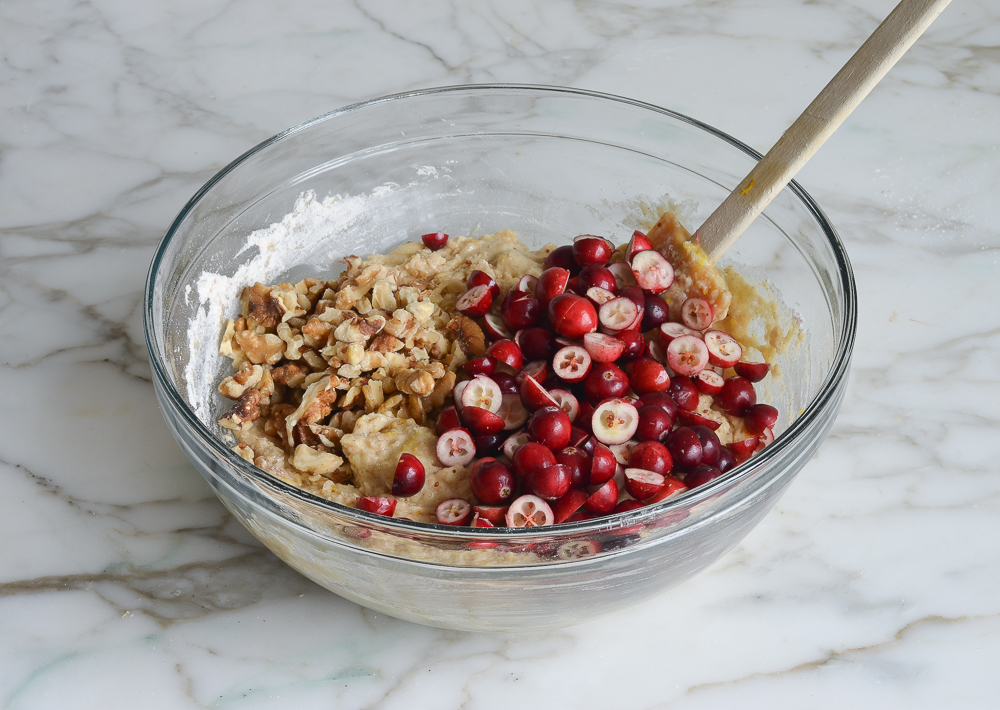
Mix again to incorporate.
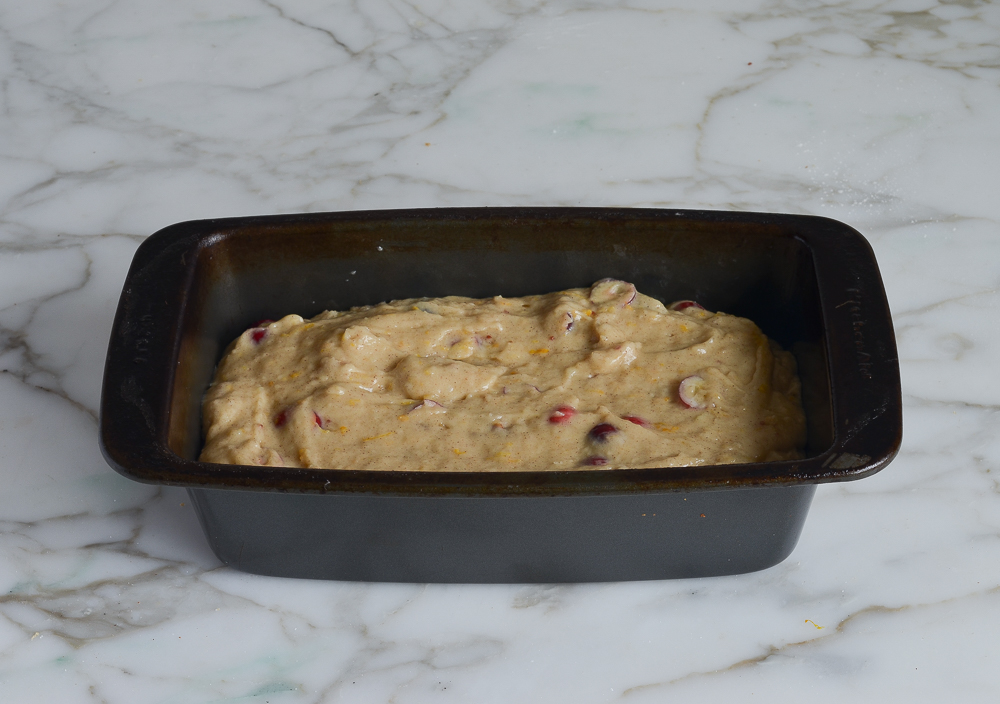
Scrape the batter into a greased loaf pan.
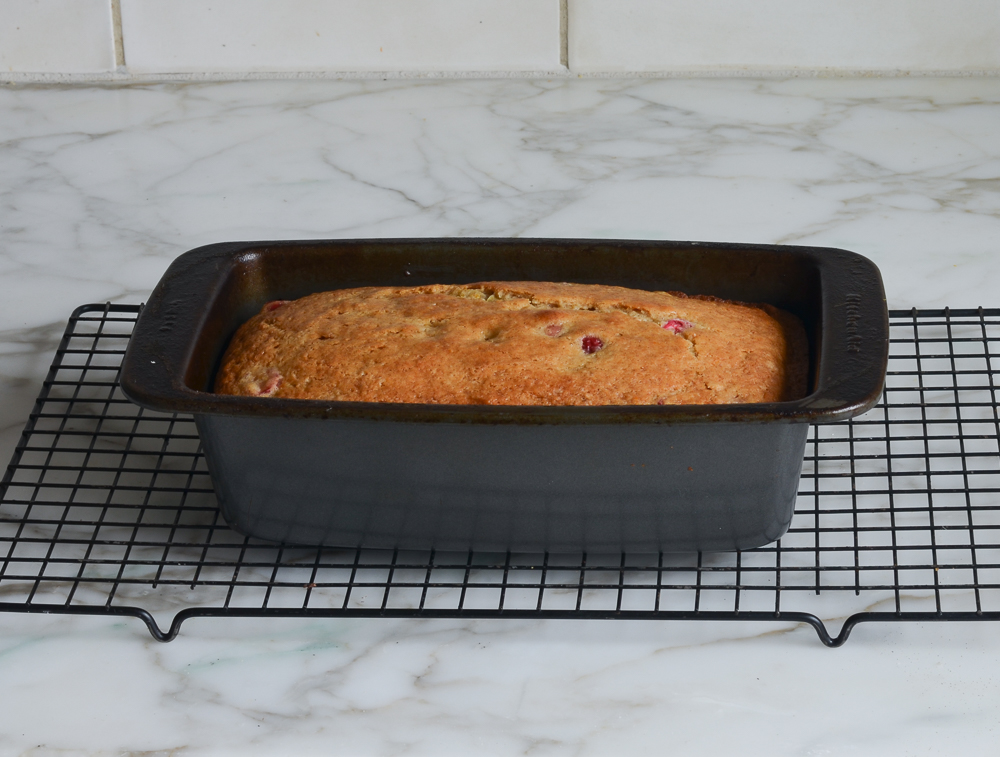
Bake for about one hour, then cool in the pan on a rack for ten minutes.
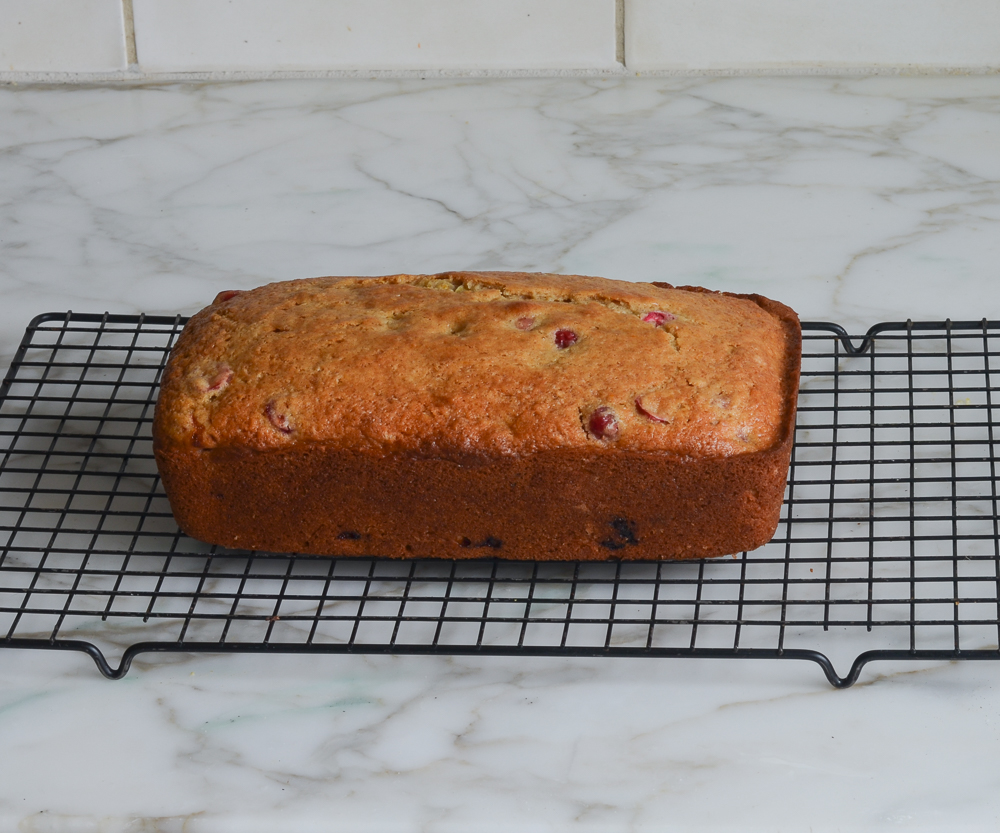
Turn the cranberry loaf out onto the rack to cool completely.
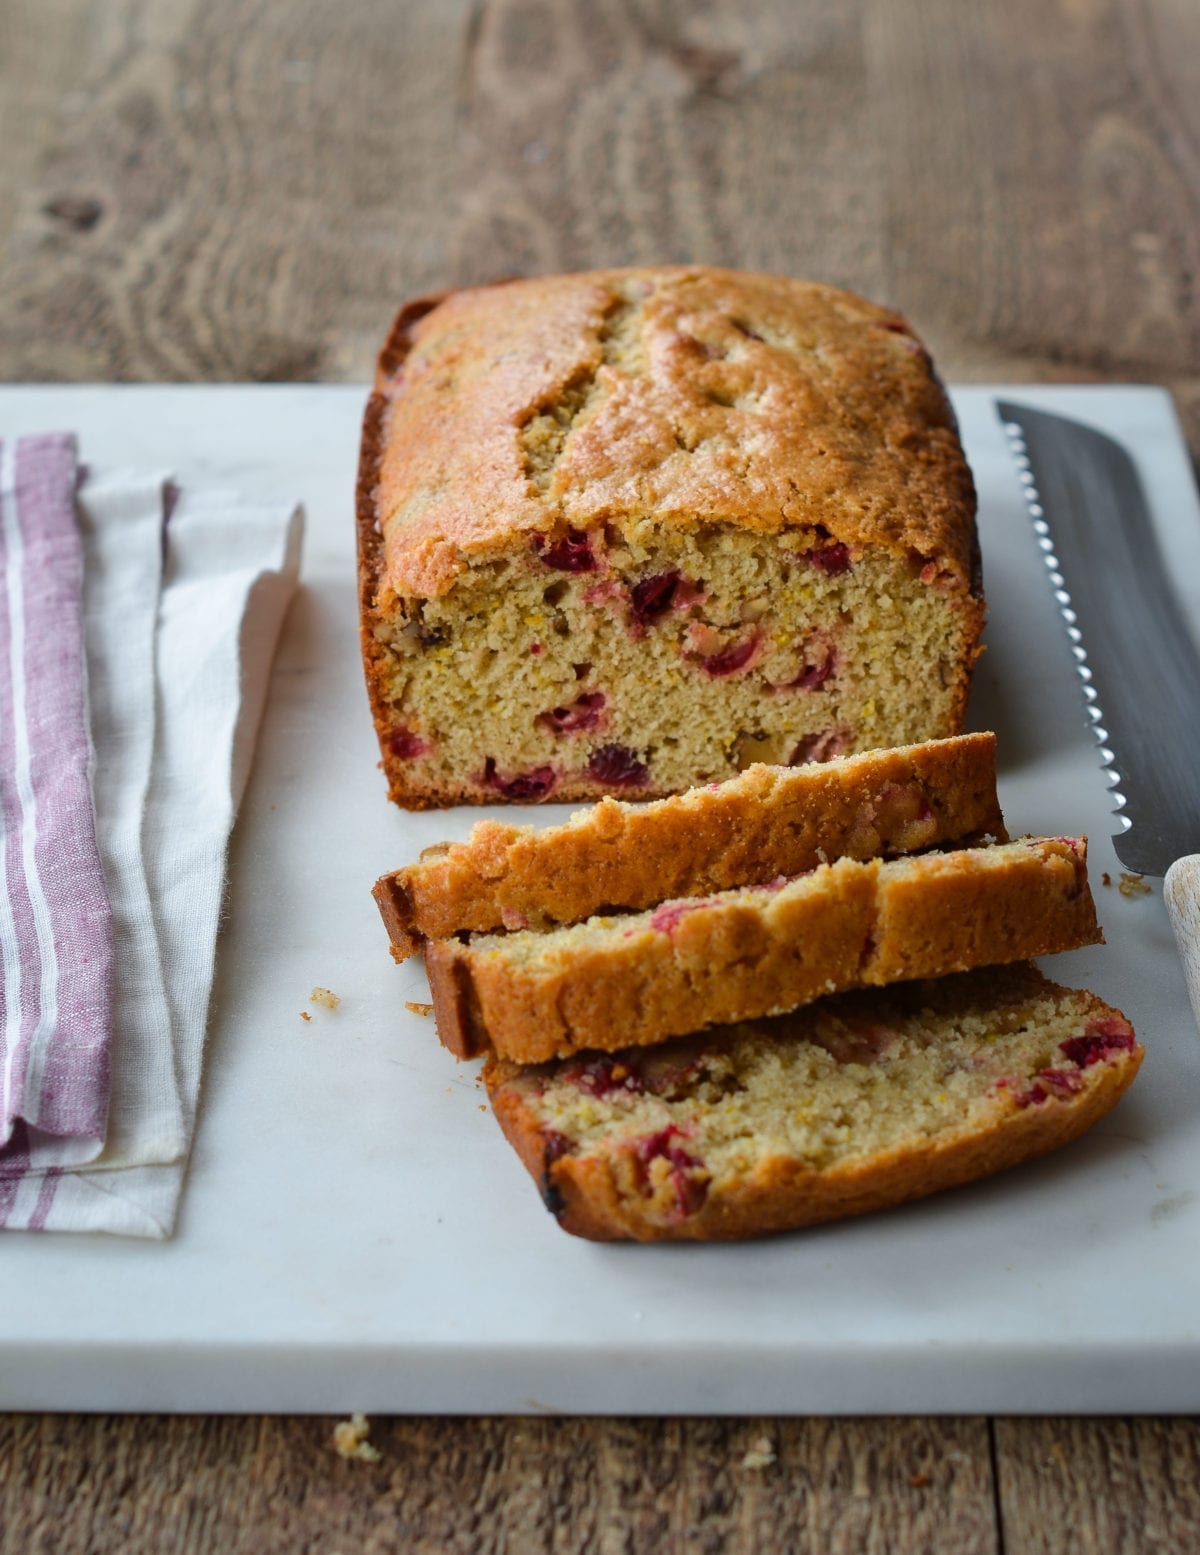
Slice the cranberry orange bread, serve and enjoy!
Freezer-Friendly Instructions
After the bread is completely cooled, wrap it securely in aluminum foil, freezer wrap or place in a freezer bag and freeze for up to 3 months. Thaw overnight in the refrigerator before serving.
You May Also Like
Cranberry Orange Bread
Sweet, orange-scented, and packed with cranberries and walnuts, this cranberry orange bread is the perfect festive treat for the holidays.
Ingredients
- ⅔ cup buttermilk (see note)
- 2 teaspoons grated orange zest, from 1 orange
- ⅓ cup orange juice, from 1 orange
- 6 tablespoons unsalted butter, melted
- 1 large egg
- 2 cups all-purpose flour, spooned into measuring cup and leveled-off
- 1 cup plus 2 tablespoons sugar
- ¾ teaspoon salt
- 1 teaspoon ground cinnamon
- 1 teaspoon baking powder
- ¼ teaspoon baking soda
- 1 cup fresh or frozen cranberries, halved (see note)
- ½ cup coarsely chopped walnuts or pecans
Instructions
- Preheat oven to 375°F and set an oven rack to the middle position. Spray a 9 x 5-inch loaf pan with non-stick cooking spray.
- In a small bowl, stir together buttermilk, orange zest and juice, melted butter and egg. Set aside.
- In a large bowl, whisk together flour, sugar, salt, cinnamon, baking powder and baking soda. Stir the liquid ingredients into the dry ingredients with rubber spatula until just moistened. Gently stir in cranberries and nuts. Do not overmix.
- Scrape the batter into the prepared loaf pan and spread evenly with a rubber spatula. Bake for 20 minutes, then reduce the heat to 350° F. Continue to bake until golden brown and a toothpick inserted into center of the loaf comes out clean, about 45 minutes longer. Cool the loaf in the pan for about 10 minutes, then turn out onto the rack and cool at least 30 minutes before serving.
- Note: If you’d like to make your own buttermilk, check out the easy method here.
- Note: Cranberries are a bit tricky to chop because they roll all over the place. I cut them in half one at a time -- seems tedious, I know, but there aren't that many so it doesn't take long. If you're using frozen cranberries, be sure to slice them while they're still frozen.
- Freezer-Friendly Instructions: The bread can be frozen for up to 3 months. After it is completely cooled, wrap it securely in aluminum foil, freezer wrap or place in a freezer bag. Thaw overnight in the refrigerator before serving.
Nutrition Information
Powered by ![]()
- Per serving (12 servings)
- Serving size: 1 slice
- Calories: 227
- Fat: 7 g
- Saturated fat: 4 g
- Carbohydrates: 38 g
- Sugar: 20 g
- Fiber: 1 g
- Protein: 3 g
- Sodium: 224 mg
- Cholesterol: 31 mg
This website is written and produced for informational purposes only. I am not a certified nutritionist and the nutritional data on this site has not been evaluated or approved by a nutritionist or the Food and Drug Administration. Nutritional information is offered as a courtesy and should not be construed as a guarantee. The data is calculated through an online nutritional calculator, Edamam.com. Although I do my best to provide accurate nutritional information, these figures should be considered estimates only. Varying factors such as product types or brands purchased, natural fluctuations in fresh produce, and the way ingredients are processed change the effective nutritional information in any given recipe. Furthermore, different online calculators provide different results depending on their own nutrition fact sources and algorithms. To obtain the most accurate nutritional information in a given recipe, you should calculate the nutritional information with the actual ingredients used in your recipe, using your preferred nutrition calculator.

This was some of the best quick bread I’ve ever tasted! Thanks so much for sharing the recipe. It was so moist and flavorful and just plain delicous! One question, my loaf stuck to the bottom of the pan a bit, does anyone know what the problem might have been? Does it need more cooking spray, longer baking time, different pan? Thanks for the help! I’ve had a few people ask me for this recipe! 🙂
Hi Becky, Are you letting it cool in the pan for 10 minutes before turning out onto rack? Removing it too quickly would definitely cause the bottom to stick. Otherwise, it could be any of those things you mentioned. I’d start off with more cooking spray and experiment from there. Also, sometimes it helps to run a butter knife around the edges to loosen any spots that might stick and cause tension when trying to remove the loaf. Hope that helps!
Thanks for the tips… I did let it cool for 10 minutes (I always set a timer) and I did run a knife around the edge. I’ll have to play around with the cooking time and more spray. Also, my mother-in-law mentioned using parchment paper, an old trick her mother did to help prevent sticking. Or could you do the butter and flour dusting like on your banana bread recipe? By the way, I just made that one and OMG, that really is the best banana bread I’ve ever tasted. I got lots of compliments! Thanks for helping me be a better cook & baker! 🙂
Becky, The parchment paper would work great…just be sure to spray that as well.
[…] holiday and happy new year! xoxo, Nat’s Knack Cranberry Orange Walnut Bread (adapted from here) Ingredients: – 1/3 cup orange juice – 2 teaspoons grated orange zest, from one orange – 2/3 cup […]
My mom and I saw this, and wanted to make it right away! Absoloutely delicious!! Thank you so much! I have a quick question also, in some breads I have seen it so it has a brown color. How do you give it the brown color? Again, thanks so much!
I love fresh cranberries so when I saw your recipe I got really excited. I made 2 loaves this afternoon with the idea of freezing one of the loaves…I don’t think that is going to happen. This bread is so good! Thanks for another great recipe!
Liesel your blog is yummy and this recipe sounds delicious. I look forward to making this and I will add it my facebook page- Favorite Cranberry Recipes. If you have other recipes featuring Cranberries, please share!
Served this for breakfast this morning. Nothing left but a few crumbs – we have 4 teenagers! Will definitely make this recipe again during the winter months. Thanks, Jennifer!
You are reading my mind! Making cranberry bread this weekend. Will give this one a try. Thanks!
This looks so delicious!
Hi Leisel, So nice to hear that you’re enjoying my blog! To answer your question, I don’t think an 8 x 4-inch pan would be big enough. It’s hard to tell from the pictures, but it does rise almost to the top. That said, you could divide the batter into mini loaf pans…just adjust the cooking time accordingly. Hope that helps!
I’ve also always found the “back of the bag recipe” to be too dry, so I am looking forward to making your version this afternoon. Based on your pictures, it looks like your recipe could easily accommodate an 8 x 4 loaf pan… what do you think? We love your blog. Thanks!