Classic French Fruit Tart

This post may contain affiliate links. Read my full disclosure policy.
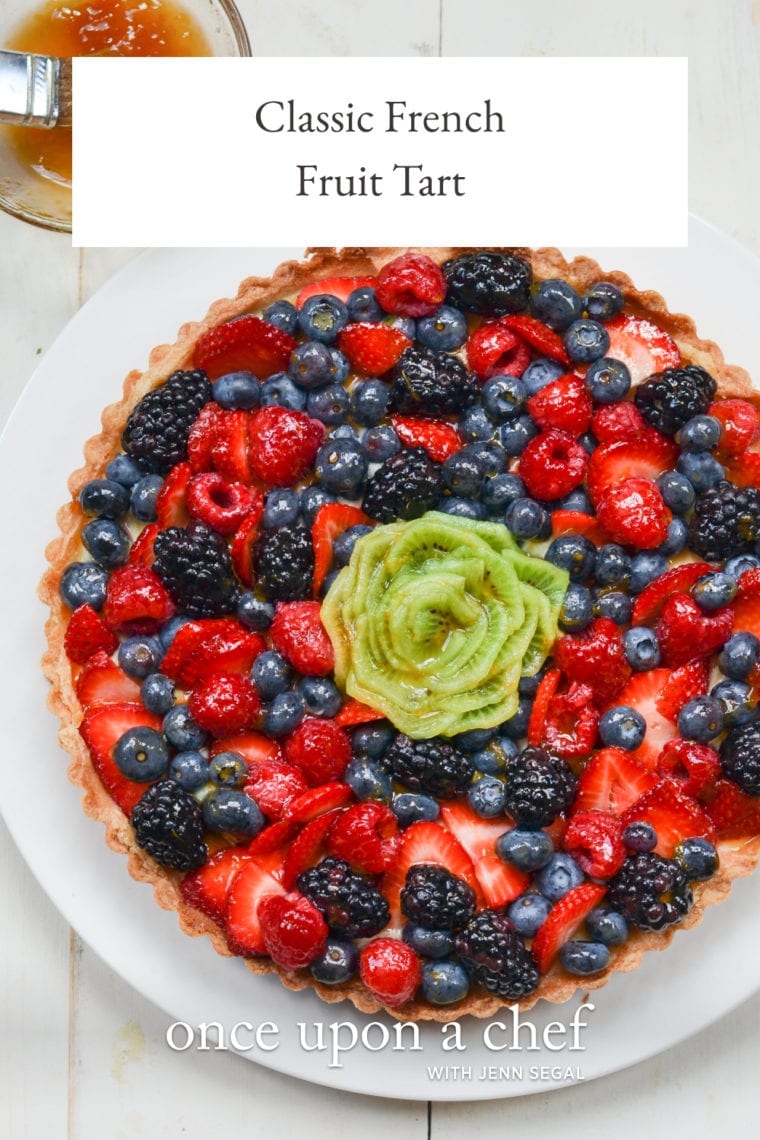
Whip up a French fruit tart that could dazzle in the window of a fancy bakery—with its buttery shortbread crust, luscious vanilla custard, and a vibrant mix of fresh fruits, it’s a simple yet elegant treat for any occasion.
This classic French fruit tart combines three equally delicious elements: a crisp, buttery shortbread crust (or pâte sucrée), a creamy vanilla custard (or crême pâtissière), and heaps of fresh fruit. The recipe comes from my friend Lisa Kolb Ruland, the pastry chef behind the beautiful and inspiring blog Unpeeled. The fruit tart comes together easily but looks like it came straight out of a French pâtisserie window, and it tastes even better than it looks.
You’ll need a 9.5 x 1-inch fluted tart pan with a removable bottom for this recipe. These pans can be ordered online or found in any kitchen store (my local hardware store even carries them in their kitchenware section). Decorating the tart is the fun part. You can do a more traditional French design of carefully arranged fruit (see below), a more free-form fruit pattern, or a mix, like the one shown above. Just have fun with it—as long as you use ample fruit, it will look gorgeous!
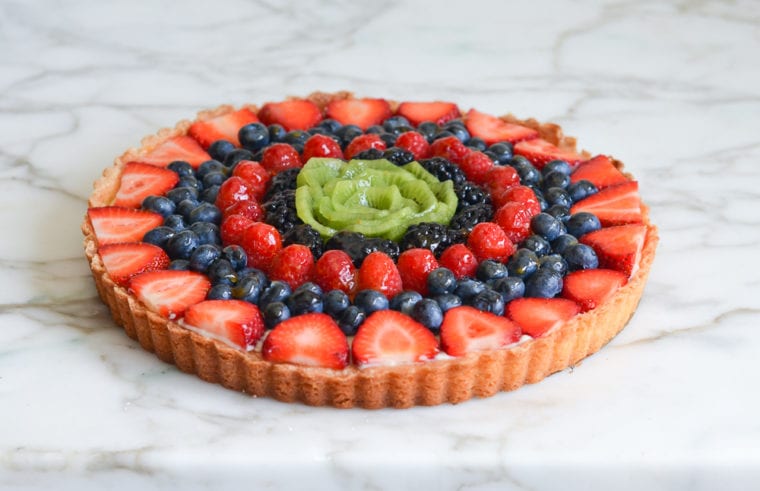
Table of Contents
What You’ll Need To Make A Classic French Fruit Tart
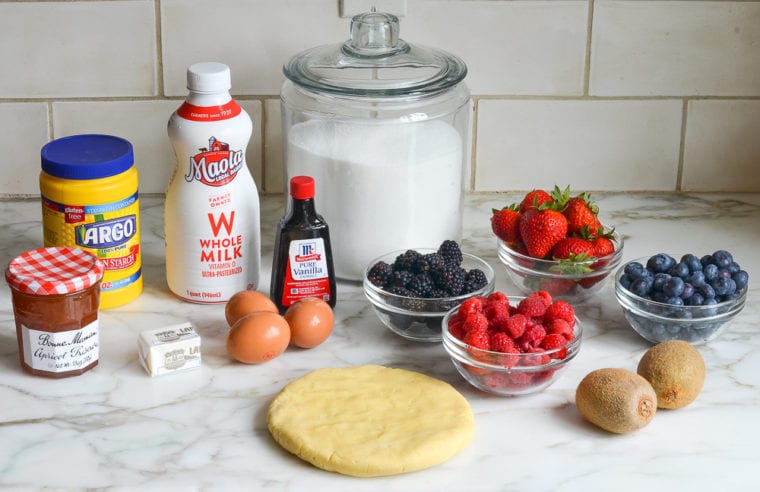
Before we get to the step-by-step instructions, a quick word about the fruit. Fresh berries are a top choice for a French fruit tart. They look pretty and colorful, and they generally stay perky longer than cut fruit. If you’d like to add a pop of additional color, mango and kiwi slices are good options, as they will not oxidize and turn brown (avoid sliced apples and bananas for this reason). It’s best to also avoid melon and other fruit with high moisture content, like sliced citrus, as these fruits will wilt quickly and seep moisture into the pastry cream.
Step-by-Step Instructions
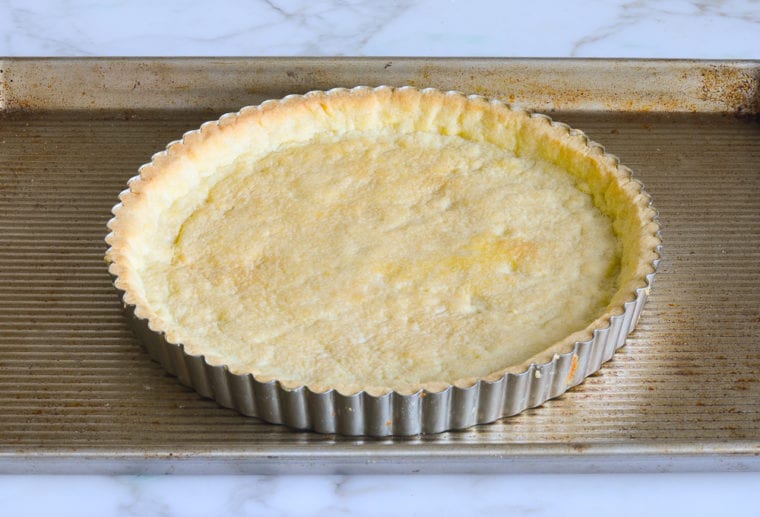
Step 1: Prepare the Crust
Prepare the pâte sucrée recipe through baking and cooling. A pâte sucrée is a crisp yet tender pastry crust that is slightly sweet. (In French, pâte means dough and sucrée means sweet.) The dough maintains its shortbread-like texture even when chilled, which makes it ideal for tarts that require refrigeration.
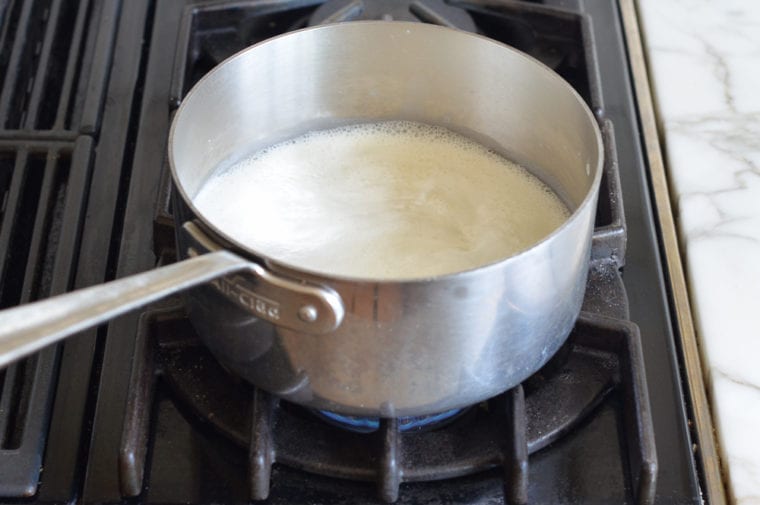
Step 2: Make the Pastry Cream
Pastry cream, or crême pâtissière, is a sweet, vanilla pudding-like custard that is used in many desserts, like cream puffs, éclairs, and fruit tarts. To make it, begin by heating the milk in a medium pot until just boiling. Remove the pot from heat.
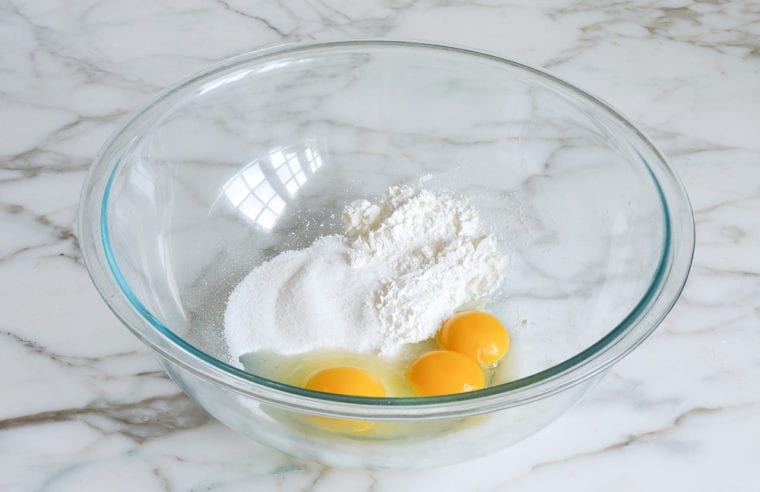
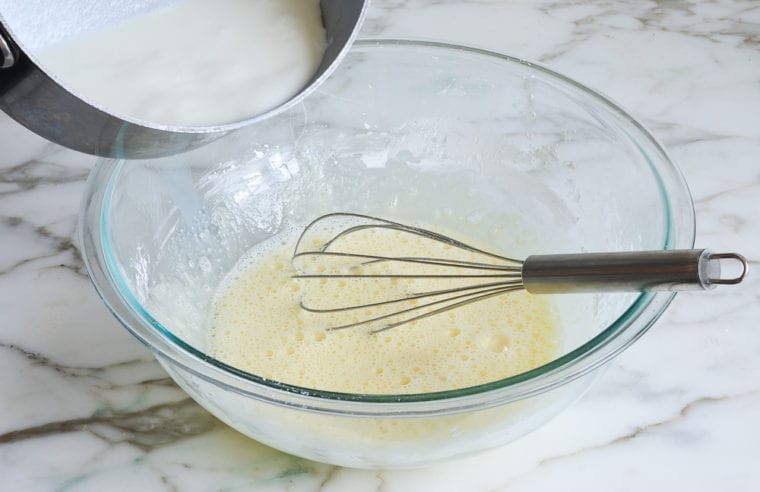
Add the sugar, egg, egg yolks, and cornstarch to a heat-proof mixing bowl.
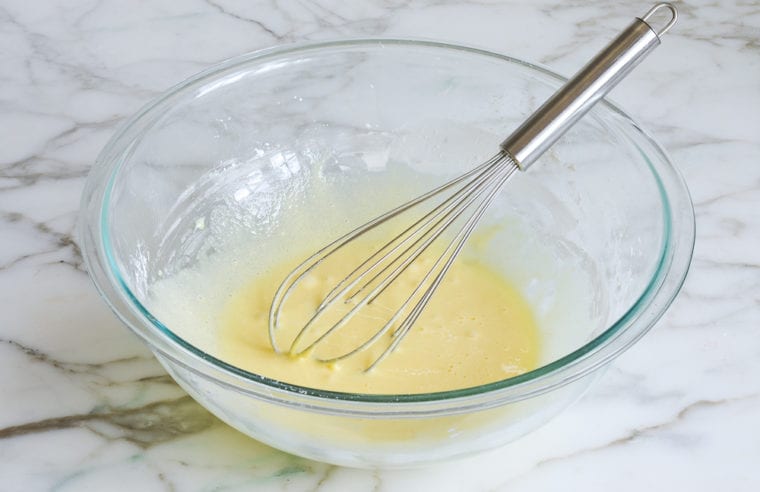
Whisk until the mixture is very smooth and has lightened in color, about 2 minutes.
Whisking constantly, add about a quarter of the hot milk into the egg mixture.
Pour the milk-tempered egg mixture into the pot of the remaining milk. Whisk to combine.
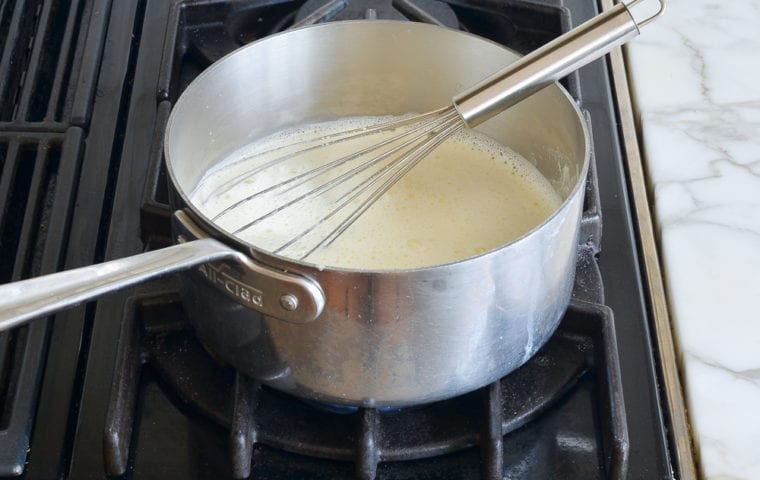
Return the pot to the heat and cook over medium heat, whisking constantly to prevent “scrambled eggs,” especially on the sides and bottom, until the pastry cream thickens, about 2 minutes. A flat whisk is ideal for this task. Stir in the butter and vanilla.
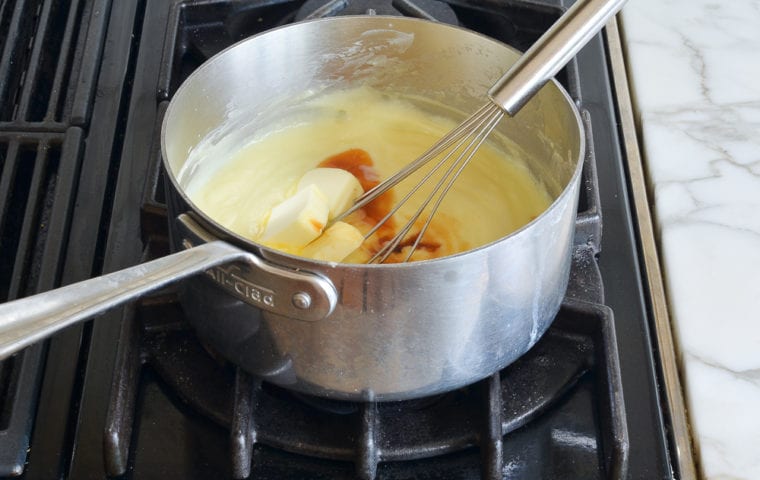
Cook one minute more, whisking constantly. The pastry cream should make thick, lazy bubbles.

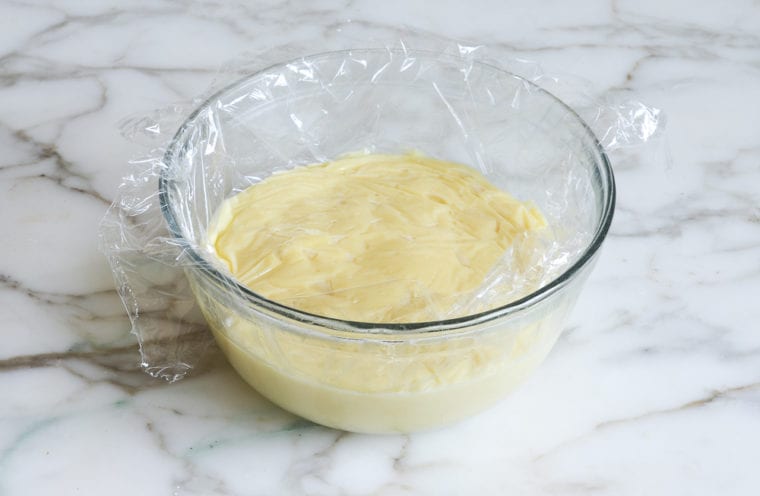
Pour the thickened pastry cream into a clean, shallow bowl. Cover it with plastic wrap and push it down in the bowl so it sits directly on the surface of the pastry cream. This prevents a skin from forming on top. Chill until cold, a few hours or up to 2 days.
Step 3: Assemble the Fruit Tart
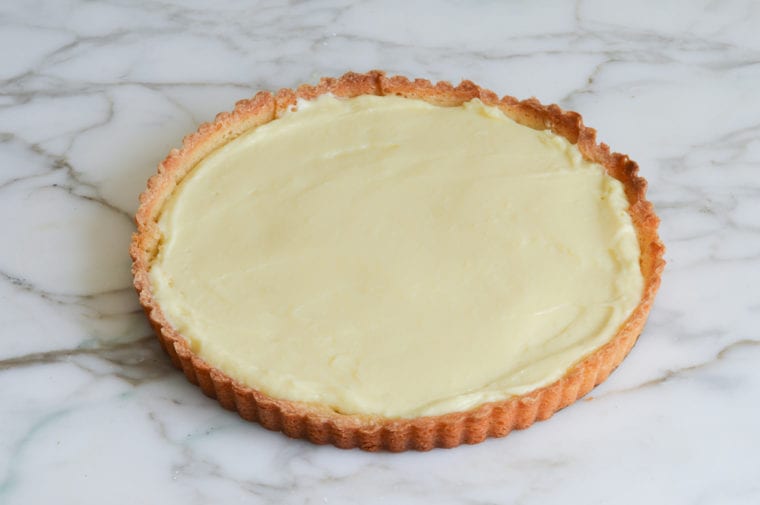
Remove the tart ring and transfer the tart shell to a serving platter. Whisk the chilled pastry cream until smooth, then spread it evenly into the tart shell using an offset spatula.
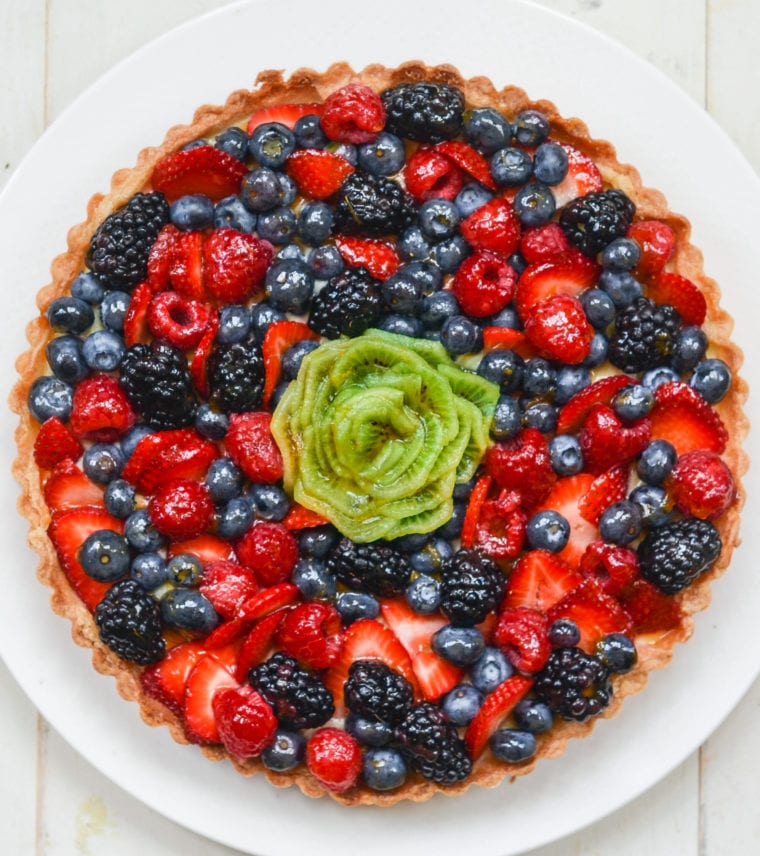
Arrange a generous amount of fruit over the pastry cream in your desired design. As mentioned above, you can do a more traditional French design of concentric circles of arranged fruit (see bottom of post for an example), a free-form fruit pattern, or a mix. Be sure to be generous with the fruit and cover the pastry cream completely.
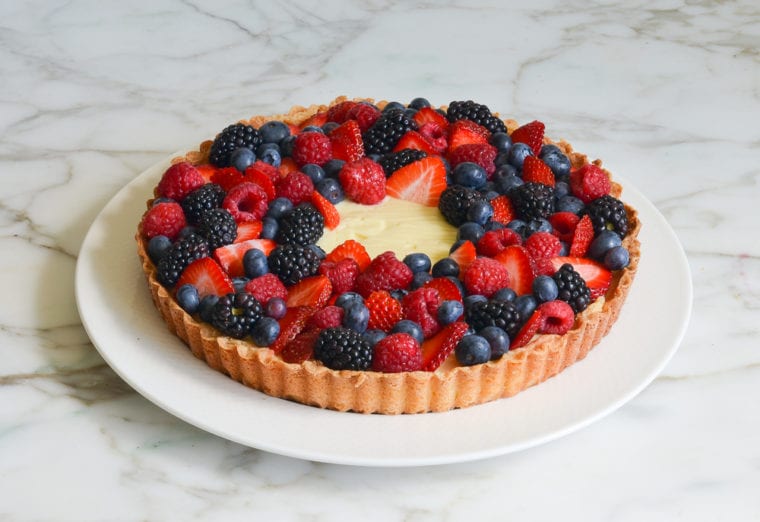
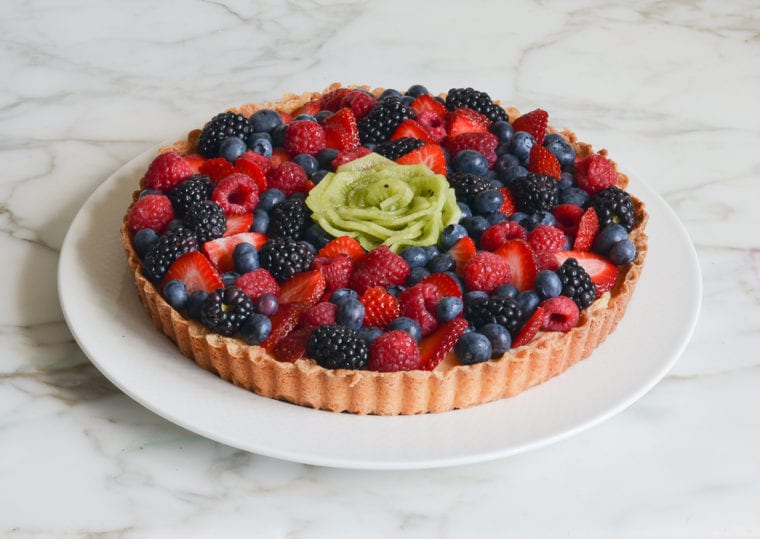
If you’d like to do a mango or kiwi slice rosette in the center, leave a space in the middle of the tart. Start from the outside and work your way to the center, overlapping each slice a little on top of the next.
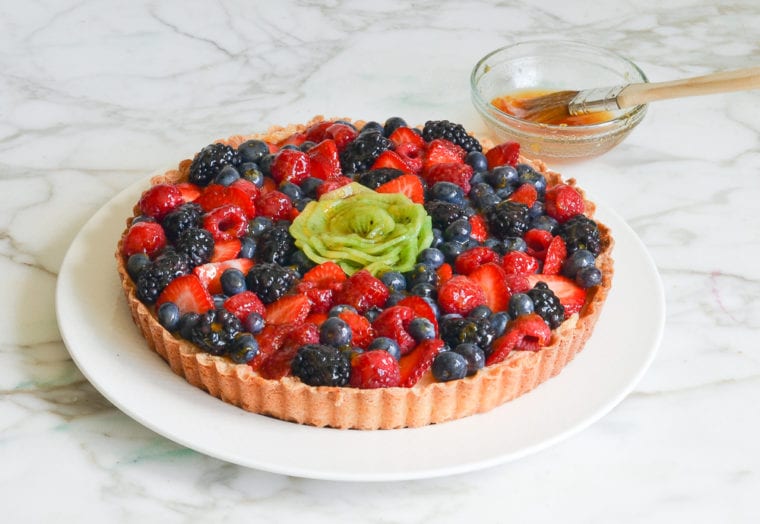
Finally, heat the apricot jam with a tablespoon of water and dab it over the fruit. This glaze makes the fruit tart shine and also locks in the fruit’s freshness.
You May Also Like
Classic French Fruit Tart
Whip up a French fruit tart that could dazzle in the window of a fancy bakery—with its buttery shortbread crust, luscious vanilla custard, and a vibrant mix of fresh fruits, it’s a simple yet elegant treat for any occasion.
Ingredients
- 1 recipe pâte sucrée (sweet tart dough)
- 2 cups whole milk (do not substitute low-fat or skim milk)
- ½ cup sugar
- 3 tablespoons cornstarch
- 1 large egg
- 2 large egg yolks
- 3 tablespoons unsalted butter, cut into pieces
- 2 teaspoons vanilla extract
- About 4 cups fresh mixed berries of choice, plus other fruits, such as sliced kiwi or mango (see note)
- ¼ cup apricot jam
Instructions
- Make the Crust: Complete the pâte sucrée through baking and cooling.
- Make the Pastry Cream: In a medium pot, heat the milk until just boiling. Remove the pot from heat. While the milk is warming, in a heat-proof mixing bowl, whisk together the sugar, egg, egg yolks, and cornstarch. Whisk until the mixture is very smooth and has lightened in color, about 2 minutes. Whisking constantly, add about a quarter of the hot milk into the egg mixture. (This is called tempering. Tempering the eggs helps raise their temperature without cooking them, and helps emulsify them into the milk.) Pour the milk-tempered egg mixture into the pot of the remaining milk. Whisk to combine. Return the pot to the heat and cook over medium heat, whisking constantly to prevent “scrambled eggs,” especially on the sides and bottom, until the magic happens and the pastry cream thickens, about 2 minutes. Stir in the butter and vanilla and cook one minute more, whisking constantly. The pastry cream should make thick, lazy bubbles. (See note below if you see any coagulated bits of egg in your custard.) Pour the thickened pastry cream into a clean, shallow bowl. Cover it with plastic wrap and push it down in the bowl so it sits directly on the surface of the pastry cream. This prevents a skin from forming on top. Chill until cold, a few hours (or up to 2 days before serving).
- Assemble the Tart: Remove the tart ring and transfer the tart shell to a serving platter. Whisk the chilled pastry cream until smooth, then spread it evenly into the tart shell using an offset spatula. Arrange a generous amount of fruit over the pastry cream in your desired design. In a small saucepan, heat the apricot jam with 1 tablespoon of water over medium heat, whisking, until thin. (Alternatively, heat it in a heat-proof bowl in the microwave for about 30 seconds.) If the jam is especially chunky, strain it through a sieve. Use a pastry brush to gently dab the fruit with a thin layer of apricot glaze. Chill until ready to serve.
- Note: Avoid melon and other fruit with high moisture content, like sliced citrus. These will wilt quickly and seep moisture into the pastry cream. Also avoid oxidizing fruit like apples and bananas; these fruits will turn brown. Berries should be fully dried after rinsing (raspberries should not be washed) and strawberries should be sliced.
- Note: If you see any coagulated egg bits in your finished custard, strain the hot pastry cream through a fine mesh strainer.
- Make-Ahead Instructions: The pastry cream can be made up to 2 days before serving. The tart can be assembled and refrigerated up to one day before serving.
Nutrition Information
Powered by ![]()
- Per serving (10 servings)
- Calories: 349
- Fat: 16 g
- Saturated fat: 10 g
- Carbohydrates: 47 g
- Sugar: 29 g
- Fiber: 2 g
- Protein: 5 g
- Sodium: 95 mg
- Cholesterol: 108 mg
This website is written and produced for informational purposes only. I am not a certified nutritionist and the nutritional data on this site has not been evaluated or approved by a nutritionist or the Food and Drug Administration. Nutritional information is offered as a courtesy and should not be construed as a guarantee. The data is calculated through an online nutritional calculator, Edamam.com. Although I do my best to provide accurate nutritional information, these figures should be considered estimates only. Varying factors such as product types or brands purchased, natural fluctuations in fresh produce, and the way ingredients are processed change the effective nutritional information in any given recipe. Furthermore, different online calculators provide different results depending on their own nutrition fact sources and algorithms. To obtain the most accurate nutritional information in a given recipe, you should calculate the nutritional information with the actual ingredients used in your recipe, using your preferred nutrition calculator.
I made this for Easter. My first ever tart. I followed the recipe exactly except for the final glaze where I substituted raspberry preserves instead of apricot jam because that is what i had on hand. Everyone loved the tart and it was delicious.
I am wondering if you can use an alternative milk like oat for the pastry cream? The crust I have a wonderful gluten free flour that will work well but being dairy free, I am wondering if the alternative neutral milk will work.
Hi Donna, unfortunately, I don’t think a milk alternative will work for the pastry cream. If you can find a non-dairy pastry cream alternative (perhaps something made from coconut cream that might be worth a try).
Hello! I am wanting to make this using an 11” vs 9” tart pan. Do you have recommendation on how much I should plan to increase the ingredients by for this pan size?
Hi KellyMarie, You’d need to increase the recipe by 1.5 for an 11-inch pan. Or you could use a 9-inch springform pan. Hope you enjoy!
This is an amazing tart. It is so easy! Super delicious. We didn’t even roll the dough out and the dough set in the fridge for a week and then on the countertop for a week 1/2. We just were so busy! It still came out delicious. I used my fingers to press the dough in a 9” round pie glass plate, added the custard and fruit and voila it was amazing!!
Hi Jenn,
Is there anything I can use in place of the apricot jam? I have honey and raspberry preserves, would either of those work?
Hi Avery, I’d just omit the jam. Enjoy!
Thank you, it turned out beautifully! ❤️
Followed the recipe to a T and my tart came out beautifully! Your instructions were perfect and guided this first timer through every step. Thank you! It was so delicious!
Made this for family exactly as written and it turned out amazing!! I made the pastry cream and the crust from the night before so that it had time to cool down in the fridge overnight and assembled it the next morning. The steps were easy to follow and very quick. I multiplied the recipe by 1.5 because I only had a 13-inch pie plate and it still turned out perfectly. My husbands family were floored when they saw the tart and the entire thing was gone by the end of the day! Definitely a dessert to impress and one I’ll be making again and again!
Can you use this recipe to make mini tarts? What adjustments would you make?
Hi Nancy, I haven’t made mini versions of these but I suppose you could. The one thing that would change is the bake time for the crust. It depends on the size of the mini tarts, but I’d guesstimate they’ll need about 18 to 20 minutes in the oven; just keep a close eye on them. Please LMK how they turn out if you try it!
Absolutely loved this recipe. I’m totally new to baking and this was so straightforward and easy to follow. The recipe turned out amazing!
I will add, do not underestimate your power to spread the tart dough it may seem like you don’t have enough but keep spreading.
I made this Classic French Tart with the pâte sucrée a couple of weeks ago for my wife as a little surprise because she likes those little mini tarts so much. I buy them at our local
grocery store’s pastry department. Well, this turned out wonderful. The dilemma I face was how to decorate it. My solution was to decorate a plate first to look see how it looks. This has been the most beautiful thing I’ve ever made and it tasted so very good. A great recipe, thank you. I was so proud of how it turned out I took a picture of it and showed it to the pastry department staff. I’ll be doing this again.