Chocolate Rugelach
This post may contain affiliate links. Read my full disclosure policy.
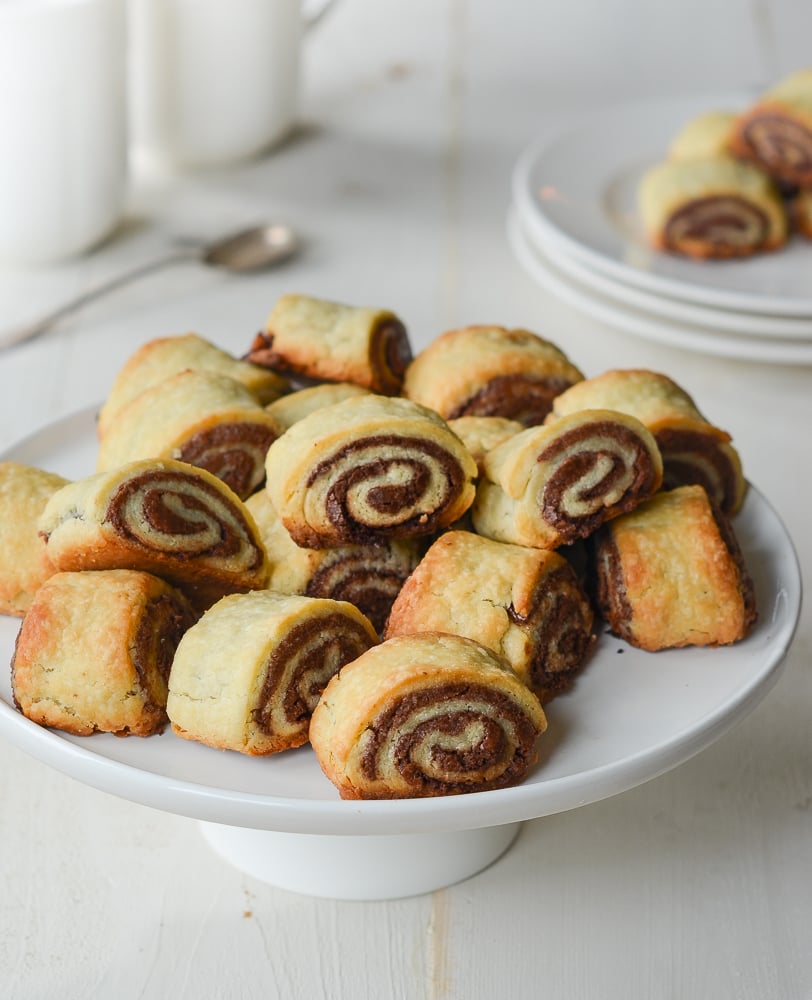
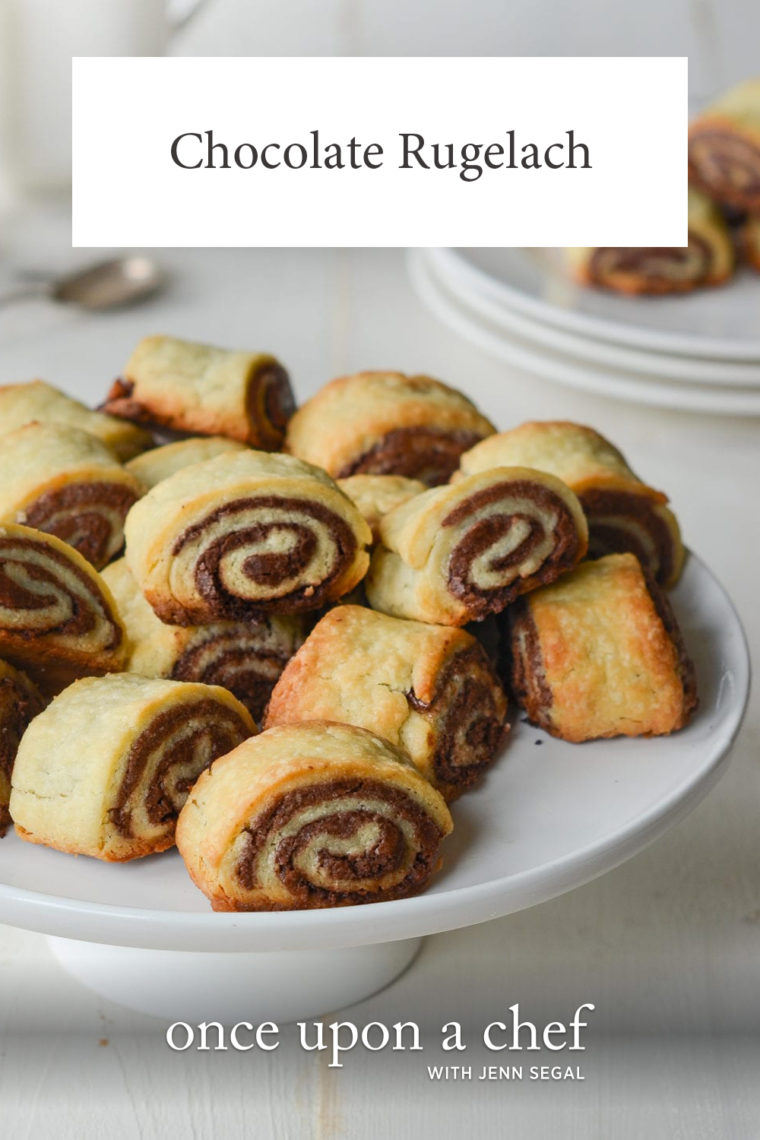
A much-loved Jewish holiday treat, chocolate rugelach are miniature pastries posing as cookies.
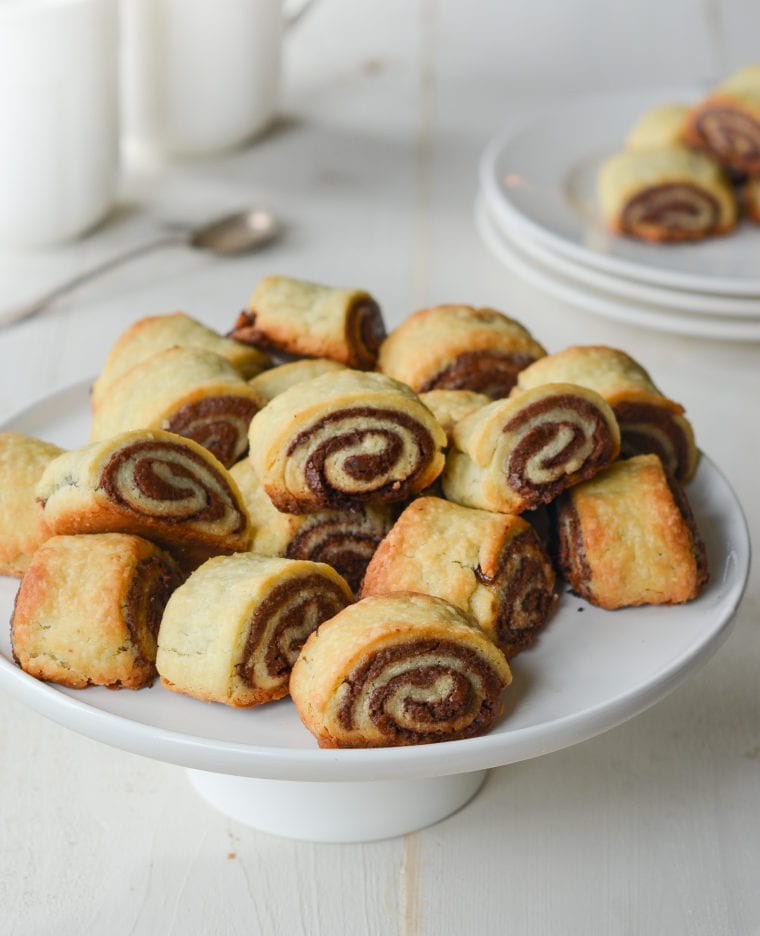
A much-loved Jewish holiday treat, rugelach (pronounced rug-a-lah) are miniature pastries posing as cookies. They’re made by rolling a buttery, flaky dough around a sweet filling of fruit, nuts, chocolate, or pretty much anything your heart desires. Yiddish for “little twists,” rugelach can be crescent-shaped, like my classic walnut and raisin rugelach, or rolled into logs, much like a strudel, and cut into slices before baking. While they look like fancy bakery cookies, they are totally doable at home. The key is to think ahead: the dough needs to be refrigerated for at least an hour before rolling, and then quickly chilled again before slicing and baking.
Looking for more Jewish holiday sweets? Consider mixing it up with tender, moist honey & spice cake for Rosh Hashanah, pillowy sufganiyot for Hanukkah, apricot hamantaschen for Purim, and ridiculously good chocolate toffee matzo crack for Passover. Who knew the Jewish holidays could taste so sweet?
“The recipe produced delicious cookies. It was easy to follow and the ingredients were easy to get. I couldn’t be more pleased.”
What You’ll Need To Make Chocolate Rugelach
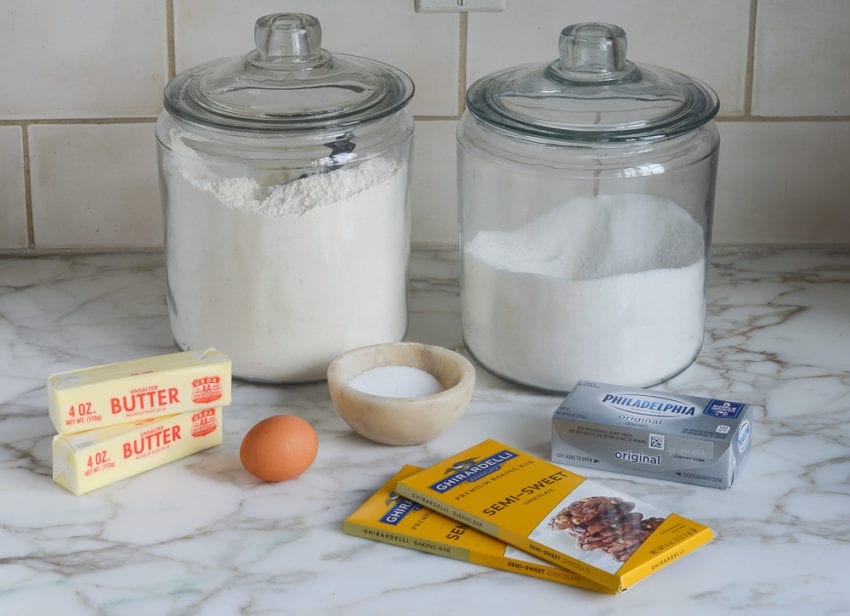
- All-Purpose Flour: Provides structure for the dough. Measure by spooning it into the measuring cup and leveling it off to ensure accuracy.
- Sugar: Adds sweetness and helps with browning the dough; it also adds sweetness to the filling.
- Butter: Gives the dough a flaky, rich texture.
- Cream Cheese: Makes the dough pliable, easy to work with, and reliably tender.
- Egg Yolk: Adds richness and helps bind the dough.
- Semi-Sweet Chocolate: Gives the filling a rich chocolate flavor. Use good quality chocolate, such as Ghirardelli.
- Jump to the printable recipe for precise measurements
Step-By-Step Instructions
Begin by making the dough. Place the flour, sugar, and salt in the bowl of a food processor fitted with a metal blade.
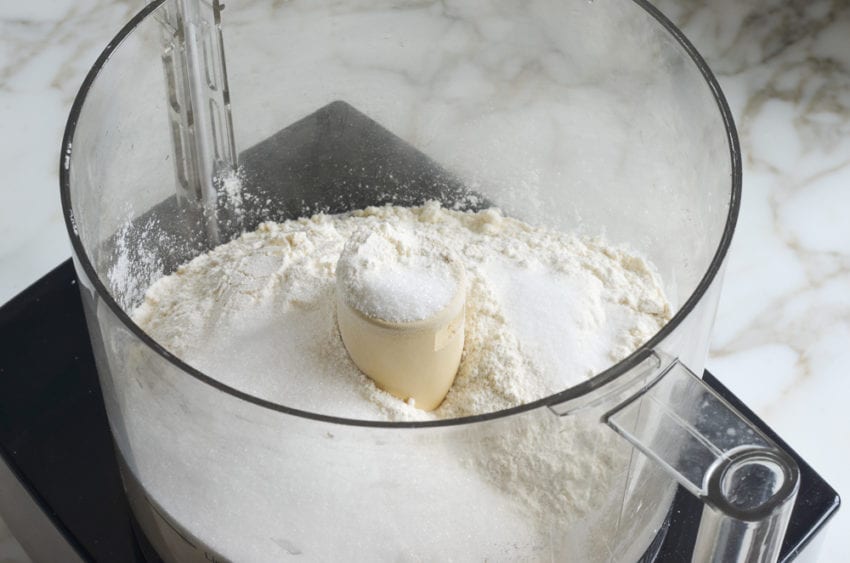
Pulse a few times to combine.
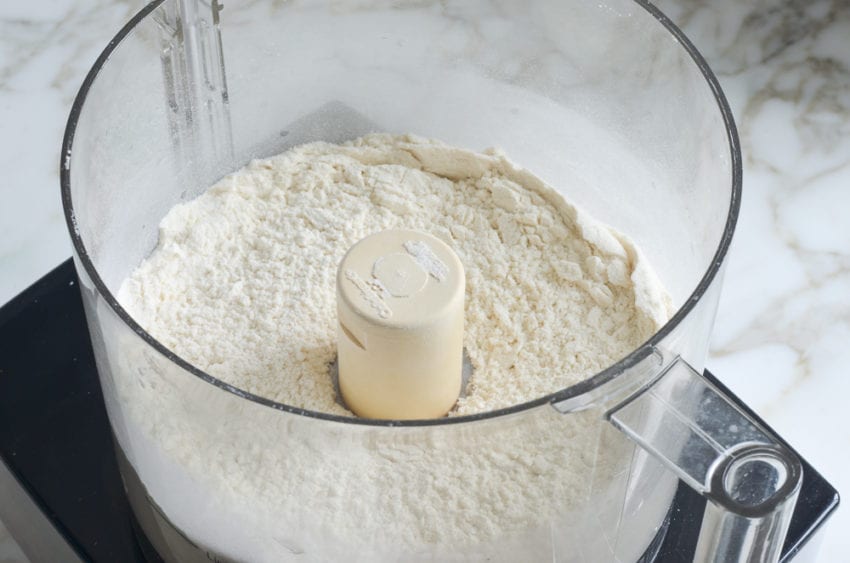
Add the chunks of butter, cream cheese, and egg yolk.
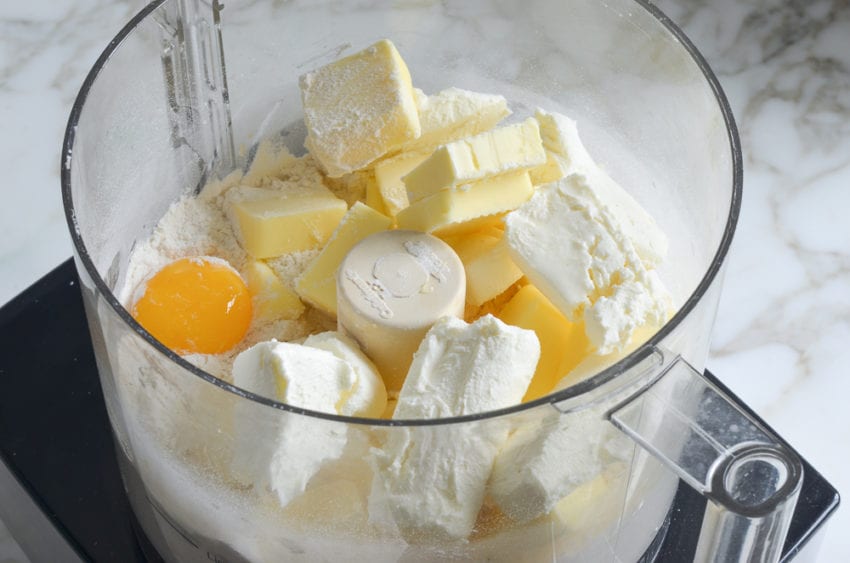
Process until the dough starts to come together into a well-moistened, crumbly mass, 20 to 30 seconds.
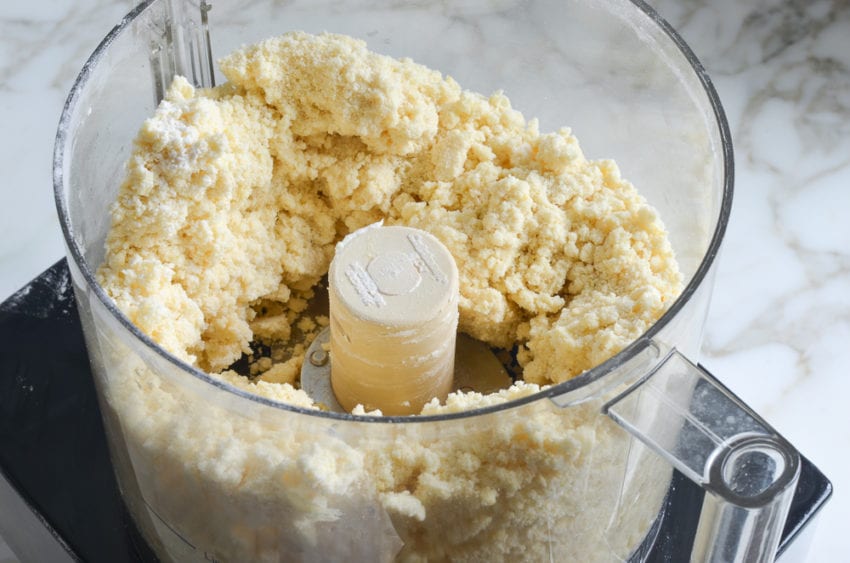
Transfer the dough to a clean work surface.
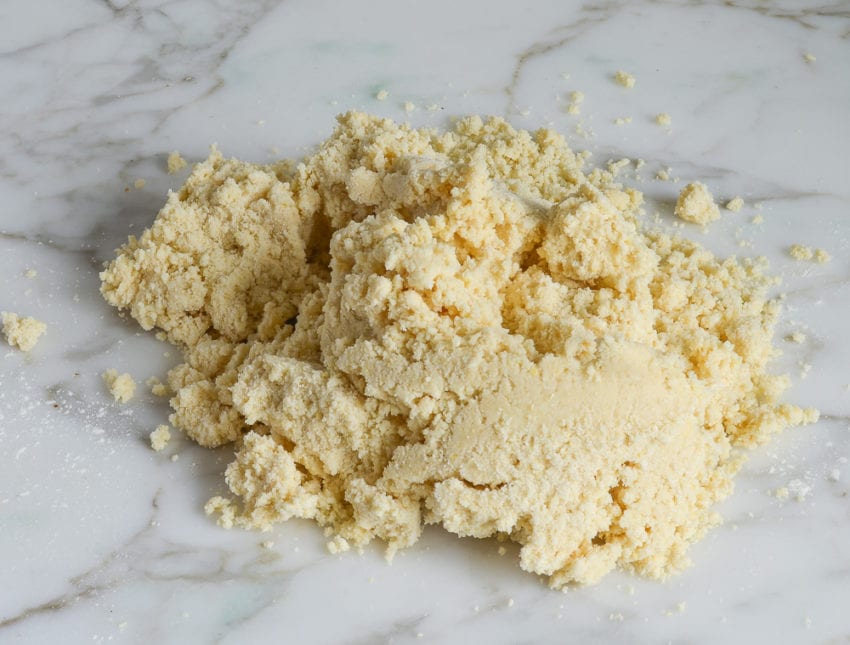
Gather the crumbly dough into a ball and knead, dusting the work surface and dough lightly with flour as necessary, until it comes together into a smooth ball.
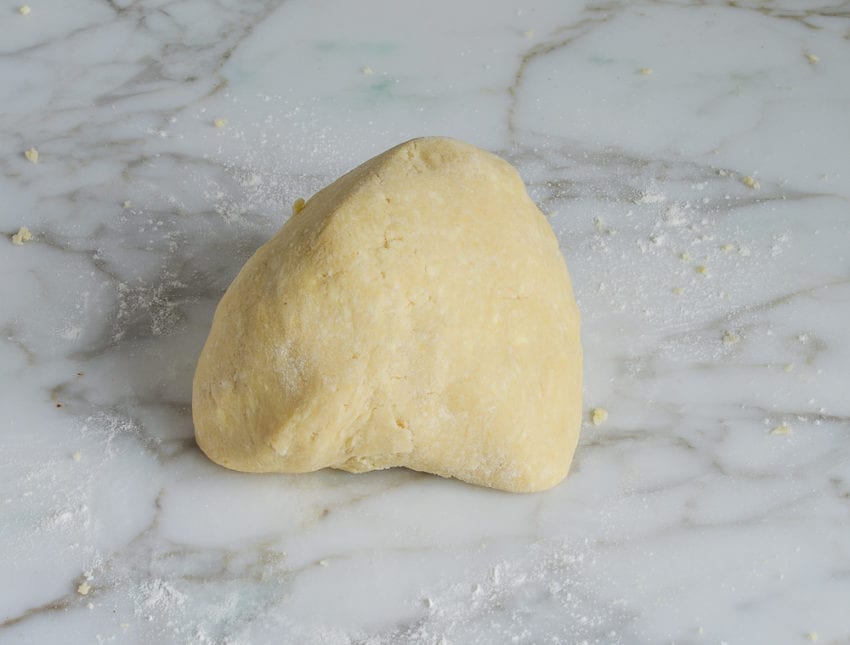
Shape the dough into a rectangle, then cut into 4 equal portions.
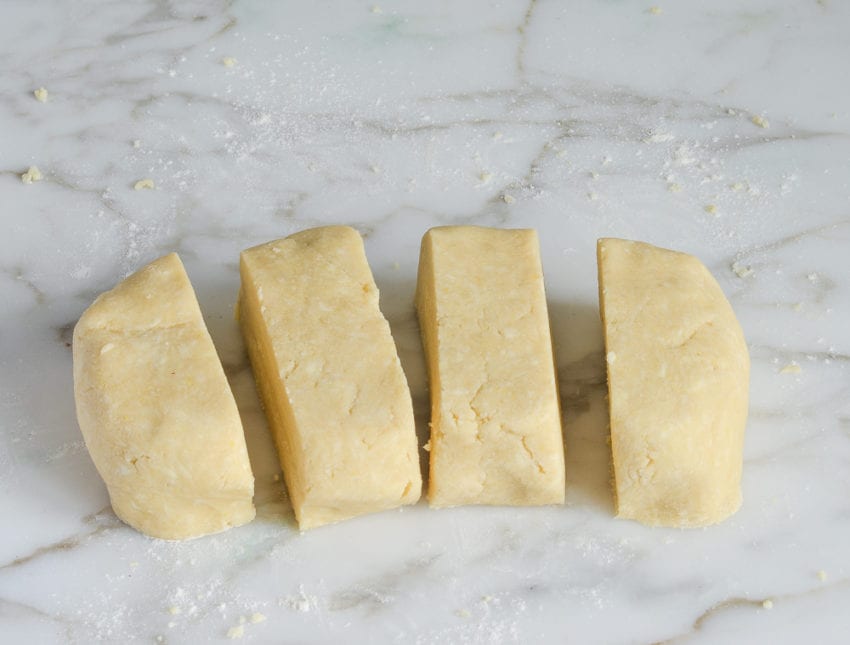
Flatten each piece of dough into a 1/2-inch-thick rectangle.
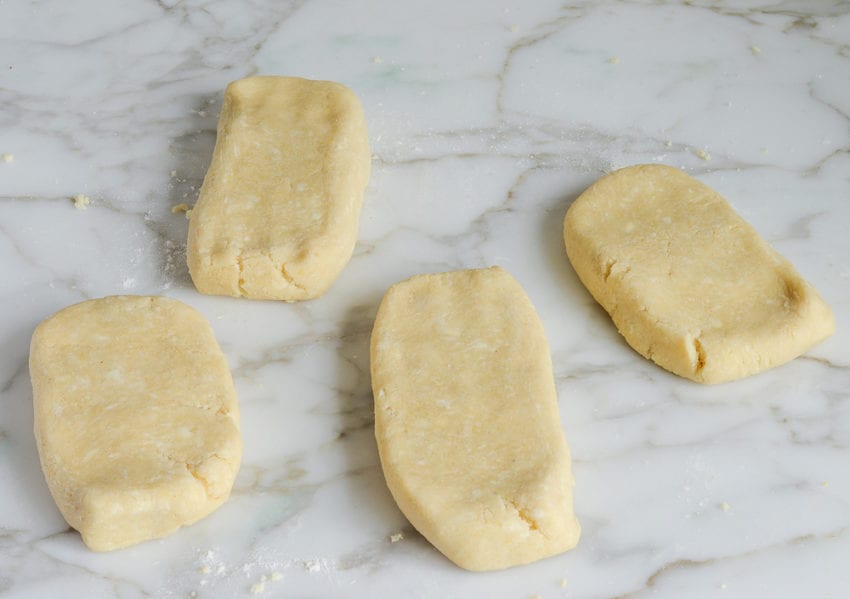
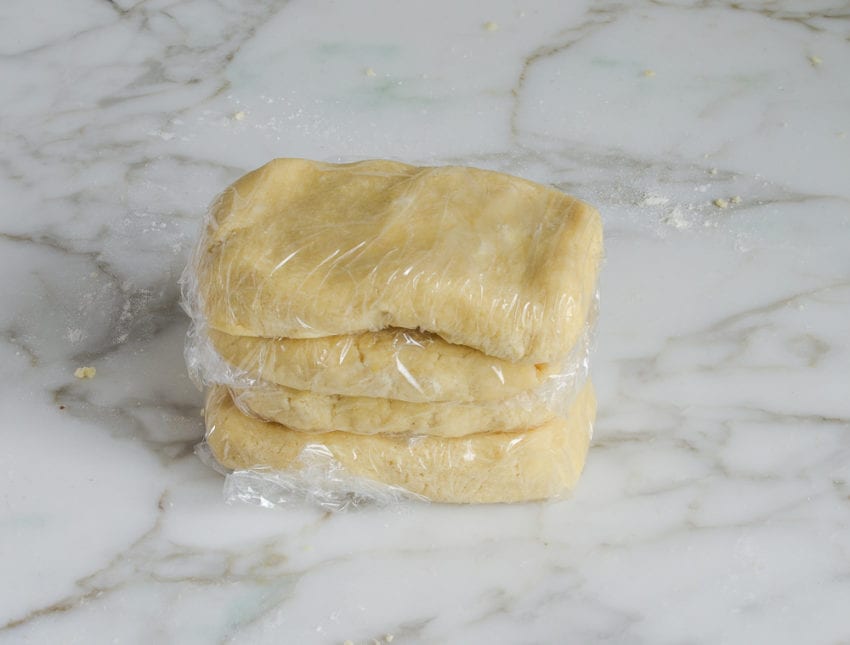
Wrap each section of the rugelach dough in plastic wrap and refrigerate for at least one hour or up to 3 days.
Next, make the filling. Place the chocolate in a medium microwave-safe bowl and melt in 30-second intervals, stirring in between, until almost melted. Stir, allowing the residual heat in the bowl to melt the chocolate completely. (Alternatively, melt the chocolates in a double boiler on the stovetop.)
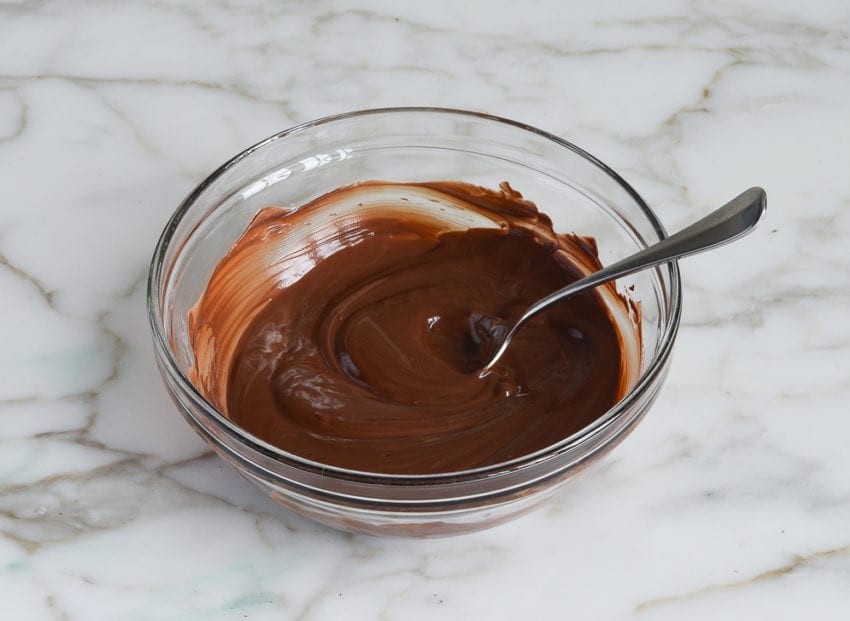
Add the sugar and salt.
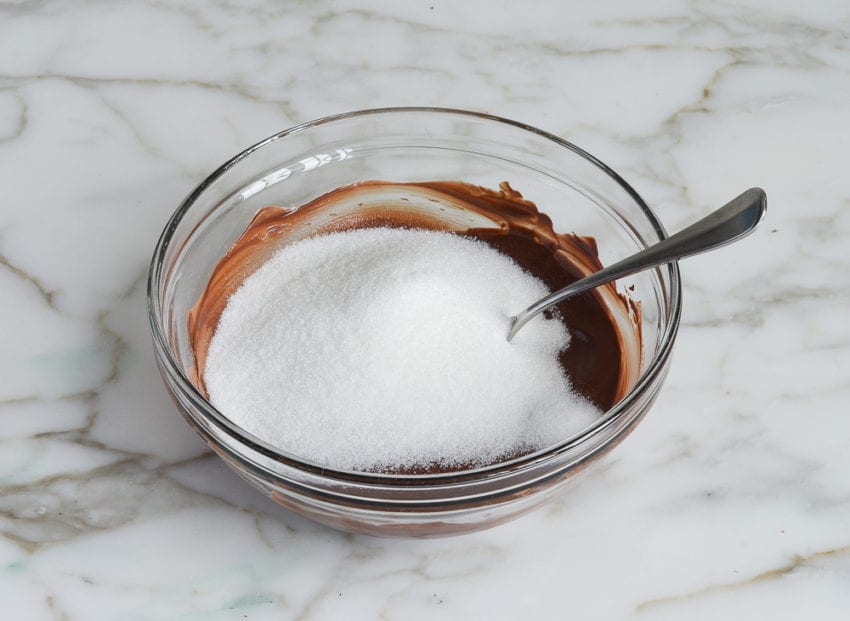
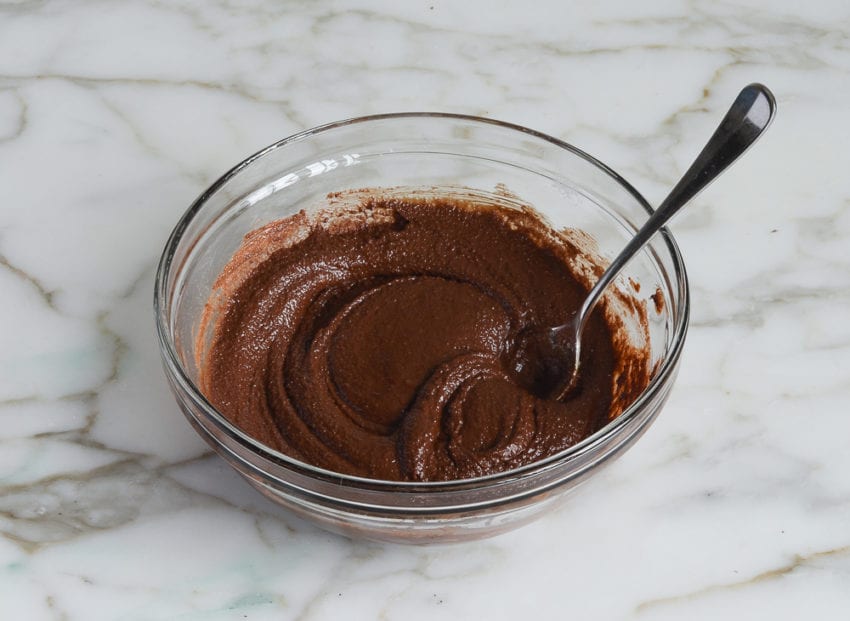
Mix well; the mixture will be grainy.
How To Roll Chocolate Rugelach
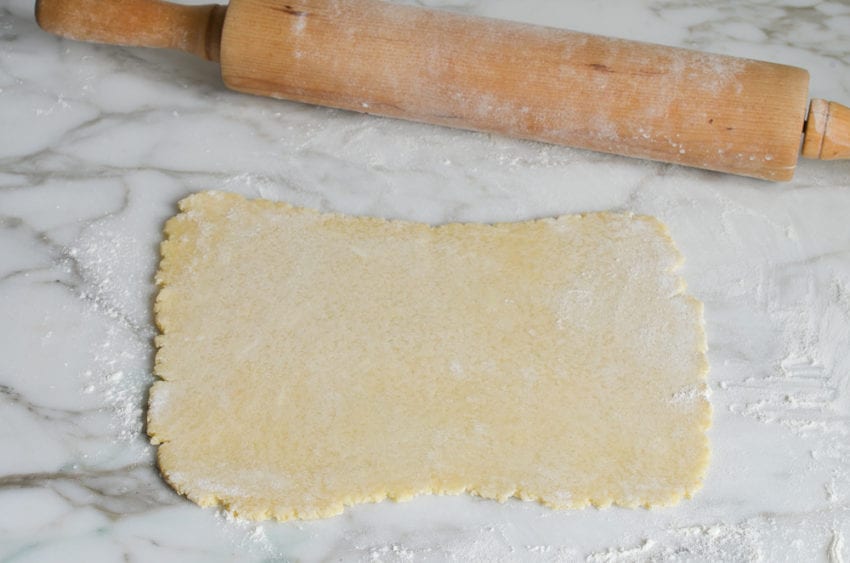
When you’re ready to roll the cookies, remove one section of dough from the refrigerator, unwrap it, and place it on a lightly floured work surface. (If necessary, let it sit at room temperature for a few minutes until it’s pliable enough to roll, but not too soft.) Dust the top of the dough lightly with flour, then use a rolling pin to roll it into an 8 x 11-in rectangle. Don’t make yourself crazy over it, but try to make it as even as possible around the edges; it will make it easier to roll. (Go ahead and trim slightly with a pizza cutter or sharp knife if it’s very uneven.)
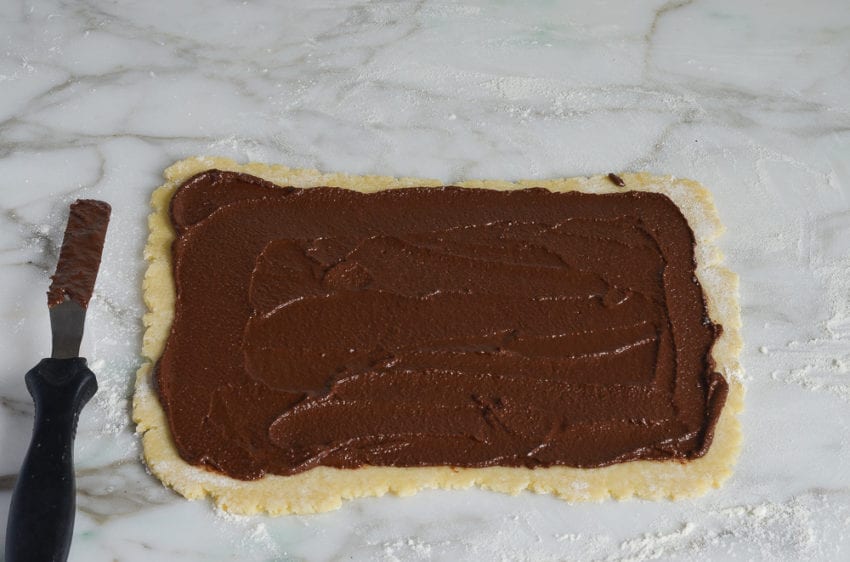
Using an offset spatula or back of a spoon, quickly spread 1/4 of the chocolate filling evenly over the dough, leaving a 1/4-inch border around the edges.
Starting from the long side, roll the dough tightly into a cylinder.
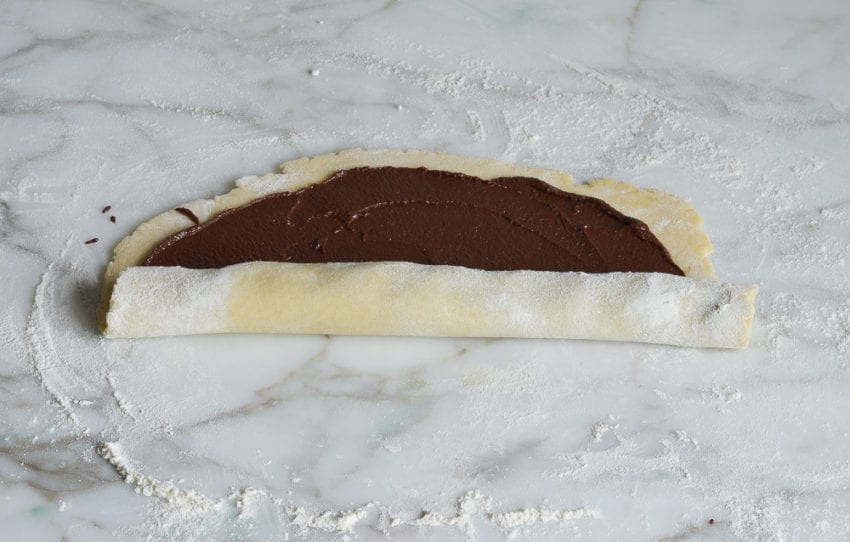
Place the filled rolled dough, seam side down, on the prepared baking sheet. Repeat with the remaining dough and chocolate filling. Place the rolled dough logs in the refrigerator for 20 to 30 minutes, or until firm to the touch.
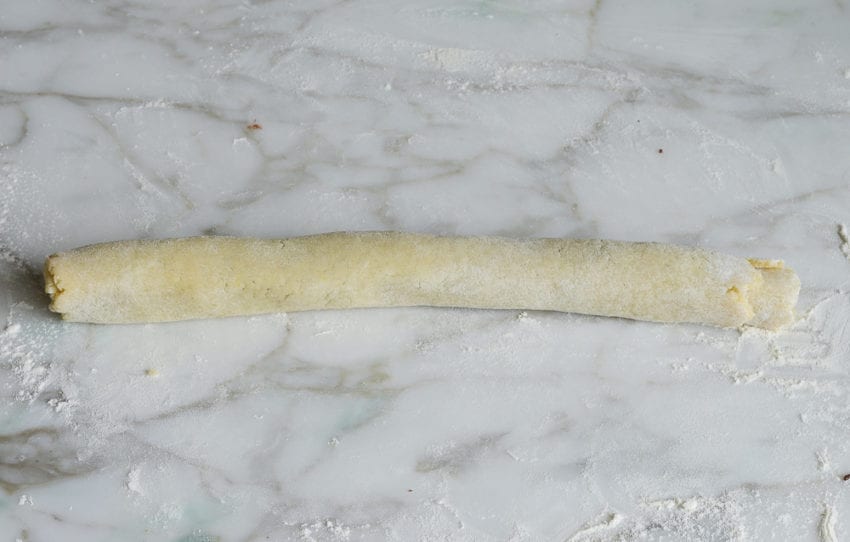
Take the rolled dough out of the refrigerator. Using a serrated knife, slice off the uneven ends of each roll and discard. Then slice the rolls into 1-in-wide pieces.
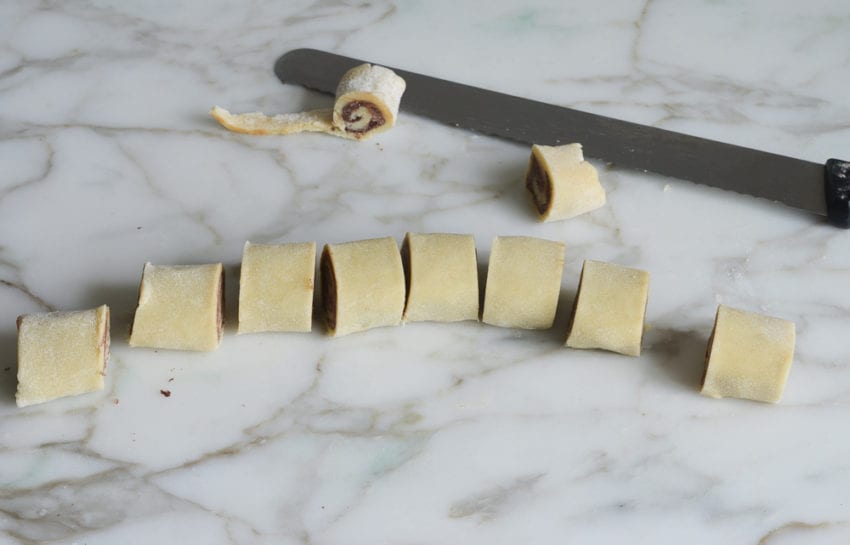
Place each slice, seam side down, on the prepared sheet.
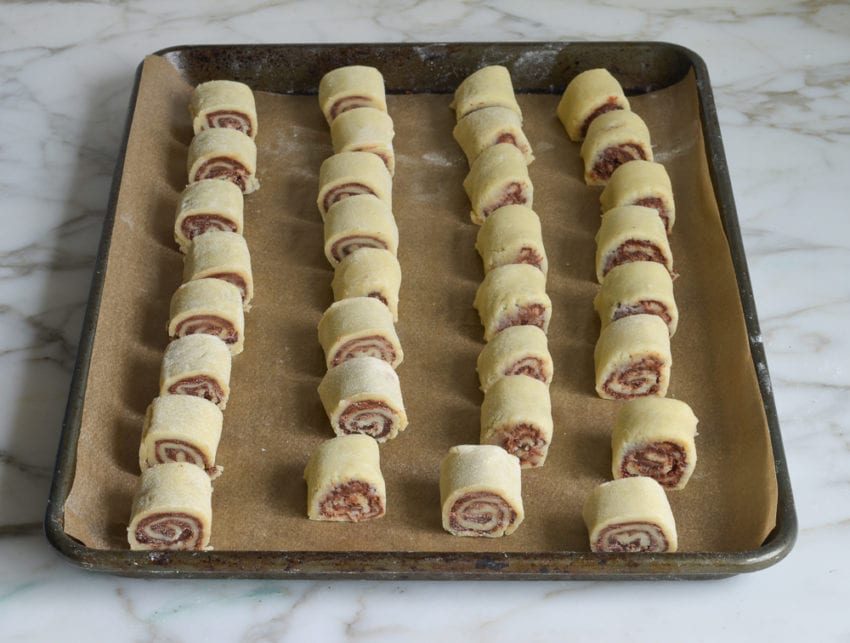
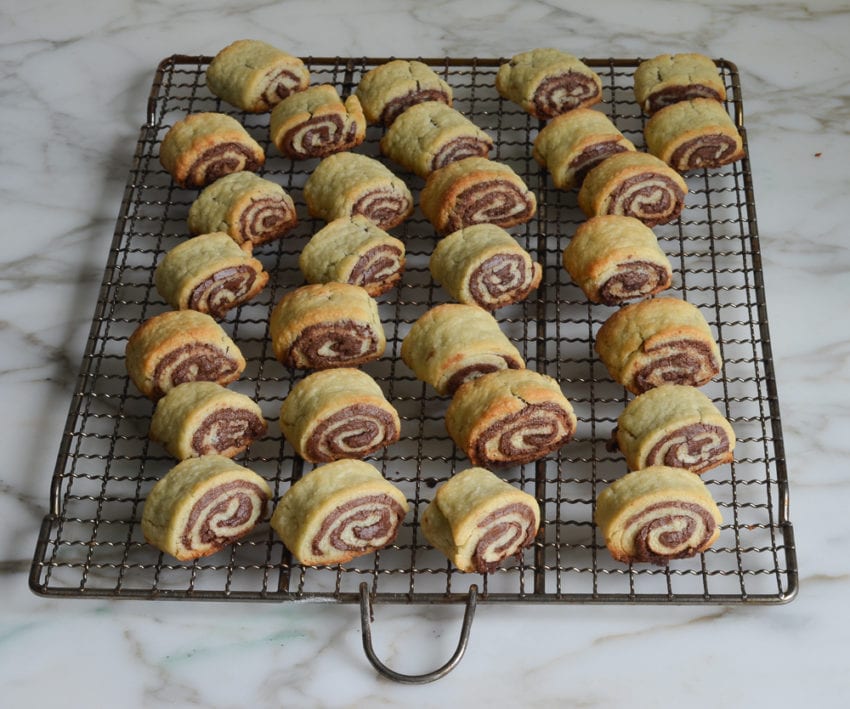
Bake for 18 to 20 minutes, or until lightly golden brown. Cool the rugelach on the baking sheet for a few minutes, then transfer to a rack to cool completely.
How To Store and Freeze Chocolate Rugelach
Rugelach are best on the day they are made. Store any extra cookies in an airtight container for up to 3 days, or freeze for longer storage.
The unbaked sliced rugelach can be frozen for up to 3 months. Before freezing, let the sliced rugelach set on a baking sheet in the freezer for approximately 20 minutes, then place in a sealable bag and press out as much air as possible. Bake as needed directly from the freezer. (Allow 1 to 2 minutes longer in the oven.)
To freeze after baking, let the rugelach cool completely and store in an airtight container separating layers with parchment paper or aluminum foil. Before serving, remove the cookies from the container and let them come to room temperature.
You May Also Like
Chocolate Rugelach
A much-loved Jewish holiday treat, chocolate rugelach are miniature pastries posing as cookies.
Ingredients
For the Dough
- 2½ cups all-purpose flour, spooned into measuring cup and leveled-off
- 6 tablespoons sugar
- Heaping ¼ teaspoon salt
- 1 cup (2 sticks) cold unsalted butter, cut into 1-in chunks
- 6 oz cold cream cheese, cut into 1-in chunks
- 1 egg yolk
For the Filling
- 8 oz semi-sweet chocolate, best quality such as Ghiradelli, roughly chopped
- ½ cup sugar
- ¼ teaspoon salt
Instructions
- Make the dough: Place the flour, sugar, and salt in the bowl of a food processor fitted with a metal blade. Pulse a few times to combine. Add the chunks of butter, cream cheese, and egg yolk. Process until the dough starts to come together into a well-moistened, crumbly mass, 20 to 30 seconds. Transfer the dough to a clean work surface. Gather the crumbly dough into a ball and knead, dusting the work surface and dough lightly with flour as necessary, until it comes together into a smooth ball. Shape the dough into a rectangle, then cut into 4 equal portions; flatten each piece of dough into a ½-inch-thick rectangle. Wrap each section of dough in plastic wrap and refrigerate for at least 1 hour or up to 3 days.
- Make the filling: Place the chocolate in a medium microwave-safe bowl. Melt in the microwave in 30-second intervals, stirring in between, until almost melted. Stir, allowing the residual heat in the bowl to melt the chocolate completely. (Alternatively, melt the chocolates in a double boiler on the stovetop.) Mix in the sugar and salt. The mixture will be grainy; that's okay.
- Line a baking sheet with parchment paper.
- Roll the cookies: Remove one section of dough from the refrigerator, unwrap it, and place it on a lightly floured work surface. (If necessary, let it sit at room temperature for a few minutes until it's pliable enough to roll, but not too soft.) Dust the top of the dough lightly with flour, then use a rolling pin to roll it into an 8 x 11-in rectangle. Don't make yourself crazy over it, but try to make it as even as possible around the edges; it will make it easier to roll. (Go ahead and trim slightly with a pizza cutter or sharp knife if it's very uneven.) Using an offset spatula or back of a spoon, quickly spread ¼ of the chocolate filling (about a ¼ cup) evenly over the dough, leaving a ¼-inch border around the edges.
- Starting from the long side, roll the dough tightly into a cylinder. Place the filled rolled dough, seam side down, on the prepared baking sheet. Repeat with the remaining dough and chocolate filling. Place the rolled dough logs in the refrigerator for 20 to 30 minutes, or until firm to the touch.
- Preheat the oven to 375°F.
- Take the rolled dough out of the refrigerator. Using a serrated knife, slice off the uneven ends of each roll and discard. Then slice the rolls into 1-in-wide pieces. Place each slice, seam side down, on the prepared sheet. Bake for 18 to 20 minutes, or until lightly golden. Cool the rugelach on the baking sheet for a few minutes, then transfer to a rack to cool completely. Rugelach are best enjoyed fresh on the day they are baked but any extra cookies can be stored in airtight container for up to 3 days, or frozen for longer storage.
- Make-Ahead Instructions: The unbaked sliced rugelach can be chilled and stored for up to 3 days in the refrigerator before baking.
- Freezer-Friendly Instructions: The unbaked sliced rugelach can be frozen for up to 3 months. Before freezing, let the sliced rugelach set on a baking sheet in the freezer for approximately 20 minutes, then place in a sealable bag and press out as much air as possible. Bake as needed directly from the freezer. (Allow 1 to 2 minutes longer in the oven.) To freeze after baking: Let the rugelach cool completely and store in an airtight container separating layers with parchment paper or aluminum foil. Before serving, remove the cookies from the container and let them come to room temperature.
Nutrition Information
Powered by ![]()
- Per serving (36 servings)
- Serving size: 1 cookie
- Calories: 144
- Fat: 9 g
- Saturated fat: 5 g
- Carbohydrates: 16 g
- Sugar: 8 g
- Fiber: 1 g
- Protein: 2 g
- Sodium: 51 mg
- Cholesterol: 23 mg
This website is written and produced for informational purposes only. I am not a certified nutritionist and the nutritional data on this site has not been evaluated or approved by a nutritionist or the Food and Drug Administration. Nutritional information is offered as a courtesy and should not be construed as a guarantee. The data is calculated through an online nutritional calculator, Edamam.com. Although I do my best to provide accurate nutritional information, these figures should be considered estimates only. Varying factors such as product types or brands purchased, natural fluctuations in fresh produce, and the way ingredients are processed change the effective nutritional information in any given recipe. Furthermore, different online calculators provide different results depending on their own nutrition fact sources and algorithms. To obtain the most accurate nutritional information in a given recipe, you should calculate the nutritional information with the actual ingredients used in your recipe, using your preferred nutrition calculator.


Hi. Does the chocolate filling needed to be cooled before spreading it? To room temperature or cooler? Doesn’t seem right to spread it just out of the microwave?thanks.
Hi Jane, the chocolate will have time to cool while you’re working with the dough. Once you’ve got the dough ready to go the chocolate will be cool enough to spread. Hope that clarifies and that you enjoy!
Have you ever tried baking these with turbinado sugar on top?
Hi Cathy, I haven’t but I think you could!
I tried it on half the batch with an egg wash and a sprinkle on top. It added an extra crunch. They were delicious with and without. I also used parchment paper to help roll out the dough (suggestion from another post), and it worked really well. The only reason I didn’t give it 5 stars is that I like a darker chocolatey taste, but that’s just my preference.
Glad both versions turned out nicely — thanks for reporting back! 🙂
I recommend using a teaspoon or so of cinnamon in the filling to make it taste more like deli rugelach. That was the only thing that I changed about this recipe, and really makes a difference. 😁
Do NOT bake at 375–they will burn. Bake at 325. Flavor is good, but we burned our recipe.
A winner! The chocolate filling was perfect! Much better than mini chips! I rolled out the dough between two layers of parchment so I didn’t need to flour the counter. I learned the hard way that the dough warms up very quickly and stuck to my granite. Two layers of parchment did the trick. My family went crazy for these!
Amazing! I am celiac, so I substituted gluten free flour and they came out perfectly. The only snag was that the chocolate began to harden a bit in between making each roll. Re-warming a little bit in the microwave solved the problem. I will be making these a lot!
Love your recipes! This is my first time making Rugelach (or eating it) and my family thought they were dynamite! I used Lindt hazelnut dark chocolate for the base of my filling (with a quarter teaspoon of cinnamon) and it was delish! My first attempt to roll/spread the filling resulted in melting dough that stuck to my granite counter despite liberal flour (dough chilled for only two hours). I chilled the dough overnight for the next batch and rolled the dough on plastic wrap, chilled for 5 mins in the freezer, before spreading the barely warm filling. This worked beautifully. I can’t wait to make these over and over with different fillings!
I do not have access to a Cuisinart but I’d really like to make this recipe. Is there another way I can make the dough?
Hi Jay, If you have a mixer that would work (bring the butter and cream cheese to room temperature first). The dough won’t be quite as flaky, but they’ll still be good.
Wanted to compare to your cinnamon raisin rugelach recipe and can no longer link to it or your grandmother’s Mandelbrot. Problem with the site? I will check to see if these are in your cookbook before I panic! Do you have a honey cake recipe anywhere? Time for Rosh Hashonah baking! Thanks, Jen. Your recipes are always the best! Plus my mom went between 2-3 recipes when she baked so I have NO clue with her recipes that I have deciphered and saved.
Hi Carol, The mandelbrot recipe is still on the blog. I believe you couldn’t find it because they’re referred to with their American name — mandel bread. Also, I do have a recipe for honey cake if you’d like to give it a try. Hope that helps and you enjoy whatever you make. Happy New Year!
This recipe looks fabulous but I have now gotten into the habit of weighing all of my ingredients and it turns out a much better, consistent product.
Is it possible for you to put both the standard measure and also grams for your ingredients?
I would love it and, like with all ingredients, it is much more accurate.
Hi Susan, Many of my recipes (including this one) do have conversions to weight/metric. To view them, scroll down to the recipe and immediately under the recipe title on the right side, you’ll see a little toggle. If you move it from “cup measures” to metric, you’ll see measurements that will work for you. Hope that helps and that you enjoy the rugelach! 🙂