Chocolate Peanut Butter Icebox Cake
This post may contain affiliate links. Read my full disclosure policy.
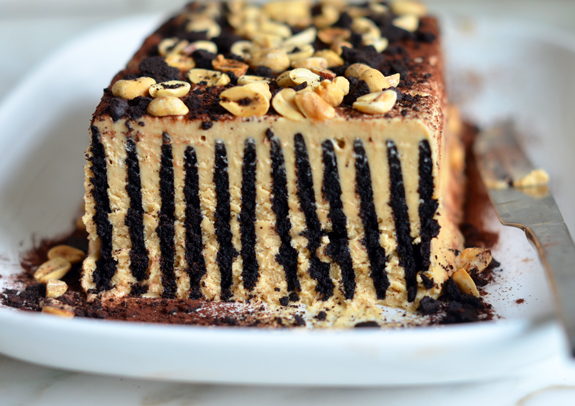
This chocolate peanut butter icebox cake is entirely make-ahead, easy enough for the kids to pitch in, and doesn’t require an oven.
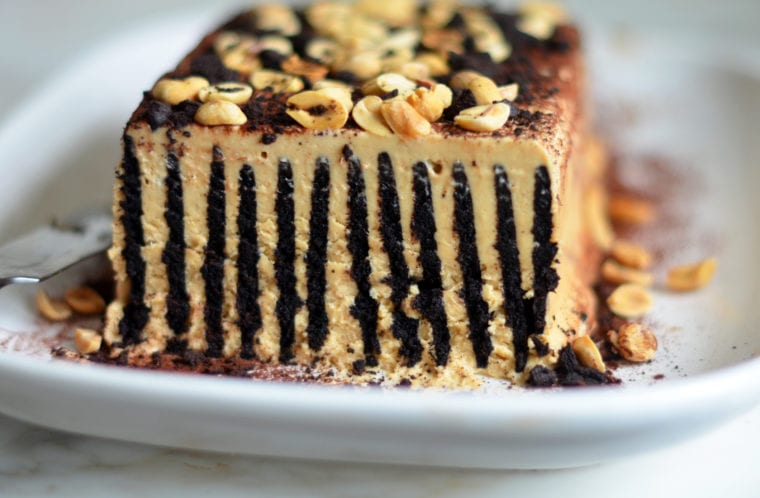
Wondering what to make for Father’s Day this weekend? May I suggest one of the simplest but most impressive summer desserts I know? This chocolate peanut butter icebox cake is entirely make-ahead, easy enough for the kids to pitch in, and doesn’t even require an oven.
You simply layer store-bought chocolate wafers with peanut butter-flavored whipped cream in a loaf pan and then chill the dessert overnight. In the fridge, the cookies soften and meld with the cream, creating a dessert that resembles a fancy layered mousse cake. Can’t beat that!
What you’ll need to make Chocolate Peanut Butter Icebox Cake
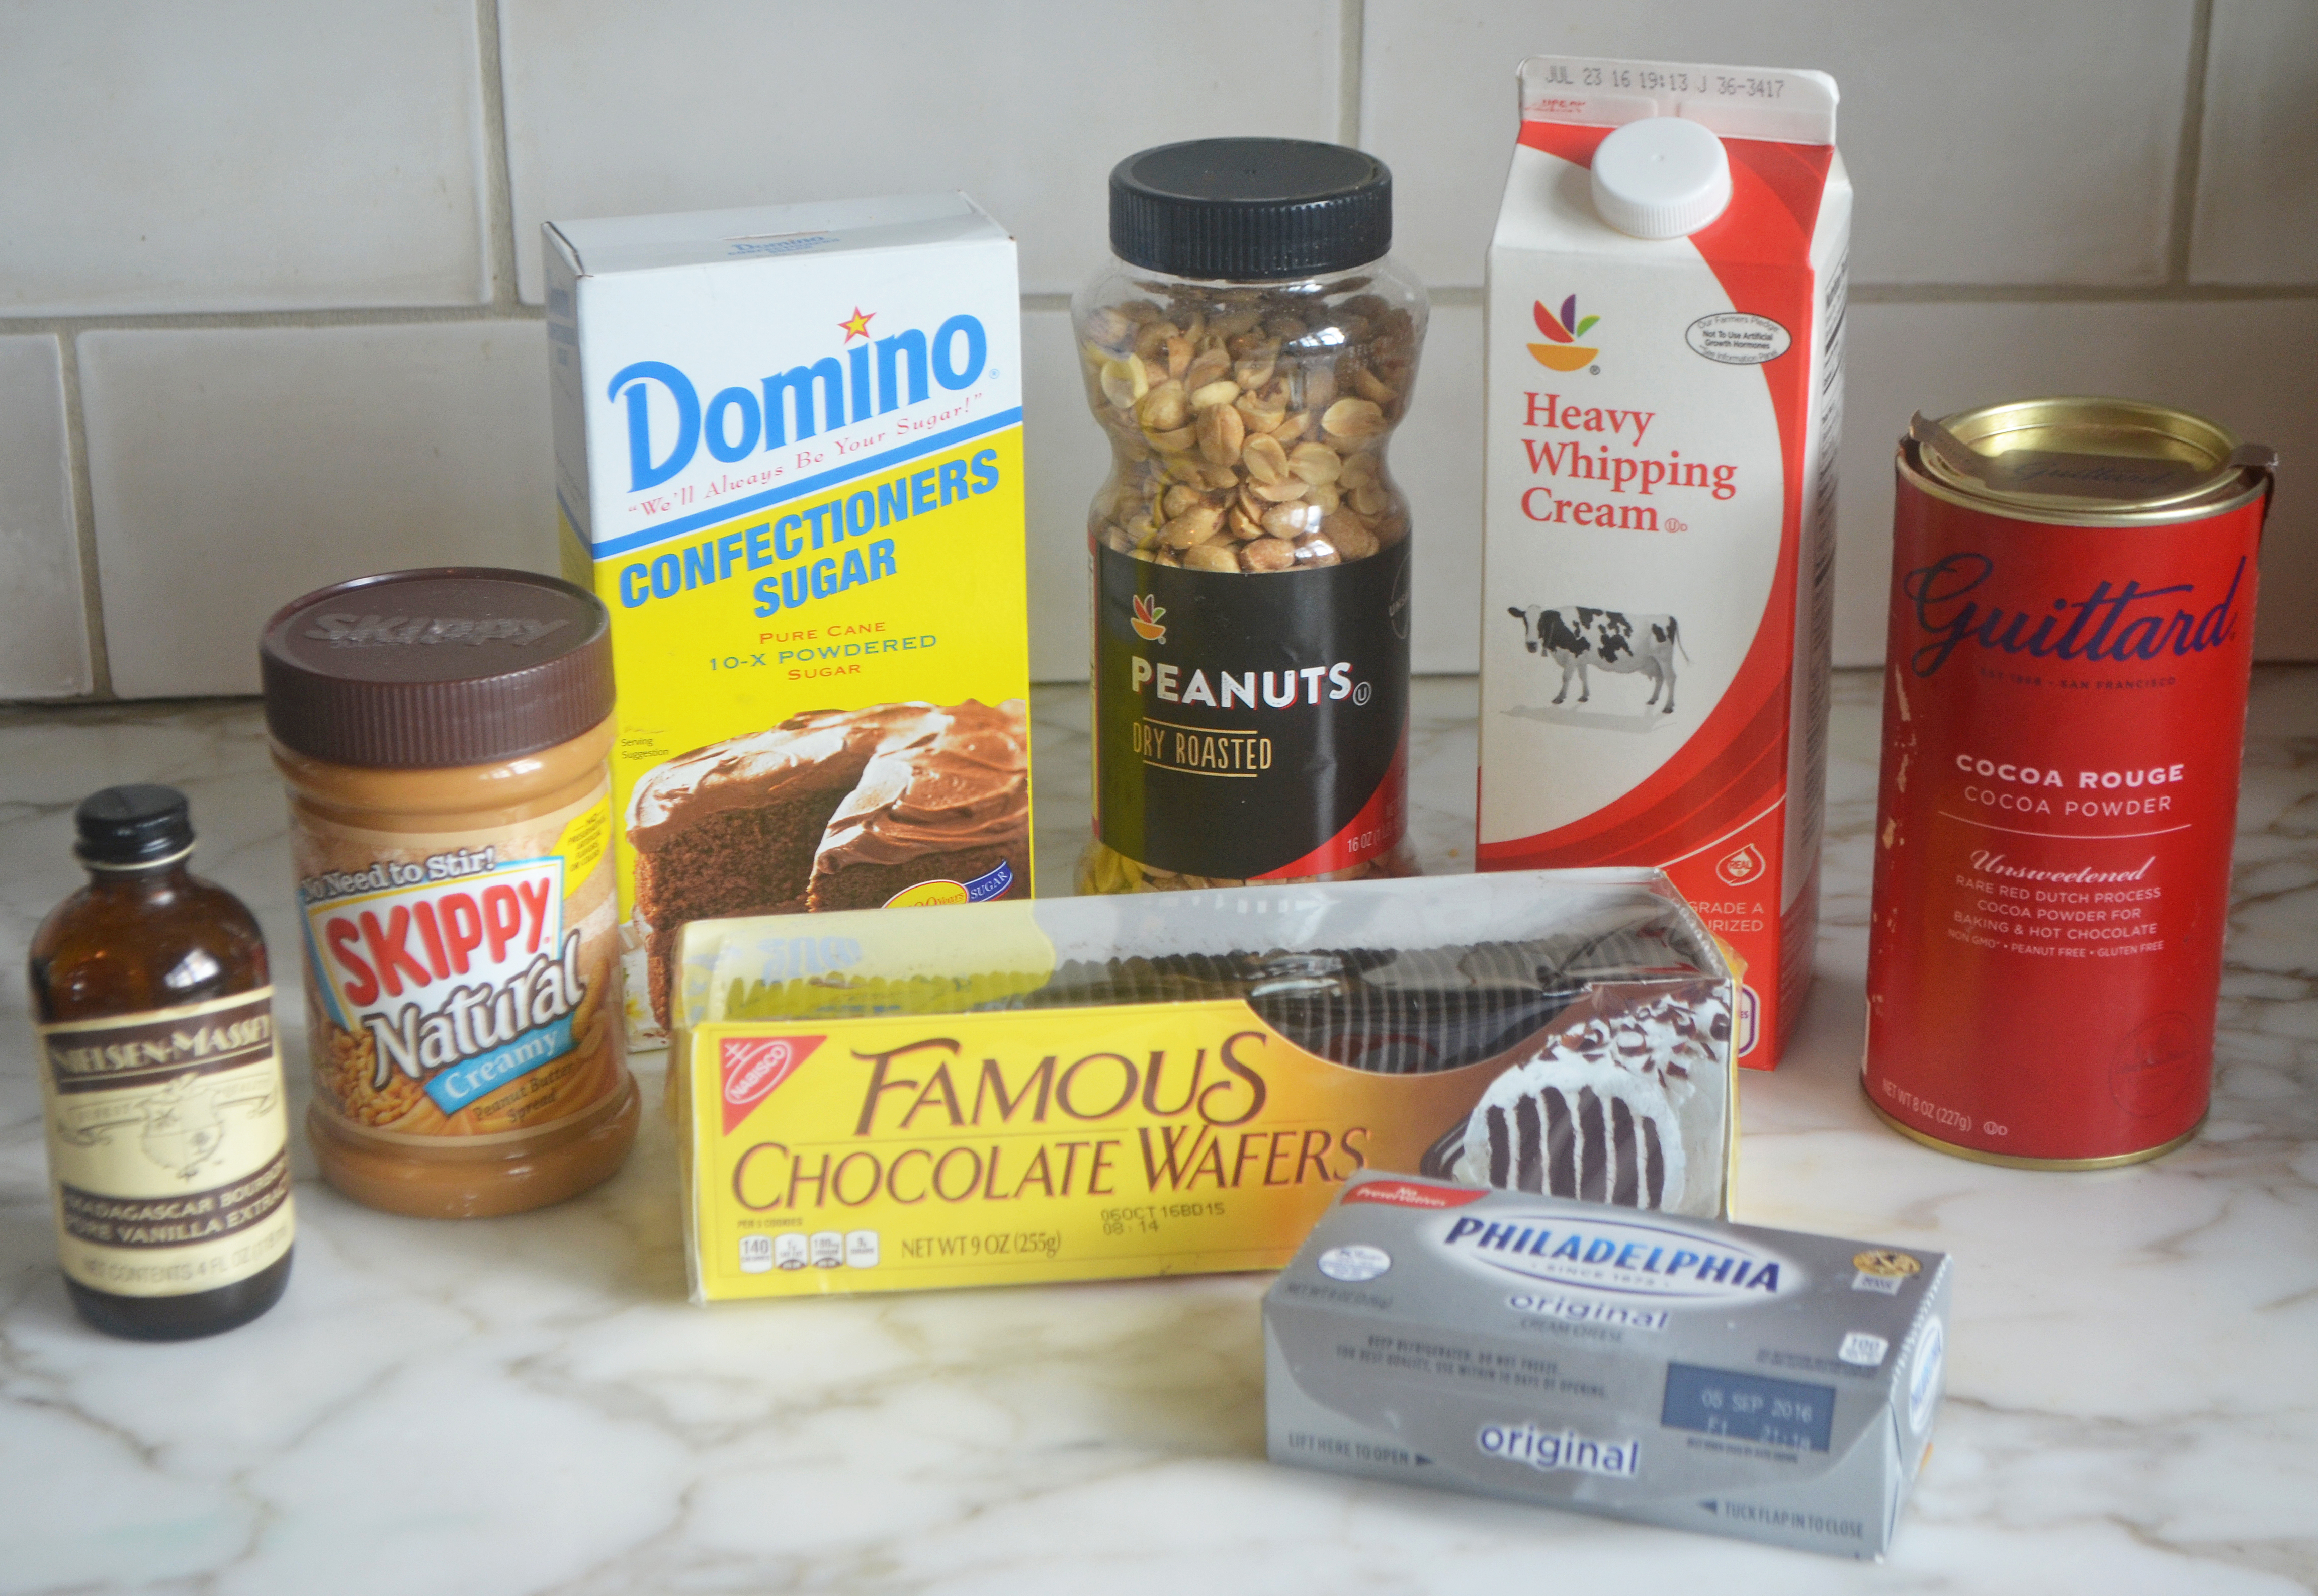
The hardest part about this recipe (other than waiting for it to set in the fridge) is finding Nabisco Famous Chocolate Wafers. My local supermarket, Giant Food, stocks them near the Oreos, but they can be tough to spot; be sure to ask if you don’t see them. Some grocery stores don’t carry them, so it’s a good idea to call ahead to be sure. And, though not pictured here, I always buy two boxes for one recipe because the cookies break easily.
How to make Chocolate Peanut Butter Icebox Cake
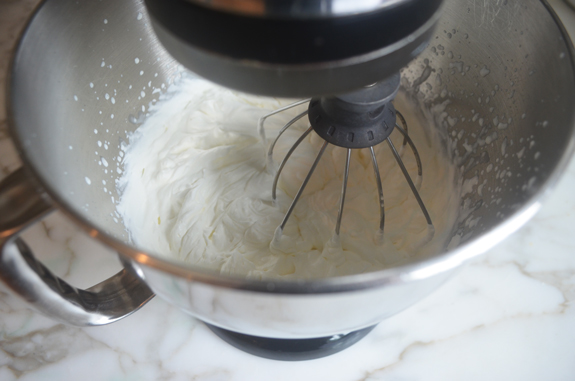
Begin by whipping the cream to stiff peaks; set aside. In another bowl, combine the cream cheese, peanut butter, confectioners’ sugar, vanilla, and salt.
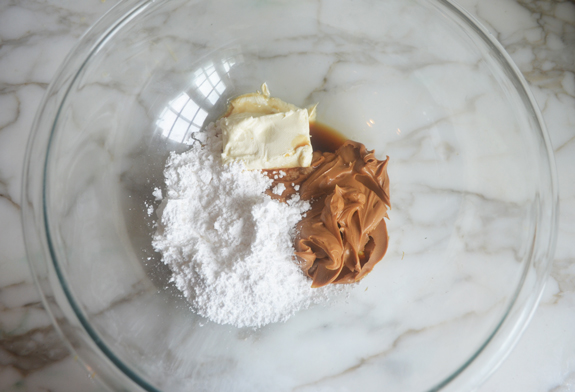
Beat until smooth and creamy.
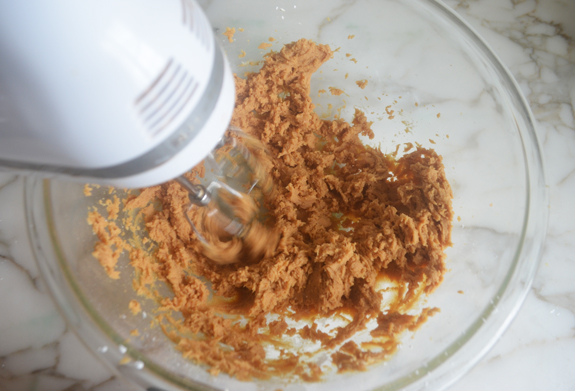
Add about a third of the whipped cream to the peanut butter mixture.
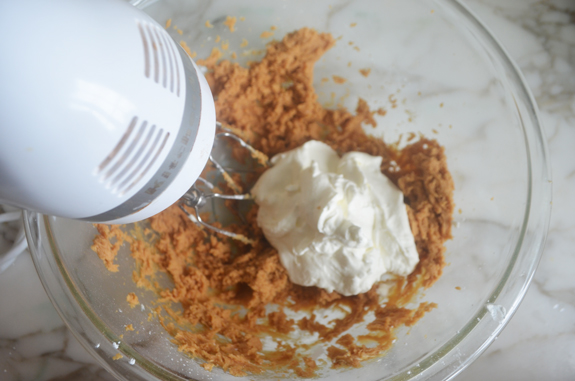
Beat until well combined. This lightens the mixture so you can fold in the remaining cream.
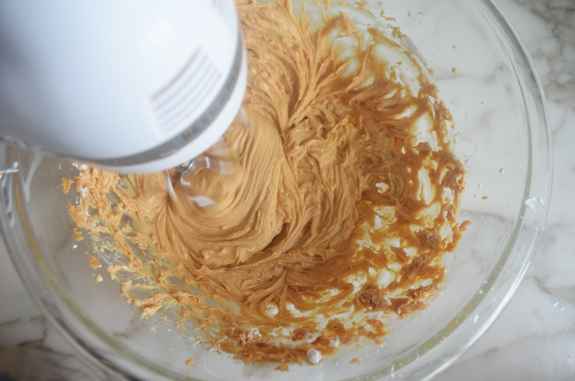
Add the remaining cream.
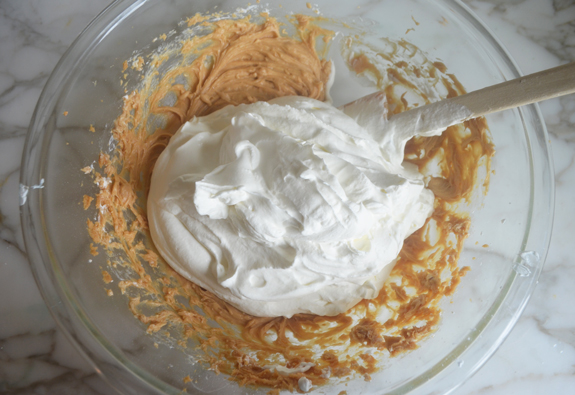
Fold into the peanut butter mixture, turning the bowl as you go.
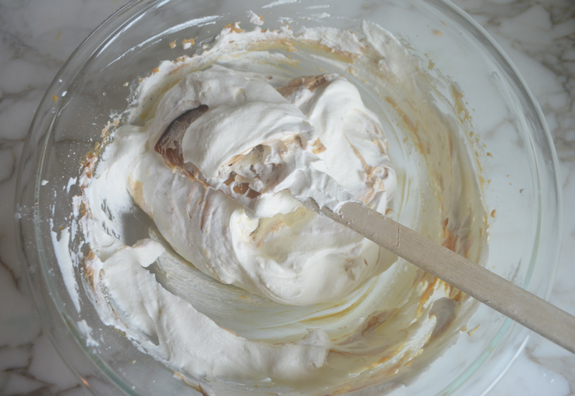
When the mixture is even in color and texture, it’s ready.
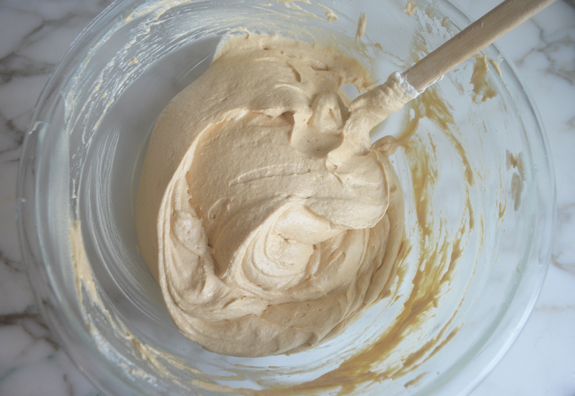
Line a 9×5-inch loaf pan with plastic wrap so that it hangs over the edges. Fill the pan with about two-thirds of the cream.
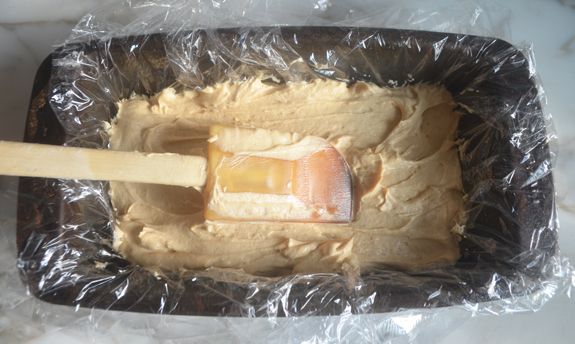
Starting at a short side of the pan, arrange 12 cookies in the cream, standing them on their edge in a row. Do the same with a second row of cookies, slightly overlapping the cookies from the second row with the cookies in the first row. Continue with two more rows for a total of four rows.
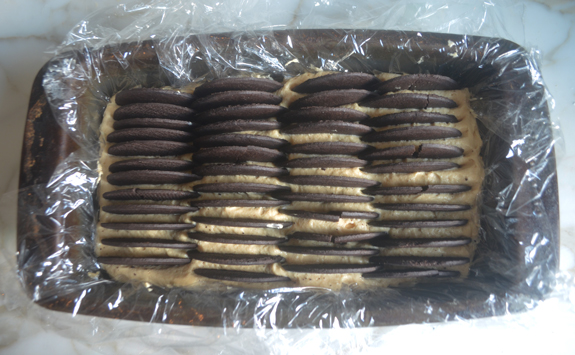
Cover the cookies with the remaining cream.
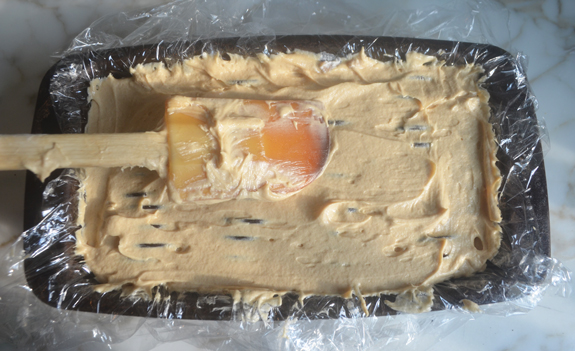
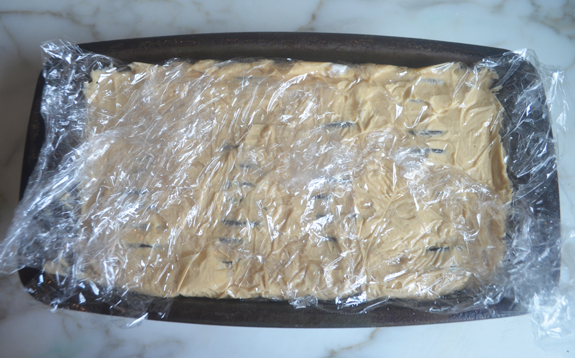
Pull the plastic wrap over the edges and place in the refrigerator to chill overnight.
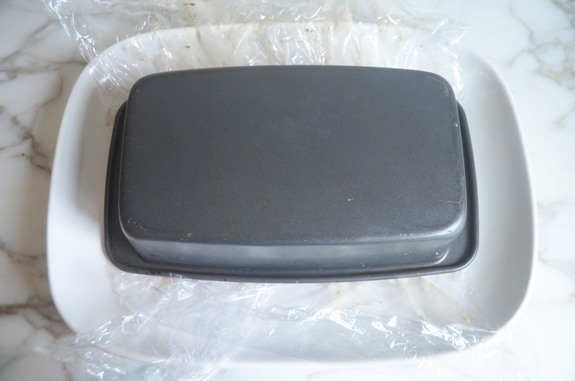
Unmold the cake onto a serving platter.
Decorate with cocoa powder, crushed wafers and peanuts.
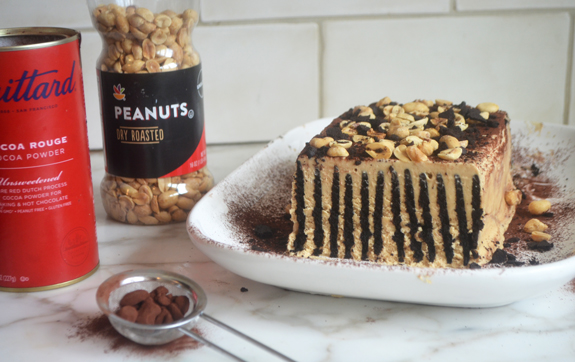
Slice with a sharp knife and serve cold.
You may also like
- Chocolate Peanut Butter Tart
- Classic Icebox Cake
- Chocolate Peanut Butter Squares
- Chocolate Cream Pie
- Salted Peanut Butter Cookies
Chocolate Peanut Butter Icebox Cake
This chocolate peanut butter icebox cake is entirely make-ahead, easy enough for the kids to pitch in, and doesn’t require an oven.
Ingredients
- 4 ounces cream cheese, at room temperature
- 1 cup smooth peanut butter (I use Skippy All Natural, No Need To Stir)
- 1 cup confectioners' sugar
- 2 teaspoons vanilla extract
- Pinch salt
- 2 cups cold heavy cream
- 50 Nabisco Famous Chocolate Wafers, from one box (see note)
- Cocoa powder, for dusting
- ¼ cup unsalted dry roasted peanuts
Instructions
- Line a 9x5-inch loaf pan with two pieces of overlapping plastic wrap, allowing the excess to hang over the edges of the pan.
- In the bowl of an electric mixer, whip the heavy cream until stiff peaks form. Do not over-whip. Set aside.
- In another bowl, using an electric mixer, beat the cream cheese, peanut butter, confectioners' sugar, vanilla, and salt together until smooth.
- Add ⅓ of the whipped cream to the peanut butter mixture and beat with the mixer until smooth. Add the remaining whipped cream and fold with a rubber spatula, turning the bowl as may go, until the mixture is evenly combined and uniform in color and texture.
- Spoon about two-thirds of the cream into the prepared pan. Starting at a short side of the pan, arrange 12 cookies in the cream, standing them on their edge in a row. Do the same with a second row of cookies, slightly overlapping the cookies from the first row. Continue with two more rows for a total of four rows. Save the last two cookies for the topping.
- Cover the cookies with the remaining cream. Smooth the cream with a spatula, gently pressing to make sure any gaps between the cookies are filled.
- Cover the cake with the excess plastic wrap and refrigerate overnight or up to 48 hours. When ready to serve, peel the plastic wrap from the top. Set a platter on top of the pan and invert the cake onto it. Lift the pan off and gently peel away the plastic wrap. Use a warm offset spatula to smooth the edges, if desired. Dust the cake lightly with cocoa powder through a fine sieve. Crush the remaining wafers and scatter the peanuts over top, pressing down on them slightly so they adhere. Slice with a sharp knife and serve cold.
- Note: I recommend buying two boxes of chocolate wafers, as they tend to break easily. But don't worry if you have to use the broken ones; just try to piece them together as best you can when you place them in the cream.
Nutrition Information
Powered by ![]()
- Calories: 595
- Fat: 40g
- Saturated fat: 15g
- Carbohydrates: 52g
- Sugar: 34g
- Fiber: 4g
- Protein: 12g
- Sodium: 324mg
- Cholesterol: 57mg
This website is written and produced for informational purposes only. I am not a certified nutritionist and the nutritional data on this site has not been evaluated or approved by a nutritionist or the Food and Drug Administration. Nutritional information is offered as a courtesy and should not be construed as a guarantee. The data is calculated through an online nutritional calculator, Edamam.com. Although I do my best to provide accurate nutritional information, these figures should be considered estimates only. Varying factors such as product types or brands purchased, natural fluctuations in fresh produce, and the way ingredients are processed change the effective nutritional information in any given recipe. Furthermore, different online calculators provide different results depending on their own nutrition fact sources and algorithms. To obtain the most accurate nutritional information in a given recipe, you should calculate the nutritional information with the actual ingredients used in your recipe, using your preferred nutrition calculator.

For any Gluten Free friends out there – At my grocery store I found a gluten free product called Brownie Brittle. They were chocolate flavored and similar in width as a wafer, however since it was “brittle” the pieces were all different shapes and sizes. Our finished desert might not have had the perfectly spaced wafer cookies when cutting into it, but no one was the wiser. The flavor and texture was fantastic with the GF product!
I’ve made this so many times. Its outstanding. An awesome autumn spin I came up with= pumpkin puree in place of peanut butter, Anna’s ginger thins in place of chocolate wafers, and nutmeg/pumpkin pie spice in place of the cocoa powder. EveryBODY loves both versions. (& I love Jenn!)
We LOVE this Peanut Butter Icebox cake! It has a wonderful texture and flavor. I often am unable to find Nabisco Famous chocolate wafer cookies in my city, so I have found an excellent substitute- Goya Chocolate Maria wafer cookies. They are a product of Spain and normally stocked in all our grocery stores (South TX) in hispanic isle. I have used them in several icebox recipes with excellent results. These cookies are a tad bit thicker than Nabisco wafers which helps them from being so delicate/breakable, though the Goya wafers do soften as they should in recipe.
I made this twice. The second time, I made it and shaped it as a coffin for a Halloween “sweets” competition at work. Everyone raved about it!!! This recipe is a keeper.
Can this be put into freezer to store if I am not going to serve for a few days, then bring out to soften before cutting and serving? If so, how long should I leave it at room temp from freezer before serving?
I don’t think it would freeze very well — sorry!
How many days ahead can this be made? If I make it on a Thursday, will it be fine for dinner on Saturday?
Yes, Nichole, you can get away with that. Hope you enjoy! 🙂
Hi Jenn,
Although this cake tasted divine, when I cut it into slices, it all smushed together, it did not hold up at all. I followed the recipe as written. Did I do some thing wrong?
Hi Sonia, Sorry to hear this didn’t hold up well to slicing. Was the knife you used to slice it very sharp? Did you refrigerate it at least overnight?
Yes, I do believe you’re right about the knife, I used a serrated knife. Thank you!
I don’t mean to be the metric measure police but could you add it on here please?
No problem at all! I just added them. 🙂
This is one of the easiest and most delicious desserts I have ever made. I made it last night for Father’s Day today and it was a beauty, hubby loved it and I am so pleased. He sat content and happy after making short work of the very large slice I told him he deserved. Thank you Jenn 😊
Hi Jenn! Love your recipes! I would like to make this awesome looking peanut butter icebox cake for my husband’s birthday. All I have right now is straight up peanut butter (no salt or sugar added). I notice the kind you use has salt and sugar in it already. Do I need to add additional salt/sugar to the peanut butter, or can I just go ahead and use my peanut butter as is (or would it be best to just go buy some of the kind that has salt and sugar already added)? Thanks in advance!
Hi Bry, I think you could use all natural peanut butter here, but for best results I’d recommend getting the kind I use or something similar. Hope that helps!
Made this just last week brought me back to my mother’s favorite go to dessert. She made it with just whipped cream but this was even better