Chocolate Peanut Butter Icebox Cake
This post may contain affiliate links. Read my full disclosure policy.
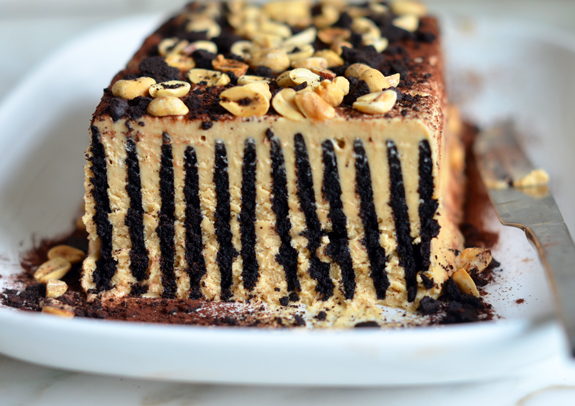
This chocolate peanut butter icebox cake is entirely make-ahead, easy enough for the kids to pitch in, and doesn’t require an oven.
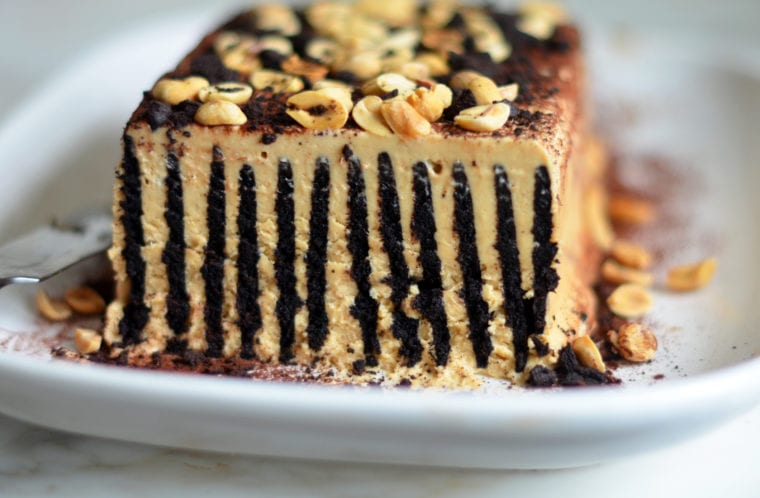
Wondering what to make for Father’s Day this weekend? May I suggest one of the simplest but most impressive summer desserts I know? This chocolate peanut butter icebox cake is entirely make-ahead, easy enough for the kids to pitch in, and doesn’t even require an oven.
You simply layer store-bought chocolate wafers with peanut butter-flavored whipped cream in a loaf pan and then chill the dessert overnight. In the fridge, the cookies soften and meld with the cream, creating a dessert that resembles a fancy layered mousse cake. Can’t beat that!
What you’ll need to make Chocolate Peanut Butter Icebox Cake
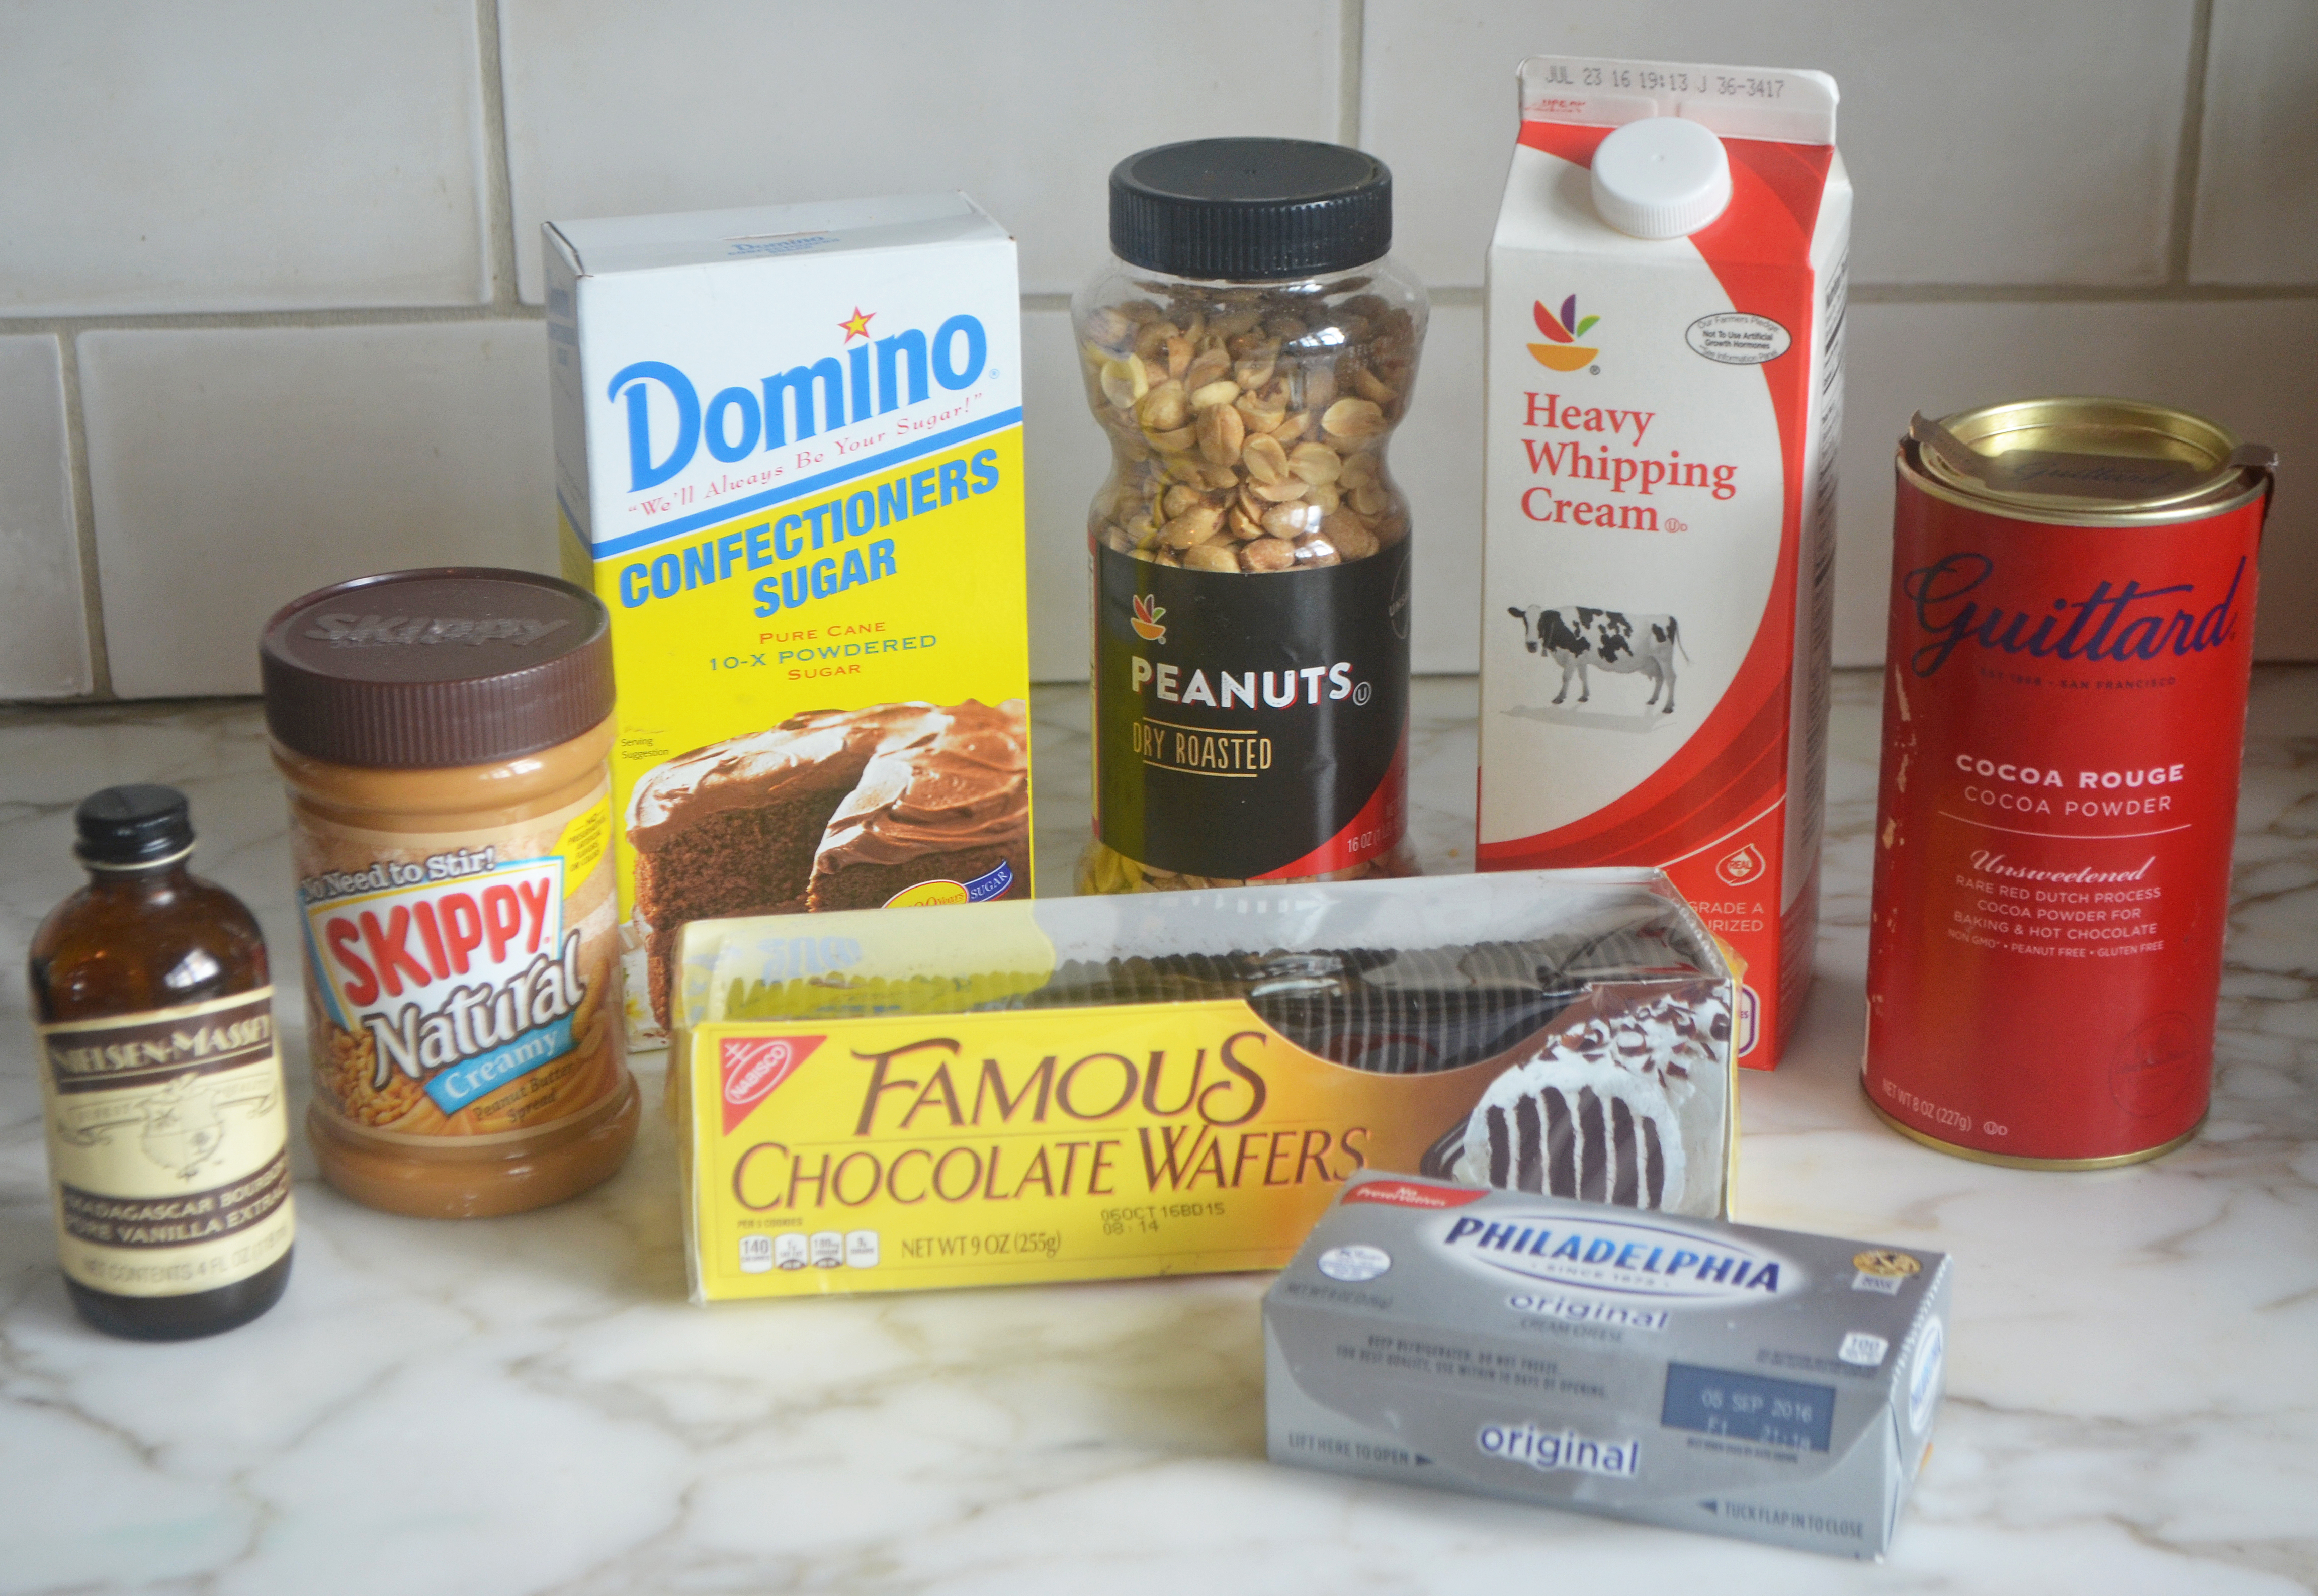
The hardest part about this recipe (other than waiting for it to set in the fridge) is finding Nabisco Famous Chocolate Wafers. My local supermarket, Giant Food, stocks them near the Oreos, but they can be tough to spot; be sure to ask if you don’t see them. Some grocery stores don’t carry them, so it’s a good idea to call ahead to be sure. And, though not pictured here, I always buy two boxes for one recipe because the cookies break easily.
How to make Chocolate Peanut Butter Icebox Cake
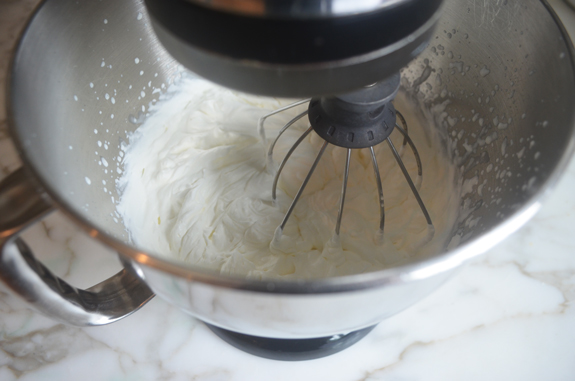
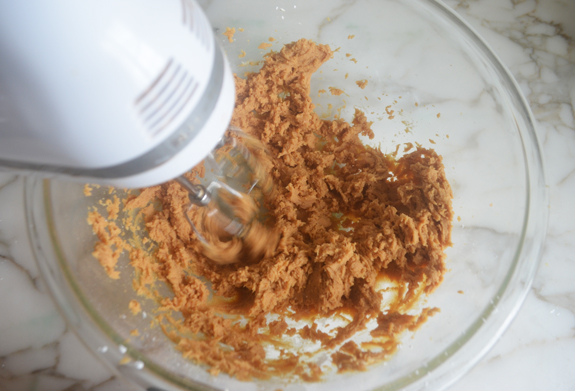
Begin by whipping the cream to stiff peaks; set aside. In another bowl, combine the cream cheese, peanut butter, confectioners’ sugar, vanilla, and salt.
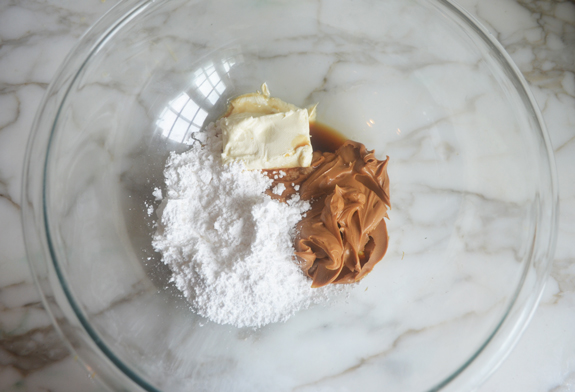
Beat until smooth and creamy.
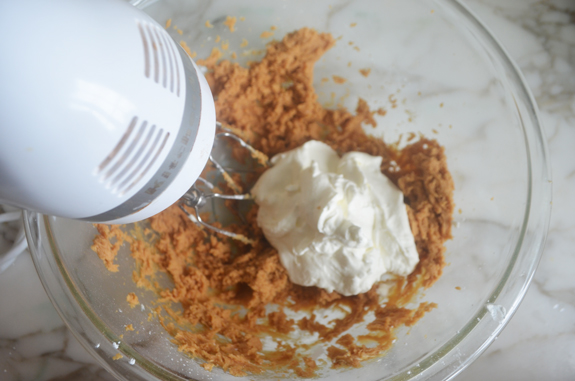
Add about a third of the whipped cream to the peanut butter mixture.
Beat until well combined. This lightens the mixture so you can fold in the remaining cream.
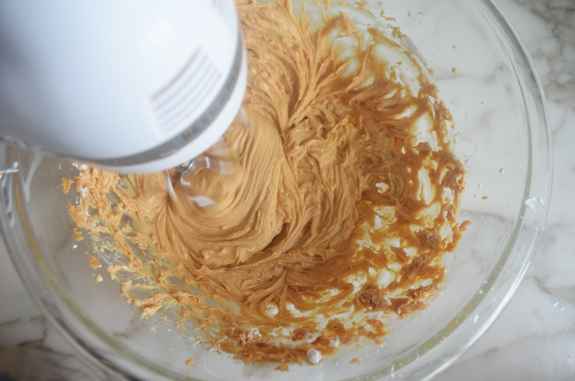
Add the remaining cream.
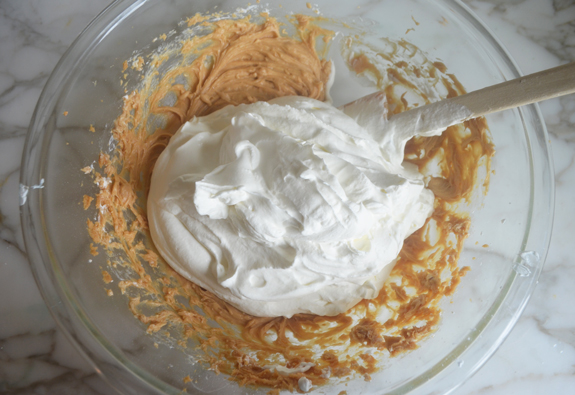
Fold into the peanut butter mixture, turning the bowl as you go.
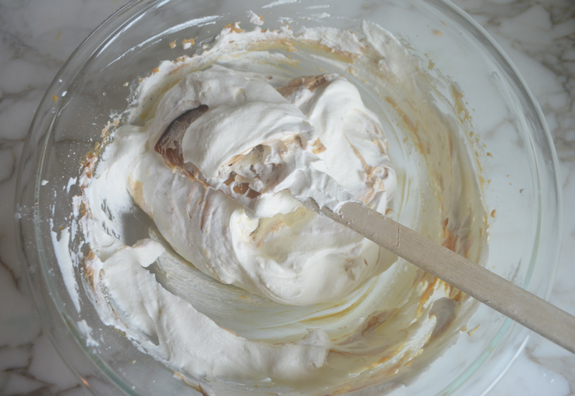
When the mixture is even in color and texture, it’s ready.
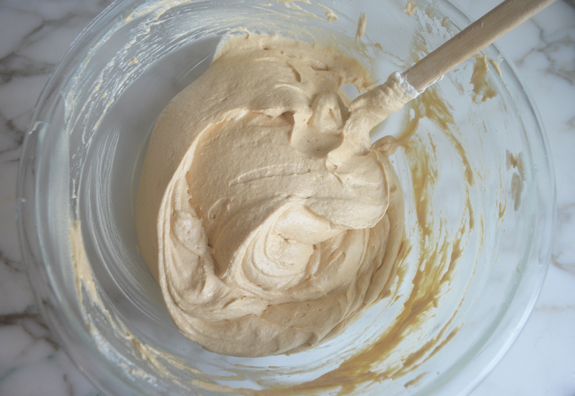
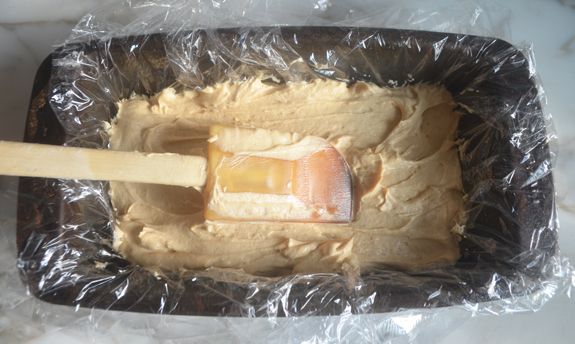
Line a 9×5-inch loaf pan with plastic wrap so that it hangs over the edges. Fill the pan with about two-thirds of the cream.
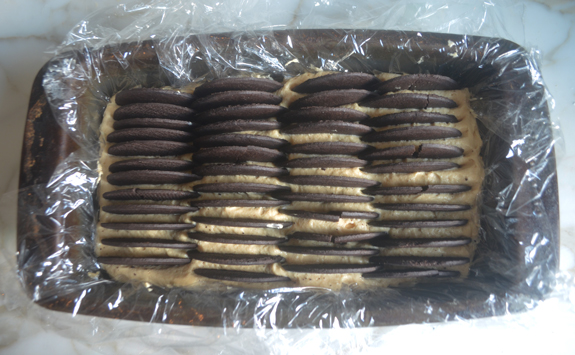
Starting at a short side of the pan, arrange 12 cookies in the cream, standing them on their edge in a row. Do the same with a second row of cookies, slightly overlapping the cookies from the second row with the cookies in the first row. Continue with two more rows for a total of four rows.
Cover the cookies with the remaining cream.
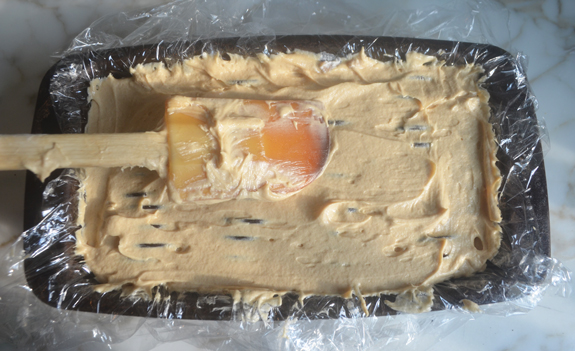
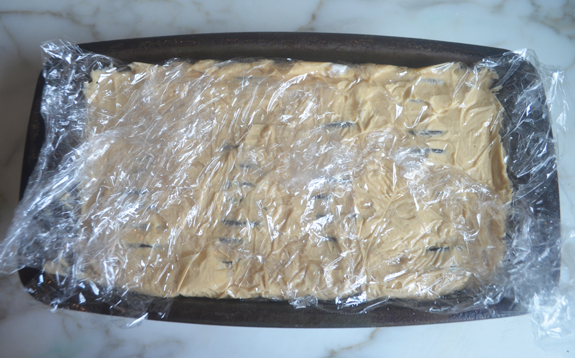
Pull the plastic wrap over the edges and place in the refrigerator to chill overnight.
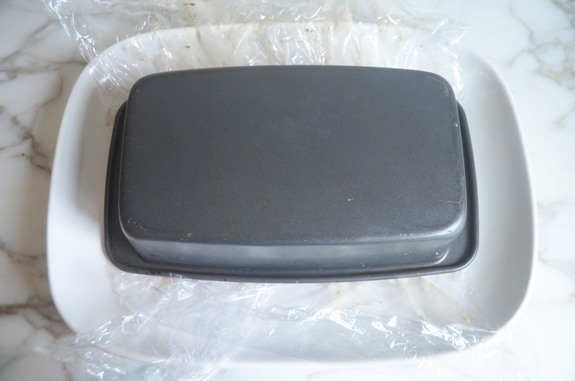
Unmold the cake onto a serving platter.
Decorate with cocoa powder, crushed wafers and peanuts.
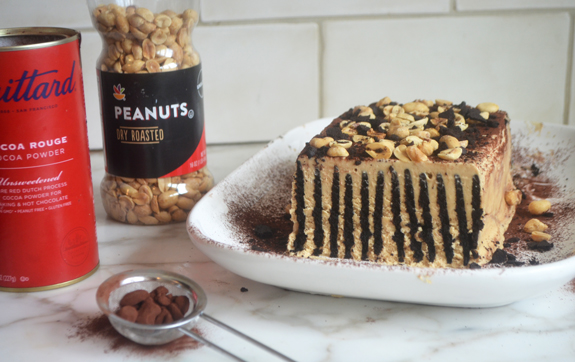
Slice with a sharp knife and serve cold.
You may also like
- Chocolate Peanut Butter Tart
- Classic Icebox Cake
- Chocolate Peanut Butter Squares
- Chocolate Cream Pie
- Salted Peanut Butter Cookies
Chocolate Peanut Butter Icebox Cake
This chocolate peanut butter icebox cake is entirely make-ahead, easy enough for the kids to pitch in, and doesn’t require an oven.
Ingredients
- 4 ounces cream cheese, at room temperature
- 1 cup smooth peanut butter (I use Skippy All Natural, No Need To Stir)
- 1 cup confectioners' sugar
- 2 teaspoons vanilla extract
- Pinch salt
- 2 cups cold heavy cream
- 50 Nabisco Famous Chocolate Wafers, from one box (see note)
- Cocoa powder, for dusting
- ¼ cup unsalted dry roasted peanuts
Instructions
- Line a 9x5-inch loaf pan with two pieces of overlapping plastic wrap, allowing the excess to hang over the edges of the pan.
- In the bowl of an electric mixer, whip the heavy cream until stiff peaks form. Do not over-whip. Set aside.
- In another bowl, using an electric mixer, beat the cream cheese, peanut butter, confectioners' sugar, vanilla, and salt together until smooth.
- Add ⅓ of the whipped cream to the peanut butter mixture and beat with the mixer until smooth. Add the remaining whipped cream and fold with a rubber spatula, turning the bowl as may go, until the mixture is evenly combined and uniform in color and texture.
- Spoon about two-thirds of the cream into the prepared pan. Starting at a short side of the pan, arrange 12 cookies in the cream, standing them on their edge in a row. Do the same with a second row of cookies, slightly overlapping the cookies from the first row. Continue with two more rows for a total of four rows. Save the last two cookies for the topping.
- Cover the cookies with the remaining cream. Smooth the cream with a spatula, gently pressing to make sure any gaps between the cookies are filled.
- Cover the cake with the excess plastic wrap and refrigerate overnight or up to 48 hours. When ready to serve, peel the plastic wrap from the top. Set a platter on top of the pan and invert the cake onto it. Lift the pan off and gently peel away the plastic wrap. Use a warm offset spatula to smooth the edges, if desired. Dust the cake lightly with cocoa powder through a fine sieve. Crush the remaining wafers and scatter the peanuts over top, pressing down on them slightly so they adhere. Slice with a sharp knife and serve cold.
- Note: I recommend buying two boxes of chocolate wafers, as they tend to break easily. But don't worry if you have to use the broken ones; just try to piece them together as best you can when you place them in the cream.
Nutrition Information
Powered by ![]()
- Calories: 595
- Fat: 40g
- Saturated fat: 15g
- Carbohydrates: 52g
- Sugar: 34g
- Fiber: 4g
- Protein: 12g
- Sodium: 324mg
- Cholesterol: 57mg
This website is written and produced for informational purposes only. I am not a certified nutritionist and the nutritional data on this site has not been evaluated or approved by a nutritionist or the Food and Drug Administration. Nutritional information is offered as a courtesy and should not be construed as a guarantee. The data is calculated through an online nutritional calculator, Edamam.com. Although I do my best to provide accurate nutritional information, these figures should be considered estimates only. Varying factors such as product types or brands purchased, natural fluctuations in fresh produce, and the way ingredients are processed change the effective nutritional information in any given recipe. Furthermore, different online calculators provide different results depending on their own nutrition fact sources and algorithms. To obtain the most accurate nutritional information in a given recipe, you should calculate the nutritional information with the actual ingredients used in your recipe, using your preferred nutrition calculator.

Has anyone tried using crunchy peanut butter vs creamy? We LOVE crunchy pb at this household! I haven’t made it yet, but want to tonight!!
Hi Janette, I prefer crunchy peanut butter too, but I think this would be best with smooth!
Hi again Jenn….. so I went ahead with the crunchy and since you mix it with an electric mixer, the peanuts just get blended into to smaller pieces and it was AMAZING! I also used the chocolate oreo thins, not taking them apart and just sticking them in, as is. And another tip…. instead of one large 9 x 5, I put the mixture into 3 mini ceramic loaf pans. Perfect amount for me and my boys!
Oh, one more thing….. if you have Glad press & seal, it works PERFECT!!!
Hi Janette, thanks for the follow up — so glad it turned out with the tweaks you made!
This was easy to make; although, I did have a problem with the chocolate wafers as you indicated could happen. This is a delicious and impressive cake to serve to company.
June 29th was my birthday and instead of the traditional cake, I decided to make your peanut butter ice box. I loved it even though I only tasted a little my coworkers also loved it. Thank you
If I were to make this again I would use fewer cookies next time. The cookies fell all on top of each other as I put the top layer of mousse on so they did not get soft during the sitting time. Jenn– despite presentation, could you layer the cookies as opposed to stacking them vertically? And just do a few layers of cookies and mousse?
Sorry you had trouble with it, Erin. I wonder why the cream didn’t hold the cookies in place?? Next time, you could try placing all of the cream in the pan, and then put the cookies in. Or it’s fine to layer them any way you like. I actually experimented with this style and it was really pretty!
Made this for Father’s Day. It was a huge hit and the presentation dramatic! I will make again and again. Thank you!
I purchased Oreo Thins before I read these reviews as I don’t have access to the wafers. I did NOT remove the cream, just plunked the cookies in whole and it turned out INCREDIBLE. My husband says it’s his favorite dessert and the children begged for seconds and the guests wanted the recipe. I’d call that a 5 star success!
How ironic that yesterday I bought these wafers at my Giant store in Pa. before I saw your recipe today. The supplier from Nabisco was stacking cookies and mentioned that some people love the new oreo THIN cookies better, but I don’t and I don’t think it would work in this recipe. But I thought I’d pass it on in case it might work for similar recipes. Thanks for all your wonderful recipes!!
Joan
Jennifer, I’ve looked all over for the Nabisco Famous Chocolate Wafers in my area and cannot find them. I even called Nabisco and the stores they said carry them either don’t or were out. We want to make this for our July 4th party, can you please recommend a substitute? Thank you!
Hi David, sorry you’ve had such a hard time finding the wafers! One reader mentioned she had success with chocolate graham crackers. You could also try using the cookie part of Oreos. You’d just need twist the Oreos open, scrape out the filling and use the cookies. A bit more labor-intensive, but it could work. You could also try ordering the wafers on Amazon. Hope you enjoy!
This cake turned out amazing. Beautiful and delicious!
This is such an easy, delicious dessert. Everyone loved it! I went to 3 stores and none of them had the wafers, so we went with chocolate graham crackers and they worked great, if anyone else runs into this problem 🙂
My 9 yr old daughter and I made this cake over the weekend for potluck and it was the talk of the party. Huge hit and so easy. Thanks Jen!