Chocolate Mousse
This post may contain affiliate links. Read my full disclosure policy.
Looking for a dessert that’s both impressive and easy? This chocolate mousse recipe delivers rich, silky chocolate goodness in just 20 minutes—the perfect treat for any special occasion!
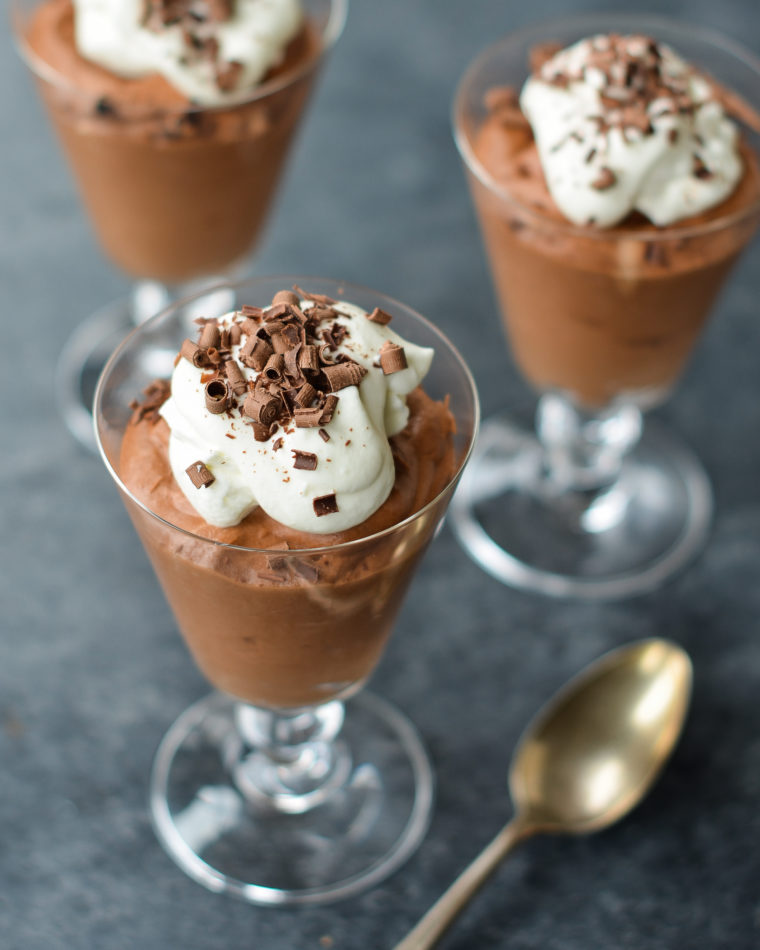
Chocolate mousse, or mousse au chocolat, is one of the easiest French desserts to make. Seriously, if you have a microwave, a hand mixer, and a rubber spatula, you can whip up homemade chocolate mousse that rivals any French restaurant’s version—in just 20 minutes! This recipe from Tyler Florence is virtually foolproof. I’ve tried adding a hint of coffee or a splash of booze to enhance the flavor, and while both versions are tasty, the family consensus is that plain chocolate is best. Keep it simple!
For serving the mousse, you can use pretty juice glasses, martini glasses, champagne flutes, small bowls, or espresso cups. If you’re hosting a party and want to give your guests a small taste, serve the mousse in Asian-style porcelain soup spoons. Just remember, chocolate mousse needs to set in the refrigerator for at least 2 hours before serving, so plan accordingly.
Table of Contents
What You’ll Need To Make Chocolate Mousse
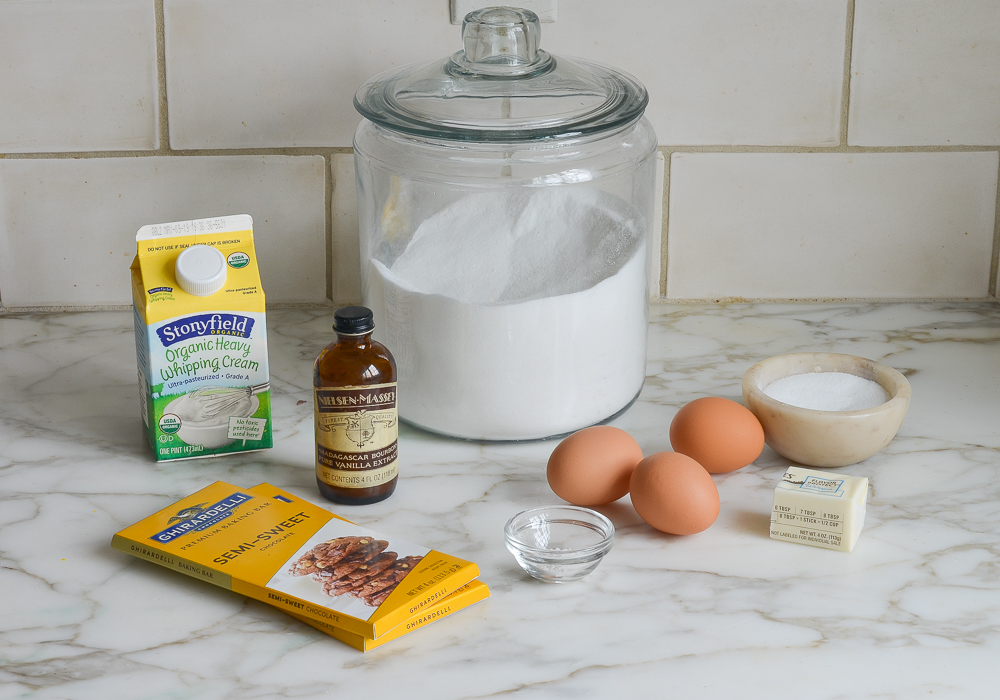
- Unsalted butter: Adds richness to the chocolate mixture.
- Semisweet chocolate: Provides a deep, luscious chocolate flavor to the mousse; additional can be shavings added for serving. Since this recipe has very few ingredients, it’s important to use good quality chocolate; its flavor will shine through. I like semi-sweet chocolate but if you prefer your mousse with a darker chocolate flavor, use bittersweet (the higher the cacao percentage, the less sweet the chocolate).
- Large eggs: Essential for structure and richness; yolks create a creamy base while whipped whites add lightness.
- Cream of tartar: Helps stabilize the egg whites for a better texture.
- Sugar: Sweetens the mousse; a bit is added to the egg whites and some to the whipped cream for balanced sweetness.
- Heavy cream: Contributes to the mousse’s rich, creamy texture, with additional heavy cream whipped for a light topping.
- Vanilla extract: Adds a warm, aromatic flavor that enhances the chocolate.
- Jump to the printable recipe for precise measurements
Step-by-Step Instructions
To begin, place the butter in a medium microwave-safe bowl. Break the chocolate into small pieces directly into the bowl (no need to chop it first and dirty a cutting board).
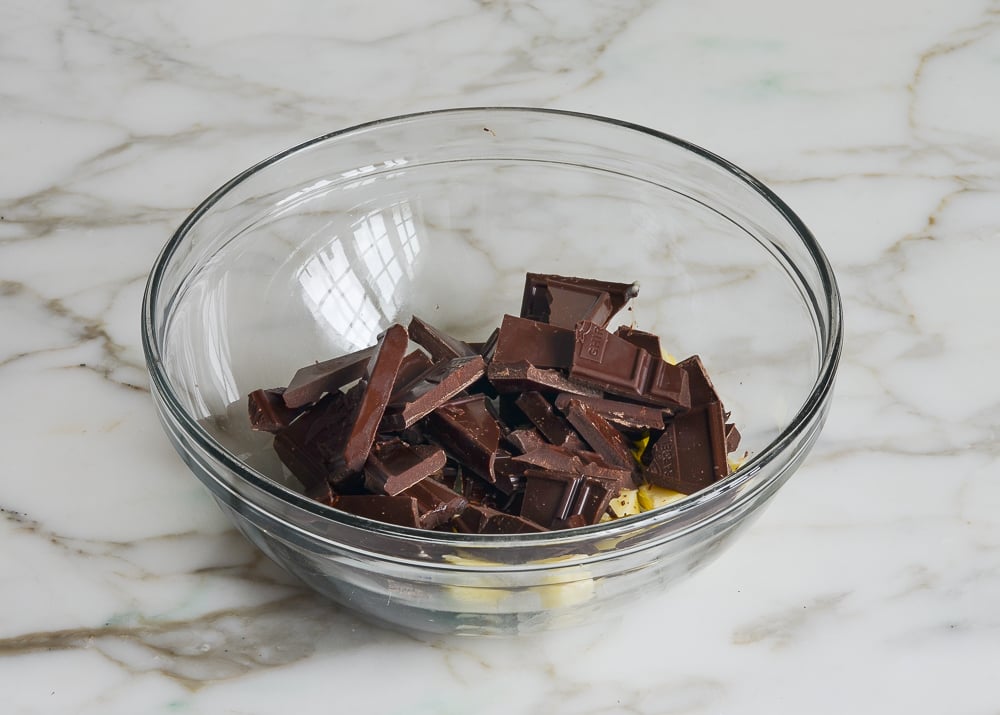
Microwave it in 20-second intervals, stirring between each bout of heat, until the chocolate is about 75% melted. Stir, allowing the residual heat in the bowl to melt the chocolate completely. This prevents the chocolate from scorching.
(Alternatively, place the chocolate and butter in a heatproof bowl and place over a saucepan containing about 1 inch of barely simmering water. Stir with a wooden spoon until the chocolate is melted and the mixture is smooth.)
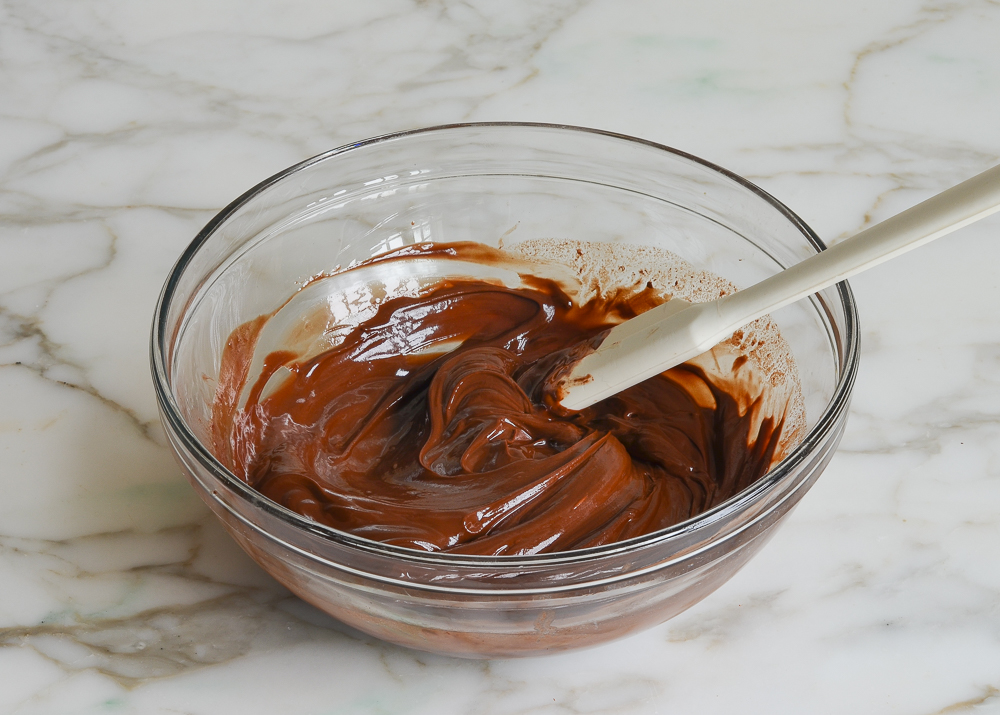
Let the mixture cool for a few minutes, then add the egg yolks one at a time.
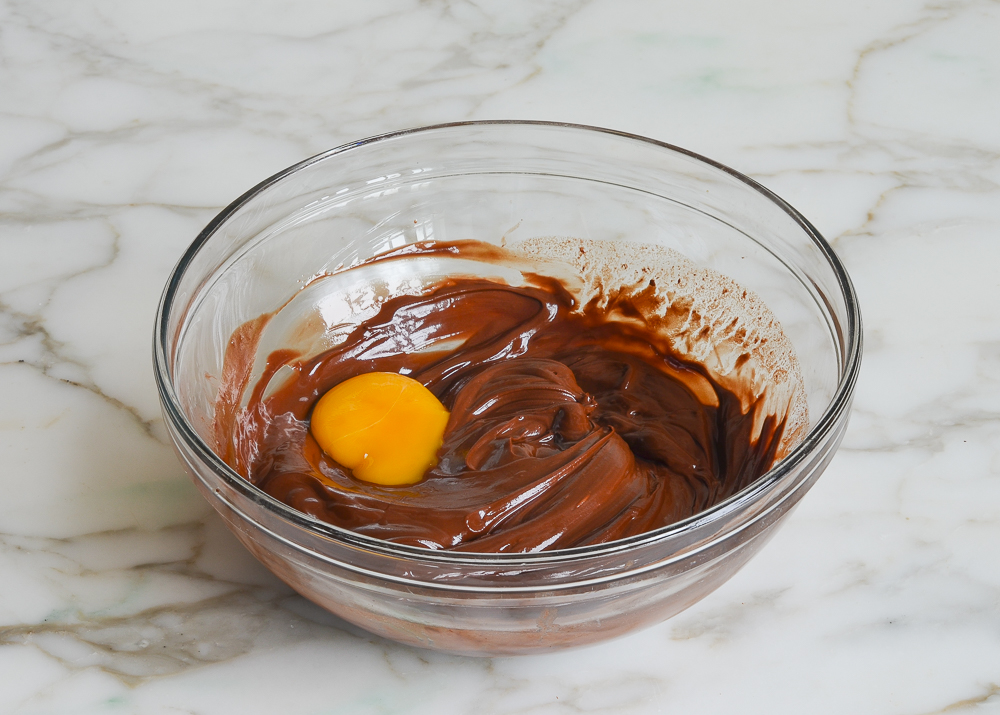
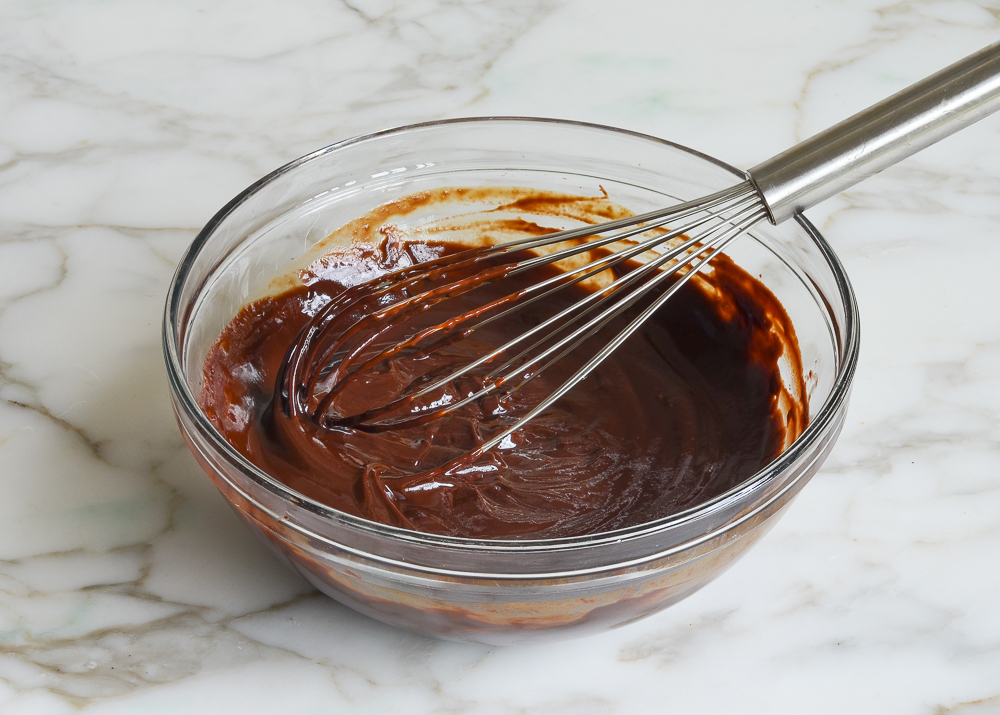
Whisk until smooth after each addition and then aside.
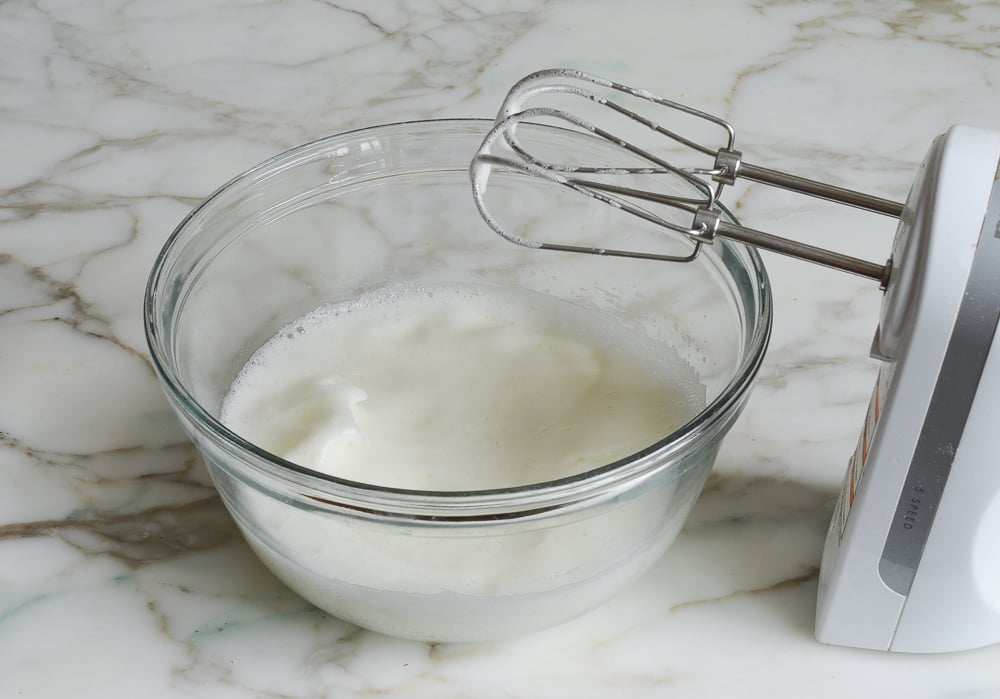
In another medium bowl, beat the egg whites until foamy. Add the cream of tartar and beat until soft peaks form (the peaks should be just starting to hold, and will melt back into themselves after a second).
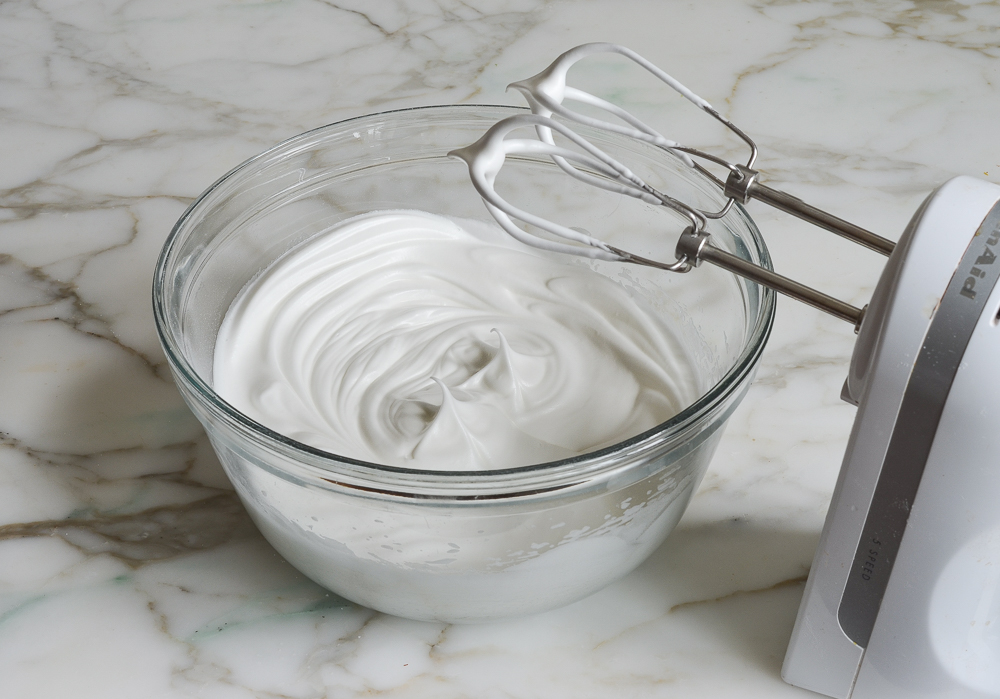
Gradually beat in 1/4 cup of the sugar and continue beating until stiff peaks form (the peaks will stand straight up when the beaters are lifted from the mixture).
Using a large rubber spatula, fold the egg white mixture into the chocolate mixture.
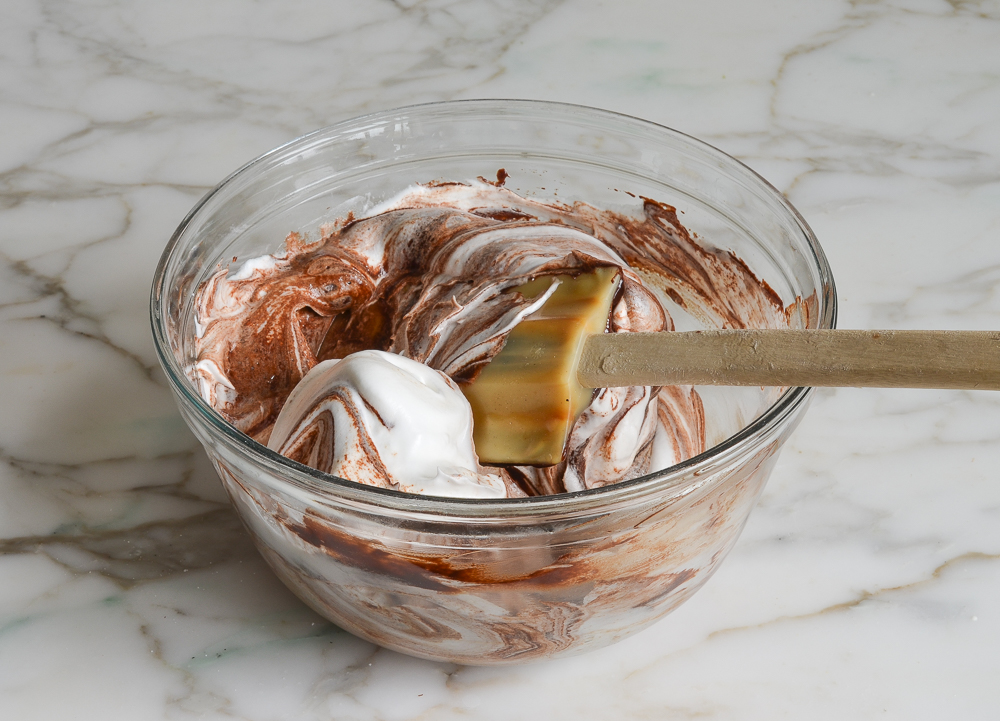
Mix only until uniform, then set aside.
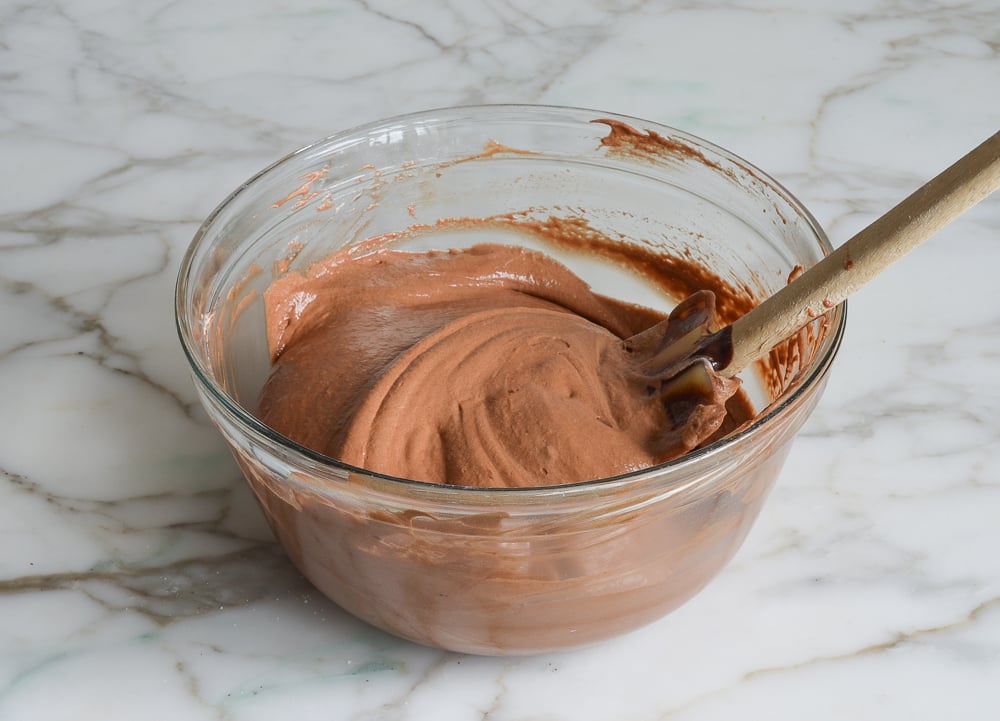
In another bowl, beat the heavy cream until it begins to thicken up. Add the remaining 2 tablespoons of sugar and the vanilla.
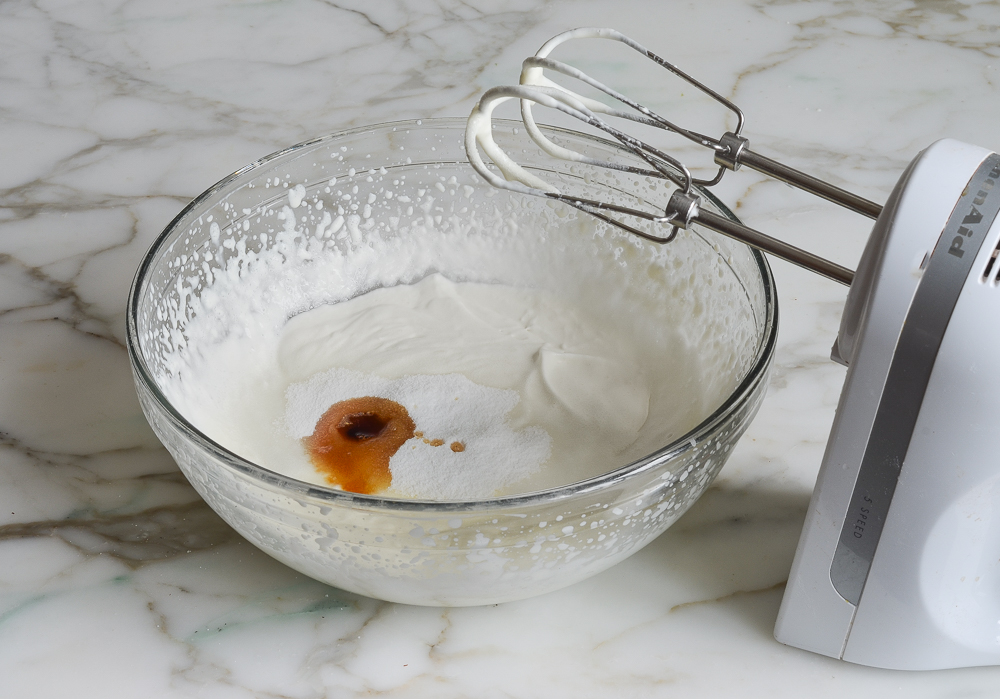 Continue beating until the cream holds medium peaks.
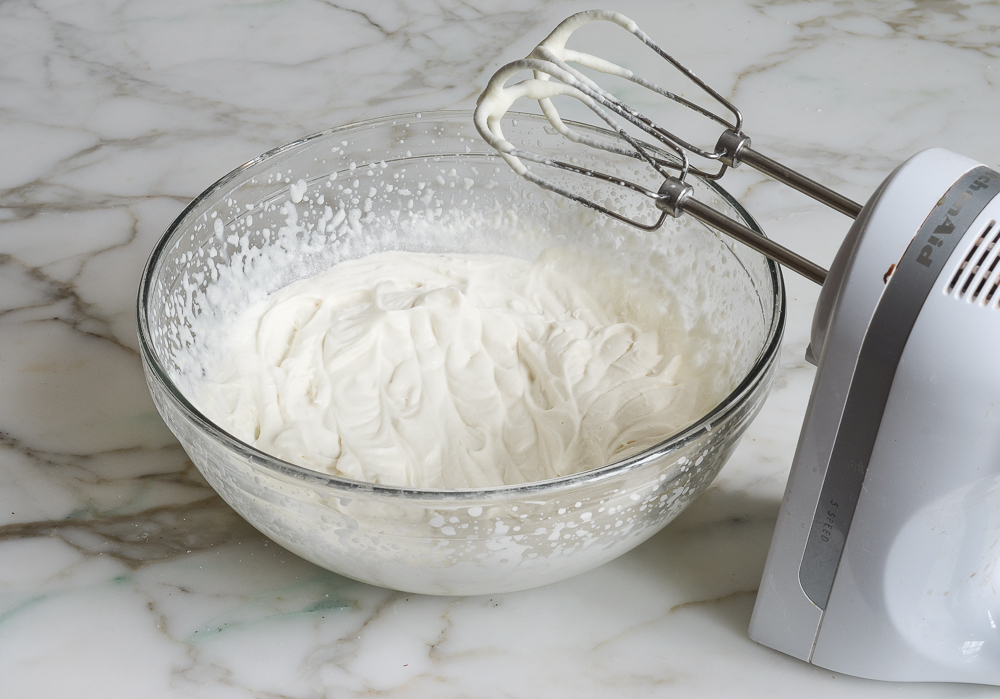
Add the whipped cream into the chocolate mixture.
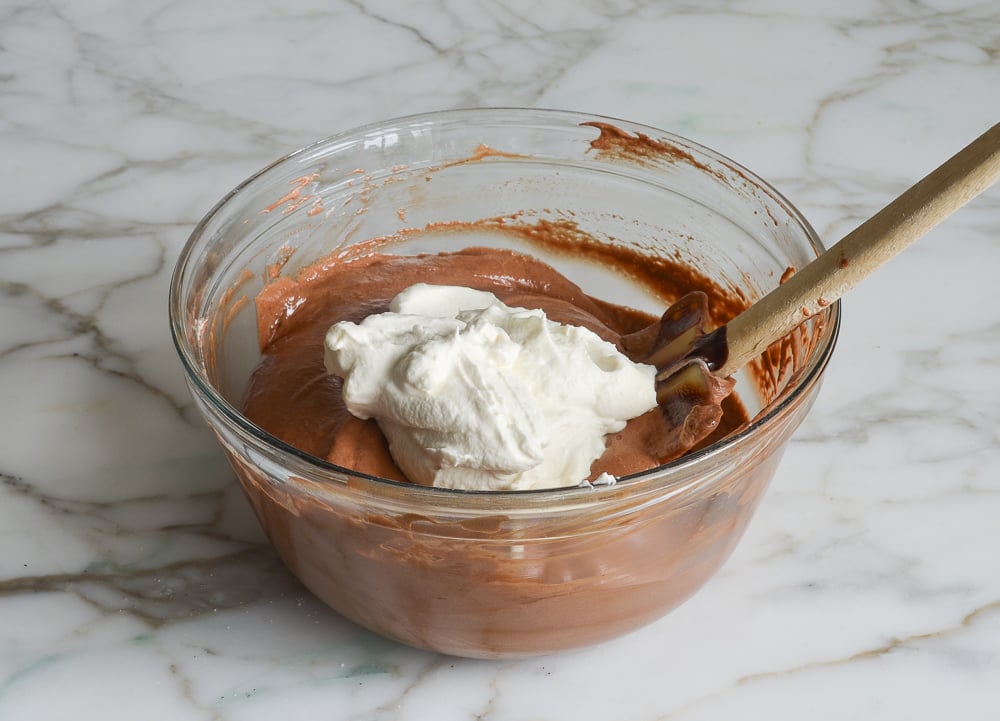
Gently fold the cream into the chocolate mixture, making sure not to mix any more than necessary.
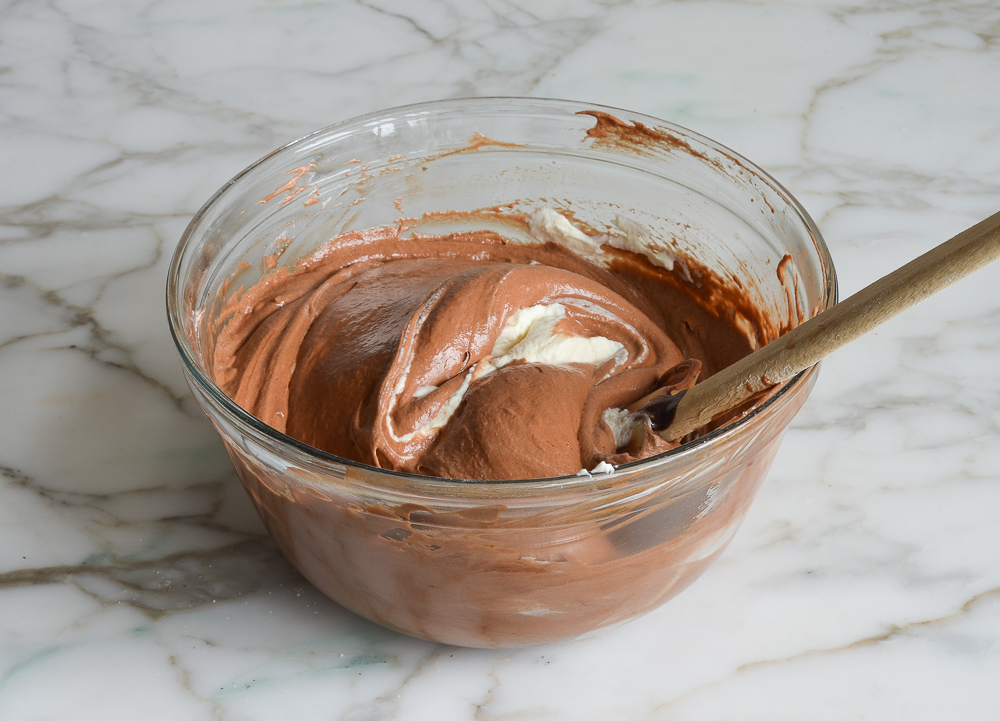
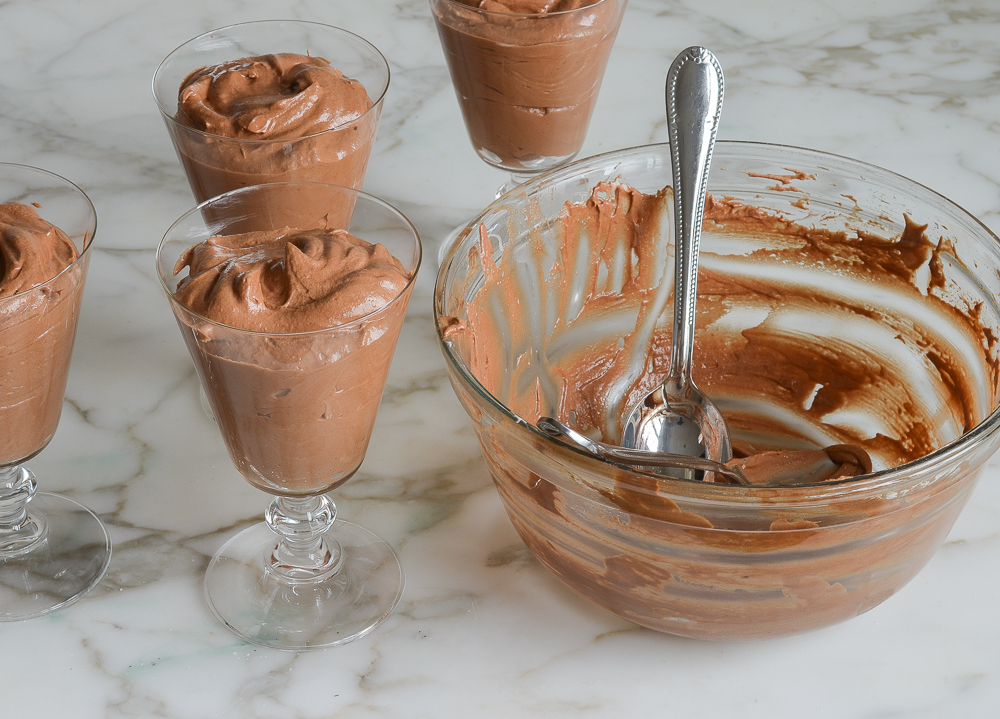
Divide the mousse between 6 individual glasses, cover, and chill until set, at least 2 hours.
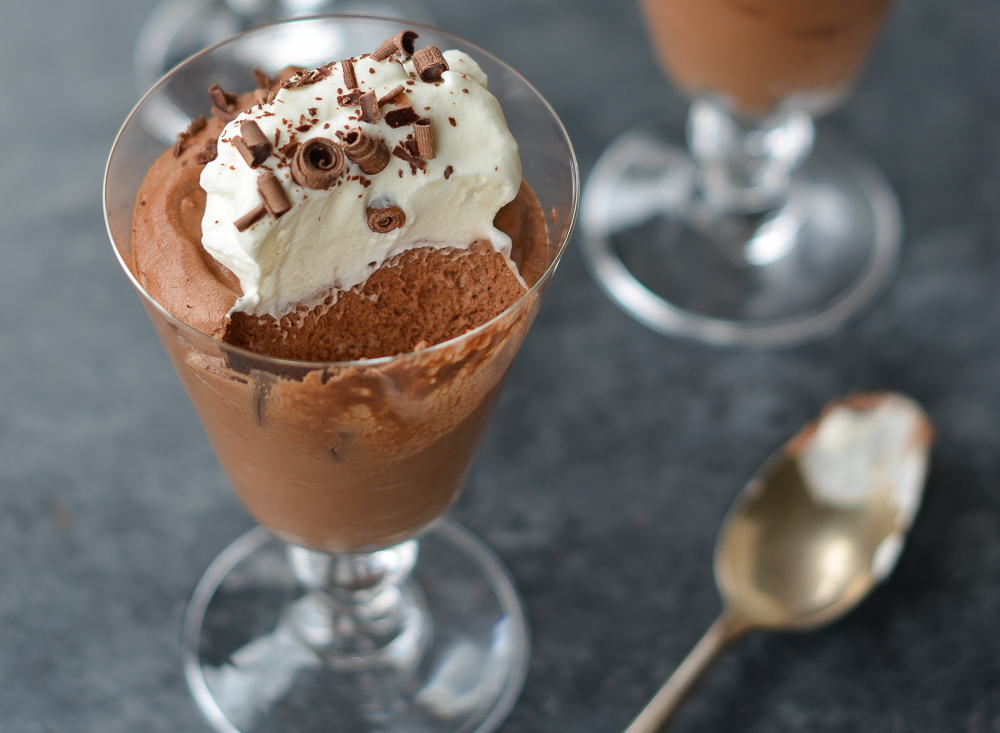
Up to a few hours before serving, whip the cream until it begins to thicken. Add the sugar and whip to medium peaks. Dollop the whipped cream over the mousse and top with chocolate shavings.
You May Also Like
Note: Like tiramisu or homemade mayonnaise, chocolate mousse is made with raw eggs. If that is a concern, try to find pasteurized eggs. Pasteurized eggs have been briefly exposed to heat to destroy any potential bacteria. Whole Foods usually carries them but call your local store to be sure before making a special trip. (Note: eating raw eggs is not advisable for pregnant women, babies, the elderly, or anyone with a compromised immune system.)
Chocolate Mousse
Looking for a dessert that’s both impressive and easy? This chocolate mousse recipe delivers rich, silky chocolate goodness in just 20 minutes—the perfect treat for any special occasion!
Ingredients
- 3 tablespoons unsalted butter
- 6 ounces semisweet chocolate, best quality
- 3 large eggs, at room temperature, yolks and whites separated
- ½ teaspoon cream of tartar
- ¼ cup plus 2 tablespoons sugar
- ½ cup heavy cream, cold
- ½ teaspoon vanilla extract
For Serving
- ½ cup heavy cream, cold
- 2 teaspoons sugar
- Chocolate shavings
Instructions
- Place the butter in a medium microwave-safe bowl. Break the chocolate into small pieces directly into the bowl. Microwave it in 20-second intervals, stirring between each bout of heat, until the chocolate is about 75% melted. Stir, allowing the residual heat in the bowl to melt the chocolate completely. (Alternatively, place the chocolate and butter in a heatproof bowl and place over a saucepan containing about 1 inch of barely simmering water. Stir with a wooden spoon until the chocolate is melted and the mixture is smooth.) Let the mixture cool for a few minutes, then whisk in the egg yolks one at a time, mixing until smooth after each addition. Set aside.
- In the bowl of a stand mixer or electric hand mixer, beat the egg whites on medium-high speed until foamy. Add the cream of tartar and beat until soft peaks form (the peaks should be just starting to hold, and will melt back into themselves after a second). Gradually beat in ¼ cup of the sugar and continue beating until stiff peaks form (the peaks will stand straight up when the beaters are lifted from the mixture). Using a large rubber spatula, fold the egg white mixture into the chocolate mixture until uniform. Set aside.
- In another bowl, beat the heavy cream on medium-high speed until it begins to thicken up. Add the remaining 2 tablespoons of sugar and the vanilla and continue beating until the cream holds medium peaks (when you lift the beaters or whisk out of the bowl, the peaks will slightly droop down, but they won't lose their shape entirely). Fold the whipped cream into the chocolate mixture. Be sure it is fully incorporated but don't mix any more than necessary. Divide the mousse between 6 individual glasses, cover, and chill until set, at least 2 hours.
- Up to a few hours before serving, whip the cream until it begins to thicken up. Add the sugar and whip to medium peaks. Dollop the whipped cream over the mousse and top with chocolate shavings.
- Make-Ahead Instructions: Mousse can be made up to 1 day ahead of time. Cover with plastic wrap and keep chilled in the refrigerator. Add whipped cream topping and chocolate shavings up to a few hours before serving.
- Note: Chocolate mousse is made with raw eggs. If that is a concern, try to find pasteurized eggs. Pasteurized eggs have been briefly exposed to heat to destroy any potential bacteria. Whole Foods usually carries them but call your local store to be sure before making a special trip. (Note: eating raw eggs is not advisable for pregnant women, babies, the elderly, or anyone with a compromised immune system.)
Nutrition Information
Powered by ![]()
- Per serving (6 servings)
- Calories: 415
- Fat: 31 g
- Saturated fat: 19 g
- Carbohydrates: 34 g
- Sugar: 31 g
- Fiber: 2 g
- Protein: 5 g
- Sodium: 55 mg
- Cholesterol: 163 mg
This website is written and produced for informational purposes only. I am not a certified nutritionist and the nutritional data on this site has not been evaluated or approved by a nutritionist or the Food and Drug Administration. Nutritional information is offered as a courtesy and should not be construed as a guarantee. The data is calculated through an online nutritional calculator, Edamam.com. Although I do my best to provide accurate nutritional information, these figures should be considered estimates only. Varying factors such as product types or brands purchased, natural fluctuations in fresh produce, and the way ingredients are processed change the effective nutritional information in any given recipe. Furthermore, different online calculators provide different results depending on their own nutrition fact sources and algorithms. To obtain the most accurate nutritional information in a given recipe, you should calculate the nutritional information with the actual ingredients used in your recipe, using your preferred nutrition calculator.
Gluten-Free Adaptable Note
To the best of my knowledge, all of the ingredients used in this recipe are gluten-free or widely available in gluten-free versions. There is hidden gluten in many foods; if you're following a gluten-free diet or cooking for someone with gluten allergies, always read the labels of your ingredients to verify that they are gluten-free.


Absolutely LOVE all your recipes, Jenn but I’m wondering if you think this would be too much to serve for a lunch dessert.
Hi Catherine, so glad you like the recipes! While this is very chocolatey, it’s still pretty light, so I think you could definitely serve it for a lunch dessert. Hope everyone enjoys if you make it!
Amazing! Thank you for the recipe. I will definitely make again!
Can I put between cake layers.
Yes, I think that would work.
Hi! Can I pipe these into cups and then cover and refrigerate overnight? Or will it deflate too much? Im making them for a wedding and was planning on making them the night before and serving them the next evening. So that would be about 24 hours. Thanks!
Hi Hailey, that should be fine. 🙂
Have made this a few times and really like it overall. I made a couple small modifications – reduced to 1/4 T cream of tartar, cut added sugar in half. One thing I’ve learned is super important – when incorporating the egg yolks and fluffy egg white mixtures, mix in a third at a time; this really helps achieve the desired consistency (author notes this but I missed it the first time and noticed the difference). Great recipe!
More a question than a comment. I see the recipe calls for sugar, is this regular granulated sugar, or powdered sugar? Only asking because I always use powdered sugar in my whipped cream. Thanks, sounds delicious.
Hi Karen, it’s granulated sugar. (If a recipe of mine requires confectioners’ sugar, I’ll specify that in the ingredients.) 🙂
This mousse was light, airy and delicious and for that I give it 5 stars. I prefer a slightly more dense mousse, but everyone I served this to loved it!
I am very happy with how this came out. The instructions are very simple and easy to follow. There are great photos to make sure it is the same thing. (tip) For me I added a thin layer of chocolate cake in the middle and on top and it made it a lot better.
Can you freeze this recipe? I love to make this as a filling for my cakes and people love it. However sometimes I have extra and would like to freeze it for my next cake which most times is a few days later.
Sure, I think it should work. 🙂
thank you so much for the quick response! appreciate it.
The mousse was delicious. It was fine restaurant quality. The only change I made was that I used high quality milk chocolate instead of semi-sweet. I do not like darker chocolate. It was very rich and decadent. Will be making this again.
This recipe was amazing as it is so quick!! I was trying hard 2 find a recipe that didn’t need to be chillled overnight and this recipe worked so well!
There is raw eggs, now that I know I won’t make it. I didn’t think raw eggs should be eaten by anyone. It looks good but not the raw eggs part
Depending on the country you live in, most store bought raw eggs are completely safe as it is standard practice to pasteurize the eggs (you probably don’t notice because only the shells need to be heated and can be flash pasteurized pretty easily). In fact, this is the reason that you have to refrigerate store bought eggs but not farm bought ones (side note, make sure you thoroughly wash any eggs from a farm before using them, but all bacteria is on the shell so that’s all that’s needed to make them safe for this recipe).
While I would applaud your caution when it comes to food borne illnesses, there are a lot of things (like raw eggs or medium to medium-well pork) that have a bad reputation due to historic issues. Thankfully, in almost any first world nation (and definitely in the United States, where I live) many of these issues are solved at the manufacturing stage. Just make sure you’re purchasing your food from a reputable source (hopefully you already are) and you won’t have any issues.