Chocolate Lover’s Chocolate Cake
This post may contain affiliate links. Read my full disclosure policy.
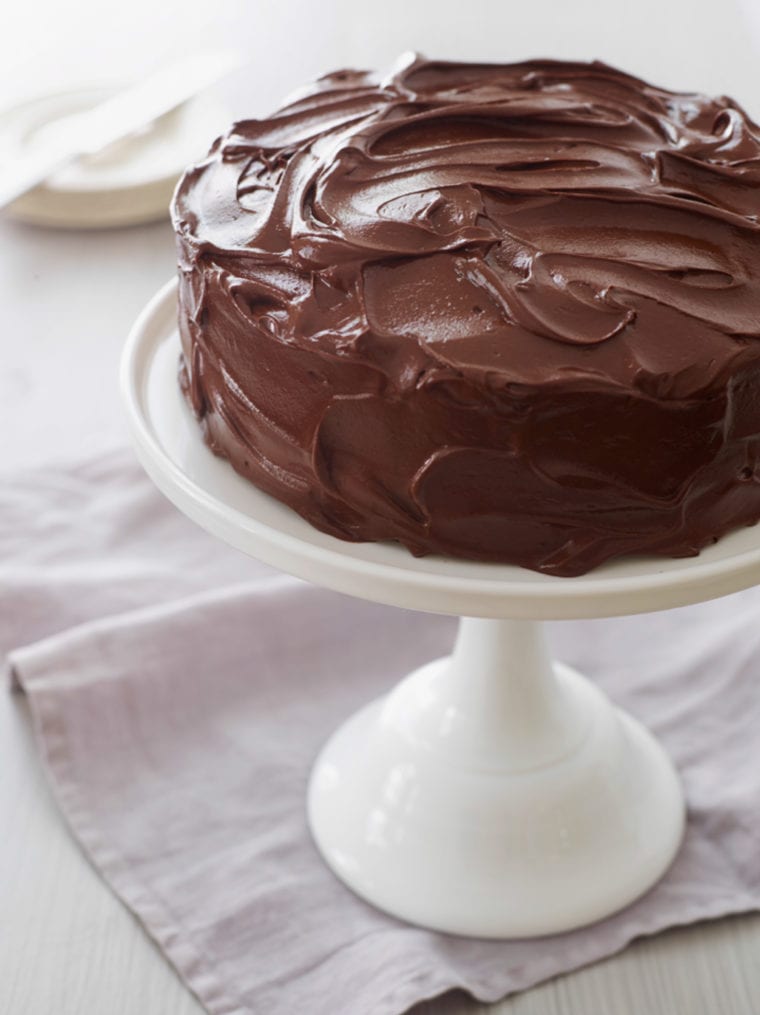
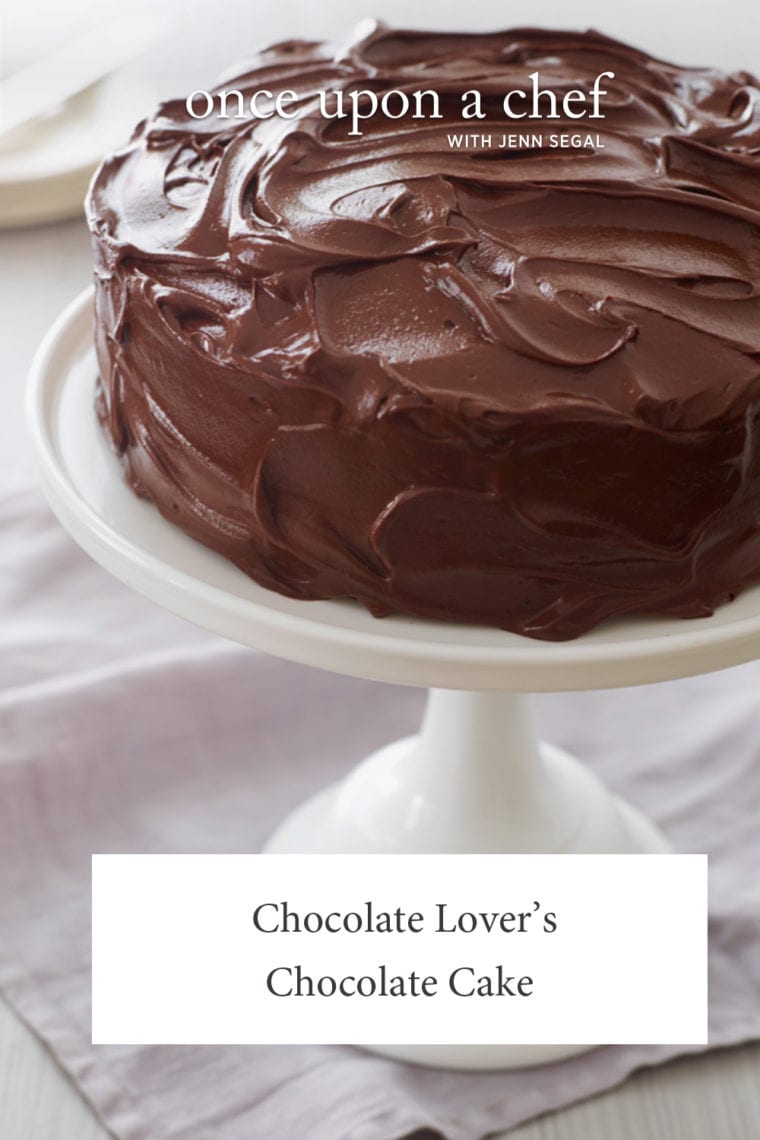
A dark chocolate cake with a rich and creamy chocolate frosting — this is the ultimate chocolate cake for chocolate lovers.
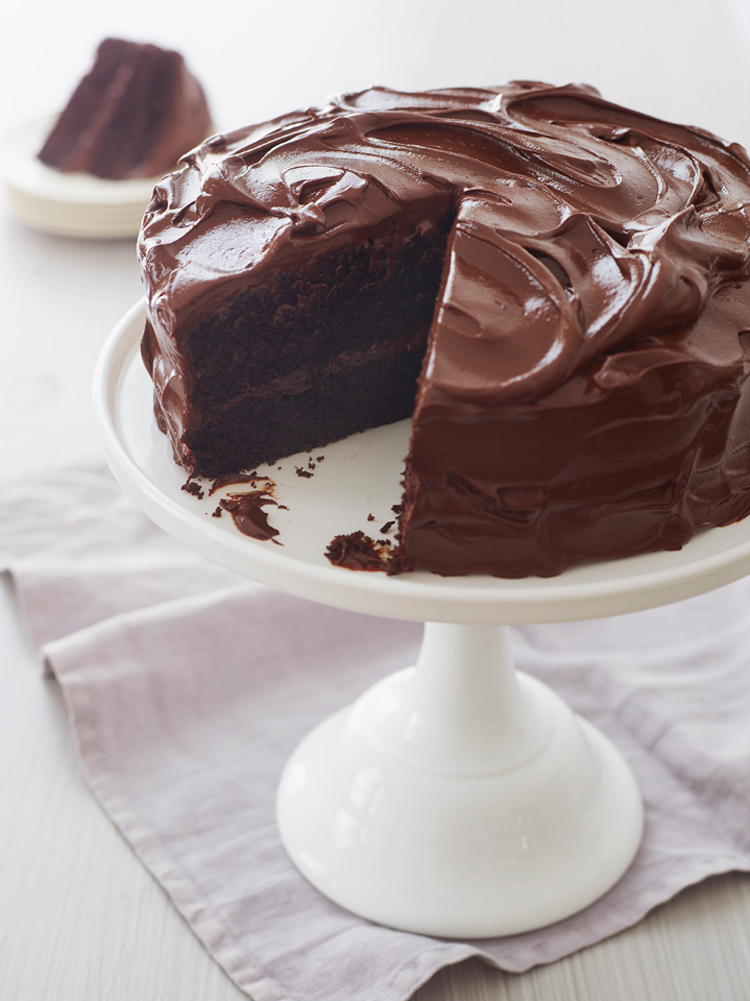
Photo by Alexandra Grablewski (Chronicle Books, 2018)
When my kids were babies, I started a baking business specializing in cakes and cupcakes. Before I opened, I tested every yellow cake and chocolate cake recipe under the sun, often baking into the wee hours. My husband would wake up in the morning to find the countertops covered with cakes and cupcakes. He thought I’d lost my mind—little did he know I was just discovering my passion for creating recipes, which was the spark for starting my blog. This rich chocolate cake (the layer cake version of my chocolate cupcakes) is a standout from those early baking adventures.
The cake itself is wonderfully simple—a one-bowl wonder that yields a tender, deeply chocolate crumb. And the frosting, modestly adapted from Cook’s Illustrated, is fast and foolproof—a welcome change from most chocolate frostings, which can be temperamental and take hours to set. This is my son, Zach’s, favorite cake.
Table of Contents
“My search for the ultimate chocolate cake is over!”
What You’ll Need To Make Chocolate Cake
For the Cake
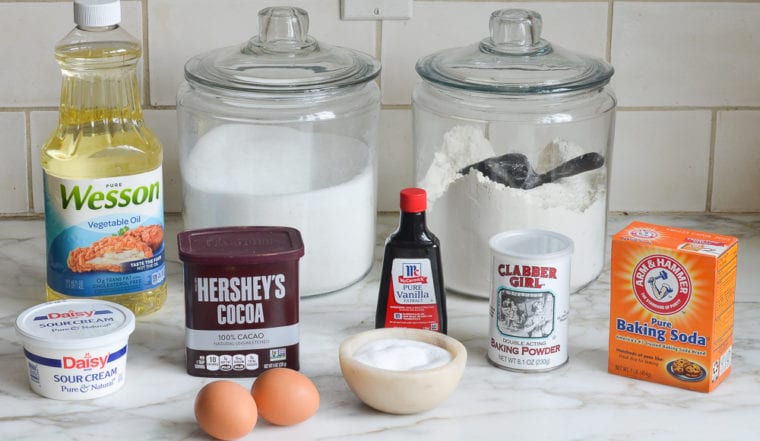
- All-Purpose Flour: For accurate measuring, use the spoon and level method: spoon the flour into your measuring cup and level it off with the back of a knife.
- Granulated Sugar: Adds sweetness and helps create a moist and tender crumb.
- Unsweetened Natural Cocoa Powder: Key for that rich chocolate flavor. Note that natural cocoa powder isn’t interchangeable with Dutch-process cocoa powder due to differences in acidity.
- Baking Powder and Baking Soda: These leavening agents help your cupcakes rise and become light and fluffy. (Understand the difference between baking soda vs baking powder)
- Eggs: Add structure, richness, and stability to the batter.
- Vegetable Oil: Adds moisture; oil-based cakes tend to stay moist longer than those made with butter.
- Sour Cream: Adds richness and a subtle tang.
- Vanilla Extract: Adds complexity to the overall taste.
- Boiling Water: Adds moisture and intensifies the cocoa’s flavor.
- Jump to the printable recipe for precise measurements
For the Frosting
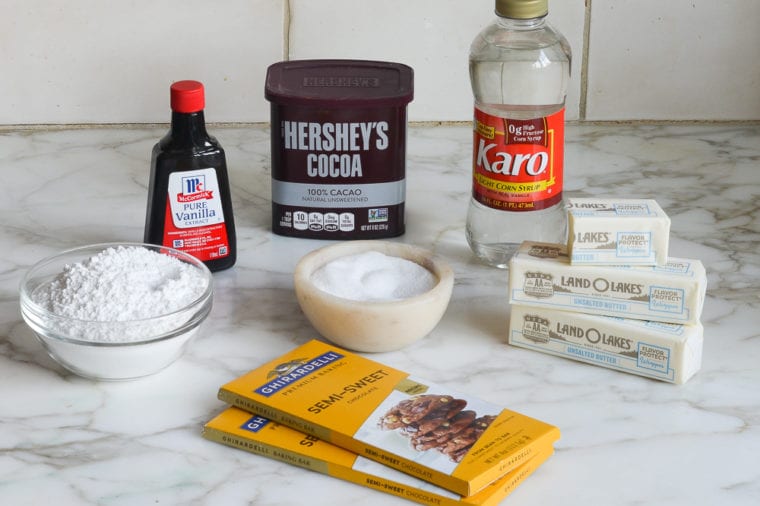
- Milk or Semi-Sweet Chocolate: Choose based on your preference for sweetness. Milk chocolate offers a milder, sweeter taste, while semi-sweet chocolate adds a deeper chocolate flavor. The quality of the chocolate can significantly affect the frosting’s flavor, so opt for a good brand.
- Butter: Make sure it’s softened but still cool, which ensures that it blends well without becoming too runny.
- Confectioners’ Sugar: This finely ground sugar, also known powdered sugar, dissolves easily, preventing any grittiness in the frosting.
- Natural Unsweetened Cocoa Powder: Adds a rich and deep chocolate flavor.
- Salt: A small pinch enhances and balances the sweetness.
- Light Corn Syrup: Adds gloss and sheen to the frosting, making it smooth and spreadable. It also helps in stabilizing the texture.
- Vanilla Extract: Adds complexity of flavor.
- Jump to the printable recipe for precise measurements
Step-by-Step Instructions
Step 1: Make the Cake Layers
In the bowl of a stand mixer fitted with the paddle attachment, combine the flour, sugar, cocoa powder, salt, baking powder, and baking soda. Mix on low speed for 30 seconds to combine.
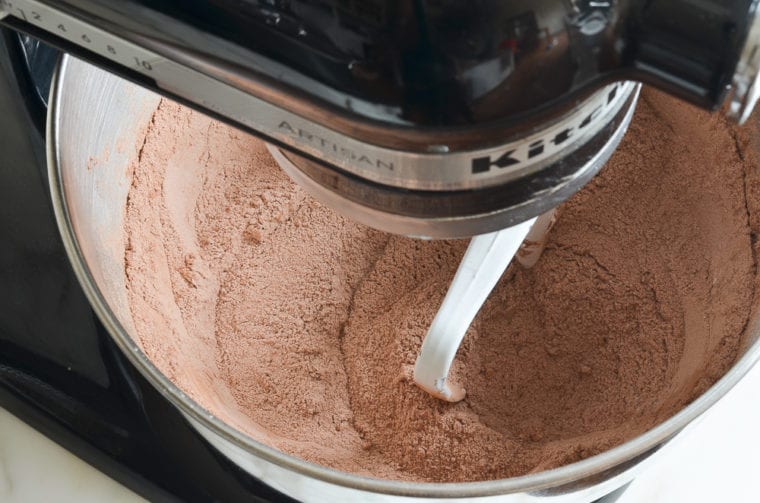
Add the eggs, oil, and sour cream.
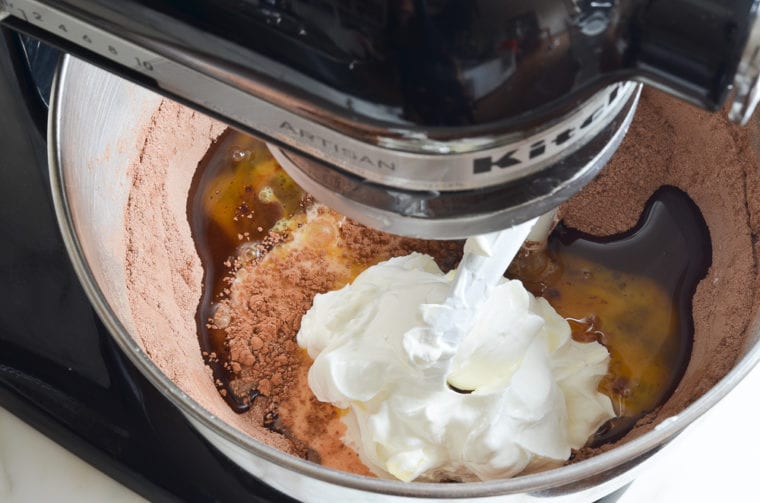
Mix on low speed until combined.
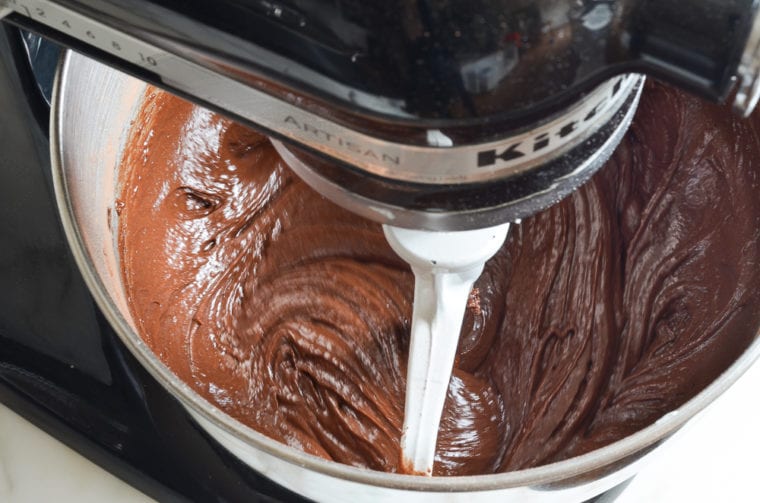
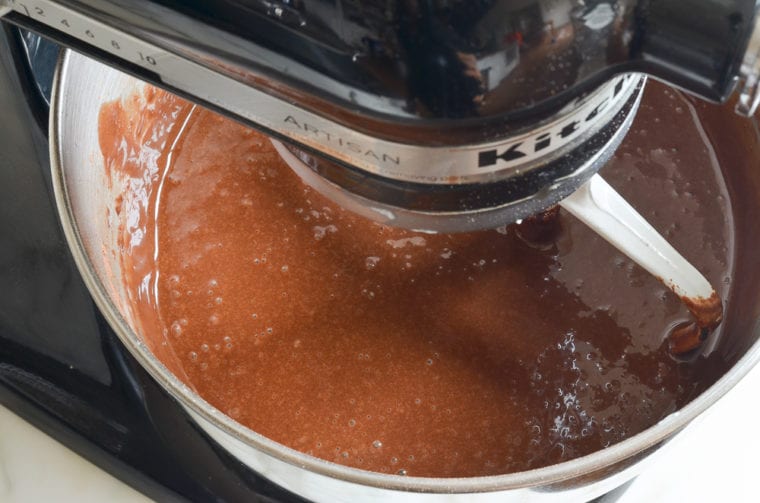
Increase the speed to medium and beat for 2 minutes. Then, reduce the speed to low and gradually pour in the hot water (be careful to pour very slowly so it doesn’t splash). The batter will be soupy. Stop the mixer and scrape down the sides and bottom of the bowl; mix again until evenly combined.
Divide the batter evenly between the prepared cake pans.
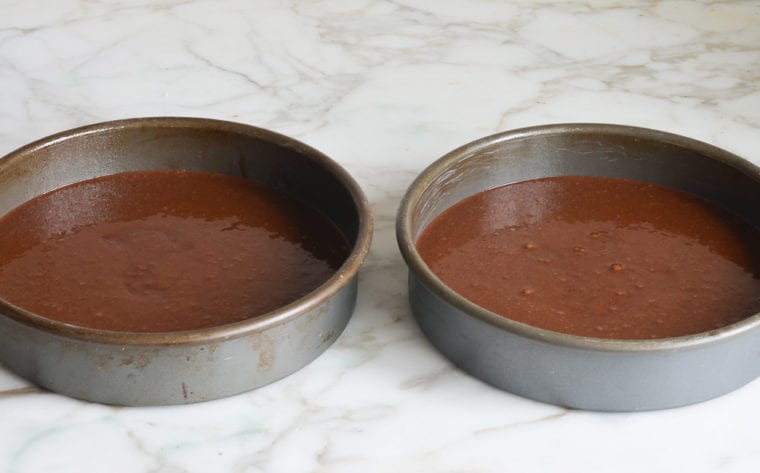
Bake for about 35 minutes, or until a toothpick inserted into the center comes out clean. Cool the cake layers in the pans on a rack for 10 minutes.
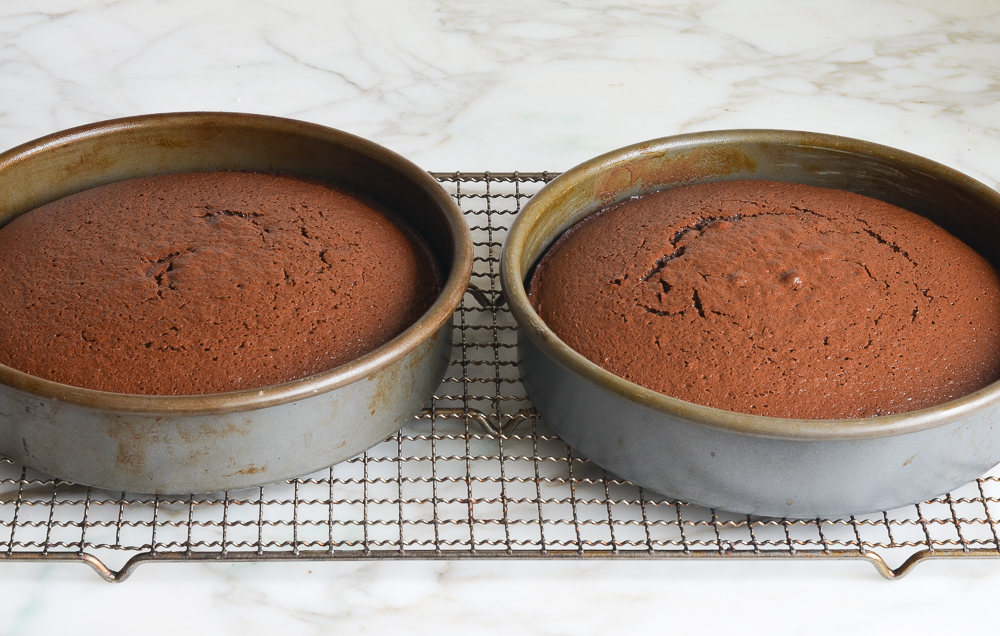
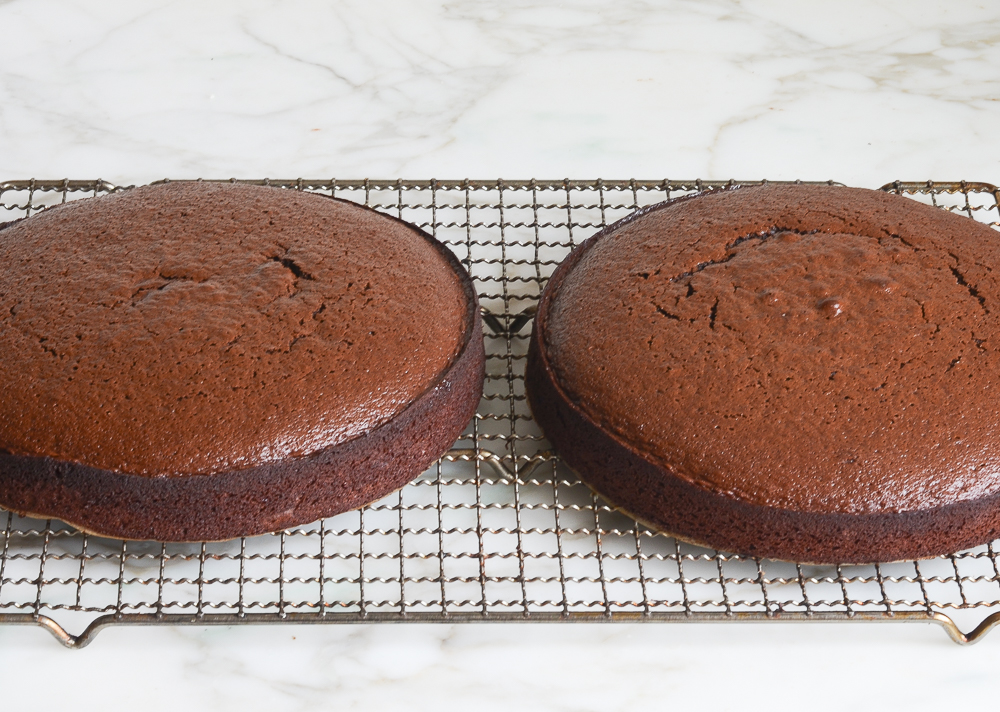
Invert the cakes onto a wire rack, remove the pans and cool completely.
Step 2: Make the Frosting
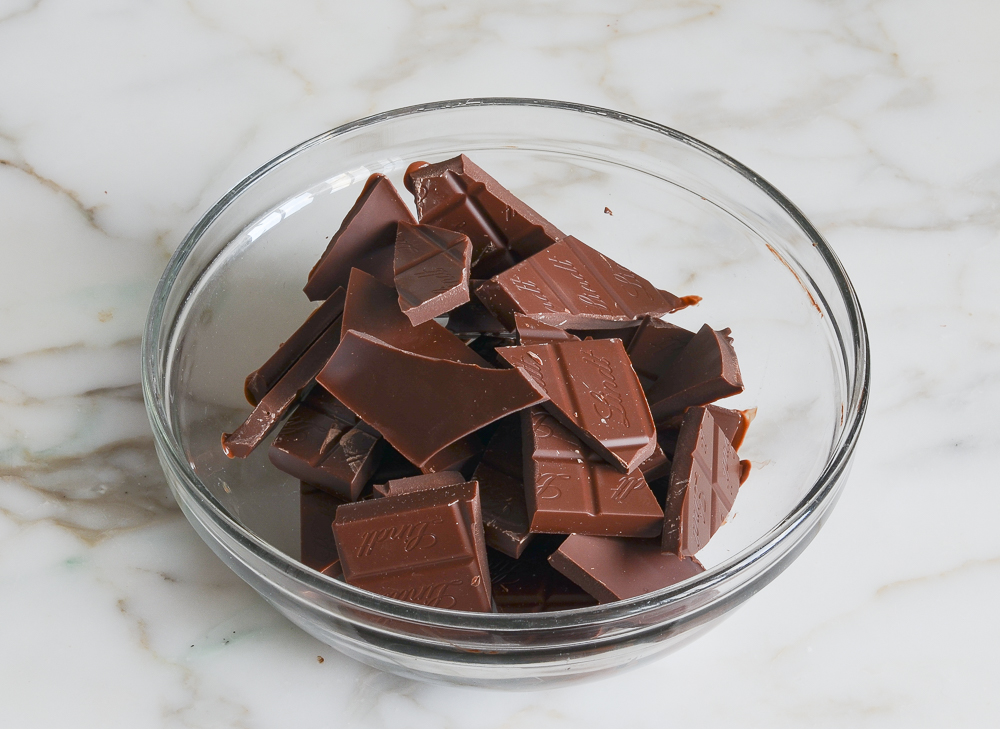
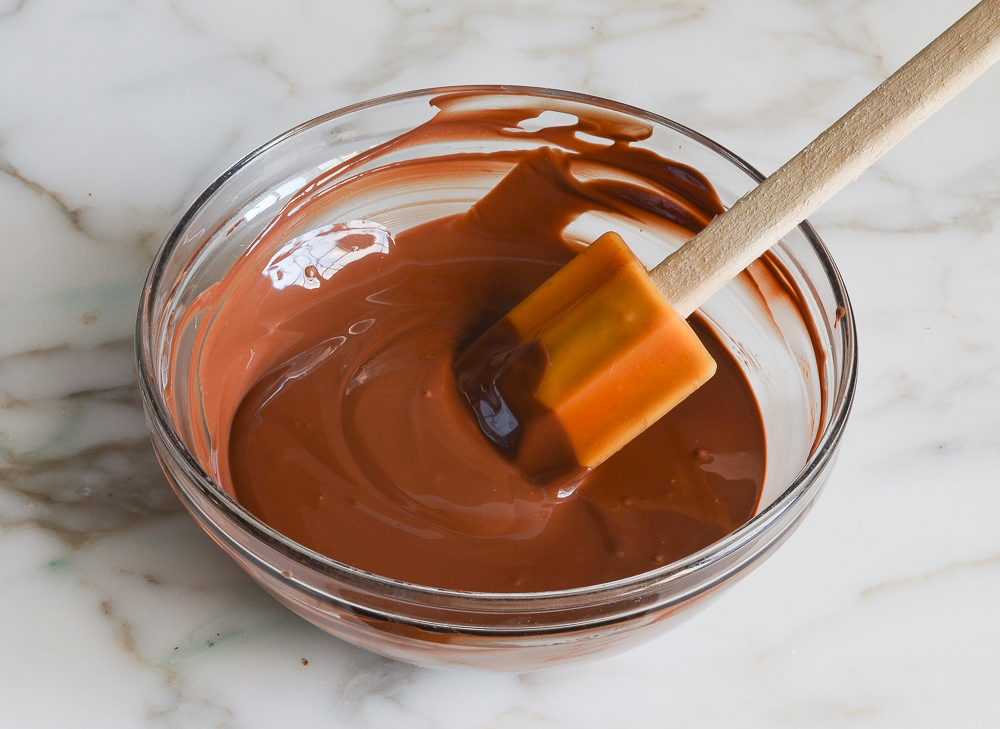
Place the chocolate in a microwave-safe bowl. Cook in the microwave in 20-second intervals, stirring in between, until it’s about three-quarters of the way melted. Stir, allowing the residual heat in the bowl to melt the remaining chocolate completely.
In a food processor, combine the butter, confectioners’ sugar, cocoa powder and salt. Process until smooth, about 30 seconds, scraping down the sides of the bowl as needed. Then add the corn syrup and vanilla.
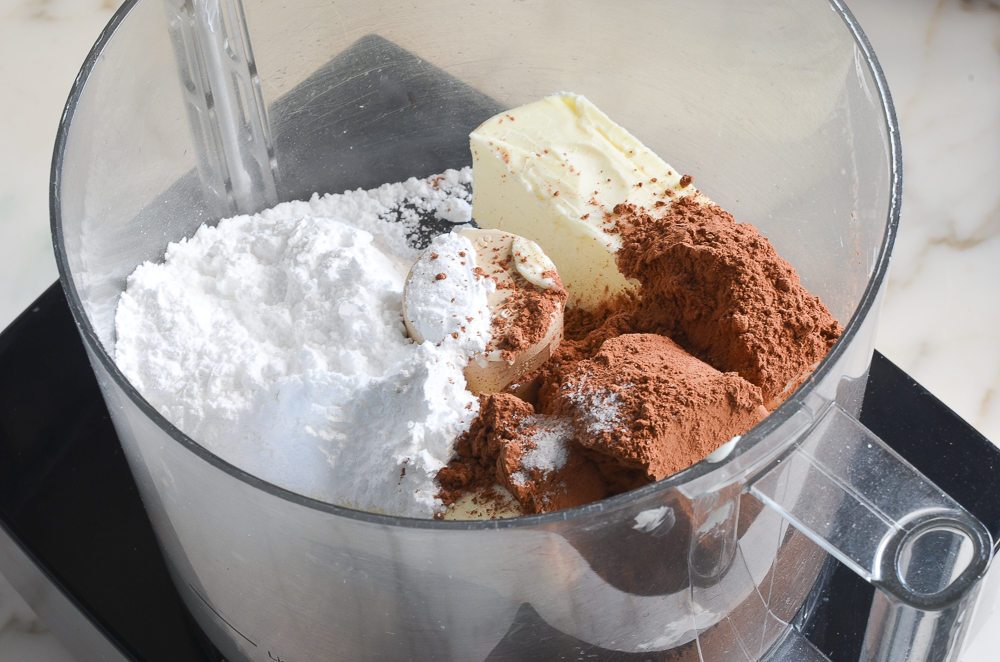
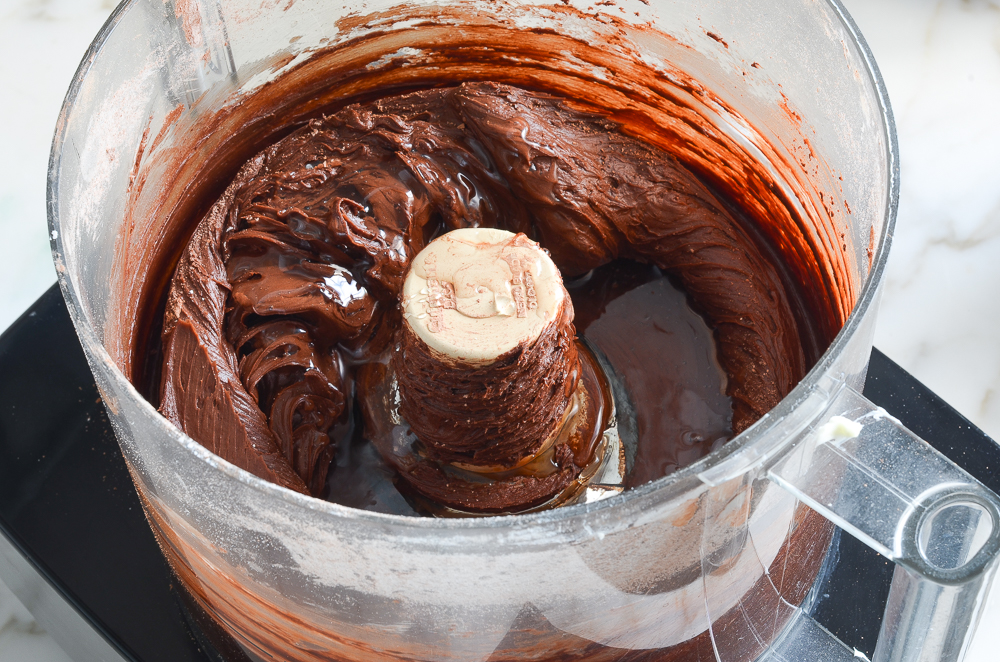
Process until just combined, 5 to 10 seconds. Scrape down the sides of the bowl, then add the lukewarm melted chocolate. Pulse until smooth and creamy, 10 to 15 seconds. Do not overmix.
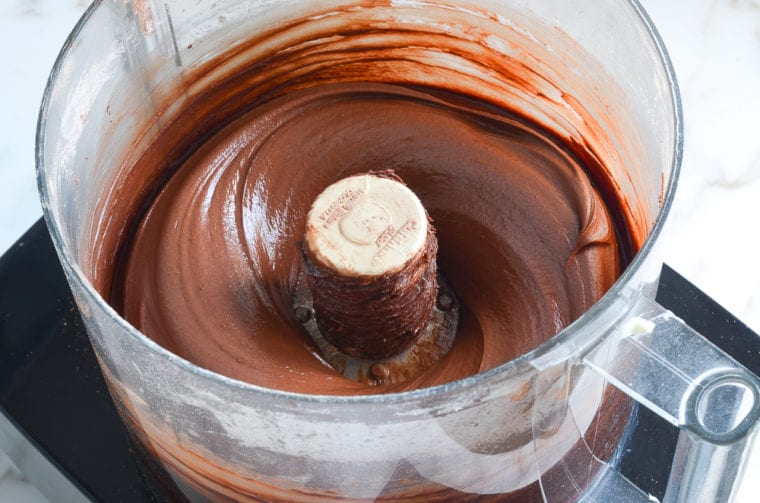
When the cakes have cooled, place one cake layer on a serving plate. Using an icing spatula or butter knife, spread about 3/4 cup of the frosting over the first layer. Top with the second layer, then spread the remaining frosting over the top and sides of the cake, swirling decoratively.
Frequently Asked Questions
This cake keeps quite well, so you can definitely make it 1 to 2 days ahead of time. Store it in a cake dome or airtight container at room temperature.
The cake layers can be frozen without the frosting for up to 3 months. Let them cool completely, wrap them individually in plastic wrap, and then in foil. Thaw them overnight on the countertop before assembling and frosting the cake.
Yes, but keep in mind that since the batter will be deeper in 8-inch pans, the cakes may require a longer baking time. One advantage of using smaller pans is that the resulting cakes will be thicker, giving you the option to cut each cake layer horizontally to create more layers, which can be especially appealing if you’re aiming for a multi-layered cake with additional frosting or filling between each layer.
You May Also Like
- Chocolate Lover’s Chocolate Cupcakes
- Yellow Cake with Rich Chocolate Buttercream
- Chocolate Bundt Cake
- Rainbow Sprinkle Funfetti Cake
- Red Velvet Cupcakes
- German Chocolate Cake
Chocolate Cake
A dark chocolate cake with a rich and creamy chocolate frosting — this is the ultimate chocolate cake for chocolate lovers.
Ingredients
For the Cake
- 2 cups all-purpose flour, spooned into measuring cup and leveled off with knife
- 2 cups granulated sugar
- 1 cup unsweetened natural cocoa powder, such as Hershey’s
- 1 teaspoon salt
- 2 teaspoons baking powder
- 1 teaspoon baking soda
- 2 large eggs, lightly beaten
- ½ cup vegetable oil
- 1 cup sour cream
- 1½ teaspoons vanilla extract
- 1 cup boiling water
For the Frosting
- 8 ounces semi-sweet or milk chocolate, broken into small pieces (see note)
- 2½ sticks (20 tablespoons) unsalted butter, softened but still cool
- 1¼ cups confectioners' sugar
- ½ cup unsweetened natural cocoa powder, such as Hershey’s
- ⅛ teaspoon salt
- ¾ cup light corn syrup
- 1 teaspoon vanilla extract
Instructions
For the Cake
- Position a rack in the center of the oven and preheat the oven to 350°F. Lightly butter the bottom of two 9-inch round cake pans. Line the bottoms of the pans with parchment paper, and then butter and flour the parchment and the sides of the pans. (Alternatively, replace the butter and flour with nonstick cooking spray with flour, such as Baker’s Joy or Pam with Flour.)
- In the bowl of a stand mixer fitted with the paddle attachment, combine the flour, sugar, cocoa powder, salt, baking powder, and baking soda. Mix on low speed for 30 seconds to combine. Add the eggs, oil, sour cream, and vanilla and mix on low speed until combined.
- Increase the speed to medium and beat for 2 minutes. Then, reduce the speed to low and gradually pour in the hot water (be careful to pour very slowly so it doesn’t splash). The batter will be soupy. Stop the mixer and scrape down the sides and bottom of the bowl; mix again until evenly combined.
- Divide the batter evenly between the prepared cake pans. Bake for about 35 minutes, or until a toothpick inserted into the center comes out clean. While the cake is baking, prepare the frosting.
- Cool the cake layers in the pans on a rack for 10 minutes. Invert the cakes onto a wire rack, remove the pans and cool completely. When the cakes have cooled, place one cake layer on a serving plate. Using an icing spatula or butter knife, spread about ¾ cup of the frosting over the first layer. Top with the second layer, then spread the remaining frosting over the top and sides of the cake, swirling decoratively. The cake is best enjoyed fresh on the day it is made, but it will keep for 2 to 3 days stored in a cake dome at room temperature.
For the Frosting
- Place the chocolate in a microwave-safe bowl and cook in the microwave in 20-second intervals, stirring in between, until it's about three-quarters of the way melted. Stir, allowing the residual heat in the bowl to melt the remaining chocolate completely. (If necessary, place the chocolate back in microwave for a few seconds.) Set aside to cool.
- In a food processor, process the butter, confectioners’ sugar, cocoa powder and salt until smooth, about 30 seconds, scraping down the sides of the bowl as needed. Add the corn syrup and vanilla and process until just combined, 5 to 10 seconds. Scrape down the sides of the bowl, then add the lukewarm melted chocolate and pulse until smooth and creamy, 10 to 15 seconds. Do not overmix.
- The frosting can be used immediately or held at room temperature for 3 to 4 hours. It may lose its shine as it sits—to bring the shine back, run a metal spoon under hot water, then wipe dry with a towel; stir the frosting with the hot spoon and it should shine right up.
- Note: If making this cake for children, I recommend using milk chocolate for the frosting (Hershey or Lindt milk chocolate bars work well). Semi-sweet chocolate will lend a more intense chocolate flavor (Ghirardelli bars for baking are ideal).
- Make-Ahead/Freezing Instructions: The cake can be made up to one day ahead of time and stored in a cake dome. The cake layers can also be frozen without the frosting for up to 3 months. Let them cool completely, wrap them individually in plastic wrap, and then in foil. Thaw overnight on the countertop before assembling and frosting the cake.
Nutrition Information
Powered by ![]()
- Per serving (16 servings)
- Calories: 550
- Fat: 30 g
- Saturated fat: 15 g
- Carbohydrates: 73 g
- Sugar: 55 g
- Fiber: 4 g
- Protein: 5 g
- Sodium: 320 mg
- Cholesterol: 69 mg
This website is written and produced for informational purposes only. I am not a certified nutritionist and the nutritional data on this site has not been evaluated or approved by a nutritionist or the Food and Drug Administration. Nutritional information is offered as a courtesy and should not be construed as a guarantee. The data is calculated through an online nutritional calculator, Edamam.com. Although I do my best to provide accurate nutritional information, these figures should be considered estimates only. Varying factors such as product types or brands purchased, natural fluctuations in fresh produce, and the way ingredients are processed change the effective nutritional information in any given recipe. Furthermore, different online calculators provide different results depending on their own nutrition fact sources and algorithms. To obtain the most accurate nutritional information in a given recipe, you should calculate the nutritional information with the actual ingredients used in your recipe, using your preferred nutrition calculator.

Hi Jenn,
I’m making this cake for a 90th birthday party and I need to travel three hours away. I have made the 9″ cakes and frozen them. I’m not sure how to handle the frosting. Make it at home, defrost the cakes and frost them, then transport whole cake at room temp in a cake dome, or prepare the frosting, store in a container and frost when I get there? Or perhaps, take my processor and make it there? I’ll be arriving a day before the party. Timing can be so stressful! I’d so appreciate your advice. There is not a better source on the web for sure-fire recipes and advice. You are a superstar!
Thank you for the very sweet words! ❣️
I’d frost the cake at home and transport it in a cake dome. The cake will keep nicely until the party. Hope everyone enjoys!
To our family, this cake has the right amount of chocolate and cocoa, but it’s sickening sweet and too buttery in the mouth. Nobody could finish a small sliver of it. Coming from Europe, we appreciate the subtleties of French and Italian cakes rather than American frosting.
Hello,
I have the same experience, the frosting is extremely sweet. I am a big fan of Jenn recipes, but I think the frosting sugars should be cut in half.
Did you try the frosting with a dark chocolate?
This cake is a real treat for all chocolate lovers. The frosting is the real star of the recipe. It is so creamy and easy to make in a food processor. It stays spreadable for hours, and doesn’t stiffen up like a buttercream. Perfect ingredient amounts so no need to add more liquid or confectioners sugar to get the right consistency.
I initially made the frosting and it looked good and creamy (right color). Then I noticed that there were still some solid chunks of butter… so i processed again. Then the frosting changed color … it became darker and looked a little grainy. I’m not sure what went wrong. The butter threw off the consistency? It still tasted good, but I’m wondering what went wrong.
Hi Nidhi, I’m sorry you had a problem with the frosting – based on the texture and color you described, it sounds like the frosting broke. That can typically be fixed by adding a ateaspoon or 2 of warm water, and re-blending.
Hi! I want to make this into a 3-layer cake. Should I decrease the pans to 8 in and divide the batter by three or should I multiply the recipe by 1.5 and use the third 9 in pan?
Hi Jennifer, I’d divide the batter among three 8-inch pans. Enjoy!
Made this for my manager who just turned 50. Great recipe! Not overly sweet and rich chocolate flavor. Making frosting in a food processor was a new one for me and I was so impressed with how it came out. I work for a Lumber yard and the dozen+ guys devoured it in no time. Thanks Jenn for another great recipe!
Hi Jenn,
I don’t have a Food Processor. I have a Stand Mixer and a Vita Mix machine. Can I substitute one of those?
Much Thanks,
Kasandra
Hi Kassandra, Unfortunately, you really need a food processor for the frosting – sorry!
My search for the ultimate chocolate cake is over! I have made umpteen chocolate cakes over the years for the various chocolate lovers in our family, and while many have been good, none were great. Enter your Chocolate Lover’s Cake, and we have achieved perfection. Served it yesterday and I am still eating it this morning! GREAT cake.
This was my second time to make this fabulous and most delicious cake! I couldn’t find corn syrup here in Ireland so I used light agave syrup. Winner! Thanks Jenn for this recipe. I can’t wait to try your cupcake version!
Hi Jenn, Is it possible to make this as one cake rather than splitting it in two? Thanks,
Hi Jill, Are you referring to making this into a sheet cake? If so, I haven’t done it myself, but a few readers have commented that they have and have been happy with it.
Hi Jenn! I love this cake and I’m a huge fan of all your recipes! (Your NY cheesecake has become a Christmas tradition and the chocolate version is my daughter’s favorite!) I wanted to try the milk chocolate buttercream for this cake. You mentioned Hersheys and Lindt chocolates for that frosting. Do you mean the candy bars found in the candy aisle or a type of baking chocolate? Also, do I need to adjust the butter and powdered sugar amounts for the milk chocolate frosting? Thank you!
Hi Mary, so glad you like the cake! Yes, you should grab the Hershey’s or Lindt chocolate from the candy aisle. And no need to adjust the butter and powdered sugar for the milk chocolate version. Enjoy!