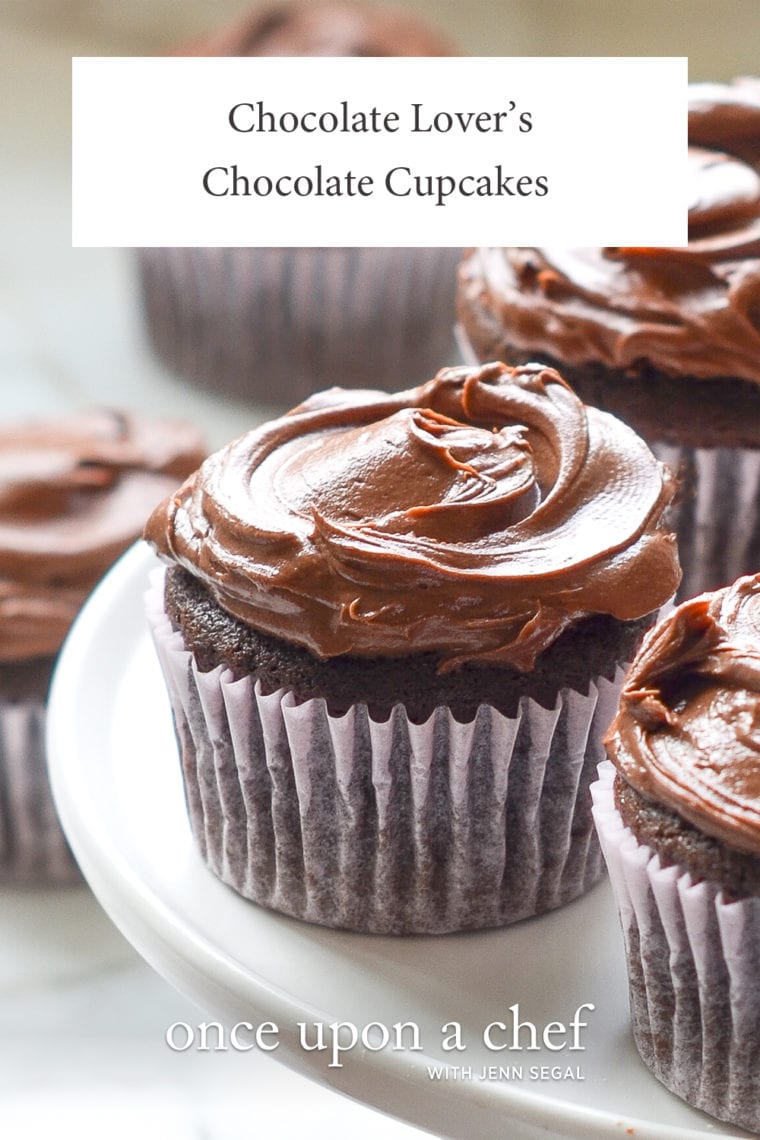
Chocolate Cupcakes

This post may contain affiliate links. Read my full disclosure policy.
Sweet enough for kids but intensely chocolate enough for grown-ups, these are my go-to chocolate cupcakes.
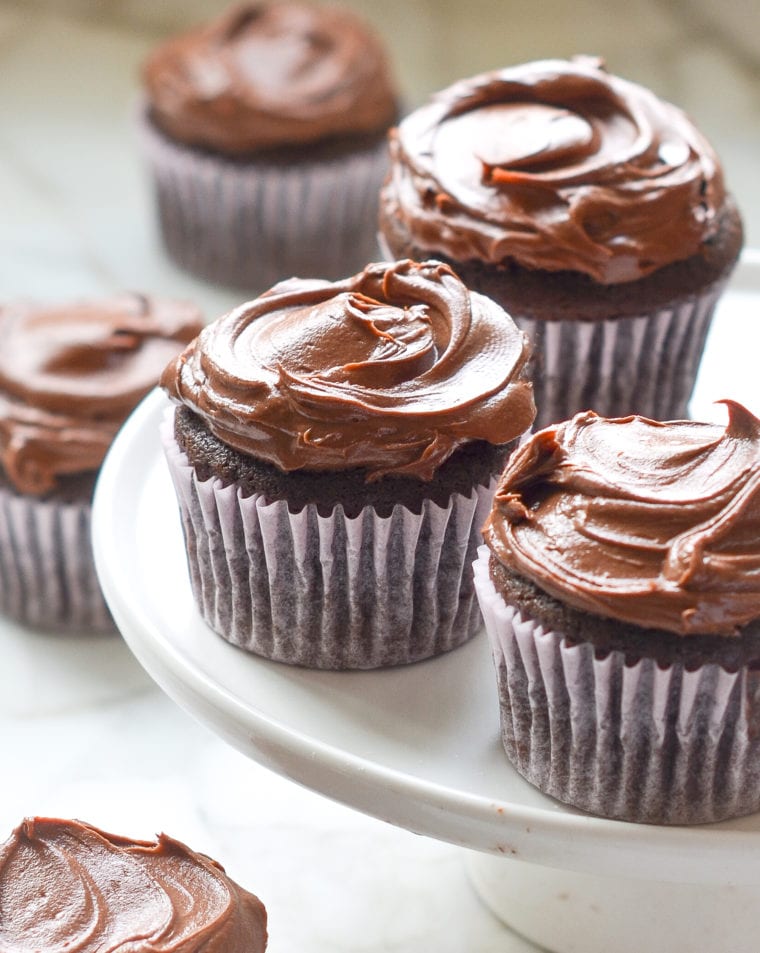
Starting a baking business specializing in cakes and cupcakes sparked my passion for creating recipes, which was the impetus for creating Once Upon a Chef many years ago. These chocolate cupcakes, a delicious discovery from that time (and the mini version of my favorite chocolate cake), have been my go-to ever since. The cake recipe is wonderfully simple—a one-bowl recipe that and yields an ultra moist, deeply chocolate, and tender crumb. And the chocolate buttercream, modestly adapted from Cook’s Illustrated, is fast and foolproof—a welcome change from most homemade chocolate frostings, which can be temperamental and take hours to set.
Table of Contents
“Delicious!!! So perfect for the chocolate lover in me!”
What You’ll Need To Make Chocolate Cupcakes
For the Cupcakes
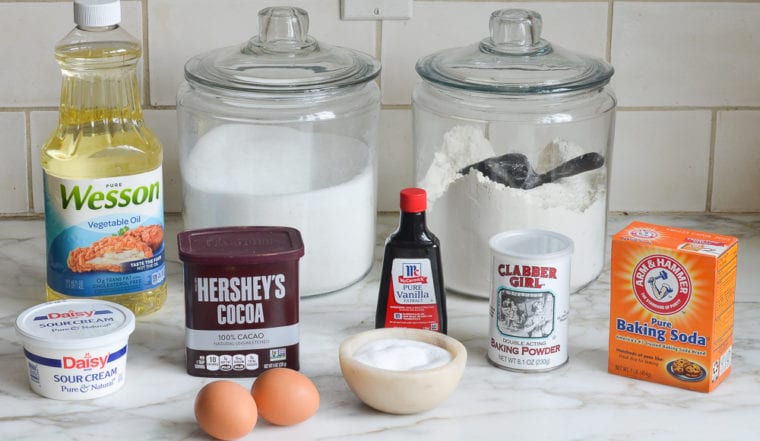
- All-Purpose Flour: The foundation of the cupcakes. For accurate measuring, use the spoon and level method: spoon the flour into your measuring cup and level it off with the back of a knife.
- Granulated Sugar: Adds sweetness and helps create a moist and tender crumb.
- Unsweetened Natural Cocoa Powder: Key for that rich chocolate flavor. It’s important to note that natural cocoa powder isn’t interchangeable with Dutch-process cocoa powder due to differences in acidity.
- Baking Powder and Baking Soda: These leavening agents help your cupcakes rise and become light and fluffy. (Understand the difference between baking soda vs baking powder.)
- Eggs: Add structure, richness, and stability to the batter.
- Vegetable Oil: Adds moisture to the cupcakes, ensuring they’re soft and not dry. Oil-based cakes tend to stay moist longer than those made with butter.
- Sour Cream: A secret weapon for moistness! Sour cream not only adds richness and a subtle tang but also reacts with baking soda for a tender texture.
- Vanilla Extract: Rounds out the sweetness and brings complexity to the overall taste.
- Boiling Water: Adds moisture and intensifies the cocoa’s flavor, resulting in a more robust chocolate taste.
- Jump to the printable recipe for precise measurements
For the Frosting
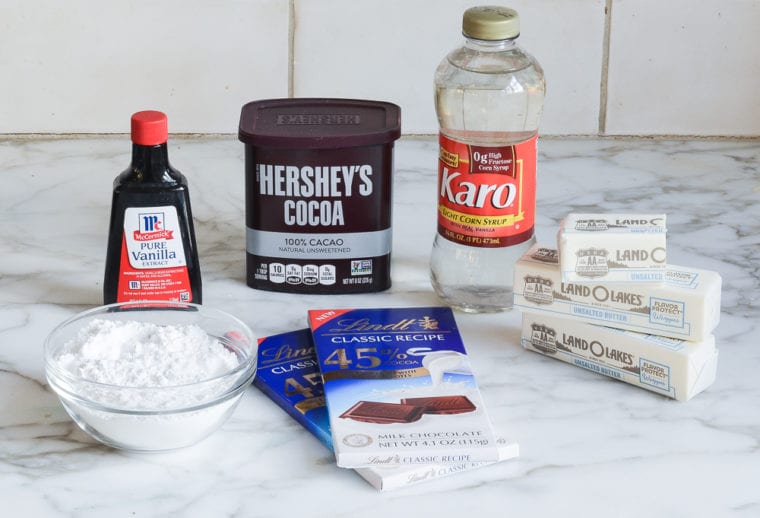
- Milk or Semi-Sweet Chocolate: Choose based on your preference for sweetness. Milk chocolate offers a milder, sweeter taste, while semi-sweet chocolate adds a deeper chocolate flavor. The quality of the chocolate can significantly affect the frosting’s flavor, so opt for a good brand.
- Unsalted Butter: Make sure it’s softened but still cool, which ensures that it blends well without becoming too runny. Unsalted butter allows you to control the frosting’s saltiness more precisely.
- Confectioners’ Sugar: This finely ground sugar, also known powdered sugar, dissolves easily, preventing any grittiness in the frosting.
- Natural Unsweetened Cocoa Powder: Adds a rich and deep chocolate flavor.
- Light Corn Syrup: Adds gloss and sheen to the frosting, making it smooth and spreadable. It also helps in stabilizing the texture.
- Vanilla Extract: Rounds out the flavors and adds depth.
- Jump to the printable recipe for precise measurements
Step-by-Step Instructions
Step 1: Make the Cupcakes
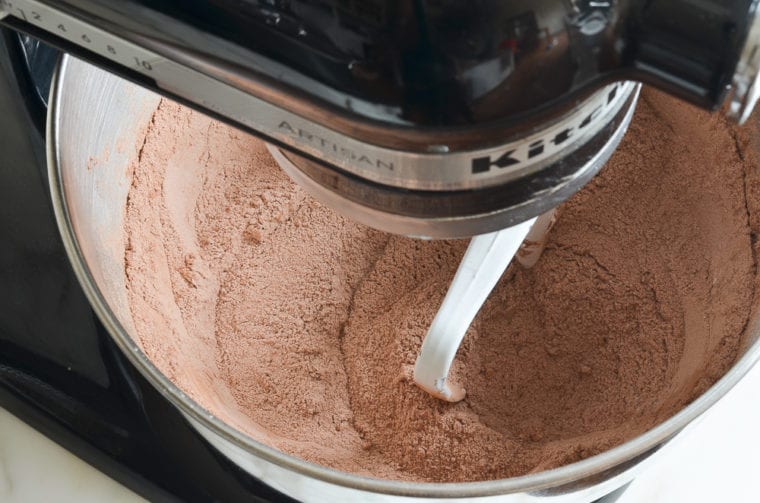
In the bowl of a stand mixer fitted with the paddle attachment, combine the flour, sugar, cocoa powder, salt, baking powder, and baking soda. Mix on low speed for 30 seconds to combine.
Add the eggs, oil, and sour cream.
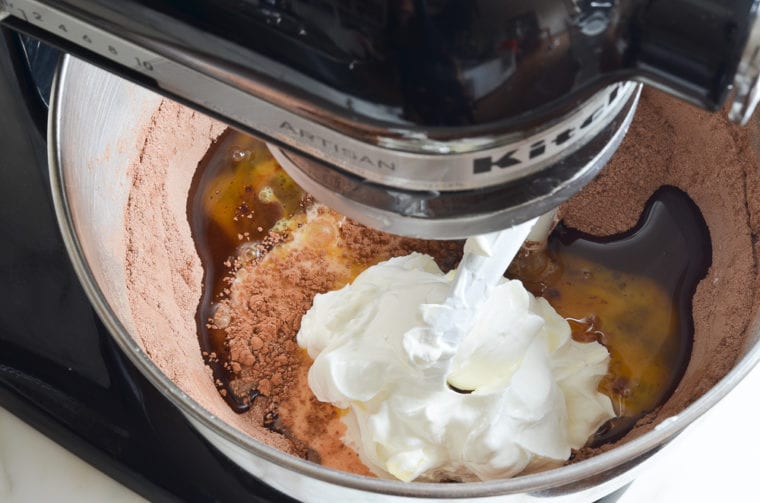
Mix on low speed until combined.
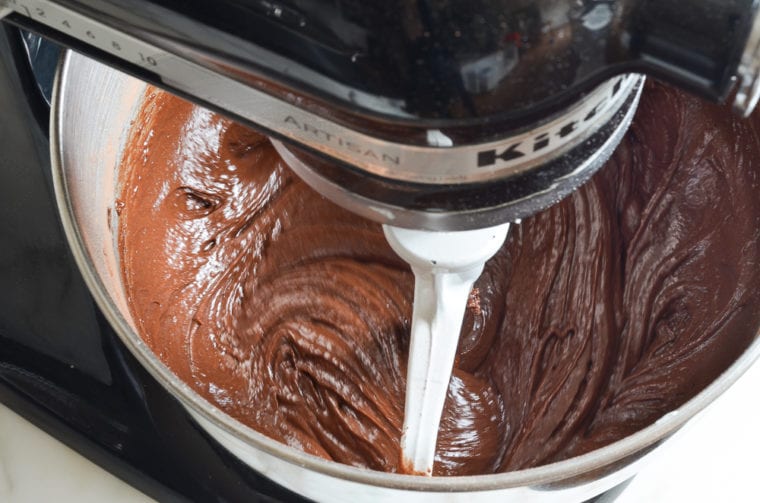
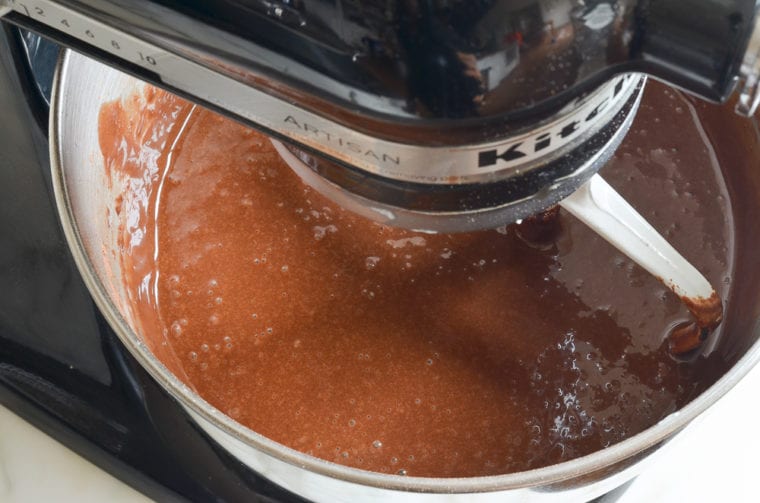
Increase the speed to medium and beat for 2 minutes. Then, reduce the speed to low and gradually pour in the hot water (be careful to pour very slowly so it doesn’t splash). The batter will be soupy. Stop the mixer and scrape down the sides and bottom of the bowl; mix again until evenly combined.
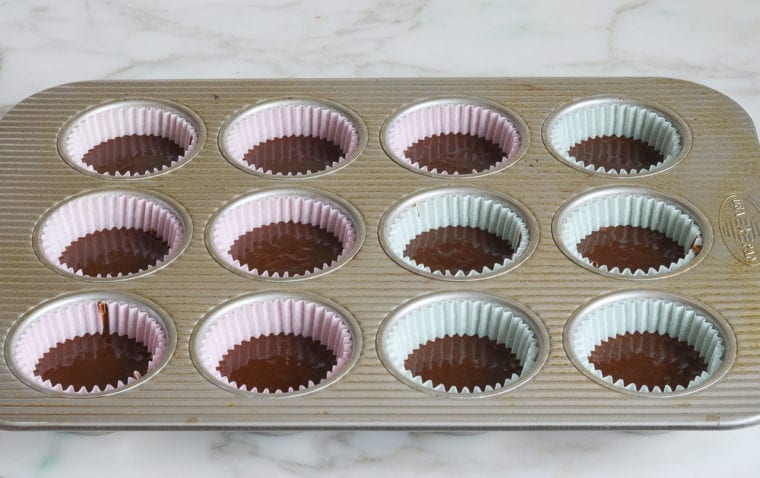
Divide the batter evenly into the cupcake liners.
Bake for 18 to 20 minutes, or until the cupcakes are set and a toothpick inserted into the center of a cupcake comes out clean.
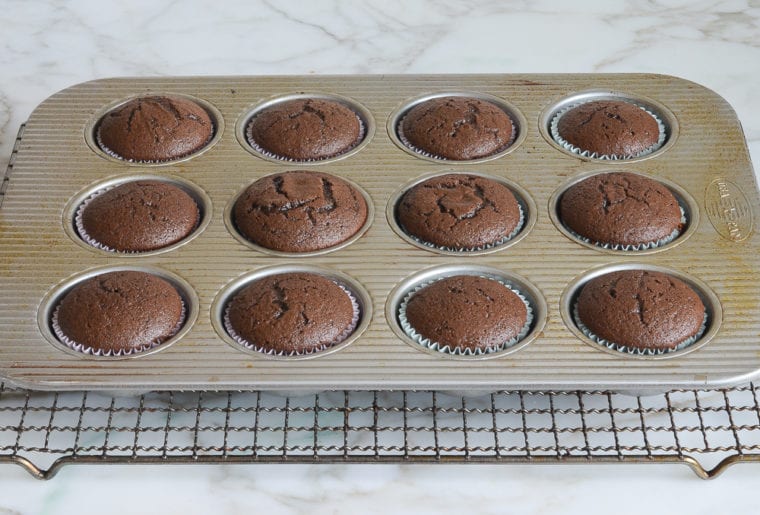
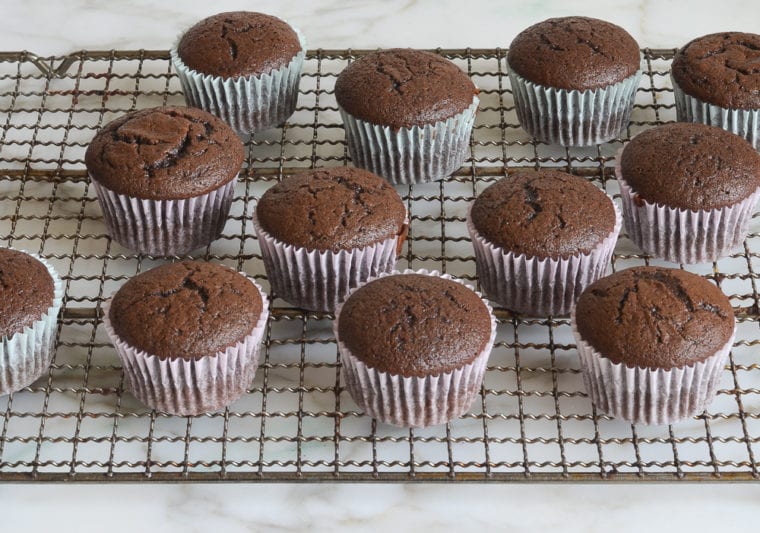
Cool the cupcakes in the pan for about 10 minutes, then transfer them to a rack to cool completely.
Step 2. Make the Frosting
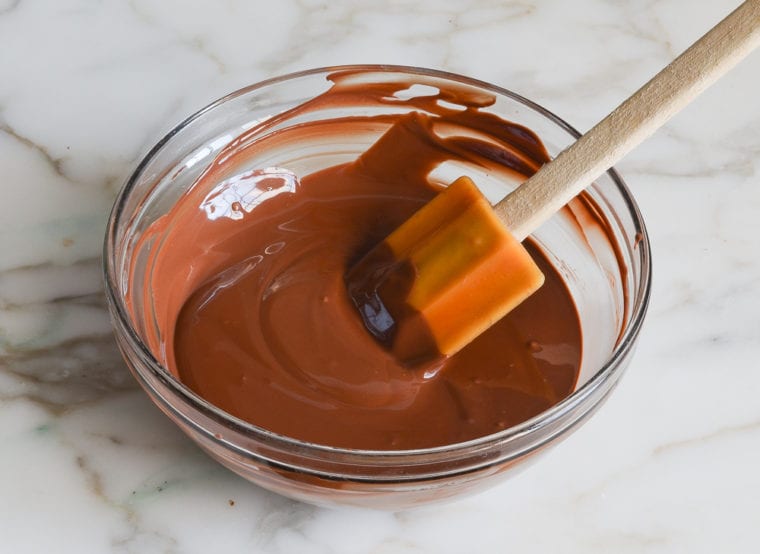
Place the chocolate in a microwave-safe bowl.
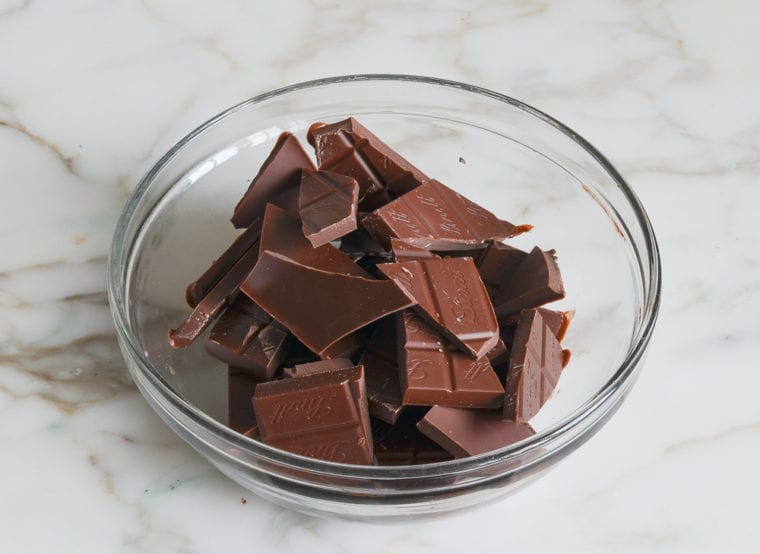
Cook in the microwave in 20-second intervals, stirring in between, until it’s about three-quarters of the way melted. Stir, allowing the residual heat in the bowl to melt the remaining chocolate completely. (If necessary, place the chocolate back in microwave for a few seconds.) Set aside to cool.
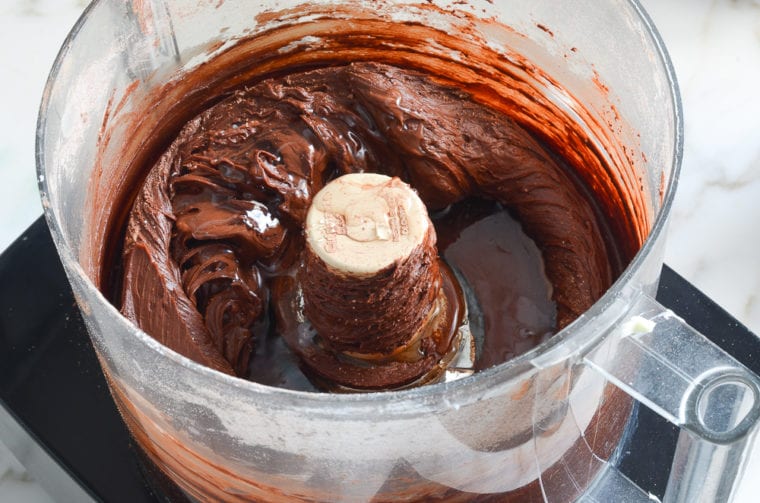
In a food processor, combine the butter, confectioners’ sugar, cocoa powder and salt.

Process until smooth, about 30 seconds, scraping down the sides of the bowl as needed. Then add the corn syrup and vanilla.
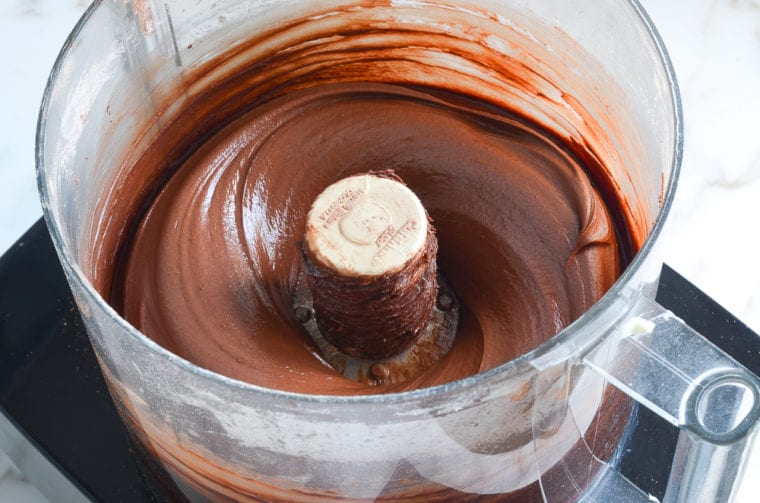
Process until just combined, 5 to 10 seconds. Scrape down the sides of the bowl, then add the lukewarm melted chocolate. Pulse until smooth and creamy, 10 to 15 seconds. Do not overmix.
When the cupcakes have cooled, use a small offset spatula or butter knife to swirl the frosting on top.
Frequently Asked Questions
Yes, you can make these cupcakes a day in advance. Once they have completely cooled, store them in an airtight container at room temperature.
Yes, the cupcakes can be frozen without the frosting for up to 3 months. Let them cool completely, wrap them individually in plastic wrap, and then in foil. Thaw them overnight on the countertop before serving. (Wait until the cupcakes are completely defrosted to ice them.)
You May Also Like
Chocolate Cupcakes
Sweet enough for kids but intensely chocolate enough for grown-ups, these are my go-to chocolate cupcakes.
Ingredients
For the Cupcakes
- 1½ cups all-purpose flour, spooned into measuring cup and leveled off with knife
- 1½ cups granulated sugar
- ¾ cup unsweetened natural cocoa powder, such as Hershey’s
- ¾ teaspoon salt
- 1½ teaspoons baking powder
- ¾ teaspoon baking soda
- 2 large eggs, lightly beaten
- ¼ cup vegetable oil
- ¾ cup sour cream
- 1 teaspoon vanilla extract
- ¾ cup boiling water
For the Frosting
- 8 ounces milk or semi-sweet chocolate, broken into small pieces (see note)
- 2½ sticks (20 tablespoons) unsalted butter, softened but still cool
- 1¼ cups Confectioners' sugar
- ¾ cup natural unsweetened cocoa powder, such as Hershey's
- Pinch salt
- ¾ cup light corn syrup
- 1 teaspoon vanilla extract
Instructions
For the Cupcakes
- Preheat the oven to 350°F and set two oven racks in the centermost positions. Line two 12-cup muffin tins with paper liners.
- In the bowl of a stand mixer fitted with the paddle attachment, combine the flour, sugar, cocoa powder, salt, baking powder, and baking soda. Mix on low speed for 30 seconds to combine. Add the eggs, oil, sour cream, and vanilla and mix on low speed until combined.
- Increase the speed to medium and beat for 2 minutes. Then, reduce the speed to low and gradually pour in the hot water (be careful to pour very slowly so it doesn’t splash). The batter will be soupy. Stop the mixer and scrape down the sides and bottom of the bowl; mix again until evenly combined.
- Pour the batter evenly into the prepared muffin tins (they should be about halfway full). Bake for 18 to 20 minutes, or until the cupcakes are set and a toothpick inserted into the center of a cupcake comes out clean.
- Cool the cupcakes in the pans for about 10 minutes, then transfer them to a wire rack to cool completely.
For the Frosting
- Place the chocolate in a microwave-safe bowl and cook in the microwave in 20-second intervals, stirring in between, until about three-quarters of the way melted. Stir, allowing the residual heat in the bowl to melt the remaining chocolate completely. (If necessary, place the chocolate back in microwave for a few seconds.) Set aside to cool.
- In a food processor, process the butter, sugar, cocoa powder and salt until smooth, about 30 seconds, scraping down the sides of the bowl as needed. Add the corn syrup and vanilla and process until just combined, 5 to 10 seconds. Scrape down the sides of the bowl, then add the lukewarm chocolate and pulse until smooth and creamy, 10 to 15 seconds. Do not overmix. The frosting can be used immediately or held at room temperature for up to 3 hours.
- When the cupcakes are completely cool, use a small offset spatula or butter knife to swirl the frosting lavishly over top. The cupcakes are best enjoyed fresh on the day they are made, but they will keep for two days stored in an airtight container at room temperature.
- Note: If making this cake for children, I recommend using milk chocolate for the frosting (Hershey or Lindt milk chocolate bars work well). Semi-sweet chocolate will lend a more intense chocolate flavor (Ghirardelli bars for baking are ideal).
- Make-Ahead/Freezer-Friendly Instructions: The cupcakes can be made up to one day ahead of time and stored in an airtight container at room temperature. They can also be frozen without the frosting for up to 3 months. Let them cool completely, wrap them individually in plastic wrap, and then in foil. Thaw overnight on the countertop before serving. (Wait until the cupcakes are defrosted to ice them.)
Nutrition Information
Powered by ![]()
- Serving size: 1 cupcake
- Calories: 320
- Fat: 17 g
- Saturated fat: 9 g
- Carbohydrates: 42 g
- Sugar: 32 g
- Fiber: 3 g
- Protein: 3 g
- Sodium: 161 g
- Cholesterol: 47 mg
This website is written and produced for informational purposes only. I am not a certified nutritionist and the nutritional data on this site has not been evaluated or approved by a nutritionist or the Food and Drug Administration. Nutritional information is offered as a courtesy and should not be construed as a guarantee. The data is calculated through an online nutritional calculator, Edamam.com. Although I do my best to provide accurate nutritional information, these figures should be considered estimates only. Varying factors such as product types or brands purchased, natural fluctuations in fresh produce, and the way ingredients are processed change the effective nutritional information in any given recipe. Furthermore, different online calculators provide different results depending on their own nutrition fact sources and algorithms. To obtain the most accurate nutritional information in a given recipe, you should calculate the nutritional information with the actual ingredients used in your recipe, using your preferred nutrition calculator.
Do you have a video?
Not for this recipe – sorry!
Hi Jen,
All your recipes have been a HUGE hit! Thank you for sharing your amazing recipes! I am now planning to make chocolate cupcakes but have a couple of questions:
Can I switch vegetable oil with canola oil?
Also, would you recommend using coffee for added flavor?
Thanks again!!
Pooja
Hi Pooja, Glad you enjoy the recipes! You can definitely use canola oil, and I think a teaspoon or two of espresso powder would be delicious here.
I haven’t made these yet. I was thinking of doing a chocolate raspberry cupcake. Do you think a jam swirl would affect the texture/baking too much? Would it be better to wait until after they’re baked and do a filling instead? Thanks.
Hi Mistie, I haven’t tried these with a jam swirl in them. While it sounds delicious, I worry that it may throw off the ratio of wet to dry ingredients. For the most predictable results, I’d suggest adding a filling after baking them. Hope that helps!
Okay, thanks for the advice!
Can melted chocolate chips be used for the chocolate in the frosting, and/or can melted Hershey milk chocolate bars be used?
Hi Lauri, I wouldn’t recommend chocolate chips for the frosting as they don’t melt as well (they have stabilizers in them to help them hold their shape) but Hershey Bars will work well! Hope that helps!
Hi, I don’t see a list of the measured ingredients for the cupcakes. I see the ingredients in the photo but somehow my iPhone 8 is not showing the amount of each ingredient. Maybe I’m missing it! The reviews are coming on right after the photo of the completed cupcakes. If you can respond, that would be great!
Hi Terry, It sounds like your iPhone is defaulting to the setting where the comments show up right under the pictures instead of the recipe displaying. At the very top of the page, to the right of the recipe name, you’ll see an icon that looks like a notepad – if you click on that, it will take you directly to the recipe. Hope that clarifies!
Hi Jenn,
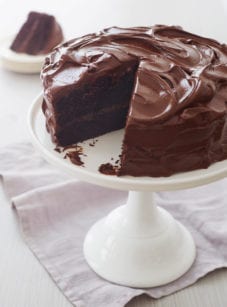
This is the best chocolate cupcake and frosting recipe ever. Big hit with my family. In fact, all your recipes so far have been a hit. Whenever I’m looking for something new or a change in recipe, you’re my “go to”! Can this recipe also be used for a chocolate layer cake? Thank you for sharing all these great recipes and ideas. Your explanations are so helpful.
Hi Margie, so glad you enjoyed the cupcakes! If you want to make a layer cake, I’d suggest this recipe instead. Hope you enjoy!
Hi Jenn! Wondering how long to cook for mini cupcakes and also, can I make the batter ahead of time?
Hi Danielle, I’d start checking the minis at about 12 minutes. And, I wouldn’t recommend making the batter ahead of time; it will impact how they rise when you go to bake them. Hope you enjoy!
Can you use guiradelli chocolate melting wafers in place of the chocolate bar?
Yep 🙂
Your blog is wonderful. These chocolate cupcakes were so good! I had frosting left over but next time I think I’ll just pile it all on. The frosting was phenomenal. Followed your excellent directions and had no problems. This was only my 2nd recipe made from your site. The first was Jasmine Rice for which the technique was spot on. Thank you for being such a great resource. There are many food bloggers out there and you stand apart. I’ll definitely be back to try more of your tested recipes.
☺️ So glad they turned out well, Jeanne!
Hi Jenn, I have baked the cupcakes and plan to turn them into owls with Oreos tomorrow for Halloween. I am wondering though if there is a lighter version of the frosting that would work than the one listed here. I’d go without frosting entirely but those Oreos need to stick somehow. Also, can I use maple syrup instead of corn syrup? Many thanks! Your blog is amazing.
Hi Olga, So sorry about the delayed response!! If you choose to do these again, I would just suggest buying some store-bought frosting and just using a dab to stick each Oreo to the cupcakes.
Hi Jenn! Absolutely adore your website 🙂 Thanks for all that you do!
I want to make these into mini-cupcakes for my husband’s birthday this weekend. Any modifications needed other than the cooking time? Also – do you use unsweetened cocoa powder in the icing?
Thank you!
So glad you like the site, Katherine! No changes necessary for mini cupcakes (other than cook time) and yes on the unsweetened cocoa powder. 🙂
could you use Cake Flour for this recipe
Hi Luchetti, for best results, I’d suggest sticking to the all-purpose flour.
Ok, I just bought your cookbook a couple hours ago because I am craving chocolate cake and your recipes are the best! However, I noticed that the frosting requires a food processor, which I do not have and do not want to purchase. Is there another way to make this frosting, such as with a blender or hand mixer? I have an excellent Blendtec blender and my roommate has a Ninja with the cup attachment that might be easier for scooping icing out of…
Unfortunately, you need a food processor for this – it keeps the frosting from separating and getting greasy. Instead, you could try a basic chocolate buttercream. It won’t be as deeply chocolate but it will still be delicious. Here’s a recipe to consider.