Chocolate Bundt Cake
This post may contain affiliate links. Read my full disclosure policy.
Irresistibly rich, this chocolate Bundt cake will tempt you to sneak a slice every time you pass by.
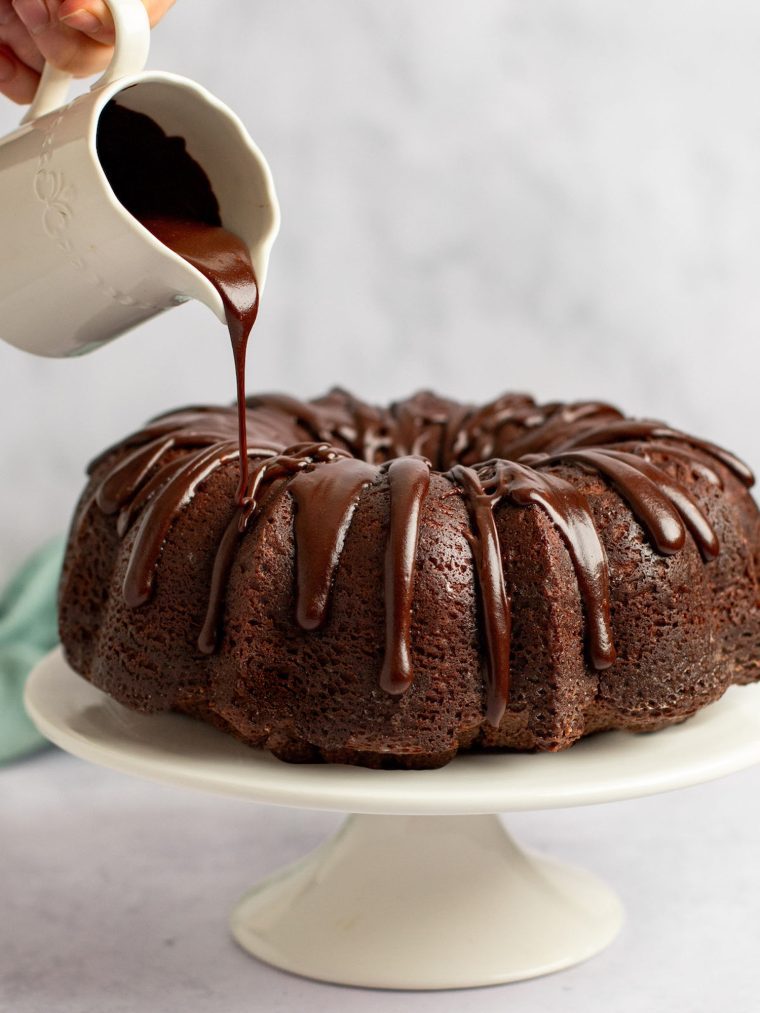
Say hello to the chocolate cousin of my beloved Kentucky butter cake, and the new star in your holiday dessert lineup: my decadently rich chocolate Bundt cake. It’s a surefire hit for any occasion—be it a cozy brunch, a casual coffee with friends, or as the centerpiece dessert at your holiday feast.
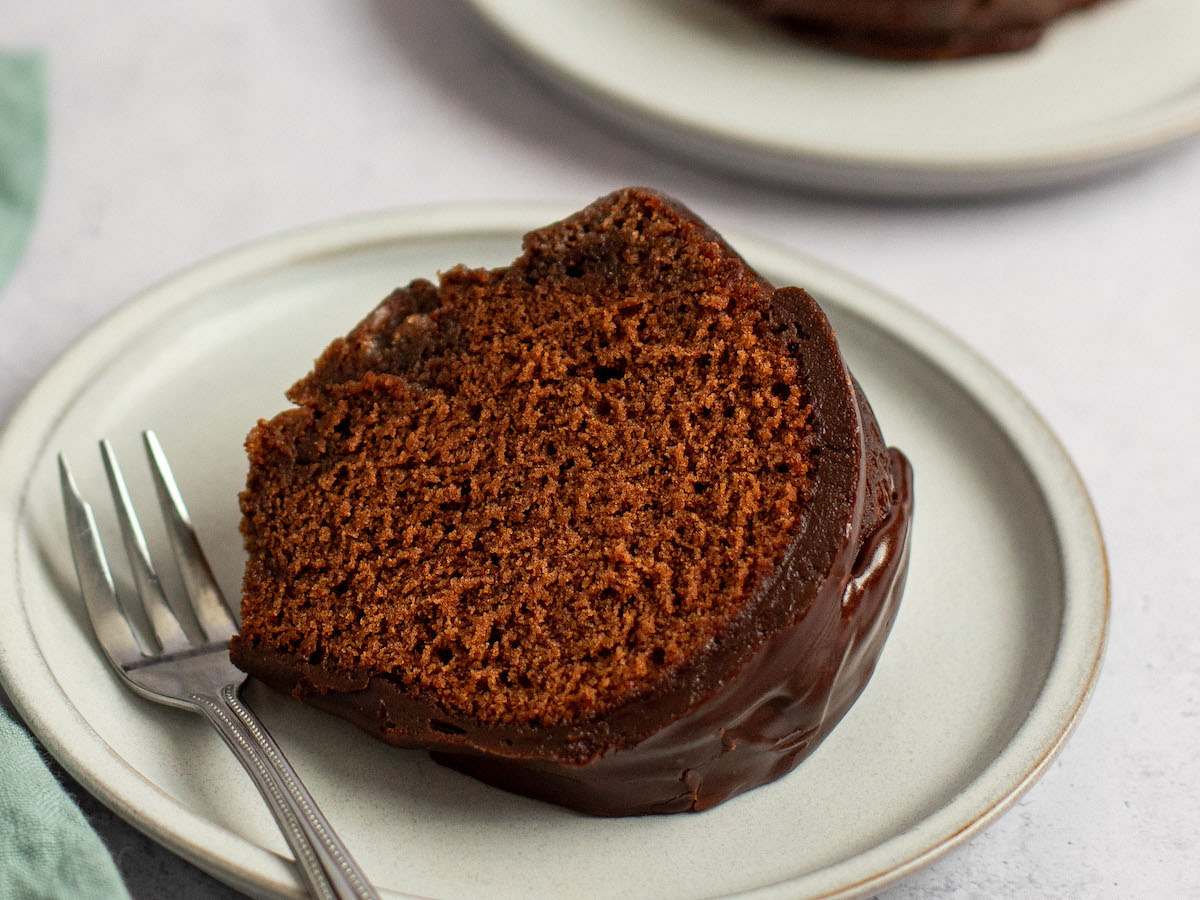
The cake is soaked with a vanilla-scented butter syrup that makes it ultra-moist, and the literal icing on the cake is a luscious, shiny chocolate glaze that takes the flavor to the next level. This isn’t just any cake; it’s the kind you keep on your counter and sneak a slice of every time you walk by. Whether you’re sharing it with friends or keeping it all for yourself, this chocolate Bundt cake is a classic.
Table of Contents
“Made this for Christmas and it was amazing. My husband is already dropping hints that I should make it again!”
Chocolate Bundt Cake Ingredients
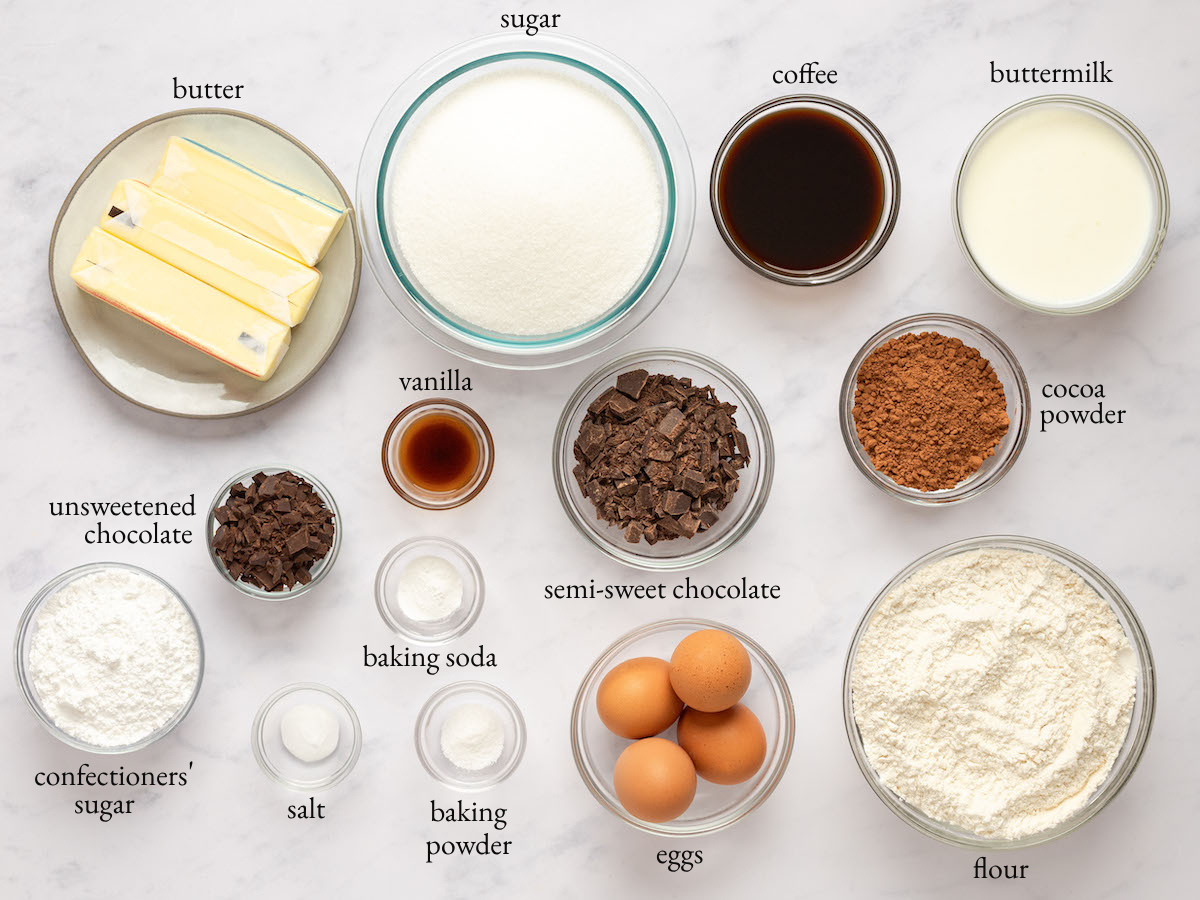
- Coffee: Deepens the chocolate taste without imparting a coffee flavor.
- Semi-Sweet Chocolate: Adds a rich, deep chocolate flavor to the cake.
- Buttermilk: Provides moisture and a slight tang to the cake. (Don’t want to buy a whole carton? See how to make buttermilk).
- Eggs: Essential for structure and binding the cake together.
- Vanilla Extract: Adds depth and enhances the overall flavor of the cake.
- All-Purpose Flour: Forms the base of the cake. Measure it using the spoon-and-level method for accuracy.
- Natural Cocoa Powder: Imparts a rich chocolate flavor.
- Granulated Sugar: Sweetens the cake and contributes to its tender texture.
- Salt: Balances the sweetness in the cake.
- Baking Powder and Baking Soda: These leavening agents help the cake rise and become light and fluffy.
- Butter: Adds richness and flavor. Using unsalted allows you to control the amount of salt in the cake.
- Chocolate Glaze: A combination of butter, unsweetened chocolate, confectioners’ sugar, and hot water creates a smooth, rich, and glossy glaze.
- Jump to the printable recipe for precise measurements
Step-by-Step Instructions
Step 1: Make the Cake
Preheat the oven to 325°F and set an oven rack in the middle position. Spray a 10-inch (12-cup) Bundt pan generously with nonstick cooking spray with flour, such as Baker’s Joy or Pam with Flour.
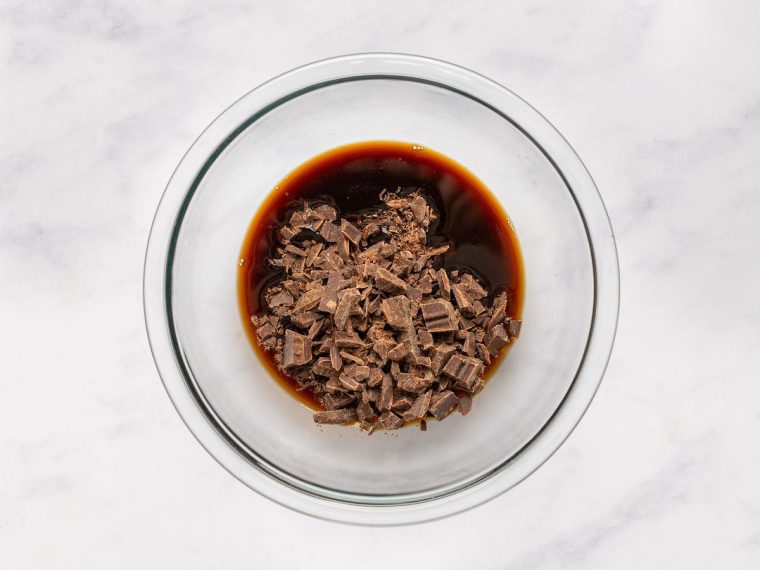
In a small microwave-safe bowl, combine the coffee and chocolate. Heat in the microwave on high power in 20-second intervals, stirring in between, until the chocolate is about 75% melted. Stir, allowing the residual heat in the bowl to melt the remaining chocolate, until the mixture is smooth. Set aside.
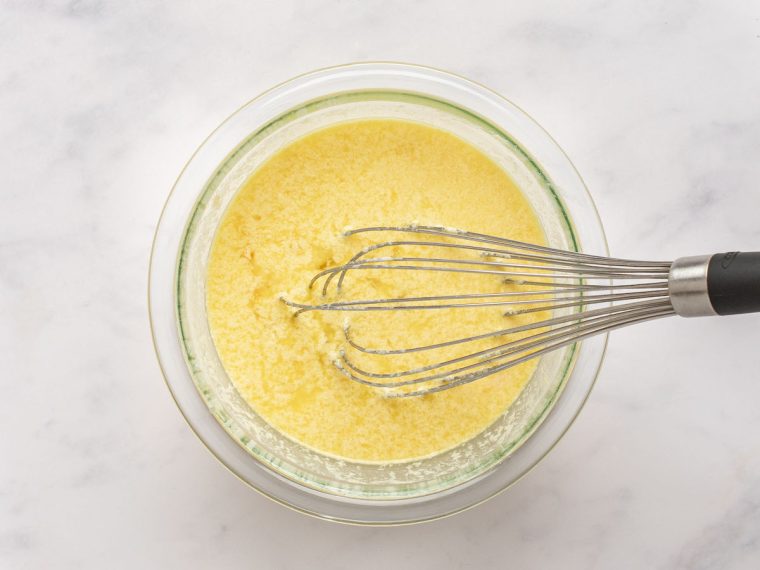
In a medium bowl, add the buttermilk, eggs, and vanilla.
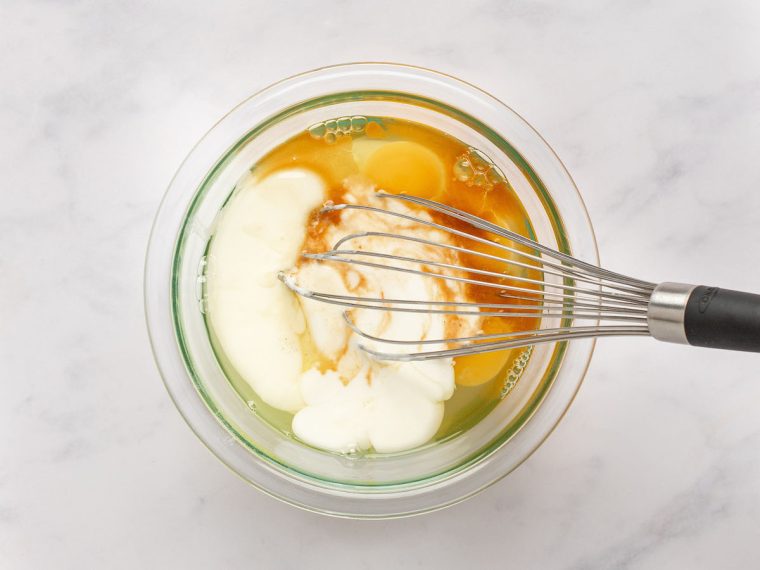
Whisk to combine and set aside. (Note that the mixture may start to look curdled as it sits; that’s okay.)
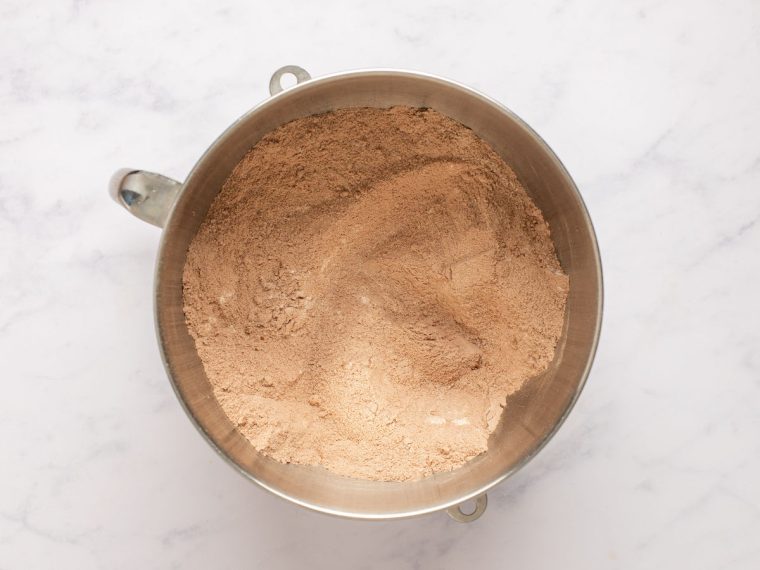
In the bowl of an electric mixer fitted with the paddle attachment or beaters, combine the flour, cocoa powder, sugar, salt, baking powder, and baking soda.
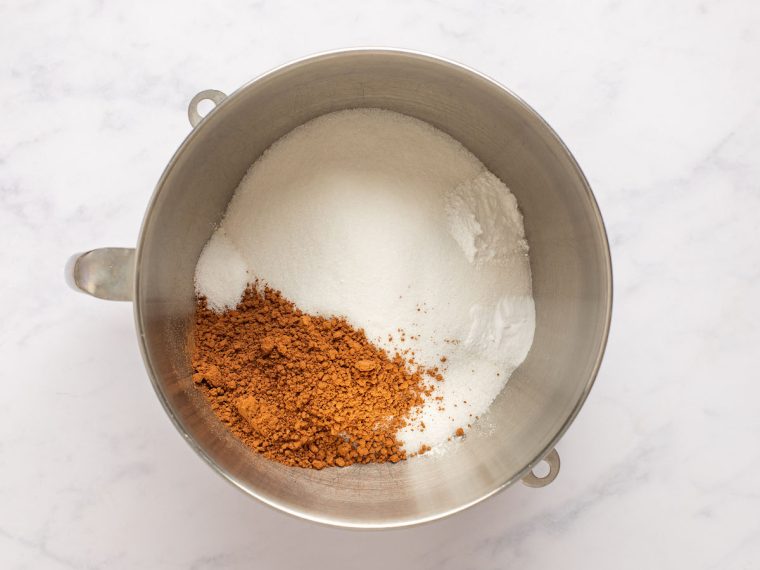
Beat on low speed for 30 seconds to combine.
Add the softened butter and half of the buttermilk mixture.
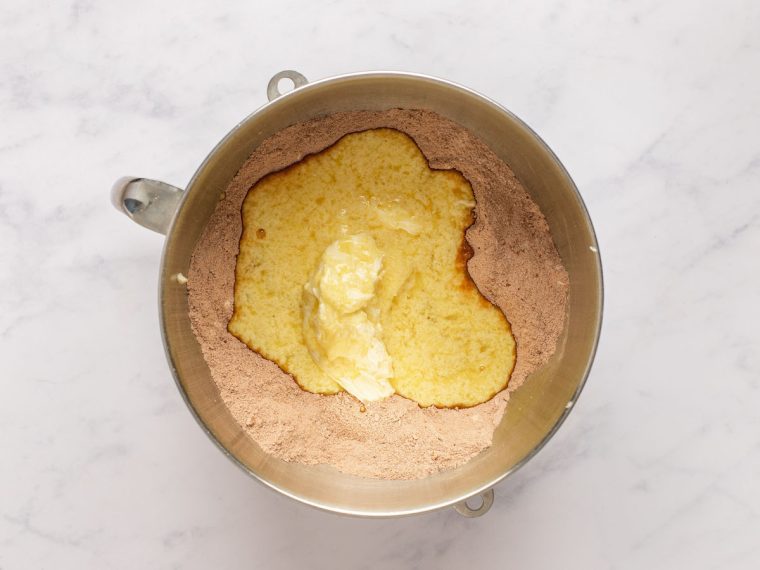
Mix on low speed until moistened but still a little crumbly, about 1 minute.
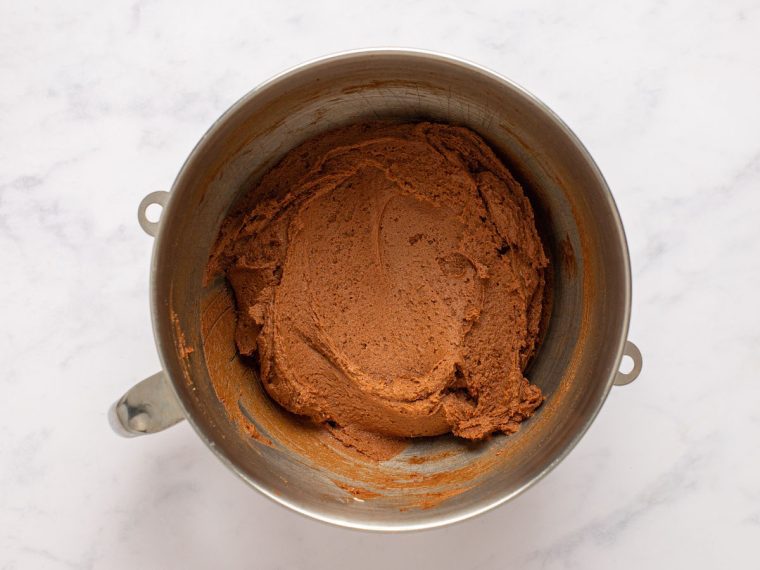
With the mixer running on low, gradually add the remaining buttermilk mixture until incorporated, then increase the speed to medium and mix for 3 minutes, stopping once to scrape down the sides and bottom of the bowl with a rubber spatula. The batter should look creamy. Scrape down the sides and bottom of the bowl again, making sure the batter is evenly mixed.
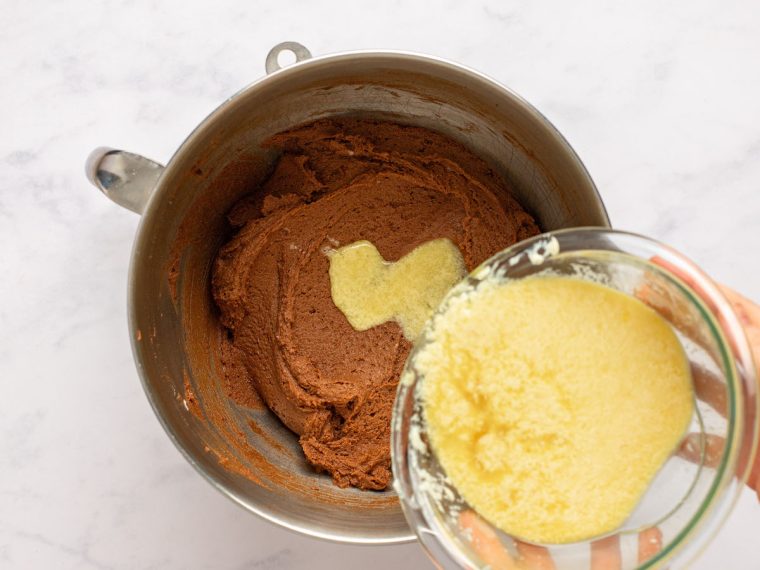
Add the chocolate/coffee mixture.
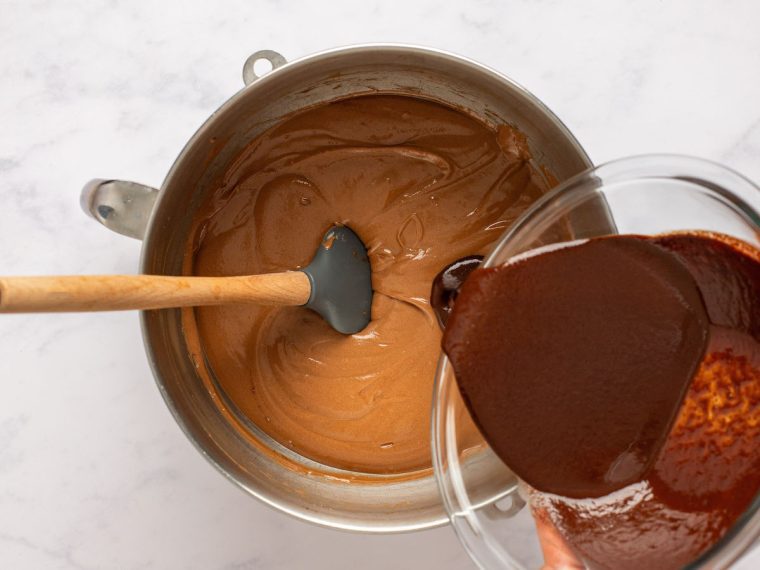
Mix on low speed until smooth.
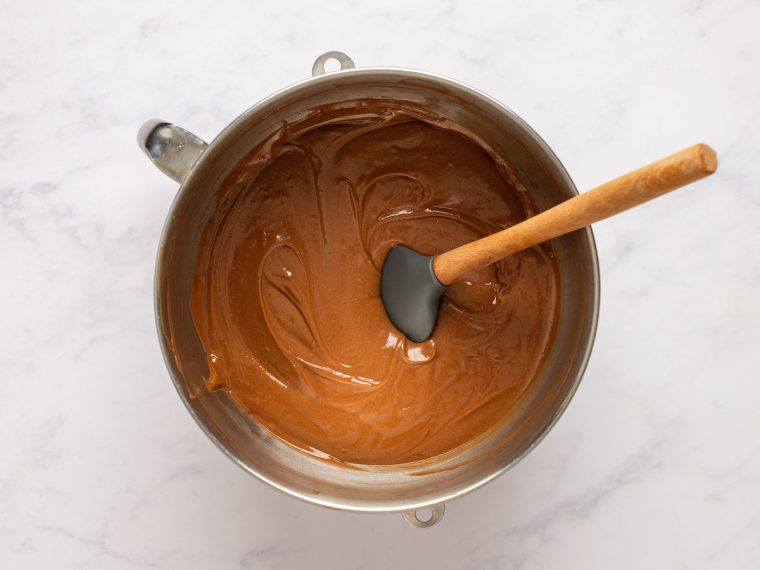
Transfer the batter to the prepared Bundt pan.
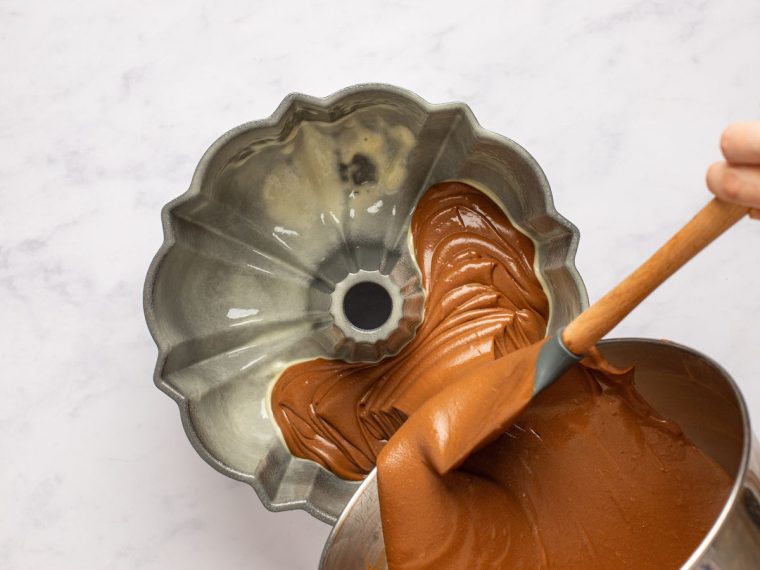
Smooth the top with a spatula.
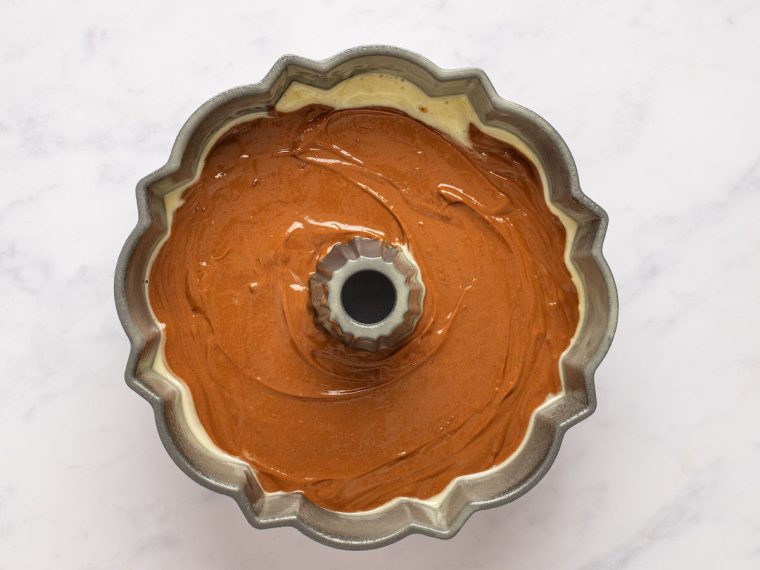
Bake for 55 to 60 minutes, or until a cake tester comes out clean or with just a few crumbs.
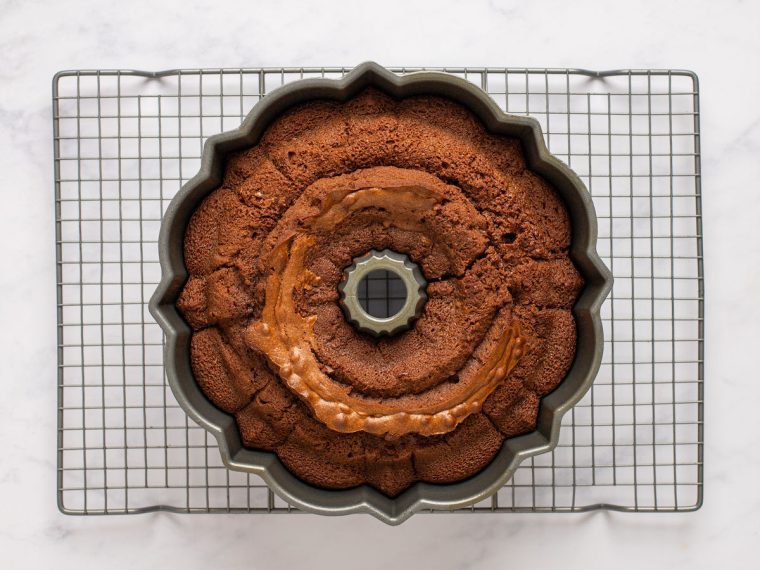
Step 2: Make the Soaking Syrup
While the cake bakes, make the soaking syrup: In a small saucepan, combine the butter, sugar, water, and vanilla.
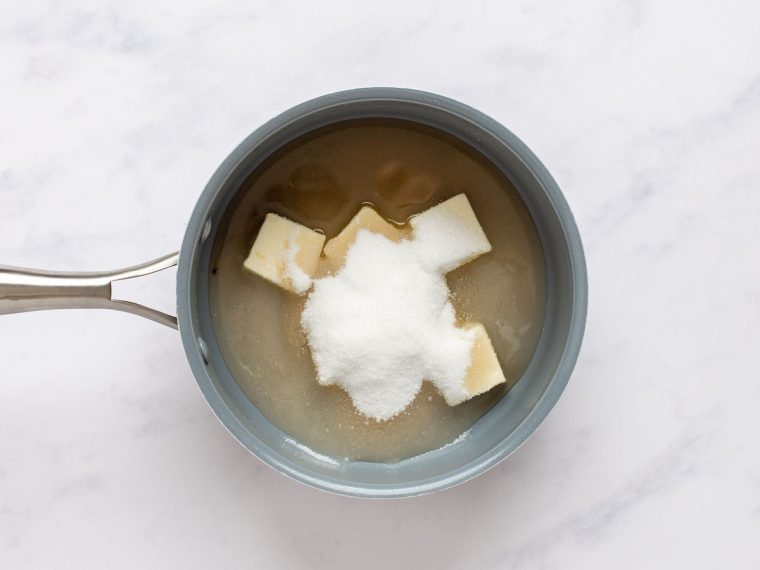
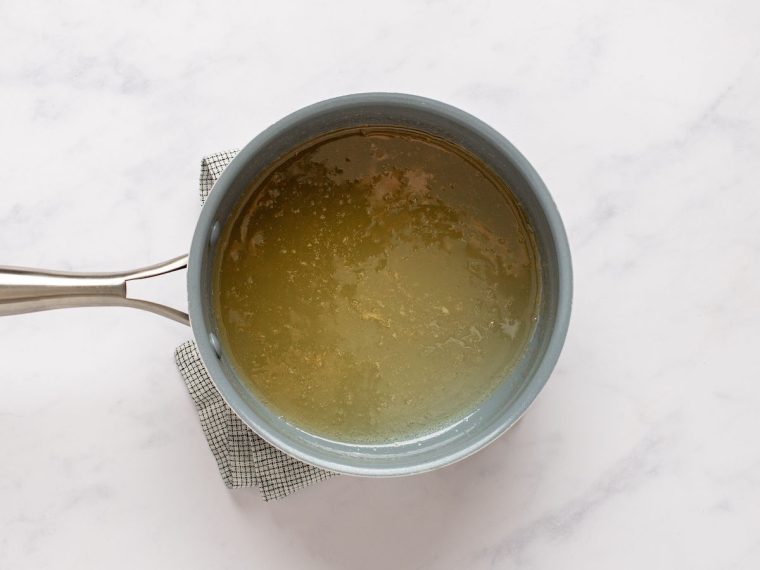
Bring to a boil, then reduce the heat and simmer until the sugar is dissolved, about 1 minute.
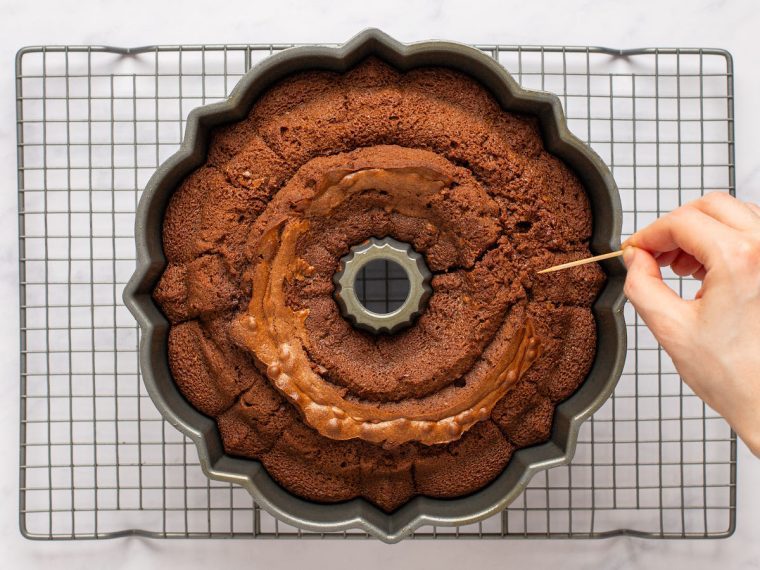
Set the cake pan on a cooling rack. Using a skewer or toothpick, poke about 40 holes in the bottom of the still-hot cake, going about three-quarters of the way down.
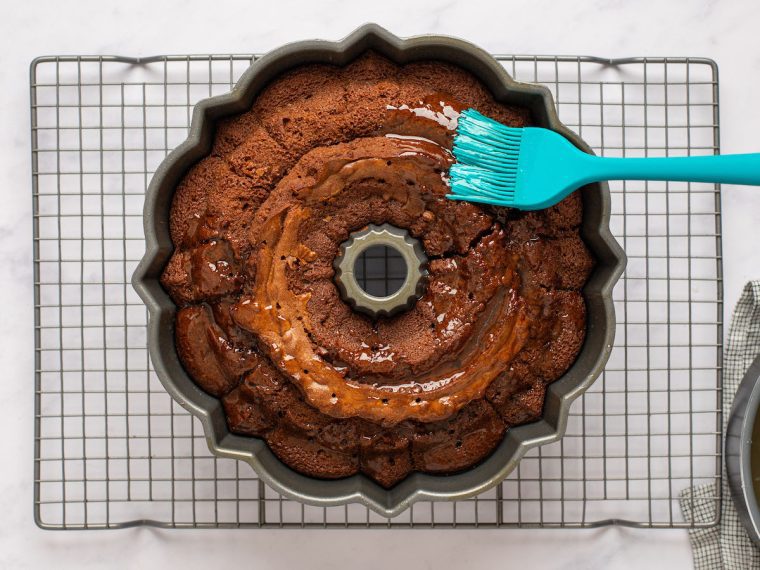
Spoon or brush half of the syrup evenly over the bottom of the cake. If the syrup starts to pool on the surface, poke more holes to help it absorb. Leave the cake on the rack to cool for 30 minutes.
Invert the cake onto a serving platter. Brush the remaining glaze evenly over the top and sides of the cake, letting it soak in as you go. Let the cake cool completely, at least a few hours.
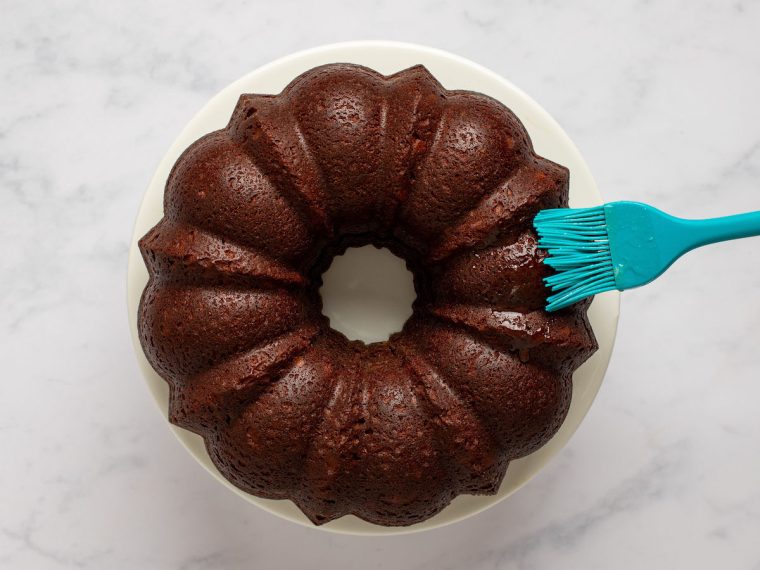
Step 3: Make the Chocolate Glaze
Add the butter to a small saucepan and melt over low heat. Remove the pan from the heat. Add the chocolate and whisk until melted.
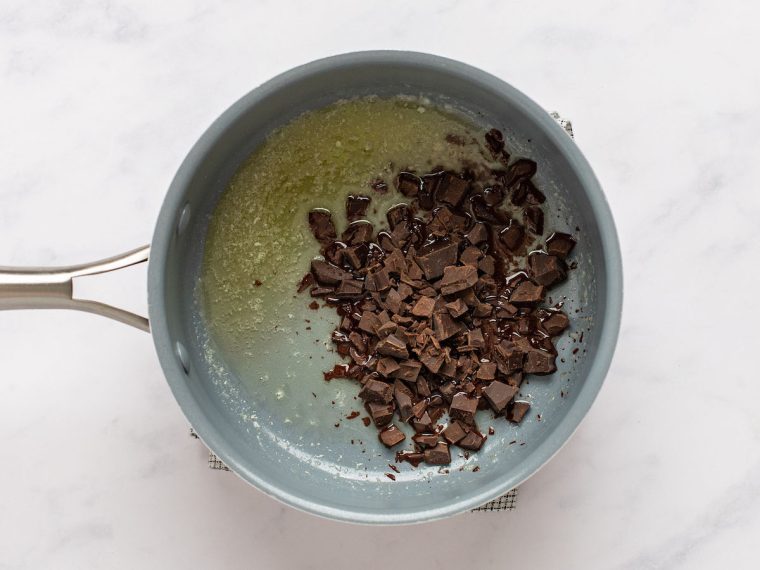
Add the confectioners’ sugar and 2 tablespoons of the hot water.
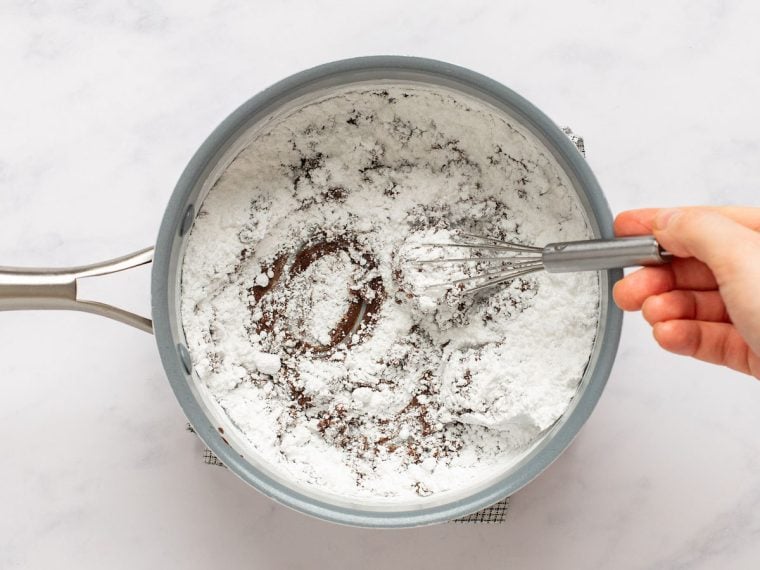
Whisk until completely smooth.
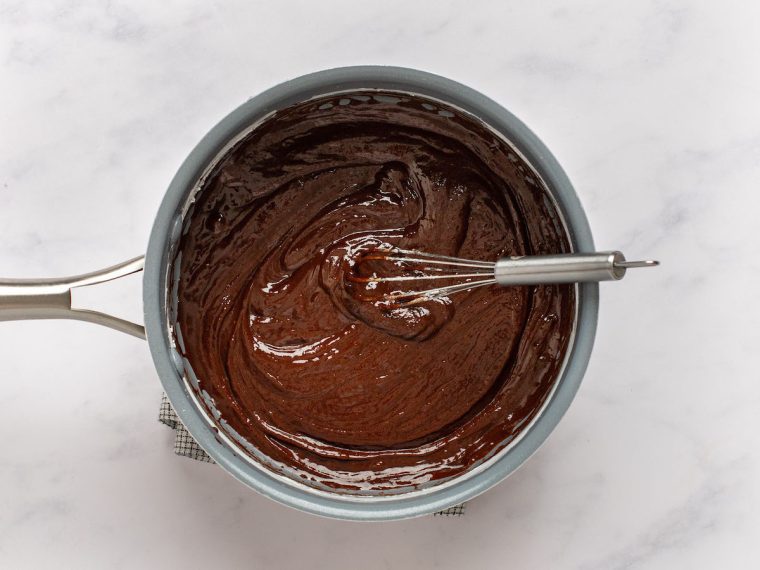
Using a small spoon, drizzle the glaze over the top of the cake, letting it drip down the sides. Allow the glaze to set before serving, at least 30 minutes. Slice the cake with a serrated knife. The cake will keep well in a covered container at room temperature for up to four days.
The glaze should be the consistency of warm honey so that it coats the top of the cake evenly and then cascades slowly down the sides. If the glaze is too thick, whisk in the remaining tablespoon of water, little by little, until you get the right consistency. If the glaze is too thin, whisk in a bit more confectioners’ sugar.
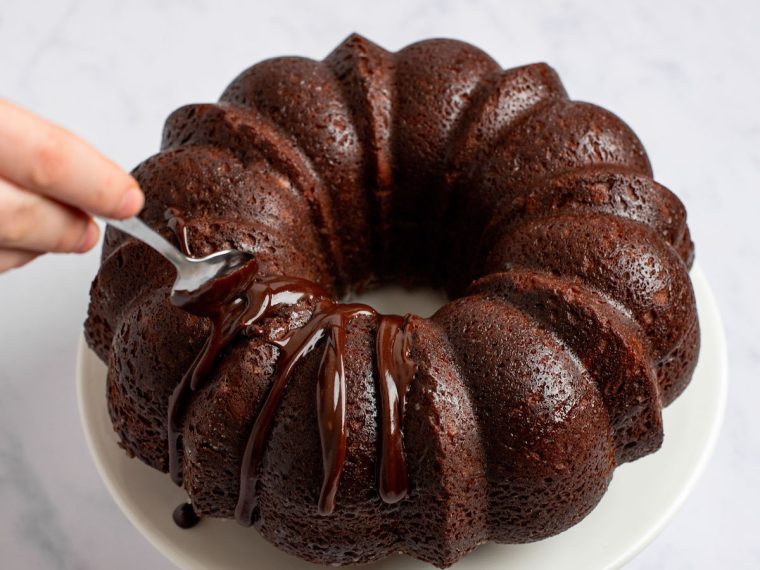
Allow the glaze to set before serving, at least 30 minutes. Slice the cake with a serrated knife. The cake will keep well in a covered container at room temperature for up to four days.
Frequently Asked Questions
The cake keeps nicely for up to 4 days. Once cool, store in a cake dome (or cover with plastic wrap if it has the soaking syrup but is not yet glazed) at room temperature until ready to serve.
Yes, the soaked, unglazed cake can be frozen for up to 3 months. After it is completely cooled, double-wrap it securely with aluminum foil or plastic freezer wrap, or place it in a heavy-duty freezer bag. Thaw overnight on the countertop before adding the chocolate glaze and serving.
While you can certainly add nuts like walnuts or pecans to the batter, I recommend being cautious with chocolate chips. Chocolate chips have a tendency to stick to the Bundt pan, which can make it difficult to release the cake cleanly. It’s best to limit mix-ins to about 1 cup. For nuts, fold them into the batter once it’s mixed.
You May Also Like
Chocolate Bundt Cake
Irresistibly rich, this chocolate Bundt cake will tempt you to sneak a slice every time you pass by.
Ingredients
For the Cake
- ½ cup coffee (any temperature is fine)
- 4 oz semi-sweet chocolate, coarsely chopped
- ¾ cup buttermilk
- 4 large eggs
- 2 teaspoons vanilla extract
- 2⅔ cups all-purpose flour, spooned into measuring cup and leveled off
- ⅓ cup natural cocoa powder, such as Hershey's
- 2 cups granulated sugar
- 1 teaspoon salt
- 1 teaspoon baking powder
- ½ teaspoon baking soda
- 1 cup (2 sticks) unsalted butter, softened
For the Soaking Syrup
- 4 tablespoons unsalted butter
- ⅔ cup granulated sugar
- 3 tablespoons water
- 1½ teaspoons vanilla extract
For the Chocolate Glaze
- 2 tablespoons unsalted butter
- 1½ ounces unsweetened chocolate, coarsely chopped
- ¾ cup confectioners' sugar
- 2 to 3 tablespoons hot water
Instructions
- Preheat the oven to 325°F and set an oven rack in the middle position. Spray a 12-cup Bundt pan generously with nonstick cooking spray with flour, such as Baker's Joy or Pam with Flour.
- In a small microwave-safe bowl, combine the coffee and chocolate. Heat in the microwave on high power in 20-second intervals, stirring in between, until the chocolate is about 75% melted. Stir, allowing the residual heat in the bowl to melt the remaining chocolate, until the mixture is smooth. Set aside.
- In a medium bowl, whisk together the buttermilk, eggs, and vanilla. Set aside. (Note that the mixture may start to look curdled as it sits; that's okay.)
- In the bowl of an electric mixer fitted with the paddle attachment or beaters, combine the flour, cocoa powder, sugar, salt, baking powder, and baking soda. Beat on low speed for 30 seconds to combine. Add the softened butter and half of the buttermilk mixture and mix on low speed until moistened but still a little crumbly, about 1 minute. With the mixer running on low, gradually add the remaining buttermilk mixture until incorporated, then increase the speed to medium and mix for 3 minutes, stopping once to scrape down the sides and bottom of the bowl with a rubber spatula. The batter should look creamy. Scrape down the sides and bottom of the bowl again, making sure the batter is evenly mixed.
- Add the chocolate/coffee mixture and mix on low speed until smooth.
- Transfer the batter to the prepared Bundt pan and smooth the top with a spatula. Bake for 55 to 60 minutes, or until a cake tester comes out clean or with just a few crumbs.
- While the cake bakes, make the soaking syrup: In a small saucepan, combine the butter, sugar, water, and vanilla. Bring to a boil, then reduce the heat and simmer until the sugar is dissolved, about 1 minute.
- Set the cake pan on a cooling rack. Using a skewer or toothpick, poke about 40 holes in the bottom of the still-hot cake, going about three-quarters of the way down. It may deflate a bit during this process; that's normal. Spoon or brush half of the syrup evenly over the bottom of the cake. If the syrup starts to pool on the surface, poke more holes to help it absorb. Leave the cake on the rack to cool for 30 minutes.
- Invert the cake onto a serving platter. Brush the remaining syrup evenly over the top and sides of the cake, letting it soak in as you go. Let the cake cool completely, at least a few hours.
- Make the chocolate glaze: Add the butter to a small saucepan and melt over low heat. Remove the pan from the heat. Add the chocolate and whisk until melted. Add the confectioners' sugar and 2 tablespoons of the hot water and whisk until completely smooth. The glaze should be the consistency of warm honey so that it coats the top of the cake evenly and then cascades slowly down the sides. If the glaze is too thick, whisk in the remaining tablespoon of water, little by little, until you get the right consistency. If the glaze is too thin, whisk in a bit more confectioners' sugar. Using a small spoon, drizzle the glaze over the top of the cake, letting it drip down the sides. Allow the glaze to set before serving, at least 30 minutes. Slice the cake with a serrated knife. The cake will keep well in a covered container at room temperature for up to four days.
- Make-Ahead/Freezing Instructions: The cake keeps well for up to four days. Once cool, store in a cake dome (or cover with plastic wrap if it has the soaking syrup but is not yet glazed) at room temperature until ready to serve. The soaked, unglazed cake can be frozen for up to 3 months. After it is completely cooled, double-wrap it securely with aluminum foil or plastic freezer wrap, or place it in a heavy-duty freezer bag. Thaw overnight on the countertop before adding the chocolate glaze and serving.
Nutrition Information
Powered by ![]()
- Per serving (16 servings)
- Calories: 495
- Fat: 22 g
- Saturated fat: 13 g
- Carbohydrates: 72 g
- Sugar: 51 g
- Fiber: 2 g
- Protein: 6 g
- Sodium: 254 mg
- Cholesterol: 91 mg
This website is written and produced for informational purposes only. I am not a certified nutritionist and the nutritional data on this site has not been evaluated or approved by a nutritionist or the Food and Drug Administration. Nutritional information is offered as a courtesy and should not be construed as a guarantee. The data is calculated through an online nutritional calculator, Edamam.com. Although I do my best to provide accurate nutritional information, these figures should be considered estimates only. Varying factors such as product types or brands purchased, natural fluctuations in fresh produce, and the way ingredients are processed change the effective nutritional information in any given recipe. Furthermore, different online calculators provide different results depending on their own nutrition fact sources and algorithms. To obtain the most accurate nutritional information in a given recipe, you should calculate the nutritional information with the actual ingredients used in your recipe, using your preferred nutrition calculator.

Split decision in our house: my husband liked it, but I did not. Was more trouble than it was worth, so I will not be making it again. 😕
Amazing recipe. It wasn’t dry at all. We loved it!
Hi Jenn,
Maybe I an reading incorrectly, but the write-up seems to say bake 55-60 minutes while the instructions say 70-75 minutes. Is the tweak you mentioned? Can’t rate it yet because it is currently baking. 🙂
I continue to love your recipes.
Skipper
Hi Phil, Yes 55 to 60 minutes is correct. Hope it turns out well!
I’m not going to share the number of stars (and no need to publish this comment) but am very glad that you didn’t mind tweaking the recipe. I too thought the cake was a bit dry but now that you’ve made the couple changes you mentioned, I’m going to try making it again. Thank you for always being so responsive. That, and you, are awesome. BTW, the Baked Ziti w/Sausage, is extraordinary. I left a review for publication under that recipe. Thank you for all you do!
Hi Leslie, Thank you for your kind words — I want readers to get great results and am always willing to make tweaks based on feedback I get. When you make this again, please report back and let me know what you think. 😊
I’ve baked for 65 minutes and it still seems soupy! What did I do!?!
Hi Lynn, There can be variation in oven temps so I don’t think you did anything wrong. I’d just continue to bake it until a toothpick comes out clean.
What do you think about adding a bit of peppermint flavoring for a hint of mint in the cake? Thinking of doing for the holidays and sprinkling crushed peppermint sticks over the glaze…which of course I could do without adding any flavoring…just wondering. Thanks!
Hi Lyn, I think the peppermint would be a nice addition and the crushed peppermint sticks will look pretty – I’d love to hear how it turns out if you try it!
Made this for Christmas and it was amazing. My husband is already dropping hints that I should make it again! Thank you!
I made this cake for Christmas dinner dessert and it was a huge hit! I followed the directions exactly and did not make any substitutions. I found the cake easy to make (but not “quick and easy”: you do need quite a block of time to allow for the cooling), and the results were quite gratifying: the cake looks like a showstopper and tastes absolutely delicious. Already people are asking me when I’m going to make this cake again. Thank you, Jenn, for another winning recipe!
I was having a hard time trusting the process when making this cake. The consistency looked off and it rose like a soufflé even though I didn’t think I over beat it. It looked ugly after baking; I almost threw it out. Instead I decided to continue the simple syrup glaze and then the ganache the next morning. I’m so glad I did! It was phenomenal!!! Everyone raved about it.
Really happy to hear the recipe was a hit for you, Julie! Based on your feedback and a few comments from others about the cake being a bit dry, I’ve made a couple of small adjustments. I’ve slightly reduced the batter quantity (so the cake won’t rise too high) and shortened the baking time. After giving it another test run, I’m confident these tweaks will help everyone get more consistent results. Thanks so much for sharing your thoughts!
Oh wow, this cake is amazing! If you are a chocolate lover, it is must. I made for Christmas and it was a hit. It is rich and just melts in your mouth delicious. Love it! I will make this again for sure!
I usually love your recipes but this cake turned out very dry, despite the soaking liquid and the glaze. It’s possible that I made a mistake in my measurements, but I wouldn’t make it again to find out. The creamed spinach and mashed sweet potatoes were great, however!
I’m really sorry to hear the cake turned out dry for you, Kate! It’s been a bit of a mystery why the results have been inconsistent. Just to let you know, I’ve gone ahead and made a few tweaks to the recipe after retesting it. Hopefully, this will sort out the issues for anyone else who tries it. Thanks so much for bringing this to my attention!