Chicken Piccata
This post may contain affiliate links. Read my full disclosure policy.
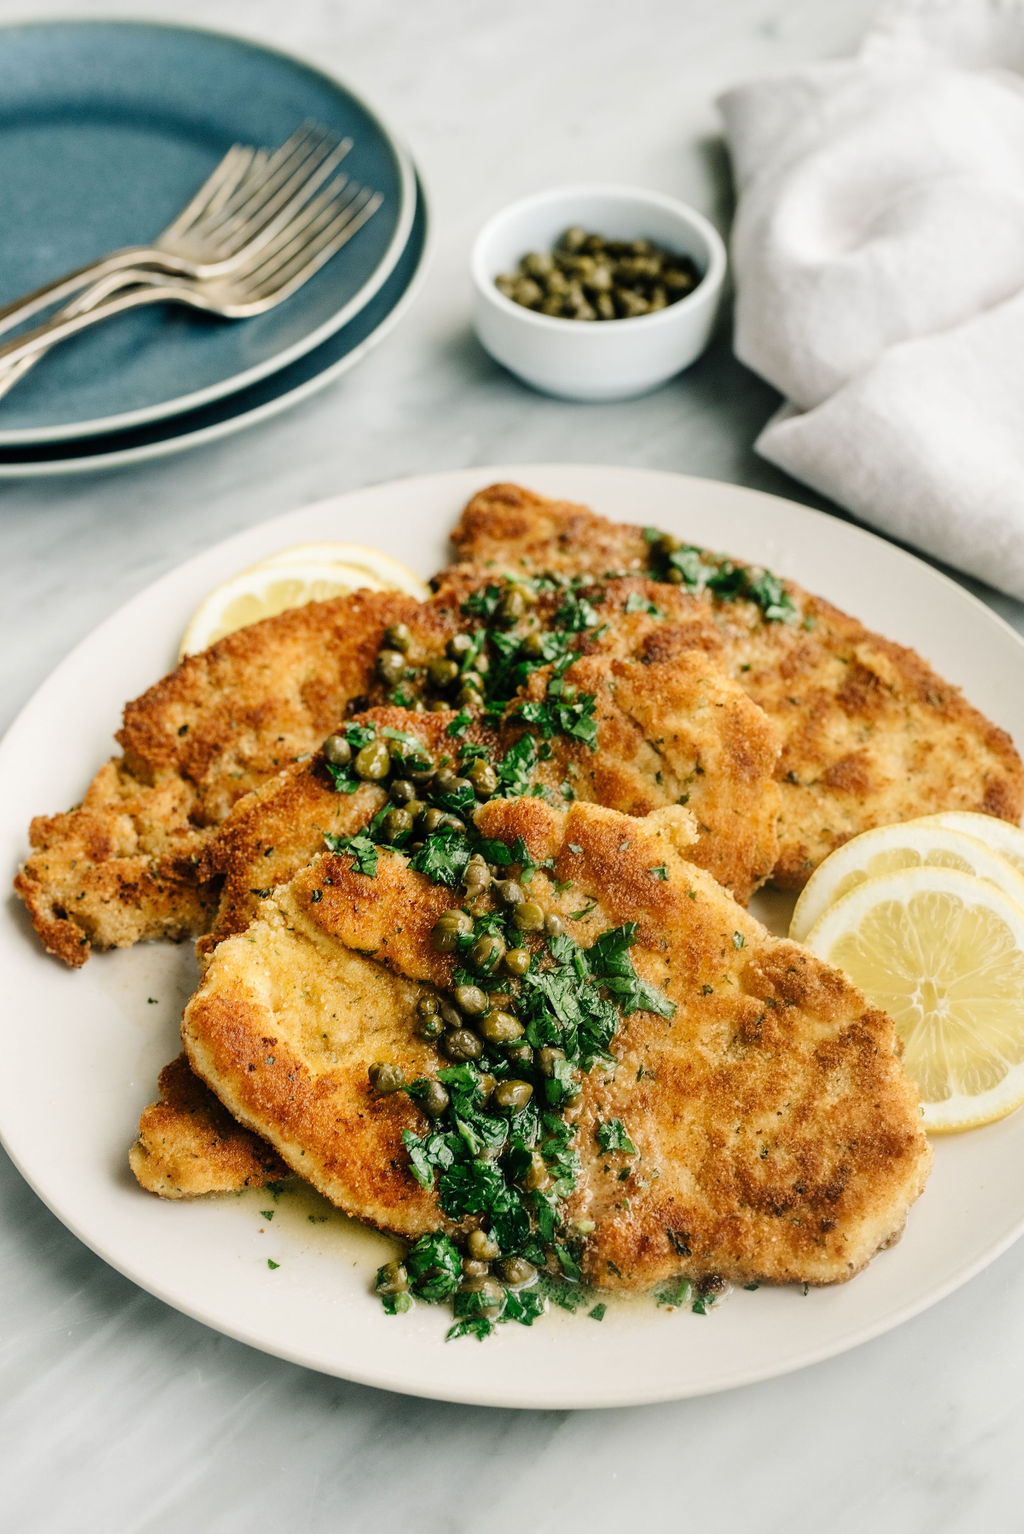
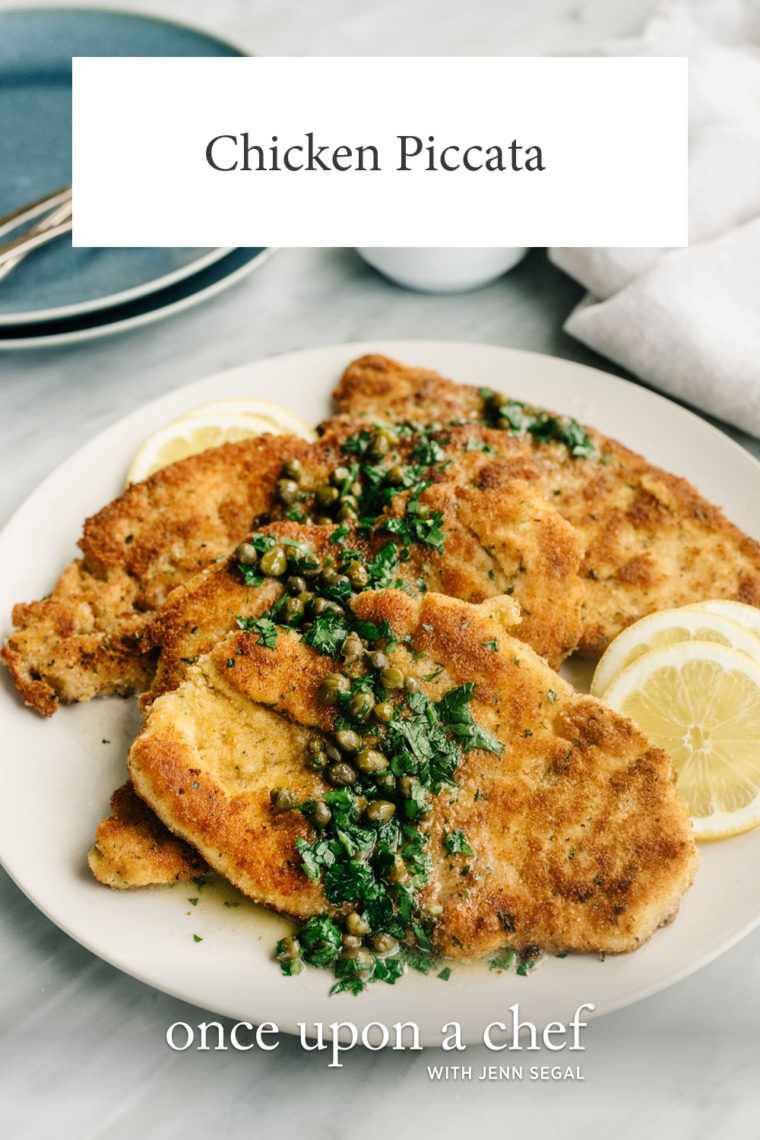
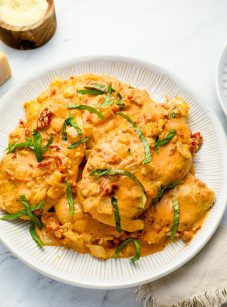
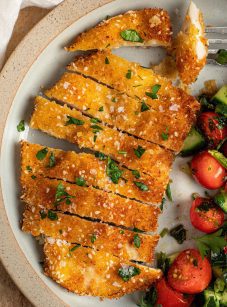
Whip up classic chicken piccata—crispy chicken cutlets drenched in a zesty lemon-butter and caper sauce. It’s the quick, easy supper guaranteed to bring smiles all around the table.
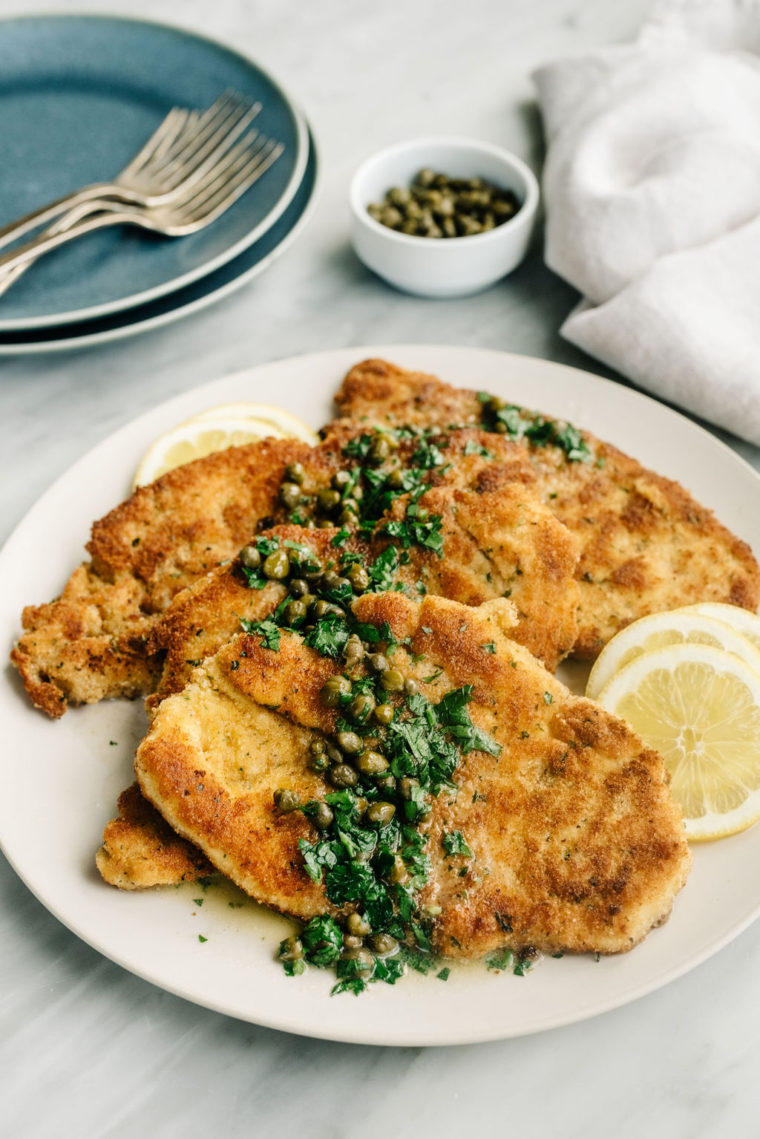
When it’s 5:30 PM and I’m staring blankly into the fridge at a package of boneless chicken breasts, this chicken piccata recipe often comes to the rescue. With crispy, golden chicken cutlets in a buttery, lemony caper sauce, it’s a quick weeknight dinner that makes everyone happy. For the picky eaters, you can serve the chicken plain, while those who love bold flavors can enjoy the zesty, lemony sauce.
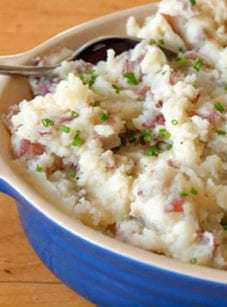
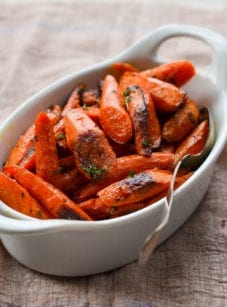
Capers tend to be a love-’em-or-hate-’em ingredient, so feel free to leave them out if you’re not a fan. Chicken piccata pairs well with many easy sides, such as buttered angel hair pasta, roasted carrots, Parmesan smashed potatoes or polenta. In less than 30 minutes, you can go from “What’s for dinner?” to “Dinner’s ready!”
Table of Contents
“I have already made this recipe twice this week! A fast favorite in our household.”
What You’ll Need To Make Chicken Piccata
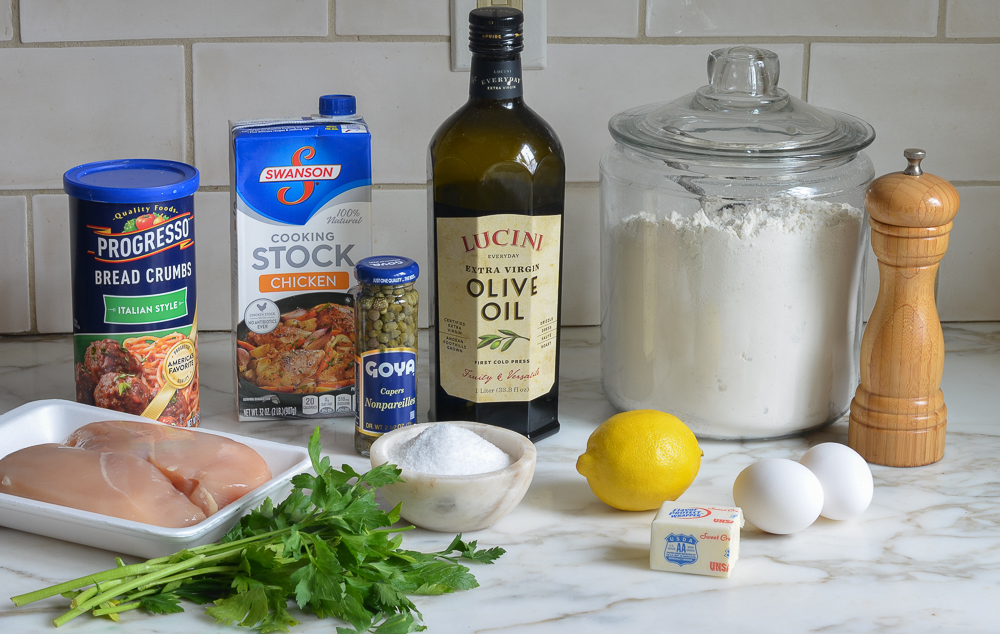
- All-Purpose Flour: The first step in the three-part breading process. Used to lightly coat the chicken, it prepares the surface for the next layers, ensuring the crust adheres well during cooking.
- Eggs: Step two in the breading process. The floured chicken is dipped in beaten eggs, creating a sticky base for the breadcrumbs to cling to.
- Seasoned Italian Bread Crumbs: The final step in the breading process. These crumbs stick to the egg-coated chicken, providing a flavorful, crispy coating once cooked.
- Extra-Virgin Olive Oil: Used for frying, it adds a subtle, fruity flavor to the dish while cooking the chicken to a golden perfection.
- Chicken Broth: Forms the base of the sauce, adding depth and richness.
- Lemon Juice: Adds a bright, acidic contrast to the rich sauce.
- Capers: Offer a burst of tangy, briny flavor that’s characteristic of piccata sauce.
- Butter: Swirled into the sauce for a silky finish, adding richness and gloss.
- Fresh Italian Parsley: Provides a fresh, herbal note, brightening up the whole dish.
- Jump to the printable recipe for precise measurements
Step-By-Step Instructions
Begin by prepping the chicken breasts. First slice each chicken breast in half horizontally.
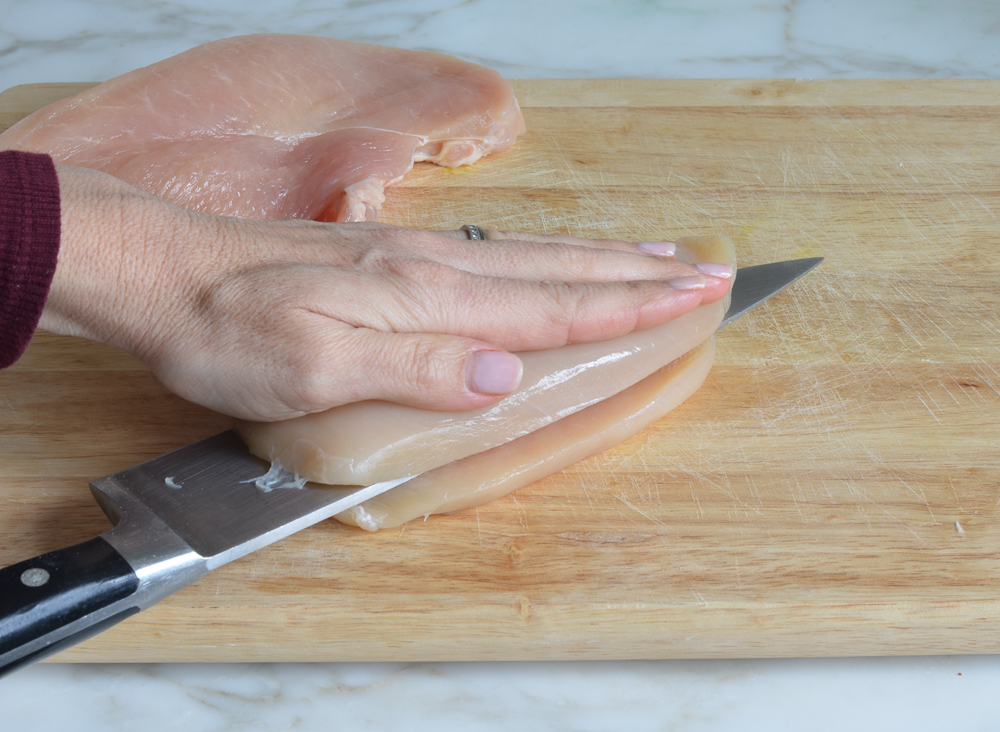
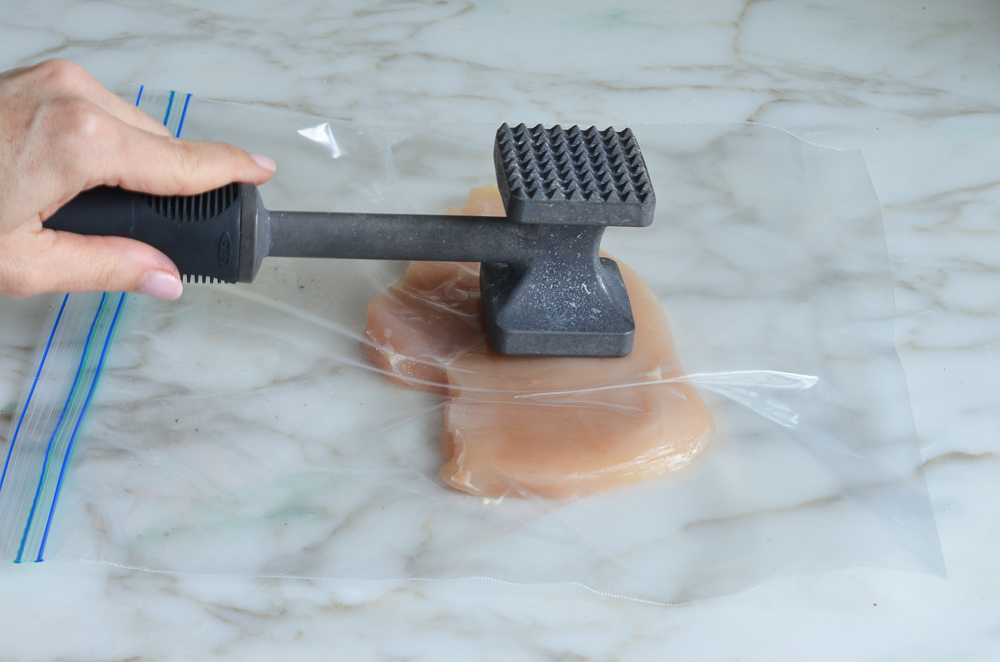
Place the chicken breasts in a large sealable plastic bag and, using a meat mallet or rolling pin, pound them to an even 1/4-inch thickness. This ensures that they cook quickly and evenly. (I use a sealable plastic bag to pound the chicken because it can also be used in the next step to easily coat the chicken with flour.)
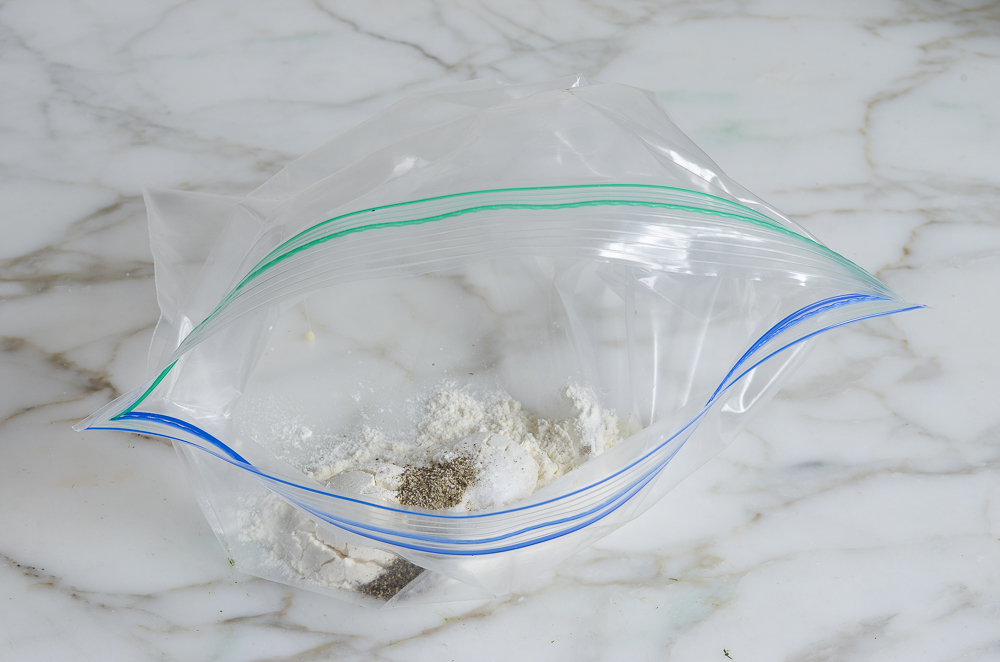
To the bag, add the flour, 3/4 teaspoon salt, and 1/4 teaspoon pepper; seal and shake to combine.
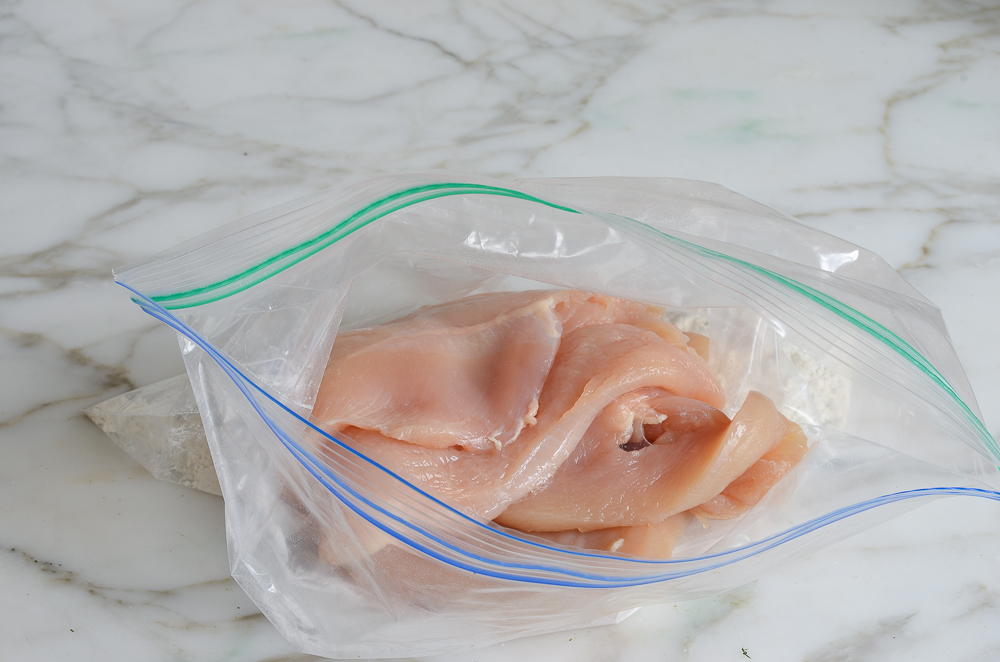
Add the chicken to the bag.
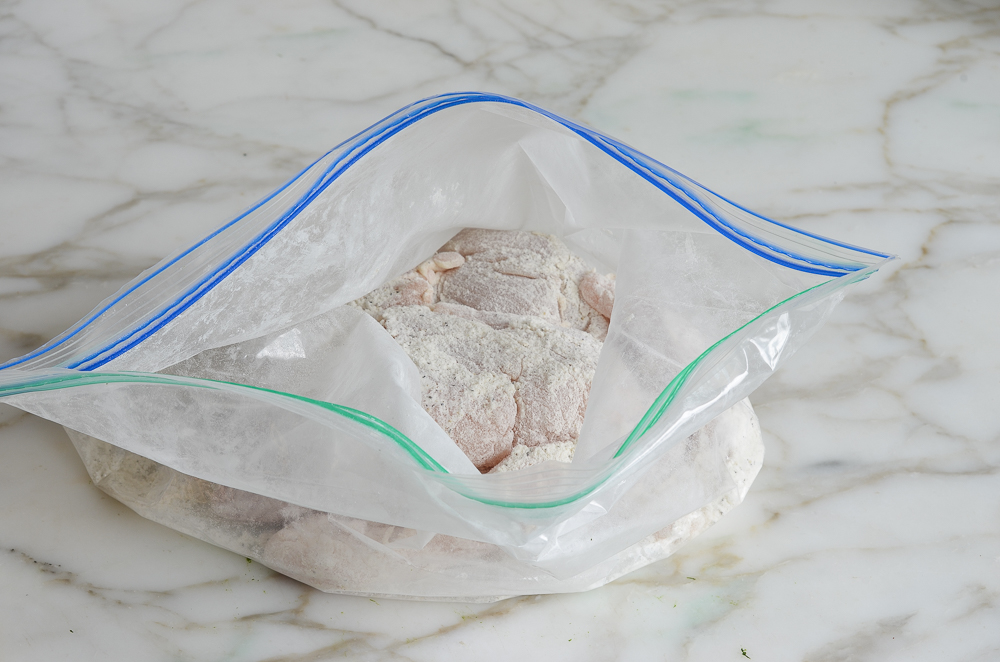
Then seal and shake to coat the chicken evenly.
Beat the eggs in a large, shallow bowl. In another large, shallow bowl, add the bread crumbs and 1/4 teaspoon salt. Stir to combine.
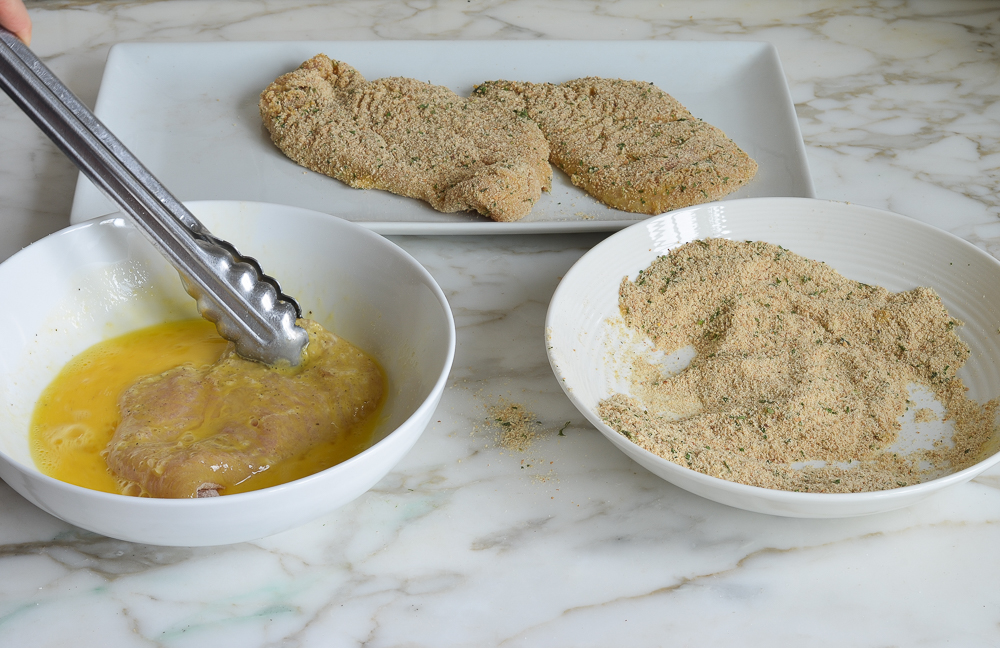
Using tongs (or your hands), dip each chicken breast first in the egg mixture, turning to coat evenly and letting any excess egg drip off, and then into the bread crumbs, turning to coat evenly. This 3-step breading method (flour + eggs + bread crumbs) ensures that the coating adheres.
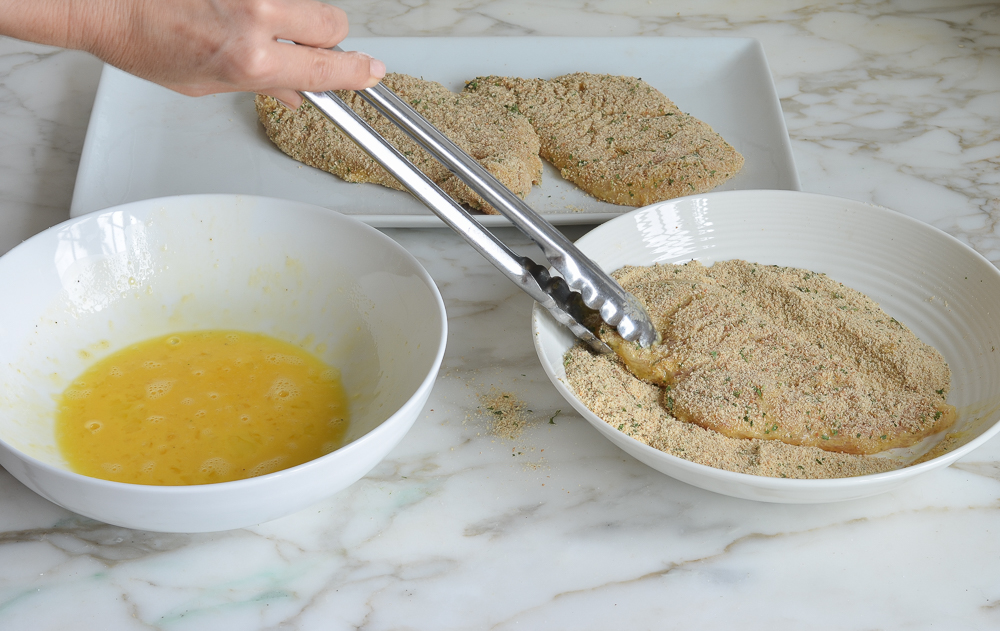
Heat the oil in a large sauté pan over medium-high heat. Add the chicken to the pan and cook for until the first side is golden brown, 2 to 3 minutes.
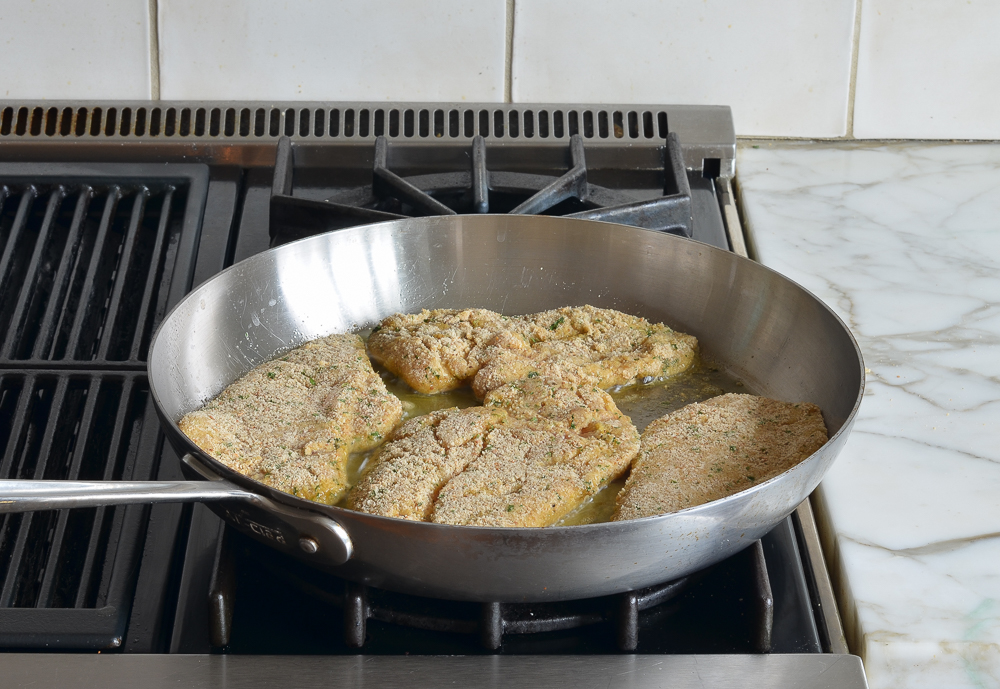
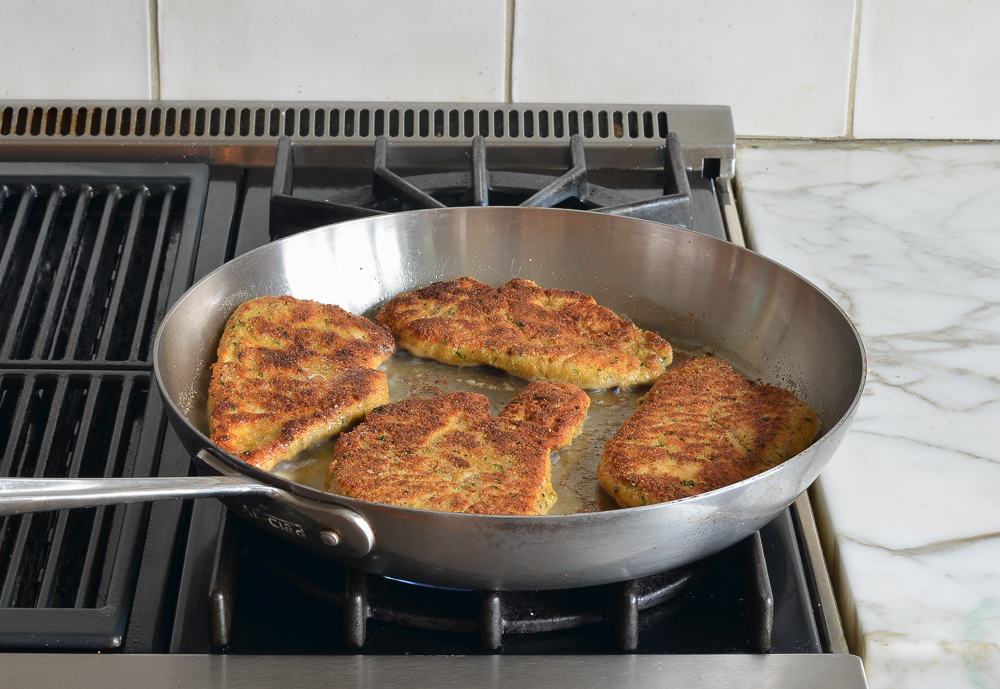
Flip the chicken and cook until the second side is golden, about 2 minutes more.
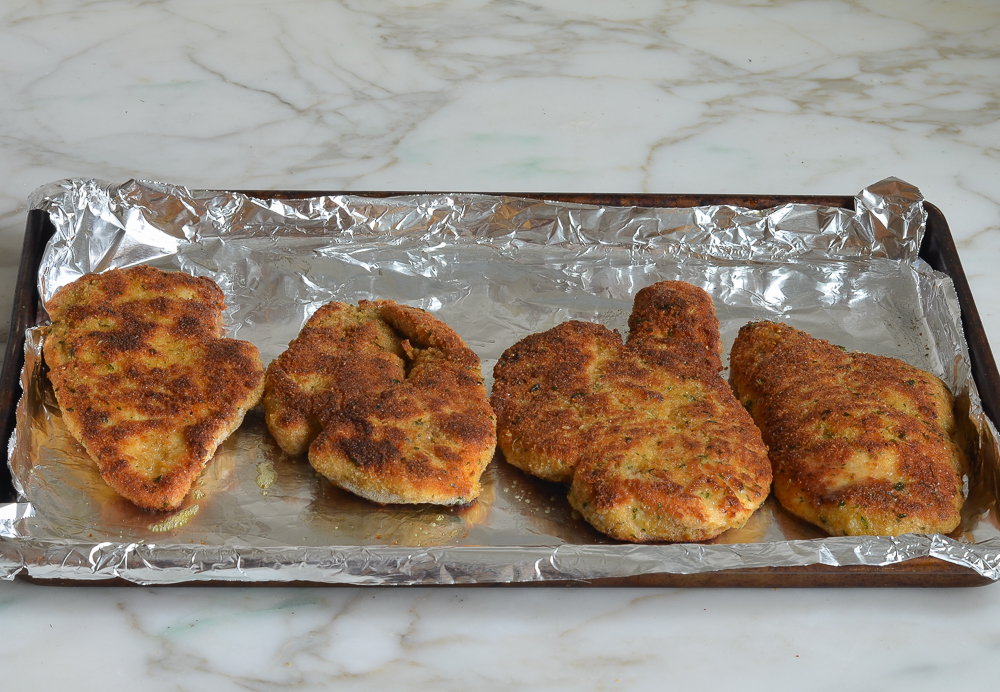
Transfer the chicken to the prepared baking sheet and place in the oven while you make the sauce. (Note: the chicken should be almost fully cooked at this point. Don’t leave it in the oven for more than 5 minutes or it will overcook.)
Discard any excess oil from the pan. Add the stock, lemon juice, and capers and bring to a boil, scraping up any brown bits from the pan. Gently simmer for about two minutes, until slightly reduced.
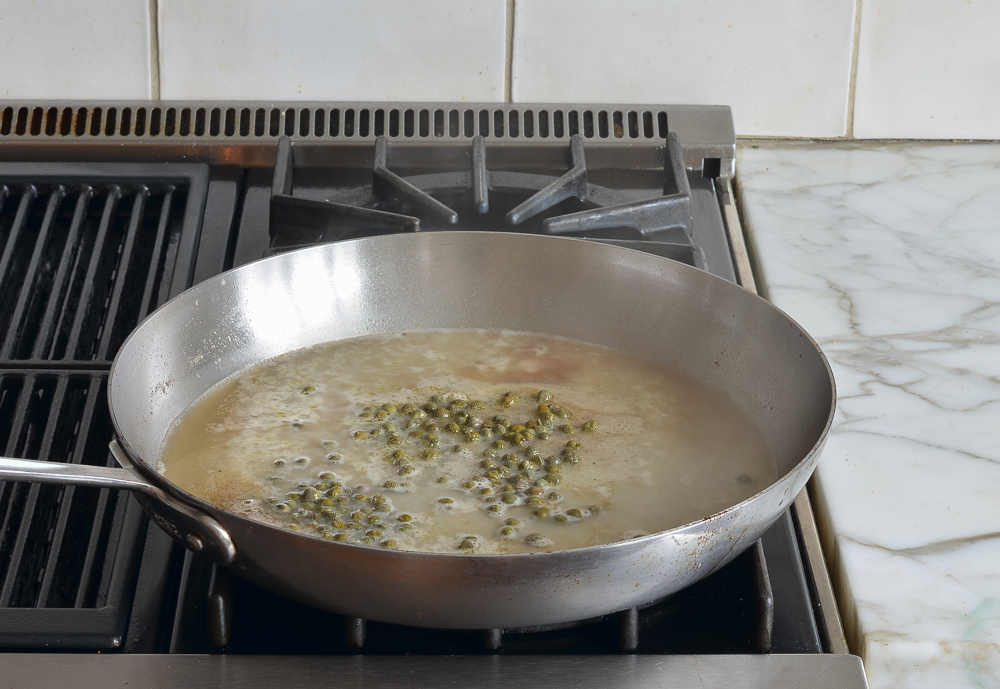
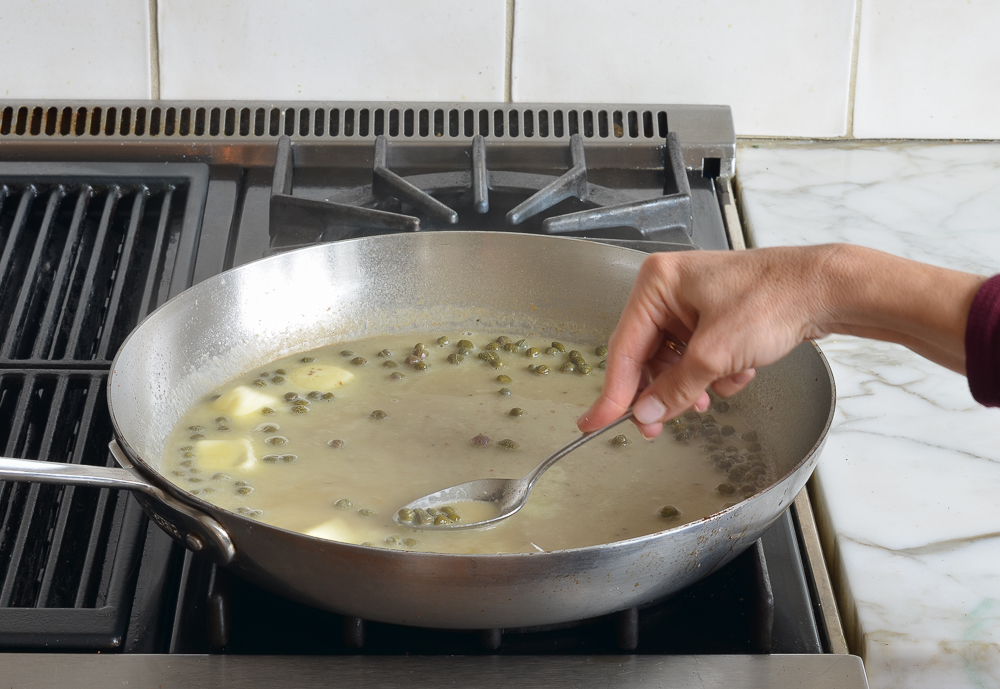
Off the heat, swirl in the butter.
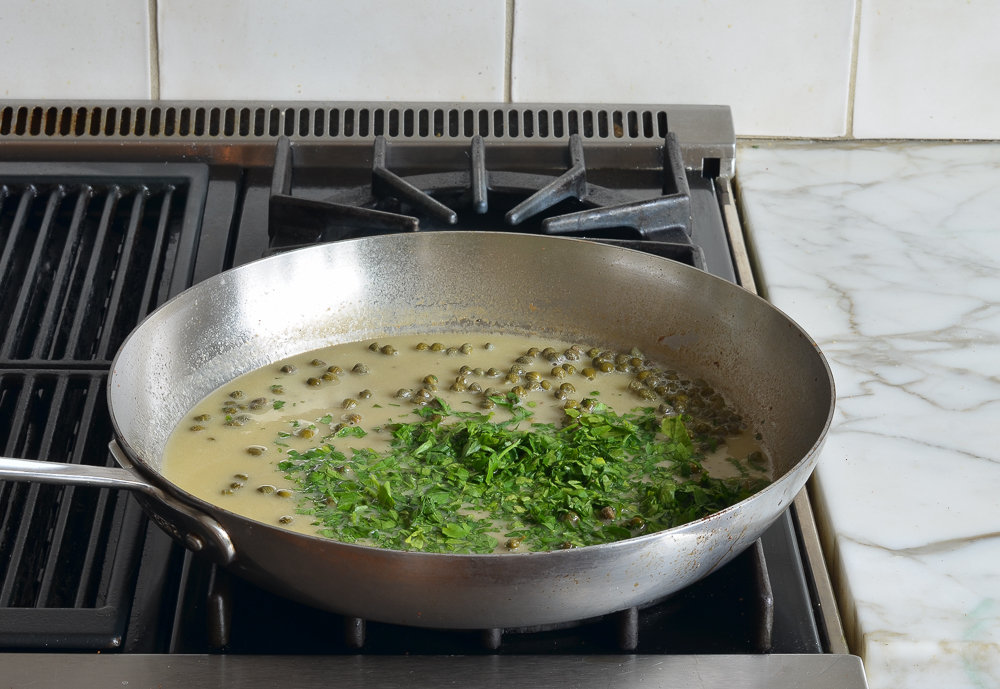
Add the parsley.
Taste and adjust seasoning with salt and pepper, if necessary.
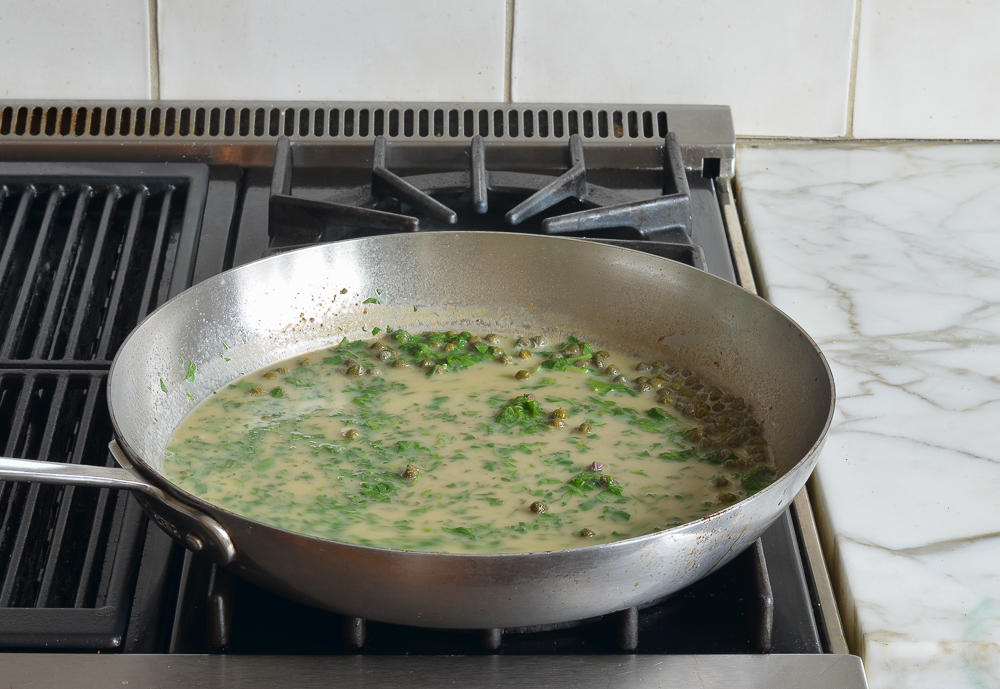
Remove the chicken piccata from the oven and transfer to plates. Spoon the sauce over top and enjoy!
Frequently Asked Questions
Chicken Piccata can be partially made ahead to save time. You can bread the chicken and refrigerate it for up to 4 hours before cooking. However, for the best texture and flavor, I recommend cooking the chicken and preparing the sauce right before serving.
The breaded (uncooked) cutlets can be frozen for up to 3 months. Freeze the chicken on the baking sheet until firm, about 1 hour, then transfer to a resealable freezer bag or layer in an airtight container with sheets of parchment between the cutlets. Thaw overnight in the refrigerator before cooking.
Breading might fall off if the chicken isn’t properly prepped before coating or if the pan isn’t hot enough when you start cooking. Ensure the chicken is dry before coating in flour, dip thoroughly in the egg wash, and then press firmly into the breadcrumbs for a good coat. Also, make sure your pan with oil is hot enough so that the chicken sizzles upon contact—this helps the breading set quickly and stay attached.
You May Also Like
Chicken Piccata
Whip up classic chicken piccata—crispy chicken cutlets drenched in a zesty lemon-butter and caper sauce. It’s the quick, easy supper guaranteed to bring smiles all around the table.
Ingredients
For the Chicken
- 1½ lbs boneless skinless chicken breasts
- 3 tablespoons all-purpose flour
- Salt and freshly ground black pepper
- 2 eggs
- 1 cup seasoned Italian bread crumbs
- ¼ cup extra-virgin olive oil
For the Sauce
- 1 cup chicken stock
- 2 tablespoons fresh lemon juice, from 1 lemon
- 3 tablespoons brined capers, drained and rinsed
- 3 tablespoons unsalted butter
- Salt and pepper
- ¼ cup chopped fresh Italian parsley
Instructions
- Preheat the oven to 350°F. Line a baking sheet with aluminum foil.
- Using a very sharp knife, slice each chicken breast in half horizontally. One at a time, place the chicken breasts in a large sealable plastic bag and, using a meat mallet or rolling pin, pound them to an even ¼-inch thickness. (If your chicken breasts are very small, you can skip the step of cutting them in half horizontally. I use two ¾-lb breasts to make 4 portions.) Save the bag.
- To the bag, add the flour, ¾ teaspoon salt, and ¼ teaspoon pepper; seal and shake to combine. Add the chicken to the bag; seal and shake to coat the chicken evenly. Beat the eggs in a large, shallow bowl. In another large, shallow bowl, mix the bread crumbs with ¼ teaspoon salt. Using tongs (or your hands), dip each chicken breast first in the egg mixture, turning to coat evenly and letting any excess egg drip off, and then into the bread crumbs, turning to coat evenly.
- Heat the oil in a large sauté pan over medium-high heat. When the oil is hot and shimmering, add the chicken to the pan and cook for until the first side is golden brown, 2 to 3 minutes. Flip the chicken and cook until the second side is golden, about 2 minutes more. Transfer the chicken to the prepared baking sheet and place in the oven while you make the sauce. (Note: the chicken should be almost fully cooked at this point. Don't leave it in the oven for more than 5 minutes or it will overcook.)
- Discard any excess oil from the pan. Add the stock, lemon juice, and capers and bring to a boil, scraping up any brown bits from the pan. Gently boil for about two minutes, until slightly reduced. Off the heat, swirl in the butter, followed by the parsley. Taste and adjust seasoning with salt and pepper, if necessary. Remove the chicken from the oven and transfer to plates. Spoon the sauce over top.
- Make Ahead: The chicken can be breaded and refrigerated up to four hours ahead of time.
- Freezer-Friendly Instructions: The breaded cutlets can be frozen for up to 3 months. Freeze the chicken on the baking sheet until firm, about 1 hour, then transfer to a resealable freezer bag or layer in an airtight container with sheets of parchment between the cutlets. Defrost in the refrigerator before cooking.
Pair with
Nutrition Information
Powered by ![]()
- Per serving (4 servings)
- Calories: 585
- Fat: 31 g
- Saturated fat: 10 g
- Carbohydrates: 27 g
- Sugar: 3 g
- Fiber: 2 g
- Protein: 47 g
- Sodium: 758 mg
- Cholesterol: 229 mg
This website is written and produced for informational purposes only. I am not a certified nutritionist and the nutritional data on this site has not been evaluated or approved by a nutritionist or the Food and Drug Administration. Nutritional information is offered as a courtesy and should not be construed as a guarantee. The data is calculated through an online nutritional calculator, Edamam.com. Although I do my best to provide accurate nutritional information, these figures should be considered estimates only. Varying factors such as product types or brands purchased, natural fluctuations in fresh produce, and the way ingredients are processed change the effective nutritional information in any given recipe. Furthermore, different online calculators provide different results depending on their own nutrition fact sources and algorithms. To obtain the most accurate nutritional information in a given recipe, you should calculate the nutritional information with the actual ingredients used in your recipe, using your preferred nutrition calculator.

My first try at chicken piccata. Loved it! The chicken was so moist and tender. Served with mashed potatoes and asparagus. We used leftovers for sandwiches and salads for the rest of the week. Thanks Jenn for such a clear and concise recipe.
Sauce too thin and did not really like all the coating/frying. A lot of activity in final 5 minutes, must have everything prepped and ready to go. Better ways to cook chicken.
I have been making chicken piccata for years (various recipes) but this one is my new favorite. The chicken is so tender that you can cut it with a fork. Perfectly balanced and delicious with steamed rice with the sauce spooned over top.
I plan to make this tomorrow, but couldn’t find chicken stock at the grocery store. Will chicken broth work? Or I also have chicken Bovril?
Yep broth is fine. Enjoy!
It was great. I was worried that the sauce was too thin and acidic but added a pinch of sugar to even it out. Still thought it was acidic but once it goes on the chicken, the fat flavor from the chicken blends beautifully. Would not make any changes to the recipe! Great as it is. Had to adjust the stove top pan frying time with my electric stove top.
This was a delicious and clean-tasting dish. My family loved it. Excellent!
Hi Jenn,
I’m having 20 people to dinner and am considering trying this. I’m trying to figure out timing/logistics and if this is feasible. Would you recommend sautéing all the chicken first and then finishing them all off in the oven at one time? Is it ok to have the sautéed cutlets sit for several minutes before going into the oven? It’ll take several rounds of sautéing to get 20 people worth. Would I “store” them covered on a sheet pan while all the pieces are being sautéed or uncovered during this time? Thanks for input!
Hi Gina, The chicken won’t come out quite as crispy, but if you’re serving 20, that’s probably the best way to go. And, yes, it’s okay to have the sauteed cutlets sit covered on a sheet pan for several minutes before going in the oven. Hope everyone enjoys!
iHelp, Anyone _ I LOVE this recipe and want to make it a couple of hours before my company arrives. How should I store/reheat? Thanks!
Hi Mary, While this dish is best when served right after it’s prepared, I think you could get away with cooking it ahead. The chicken won’t be quite as crispy as when it’s just cooked, but you can reheat it in the oven before serving (and reheat the sauce on the stove). Please LMK how it turns out if you make it ahead!
Hey Jenn,
It turned out great, maybe not as crispy but still as delicious. (I absolutely hate cooking in front of company.) I soooo love and appreciate all of your recipes – making Swedish meatballs tonight. THANK YOU!
So glad it came out nicely — thanks for taking the time to report back!
Can’t get enough…YUM!
wonderful as is except I used tenderloins as they were quick to pound out as is.
the cooking times worked perfectly for me, too.
Do you think it’s possible to cook entirely in the oven and then broil both sides? to cut out the pan-frying part.
Glad you liked it! Unfortunately, I don’t think this will come out nearly as well without being sauteed – sorry!
I have made so may of your recipes, all wonderful. This one not so. The step of the chicken going back into the oven made it too dry even at 5 mins. Will put in a covered dish next time.