Chicken Enchiladas
This post may contain affiliate links. Read my full disclosure policy.
Brimming with smoky, tender chicken and gooey cheddar cheese, all smothered in a tangy tomatillo sauce, chicken enchiladas promise comfort in every bite.
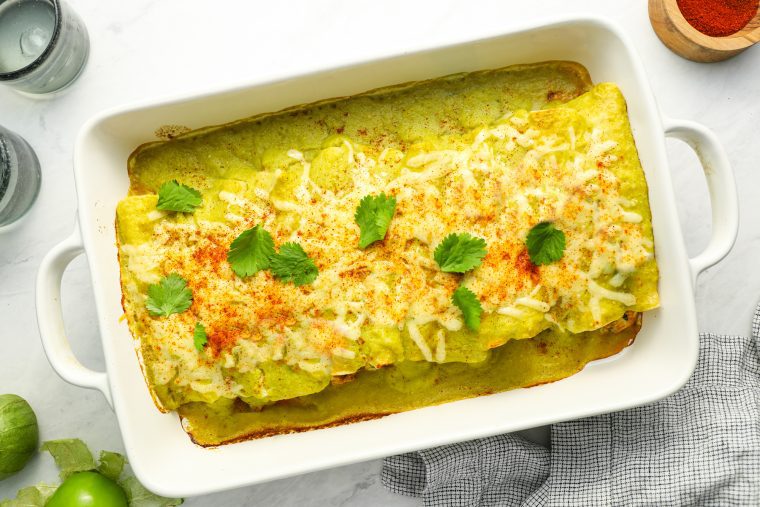
My whole family loves these chicken enchiladas. While they do require some time to prepare, you can make the sauce and filling in advance. This way, you can assemble and bake the enchiladas later for a quick and easy weeknight meal. The sauce is made from tomatillos—those small, green fruits nestled in a papery husk. Contrary to their appearance (and their nickname “Mexican green tomato”), tomatillos are not tomatoes at all. Their bright, tangy, and acidic taste is key to many Mexican and Tex-Mex dishes—they are the star ingredient in salsa verde.
It’s important to note that the chicken is cooked twice in this recipe: initially when preparing the filling and once more upon heating the assembled enchiladas. To ensure the chicken remains succulent through both cookings, I recommend using chicken tenderloins. They’re naturally tender and forgiving, even if slightly overcooked, plus they’re typically available in convenient one-pound packs—the exact amount you’ll need.
Table of Contents
“These were amazing. My family wants me to make them again and my college son asked me to make and freeze some that he can take back to college.”
What You’ll Need To Make Chicken Enchiladas
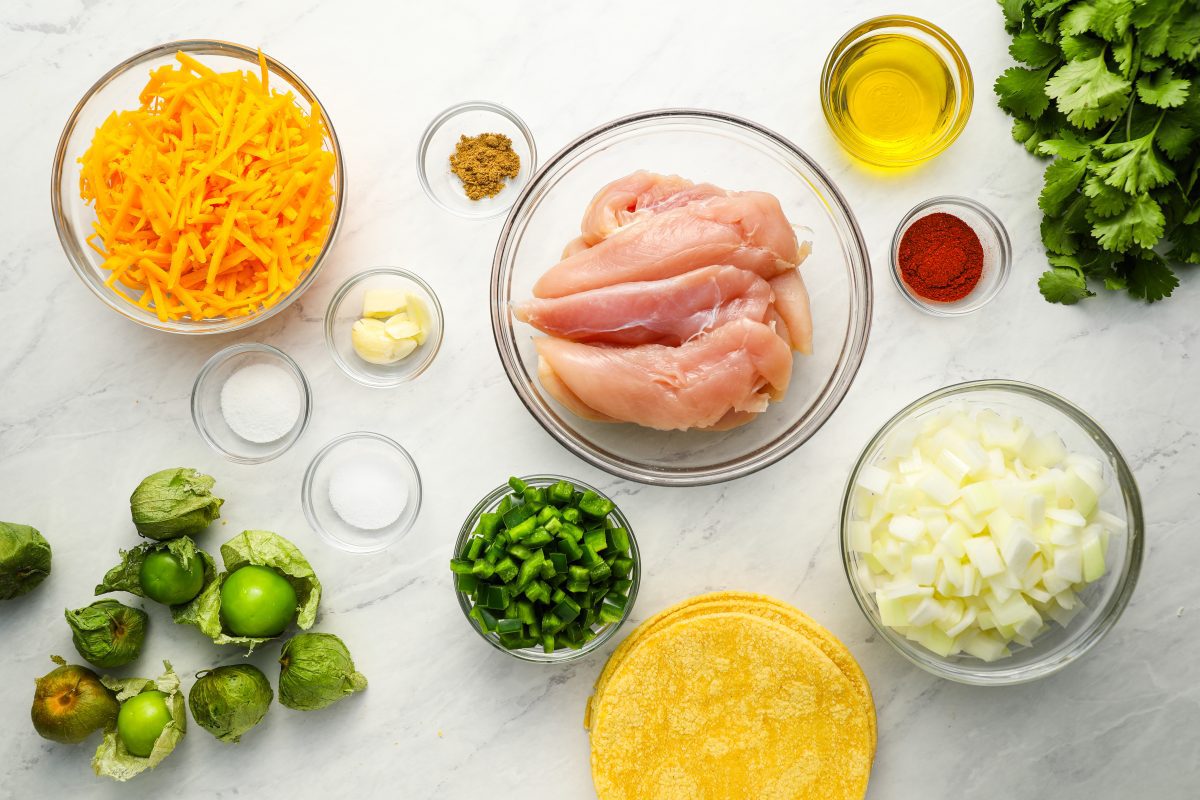
- Onion and Garlic: The foundational aromatics of the dish.
- Tomatillos: These small, green fruits, encased in a papery husk, are the key ingredients for creating the sauce for the enchiladas. They lend a bright, tangy, and fresh flavor that contrasts beautifully with the richness of the filling.
- Jalapeño Chiles: Add a spicy kick that complements the tanginess of the tomatillos.
- Chicken: The protein base for the filling. Tenderloins are ideal for ensuring the filling is juicy and flavorful.
- Cumin and Smoked Paprika: This spice duo adds depth and a smoky undertone to the enchiladas.
- Sharp Cheddar Cheese: Adds rich, tangy flavor and a gooey, cheesy texture.
- Corn Tortillas: The traditional choice for enchiladas, corn tortillas hold up well to the sauce and baking. They contribute a slight sweetness and subtle corn flavor.
- Jump to the printable recipe for precise measurements
Step-by-Step Instructions
Step 1: Make the Sauce
Cook the onions and garlic in olive oil until soft (no need to chop them too finely since it all gets puréed in the end). Add the tomatillos, jalapeños, sugar, salt, cumin and 1/3 cup water.
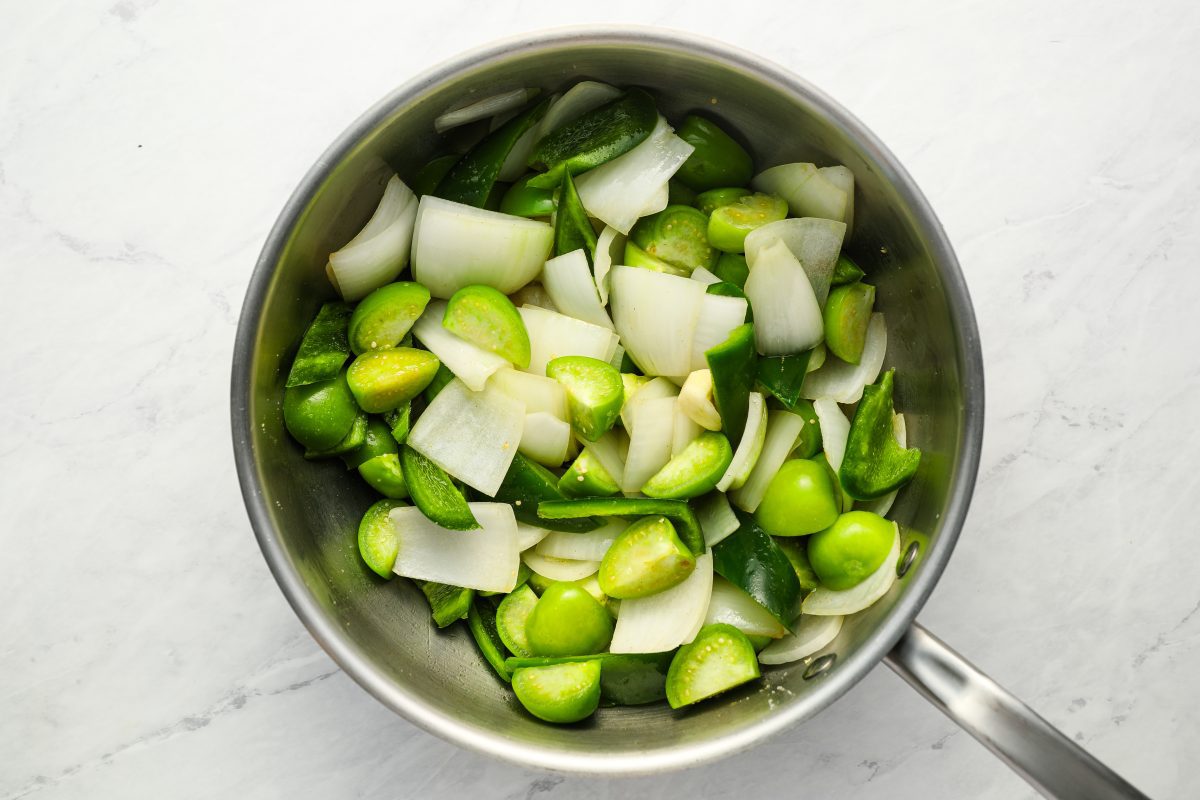
Simmer until the tomatillos are soft.
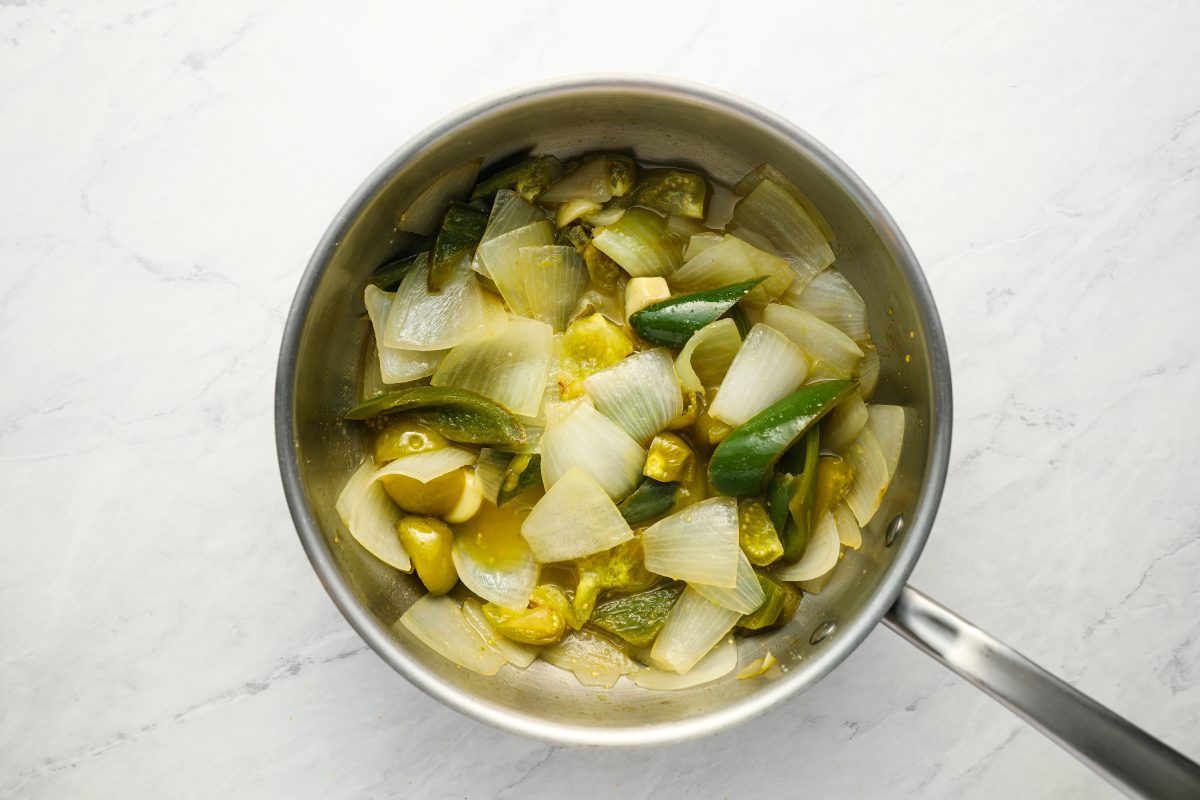
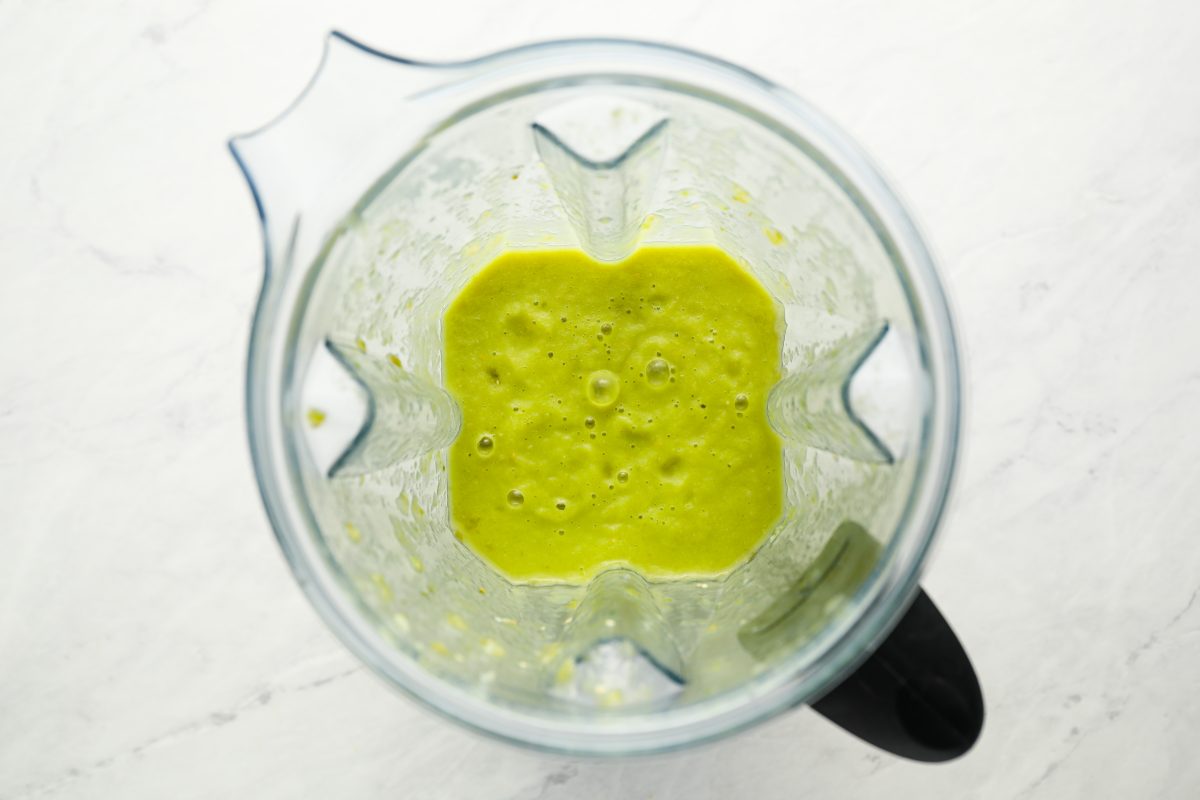
Then, transfer the mixture to a blender and purée until completely smooth. Set the sauce aside and start the filling.
Step 2: Make the Filling
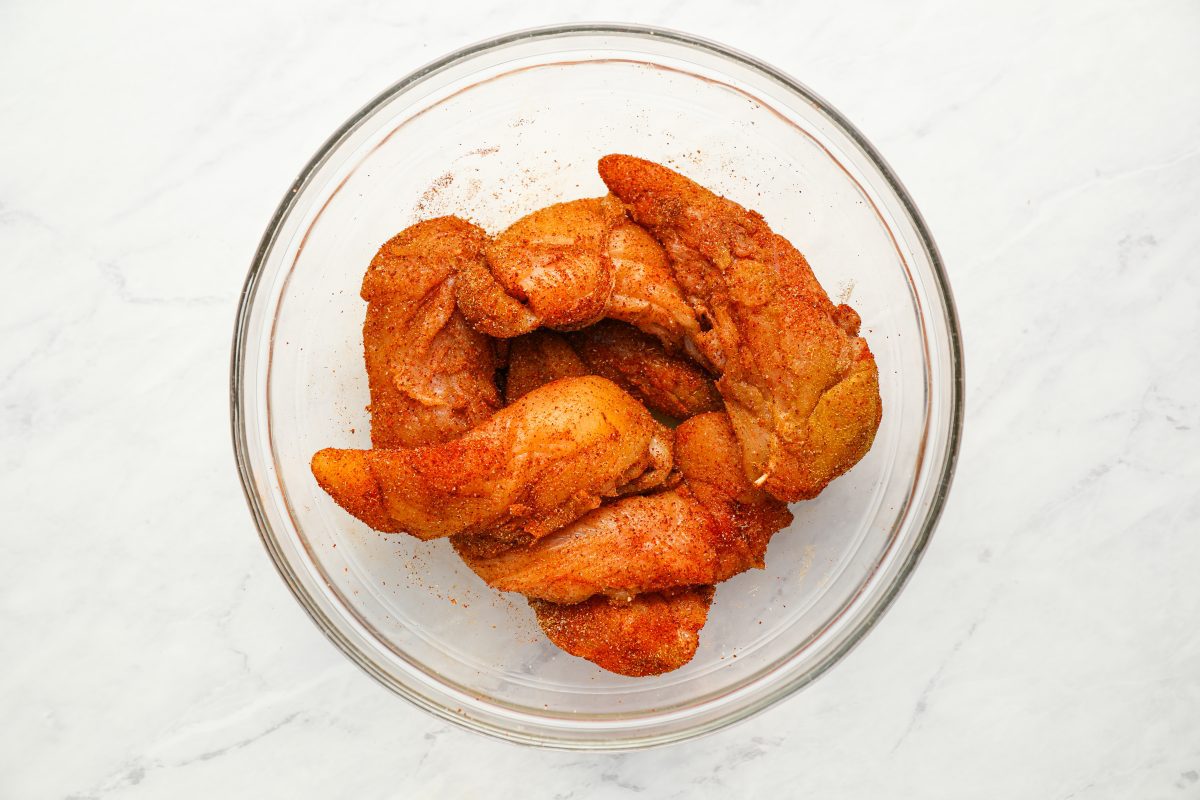
Season the chicken with the cumin, smoked paprika and salt.
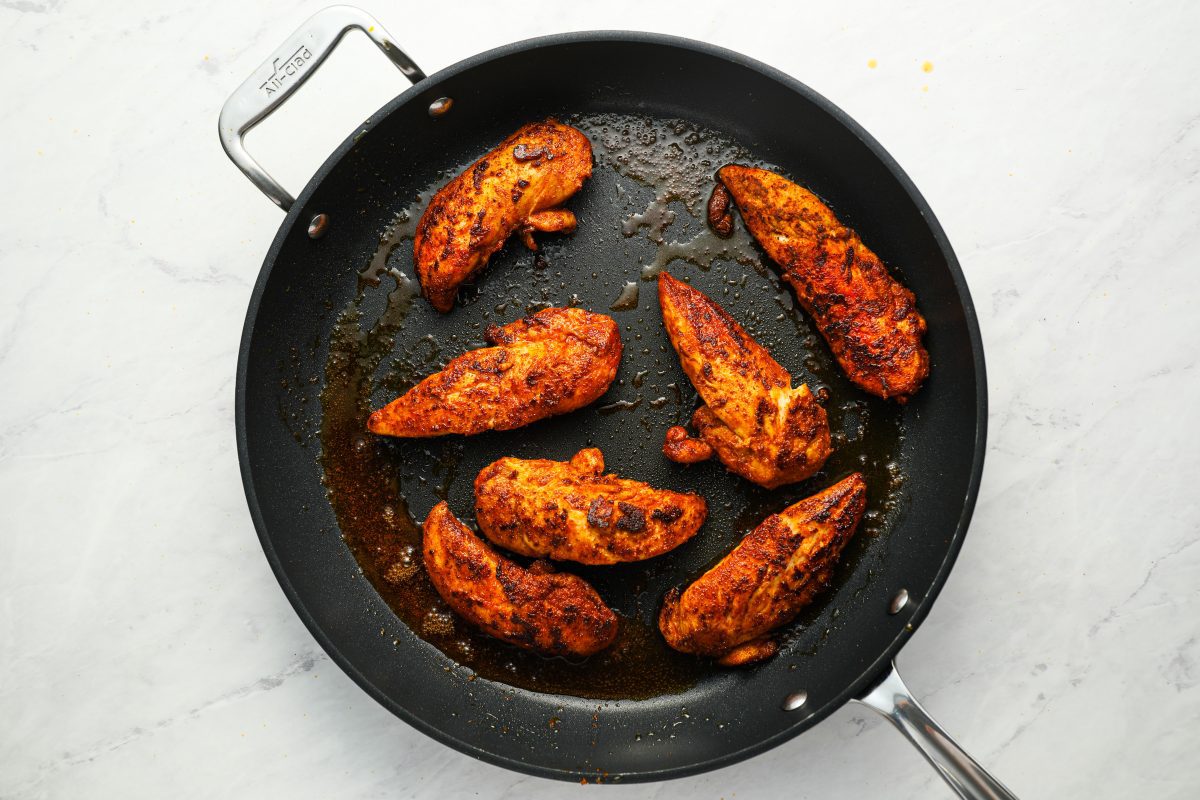
Sauté the chicken in olive oil until just cooked through, about 2 minutes per side, then set aside to cool.
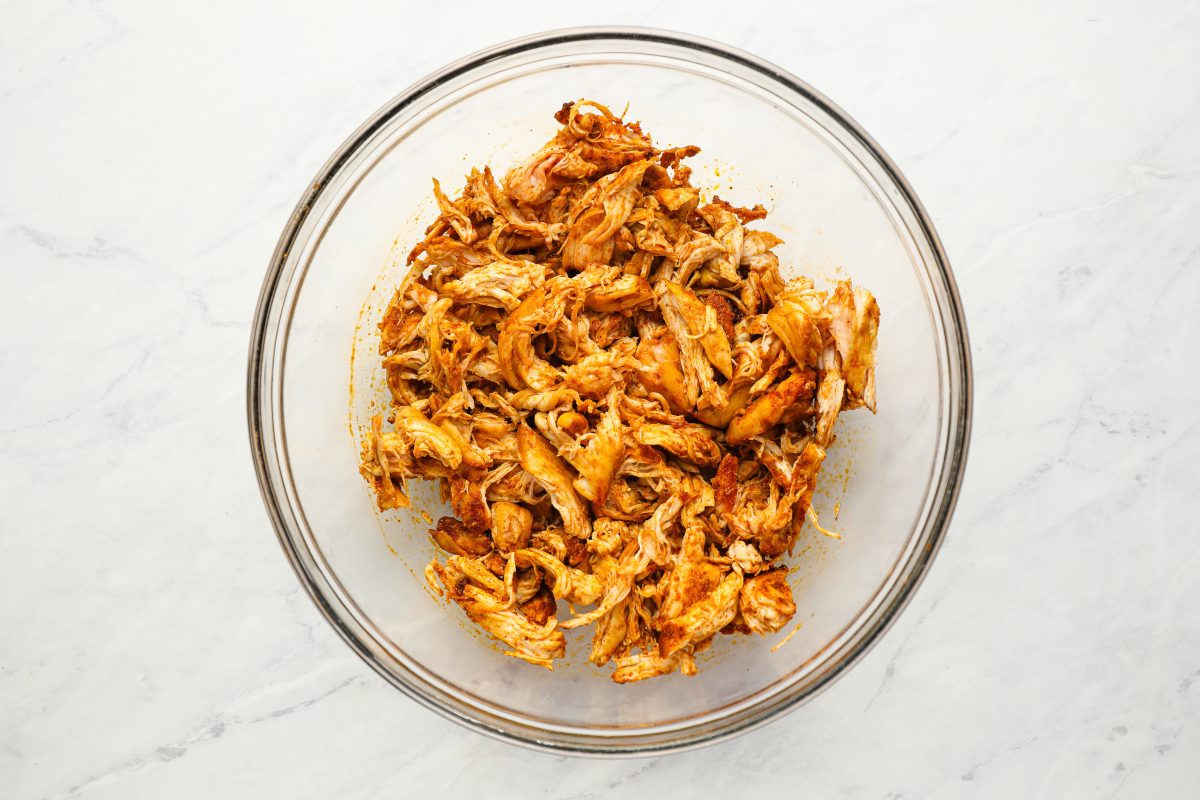
Once cool, shred the chicken into bite-sized pieces. Tenderloins all have a tough tendon running through them; just remove it.
In the same pan that you cooked the chicken in, cook the onions until soft.
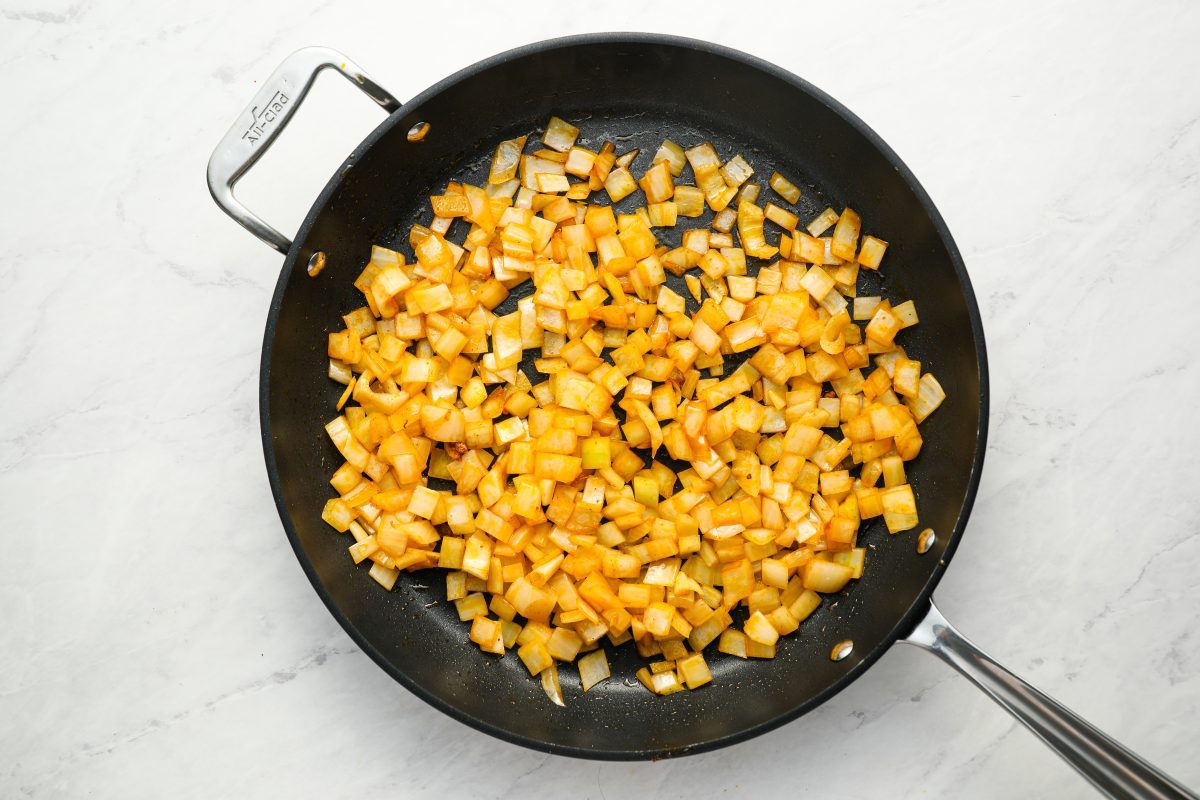
Remove the pan from the heat, then add the shredded chicken along with the cilantro and shredded cheese.
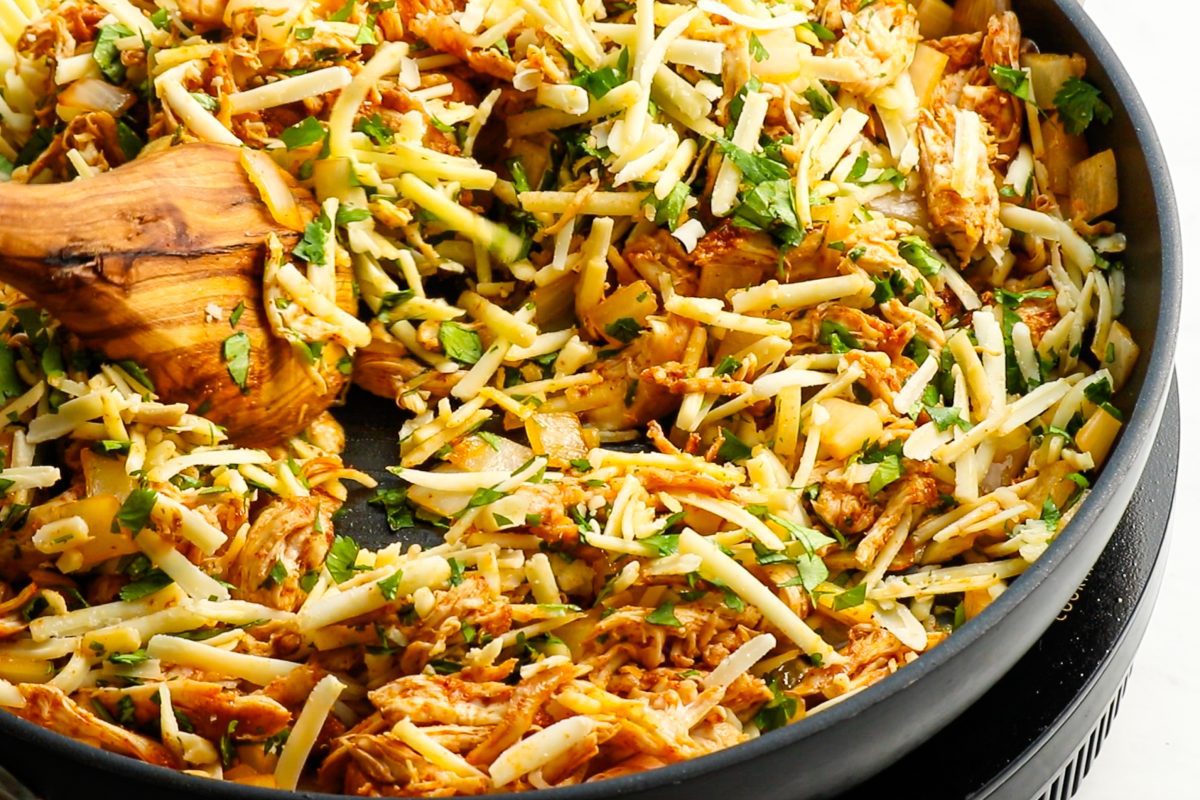
Step 3: Assemble the Enchiladas
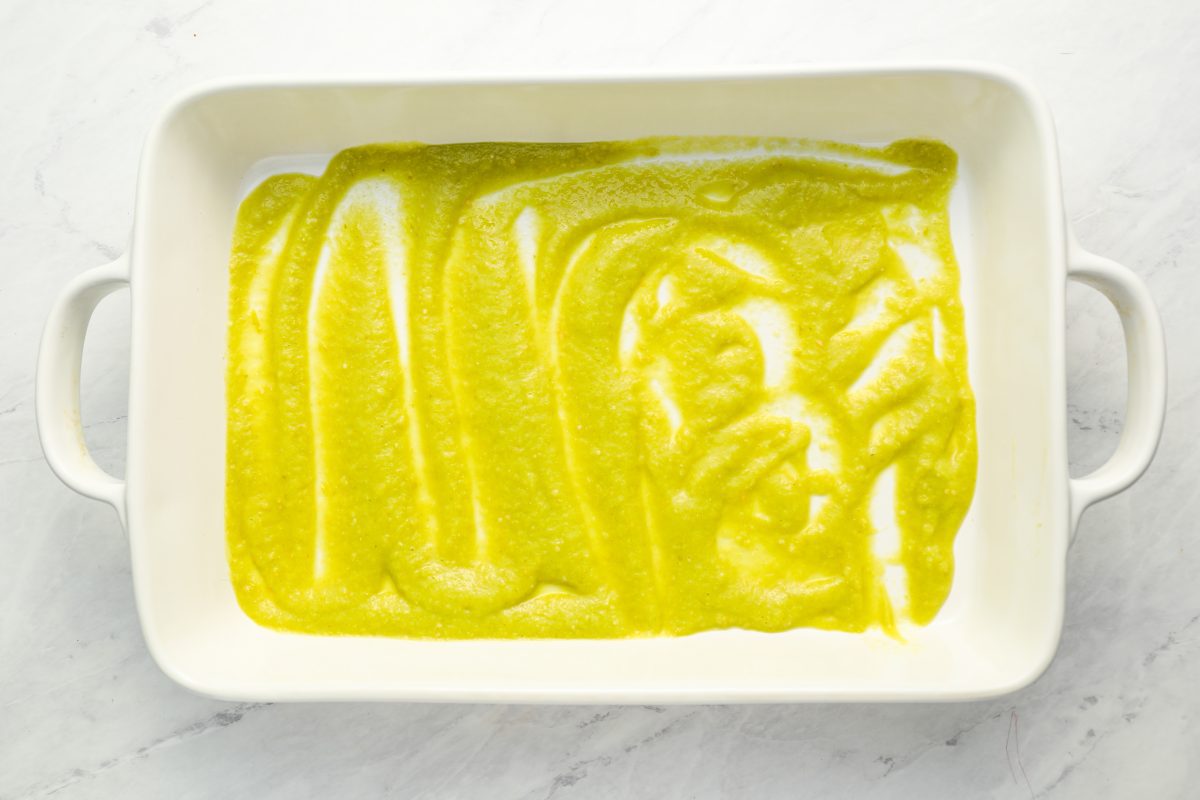
Spread 3/4 cup of the tomatillo sauce on the bottom of a 9 x 13-inch baking dish.
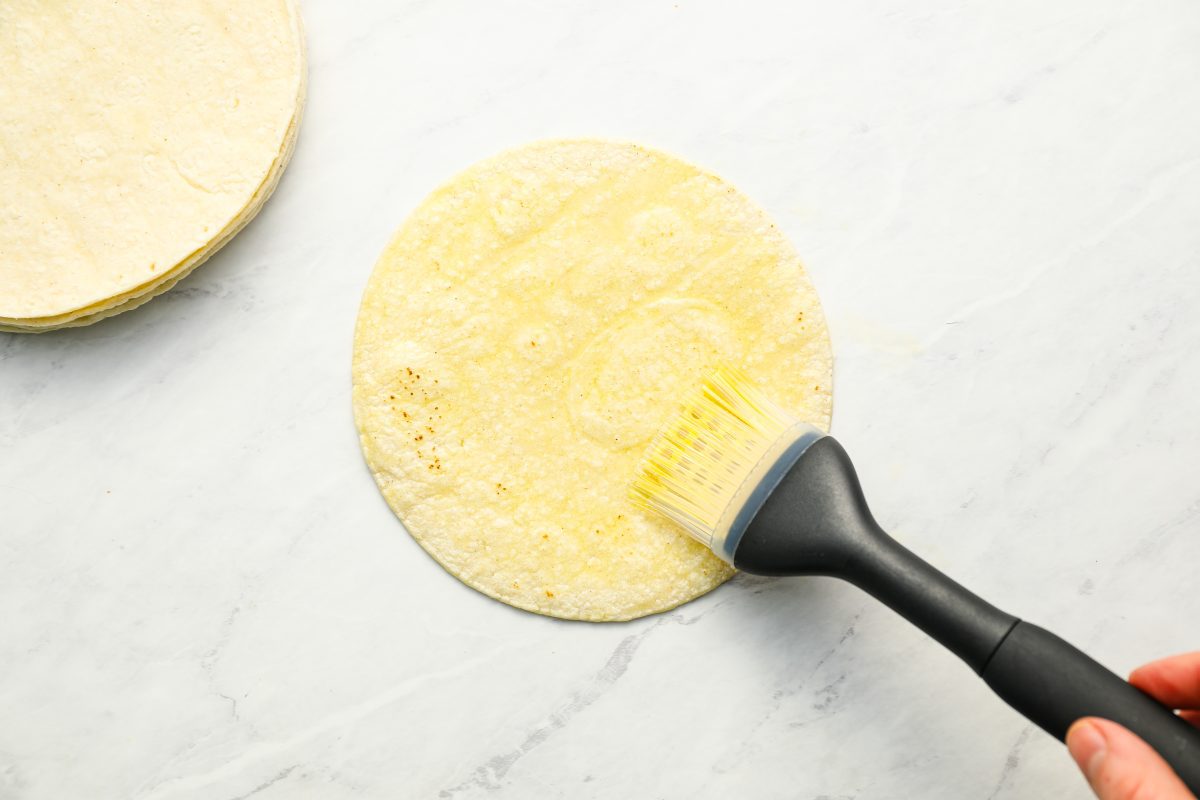
Next, brush each tortilla on both sides with oil. Stack them on a plate and microwave until hot and steamy, about 2 minutes. This makes them pliable; if you skip this step, they’ll shred to pieces when you roll them.
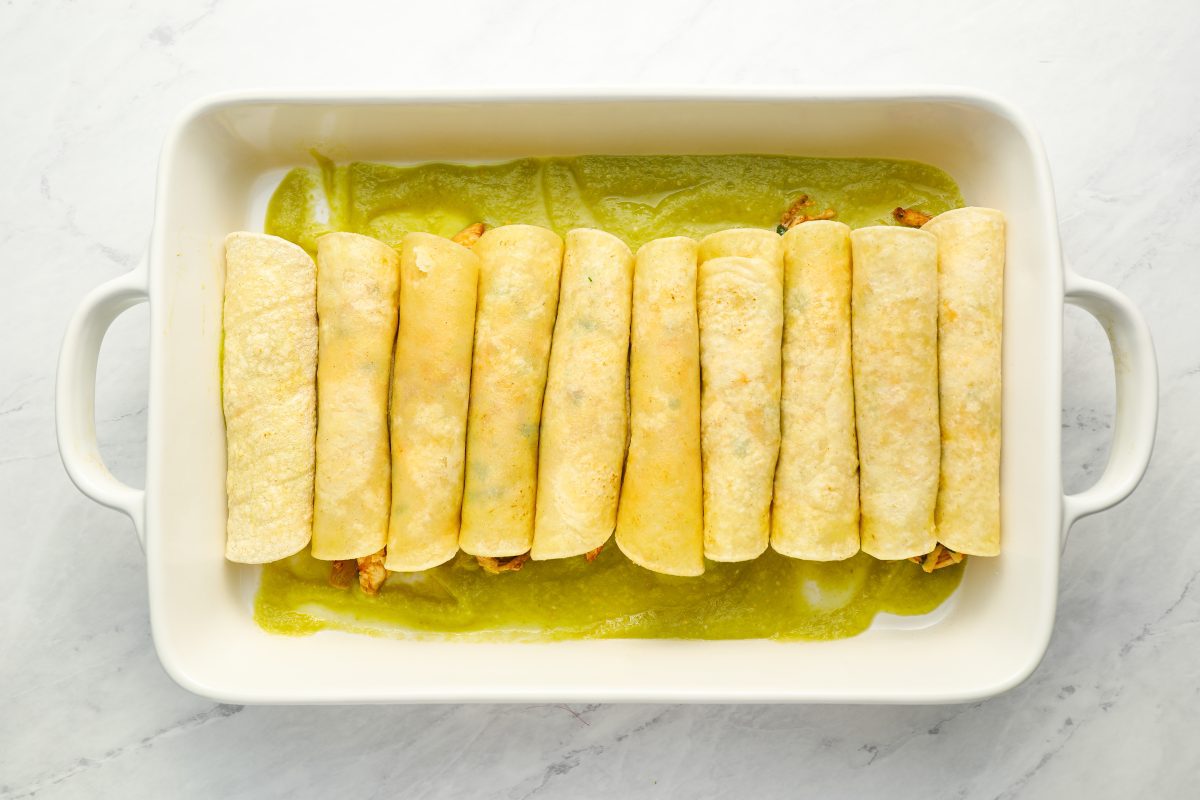
Spoon the filling down the middle of each tortilla. Then roll tightly with your hands. Place the enchiladas side by side, seam side down, in the prepared baking dish. Pour the remaining sauce over top.
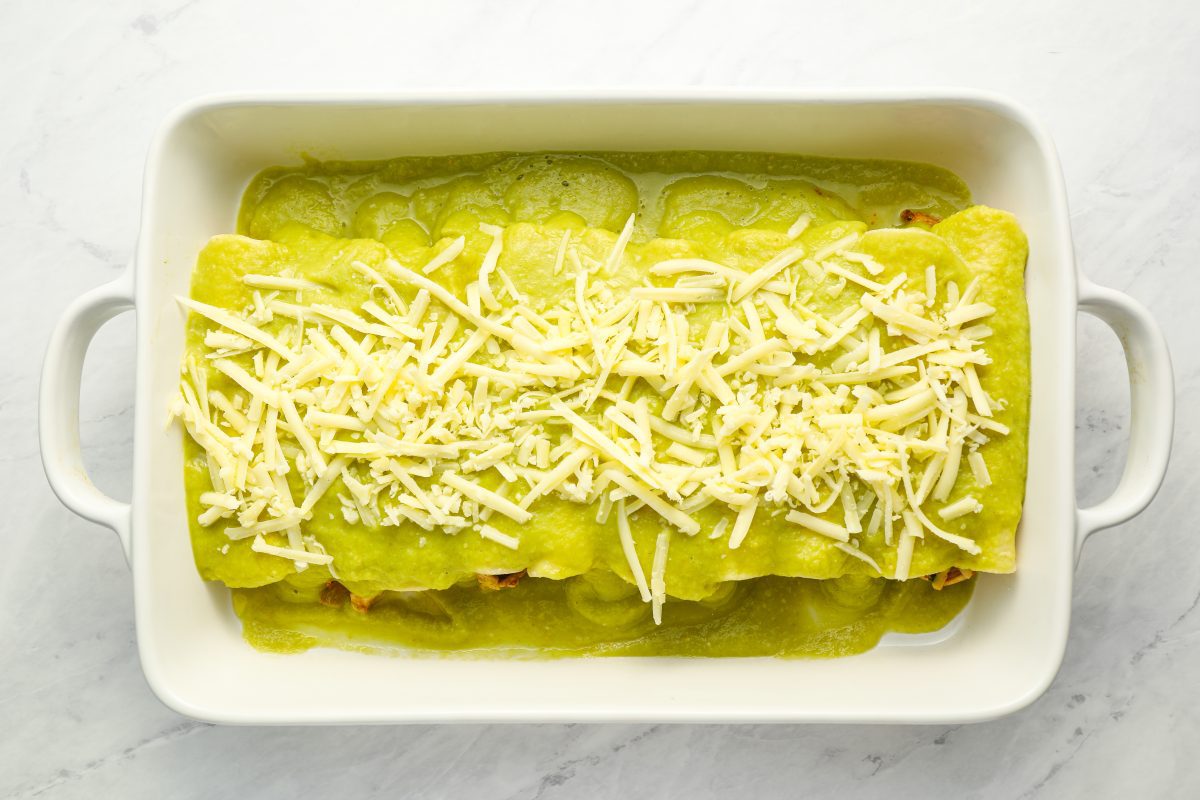
Spread the sauce evenly over the tortillas, then sprinkle with more grated cheese.
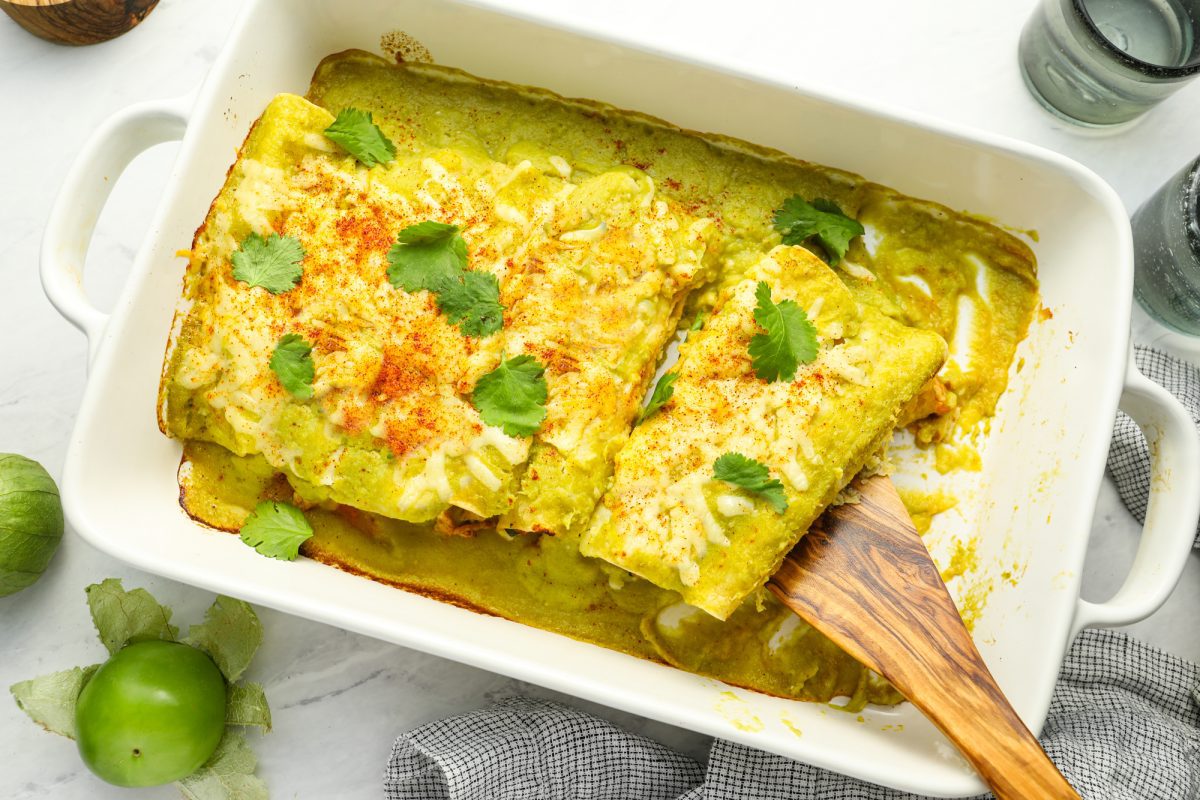
Bake until sauce is hot and bubbling and cheese is melted, 15 to 20 minutes. Sprinkle the enchiladas with smoked paprika—it makes them look pretty but also adds more delicious smoky flavor—and cilantro, if you like.
Frequently Asked Questions
To reduce the spiciness of the enchiladas, there are several adjustments you can make. First, when preparing the tomatillo sauce, remove the seeds and veins from the jalapeño chiles, as this is where most of the heat resides. If you’re particularly sensitive to spice, you can reduce the number of jalapeños used in the recipe or substitute them with a milder green chile, such as poblanos. Additionally, the cooling effects of dairy can help balance spiciness, so serving your enchiladas with a dollop of sour cream can make them more palatable if you’re looking to tone down the heat.
Yes, the enchiladas can be assembled up to one day ahead of time, tightly covered with foil, and refrigerated until ready to bake. Allow a few extra minutes in the oven if baking from cold.
Yes, the enchiladas can be frozen after baking for up to 3 months. When ready to serve, defrost them in the refrigerator overnight and then reheat, covered in foil, in a 325°F (165°C) oven until hot.
Video Tutorial
You May Also Like
Chicken Enchiladas with Tomatillo Sauce
Brimming with smoky, tender chicken and gooey cheddar cheese, all smothered in a tangy tomatillo sauce, chicken enchiladas promise comfort in every bite.
Ingredients
For The Sauce
- 1 tablespoon olive oil
- 1 medium yellow onion, roughly chopped
- 3 medium cloves garlic, peeled and smashed with the side of a chef's knife
- ¾ pound tomatillos, husks and stems removed, cut into 1-inch chunks
- 3 jalapeño chiles, seeded and roughly chopped (see note)
- 1 teaspoon sugar
- ¾ teaspoon salt
- ¼ teaspoon ground cumin
For the Filling
- 1 pound chicken tenderloins
- 2 teaspoons ground cumin
- 1½ teaspoons smoked paprika
- 1 teaspoon salt
- 2 tablespoons olive oil
- 1 medium yellow onion, chopped
- ½ cup chopped fresh cilantro leaves
- 8 ounces (2 cups) shredded sharp cheddar cheese
For Assembling
- 10 to 12 6-inch corn tortillas
- 2½ tablespoons olive oil
- 3 ounces (¾ cup) shredded sharp cheddar cheese
- Smoked paprika
For Serving (optional)
- Cilantro leaves, sour cream, shredded lettuce, avocado, lime wedges
Instructions
For the Tomatillo Sauce
- Heat the oil in a medium saucepan over medium heat. Add the onions and garlic and cook, stirring occasionally, until softened, about 5 minutes. Add the tomatillos, jalapeños, sugar, salt, cumin and ⅓ cup water; bring to a simmer, then reduce the heat to medium-low and simmer until tomatillos are softened, about 8 minutes. Transfer the mixture to a blender and purée until completely smooth. Set aside.
For the Filling
- Place the chicken tenderloins in a medium bowl and sprinkle with the cumin, smoked paprika and salt. Toss with tongs until the chicken is evenly coated with the spice blend.
- Heat the oil in a large nonstick sauté pan until shimmering but not smoking. Add the chicken and cook until just done, about 2 minutes per side; transfer to a plate to cool. Do not rinse the pan. Add the onions and reduce the heat to medium. Cook, stirring occasionally, until soft, about 5 minutes. Remove the pan from the heat.
- Once the chicken is cool enough to handle, shred it into bite-sized pieces. (All tenderloins have a tough tendon running through them; just remove it.) Add the shredded chicken to the pan with the onions, along with the chopped cilantro and shredded cheese.
To Assemble
- Preheat oven to 400 degrees.
- Spread ¾ cup of the tomatillo sauce on the bottom of a 9 x 13-inch baking dish.
- Pour the oil into a small bowl or ramekin. Using a pastry brush (or your hands), brush both sides of each tortilla with oil, then stack them on a plate and microwave until hot and steamy, 1½ - 2 minutes. This makes them pliable.
- Spoon about ⅓ cup of the filling down the center of each tortilla. Roll each tortilla tightly and place side by side in the baking dish, seam side down.
- Pour the remaining chili sauce over the top, and use the back of a spoon to spread evenly over each tortilla. Sprinkle the cheese down the center of the enchiladas. Bake until hot and bubbling, 15 to 20 minutes. Sprinkle the smoked paprika down the center of the enchiladas and serve immediately with sour cream, lettuce, avocado and lime wedges.
- Note: If you touch the seeds of the jalapeño pepper, avoid touching your eyes and wash your hands well afterward.
- Make-Ahead/Freezer-Friendly Instructions: The enchiladas can be assembled up to one day ahead of time, tightly covered with foil, and refrigerated until ready to bake. Allow a few extra minutes in the oven if baking from cold. The cooked enchiladas can be frozen for up to 3 months. When ready to serve, defrost them in the refrigerator for 24 hours and then reheat, covered in foil, in a 325°F oven until hot.
Pair with
Nutrition Information
Powered by ![]()
- Per serving (6 servings)
- Calories: 668
- Fat: 44 g
- Saturated fat: 14 g
- Carbohydrates: 44 g
- Sugar: 6 g
- Fiber: 6 g
- Protein: 27 g
- Sodium: 707 mg
- Cholesterol: 82 mg
This website is written and produced for informational purposes only. I am not a certified nutritionist and the nutritional data on this site has not been evaluated or approved by a nutritionist or the Food and Drug Administration. Nutritional information is offered as a courtesy and should not be construed as a guarantee. The data is calculated through an online nutritional calculator, Edamam.com. Although I do my best to provide accurate nutritional information, these figures should be considered estimates only. Varying factors such as product types or brands purchased, natural fluctuations in fresh produce, and the way ingredients are processed change the effective nutritional information in any given recipe. Furthermore, different online calculators provide different results depending on their own nutrition fact sources and algorithms. To obtain the most accurate nutritional information in a given recipe, you should calculate the nutritional information with the actual ingredients used in your recipe, using your preferred nutrition calculator.


I made these over the weekend and they turned out excellent thank you. I’d never so much as held a tomatillo before, let alone made a salsa verde from scratch, so I appreciated your taking the time out to explain more about tomatillos and also to provide a before & after photo for how to prep them for this recipe.
I would 2nd your comment about wearing gloves while handling jalapenos. The first time I didn’t, and I was fine (the jalapenos were from a local big chain supermarket)… I had enough filling & tacos remaining to make leftovers the following day, but used up all of the original sauce, so I made a fresh sauce from scratch and bought more jalapenos – this time organic ones from Whole Foods… just two… but even with dutiful washing after handling, my fingers are still buzzing from the chile heat even 2.5 hours after handling the jalapenos (and as I type this). I don’t think organic / non-organic and Whole Foods / other markets had anything to do with it, but just wanted to comment that one should be cautious about their heat if you are sensitive to capsaicin (chile heat).
As a subscriber to Cooks Illustrated, I was able to compare your recipe to their original one. I very much enjoy your insights when you decide to depart from the original recipe – esp. in this case with your approach to softening the tortillas with a brush of oil instead of using a fuel propelled veg. spray: your decisions seem far more practical and, for lack of a better word… professional-chef-like. The only thing I didn’t do was add the garlic in with the onions right away as you suggested, as I was afraid of burning the garlic if I left them in there for 5 min (the CI recipe calls for the adding of the garlic later, with the jalapenos, etc., and that’s what I did). Am I being overly cautious?
Thanks again – I’ve also made your Cashew Chicken recipe and it, too, was delicious.
Red
Hi Red, So glad you enjoyed the enchiladas. I too have had problems with jalapeños so I can empathize! Your instincts are right about the garlic — but if you compare the two recipes, I believe the Cooks Illustrated recipe calls for the garlic to be minced while mine calls for the garlic to be left whole (or smashed). Minced garlic will most definitely burn if added at the same time as the onions, however large pieces of garlic will be just fine (and that saves you the trouble of having to chop the garlic). Hope that helps and thanks so much for leaving such a thoughtful comment.
Followed the recipe to a T! Absolutely wonderful. Also made homemade peanut butter ice cream with chocolate peanuts in it. It’s a good night 🙂
That does sound like a good night! Please send me the peanut butter ice cream recipe!
OK, these definitely took me more than an hour to make – but they were totally worth it! Such wonderful flavors! Hopefully I’ll be quicker next time I make them 🙂 I made a corn salad with avocados and red peppers to serve on the side. Thanks for a delicious recipe!
The tomatillo sauce is delicious! Just happened to have all of the ingredients. Since we had enchilidas for lunch, I made chicken cutlets and smothered them with the sauce and topped with melted Monteray Jack cheese. I’ll make the enchilidas next time, but for now this was excellent! The sauce was so good I couldn’t stop dipping tortilla chips in it! Thank you for another wonderful recipe!
I have been making a chicken and swiss enchilada with tomatillo sauce for years. I am looking forward to trying your recipe. I found a very easy and yummy tomatillo sauce by Sunny Anderson from food network and she makes it by roasting the tomatillos, garlic, shallots, and jalepenos. I actually cheat and use my immersion blender to blend the mixture once it is roasted. I love how delicious your recipe looks and will definitely try it next week!
Why not fill the tortillas and refrigerate ahead of time? Such that when company comes all you have to do is add the sauce/cheese and pop in the oven. Will it break down the tortillas?
Hi Amy, Good question. I haven’t tried that, but think it would probably be fine. The only thing is that I would add the sauce to the top of the enchiladas before refrigerating them because as they dry out, then tend to tear and fall apart.
I did this a few hours ahead of time and a lot of the sauce was absorbed into the tortillas which made them a bit soggy. I also didn’t have extra sauce to add on top before putting them in the oven which might have helped. It tasted ok, but I have made this recipe a few times and prefer assembly right before baking. You can have everything ready ahead of time. (my 2c)
Thanks – looks great!
Yum! I can’t wait to make this recipe. Love your recipes
Oh, I am so making these! Your meal looks wonderful. Pinning 🙂
Should all of the ingredients be available at Whole Foods?
Fantastic, as always!
Yes…hope you enjoy it!
Can I make this dish in the morning, refrigerate, then cook in the evening? Thanks
Sure, Karen – that’ll work fine.
We had these last night. Delicious, fresh taste.
I made the sauce two days ahead, and it all went together smoothly this morning