Cheesecake Bars
This post may contain affiliate links. Read my full disclosure policy.
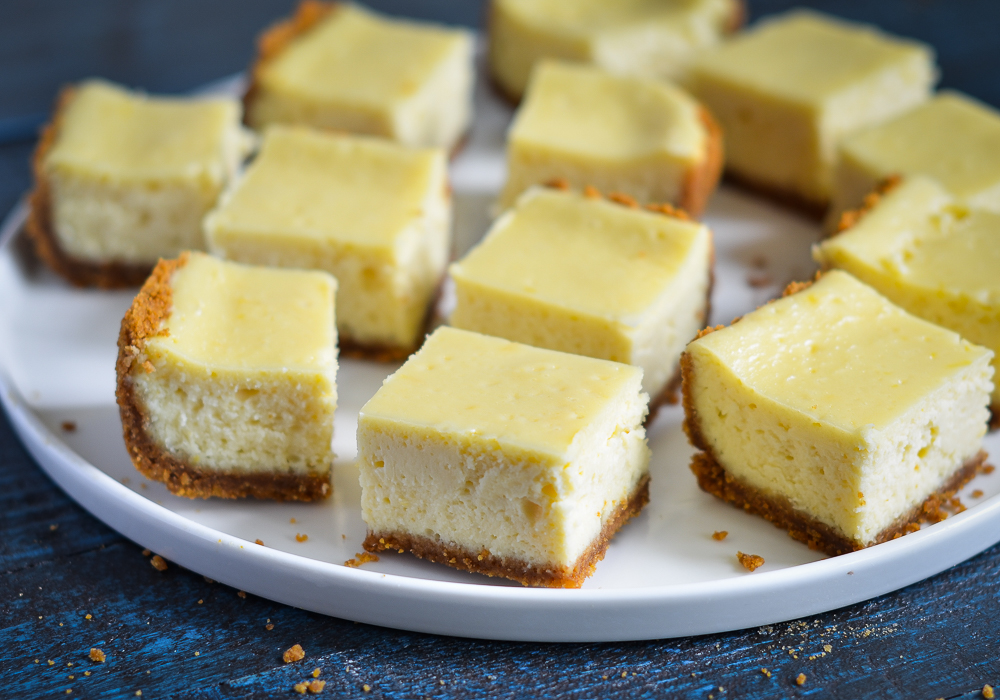
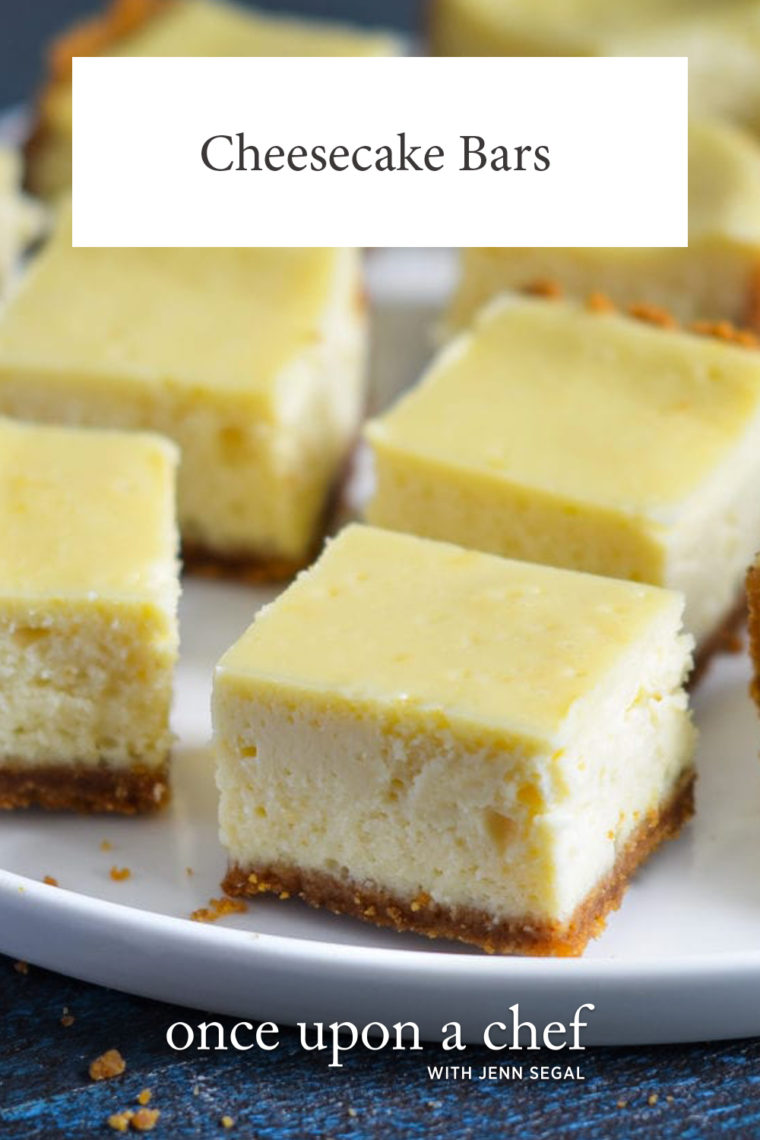
Dense and creamy with a hint of lemon and a crisp graham cracker crust, these cheesecake bars are an easy and delicious alternative to NY cheesecake.
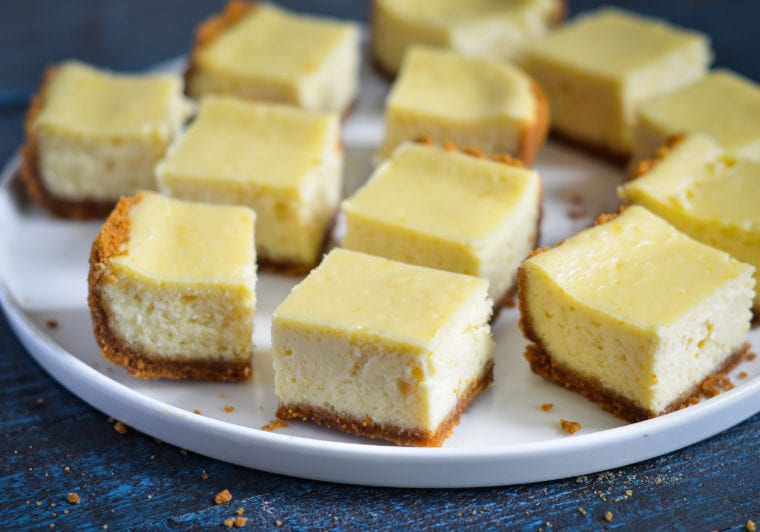
Cheesecake is one of the most crowd-pleasing desserts you can make, but baking one at home can be a project. Traditional cheesecakes need to be baked in a water bath to prevent curdling and cracking, and it can be tricky to tell when they’re done. This cheesecake bar recipe, however, is a whole different story. Dense and creamy with crisp and buttery graham cracker crust, the bars are not only a cinch to make (with a prep time of only 20 minutes!), but they also rival the very best New York cheesecake out there. They also have a high crust-to-cheesecake ratio so if you’re a crust-fan like me, you’ll love them.
“Just made these and oh. my. god. Perfect if you don’t want to make a whole cheesecake.”
What You’ll Need To Make Cheesecake Bars
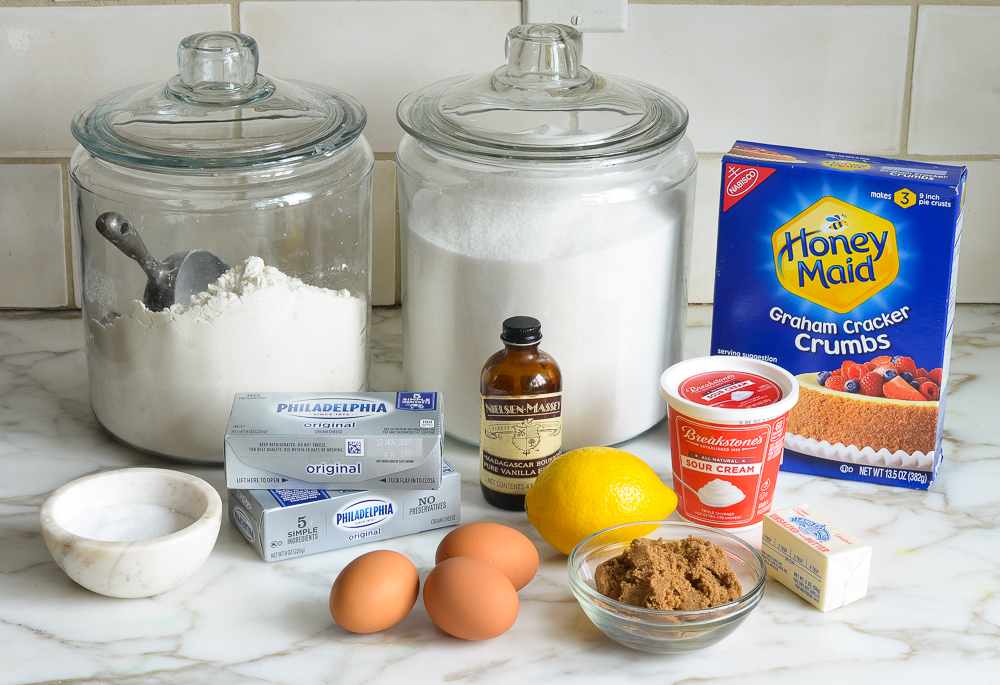
- Graham Cracker Crumbs: Form the base of the crust, providing a sweet and slightly crunchy texture.
- Butter: Binds the crumbs together and, when melted, performs like glue creating a cohesive crust.
- Brown Sugar: Provides sweetness and adds a rich, caramel-like flavor to the crust.
- Cream Cheese: Forms the creamy and dense texture of the cheesecake bars, providing richness and flavor. I recommend Philadelphia brand (and make sure to use full-fat cream cheese).
- Granulated Sugar: Sweetens the filling, balancing out the tanginess of the cream cheese.
- All-Purpose Flour: Helps to stabilize the filling and prevent cracking while baking. It also makes the filling a bit lighter and fluffier.
- Sour Cream: Adds tanginess and creaminess to the filling and contributes to its smooth texture.
- Large Eggs: Bind the filling together and provide structure, resulting in a dense and creamy consistency.
- Vanilla Extract: Enhances the flavor of the filling with its warm and aromatic notes.
- Lemon Zest And Lemon Juice: Infuse the filling with a very subtle hint of lemon flavor, adding brightness and freshness to the cheesecake bars.
- Jump to the printable recipe for precise measurements
Step-By-Step Instructions
Begin by making the graham cracker crust. In a medium bowl, combine the graham cracker crumbs, brown sugar, salt, and melted butter.
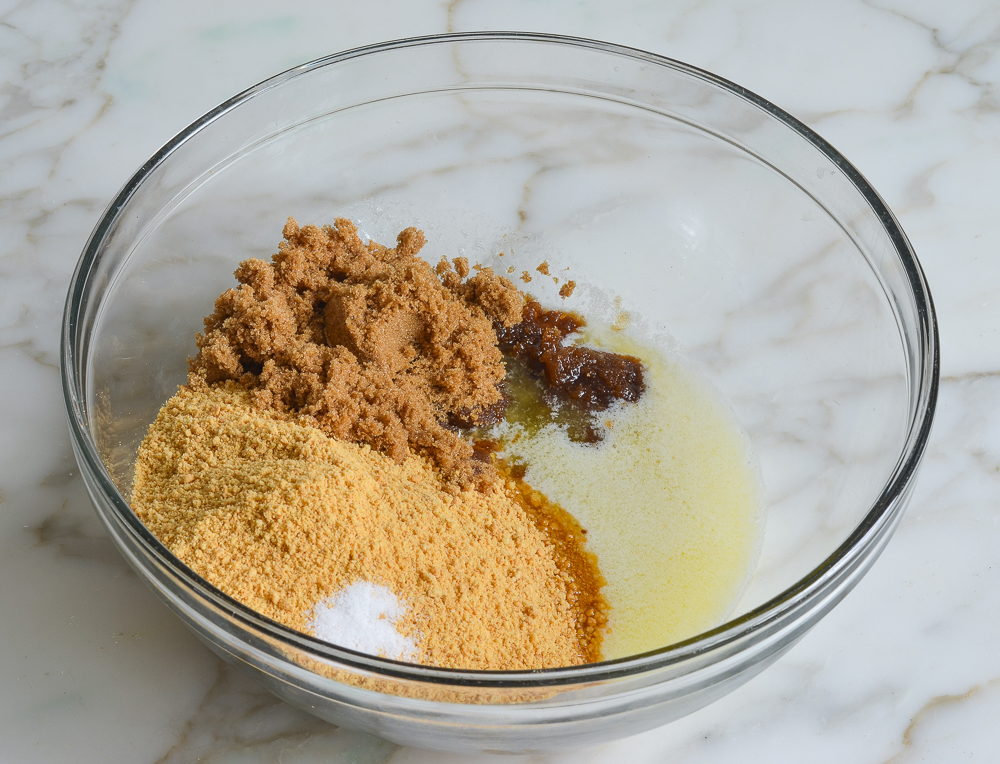
Stir, using your fingertips if necessary, until well combined with no lumps of brown sugar remaining.
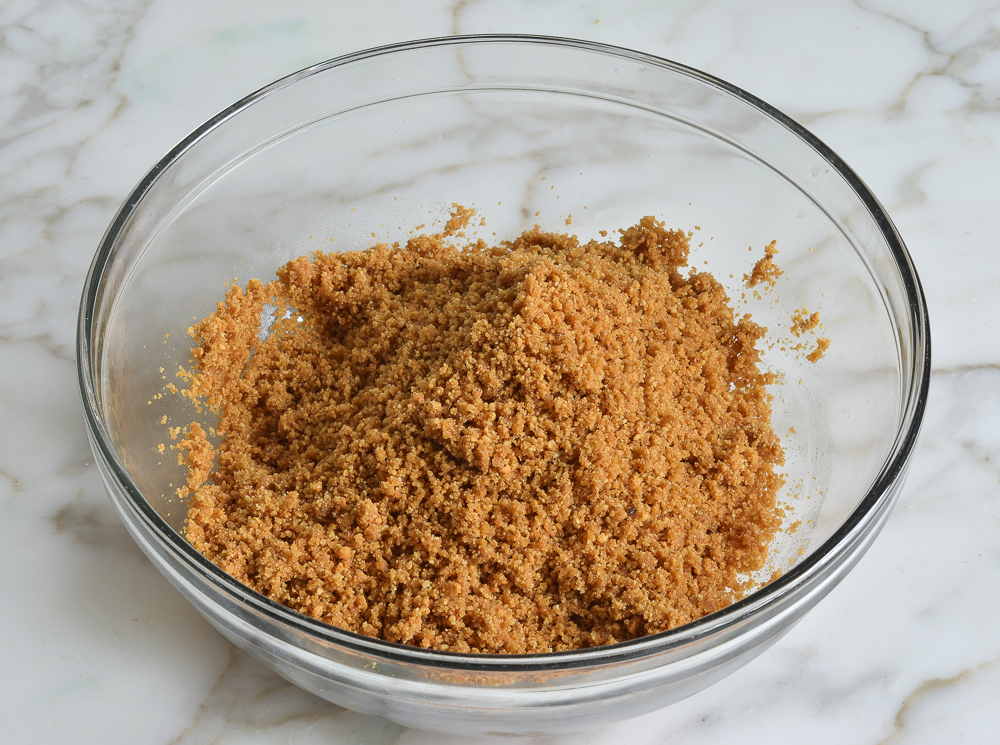
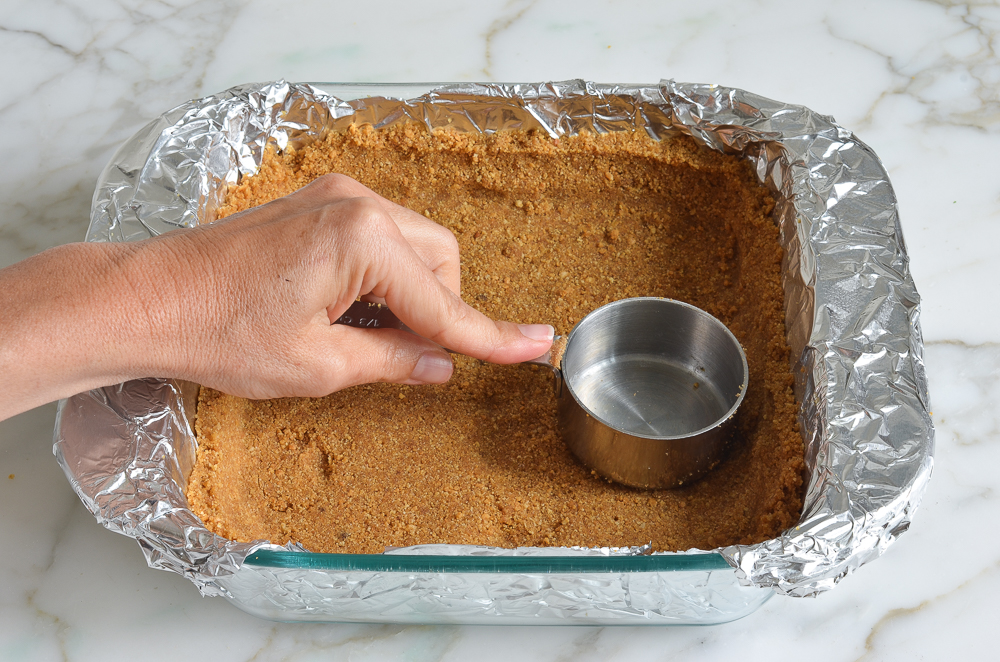
Press into the bottom and 1 inch up the sides of the prepared 8-inch square baking pan. Bake for 10 minutes, until set. Remove the crust from the oven and set aside.
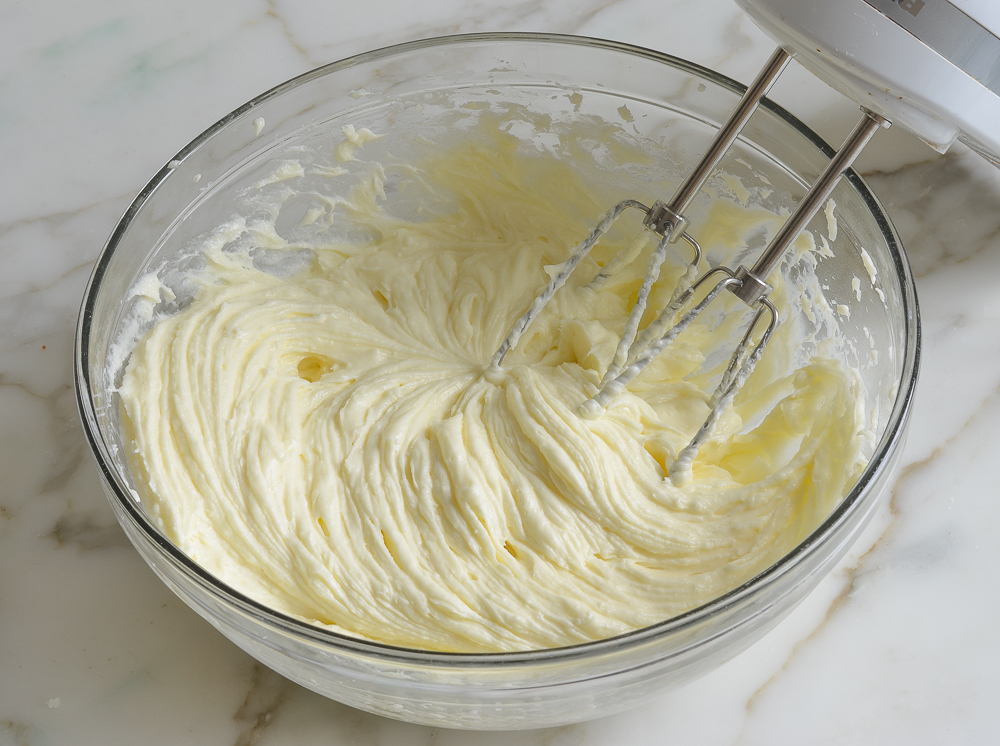
Meanwhile, make the batter. In the bowl of an electric mixer (either a stand mixer fitted with the paddle attachment or a hand-held mixer with beaters), beat the room temperature cream cheese, granulated sugar, and flour together until just smooth, about 1 minute.
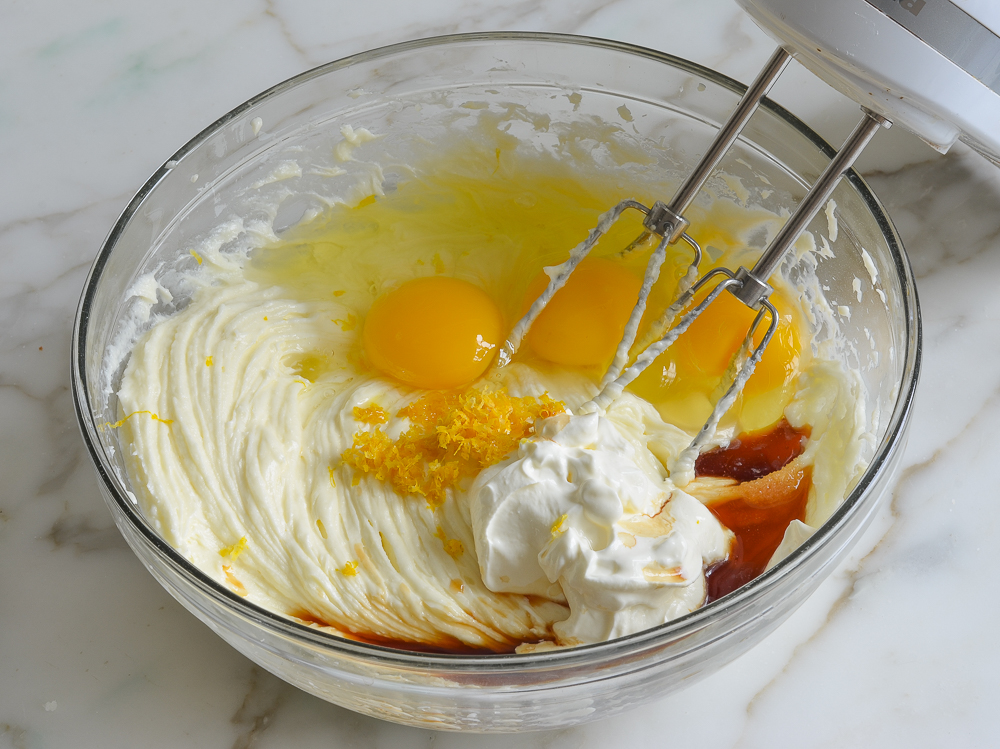
Add the sour cream, eggs, vanilla, lemon zest, lemon juice, and salt.
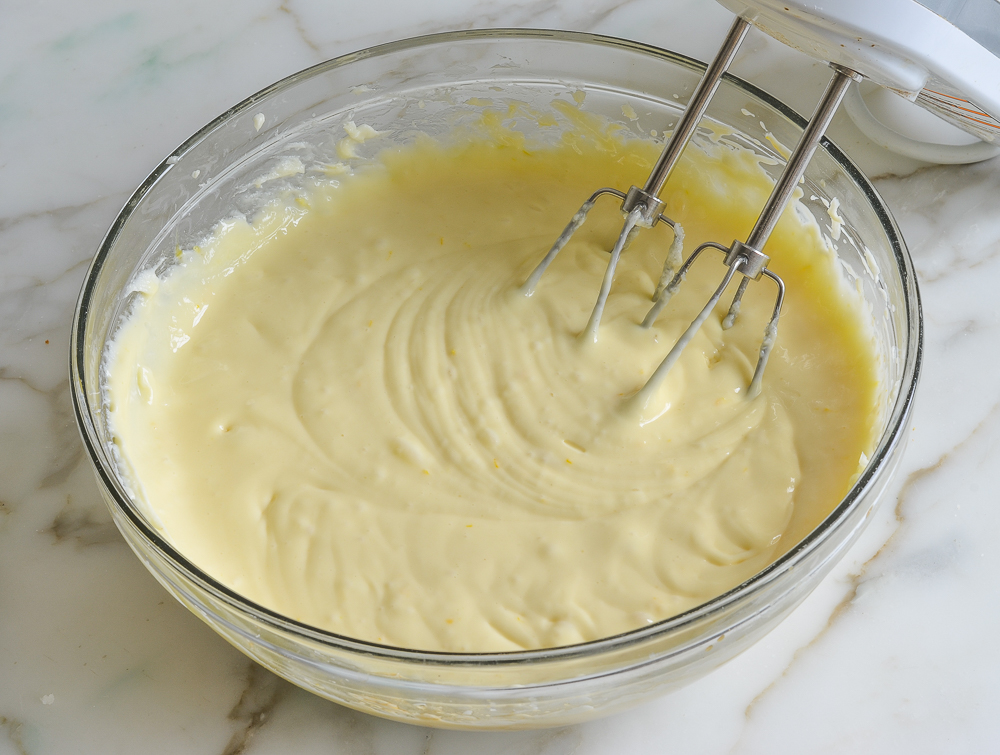
Beat on low speed until just combined, about 1 minute, scraping the sides and bottom of the bowl as you mix. Do not over-mix.
Pour the batter into the warm crust.
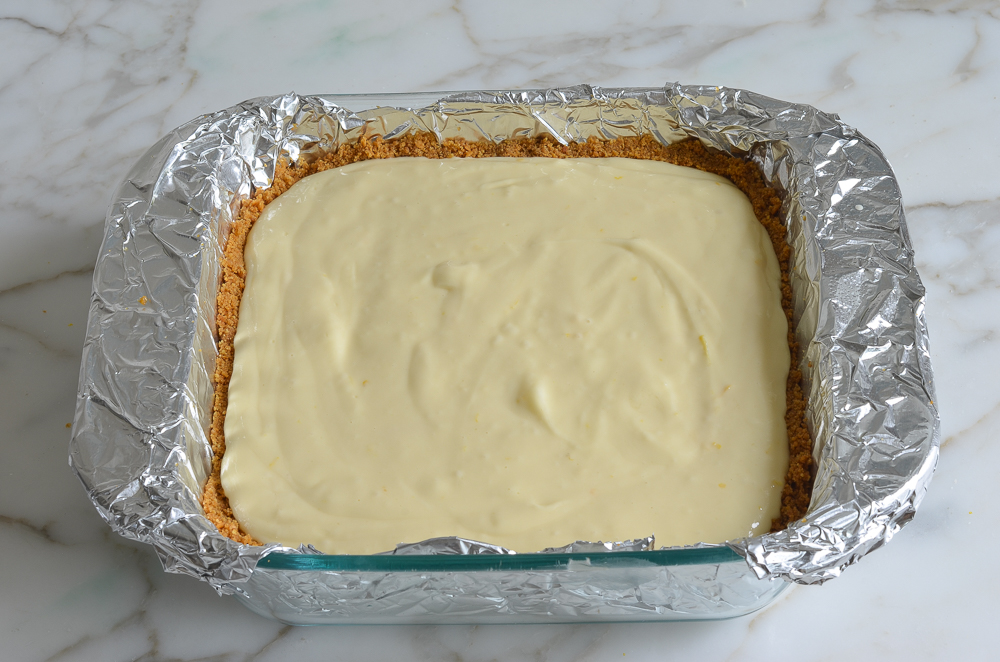
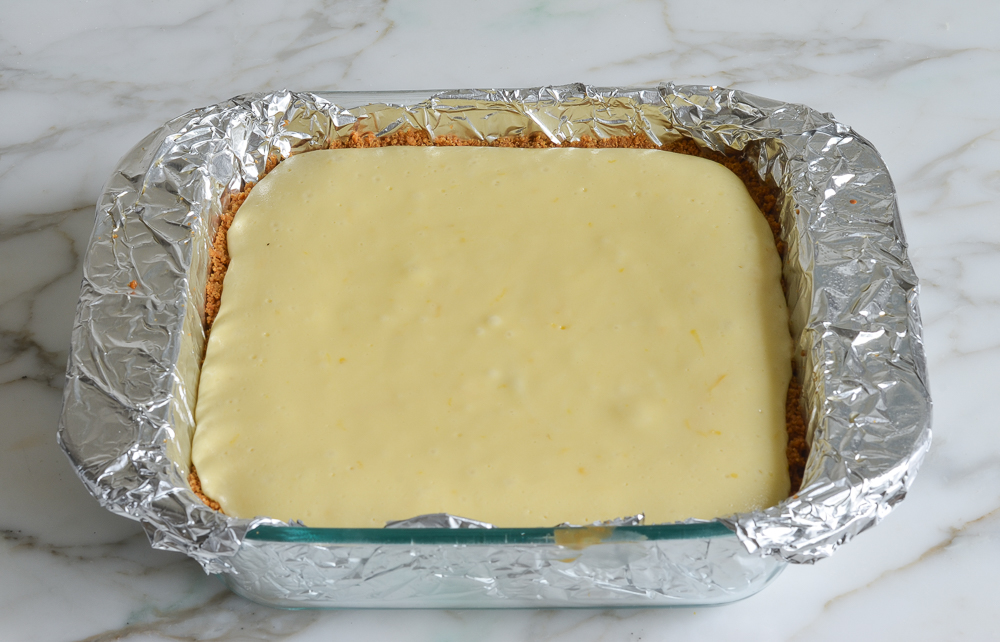
Bake for about 45 minutes, until the filling is set but still a little jiggly in the center (it will continue to cook as it cools). An instant-read thermometer, inserted into the filling about 1″ in from the edge, should read 180°F-190°F. Remove the bars from the oven, and cool at room temperature for 30 minutes. Refrigerate until cold, at least 6 hours but preferably overnight.
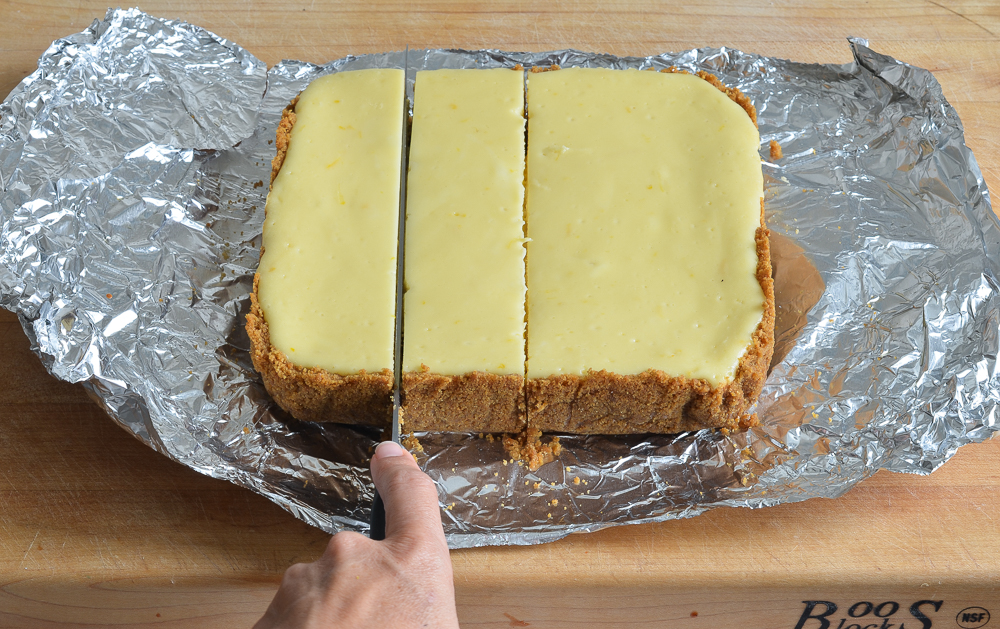
Before serving, use the foil overhang to lift the cheesecake out of the pan and onto a cutting board. Cut into squares, wiping the knife clean with a damp cloth between slices. Serve cold and enjoy!
Make-Ahead, Freezing & Storage Instructions
Cheesecake bars keep nicely in an airtight container in the fridge for up to 3 days. They can also be frozen for up to 3 months. To freeze, place the cooled cheesecake (cut or uncut) on a plate and freeze, uncovered, until firm. Remove the cheesecake bars from the freezer, wrap in heavy-duty aluminum foil, and place in a freezer bag. Seal and return to freezer for up to 3 months. Remove the foil before thawing.
The lemon flavor is subtle, but if you don’t want to include it, it’s perfectly fine to omit it (it doesn’t have any impact on the texture of the cheesecake).
Although cheesecake bars are much less finicky than standard cheesecake, I don’t recommend adding anything to the batter.
You May Also Like
Cheesecake Bars
Dense and creamy with a hint of lemon and a crisp graham cracker crust, these cheesecake bars are an easy and delicious alternative to NY cheesecake.
Ingredients
For the Crust
- 1¼ cups graham cracker crumbs, from 10 whole crackers
- 4 tablespoons unsalted butter, melted
- ¼ cup packed dark brown sugar
- ⅛ teaspoon salt
For the Filling
- 16 ounces (2 8-oz. packages) cream cheese, at room temperature
- 1 cup granulated sugar
- 1½ tablespoons all purpose flour
- ¼ cup sour cream
- 3 large eggs
- 2½ teaspoons vanilla extract
- ½ teaspoon packed freshly grated lemon zest, from 1 lemon
- 1 teaspoon lemon juice
- ⅛ teaspoon salt
Instructions
- Preheat the oven to 375°F and set an oven rack in the middle position. Line an 8-inch baking dish with heavy-duty aluminum foil (so that there is an overhang on at least 2 sides) and spray lightly with nonstick cooking spray.
- Make the crust: In a medium bowl, combine the graham cracker crumbs, melted butter, brown sugar, and salt. Stir until well combined, using your fingertips if necessary to be sure no lumps of brown sugar remain. Press into the bottom and 1 inch up the sides of the prepared pan. Bake the crust for 10 minutes, until set. Remove the crust from the oven and set aside. Reduce the oven temperature to 325°F.
- Make the batter: In the bowl of an electric mixer fitted with beaters or the paddle attachment, beat the cream cheese, granulated sugar, and flour together on medium speed until just smooth, about 1 minute. Add the sour cream, eggs, vanilla, lemon zest, lemon juice, and salt; beat on low speed until just combined, about 1 minute. Do not over-mix.
- Pour the batter into the slightly cooled crust. Check to make sure your oven has cooled to 325°F, then bake for 40 to 45 minutes, until the filling is set but still a little jiggly in the center. (An instant-read thermometer, inserted into the filling about 1" in from the edge, should read between 180°-190°F.) The cheesecake will continue to cook as it cools. Remove the bars from the oven, and cool at room temperature for 30 minutes. Refrigerate until cold, at least 6 hours but preferably overnight.
- Use the foil overhang to lift the cheesecake out of the pan and onto a cutting board. Cut into squares, wiping the knife clean with a damp cloth between slices. Refrigerate until ready to serve.
- Note: The cheesecake bars can be stored in the refrigerator for up to 3 days.
- Freezer-Friendly Instructions: The cheesecake bars can be frozen for up to 3 months. To freeze, place the cooled cheesecake (cut or uncut) on a plate and freeze, uncovered, until firm. Remove the cheesecake from the freezer, wrap it in heavy-duty aluminum foil and place in a freezer bag. Seal and return to freezer for up to 3 months. Remove the foil before defrosting.
Nutrition Information
Powered by ![]()
- Per serving (16 servings)
- Serving size: 1 square
- Calories: 248
- Fat: 16 g
- Saturated fat: 9 g
- Carbohydrates: 24 g
- Sugar: 20 g
- Fiber: 0 g
- Protein: 3 g
- Sodium: 166 mg
- Cholesterol: 77 mg
This website is written and produced for informational purposes only. I am not a certified nutritionist and the nutritional data on this site has not been evaluated or approved by a nutritionist or the Food and Drug Administration. Nutritional information is offered as a courtesy and should not be construed as a guarantee. The data is calculated through an online nutritional calculator, Edamam.com. Although I do my best to provide accurate nutritional information, these figures should be considered estimates only. Varying factors such as product types or brands purchased, natural fluctuations in fresh produce, and the way ingredients are processed change the effective nutritional information in any given recipe. Furthermore, different online calculators provide different results depending on their own nutrition fact sources and algorithms. To obtain the most accurate nutritional information in a given recipe, you should calculate the nutritional information with the actual ingredients used in your recipe, using your preferred nutrition calculator.



Hi Jenn,
I recently found your site and was inspired by the ease of your recipes. This cheesecake was one of the first things I tried to make cause my family loves cheesecake! I rarely make desserts and have never baked from scratch – baking has always scared me because I know that the measurements need to be pretty precise. This recipe was an absolute success, and it was SO easy!! The cake was so smooth and the crust so delicious, my family would’ve thought that it was store-bought if I had not told them. Since then, I have tried a no. of other recipes and I’m hooked!!! You make everything so easy to follow and my family are starting to think that I can really cook 🙂
Can’t wait to try more of your recipes, and looking forward to summer rolling around to make all your delicious looking salad dishes.
So glad you’re having success with the recipes, Sue! ☺️
Coming out of the oven the cheesecake topping split from each corner. What caused this?
Hi Nan, Your oven may run a bit hot; try either turning down the heat 15°F or cooking for a few minutes less.
Do you cover the pan when you refrigerate overnight?
Hi Julie, Yes, you can cover with foil or plastic wrap.
This is my favorite cheesecake recipe out there! I find regular cheesecakes a bit heavy so this one one is perfect. I always make this for guests and everyone always loves it. It’s super easy to make and doesn’t take much time either! Recipe for the win!
I see in several recipes you use a square glass pan. Is it a Pyrex or someone elses?I had one but it chipped on the edges a lot. Now I cannot find glass only metal at William Sonoma or Sur La Table.
I love your recipes and cookbook. The cookbook made good gifts to my family.
Hi Rob, Yes, it’s a Pyrex. So glad you enjoy the recipes and the book!:)
Have made and shared this recipe numerous times for potlucks and neighborhood events. Easy to make and serve in small paper “squat” portion cups. Reliable and popular winning recipe. Thank you Jenn for this one!
Can you make small tarts with graham cracker crumbs with this recipe? If so, what would be the baking instructions. Thanks
Hi Nancy, I haven’t tried them this way, but I think it would work. The baking time really depends on the size of the tarts you’ll be making.
Can I use light brown sugar instead of dark brown?
Sure, Arlene. 🙂
Hi, Jenn – These look so wonderful! I was wondering if you could tell me how you would defrost these. I would love to make these ahead of a party and freeze them, but I want to make sure I don’t end up with a soggy crust. Thank you!
Hi Laura, I’d just place them in the fridge the day before you plan to serve them – should be fine. 🙂
These are simple to make and delicious! For ease of serving each piece can be put on a cupcake liner. Just flatten the liner to make room for the piece of cheesecake, then bring the sides of the liner up around it.