Cheddar Bay Biscuits
This post may contain affiliate links. Read my full disclosure policy.
Why wait for a table? Recreate the iconic Cheddar Bay biscuits right in your own kitchen. These cheesy, garlicky, herb-flecked biscuits have achieved cult-favorite status.
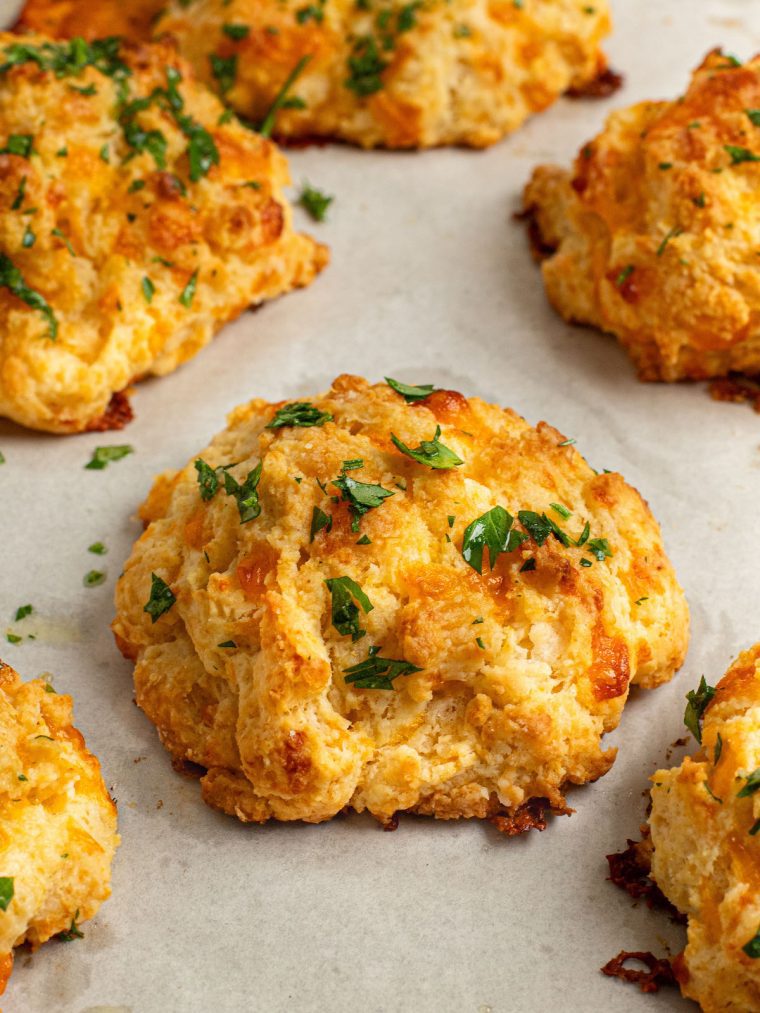
Red Lobster’s Cheddar Bay Biscuits are nothing short of legendary. Created to keep hungry diners happy while waiting for crab legs, shrimp, or their main course, these cheesy biscuits quickly became a hallmark of the Red Lobster dining experience. Now, with this copycat recipe, you can recreate them at home. And if you offer one up to anyone who’s ever dined at Red Lobster, you’ll see an instant spark of recognition—that blend of cheese, garlic, and herbs wrapped up in a tender buttermilk biscuit is pure nostalgia. Here’s a fun (and, yes, slightly disappointing!) tidbit: There’s no actual locale named “Cheddar Bay.” It’s a clever marketing move by Red Lobster, lending their biscuits a hint of coastal charm. Until 1993, they went by the simpler name, “Cheese Garlic Bread.”
This recipe is super simple, relying on kitchen staples you probably have on hand. The biscuits follow the “drop biscuit” method, which not only saves you from the hassle of rolling and shaping the dough but also guarantees those crave-worthy, textured edges—a wonderful contrast to the cheesy tenderness within. And while these biscuits hold their own alongside just about anything, given their name, it just seems right to pair them with seafood.
Table of Contents
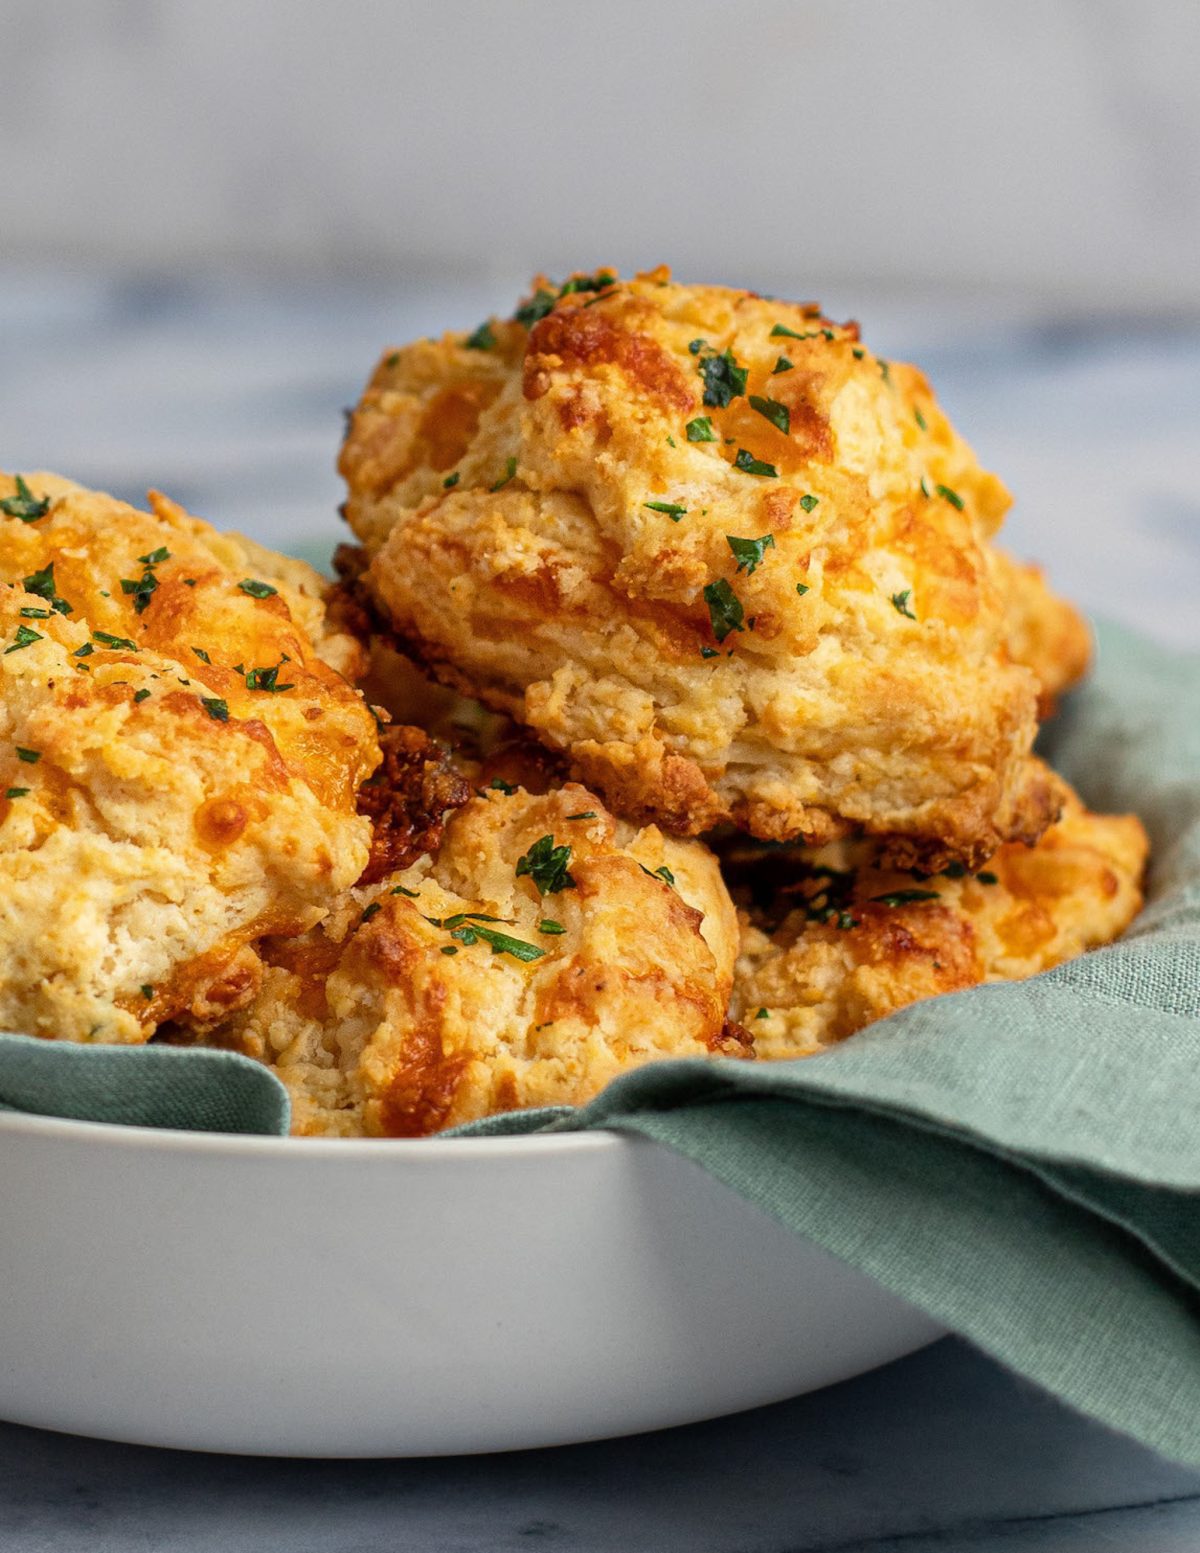
“Oh so so good! I’ve tried other recipes but yours tops any. The aroma it sent throughout our home made it very hard to be patient while waiting for them to bake.”
What You’ll Need To Make Cheddar Bay Biscuits
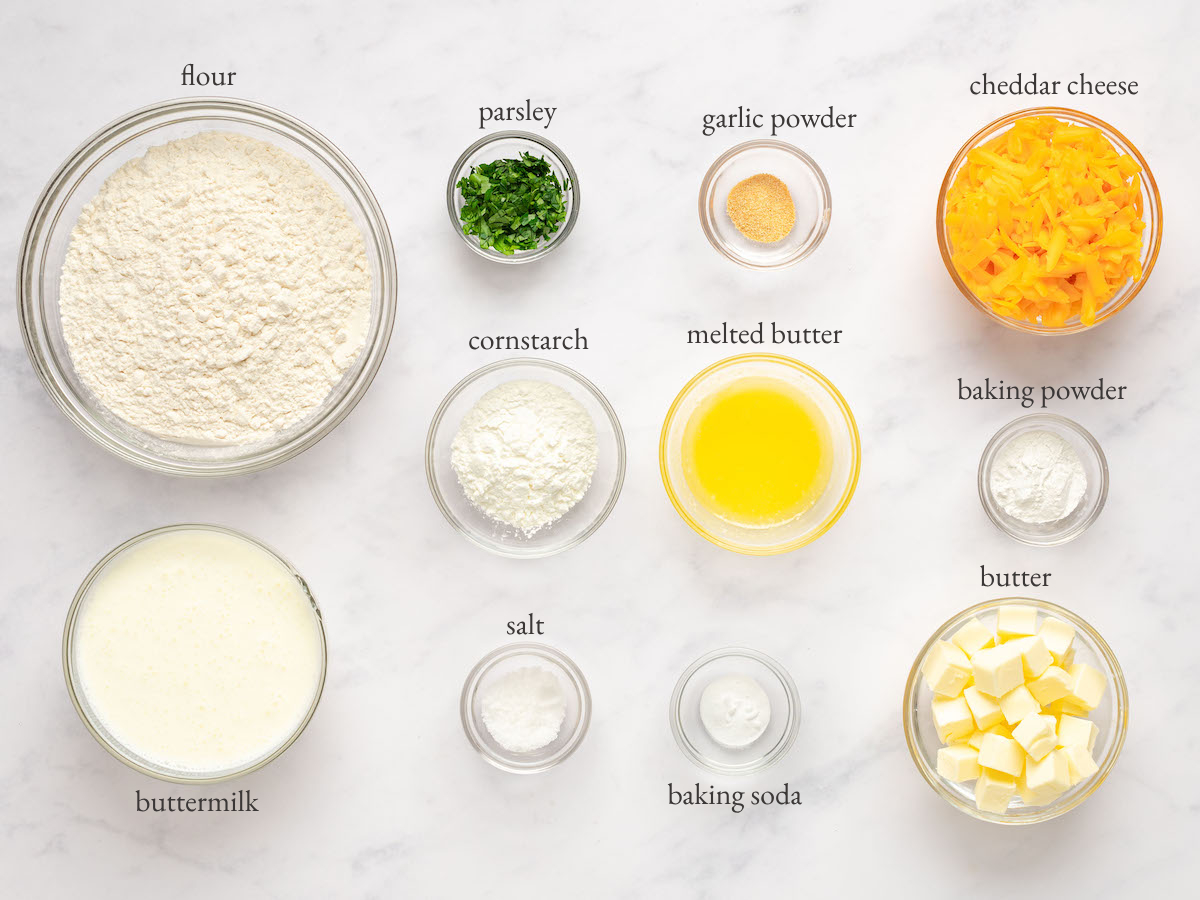
- All-Purpose Flour: Provides structure for the biscuits. To ensure accuracy, always measure flour by spooning it into the measuring cup and leveling off.
- Cornstarch: Contributes to a lighter, more tender texture by softening the flour’s protein.
- Baking Powder & Baking Soda: Help the biscuits rise and become fluffy.
- Garlic Powder: Adds savory flavor to both the biscuits and topping.
- Butter: Creates a flaky texture in the biscuits; adds richness to the topping.
- Cheddar Cheese: Adds tangy flavor and a rich texture to the biscuits. I like sharp cheddar cheese because it brings a bold flavor that complements the other savory ingredients perfectly.
- Buttermilk: Activates the leavening agents, adding moisture and a slight tang, resulting in tender, flavorful biscuits. If you’ve got vinegar or lemon juice and milk, you can make your own buttermilk.
- Fresh Parsley: Adds a fresh, herby flavor to the topping.
- Jump to the printable recipe for precise measurements
Step-by-Step Instructions
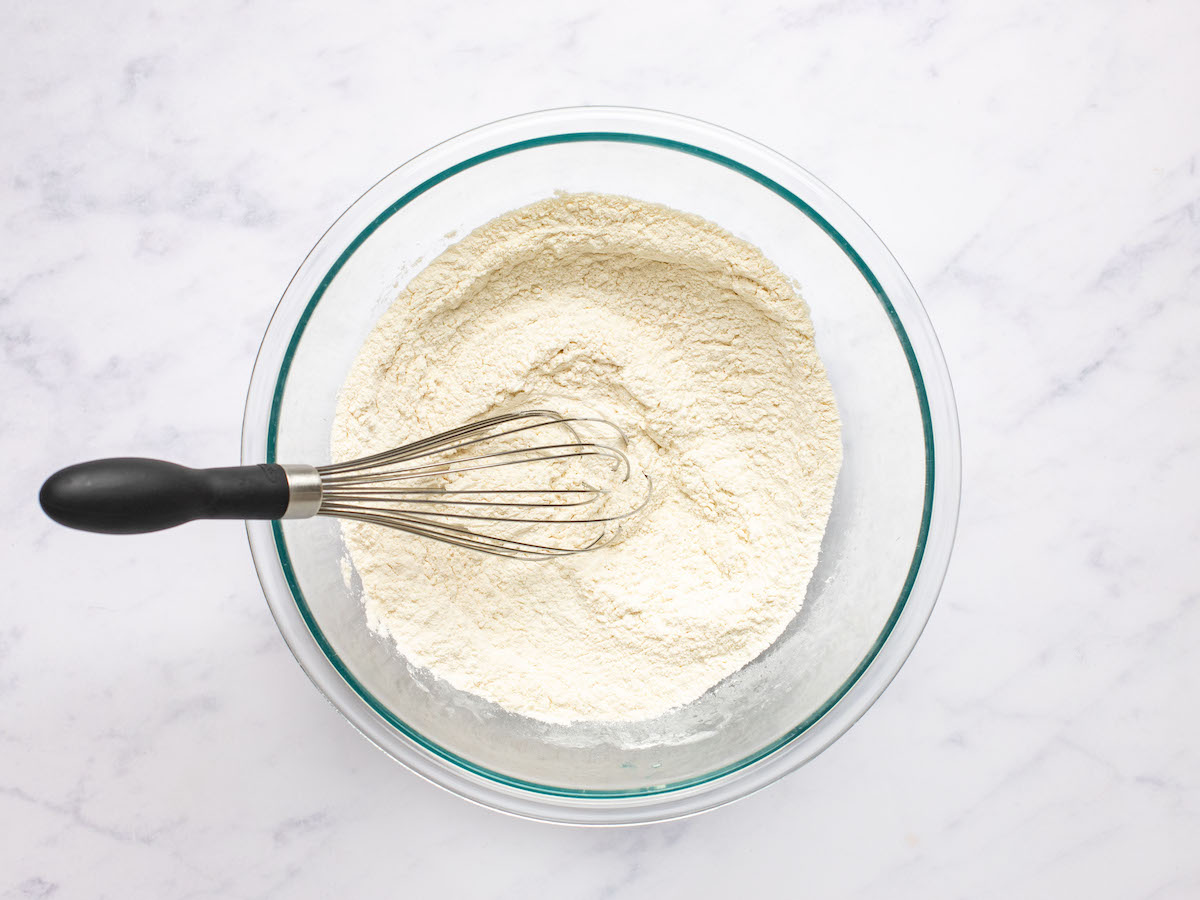
Preheat the oven to 425ºF and set an oven rack in the middle position. Line a 13×18-inch baking sheet with parchment paper. In a large bowl, whisk together the flour, cornstarch, baking powder, baking soda, salt, and garlic powder.
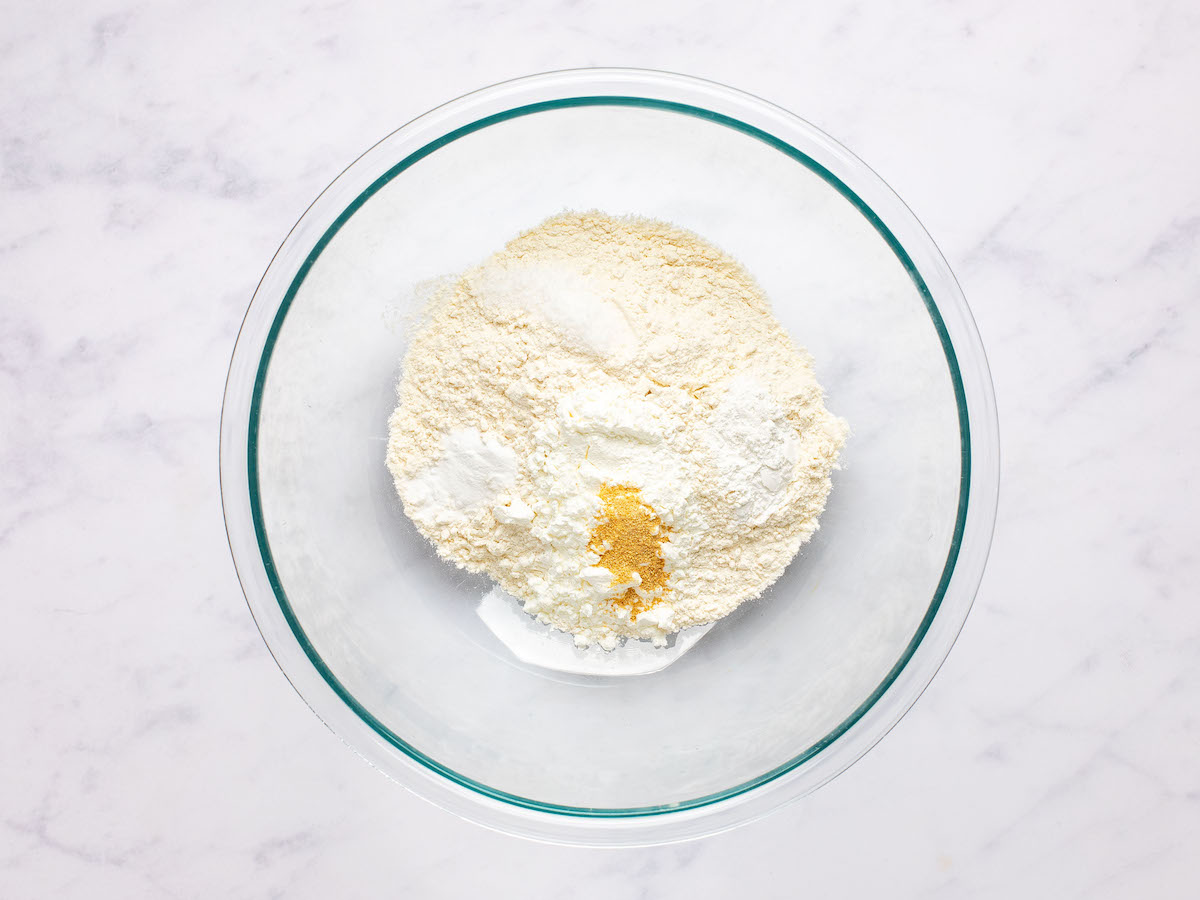
Whisk to combine.
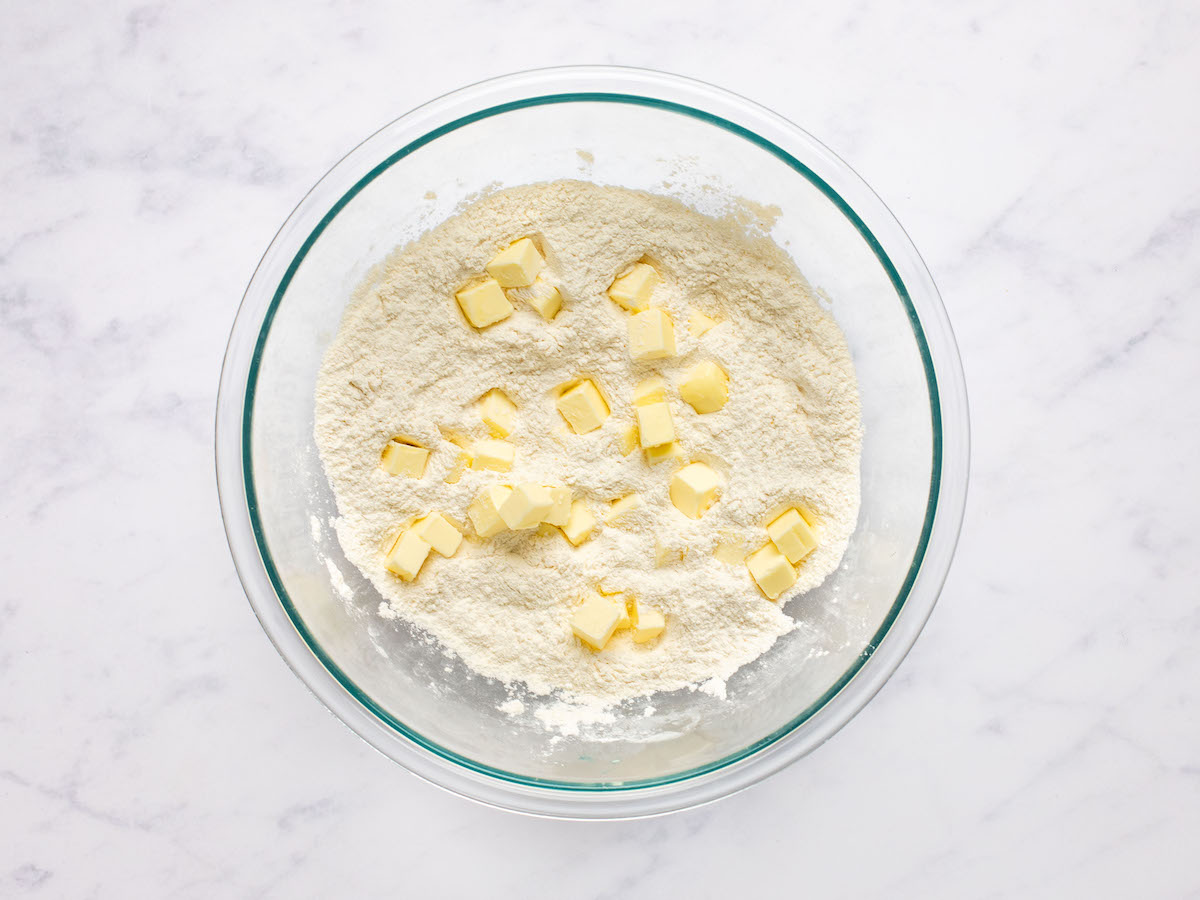
Add the butter.
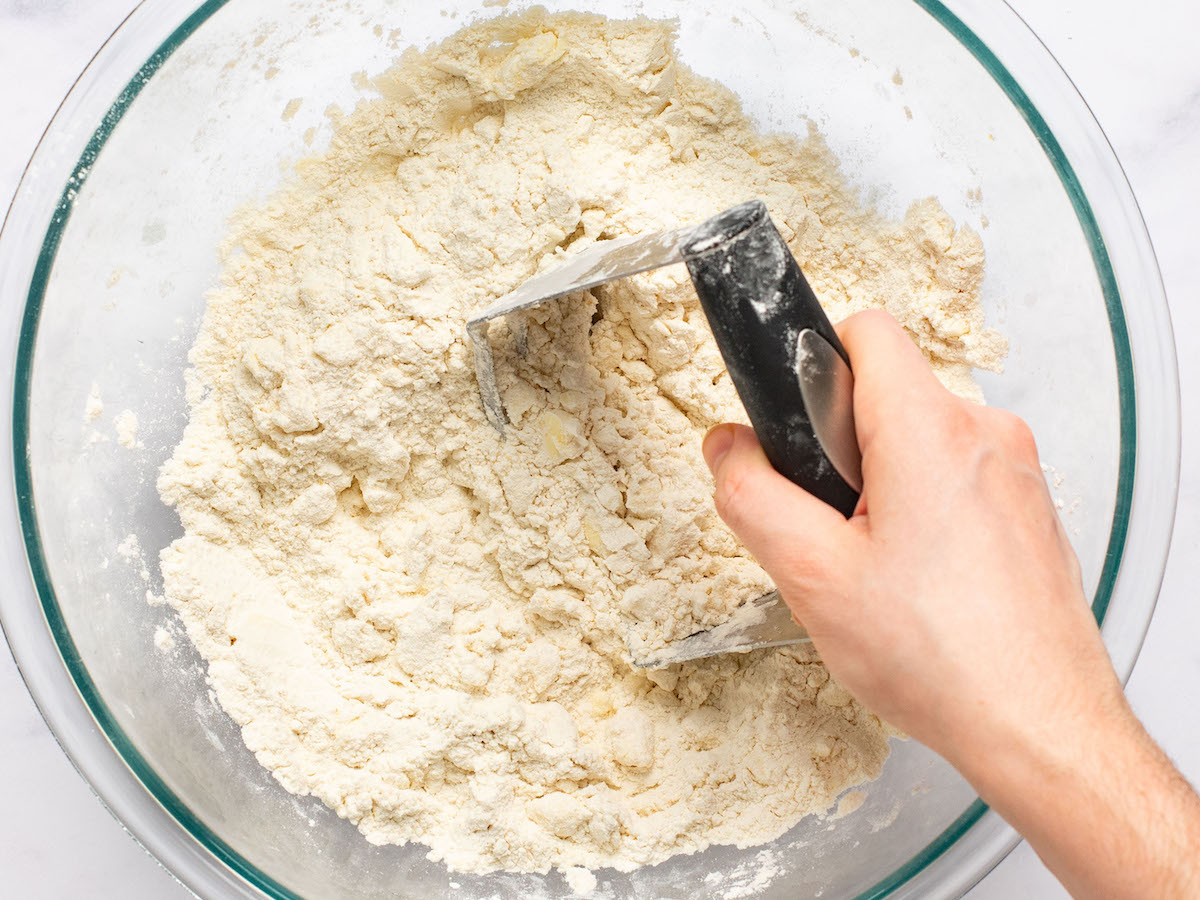
Using a pastry cutter or two knives, cut the butter into the dry ingredients (alternatively, you can use your fingertips to rub the butter into the mixture).
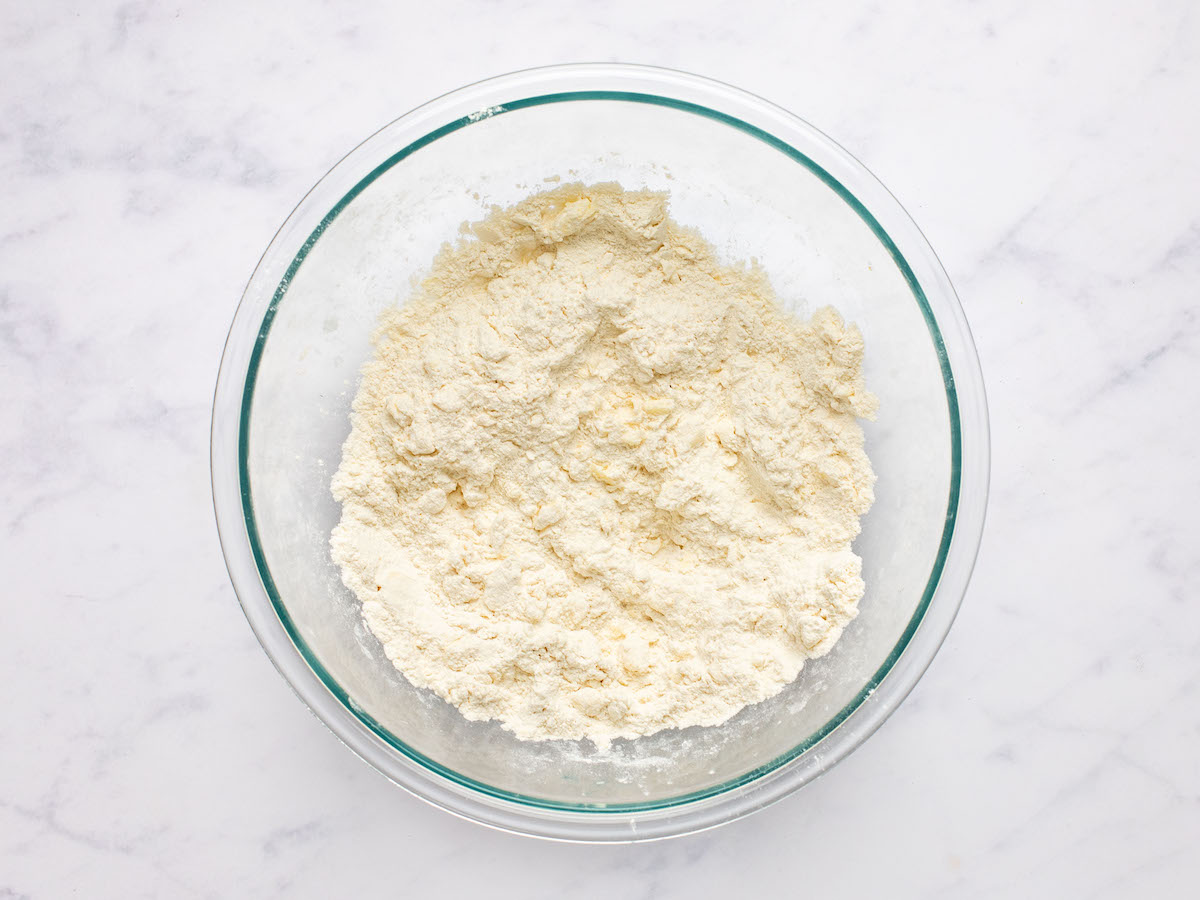
The mixture should resemble coarse sand with a few pea-sized clumps of butter intact.
Add the cheese and buttermilk.
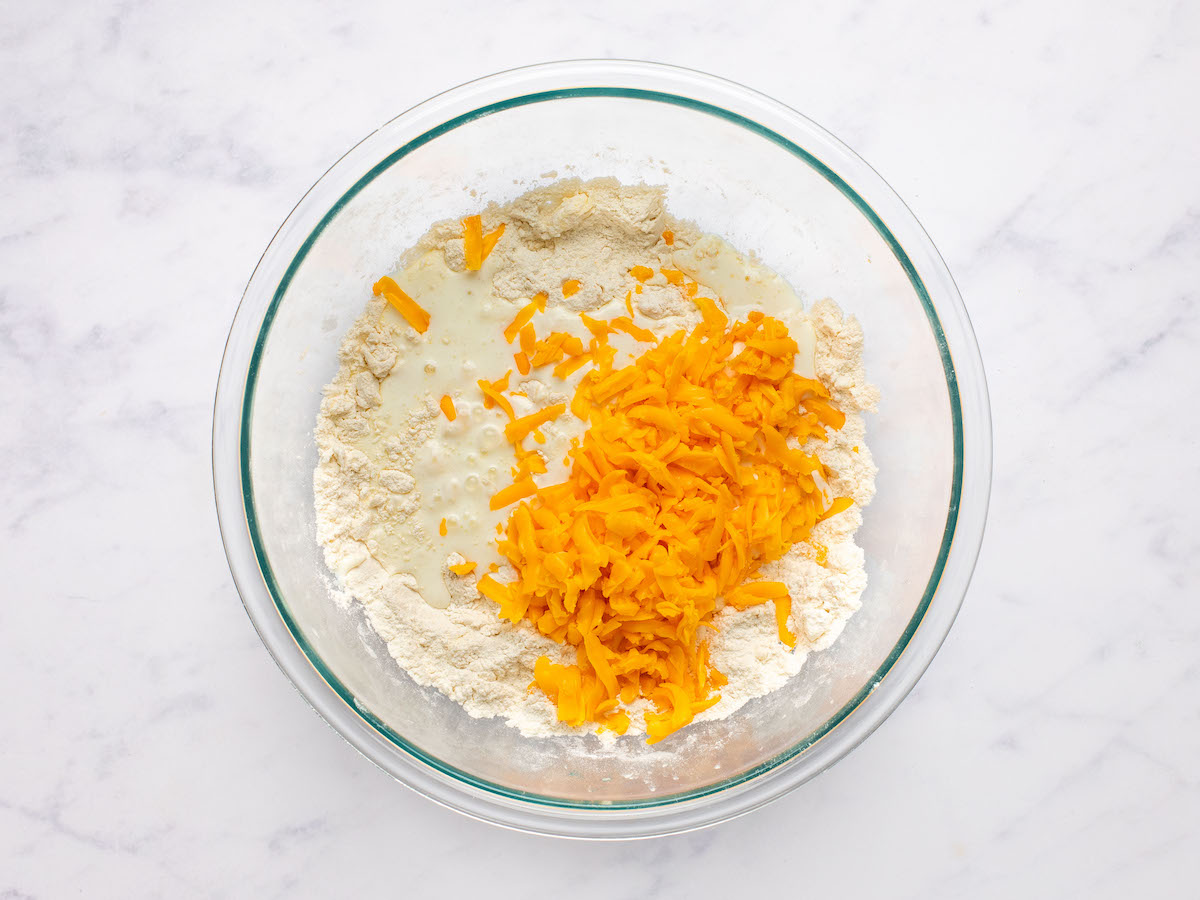
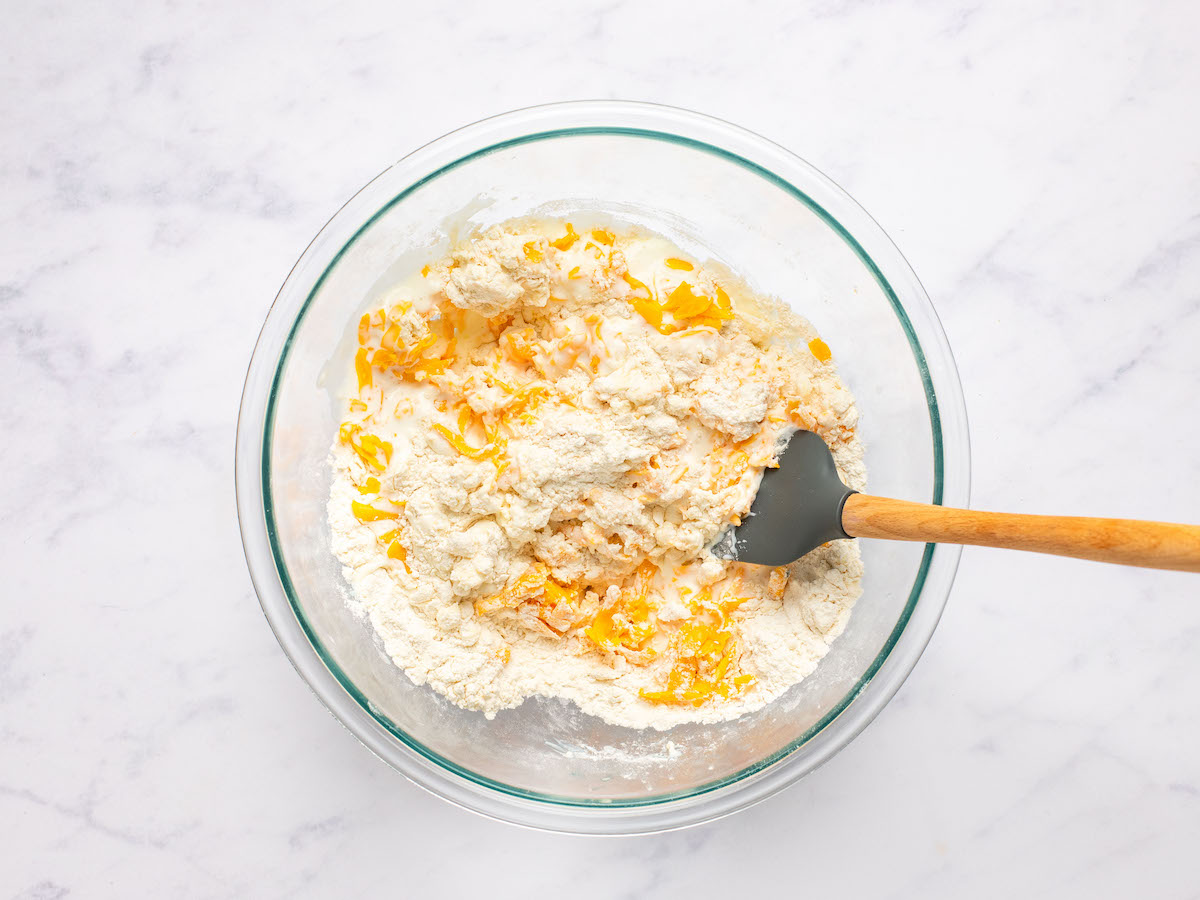
Stir with a rubber spatula until the dough comes together into a shaggy, sticky mass. If the dough seems dry, add 1 to 2 tablespoons more buttermilk. Do not over-mix.
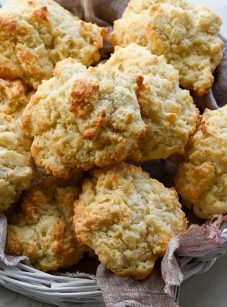
Using two soup spoons, scoop 8 peach-size mounds (about 2½ inches in diameter) of the biscuit dough onto the prepared baking sheet, spacing them evenly apart.
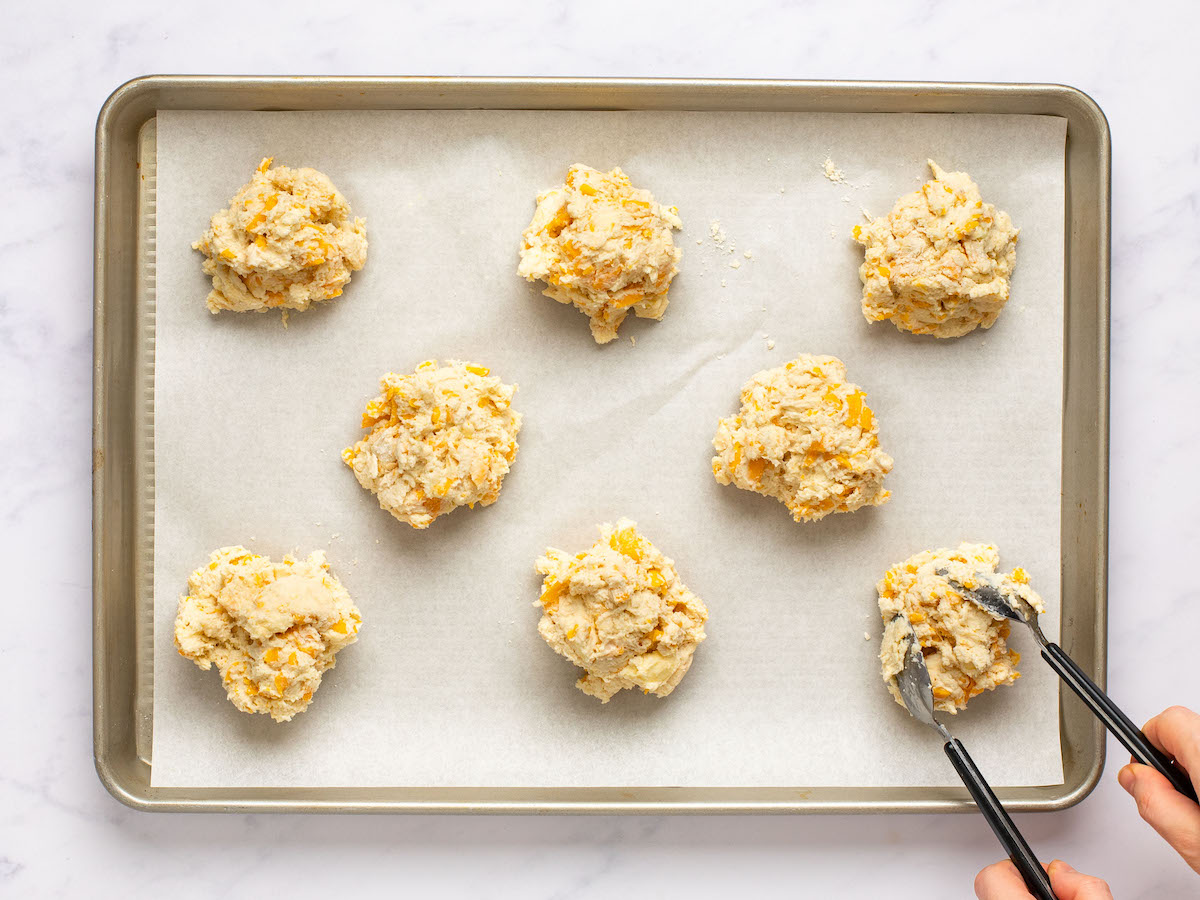
Do not compact the mounds or try to make them smooth on top; they are meant to have an irregular shape.
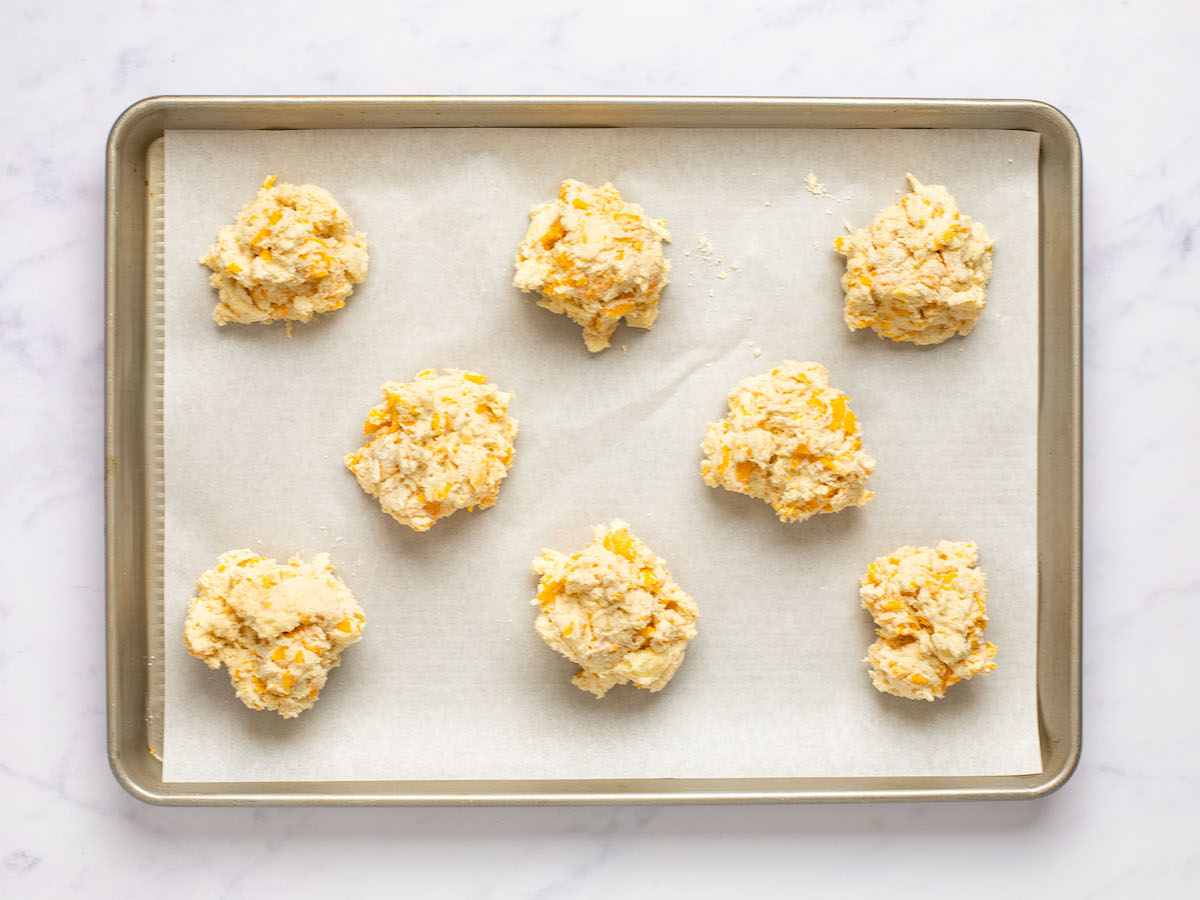
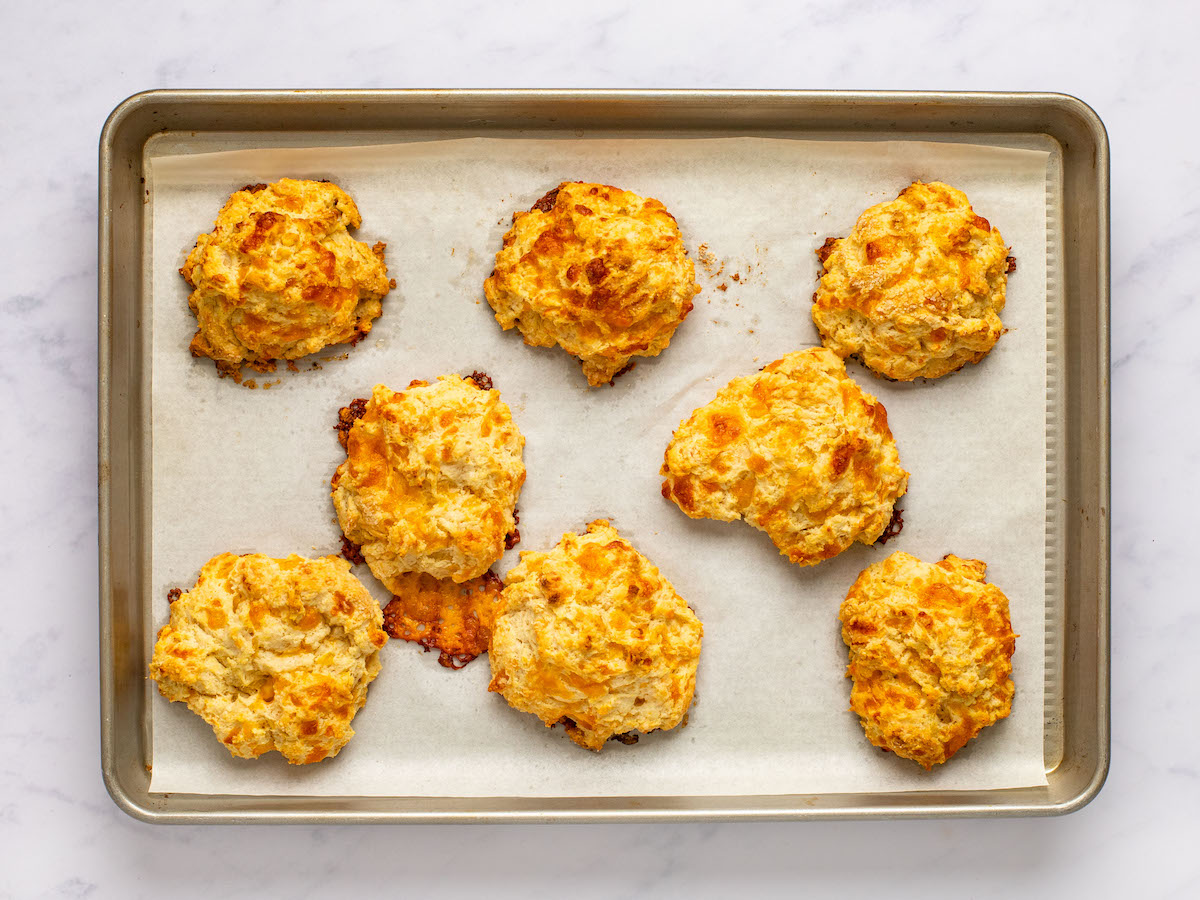
Put the biscuits in the preheated oven and bake for 17 to 20 minutes, until they are lightly golden.
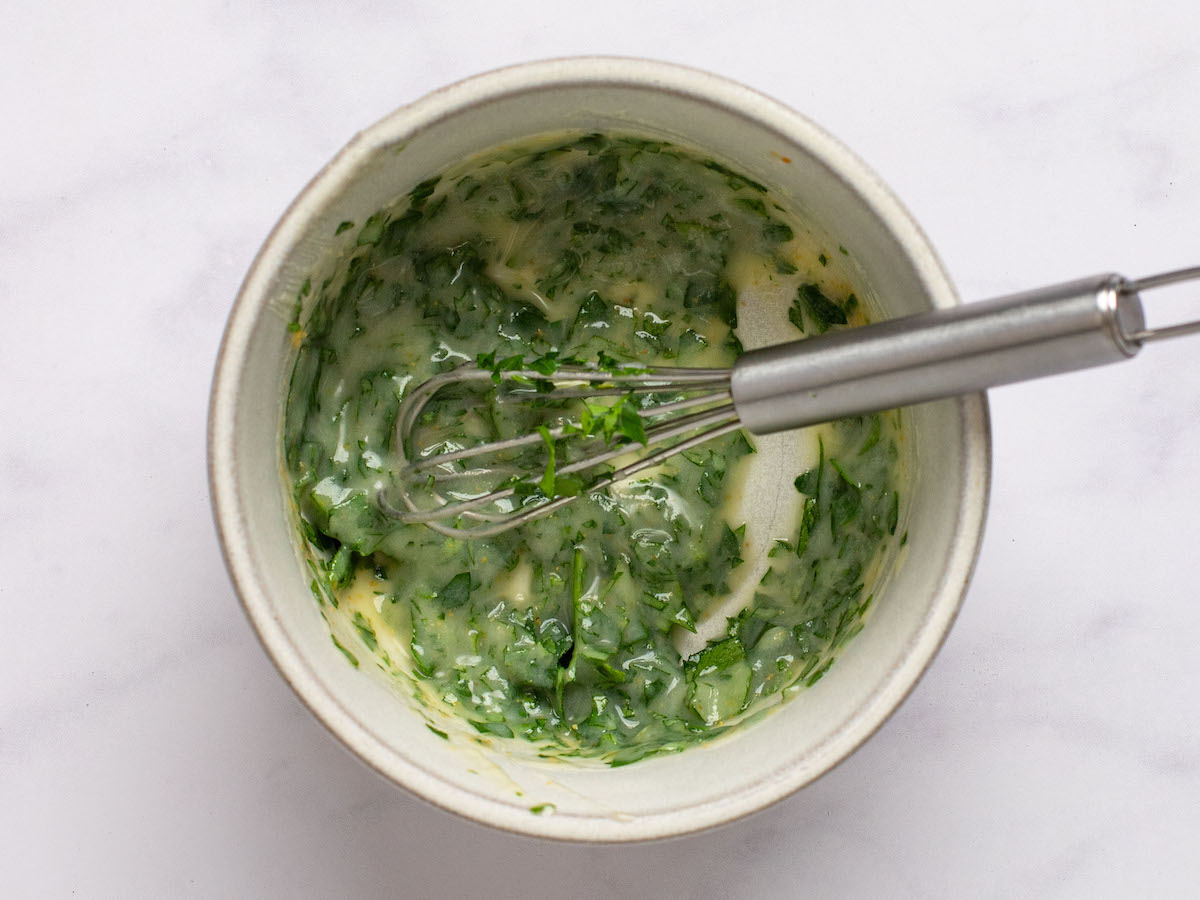
Make the topping: In a small bowl, whisk together the melted butter, garlic powder, and parsley.
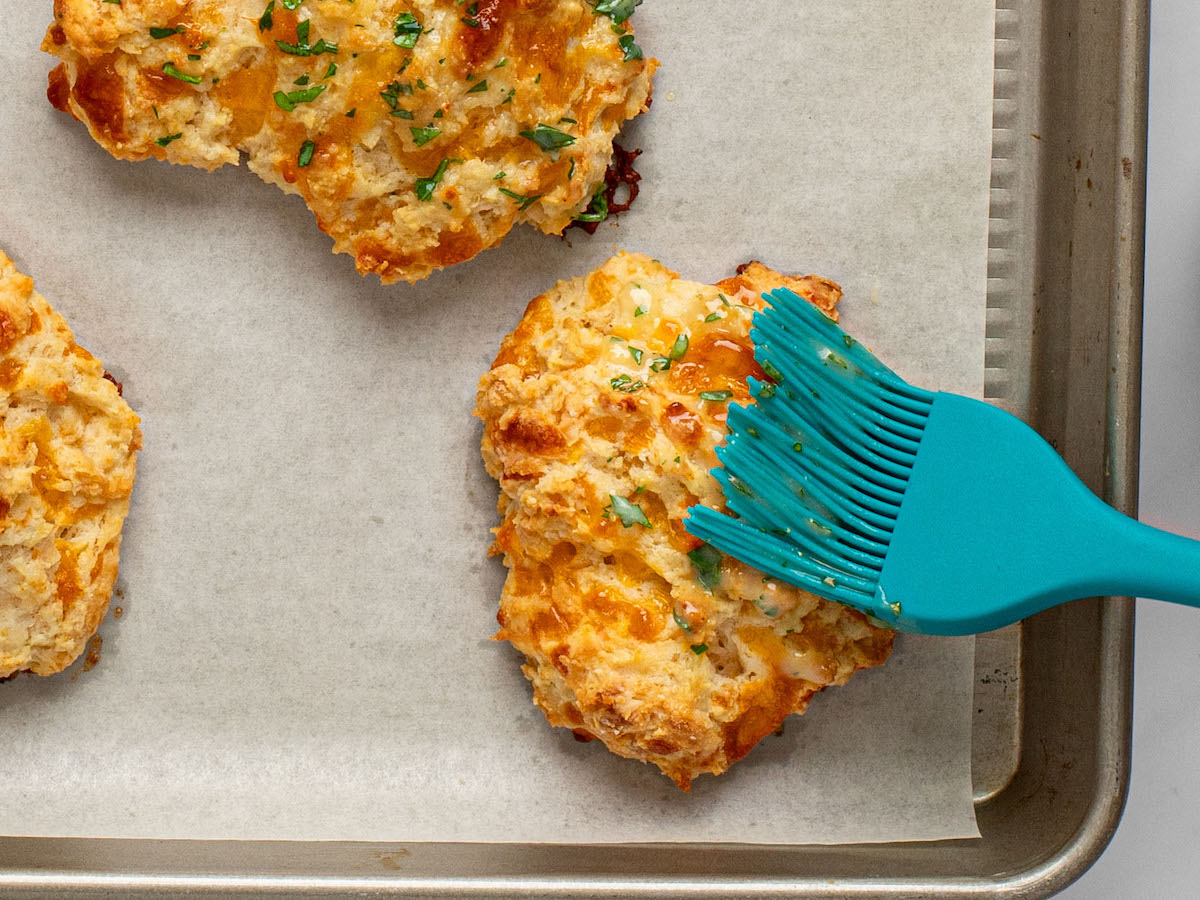
Brush the tops of the biscuits with the butter mixture.
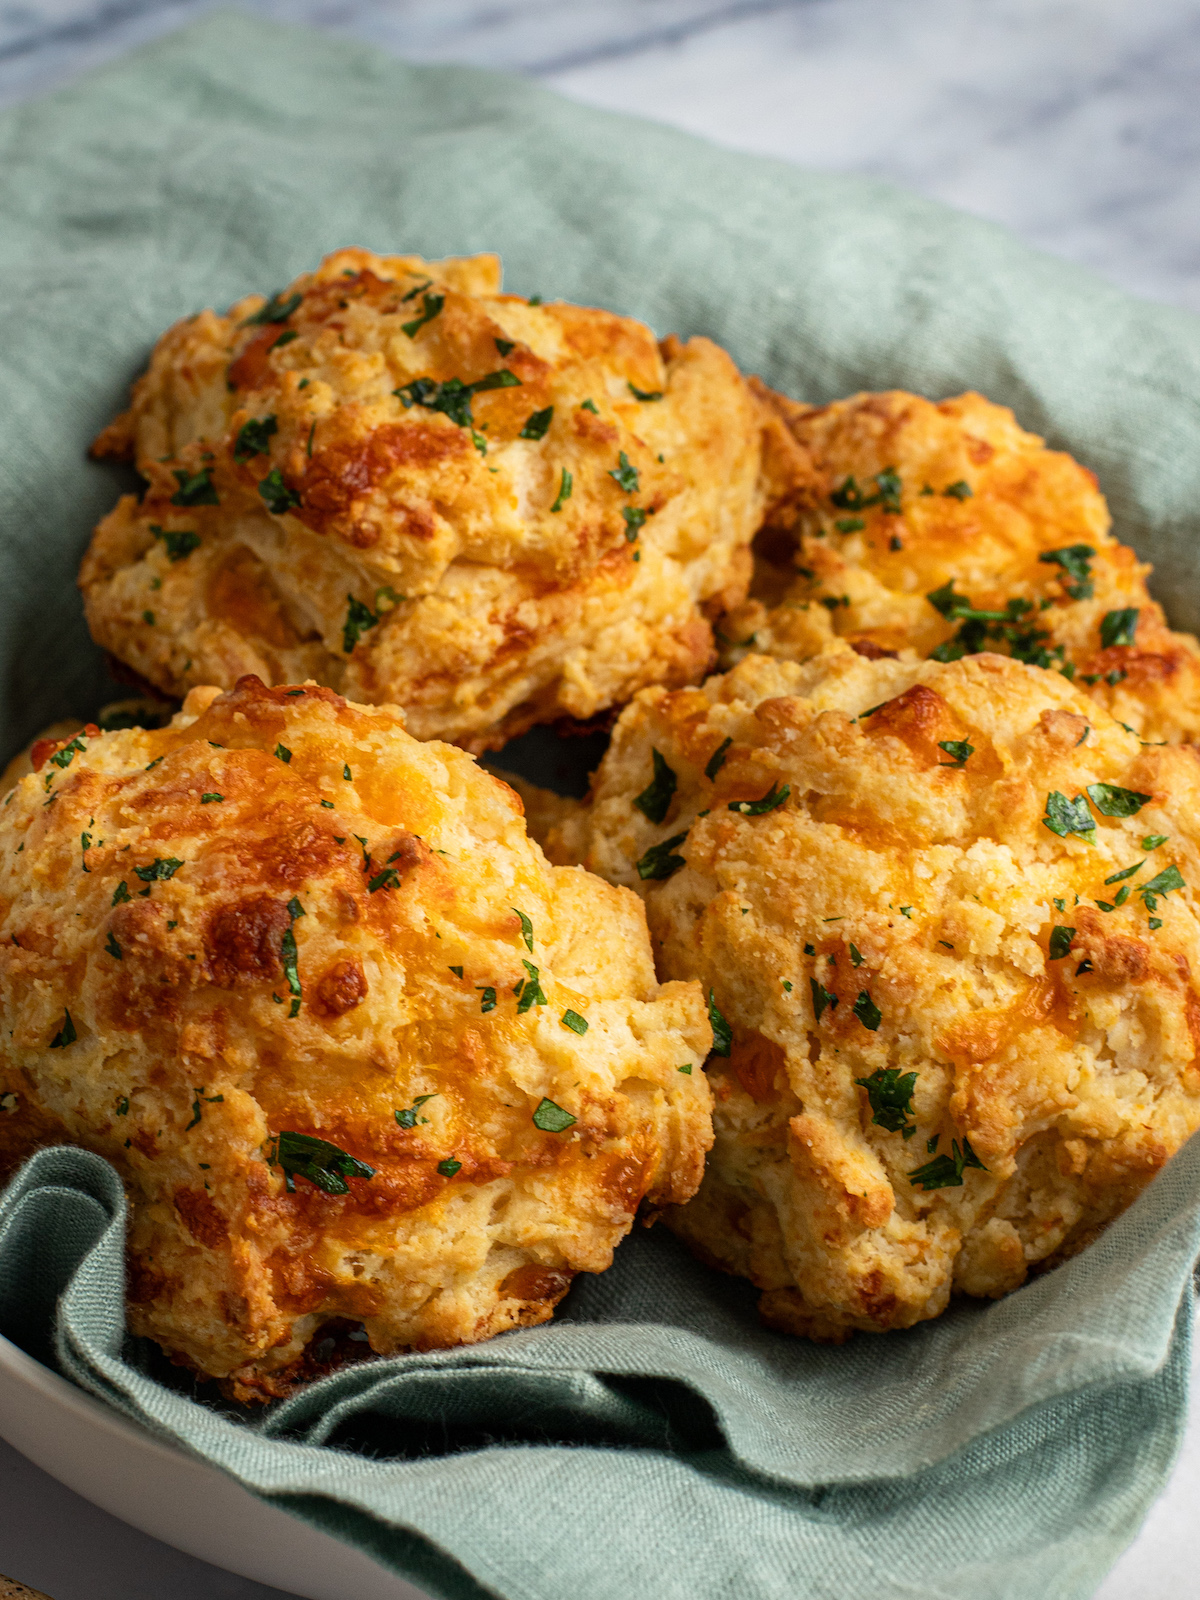
Serve warm.
Frequently Asked Questions
Cornstarch helps in reducing gluten formation when mixed with flour. This results in biscuits that are tender and flaky, enhancing their overall texture.
Leftover biscuits should be stored in an airtight container at room temperature for up to 2 days. When you’re ready to eat them, you can warm them in the oven at a low temperature to bring back their fresh-from-the-oven taste and texture.
Yes, the unbaked biscuits can be stored in the freezer for up to three months. When you’re ready to enjoy them, there’s no need to thaw—simply bake them a bit longer than usual. If you’ve already baked some biscuits and have leftovers, let them cool before placing them in the freezer. When ready to enjoy, let thaw at room temperature and then reheat until warm in a 300°F-oven.
Freezer-Friendly Instructions
The unbaked biscuits can be stored in an airtight container in the freezer for up to three months. When you’re ready to enjoy them, there’s no need to thaw—simply bake them a bit longer than usual. If you’ve already baked some biscuits and have leftovers, let them cool before placing them in the freezer. When ready to enjoy, let thaw at room temperature and then reheat until warm in a 300°F (150°C)-oven.
You May Also Like
Cheddar Bay Biscuits
Ingredients
For the Biscuits
- 2 cups all-purpose flour, spooned into measuring cup and leveled-off
- 3 tablespoons cornstarch
- 2 teaspoons baking powder
- ½ teaspoon baking soda
- 1 teaspoon salt
- ½ teaspoon garlic powder
- ½ cup (1 stick) cold unsalted butter, cut into ½-inch chunks
- 1 cup thickly shredded Cheddar cheese
- 1 cup buttermilk see note
For the Topping
- 3 tablespoons unsalted butter melted
- ¼ teaspoon garlic powder
- 1 tablespoon finely chopped fresh parsley
Instructions
- Preheat the oven to 425ºF (220°C) and set an oven rack in the middle position. Line a 13x18-inch (33x46-cm) baking sheet with parchment paper.
- In a large bowl, whisk together the flour, cornstarch, baking powder, baking soda, salt, and garlic powder. Add the butter and, using a pastry cutter or two knives, cut the butter into the dry ingredients until the mixture resembles coarse sand with a few pea-sized clumps of butter intact. (Alternatively, you can use your fingertips to rub the butter into the mixture.) Add the cheese and buttermilk and stir with a rubber spatula until the dough comes together into a shaggy, sticky mass. If the dough seems dry, add 1 to 2 tablespoons more buttermilk. Do not over-mix.
- Using two soup spoons, scoop 8 peach-size mounds, about 2½ inches (6 cm) in diameter, of the biscuit dough onto the prepared baking sheet, spacing them evenly apart. Do not compact the mounds or try to make them smooth on top; they are meant to have an irregular shape. Bake for 17 to 20 minutes, until the biscuits are lightly golden.
- Make the Topping: In a small bowl, whisk together the melted butter, garlic powder, and parsley. Brush the tops of the biscuits with the butter mixture and serve warm.
- Freezer-Friendly Instructions: The unbaked biscuits can be stored in the freezer for up to three months. When you're ready to enjoy them, there's no need to thaw—simply bake them a bit longer than usual. If you've already baked some biscuits and have leftovers, let them cool before placing them in the freezer. When ready to enjoy, let thaw at room temperature and then reheat until warm in a 300°F (150°C)-oven.
- Note: If you’d like to make your own buttermilk instead of purchasing a whole carton, see my easy method for how to make buttermilk.
Nutrition Information
This website is written and produced for informational purposes only. I am not a certified nutritionist and the nutritional data on this site has not been evaluated or approved by a nutritionist or the Food and Drug Administration. Nutritional information is offered as a courtesy and should not be construed as a guarantee. The data is calculated through an online nutritional calculator, Edamam.com. Although I do my best to provide accurate nutritional information, these figures should be considered estimates only. Varying factors such as product types or brands purchased, natural fluctuations in fresh produce, and the way ingredients are processed change the effective nutritional information in any given recipe. Furthermore, different online calculators provide different results depending on their own nutrition fact sources and algorithms. To obtain the most accurate nutritional information in a given recipe, you should calculate the nutritional information with the actual ingredients used in your recipe, using your preferred nutrition calculator.




Hi Jenn,
I have been a fan of your website and recipes for quite some time and I want to thank you. So many of your recipes are my family’s favorite. I made these bisquits last night and the texture was so delicate and tender. The addition of cornstarch to the AP flour was a great idea. I pulsed my cold butter with the dry ingredients in a food processor to the crumble stage. My yield was nine bisquits and they were done at 17 minutes.
I was not a fan of the garlic powder flavor profile, however. I want to continue to use this recipe but I am wobdering what I might do for a different flavor. Any suggestions?
Again, thank you!
Hi Nancy, So glad your family is enjoying the recipes! You can simply omit the garlic powder—they will still be delicious. 🙂
I saw this in your email yesterday, Jenn, and knew it would be perfect for Sunday family supper so made them last night (and doubled the recipe). They were amazing! I rarely buy bagged cheddar cheese but just happened to have a bag of chunky shred and you couldn’t tell the difference between that and fresh grated. I also only had frozen unsalted butter so grated it into the dry ingredients (anyone else use a Salad Shooter for that? It makes it so much faster!). So they couldn’t have been easier and everyone loved them! Actually a couple of us ate much less of my homemade chicken pot pie than usual because we wanted another biscuit instead. Thanks for another winner!
Hello! Do you think these would be ok with King Arthur flour’s gluten free blend as a sub for the all purpose flour? Thanks so much!
Yep!
Oh so so good! I’ve tried other recipes but yours tops any. The aroma it sent throughout our home made it very hard to be patient while waiting for them to bake. I always trust your recipes.
Loved these…made ten large…will make smaller balls next time😊
Hi Jenn,
General question:
Is 20 grams more flour going to make a difference?
I use King Arthur all-purpose flour. The King Arthur website indicates 1 cup equals 120 grams. In the recipe, if I used 2 cups flour, I’d be at 240 grams rather than the 260 grams as provided in the metric directions.
Your thoughts are appreciated. Thank you.
It won’t make a huge difference, but I’d use 260 g for best results. I know King Arthur says 1 cup of their flour is 120 g, but I use King Arthur and when I weigh it, I consistently get 130 g. Hope that helps!
Thank you for the prompt response and guidance! Your recipes never fail me and make me more confident to try new things!
Made these on a damp, cloudy. Windy day. They. We’re delicious and so easy to do. Thanks for sharing. I have a question about freezing before baking. Do I put the sheet with biscuit dough on it in the freezer. Then will they pop off of parchment so I can freeze loosely in a bag. Sandi
So glad they turned out well, Sandi! Yes that’s correct – they should pop right off the parchment.
Any way to make these gluten-free?
Hi Andrea, I think you could use an all-purpose gluten-free baking mix for these. I’d love to hear how they turn out if you try it!
Made these last night with King Arthur Gluten Free flour and they turned out great. Once mixed let them sit for about 15 minutes (they will be less gritty, which is common with GF baked goods). I did need a little extra buttermilk as I find GF flours drier than traditional flour with gluten.
Can a food processor be used instead of the pastry blender/two knives/fingers?
Yep definitely!
Hi Jenn, I’m obsessed with your site. Everything is so easy and delicious. Can I make these in a food processor? I’m not great at cutting butter into recipes. Thanks!
So glad you like the site! Yes, you can use a food processor here. 🙂
These look really great. Is there a rule for when you use garlic powder and not actual garlic? Thanks.
Hi Melinda, That’s a great question. While many people use garlic powder for convenience, fresh garlic is generally preferred for a more robust, fresh flavor. However, there are some dishes where garlic powder is preferred — think dry rubs or dishes needing consistent garlic flavor without the texture. For these biscuits, integrating fresh garlic evenly into the dough could be challenging, and its potent flavor might overpower. I considered using fresh garlic in the garlic-butter topping, but decided to keep things simple by calling for only one type of garlic in the recipe. I’m always trying to balance practicality with what tastes best. Hope that clarifies!
Very helpful. Thank you!