Best Rice Krispie Treats
This post may contain affiliate links. Read my full disclosure policy.
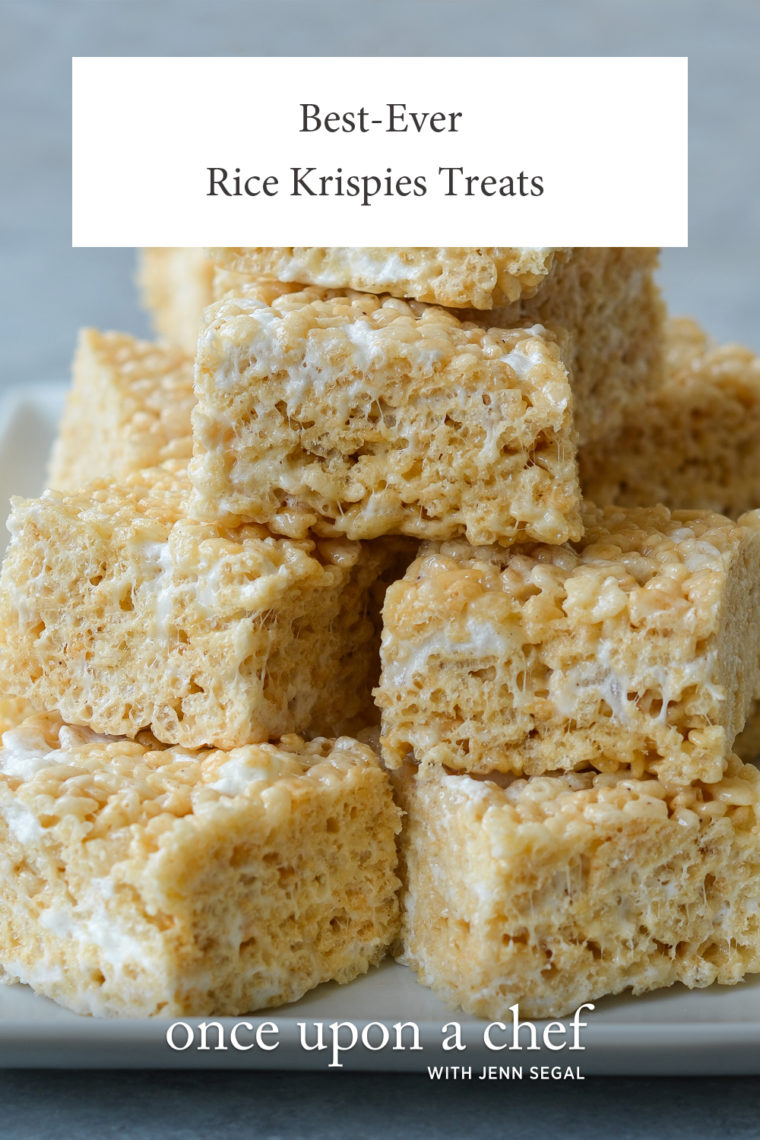
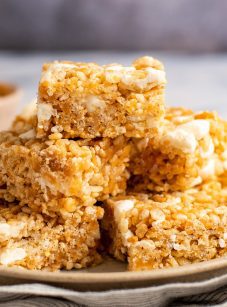
A few tweaks to the back-of-the-box recipe make these the best Rice Krispie Treats ever.
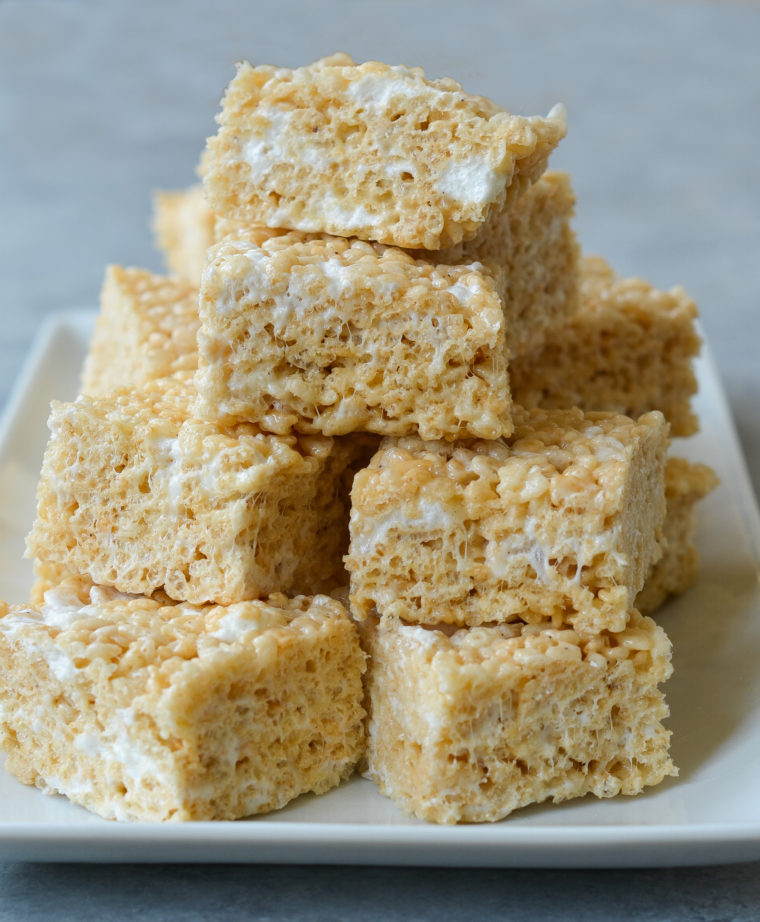
I’m always hesitant to say a recipe is the “best ever,” especially for a dessert like Rice Krispie Treats or chocolate chip cookies that everyone knows and loves. But once you’ve tinkered around with a recipe for weeks—asking your kids, their friends, and anyone who passes through your house to sample different versions—you can say it’s the best with some confidence. There’s absolutely nothing wrong with the original back-of-the-box Rice Krispie treat recipe, but it can be made so much better with almost no effort. Here’s how:
- Use more butter (lots more) and brown it to deepen the flavor.
- Increase the marshmallows and stir in some at the end for extra gooeyness.
- Add vanilla extract for flavor.
- Add salt because a little salt makes anything sweet taste so much better.
Table of Contents
“These really are the BEST rice crispy treats! Moist, delicious, and full of gooey marshmallow goodness!”
What You’ll Need To Make The Best Rice Krispie Treats
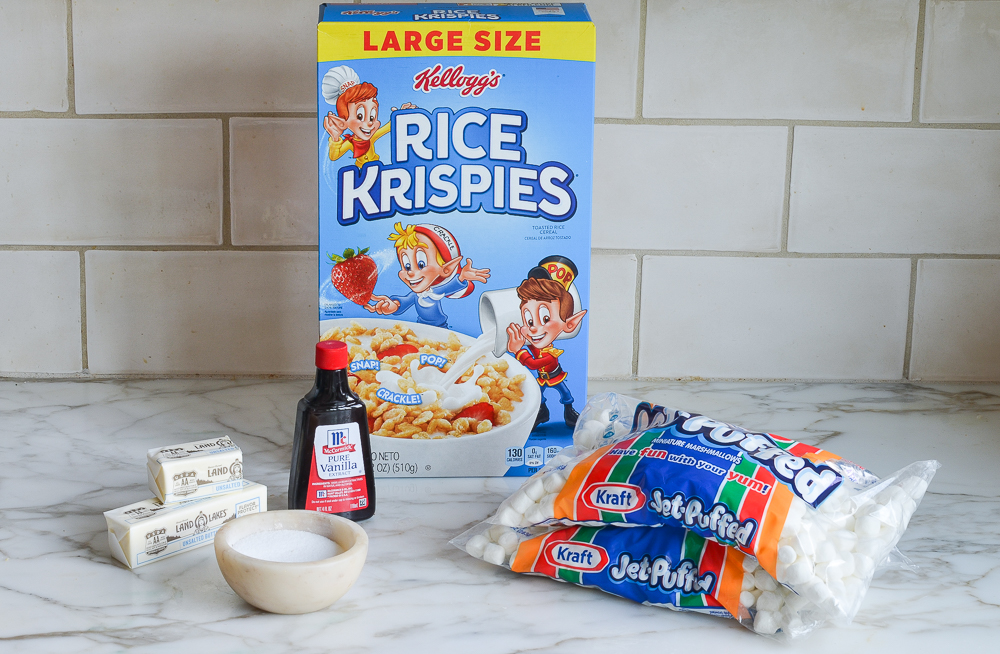
- Butter: Provides the rich, buttery flavor and helps bind the treats together.
- Mini Marshmallows: The main sweetener and binder, melted marshmallows create the gooey, sticky texture that gives Rice Krispie treats their characteristic chewiness.
- Vanilla Extract: Adds a touch of vanilla flavor, enhancing the overall taste of the treats.
- Salt: Balances the sweetness and enhances the flavor of the other ingredients.
- Rice Krispies: The star ingredient, these crisped rice cereal pieces absorb the melted marshmallow mixture and provide a crispiness.
- Jump to the printable recipe for precise measurements
Step-by-Step Instructions
Begin by melting the butter in a large pot over medium-high heat. Save the wrappers – you’ll use them later.
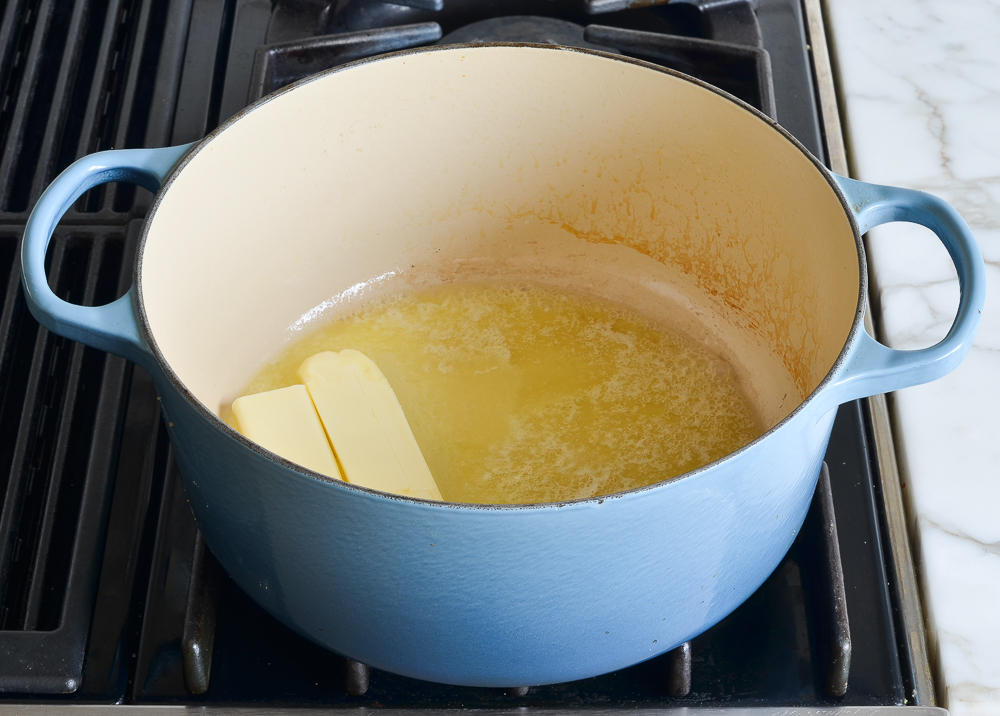
After the butter melts, it will begin to bubble, foam, and turn golden around the edges. Eventually it will turn a dark golden color and smell nutty – watch carefully, it will go from golden brown to burned quickly.
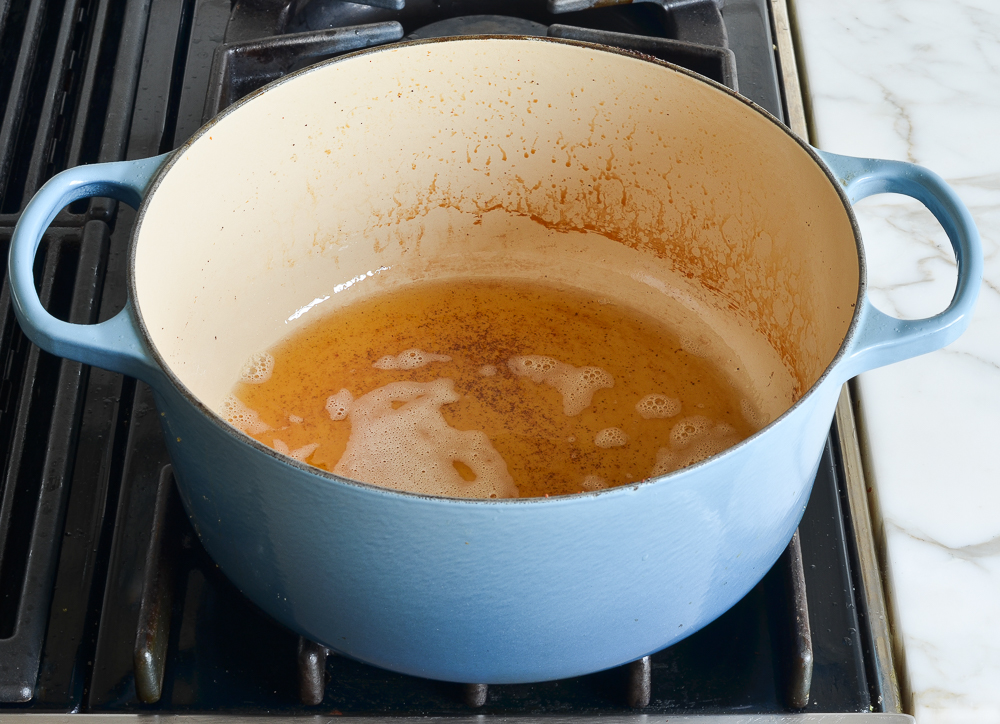
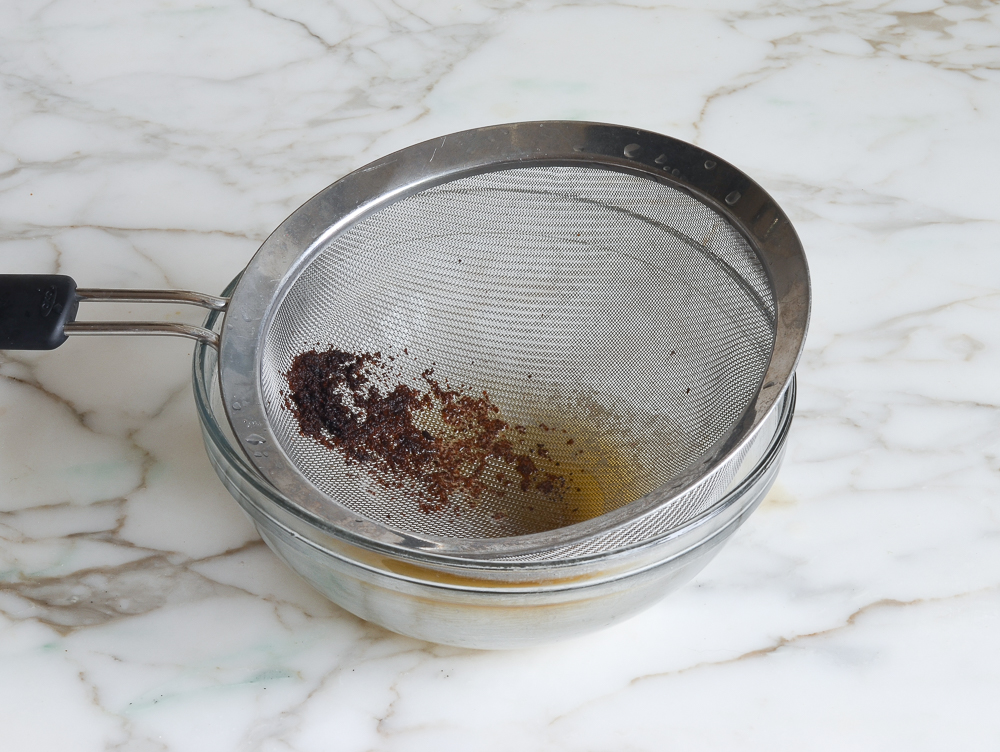
You’ll see little bits of golden brown sediment forming; that’s okay. But if they get too dark, go ahead and strain them out and then pour the brown butter back in the pot.
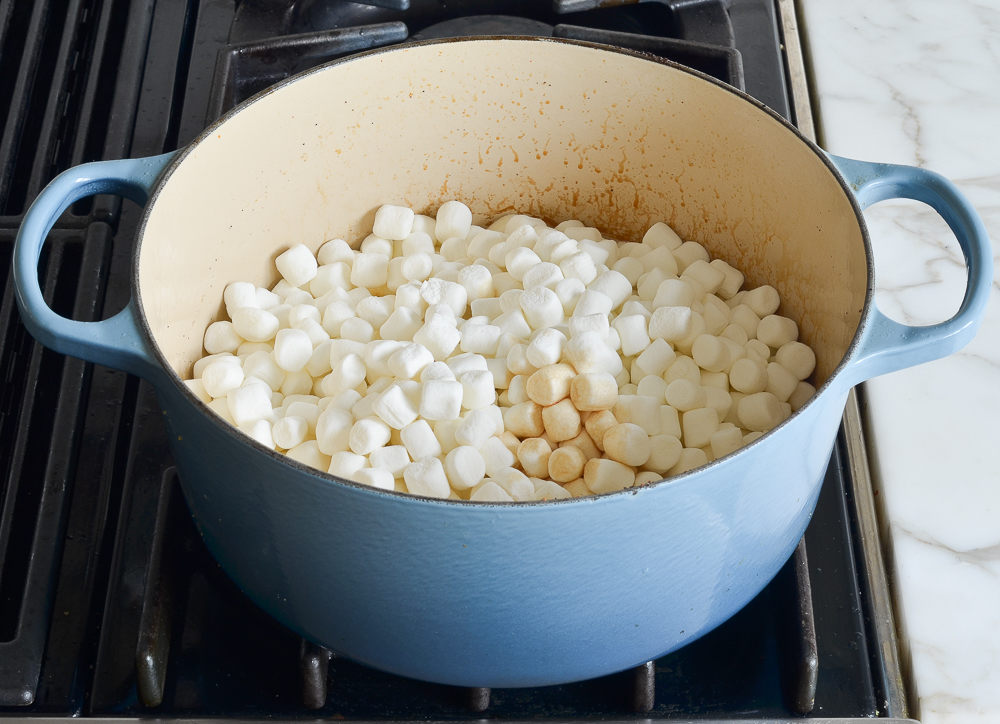
Add all but 2 cups of the marshmallows, the vanilla, and salt.
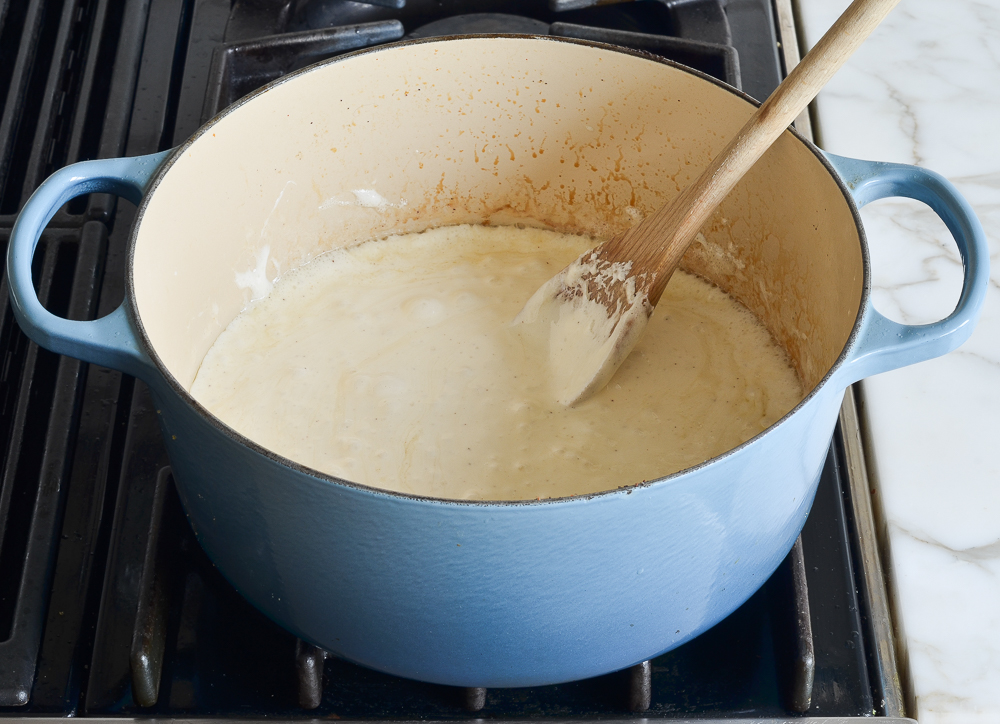
Place the pot over medium heat and stir the mixture with a wooden spoon until the marshmallows are completely melted.
Remove the pan from the heat and add the cereal.
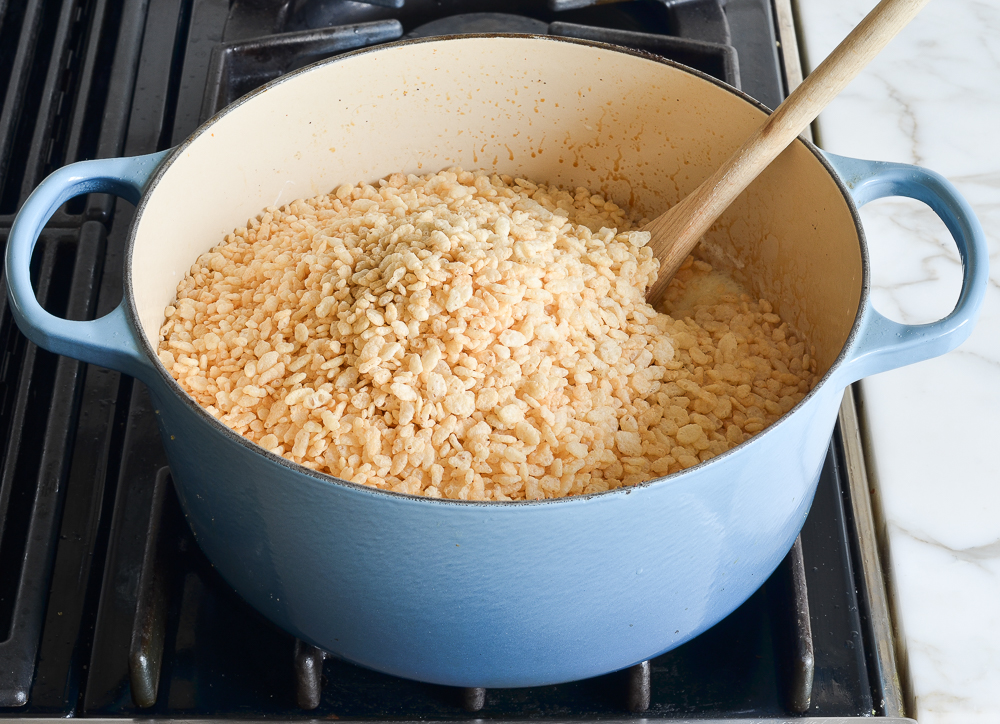
Using a rubber spatula or wooden spoon, stir until evenly combined.
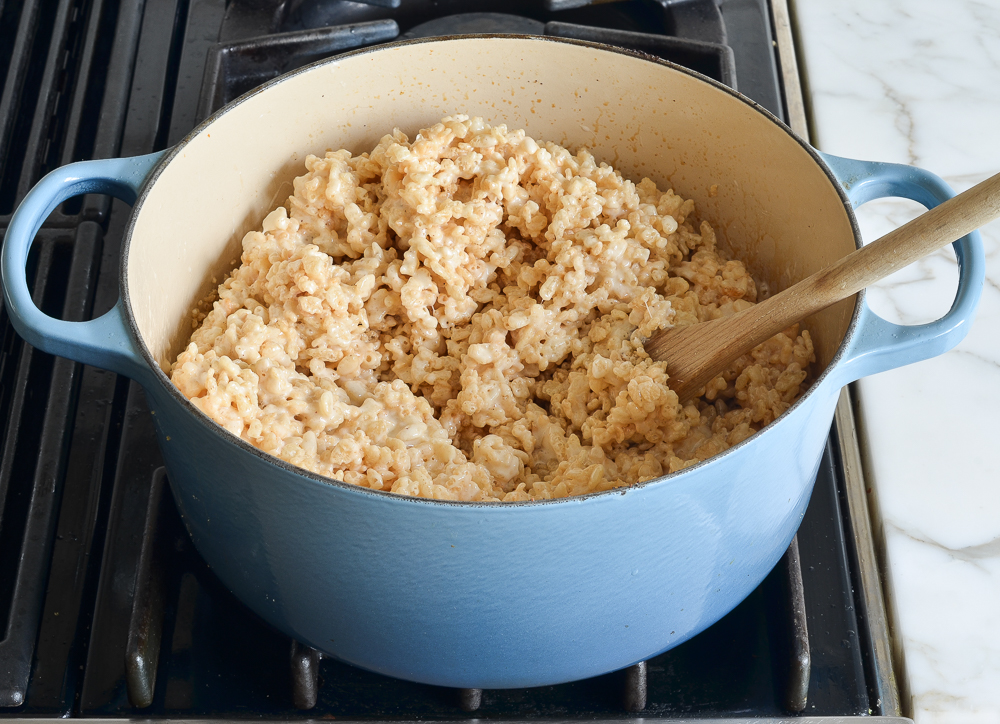
Add the reserved 2 cups of marshmallows.
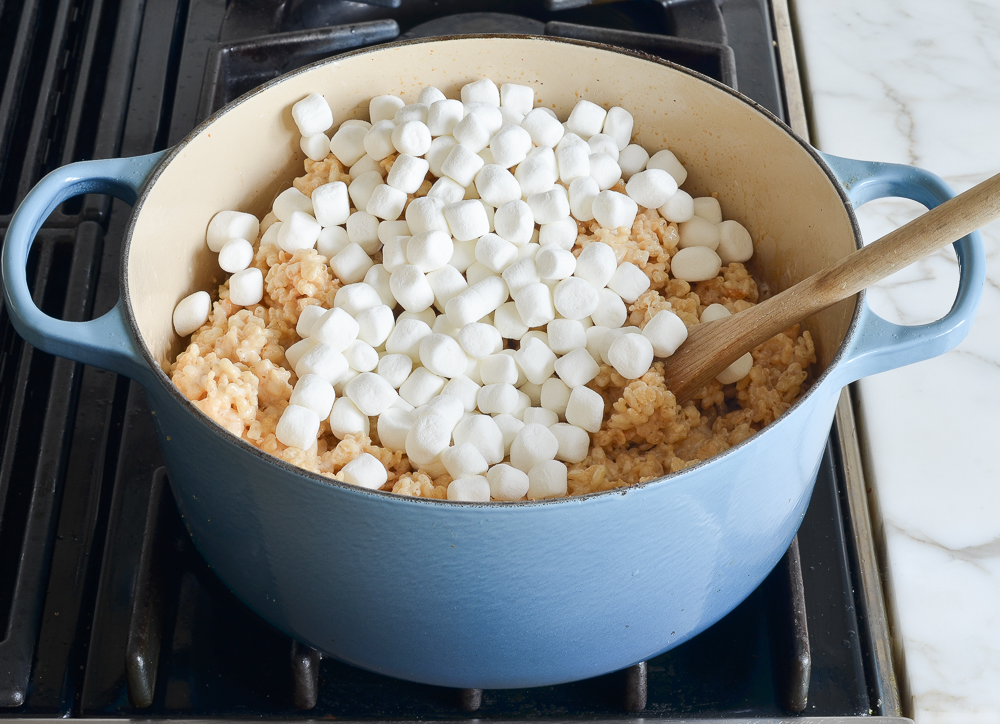
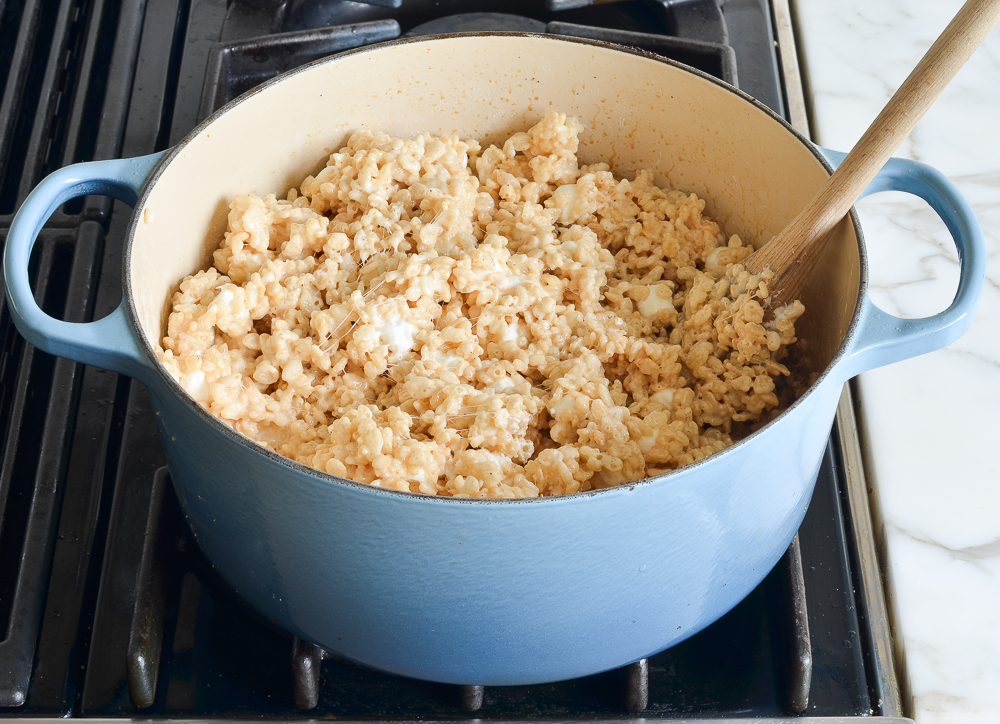
Stir until they are softened and partially melted. Don’t overmix – you want pockets of goo.
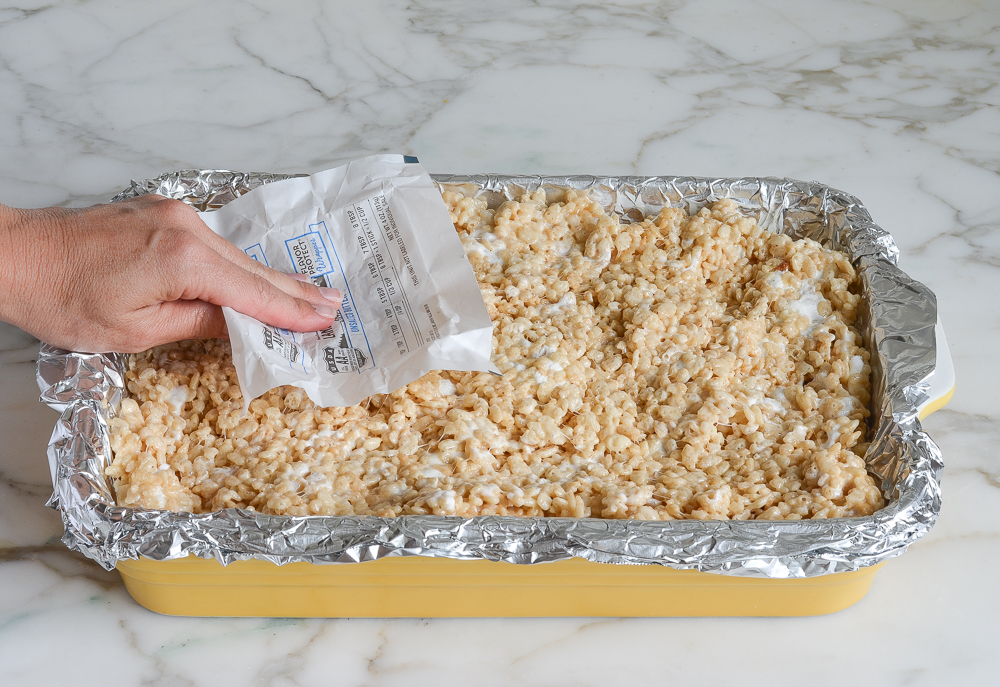
Transfer the mixture to a foil-lined 9×13-in baking dish.
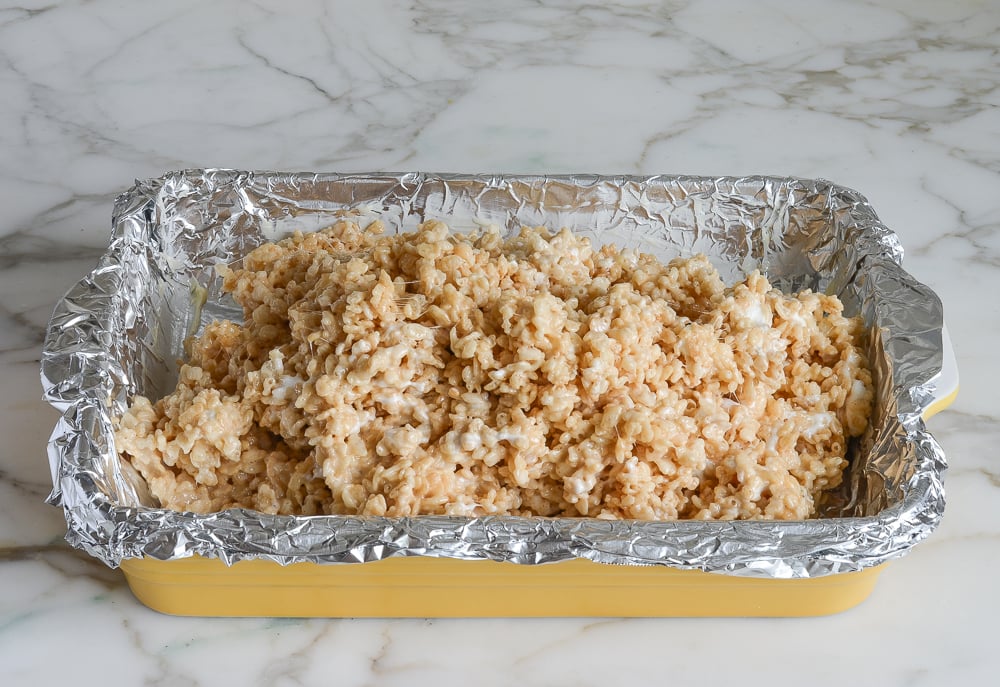
Using the butter wrappers, press into an even layer.
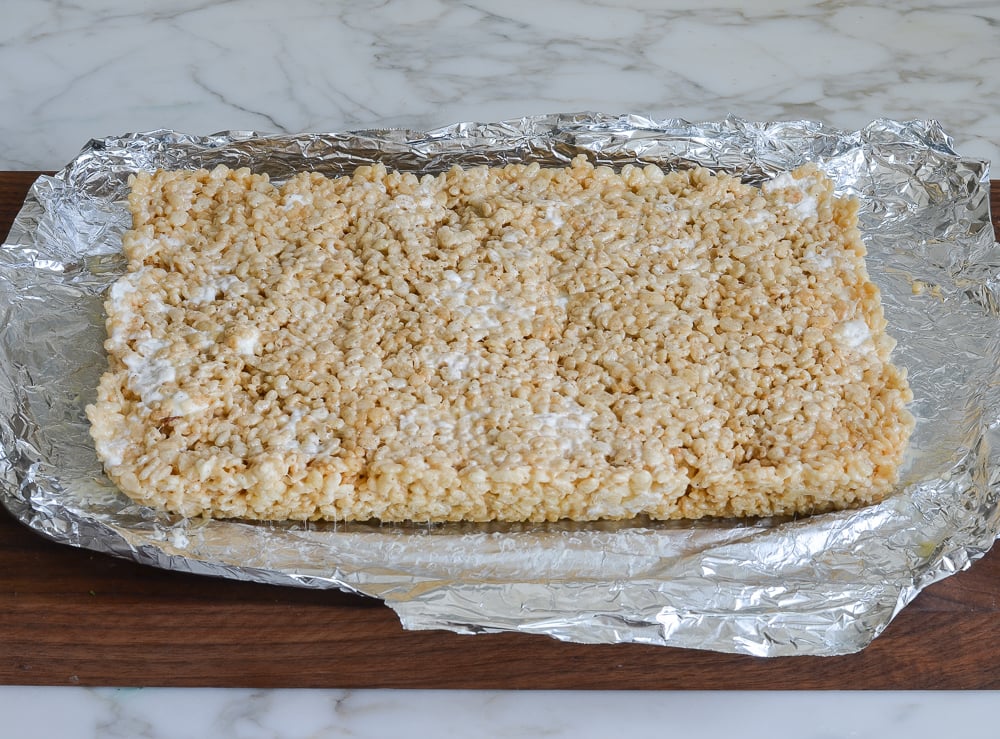
Let cool for at least an hour, then use the foil overhang to lift the treats onto a cutting board.
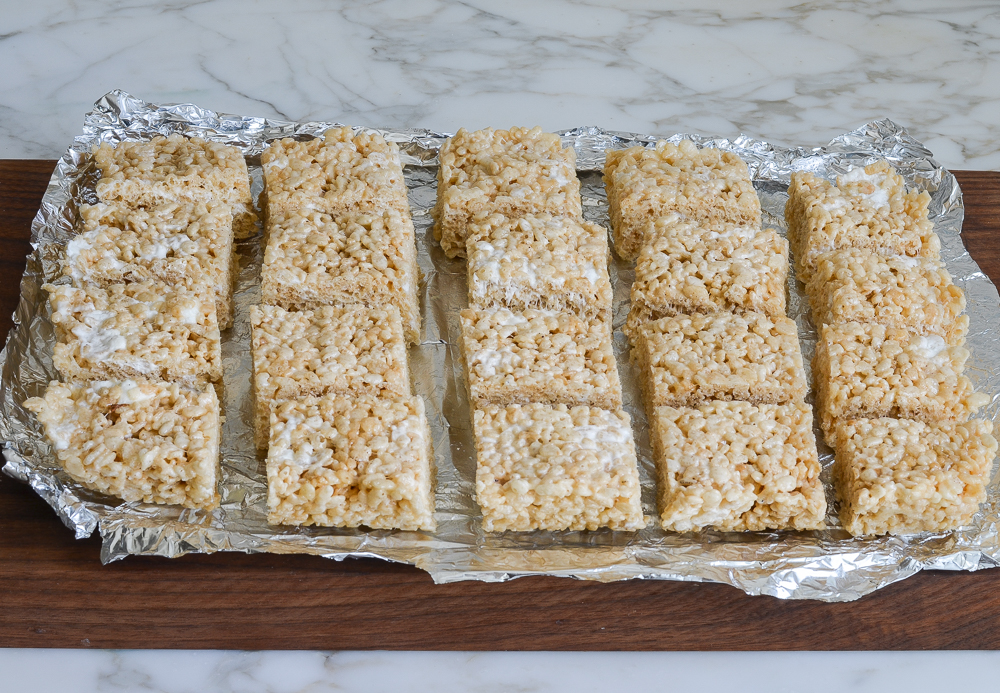
Use a serrated knife to cut into squares. Store the treats in an airtight container at room temperature for up to 5 days. Enjoy!
Video Tutorial
Frequently Asked Questions
Yes, place the treats in layers separated by wax paper in an airtight container; freeze for up to 6 weeks. Let the treats stand at room temperature for about an hour before serving.
Absolutely! You can swap out a portion of the Rice Krispies in your treats. One of my favorite ways to make them is with a combination of Golden Grahams and Rice Krispies, like in these Chewy, Gooey Golden Rice Krispies Treats. Lucky Charms is another popular variation, especially around St. Patrick’s Day.
Yes, you can add chocolate chips, dried fruit, or candy bits, but keep in mind that some add-ins will melt from the warmth of cereal and marshmallow mixture, so let the mixture cool slightly before folding them in. This way, they’ll partially melt but still maintain their distinct texture in the treats.
You May Also Like
Best Rice Krispie Treats
A few tweaks to the back-of-the-box recipe make these the best Rice Krispie Treats ever.
Ingredients
- 12 tablespoons (1½ sticks) unsalted butter, plus more for greasing the pan
- Two 10-oz bags mini marshmallows, divided
- ¾ teaspoons vanilla extract
- ½ teaspoon salt
- 8½ cups Rice Krispies or crispy rice cereal (see note)
Instructions
- Line a 9 x 13-in pan with heavy duty aluminum foil and lightly grease with softened butter. Set aside 2 cups of the marshmallows.
- In a large pot or Dutch oven, preferably with a light bottom so you can monitor the color, melt the butter over medium heat (save the butter wrappers; you'll use them later for pressing the mixture into the pan). Swirl the pan occasionally to be sure the butter is cooking evenly.
- As the butter melts, it will begin to bubble and foam, and the color will progress from bright yellow to golden to, finally, a toasty-brown. Once you smell that nutty brown butter aroma, take the pan off the heat. (You'll see little bits of golden brown sediment forming; that's okay. However, if the sediment looks almost black, go ahead and pass the butter through a fine sieve to strain it out, then return the brown butter to the pan.)
- Off the heat, add the remaining marshmallows, vanilla, and salt.
- Place the pot back over medium heat and stir the mixture with a wooden spoon until the marshmallows are completely melted. Remove the pan from the heat and add the cereal. Using a rubber spatula or wooden spoon, stir until evenly combined.
- Add the reserved marshmallows and stir until they are softened and partially melted. Don't overmix; you want pockets of goo. Transfer the mixture to the prepared pan and, using the butter wrapper or damp fingers, press the mixture gently into an even layer in the prepared baking pan. Let cool at room temperature for at least an hour.
- Use the foil overhang to lift the treats onto a cutting board, then use a serrated bread knife to cut into squares. Store in an airtight container at room temperature for up to 5 days.
- Note: Kellogg's no longer makes a gluten-free version of Rice Krispies, so if you have a gluten-sensitivity, make sure the cereal you purchase is certified gluten-free.
- Freezer-Friendly Instructions: To freeze, place in layers separated by wax paper in airtight container. Freeze for up to 6 weeks. Let stand at room temperature for about an hour before serving.
Nutrition Information
Powered by ![]()
- Per serving (24 servings)
- Calories: 162
- Fat: 6 g
- Saturated fat: 4 g
- Carbohydrates: 27 g
- Sugar: 15 g
- Fiber: 0 g
- Protein: 1 g
- Sodium: 93 mg
- Cholesterol: 15 mg
This website is written and produced for informational purposes only. I am not a certified nutritionist and the nutritional data on this site has not been evaluated or approved by a nutritionist or the Food and Drug Administration. Nutritional information is offered as a courtesy and should not be construed as a guarantee. The data is calculated through an online nutritional calculator, Edamam.com. Although I do my best to provide accurate nutritional information, these figures should be considered estimates only. Varying factors such as product types or brands purchased, natural fluctuations in fresh produce, and the way ingredients are processed change the effective nutritional information in any given recipe. Furthermore, different online calculators provide different results depending on their own nutrition fact sources and algorithms. To obtain the most accurate nutritional information in a given recipe, you should calculate the nutritional information with the actual ingredients used in your recipe, using your preferred nutrition calculator.
Gluten-Free Adaptable Note
To the best of my knowledge, all of the ingredients used in this recipe are gluten-free or widely available in gluten-free versions. There is hidden gluten in many foods; if you're following a gluten-free diet or cooking for someone with gluten allergies, always read the labels of your ingredients to verify that they are gluten-free.

I made this following the recipe exactly and I can say with confidence I will NEVER make the recipe on the back of the box again after trying this one! (I already gave up on the store-bought ones years ago-Blech!)
But these-these are gooey and brown buttery and sooo delicious!
I would not change a thing – they are perfection! Thank you for a great “forever” recipe!
This truly is the best rice krispie recipe. One bite in and my husband said it unlocked some core childhood memories for him. He brought them to work and his co-workers were blown away by how good it was. Thank you!!!
These are exactly what they claim – the best Rice Krispie Treats ever. My friends specifically request this dessert when we meet up, now. It’s also the recipe that taught me to brown butter, so despite the simplicity it’s also helped me become more confident in cooking! It’s a simple but extremely satisfying recipe.
These are the perfect rice krispie treats. I’ve made them many times. My kids barely get any because I end up eating them all myself.
Hands down the best rice crispy cookie I have ever eaten, deadly delicious! I really appreciate the option for metric, thank you!
Always a hit. My kids love these and so do the adults, they are great for a super bowl party too. Sometimes, I mix in a few cups of the chocolate rice krisps.
Holy cow! These are fabulous. I will never make another Rice Krispie treat recipe again!
These are the best ever! 10 stars from me and ALL who enjoyed them. 😉
These are a huge hit with my book club and on board game nights! I’ve been asked several times if I’m bringing “the good rice crispy treats” again. 😂
I will say, I usually add a bit more cereal than called for. They are pretty gooey as made exactly by the recipe. A couple extra cups of cereal makes them easier to handle but just as delicious!
Hi Jenn, these are always such a hit when I make them! I’d like to add some green and red m&m’s for some Christmas flair. Would I mix those in when I add the reserved marshmallows.
Thank you for all your marvelous recipes!
So glad you like the recipes! Yes, that’s when I’d add in the m&m’s. 😊