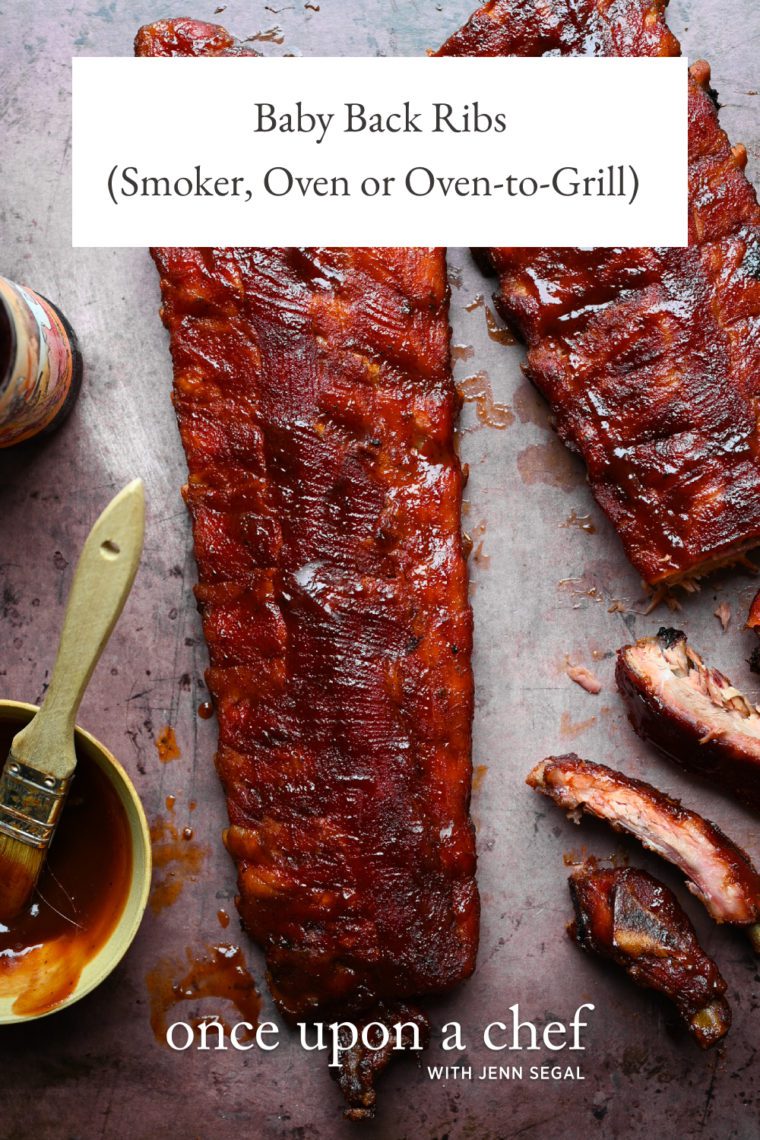
Baby Back Ribs (Smoker, Oven, or Oven-to-Grill)

This post may contain affiliate links. Read my full disclosure policy.
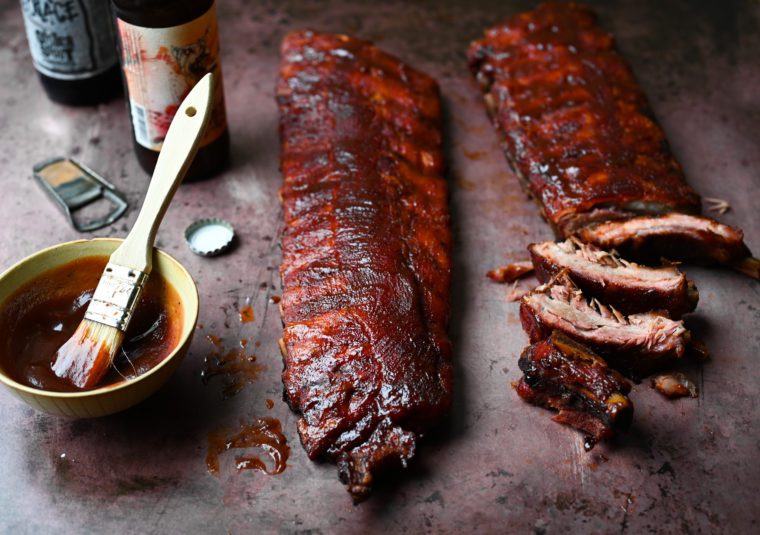
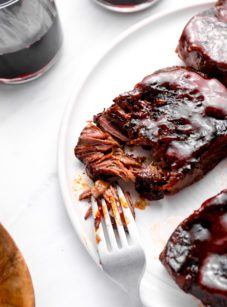
Smoky, sweet, savory, and pull-apart tender—these baby back ribs are a true crowd-pleaser.
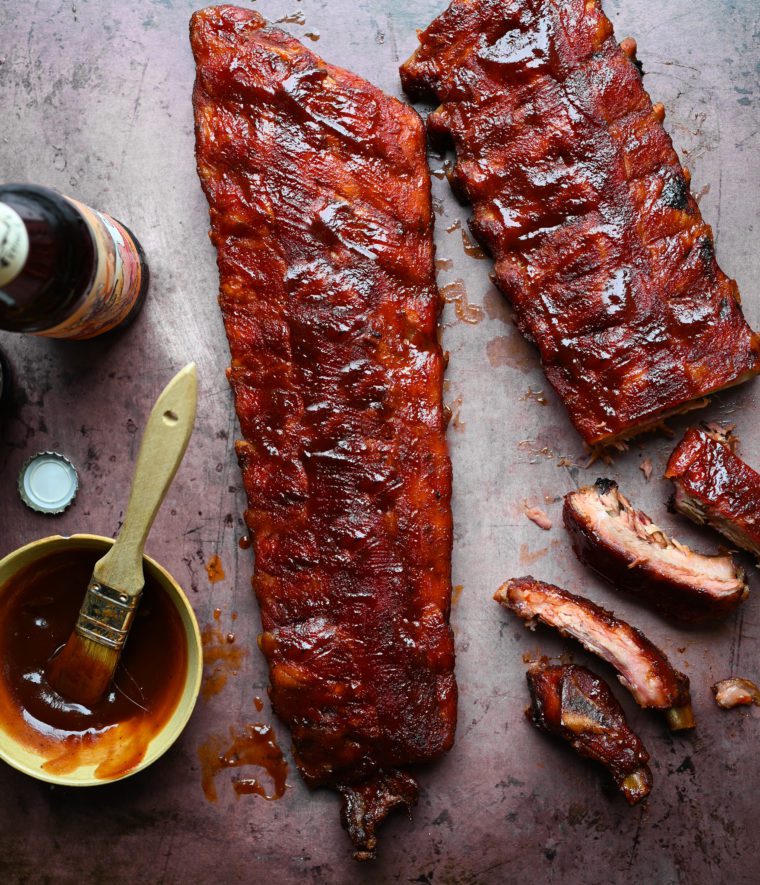
Smoky, sweet, sticky, and savory—these baby back ribs taste just like the ones from your favorite BBQ joint, only you can make them in the comfort of your own backyard or kitchen. The ribs are generously seasoned with a homemade spice rub, then cooked low and slow until tender and juicy. Before serving, they’re slathered with a thick barbecue sauce and heated again until they form a nice outer bark. Whether you make them using the smoker, oven, or oven-to-grill method, these ribs are finger-lickin’ good and surprisingly simple to make.
What You’ll Need To Make Baby Back Ribs
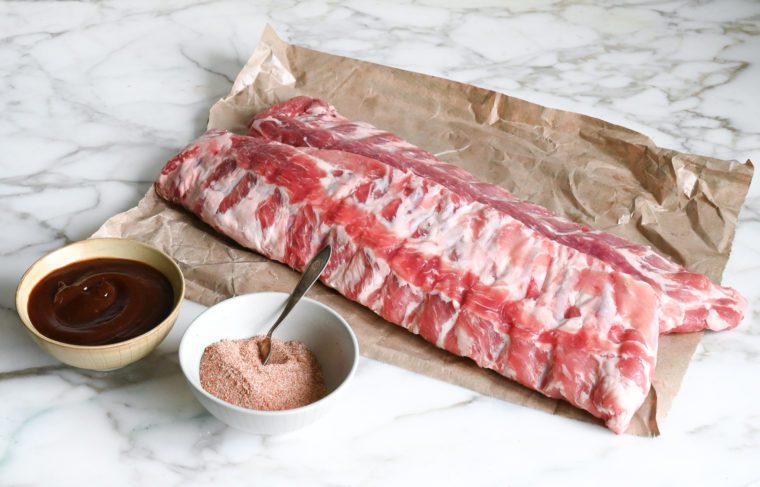
Baby Back Ribs: Also called back ribs or loin ribs, baby back ribs are the most popular cut of pork ribs. They’re called “baby back” not because they come from baby pigs but rather because they’re smaller than other rib cuts and come from the section of the ribs closer to the back of the pig. While small, they’re full of tender meat and not too fatty.
Spice Rub: My homemade BBQ spice rub is made from sugar, salt, smoked paprika, garlic powder, onion powder, oregano, dry mustard, oregano and cayenne pepper. The recipe will give you exactly enough rub for two racks of ribs.
Barbecue Sauce: You can use my homemade sweet and tangy barbecue sauce or a good quality store-bought sauce, like Sweet Baby Ray’s.
Cooking Ribs: Smoker VS Oven (or Oven-to-Grill)
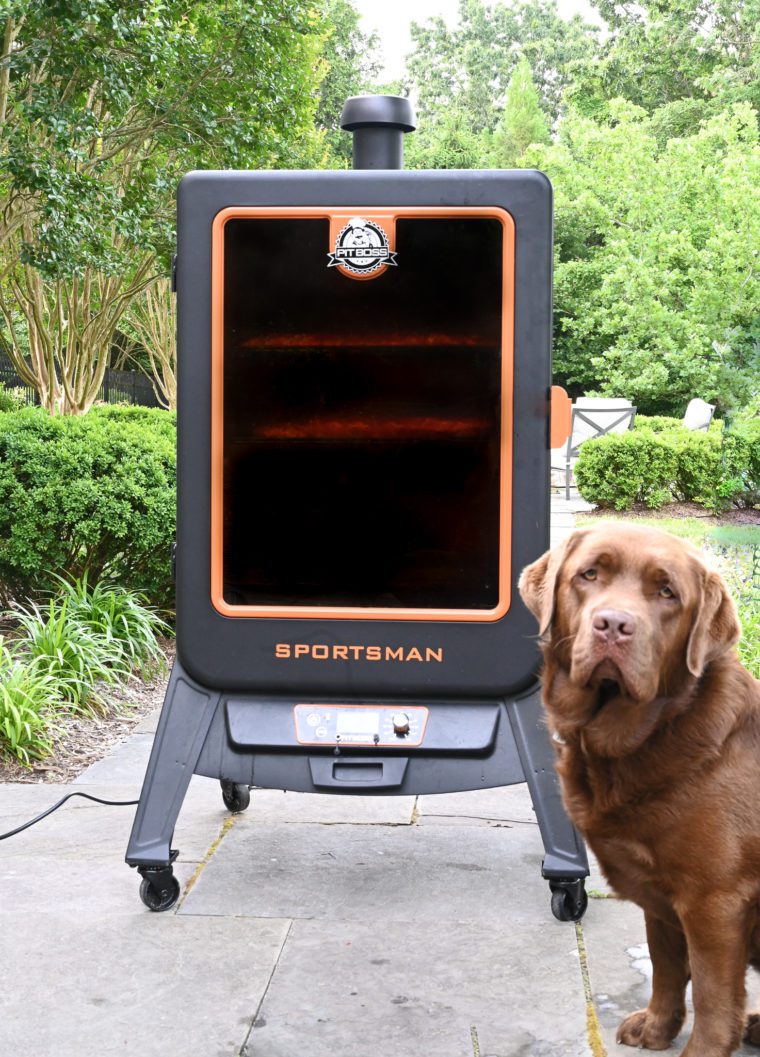
Similar to smoked brisket, the best way to cook ribs is in a smoker. Smoking surrounds the ribs in a smoky chamber while cooking them for over 4 hours at a low temperature. Cooking the ribs gently allows the fat to render out slowly and the connective tissue to break down, ensuring the ribs are succulent, and the long exposure to smoke allows the meat to take on a distinctive smoky flavor. I use a vertical wood pellet smoker from Pit Boss (available through Pit Boss or Amazon), shown below along with my sweet chocolate lab, Gus.
If you don’t have a smoker or are short on time, the oven is the way to go. Oven-baked ribs cook for only 2 hours, followed by a few minutes under the broiler or on the grill to set the sauce. While the smoky flavor won’t be quite as intense as ribs cooked in a smoker, oven-baked ribs are just as tender and the spices in the rub still lend a generous amount of smoky flavor to the finished ribs.
Step-by-Step Instructions
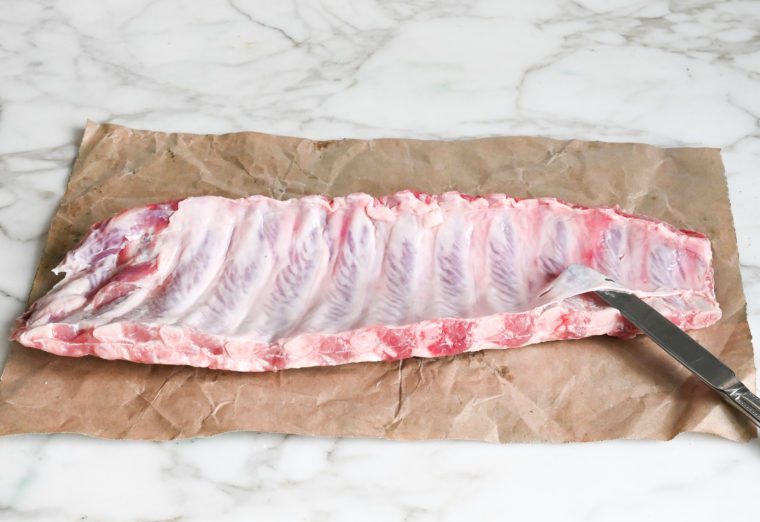
Before seasoning the ribs, it’s best to remove the membrane that coats the underside of the ribs. I usually ask my butcher to do this for me, but it’s easy to do yourself if necessary. Using a butter knife, simply loosen the membrane around one of the end bones, scraping it away from the ribs.
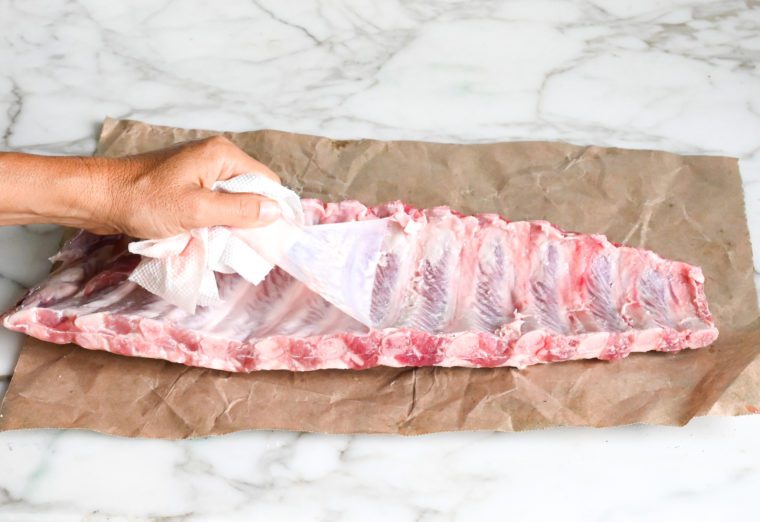
Once you get under it, grab the membrane with a paper towel and peel it off. If you’re lucky, it will all come off in one piece. Removing the membrane allows the spice rub to better penetrate the meat and ensures the ribs are nice and tender.
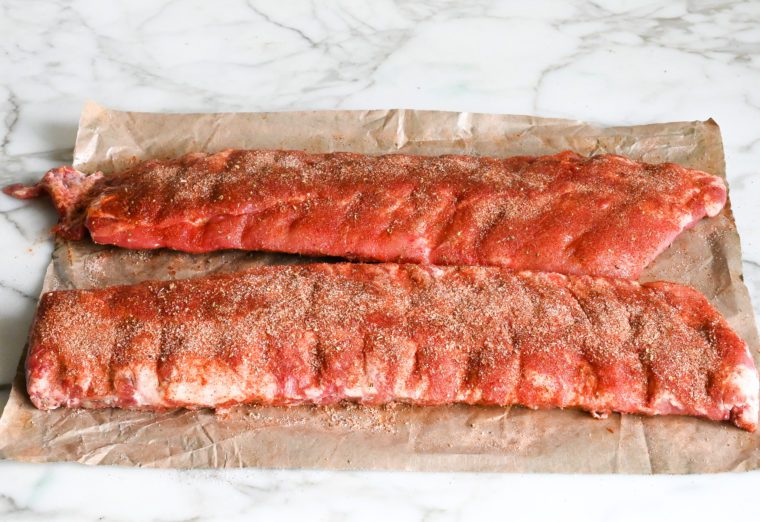
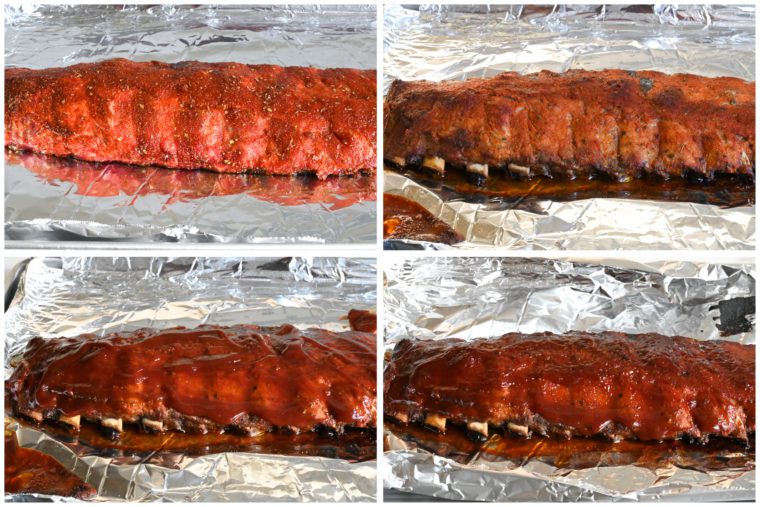
Next, preheat the smoker or the oven and coat the ribs evenly on both sides with about half of the spice rub.
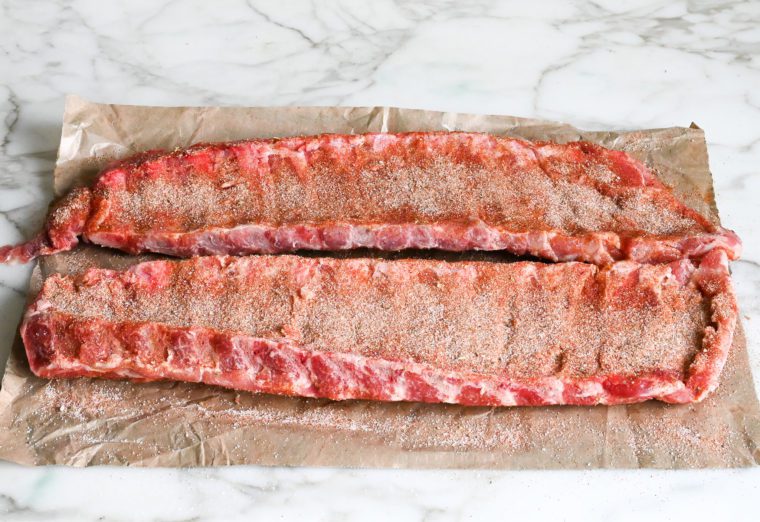
Allow the ribs to sit for about 15 minutes to “sweat” and absorb the rub, then coat the racks with the remainder of the rub. It will seem like too much rub but it’s not – use it all.
Smoker Method
Preheat the smoker to 225°F and place the spice-coated ribs on the racks.
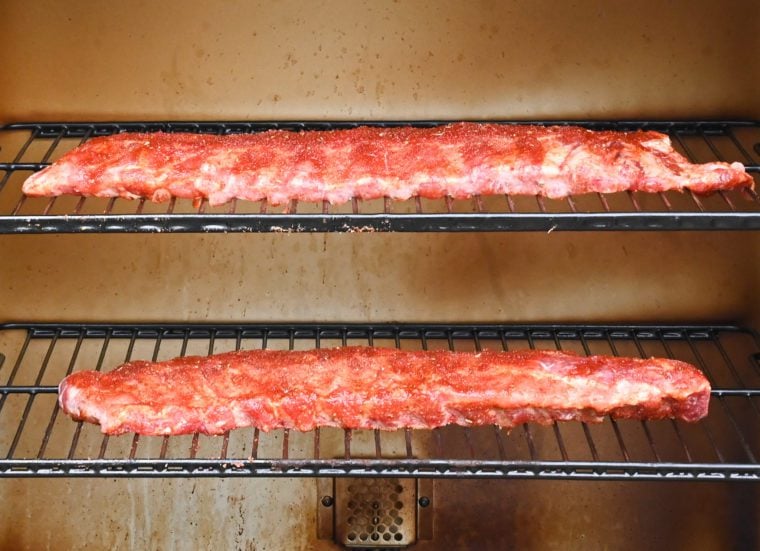
Cook for 2 hours. The ribs should have nice color at this point.

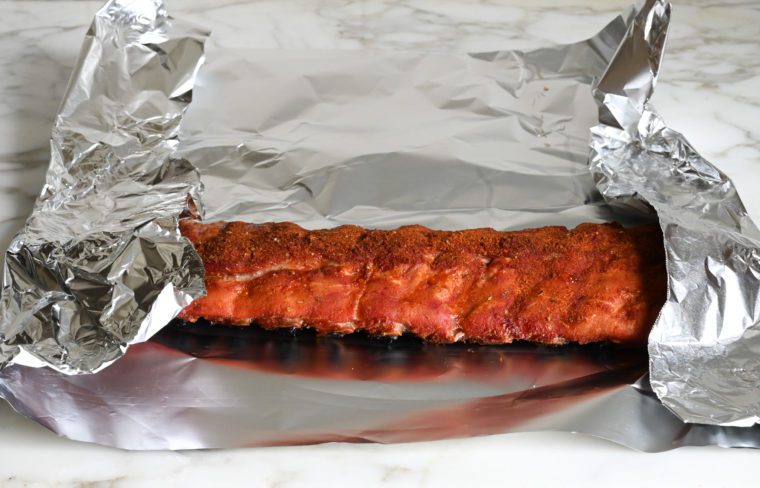
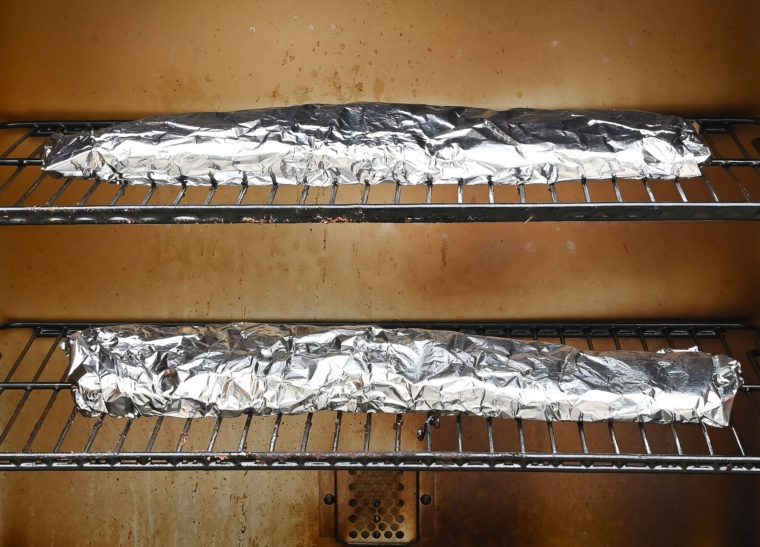
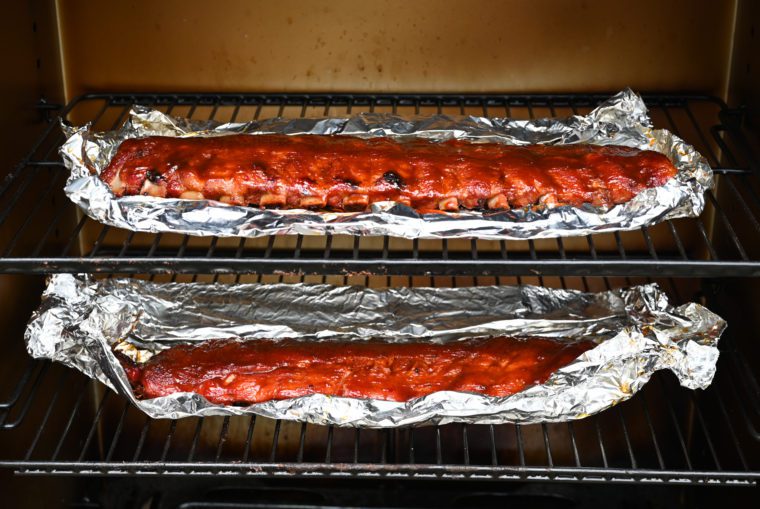
Remove the ribs from the smoker and double wrap each rack in heavy-duty foil.
Return to the smoker for 1-1/2 hours.
Remove the foil-wrapped ribs from the smoker (hot grease may drip out of the foil, so be careful). Carefully unwrap, leaving the ribs on the foil, and brush to the top of each rack with about 3 tablespoons of the BBQ sauce.
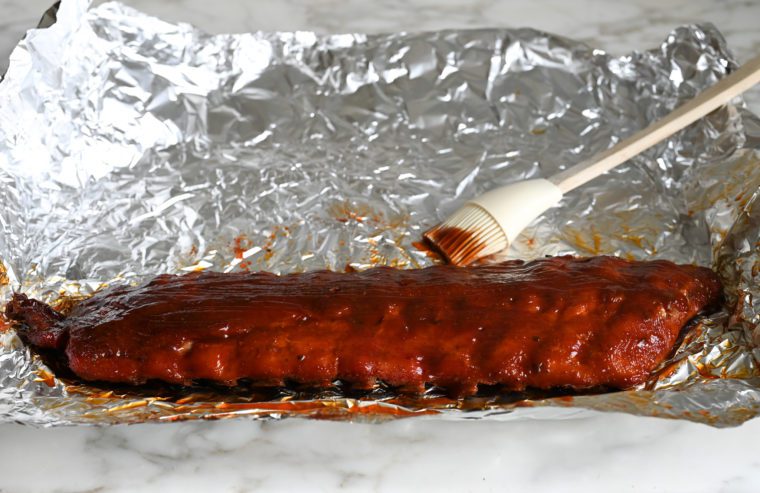
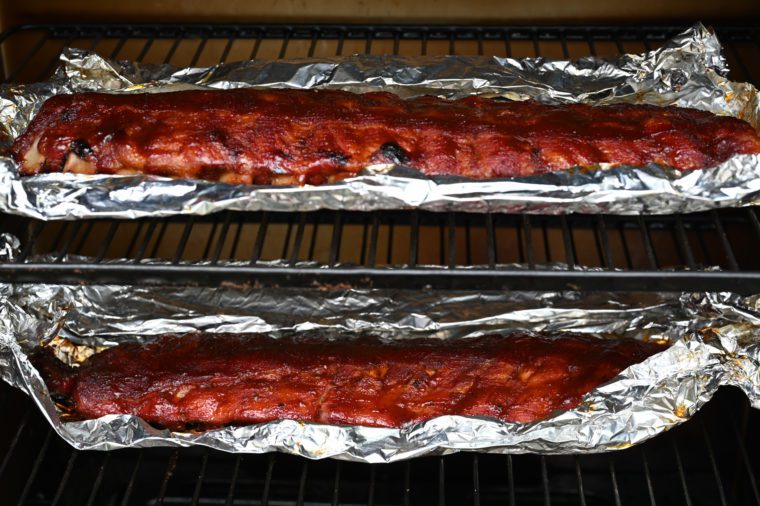
Fold the edges of the foil around the racks, creating a makeshift “pan” for each rack. Place the racks back in the smoker on the foil and cook for 45 minutes to 1 hour more.
The ribs should be tender and the sauce should be set. To determine if they’re done, lift them from the center with tongs – if they bend easily and the meat “cracks” on top, they are ready.
Oven or Oven-To Grill Method
Place the spice-coated ribs on a foil-lined baking sheet, cover tightly with more foil, and bake in a 300°F-oven until tender, about 2 hours. To finish the ribs, brush them with the sauce and broil until the sauce just starts to bubble and caramelize, 2 to 4 minutes. Alternatively, skip the broiler and finish the ribs on the grill for 10 to 15 minutes, brushing occasionally with the BBQ sauce until charred in spots and heated through.
How to Store & Reheat Leftover Ribs
Cooked baby back ribs will keep in a covered container in the refrigerator for 3 to 4 days, or they can be frozen for up to 3 months. To reheat, thaw the ribs overnight in refrigerator if necessary, then place on a foil-lined baking sheet. Brush the ribs with another layer of BBQ sauce and cover tightly with foil. Warm in a 250°F oven for 30 to 35 minutes, or until warmed through. Remove the foil and continue cooking for 10 to 15 minutes to allow the sauce to set and the bark to crisp up.
You May Also Like


Baby Back Ribs (Smoker, Oven, or Oven-to-Grill)
Smoky, sweet, savory, and pull-apart tender—these baby back ribs are a true crowd-pleaser.
Ingredients
For the Spice Rub
- 3 tablespoons sugar
- 2 teaspoons salt
- 1½ tablespoons smoked paprika
- 1½ teaspoons garlic powder
- 1½ teaspoons onion powder
- 1 teaspoon ground cumin
- 1 teaspoon dried oregano
- ½ teaspoon ground mustard
- ½ teaspoon cayenne pepper
For the Ribs
- 2 racks baby back ribs
- About 6 tablespoons homemade or store-bought BBQ sauce, plus more for serving
Instructions
- Make the Spice Rub: In a medium bowl, whisk together the sugar, salt, smoked paprika, garlic powder, onion powder, cumin, oregano, ground mustard, and cayenne pepper.
- Preheat the smoker to 225°F or the oven to 300°F. (If using the oven, set one rack in the middle position and one rack in the top position.)
- Remove the membrane that coats the underside of each rack of ribs: Using a butter knife, loosen the membrane around one of the end bones, scraping it away from the ribs. Once you get under it, grab the membrane with a paper towel and peel it off. If you’re lucky, it will come off all in one piece. (Alternatively, ask your butcher to do this for you.)
- Coat the ribs evenly on both sides with about half of the spice rub. Allow the ribs to sit for about 15 minutes to "sweat" and absorb the rub, then coat the racks with the remainder of the rub. It will seem like too much rub but it's not – use it all.
- Smoker Method: Place the spice-coated ribs in the smoker and cook for 2 hours. Remove the ribs from the smoker and double wrap each rack in heavy-duty foil. Return to the smoker for 1½ hours. Remove the foil-wrapped ribs from the smoker (hot grease may drip out of the foil, so be careful). Carefully unwrap, leaving the ribs on the foil, and brush to the top of each rack with about 3 tablespoons of the BBQ sauce. Fold the edges of the foil around the ribs, creating a makeshift “pan” for each rack. Place the racks back in the smoker on the foil and cook for 45 minutes to 1 hour more, or until the racks are tender. To determine if they're done, lift them from the center with tongs – if they bend easily and the meat “cracks” on top, they are ready. Let the ribs cool for about 10 minutes, then slice and serve.
- Oven or Oven-to-Grill Method: Line a baking sheet with heavy-duty aluminum foil. Place the spice-coated ribs on the prepared pan, cover the pan tightly with foil, and bake until tender, about 2 hours. Turn the oven to broil. Remove the foil from the ribs and brush each rack with 3 tablespoons of the barbecue sauce. Broil until the sauce just starts to bubble and caramelize, 2 to 4 minutes. Keep a close eye on the ribs while they're under the broiler; because of the sugar in the rub and sauce, they will quickly go from nicely caramelized to burnt. (Alternatively, you can skip the broiling and finish the ribs on the grill. Preheat the grill to medium and grill the baked racks for 10 to 15 minutes, brushing occasionally with the BBQ sauce until charred in spots and heated through. Adjust heat as necessary to prevent burning.) Let the ribs cool for about 10 minutes, then slice and serve.
- Reheating/Freezing Instructions:The cooked ribs will keep in a covered container in the refrigerator for 3 to 4 days, or they can be frozen for up to 3 months. To reheat, thaw the ribs overnight in refrigerator if necessary, then place on a foil-lined baking sheet. Brush the ribs with another layer of BBQ sauce and cover tightly with foil. Warm in a 250°F oven for 30 to 35 minutes, or until warmed through. Remove the foil and continue cooking for 10 to 15 minutes to allow the sauce to set and the bark to crisp up.
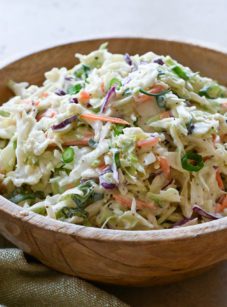
Pair with

Nutrition Information
Powered by ![]()
- Per serving (4 servings)
- Calories: 1,298
- Fat: 88 g
- Saturated fat: 31 g
- Carbohydrates: 23 g
- Sugar: 18 g
- Fiber: 2 g
- Protein: 103 g
- Sodium: 1340 mg
- Cholesterol: 369 mg
This website is written and produced for informational purposes only. I am not a certified nutritionist and the nutritional data on this site has not been evaluated or approved by a nutritionist or the Food and Drug Administration. Nutritional information is offered as a courtesy and should not be construed as a guarantee. The data is calculated through an online nutritional calculator, Edamam.com. Although I do my best to provide accurate nutritional information, these figures should be considered estimates only. Varying factors such as product types or brands purchased, natural fluctuations in fresh produce, and the way ingredients are processed change the effective nutritional information in any given recipe. Furthermore, different online calculators provide different results depending on their own nutrition fact sources and algorithms. To obtain the most accurate nutritional information in a given recipe, you should calculate the nutritional information with the actual ingredients used in your recipe, using your preferred nutrition calculator.
Jenn, after the baking time, there was a lot of liquid in my pan- perhaps a mix of fat and water from the ribs? Should I drain that before adding the BBQ sauce? Thanks.
Hi Cecile, I’d only bother to drain off the liquid if it’s excessive and would be covering the ribs (so you don’t dilute the sauce). Other than that, no need to drain it.
I always take the ribs out of the foil and back on to the grill grate, covering with sauce. That eliminates the liquid issue.
I save that “rib juice” in the freezer until cold season and use it, after removing hardened fat, in beef stew. Adds great flavor to the stew.
Delicious! This was my first time making baby back ribs and they turned out great. I used the oven-to-grill method and the directions were perfect… such an easy dinner! Thank you for the recipe Jenn…so nice to be able to make these at home, without special equipment. 😊
This recipe resulted in the best tasting home cooked ribs I’ve ever made. It was also better than most BBQ Restaurant ribs. I have one suggestion. I did the Oven to Grill version-
carefully following your instructions. I wish you had said to use a rimmed baking sheet. I almost did, but I ended up using a flat sheet pan. I should have checked when there was a burning smell, but I didn’t open the oven for the full two hours. The bottom was full of a large amount of burned on grease. The foil wrapping seemed intact, but somehow the grease escaped. The relatively new oven is not the same, even after cleaning. I think a foil lined rimmed baking sheet would have solved the problem. Recipe rating reflects the above. Otherwise a 5 star.
Hi Dennis, glad you liked the ribs but sorry about the mess in the oven! I think I’ll update the recipe to mention the baking sheet should be rimmed.
I have always pressure cooked my ribs and then finished them off with the sauce on the grill. They have always come out moist and tender! What are your thoughts on pressure cooking ribs?
Hi Tess, I’ve never used a pressure cooker, so I really can’t say – I’m sorry I can’t be more helpful!
Tess, I use my pressure cooker too, and finish on the grill with smoking wood. I use about 1/2″ of water, put the ribs on a rack, and cook under pressure for 12 minutes, and they’re ready for a few minutes on the grill. It’s too hot in summer for my oven to be on.
awesome
Could you put these in the crockpot to cook then finish off on the grill or oven? How long would you cook them for?
Hi Christine, I’ve never tried it so I can’t say confidently one way or the other — sorry I can’t be more helpful!
Christine, I’ve done them in the crockpot with a little liquid and it works well. I would leave them until the ends of the bones start to poke out from the meat, and then grill them for long enough to get a nice sear.
This is an incredible recipe! I have made these several times (oven method) and the ribs are always tender and flavorful. Thanks for sharing, this one is a keeper!
I’ve made my ribs in the oven for years, no foil to top (personal preference) but last night was my first time using Jenn’s seasoning – LOVED it! Will be my go-to seasoning from now on. For BBQ sauce, can’t go wrong with Stubb’s.
The best ribs we’ve ever made! We did the smoker route and they were perfect.
Oven-to-grill method left the ribs tough. Thoroughly disappointed.
Remember garbage in = garbage out,get the best product you can afford. This recipe is spot on delicious.
I would suggest that perhaps it was the ribs because this recipe is super good! Try it again with better quality ribs………….you won’t be disappointed!
Yes the actual animal/ribs are usually the culprit.