How To Make Tender Poached Chicken
This post may contain affiliate links. Read my full disclosure policy.
Tender poached chicken is easy to achieve using chicken tenderloins and the right cooking method.
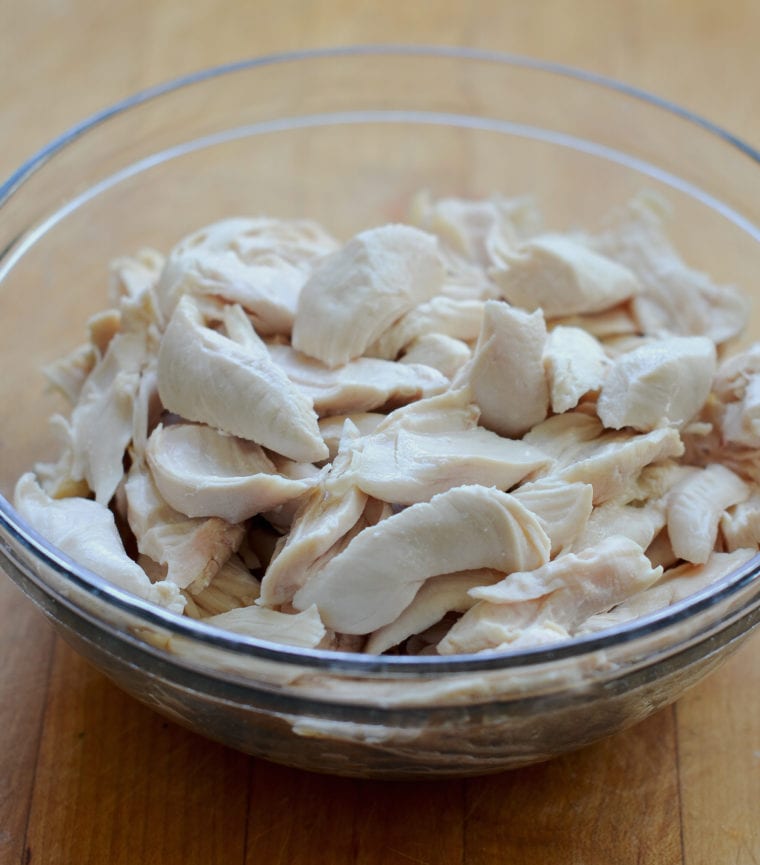
I’ve said it over and over again: in cooking, the simplest things are often the hardest to get right, and poached chicken is a perfect example. Because chicken breasts are extra lean and poaching requires zero fat, poached chicken is typically really dry. Most recipes mistakenly call for simmering boneless skinless chicken breasts over very low heat until cooked through. I prefer to use chicken tenderloins, which are more tender than whole breasts. And instead of simmering the tenderloins over low heat, I place them in a pot of boiling salted water, immediately remove the pot from the heat and cover it with a lid, and let it sit for 15 to 17 minutes, or until the chicken is just cooked through. This method guarantees succulent chicken every time.
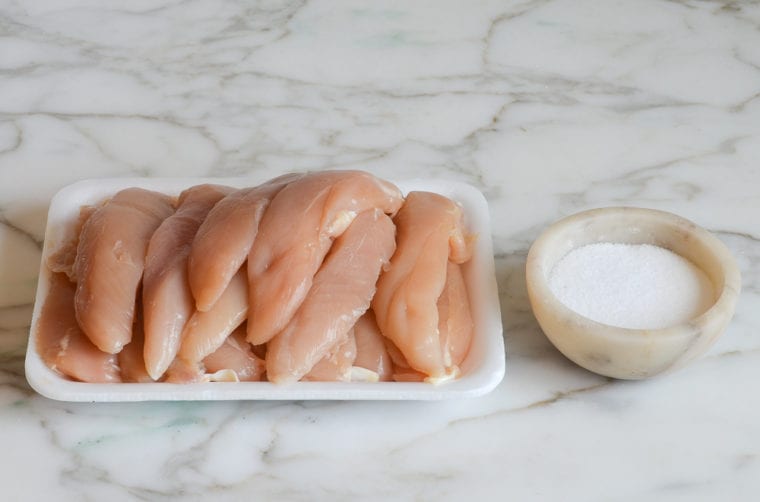
What You’ll Need To Make Tender Poached Chicken
Step-By-Step Instructions
In a large pot, bring 2-1/2 quarts of water and the salt to a boil.
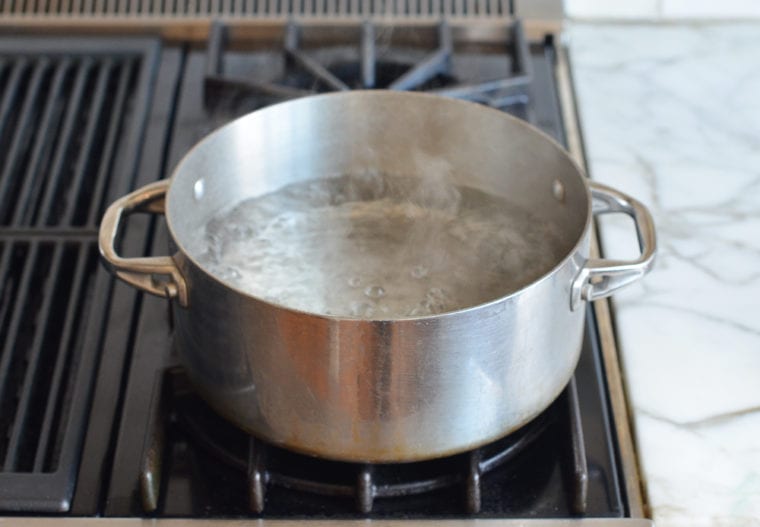
Remove the pot from the heat and add the chicken.
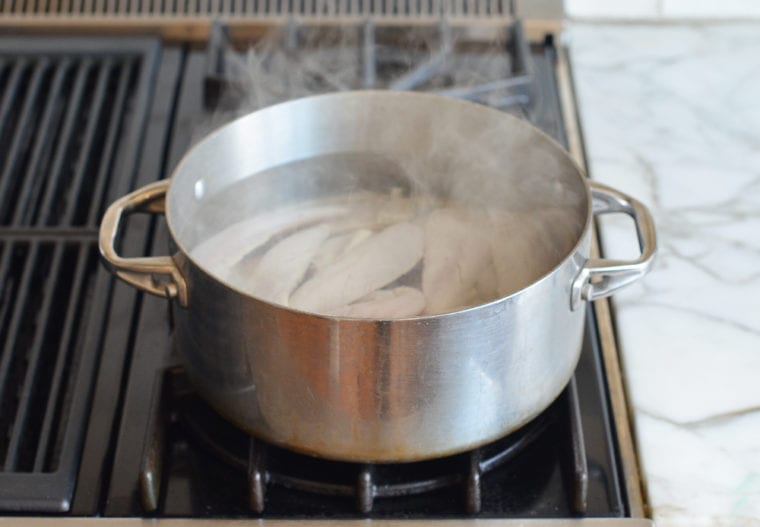
Immediately cover the pot with a lid, and let sit, off the heat, for 15 to 17 minutes, or until the chicken is just cooked through.
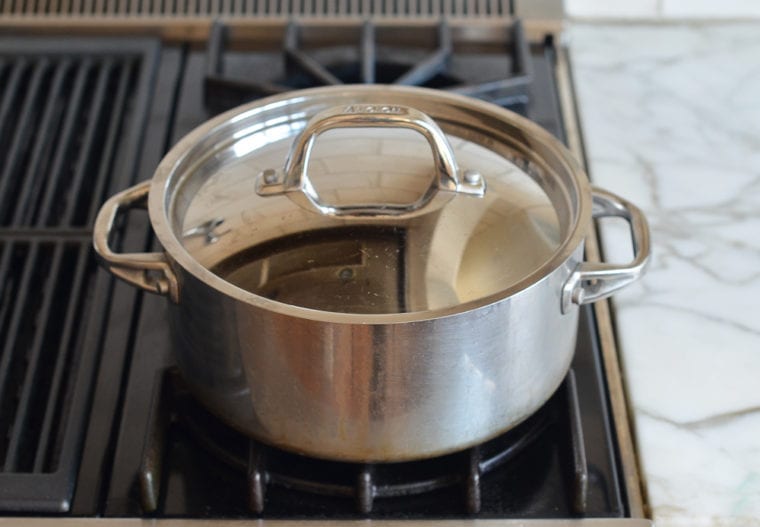
Do not overcook!
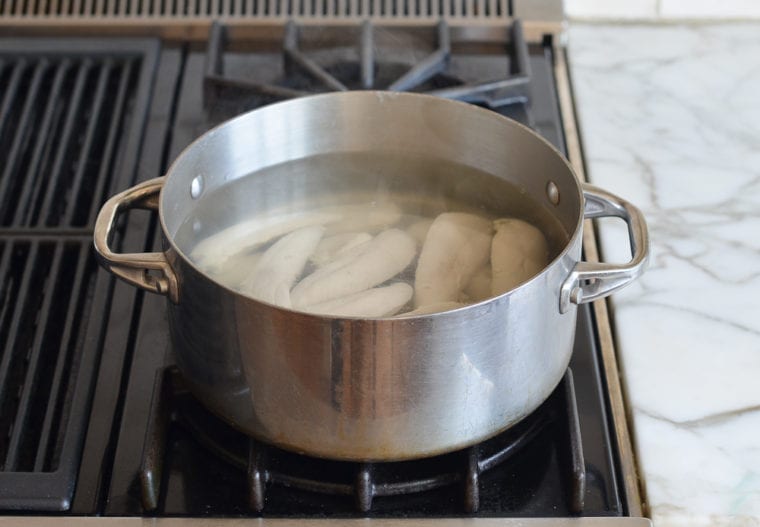
Using tongs, transfer the poached chicken to a cutting board.
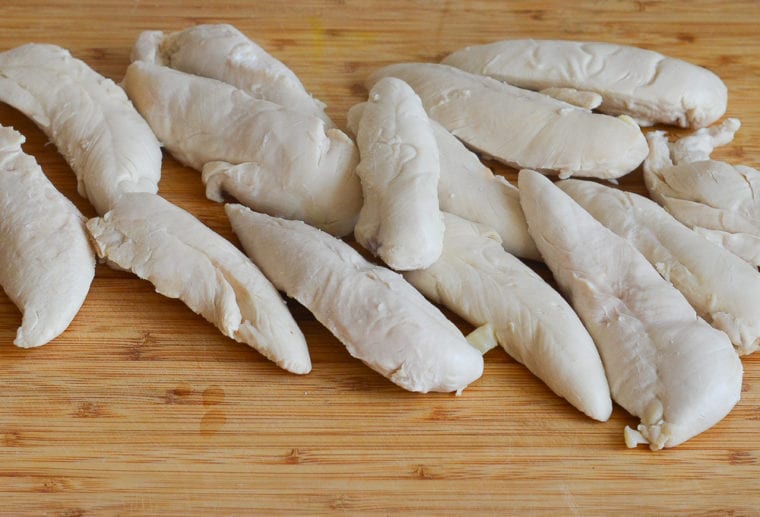
Let cool, then shred, discarding the tough tendon at the end of each tenderloin. Transfer the chicken to an airtight container, and refrigerate until ready to use. The poached chicken will keep for 3 to 4 days.

You May Also Like
- Chicken Salad with Grapes and Almonds
- Curried Chicken Salad
- Classic Chicken Salad
- Vietnamese Shredded Chicken Salad
Poached Chicken
Tender poached chicken is easy to achieve using chicken tenderloins and the right cooking method.
Ingredients
- 1 tablespoon salt
- 2 pounds chicken tenderloins
Instructions
- In a large pot, bring 2½ quarts of water and the salt to a boil. Add the chicken, immediately remove the pot from the heat, and cover it with a lid. Let it sit for 15 to 17 minutes, or until the chicken is just cooked through. To test for doneness, cut into the center of one of the tenderloins; it should be white throughout with no sign of pink. (Or insert a meat thermometer into the thickest part of the tenderloin; it should register 165°F.) Do not overcook.
- Using tongs, transfer the poached chicken to a cutting board. Let cool, then shred, discarding the tough tendon at the end of each tenderloin. Transfer the chicken to an airtight container, and refrigerate until ready to use. The poached chicken will keep for 3 to 4 days.
Nutrition Information
Powered by ![]()
- Per serving (9 servings)
- Serving size: 1/2 cup
- Calories: 265
- Fat: 16 g
- Saturated fat: 3 g
- Carbohydrates: 15 g
- Sugar: 0 g
- Fiber: 1 g
- Protein: 15 g
- Sodium: 455 mg
- Cholesterol: 41 mg
This website is written and produced for informational purposes only. I am not a certified nutritionist and the nutritional data on this site has not been evaluated or approved by a nutritionist or the Food and Drug Administration. Nutritional information is offered as a courtesy and should not be construed as a guarantee. The data is calculated through an online nutritional calculator, Edamam.com. Although I do my best to provide accurate nutritional information, these figures should be considered estimates only. Varying factors such as product types or brands purchased, natural fluctuations in fresh produce, and the way ingredients are processed change the effective nutritional information in any given recipe. Furthermore, different online calculators provide different results depending on their own nutrition fact sources and algorithms. To obtain the most accurate nutritional information in a given recipe, you should calculate the nutritional information with the actual ingredients used in your recipe, using your preferred nutrition calculator.

Love this simple recipe. I use this when making school lunches for the kids. The chicken stays perfect for several days without drying out.
Works great for boneless chicken breasts!
I sliced the breasts lengthwise into about four long pieces approximating the size of a tender. Boiled the water, turned the heat off, put the chicken pieces into the water and covered for 20 minutes . Voila! Very easy, result was very tender pieces of chicken. Thank you for sharing this technique. Especially good for a hot summer day when you don’t want to turn on your oven.
Oh man this was so easy!! I’ve been intimidated by poaching chicken, not wanting it to dry out. This was perfect! So tender and moist ❤️
Thanks Jen!!
I was not sure this method would work for me, but it did! I loved how easy it was to poach chicken using this method. Thank you for sharing!
My tenders must have been on the small side, as they were bordering on being overcooked already and I only left them in the water for 14 minutes. But I do love the simplicity of this method and the tenders are good. I was searching for instructions for these tenders since I’m on a pre-medical procedural diet of soft food. I don’t usually buy chicken tenders because they’re so costly, but I decided to go for broke on these. The diet is very limited and I really needed something that tastes good. This did the trick!
Perfect every time! So tender and so easy!
I just love your recipes! Just wondering, can you do this method with boneless thighs? Thanks!
So glad you like the recipes! I don’t think you need to use this method for thighs as they won’t get tough like tenders. That said, you can do it if you’d like — they will just take longer to cook.
Hi, Jenn,
I had started cooking the chicken tenders in my usual way in boiling water when I remembered that I wanted to try your poaching method, so my attempt was not exactly what you did, but it was close, and it turned out tender and delicious! I took a photo to show you after shredding the chicken, but I can’t post a photo here, and I’m not on Instagram. I really appreciate learning about this poaching method that turns off the heat to poach!
I’ve always wanted to be careful to cook chicken well enough because of salmonella, so for anyone who also worries about this, it might give you more peace of mind to put the tenders in boiling water for a few minutes first. Also, if you have trouble because some tenders are smaller than others, put the largest ones in first, wait 45 seconds and put in the medium ones, and wait 45 more seconds and put in the smallest ones. A little trouble, but well worth it to cook the tenders
enough and not too much.
That is what I was doing when I remembered that I wanted to make this recipe, so after I added all the chicken to the boiling water, I waited for the water to come back to a boil, and then I turned off the heat (gas goes of instantly). Unfortunately, I forgot to check how long since I had put in the chicken. I guessed about 4 minutes, so I timed it for ten more minutes sitting in the hot water, and then I took it up to the fridge. Yes, they come out more tender than my usual method of continuing to slowly boil for a few more mnutes, which I had called poaching. I used organic chicken tenders. I expect to check the timing better on this next time and make this my regular method. The meat seems very happy and not abused. 🙂
Jenn, I wonder whether this method of poaching would be good for poaching salmon. I might try that.
I will never poach chicken any way other than this. Ever. This chicken was perfect – tender, juicy and as flavorful as chicken breast meat can be.
Perfect. Just what I was looking for.