French Apple Tart
This post may contain affiliate links. Read my full disclosure policy.
With a buttery, flaky crust and sweet, cinnamon-spiced apples, this apple tart is simple, delicious, and full of rustic French charm.
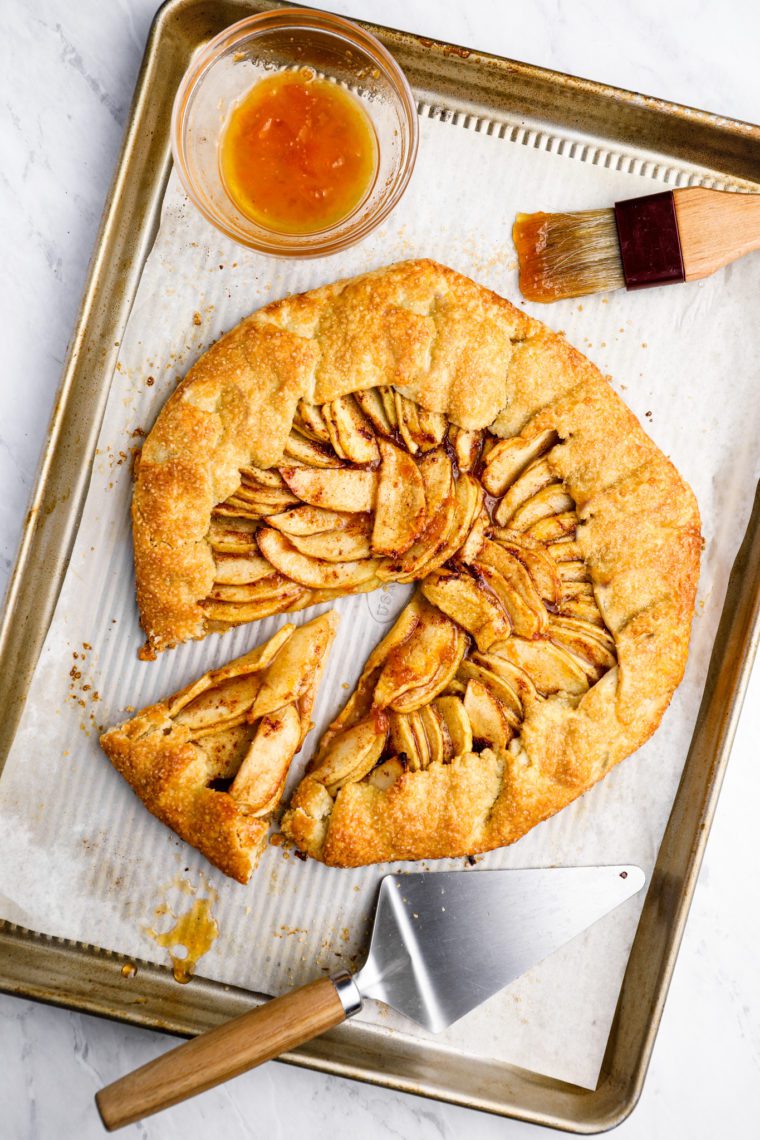
When you think of French desserts, you might imagine rows of colorful macarons and glossy fruit tarts in a Parisian pastry shop. But at home, the French tend to keep it simple. This rustic apple tart is the perfect example—like an apple pie without the pan, it has a buttery, flaky crust and cinnamon-spiced apples. Can’t you just picture it cooling on a windowsill in the French countryside?
It making homemade pastry feels intimidating, don’t stress! This dough is a breeze to make in the food processor and rolls out like a dream. The best part? With a free-form tart, there’s no need to fuss with crimping it into a pie plate; you just fold the dough over the fruit. The charm of this dessert is in its rustic, imperfect look. And there are endless variations too—like my plum galette, which swaps apples for juicy, sweet plums.
“This is officially on the holiday dessert starting line up! I can’t stop going back for another bite! I truly love, love, love this tart.”
What you’ll need to make a french apple tart
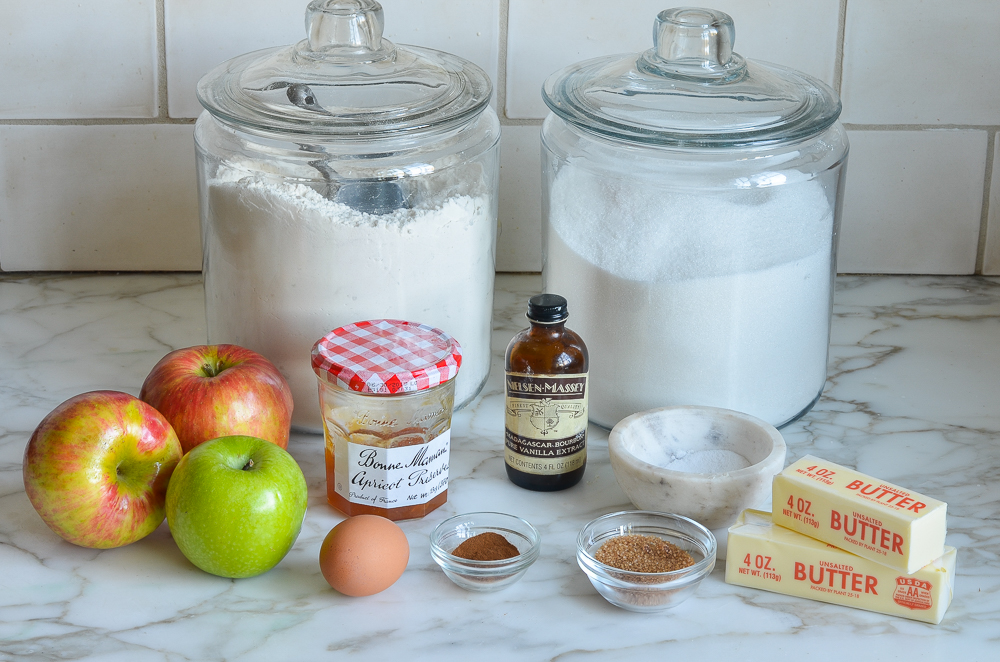
- All-purpose flour: Forms the base of the crust and provides structure to the dough and tart.
- Salt: Enhances the flavor of both the crust and filling.
- Granulated sugar: Adds sweetness to the crust and filling, balancing the tartness of the apples.
- Butter: Makes the crust rich and flaky while also adding flavor to the filling.
- Very cold water: Helps bind the dough together while keeping the butter cold for a flaky crust.
- Baking apples: Lend a sweet-tart flavor and hold their shape when baked. Use varieties like Honeycrisp, Jonagold, Fuji, Granny Smith, or Golden Delicious—and use a mix of different apples for the best flavor. Heads up: it can be tempting to load up the tart with extra apples, but less is more here—the apples release quite a bit of juice, which can leak from the tart and make a mess of the crust and your oven.
- Vanilla extract: Adds warmth and enhances the sweetness in the apple filling.
- Cinnamon: Adds a warm, spicy flavor to the filling, complementing the apples.
- Melted butter: Adds richness to the apple filling and helps the cinnamon and sugar adhere to the apples.
- Egg: Brushed onto the crust for a golden, glossy finish.
- Turbinado sugar: Sprinkled on the crust and apples for added sweetness and a crunchy texture.
- Apricot jelly or jam (optional): Used to glaze the apples, giving them a glossy finish and adding a subtle fruit flavor.
- Jump to the printable recipe for precise measurements
Step-by-Step Instructions
Step 1: Make the Crust
Begin by making the pastry. In a food processor fitted with the steel blade, combine the flour, salt and sugar.
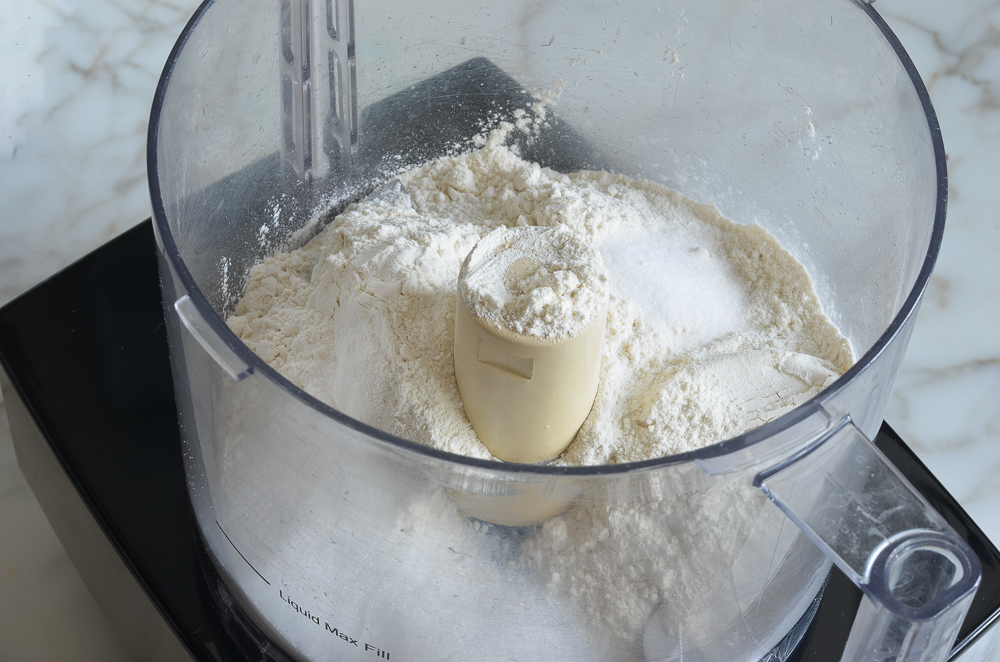
Pulse briefly to combine, then add the pieces of cold butter.
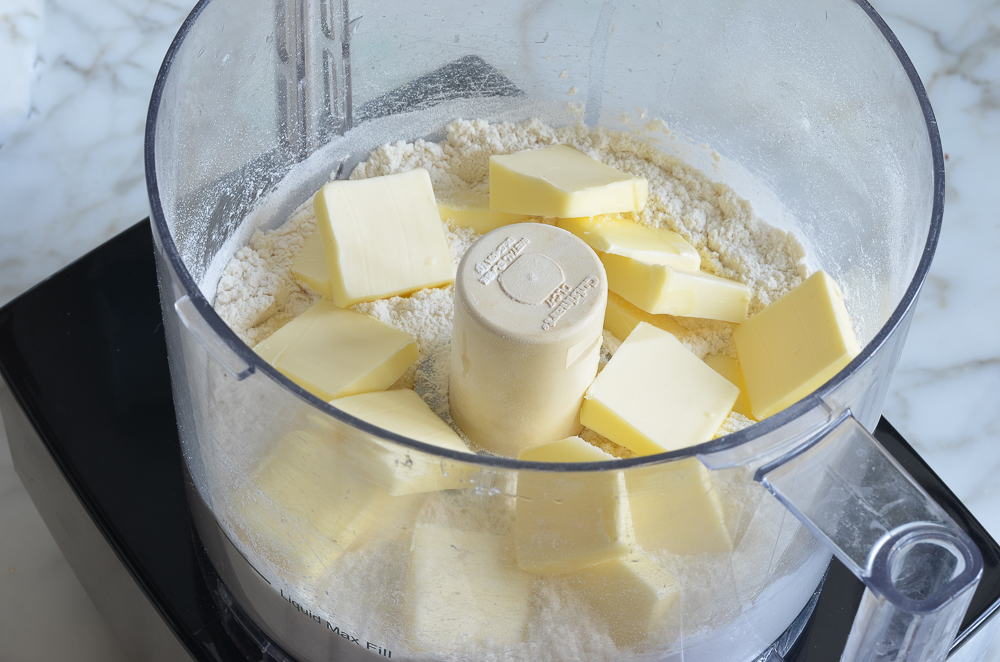
Process just until the butter is the size of peas, about 5 seconds.
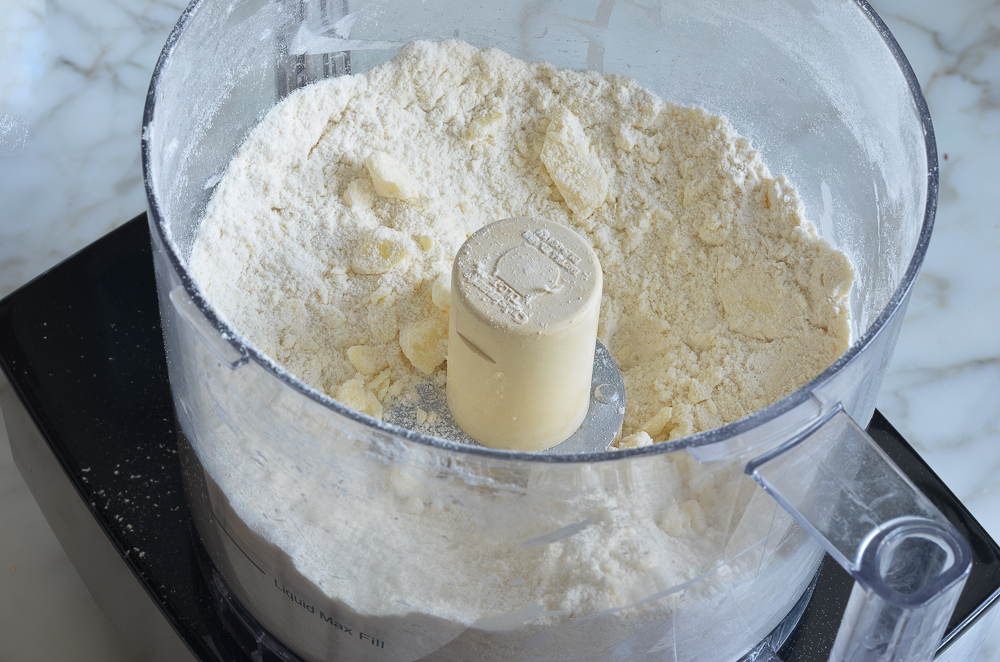
Sprinkle the ice water over the mixture and process just until moistened and very crumbly, about 5 seconds.
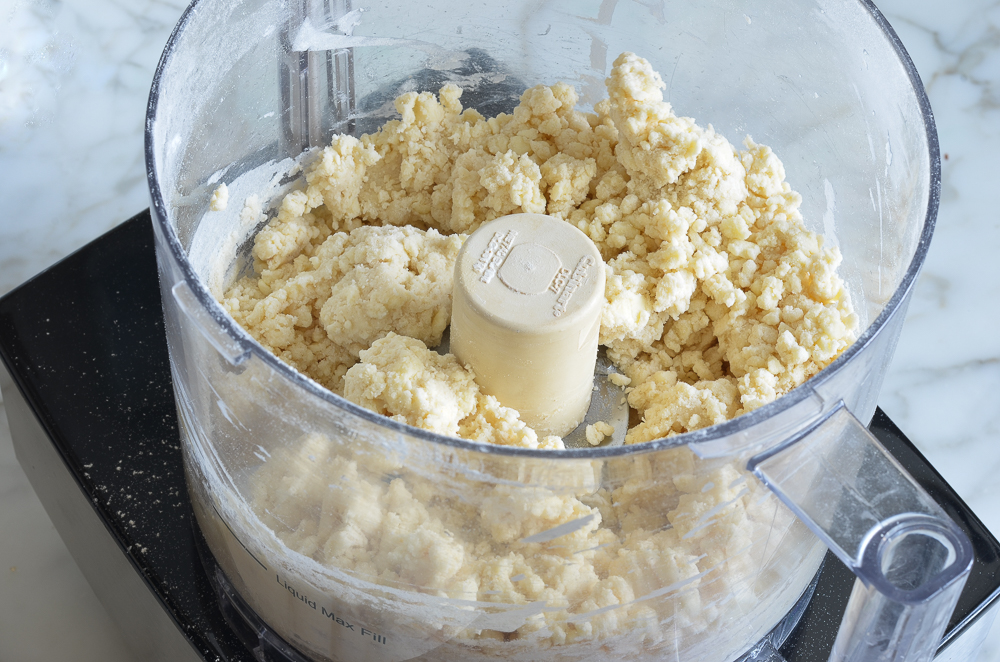
Transfer the dough to a lightly floured work surface.
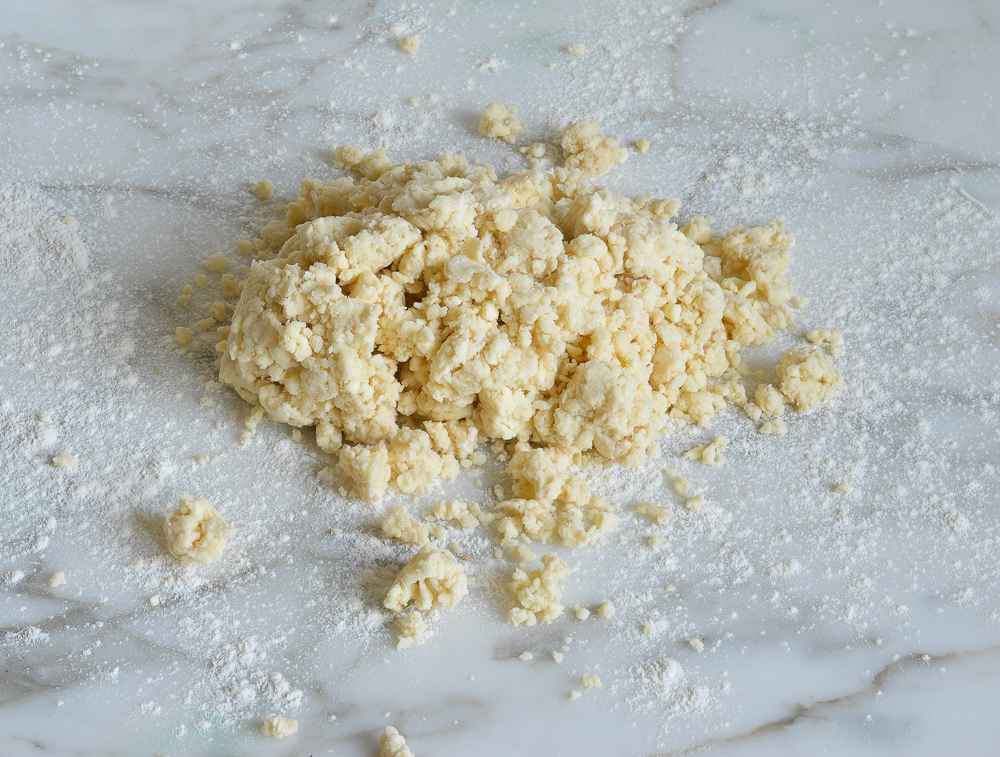
Knead a few times, just until it comes together into a cohesive ball.
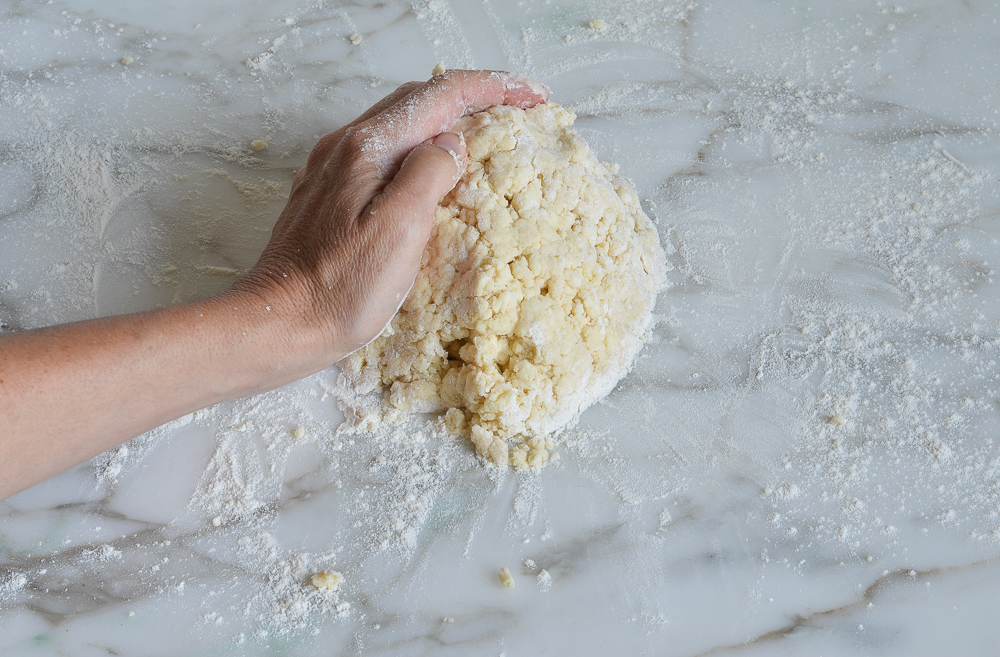
Pat the dough into a disk.
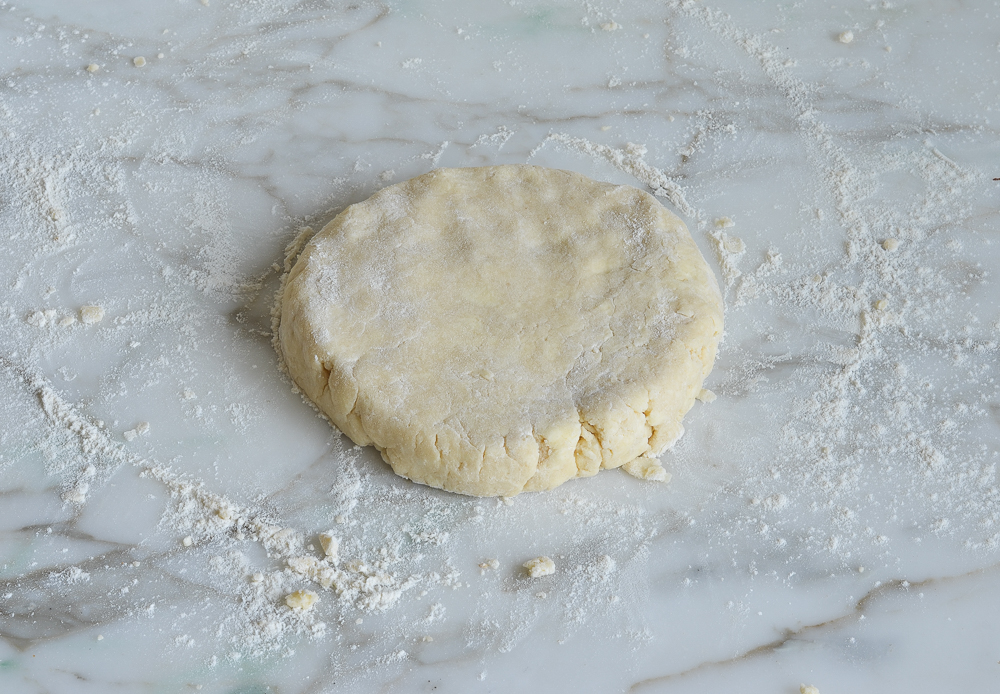
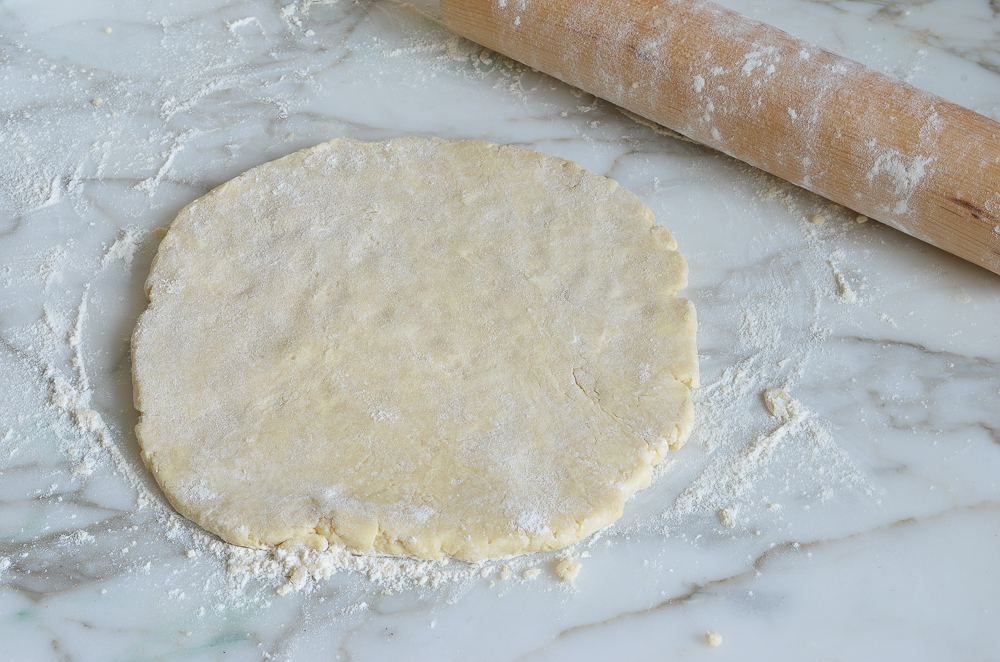
Flour your work surface again and dust the dough with flour, as well. Using a rolling pin, roll into a circle 8 to 10 inches in diameter, turning and adding more flour as necessary so the dough doesn’t stick. Transfer the dough to a parchment-lined baking sheet and refrigerate while you prepare the filling (you’ll roll the dough out further on the parchment paper so go ahead and clean your work surface).
Step 2: Prepare the Filling
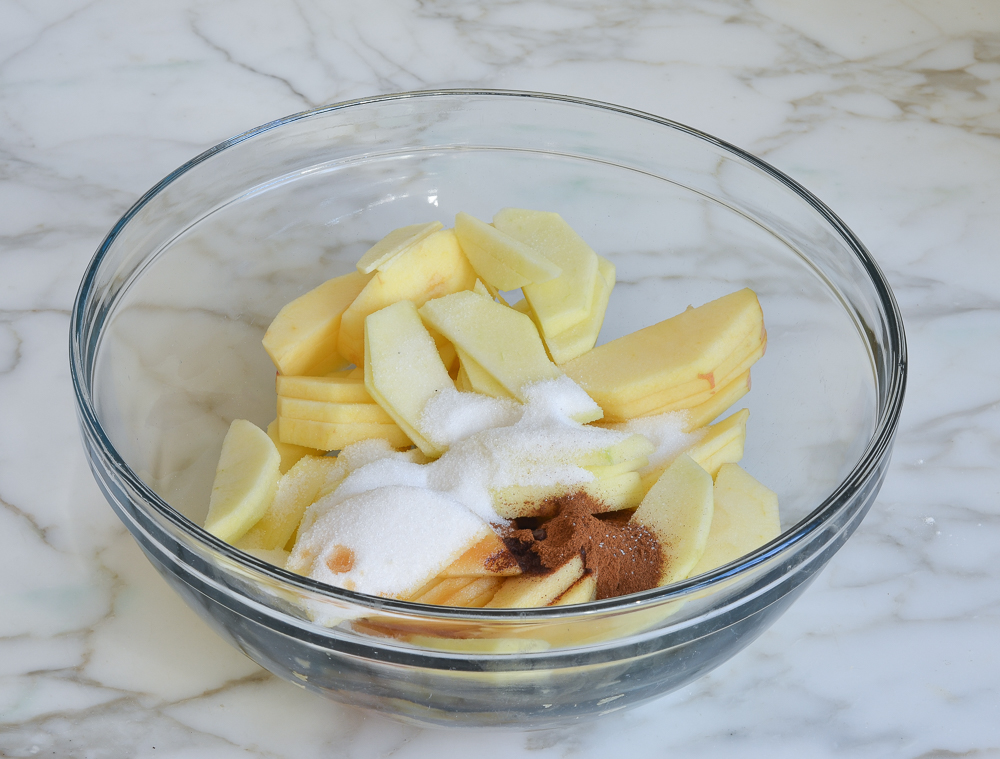
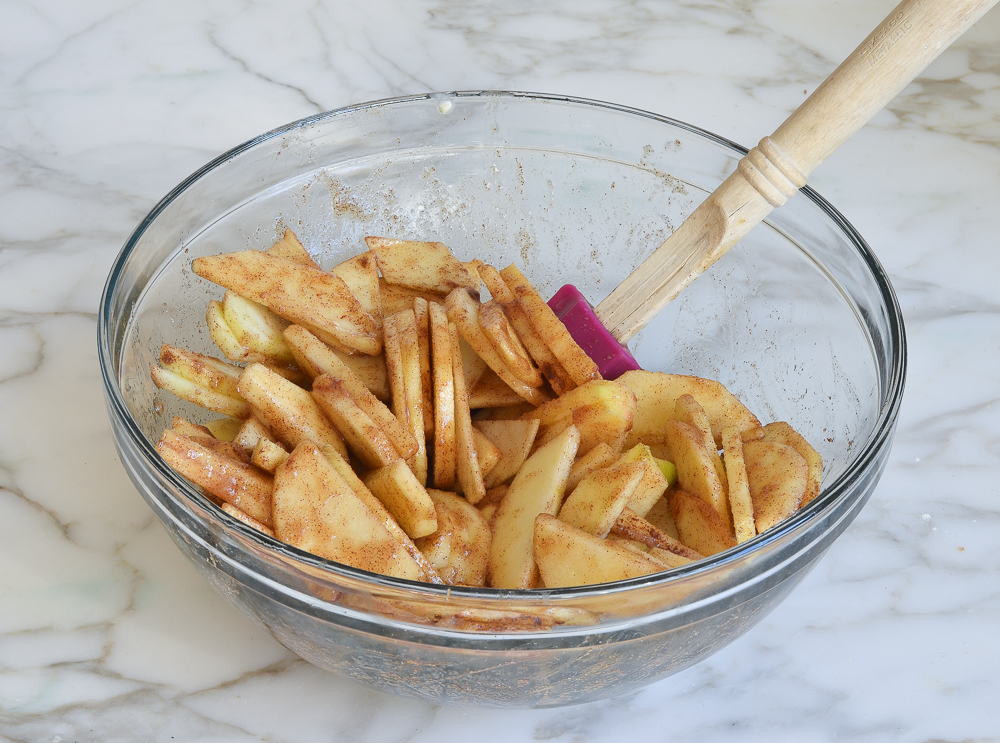
Peel, core, and cut the apples into 1/8-inch-thick slices (you should have about 4 cups) and place in a large bowl. Add the sugar, vanilla, cinnamon, melted butter, and salt.
Toss to combine.
Step 3: Assemble
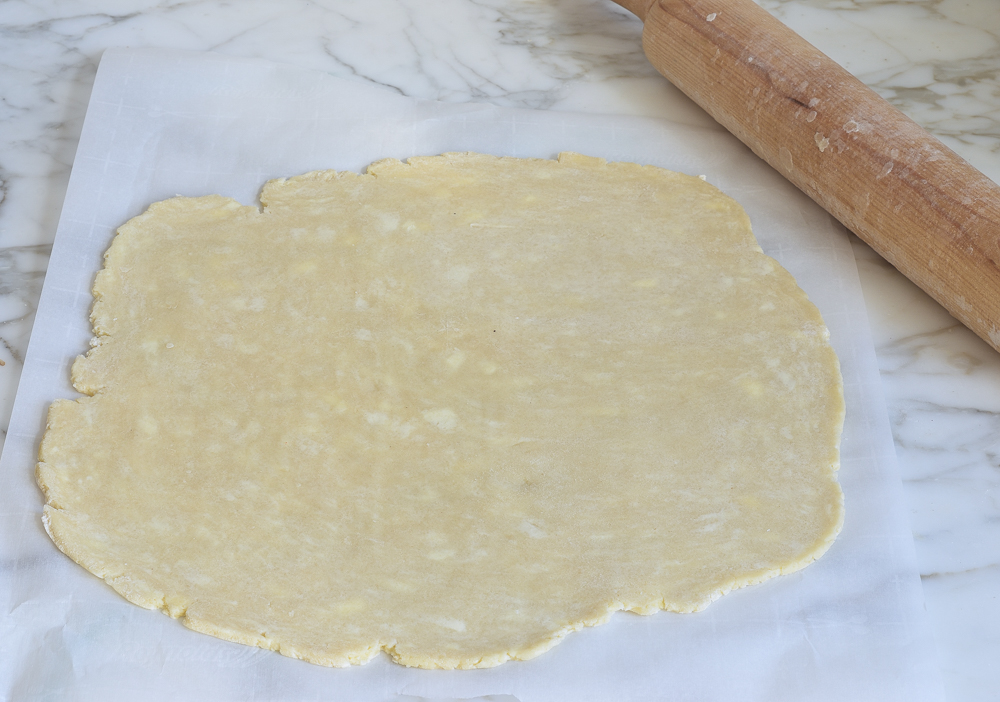
Take the dough from the fridge and slide the parchment paper onto the countertop. Roll the dough, directly on the parchment paper, into a 14-inch circle about 1/8 inch thick. It’s fine if the edges are a little ragged.
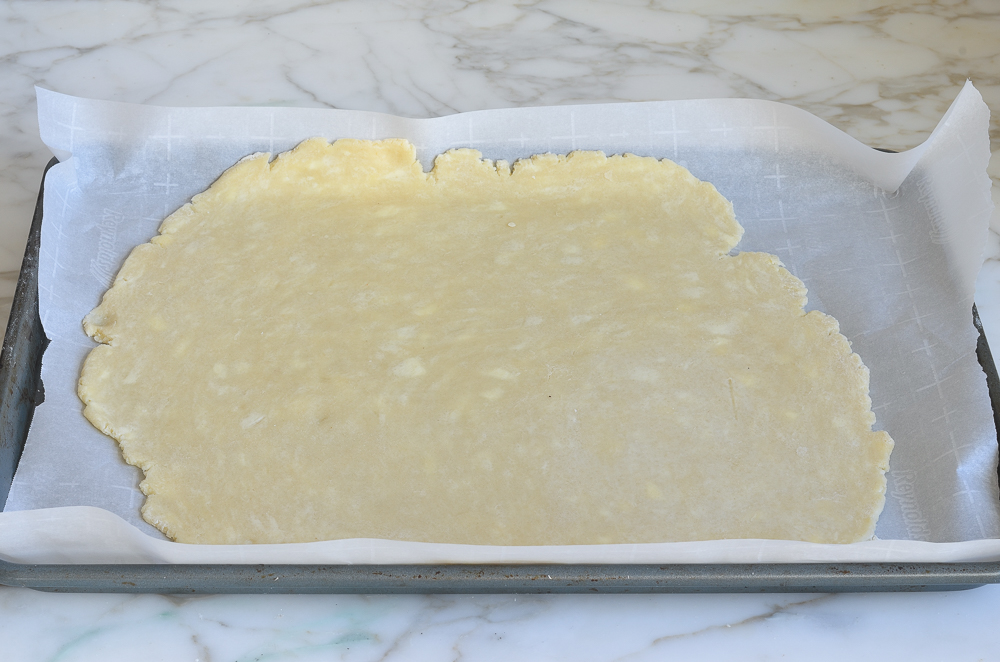
Place the parchment and dough back on the baking sheet – the pastry should curve up the lip of the pan.
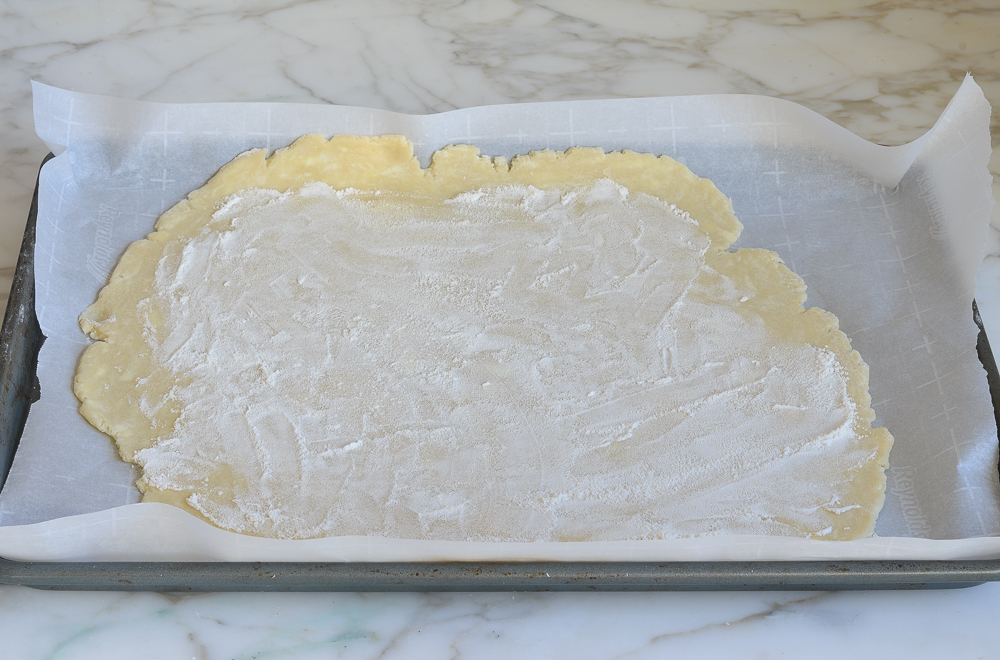
Sprinkle 1 tablespoon of flour evenly over the pastry.
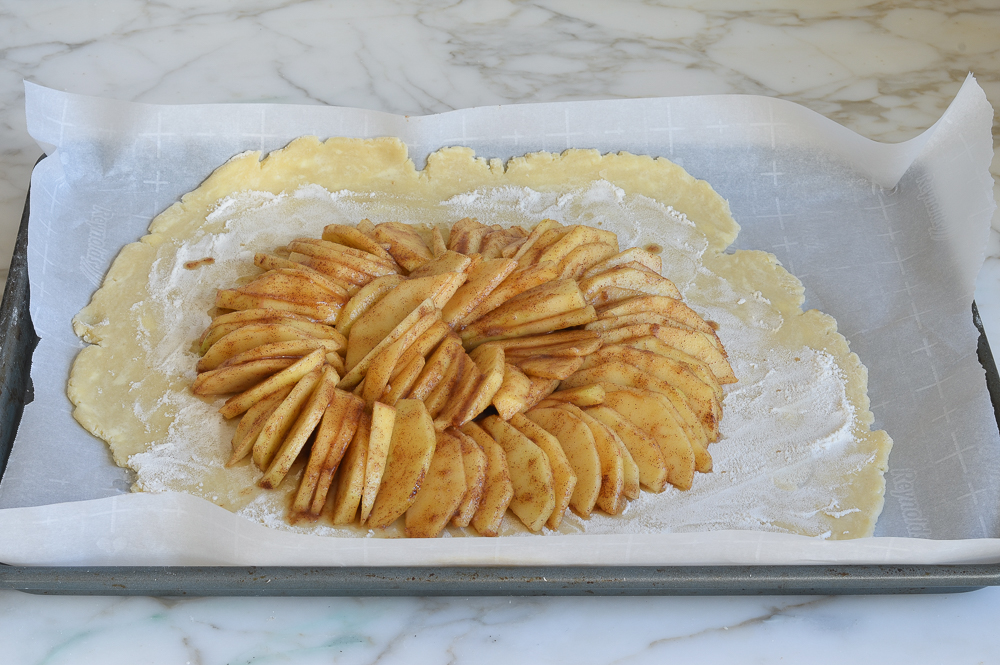
Arrange the apple slices on top in overlapping concentric circles to within 3 inches of the edge. Don’t worry about making it look perfect! It doesn’t make much difference in the end and you don’t want the dough to get too warm.
Fold the edges of the dough over the apples in a free-form fashion, working your way around and creating pleats as you go. Patch up any tears by pinching a bit of dough from the edge.
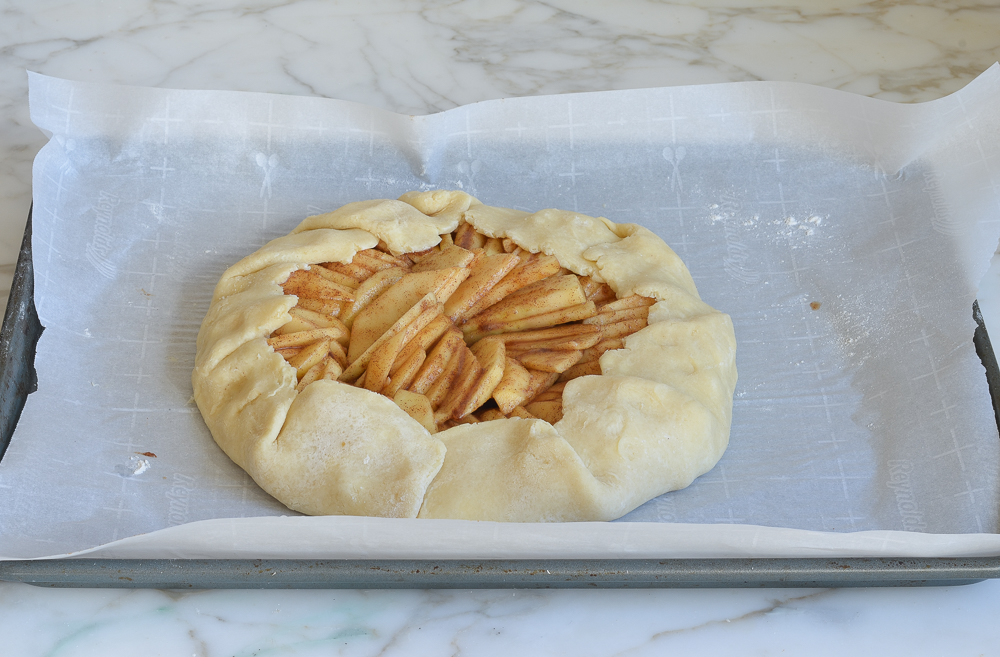
Using a pastry brush, brush the pleated dough evenly with the beaten egg.
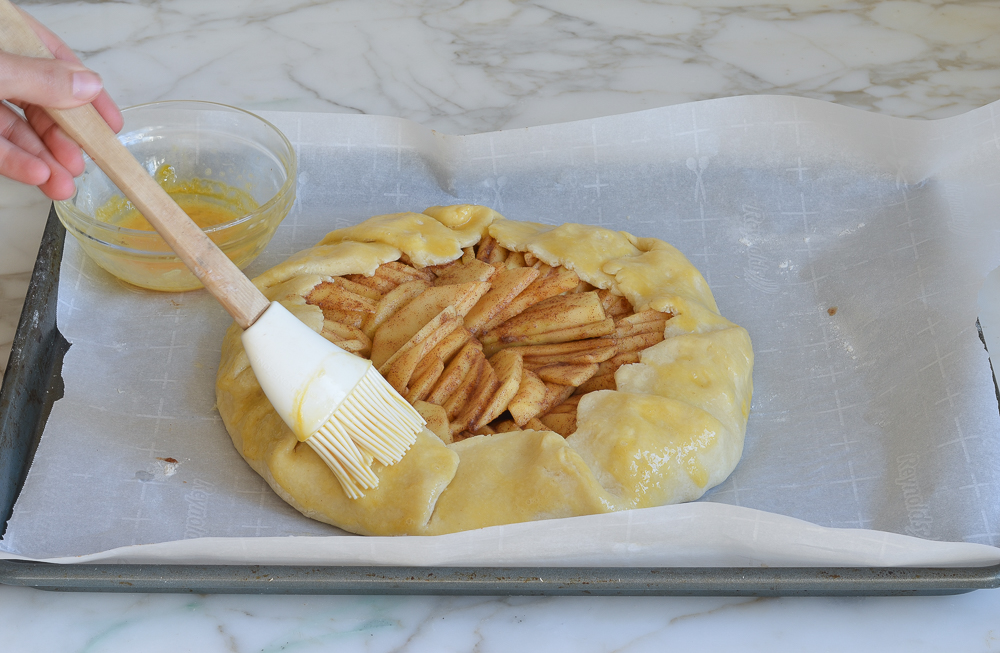
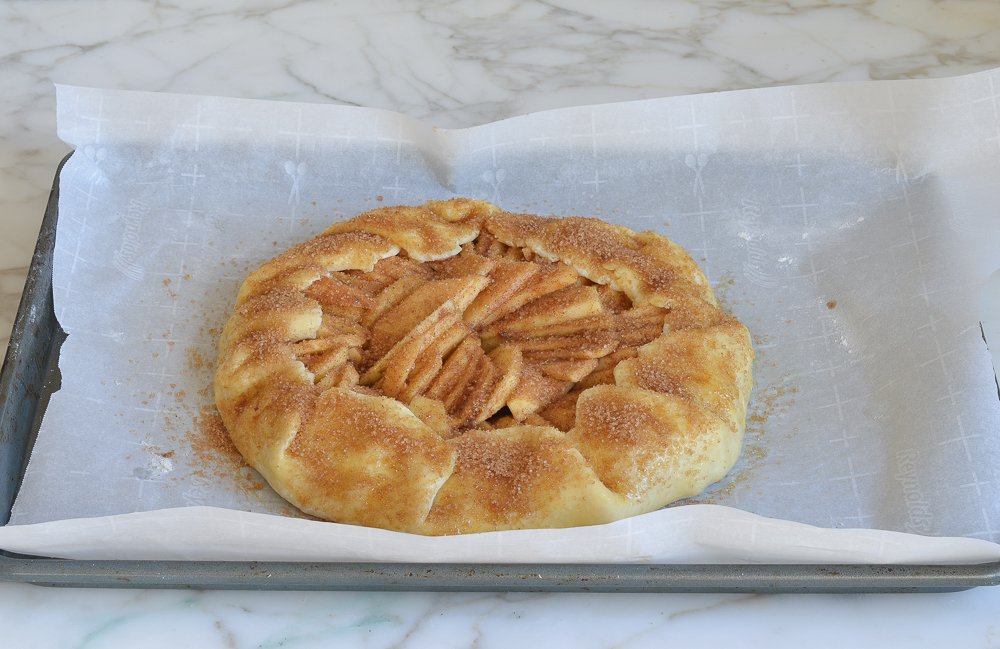
Sprinkle 1 tablespoon of the turbinado sugar over the top crust and 1 tablespoon over the fruit. Then chill the assembled tart in the fridge for 15 to 20 minutes while you preheat the oven.
Step 4: Bake
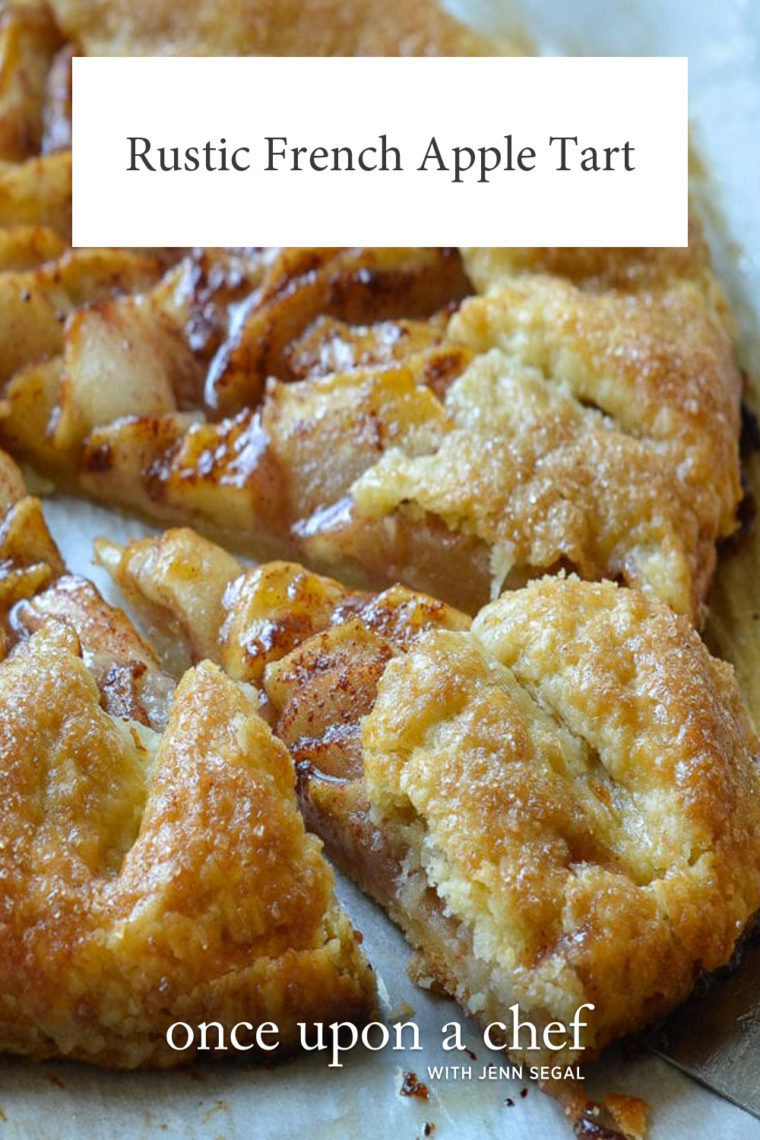
Bake for 55 to 65 minutes, or until the apples are tender and the crust is golden and cooked through. Transfer the pan to a rack and let cool. While the tart cools, make the optional glaze: mix the apricot jam with 1-1/2 teaspoons water in a small bowl. Heat in the microwave until bubbling, about 20 seconds. Then, using a pastry brush, brush the apples with the apricot syrup.

Use two large spatulas to transfer the tart to a serving plate or cutting board. Slice and serve warm or at room temperature. The tart is best served on the day it is made, but leftovers will keep, loosely covered on the countertop, for a few days.
Video Tutorial
You may also like
French Apple Tart
With a buttery, flaky crust and sweet, cinnamon-spiced apples, this apple tart is simple, delicious, and full of rustic French charm.
Ingredients
For the Crust
- 1½ cups all-purpose flour, spooned and leveled
- ½ teaspoon salt
- 2 tablespoons granulated sugar
- 1½ sticks (12 tablespoons) very cold unsalted butter, cut into ½-inch pieces
- ¼ cup very cold water
For the Filling
- 1¾ lbs baking apples (3 large) (see note)
- ⅓ cup sugar
- 1 teaspoon vanilla extract
- 1 teaspoon cinnamon
- 2 tablespoons unsalted butter, melted
- ⅛ teaspoon salt
For Assembling & Baking
- 1 tablespoon all purpose flour
- 1 egg, beaten
- 2 tablespoons turbinado sugar
- 1 tablespoon apricot jelly or jam, optional for glaze
Instructions
- Make the crust: Line a baking sheet with parchment paper. In a food processor fitted with the steel blade, combine the flour, salt and sugar. Pulse briefly to combine. Add the cold butter and process just until the butter is the size of peas, about 5 seconds. Sprinkle the ice water over the mixture and process just until moistened and very crumbly, about 5 seconds. Transfer the dough to a lightly floured work surface and knead a few times, just until it comes together into a cohesive ball. Pat the dough into a disk. Flour your work surface again and dust the dough with flour, as well. Using a rolling pin, roll into a circle 8 to 10 inches in diameter, turning and adding more flour as necessary so the dough doesn’t stick. Transfer the dough to the parchment-lined baking sheet and refrigerate while you prepare the filling (you’ll roll the dough out further on the parchment paper so go ahead and clean your work surface).
- Make the Filling: Peel, core, and cut the apples into ⅛-inch-thick slices (you should have about 4 cups) and place in a large bowl. Add the sugar, vanilla, cinnamon, melted butter, and salt; toss to combine.
- Take the dough from the fridge and slide the parchment paper onto the countertop. Roll the dough, directly on the parchment paper, into a 14-inch circle about ⅛ inch thick. It’s fine if the edges are a little ragged. Place the parchment and dough back on the baking sheet – the pastry should curve up the lip of the pan.
- Assemble the tart: Sprinkle the flour evenly over the pastry. Arrange the apple slices on top in overlapping concentric circles to within 3 inches of the edge. Don’t worry about making it look perfect! It doesn’t make much difference in the end and you don’t want the dough to get too warm. Fold the edges of the dough over the apples in a free-form fashion, working your way around and creating pleats as you go. Patch up any tears by pinching a bit of dough from the edge.
- Using a pastry brush, brush the pleated dough evenly with the beaten egg. Sprinkle 1 tablespoon of the turbinado sugar over the top crust and 1 tablespoon over the fruit. Chill the assembled tart in the fridge for 15 to 20 minutes.
- Meanwhile, preheat the oven to 350°F and set an oven rack in the center position.
- Bake for 55 to 65 minutes, or until the apples are tender and the crust is golden and cooked through. (It’s okay if some of the juices leak from the tart onto the pan. The juices will burn on the pan but the tart should be fine -- just scrape any burnt bits away from the tart once it’s baked.) Transfer the pan to a rack and let cool.
- While the tart cools, make the optional glaze. In a small bowl, mix the apricot jam with 1½ teaspoons water. Heat in the microwave until bubbling, about 20 seconds. Using a pastry brush, brush the apples with the apricot syrup.
- Use two large spatulas to transfer the tart to a serving plate or cutting board. Slice and serve warm or at room temperature. The tart is best served on the day it is made, but leftovers will keep, loosely covered on the countertop, for a few days.
- Note: Be sure to use baking apples that hold their shape when cooked, such as Honeycrisp, Jonagold, Fuji, Granny Smith, or Golden Delicious. And use a mix of different varietals for the best flavor.
- Make Ahead: The dough can be made up to 3 days in advance and refrigerated. Allow it to sit at room temperature for about 15 minutes or until pliable before rolling.
- Freezer-Friendly Instructions: The assembled tart may be frozen for up to 3 months. To freeze, place the baking sheet in the freezer until the tart is frozen, then wrap tightly. (Wait until right before baking the tart to brush the beaten egg and sprinkle the sugar onto the crust.) Bake directly from the freezer. (It may take a few extra minutes to bake from frozen.)
Nutrition Information
Powered by ![]()
- Per serving (8 servings)
- Serving size: 1 slice
- Calories: 392
- Fat: 21 g
- Saturated fat: 13 g
- Carbohydrates: 49 g
- Sugar: 26 g
- Fiber: 3 g
- Protein: 4 g
- Sodium: 195 mg
- Cholesterol: 73 mg
This website is written and produced for informational purposes only. I am not a certified nutritionist and the nutritional data on this site has not been evaluated or approved by a nutritionist or the Food and Drug Administration. Nutritional information is offered as a courtesy and should not be construed as a guarantee. The data is calculated through an online nutritional calculator, Edamam.com. Although I do my best to provide accurate nutritional information, these figures should be considered estimates only. Varying factors such as product types or brands purchased, natural fluctuations in fresh produce, and the way ingredients are processed change the effective nutritional information in any given recipe. Furthermore, different online calculators provide different results depending on their own nutrition fact sources and algorithms. To obtain the most accurate nutritional information in a given recipe, you should calculate the nutritional information with the actual ingredients used in your recipe, using your preferred nutrition calculator.





I was looking for a recipe to use use some Macintosh apples nobody was eating. I couldn’t say no to the ease and ratings. I cut the sugar by 1/3 and added about a tablespoon of cornstarch into the filling. It was literally gobbled up, leaving me only a small slice with breakfast. AWESOME recipe!
This was delicious! Flaky crust, not too much sugar or seasoning, which allowed the apples to shine. I used Jonathans and they lent a slightly tart taste. Definitely keeping this one handy!
Lovely! I made this twice, the second time I omitted butter from the apple mix as I didn’t find that step necessary. I noticed the apples collect water/’apple juice’ at the bottom of the bowl after mixing the cinnamon, sugar and vanilla extract. I used the recommended ones (honeycrisp & green apple) so not sure how that was the case?
This was amazing! I made it for our holiday dinner. I have made other recipes for rustic apple tart previously but this was clearly the best, flakiest crust- very tender but not mushy! The flour on the bottom seemed to help keep the tart juicy but not runny. I did not use the apricot glaze- seemed totally unnecessary. For those who wanted a little something extra, we served them with a small bit of ice cream. Perfection! Thanks for this great recipe.
Delicious and your instructions were perfect. Great recipe
Lovely recipe. I used tart green apples (unsure what variety) from a friend’s garden and swapped the apricot jam for honey in a nod to Rosh Hashanah. Served warm to guests, who absolutely loved it!
I had a bag full of the wrong apples (mackintosh), but I wanted to make this anyway!
The crust was amazing – flaky and crisp, not hard.
The filling a bit sweet due to my apples being on the sweet side. I was worried about a soggy crust so I added some almond flour with the flour on the crust before adding the apples. It wasn’t wet and didn’t leak in the oven.
I’m making this again today, but with less sugar and a bit more almond flour (because why not?) as I still have apples left in the bag!
I’m saving this recipe to make whenever I can. So good.
Hi Jenn,
I have an upcoming fall dinner party. If I make this in the morning do you suggest warming each slice in the microwave and serving with vanilla ice cream or just serve at room temp?
Hi Maria, You can serve it at room temperature, or if you’d serve it warm, put it briefly in a 300-degree oven to refresh a bit.
Today is the first day of fall!!! I love fall with all of its bright colors and fabulous comfort food. This is apple season and there is no dessert that compliments the season better than this rustic apple tart. We don’t even make apple pies anymore, because this is so much better (in my opinion). The perfect fall dinner consists of a roast chicken, roasted root vegetables, and this tart. We’ve never used the apricot preserves to finish as it is perfect without.
I made this today — what a treat! Since there were only two of us who’d be eating it, I halved the recipe and it came out perfectly. My two medium-sized Granny Smiths produced the right amount of apples. And I baked it for about 50 minutes. It looks stunning and tastes delicious — an ideal fall dessert!