Perfect Basmati Rice: A Step-by-Step Guide
This post may contain affiliate links. Read my full disclosure policy.
Learn how to cook fragrant basmati rice to perfection—tender, fluffy, and just right for soaking up your favorite curries and more.
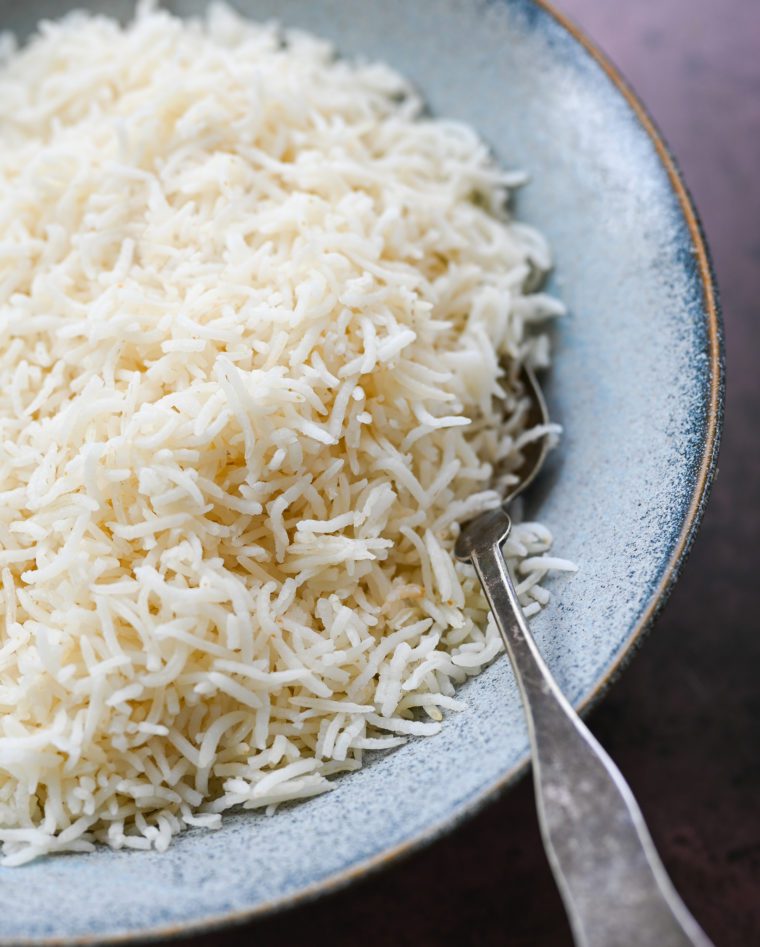
Basmati is a fragrant long grain rice grown in the Himalayas and Pakistan known for its nutty flavor. “Bas” in Hindi language means “aroma” and “mati” means “full of,” hence the word Basmati — or “full of aroma.” The key to making perfect basmati rice is to start with a high-quality brand of rice, preferably one imported from India or Pakistan. I love using Jyoti Basmati Supreme—it’s labeled “very long grain” and expands beautifully when cooked. It’s also important to rinse the rice under running water for a minute or two before cooking. This releases excess starch and prevents the grains from sticking together once cooked; the texture of basmati rice should be tender and fluffy, and the grains should be separate from one another.
Basmati rice makes a perfect side dish to many dishes, such as chicken curry, mulligatawny, butter chicken, chicken tikka masala, and tandoori chicken, to name just a few.
Table of Contents
“This truly is the perfect basmati rice! Tried and true, this recipe never fails…much better than the package directions!”
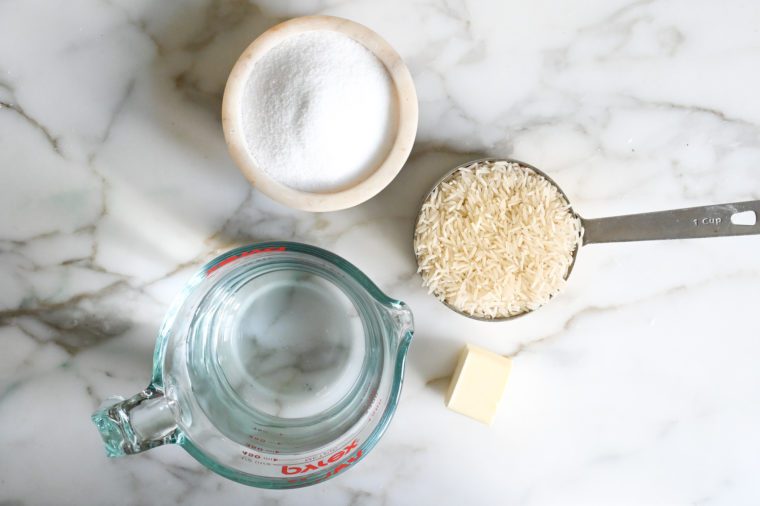
What You’ll Need To Make Basmati Rice
Step-by-Step Instructions
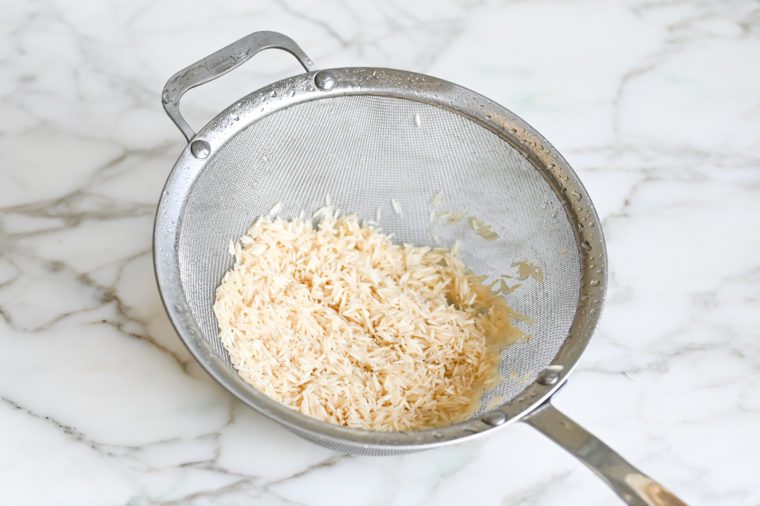
To cook basmati rice, begin by placing the rice in a fine mesh strainer. Place under cold running water, swishing the rice with your hand, for 1 to 2 minutes to release excess starch. (Alternatively, place the rice in a medium bowl and add enough water to cover by 2 inches. Using your hands, gently swish the grains to release any excess starch. Carefully pour off the water, leaving the rice in the bowl. Repeat four times, or until the water runs almost clear. Use a fine mesh strainer to drain the rice.)
In a medium pot, combine the rice, water, butter, and salt. I use a ratio of 1 cup of rice to 1-3/4 cups of water.
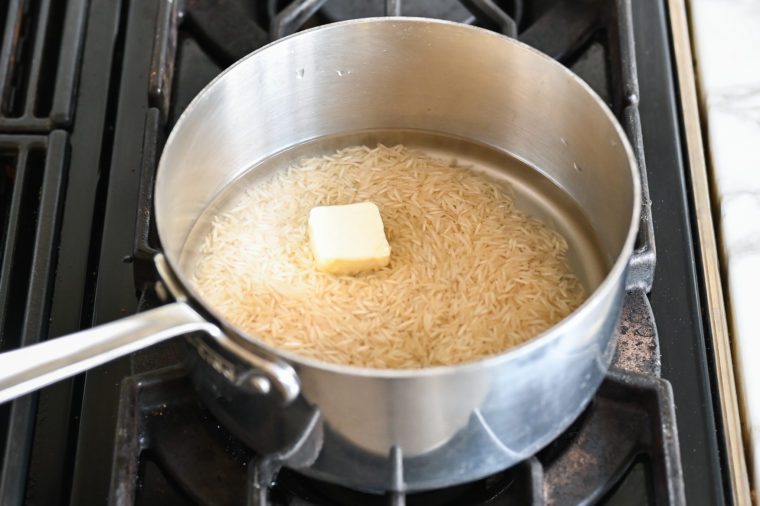
Bring to a boil.
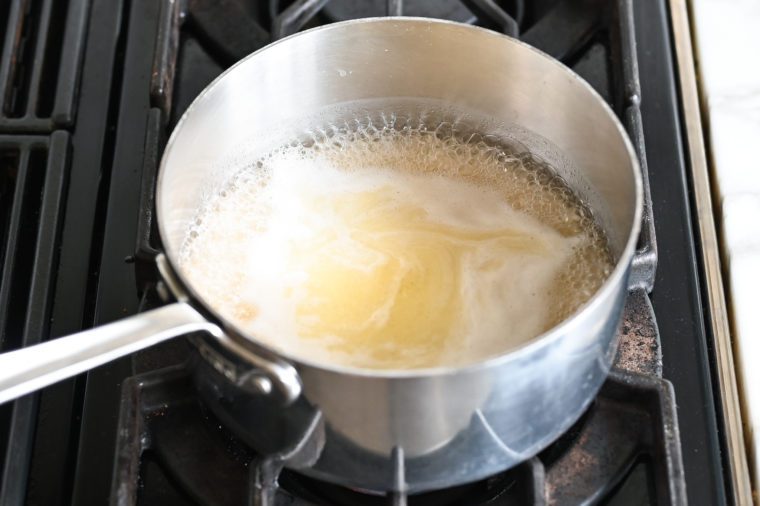
Cover the pot with a tight fitting lid and turn the heat down to a simmer.
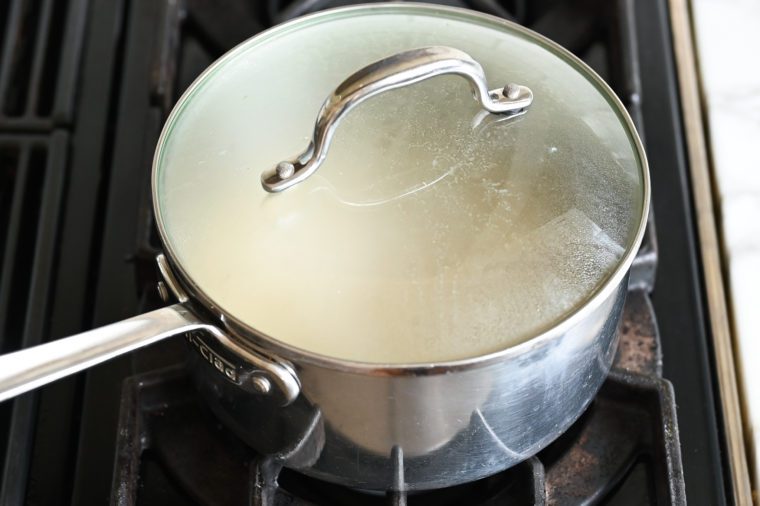
Cook for 15 to 20 minutes, until all of the water is absorbed and the rice is tender. If the rice is still too firm, add a few more tablespoons of water and continue cooking for a few minutes more.
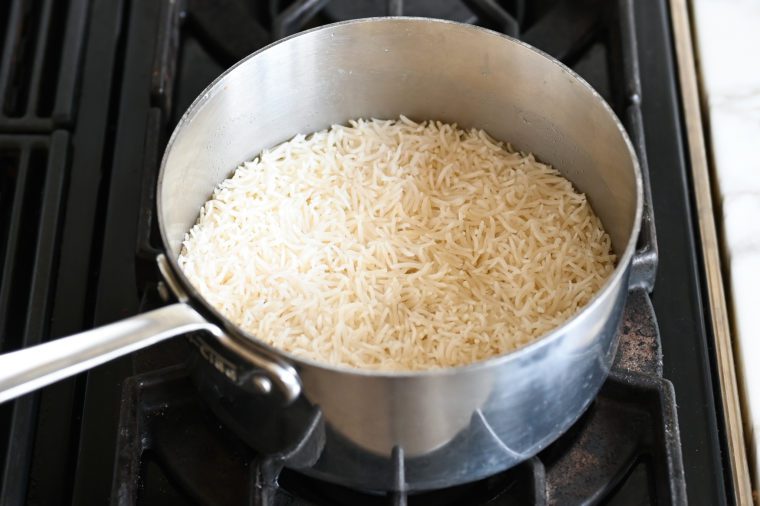
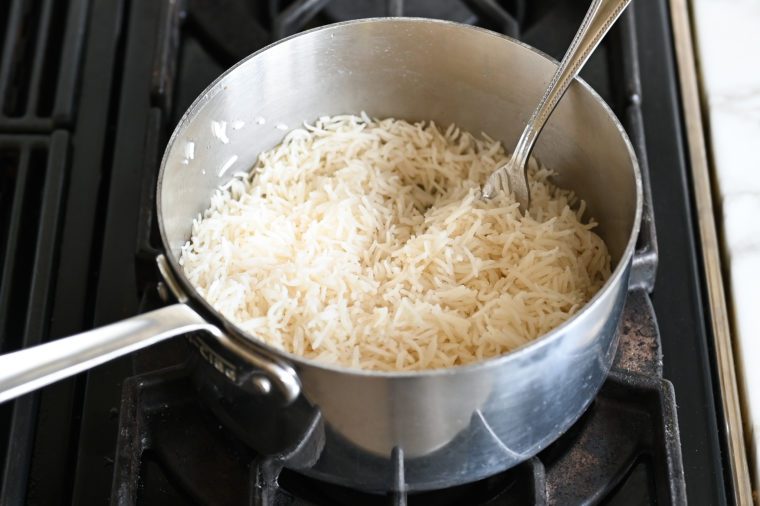
Remove the pan from the heat and allow it to sit covered for 5 minutes, then fluff the rice with a fork.
How To Store Basmati Rice
Store leftover basmati rice in an airtight container in the refrigerator for up to 4 days. To reheat it, place the rice in a microwave-safe bowl and add 1 to 2 tablespoons of water to help retain moisture. Cover the bowl with a damp paper towel or a microwave-safe lid. Microwave on high for 1 to 2 minutes, stirring halfway through to ensure even heating.
How To Freeze Basmati Rice
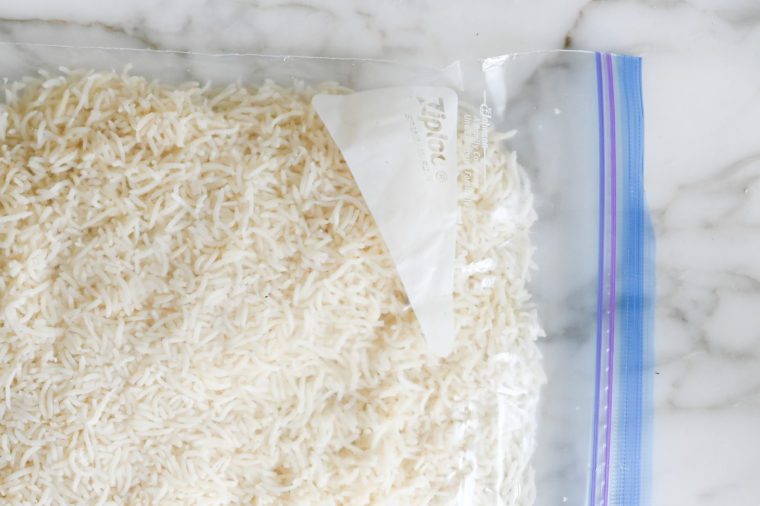
Basmati rice can be frozen in an airtight container for up to 3 months. For easier storage, flatten it out in sealable plastic bags to save space in the freezer. No need to thaw it before reheating—just remove it from the freezer and microwave with 1 to 2 tablespoons of water.

You May Also Like
Perfect Basmati Rice
Ingredients
- 1 cup basmati rice preferably imported from India or Pakistan
- 1¾ cups water
- 1½ tablespoons unsalted butter
- ½ teaspoon salt
Instructions
- Place the rice in a fine mesh strainer. Place under cold running water, swishing the rice with your hand, for 1 to 2 minutes to release excess starch. (Alternatively, place the rice in a medium bowl and add enough water to cover by 2 inches. Using your hands, gently swish the grains to release any excess starch. Carefully pour off the water, leaving the rice in the bowl. Repeat four times, or until the water runs almost clear. Use a fine mesh strainer to drain the rice.)
- In a medium pot, bring the rice, water, butter, and salt to a boil. Cover the pot with a tight fitting lid, then turn the heat down to a simmer and cook for 15 to 20 minutes, until all of the water is absorbed and the rice is tender. If the rice is still too firm, add a few more tablespoons of water and continue cooking for a few minutes more. Remove the pan from the heat and allow it to sit covered for 5 minutes. Fluff the rice with a fork and serve.
Notes
Nutrition Information
This website is written and produced for informational purposes only. I am not a certified nutritionist and the nutritional data on this site has not been evaluated or approved by a nutritionist or the Food and Drug Administration. Nutritional information is offered as a courtesy and should not be construed as a guarantee. The data is calculated through an online nutritional calculator, Edamam.com. Although I do my best to provide accurate nutritional information, these figures should be considered estimates only. Varying factors such as product types or brands purchased, natural fluctuations in fresh produce, and the way ingredients are processed change the effective nutritional information in any given recipe. Furthermore, different online calculators provide different results depending on their own nutrition fact sources and algorithms. To obtain the most accurate nutritional information in a given recipe, you should calculate the nutritional information with the actual ingredients used in your recipe, using your preferred nutrition calculator.
Gluten-Free Adaptable Note
To the best of my knowledge, all of the ingredients used in this recipe are gluten-free or widely available in gluten-free versions. There is hidden gluten in many foods; if you're following a gluten-free diet or cooking for someone with gluten allergies, always read the labels of your ingredients to verify that they are gluten-free.


Hi,
I have tried the recipe and it didn’t work for me. I followed the measurements with regards to both rice and water and the butter and salt was a general measurement.
The bottom of the pot had a significant portion of rice ‘stuck’.
I placed all ingredients in as mentioned when it got to a boil and then I lowered the heat to a simmer (4 on my electric oven with a maximum heat of 9). I made sure to also remove as much starch as possible before…
Would you have any suggestions?
Hi Marcin, It sounds like the rice got overcooked. I’m not familiar with electric ovens, but next time I would reduce the heat a little bit and/or check it for doneness on the earlier end of the 15 to 20 minutes. Hope you have better luck next time around!
I’ve never been a lover of rice but this was so delicious I could eat it on its own. Thank you so much! Margaret
Does this rice hold up well in a crock pot on warm for a buffet?
Hi Barb, I don’t have a crockpot so am not 100 percent sure, but I think it should work.
Perfect Basmati rice recipe !
By the way my men (sons and son -in-law ) love all your soups !
Before your book came out I ordered one for myself one for my daughter and 2 for my daughters -in -law ,they love it .
How about a French onion soup for the Fall !!!
Jeannine from Canada .
Glad you enjoyed the rice and thanks so much for purchasing the cookbook! And you’re in luck — I actually do have a French onion soup recipe. You can find it here. 🙂
Sorry, it may be me or the electric cooker but this turned out a mush and not even a good tasting mush.
Confused by the universal good reviews. Didn’t work for me
I followed the recipe, it was easy and turned out great.
Almost half the time that I cook basmati rice it comes out sticky, even when I rinse it. I will follow this recipe and see what happens.
Amazing! Thanks for the advice!
Followed the recipe to the “T” and the result was perfection.
thank you,
This was perfect! I had previously made it with too little water and ended up with drier rice. The butter and salt are essential. I love your blog!
This is my go to Basmati rice recipe now, sooooo good. I’m Pakistani and my mom always used a rice cooker, ours recently broke and this recipe has made it easy for me to transition from a rice cooker to stove top rice. Thank you Jen!
Rice far too tender, would use 1.5 parts water to 1 part rice next time.
yes! this is what i was told from the arabs and pakistanis and afghanis..for basmati rice, it’s 1.5 cups water to 1 cup of rice.
Hi, I’m going to try your recipe but I would like to use coconut water, what do you think??
I think that sounds like a great idea! I’d love to hear what you think of the results. 🙂
Hello Jen,
If tripling the recipe (for 10 people), would the rice to water ratio be the same (3 cups rice to 5 1/4 cups water)?
Thank you!
Hi Debbie, yes, the ratios should stay the same. Just keep a close eye on it as the timing should be the same, but may vary just a bit from the original cooking time. Hope everyone enjoys!
This worked perfectly. I was able to add a cinnamon stick and some cloves at the end for flavor.