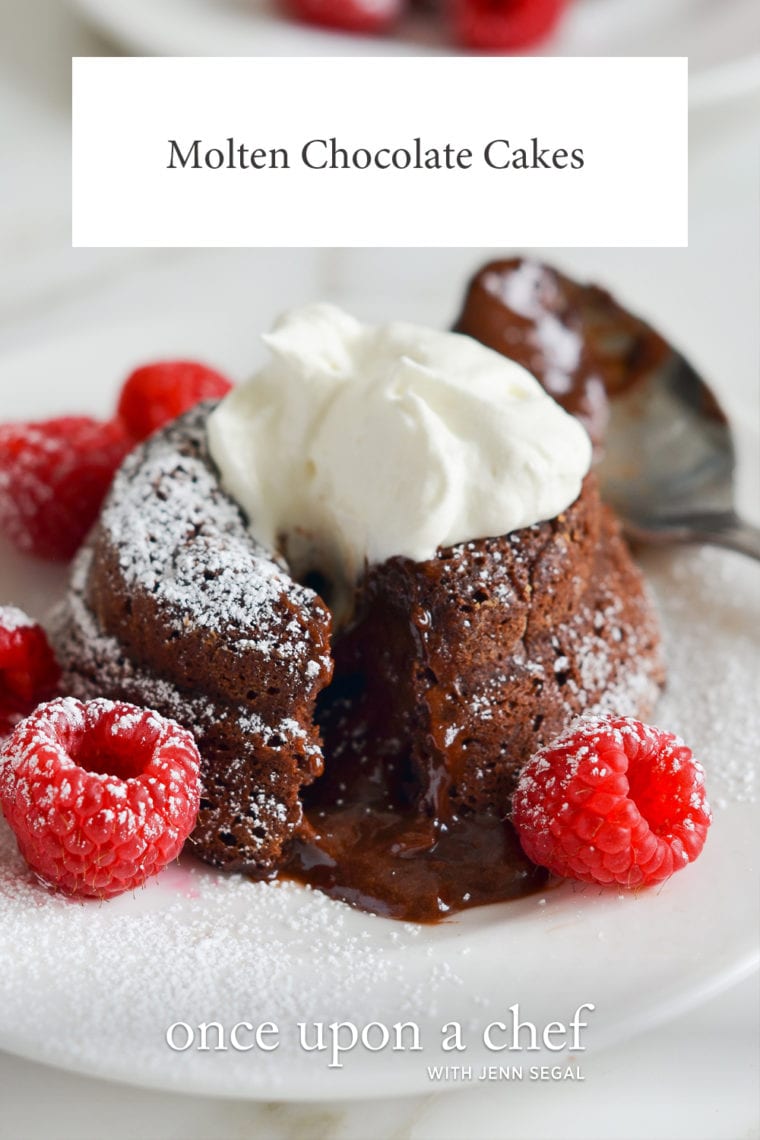
Molten Chocolate Cakes
This post may contain affiliate links. Read my full disclosure policy.
Molten chocolate cakes, also known as lava cakes, are rich individual chocolate cakes with oozing molten centers.
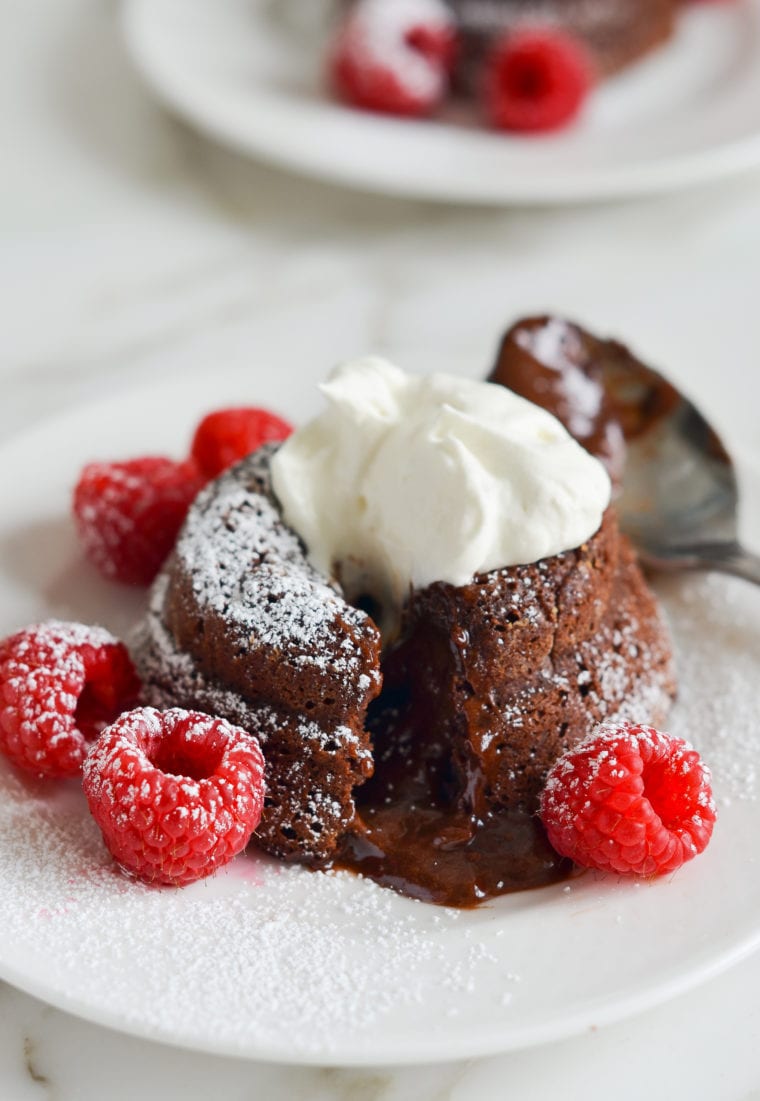
Molten chocolate cakes—also known as chocolate lava cakes—are a dream for chocolate lovers: rich, individual chocolate cakes with irresistibly molten centers. The original recipe was created by master chef Jean-Georges Vongerichten fortuitously, when he pulled a chocolate cake out of the oven before it was done and discovered the center to be enticingly warm and pudding-like. Surprisingly, molten chocolate cakes are easy enough for even the novice baker to make at home. What’s more, they can be prepared ahead of time, stored in the fridge, and then baked at the last minute. The key is to serve them right out of the oven; if they sit too long after baking, the molten centers will cook through.
“I made this for a dinner party, and it turned out perfectly…All my guests raved about it, and it is a wonderful stress-free dessert because it can be made ahead of time.”
What You’ll Need To Make Molten Chocolate Cakes
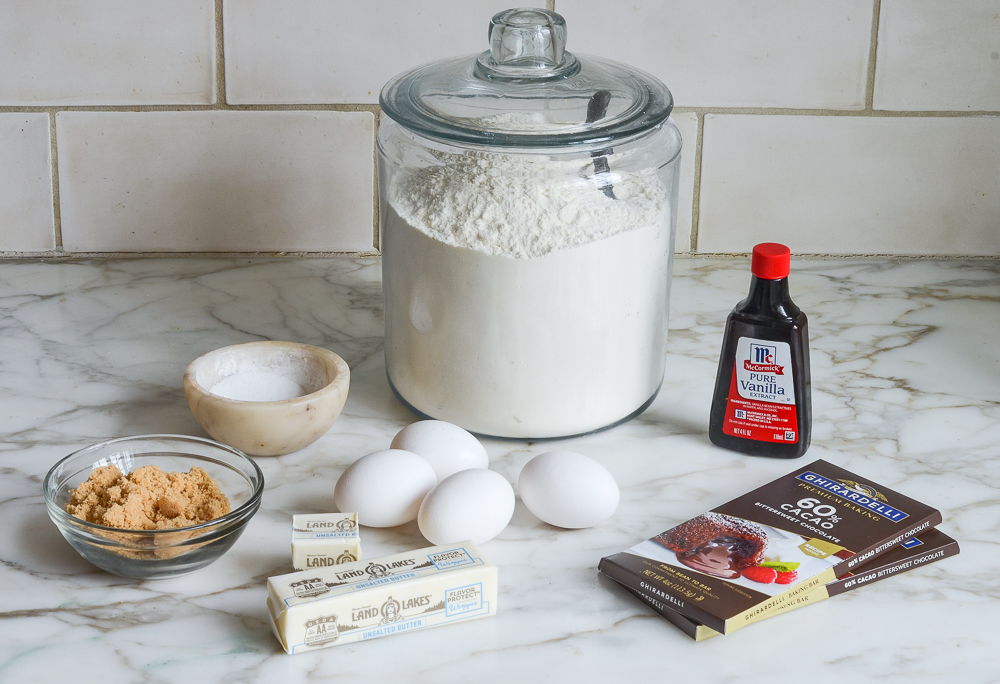
- Butter: Gives the cakes a rich flavor and smooth texture, plus more for buttering the ramekins.
- Bittersweet Chocolate: Bittersweet chocolate offers a deep, rich chocolate taste. The quality of chocolate significantly impacts the flavor of the cakes, so use a high-quality brand, such as Ghirardelli or Guittard—it makes a difference!
- Eggs + Egg Yolks: Provide structure and richness to the cakes. The additional yolks make the cakes extra rich.
- Light Brown Sugar: Adds sweetness and a hint of molasses flavor.
- Vanilla Extract: Adds warmth and complements the chocolate flavor.
- Salt: A small amount helps balance the sweetness and intensify the chocolate flavor.
- All-Purpose Flour: Gives the cakes structure, but only a small amount is used to keep them moist and fudgy.
- Jump to the printable recipe for precise measurements
Step-By-Step Instructions
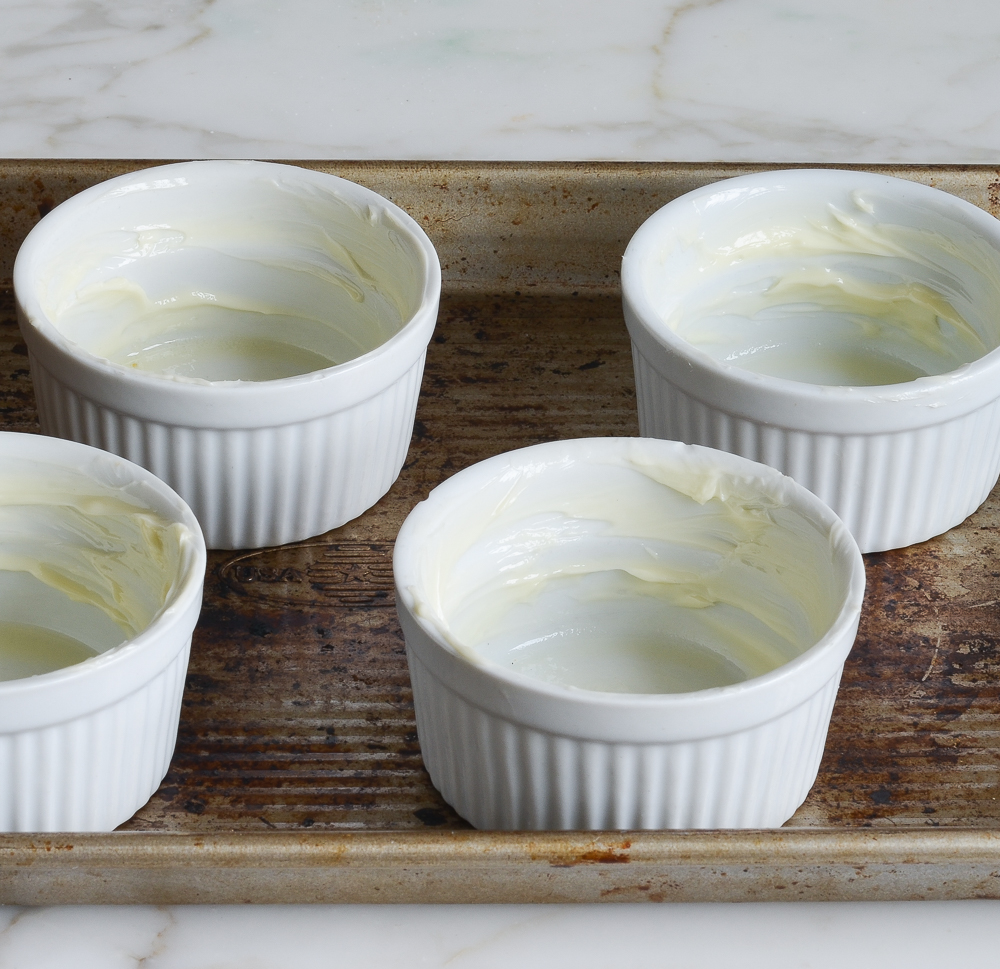
You’ll need six oven-proof 6-ounce ramekins for the recipe, which you can find at any kitchen store. If you have ramekins that are slightly larger, the recipe is still doable, but you’ll likely need to add a minute or two from the baking time (and this will also impact the number of servings you get from the batter).
Begin by buttering the ramekins liberally to ensure the cakes release easily.
Melt one stick of butter and add the chopped chocolate to a medium bowl.
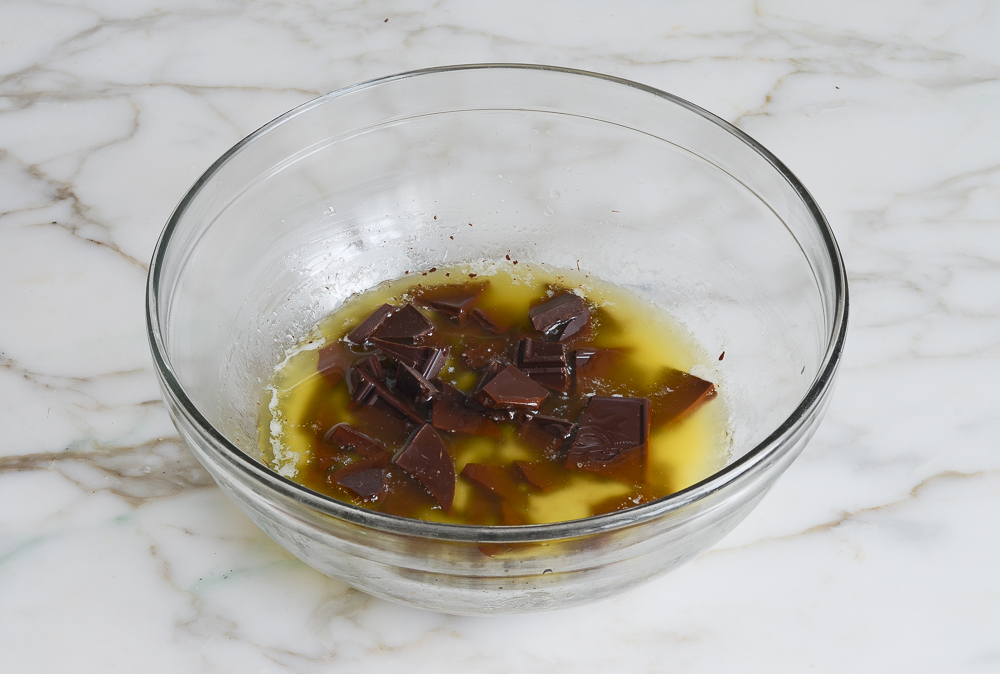
Stir until the chocolate is melted and smooth. If a few chunks of chocolate remain, place the bowl back in the microwave for 20 seconds, then stir again.
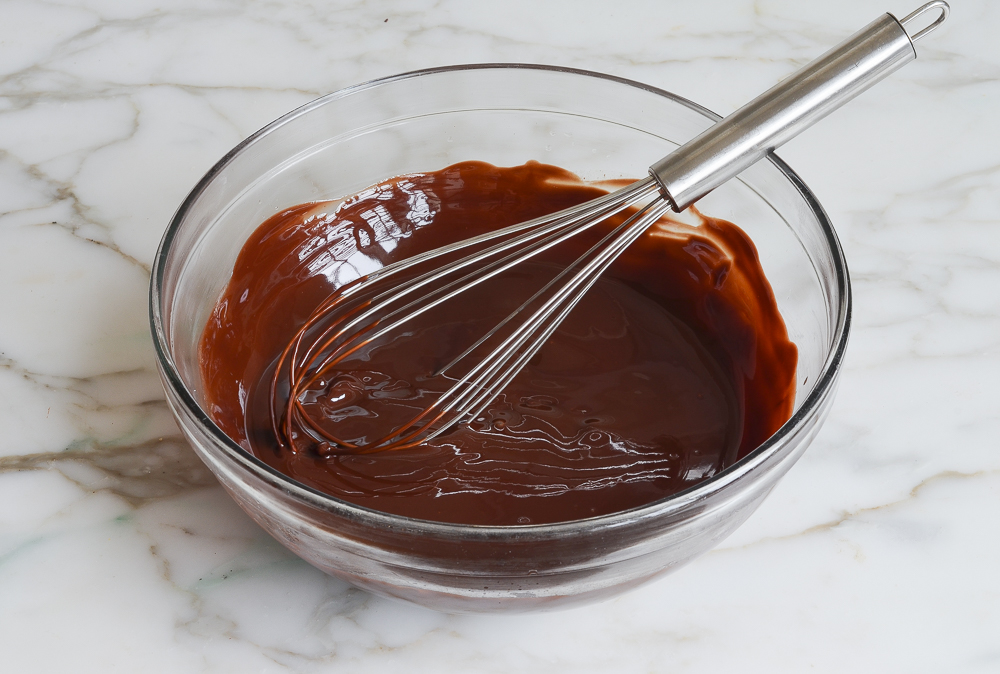
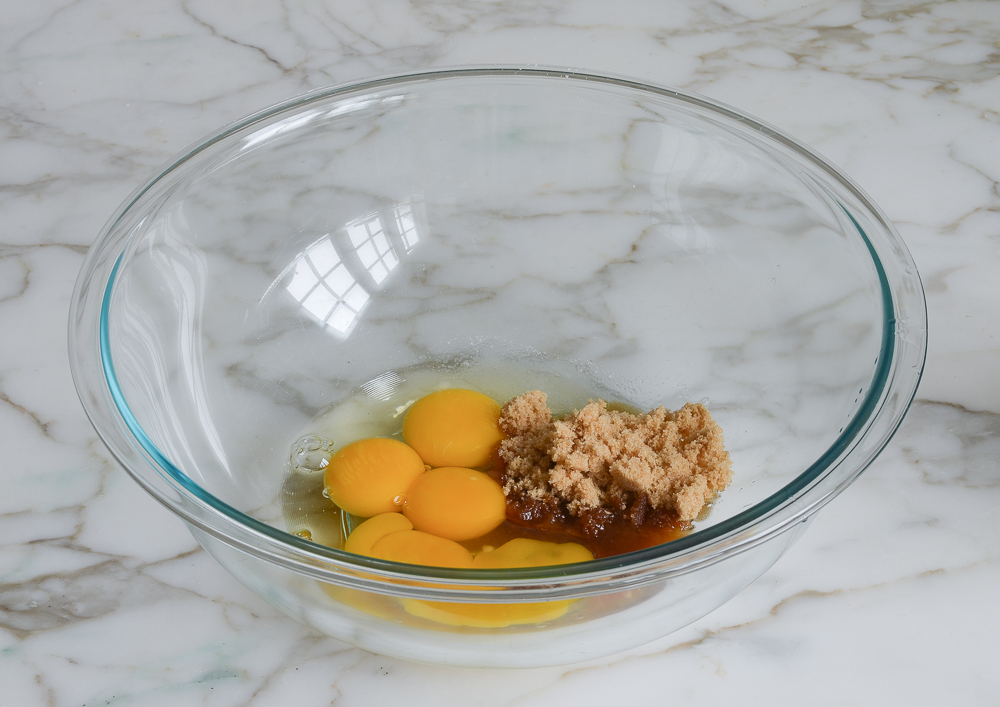
In a small bowl, whisk together the eggs, egg yolks, brown sugar, salt, and vanilla extract.
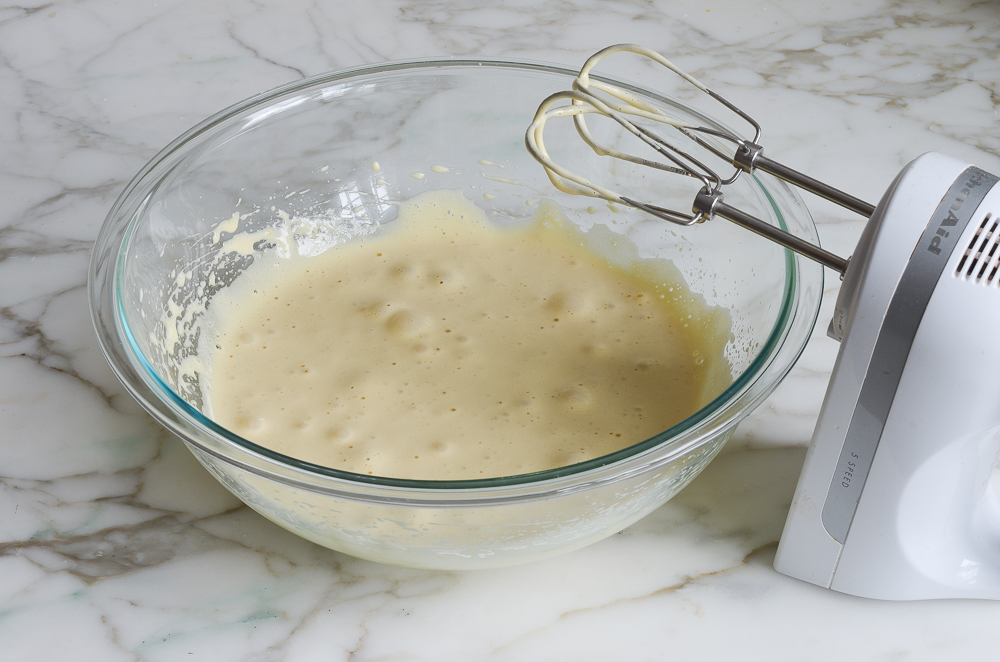
Beat until pale and thick, about 4 minutes.
Add the flour and melted chocolate mixture (the chocolate mixture sinks to the bottom).
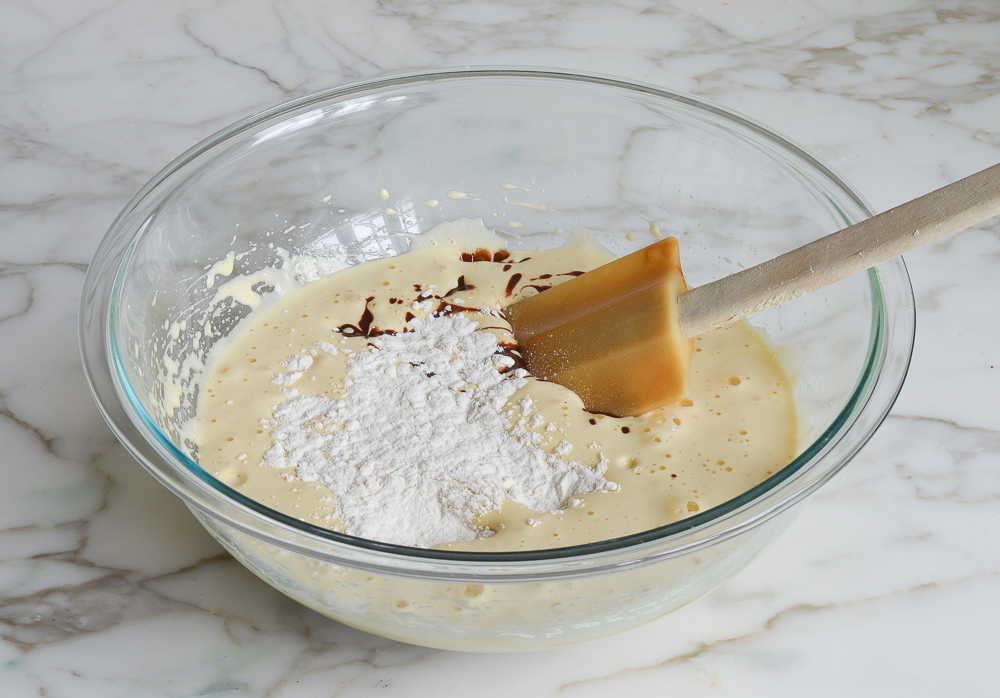
Gently fold to combine.
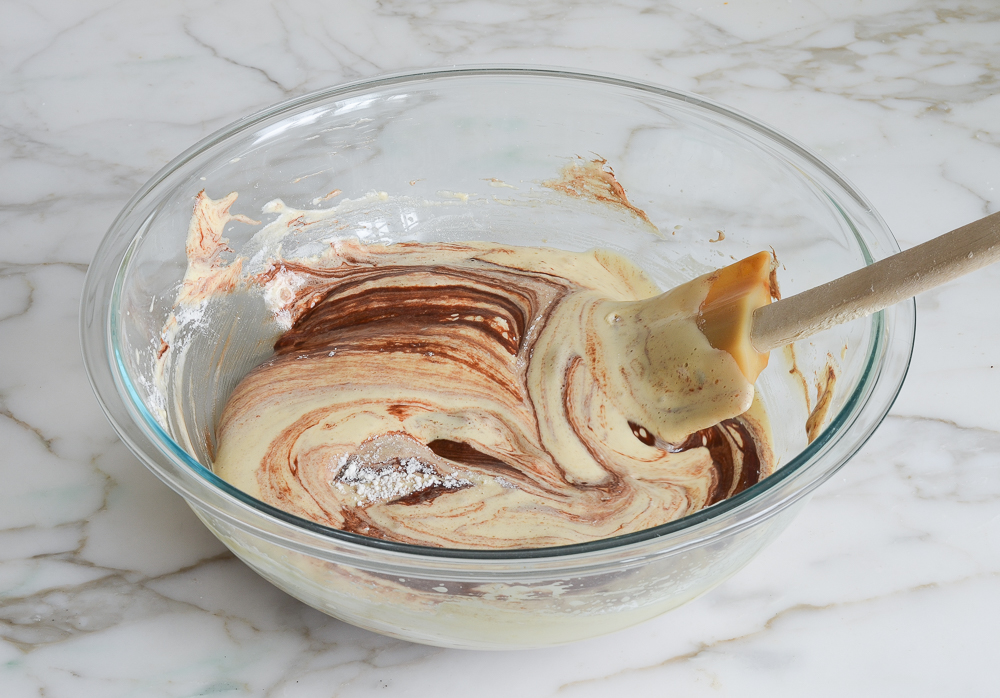
It will deflate a bit—that’s okay.
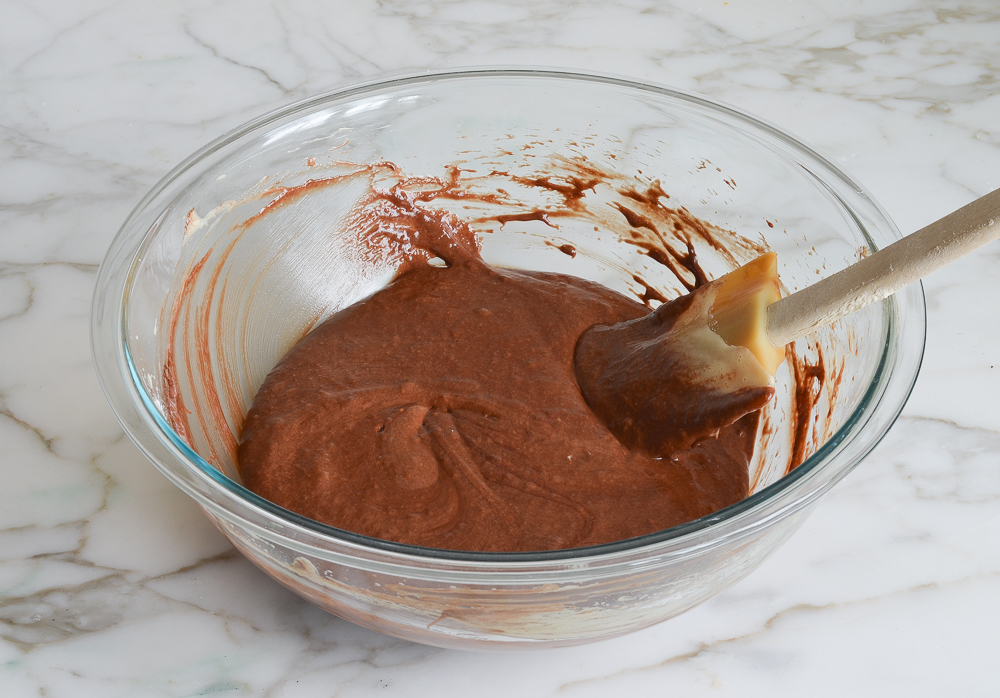
Spoon the batter evenly into the prepared ramekins.
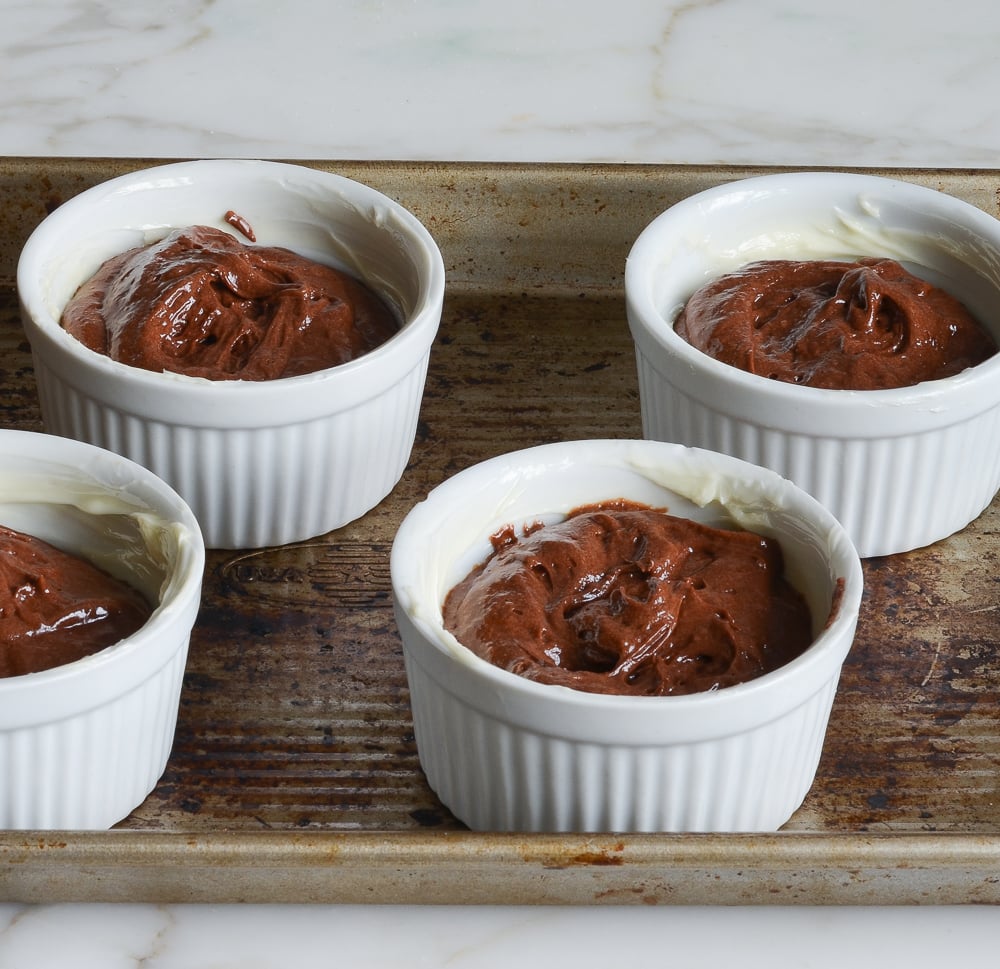
Bake for 10 minutes in a 450°F oven.
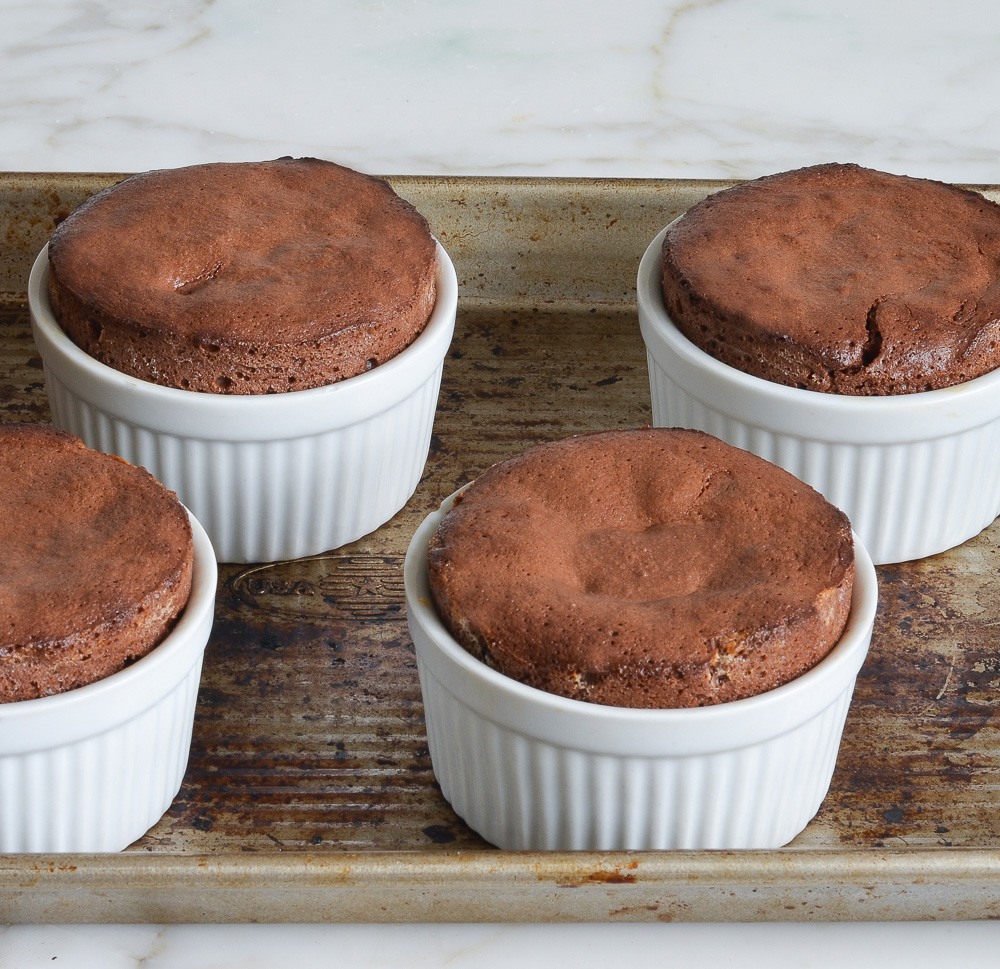
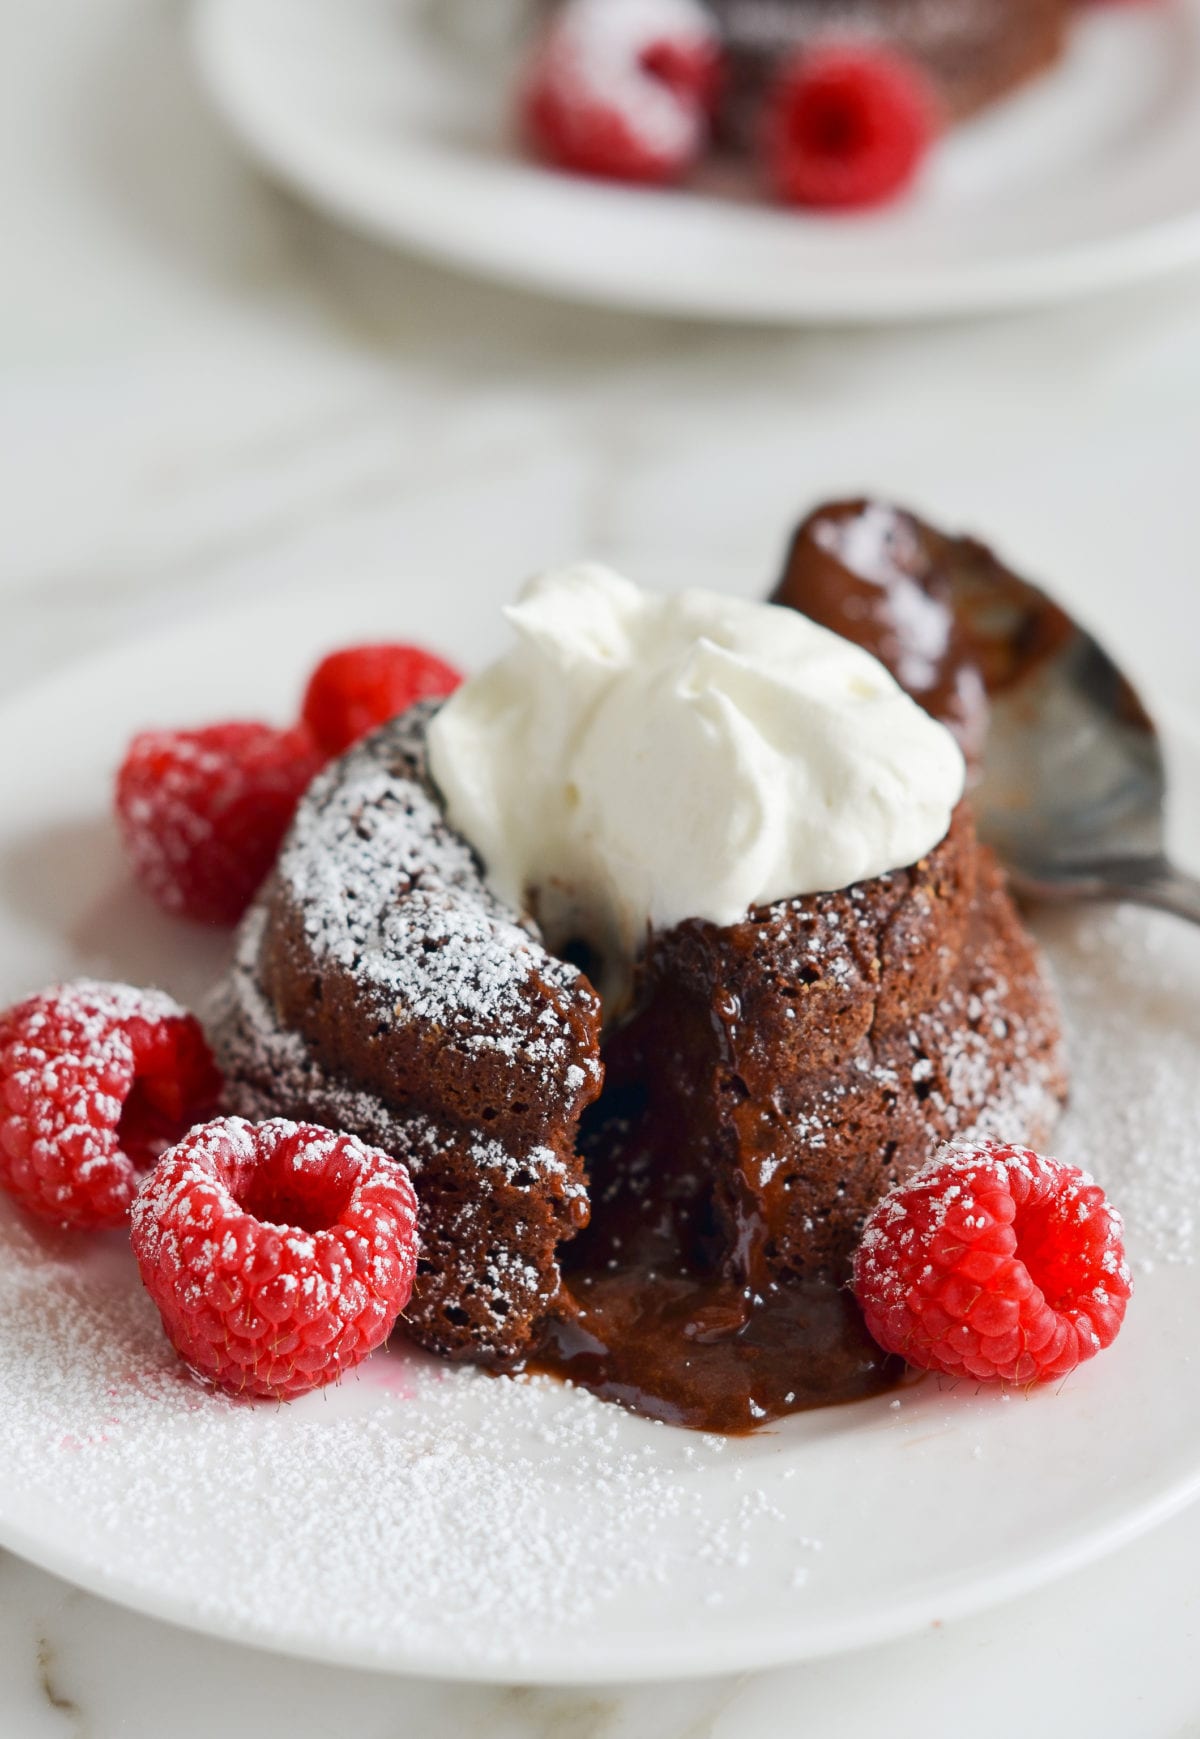
They’ll puff up just over the edge of the ramekins when done. Be sure not to overcook them, or the centers won’t be molten. Let the cakes sit in the ramekins for a minute, then carefully invert them onto plates.
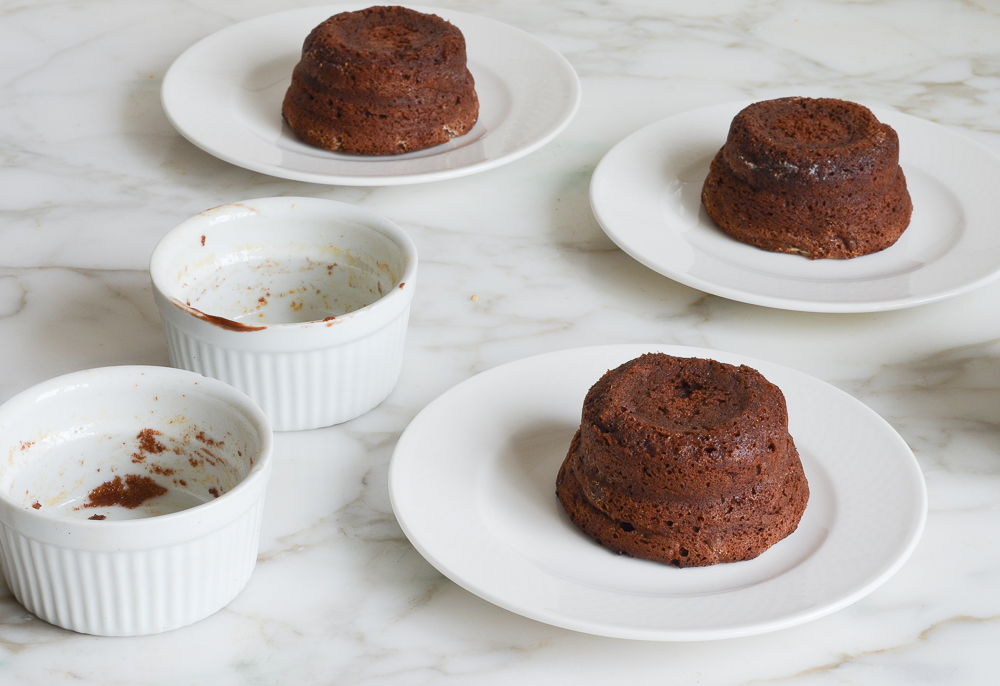
Dust with confectioners’ sugar and serve with vanilla ice cream or sweetened whipped cream and fresh berries.
Make-Ahead Instructions
The batter can be spooned into the ramekins, covered, and refrigerated for several hours before baking. Take them out of the fridge about 30 minutes before baking so they come to room temperature, and proceed with the recipe.
You may also like
Molten Chocolate Cakes
Molten chocolate cakes, also known as lava cakes, are rich individual chocolate cakes with oozing molten centers.
Ingredients
- 1 stick (½ cup) unsalted butter, plus more for buttering the ramekins
- 6 ounces bittersweet chocolate, chopped, best quality such as Ghirardelli
- 2 large eggs
- 2 large egg yolks
- ¼ cup plus 2 tablespoons light brown sugar, packed
- 1 teaspoon vanilla extract
- Pinch of salt
- 3 tablespoons all purpose flour
For Serving (optional)
- Confectioners' sugar
- Vanilla ice cream
- Sweetened whipped cream
- Berries
Instructions
- Preheat the oven to 450°F and set an oven rack in the middle position. Generously butter six 6-ounce ramekins (really be generous, and do not substitute non-stick cooking spray). Set the ramekins on a baking sheet.
- Melt the butter in a medium bowl in the microwave. Immediately add the chopped chocolate and stir until the chocolate is completely smooth and melted. If a few chunks remain, place the bowl back in the microwave for 20 seconds, then stir again. Repeat if necessary. Set aside.
- In the bowl of an electric mixer fitted with the paddle or beaters, beat the eggs, egg yolks, brown sugar, vanilla and salt at high speed until thickened and pale, about 4 minutes. Add the melted chocolate mixture and flour to the egg mixture and fold with a rubber spatula until just combined (the chocolate sinks to the bottom so be sure to scrape it up into the batter).
- Spoon the batter evenly into the prepared ramekins and bake for 10 minutes, until the cakes are set and puffed over the edges of the ramekins. Let the cakes cool in the ramekins for 1 to 2 minutes; then, holding the hot ramekins with a dish towel, carefully invert the cakes onto dessert plates. They should pop right out, but you can run a thin-bladed knife around the edges if necessary. Serve immediately. (It's important not to let the cakes sit after baking, as the centers will continue to cook.) Dust with confectioners' sugar and serve with vanilla ice cream or sweetened whipped cream and berries, if desired.
- Make-Ahead Instructions: The batter can be spooned into the ramekins, covered and refrigerated for several hours before baking. Take them out of the fridge about 30 minutes before baking so they come to room temperature.
Nutrition Information
Powered by ![]()
- Per serving (6 servings)
- Calories: 416
- Fat: 31 g
- Saturated fat: 18 g
- Carbohydrates: 35 g
- Sugar: 29 g
- Fiber: 2 g
- Protein: 5 g
- Sodium: 85 mg
- Cholesterol: 174 mg
This website is written and produced for informational purposes only. I am not a certified nutritionist and the nutritional data on this site has not been evaluated or approved by a nutritionist or the Food and Drug Administration. Nutritional information is offered as a courtesy and should not be construed as a guarantee. The data is calculated through an online nutritional calculator, Edamam.com. Although I do my best to provide accurate nutritional information, these figures should be considered estimates only. Varying factors such as product types or brands purchased, natural fluctuations in fresh produce, and the way ingredients are processed change the effective nutritional information in any given recipe. Furthermore, different online calculators provide different results depending on their own nutrition fact sources and algorithms. To obtain the most accurate nutritional information in a given recipe, you should calculate the nutritional information with the actual ingredients used in your recipe, using your preferred nutrition calculator.


Hi Jenn,
I have a silicone tray with 6 hearts (similar size to cupcake pan). Do you think I could use this? Also bake them a day early & put in fridge or freezer, then warm up in microwave the next day? I want to deliver them to my grandchildren.
Thank you!
Hi Cyndi, These really can’t be baked in advance, but you can do all of the prep ahead of time and store them in the fridge so they’re ready to pop in the oven right before serving. Also, the silicone tray may work, but keep in mind that the bake time may be slightly different, so keep a close eye on them.
wondering if i can substitute gluten free flour and make for a dinner party. If yes…. do you have brand preference on the gluten free flour?
I do think it would work. I like King Arthur AP GF Flour.
Hoping to make this for my Valentine’s Day dessert. I know you state it can be prepared a few hours in advance but would a day in advance still produce good results? Never made a recipe of yours I didn’t love! Thank you.
Sure, Ann, that should work. Just be sure to take them out of the fridge about 30 minutes before baking so they come to room temperature.
This is an unrelated recipe question, but I was wondering if I could find out what is the brand or store that the flour jar that is in the photo with the ingredients. I’ve been looking for one with a wide opening like this one and would love to know where this one is from.
Thank you so much!
Hi Janet, I got those at The Container Store. 🙂
Jenny’s molten lava cakes have become a favorite at our house! So easy to make ahead and pop in the oven toward the end of dinner. Have served as birthday desserts several times. Could not find bars of chocolate before Christmas and used bittersweet chips. Worked just fine. Do serve with ice cream or whipped cream to balance the intensity of the chocolate.
I made this recipe yesterday, and my family really enjoyed them. The only cautionary note I would add is that I did the batter early in the morning, and put it in a jar in fridge thinking I would pour it out later.(not enough space for the ramekins). Of course, it was rockhard when I went to take the chocolate mixture out, so eventually I managed to get it into the ramekins, and baked it perhaps a minute too long.
The bottom line is, follow the recipe with all the details exactly as Jen has written it, and you will have five star chocolate lava volcano cakes!
At all times I have one of Jenn’s recipes up in my web browser. I get daily inspiration, ideas and recipes. I’ve come to trust Jenn because I’ve cooked/baked many of them and had success. This last week was the Chocolate Lava cakes to bring over for my neighbor’s anniversary. The cakes received many oohs and aahs. For serving I first dusted some pretty plates almost totally with powdered sugar. I was going to put a scoop of Moose Tracks Ice cream on top of the cake, however opted for a good sized scoop off to the side. I topped both cake and ice cream with some leftover ganache (Jenn’s flourless Almond cake) I melted a bit in the microwave, whipped cream and chocolate curls. Wish I’d taken a picture to share.
These are my go to lava cakes. So delicious, and honestly, I love them cold. They are super decadent like a brownie almost. I use a mixture of chocolates as I am not a huge dark chocolate fan. Also I would err on the side of undercooked or you won’t get the oozing of the chocolate, but will still have a delicious cake!
Cannot say enough good things about this recipe! I made the batter and poured into ramekins about 6 hours before baking. I chilled in the fridge, transported to dinner and then let sit at room temperature before putting in the oven. Easy to follow, decadent, and a true crowd pleaser!
I added raspberries, a few sprinkles and Jenn’s whipped cream recipe as toppings. Not a crumb was left!
They had a great fudge taste, but they didn’t puff up over the edge, and they were not molten inside. I’m going to make again and bake for a couple of minutes shorter. Any suggestions on what else I can do differently?
Hi Vee, in order to make them more molteny inside, I’d remove them from the oven a bit earlier. Did you use 6-ounce ramekins?
Is it possible to leave these in the ramekins and serve them from there instead of flipping them out onto a plate? Would that work ok?
Yep- that’s perfectly fine. Enjoy!
These were absolutely delicious! Made them for Christmas Eve dinner and while they didnt come out of the ramikins in one piece (thought I buttered them up plenty enough, but guess I didnt) they were to die for. The best lava cake recipe I have found! Served with a little scoop of vanilla ice cream….delicious combo. And I got my Christmas wish and was gifted your cookbook, so thanks, Jenn! Am reading through it and love it already!
❤️