Buttermilk Fried Chicken Tenders
This post may contain affiliate links. Read my full disclosure policy.
One of my most popular recipes, these chicken tenders are marinated in seasoned buttermilk and pan-fried to crispy, crunchy perfection.
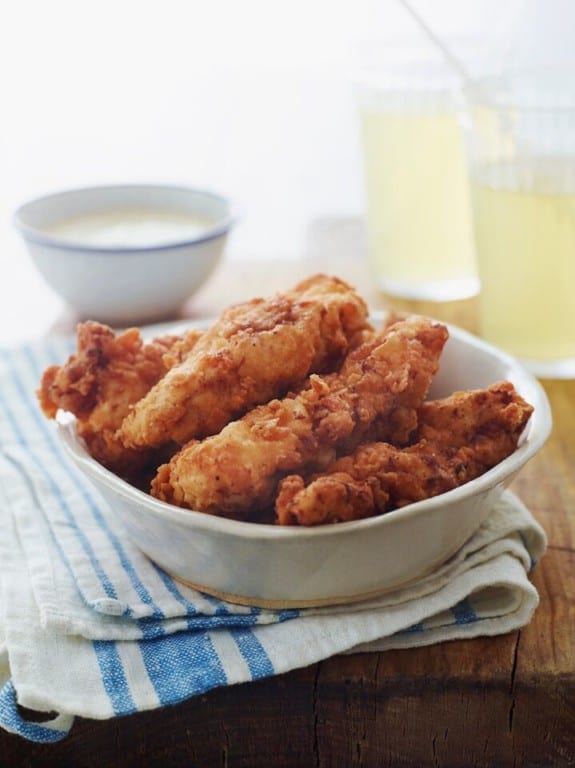
Photo by Alexandra Grablewski (Chronicle Books, 2018)
Like most kids, my daughter prefers “kid food” to “grown-up food” any day of the week. Occasionally, it works to my advantage—a trip to McDonald’s makes excellent bribery—but most of the time I’m just dealing with a picky eater. Rather than desperately trying to coax her into eating dinner every night, sometimes I just make her favorites. These chicken tenders, marinated in seasoned buttermilk and pan-fried to crispy, crunchy perfection, are at the top of her list. They’re delicious plain, dipped in honey mustard sauce, or perched on top of a salad. And they’re not just for picky kids—everyone loves them.
What you’ll need To Make Buttermilk Fried Chicken Tenders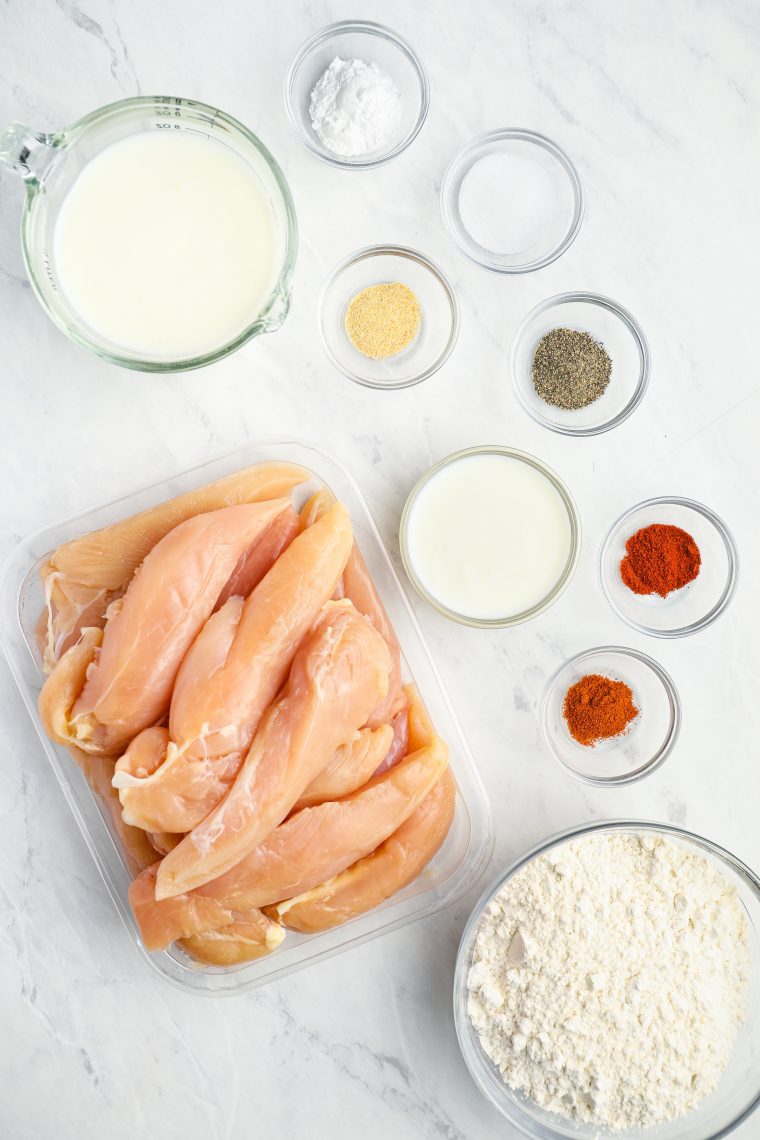
Step-by-Step Instructions
To marinate the chicken: In a large sealable bag, combine the chicken tenders with the buttermilk, paprika, garlic powder, cayenne pepper, and salt. Seal the bag tightly and massage the chicken until it is evenly coated with buttermilk and seasoning.
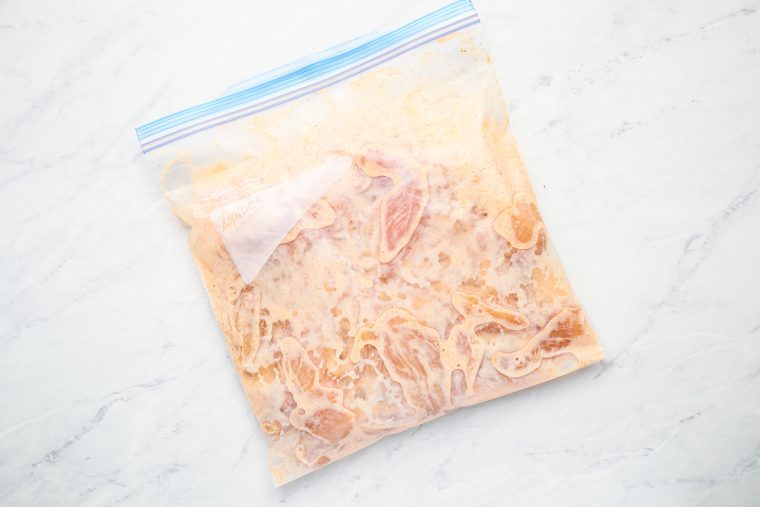
Place in a bowl (in case of leakage) and refrigerate for at least 4 hours or up to 24 hours.
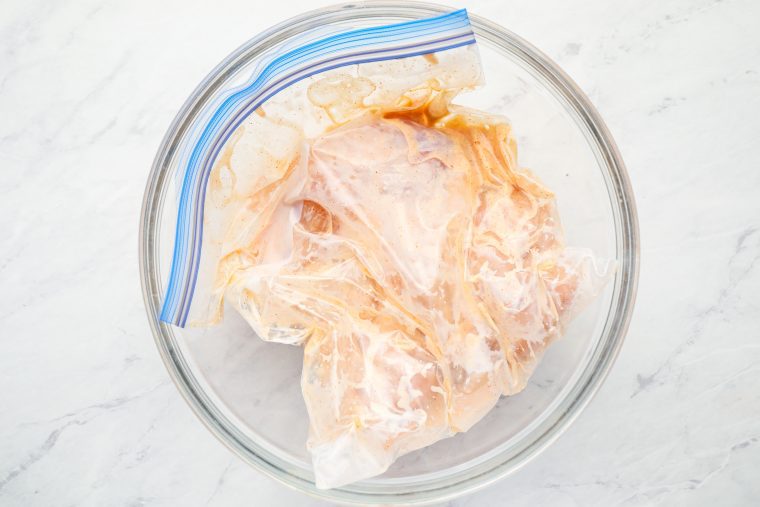
When you’re ready to cook them, make the breading: In a large bowl, combine the flour, baking powder, salt, pepper, garlic powder, and paprika.
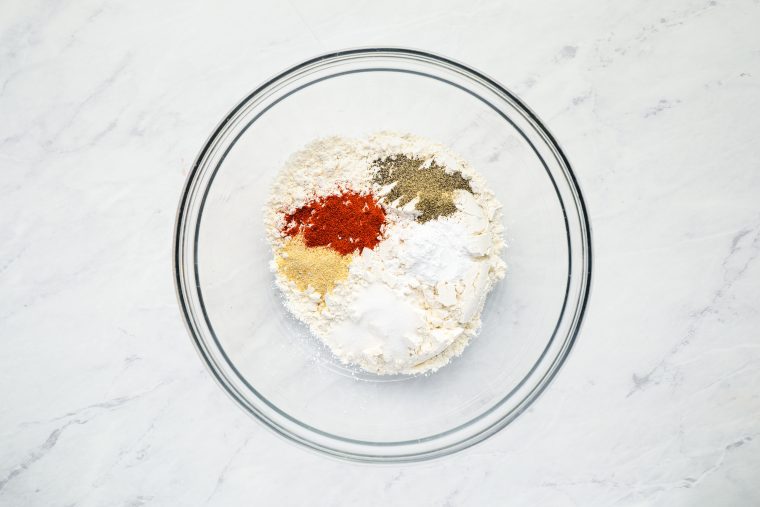 Whisk until well blended.
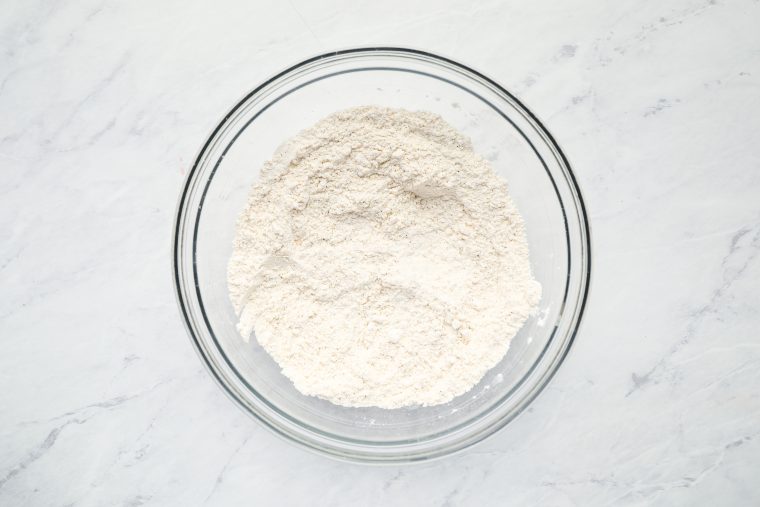 Add the buttermilk and stir with a fork until the mixture is evenly clumpy.
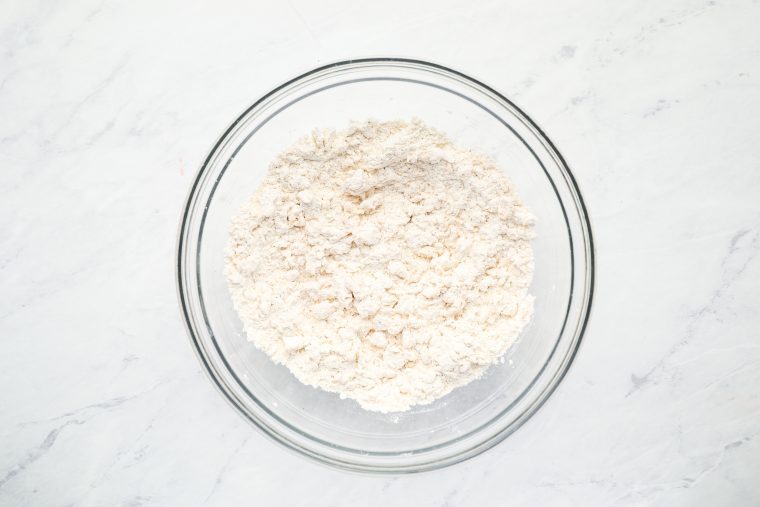 Remove the chicken tenders from the marinade a few at a time and toss into the breading mixture.
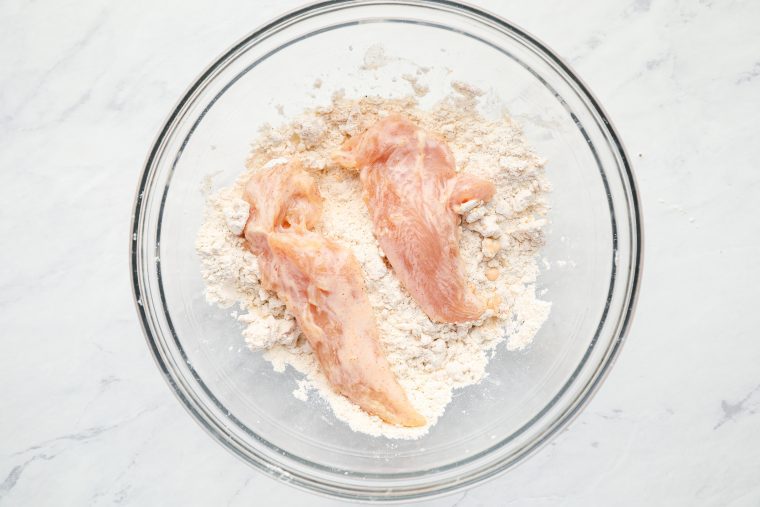
Be sure to press the chicken firmly into the breading so clumps adhere to the meat. (It’s a messy job: use one hand to remove the wet tenders from the bag and the other to toss in the breading.)
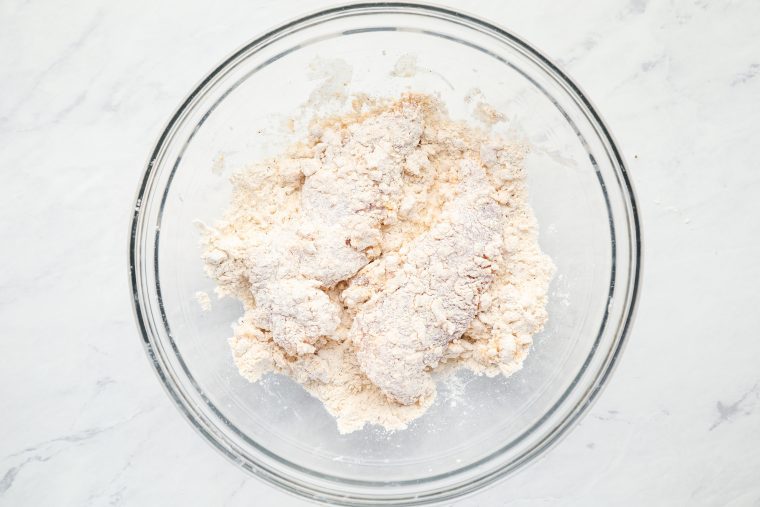 Set breaded tenders on a foil-lined baking sheet.
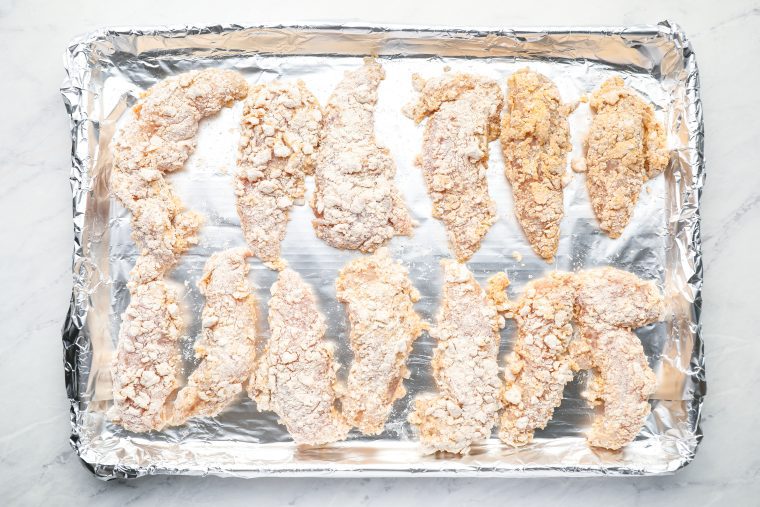
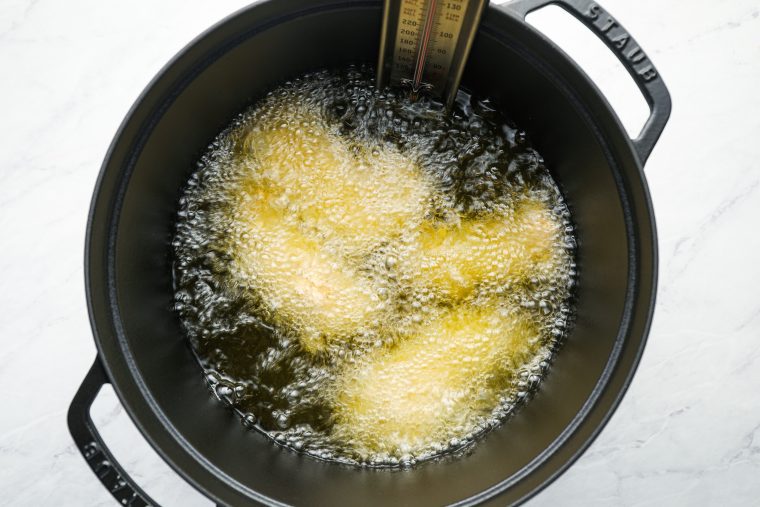
To fry the chicken: Line a baking sheet with a few layers of paper towels and set next to the stove. Add oil to a large, high-sided pot until the level reaches about 3/4-inch. Heat over medium-high heat until oil is shimmering (about 350°). (If a cube of bread sizzles when you drop it in, it’s ready.) Using tongs, place several chicken tenders in the hot oil without crowding the pan. Cook until golden brown on the bottom side, a few minutes, then flip and cook until the second side is also golden, a few minutes more.
 Set the cooked tenders on the paper towel-lined baking sheet to drain.
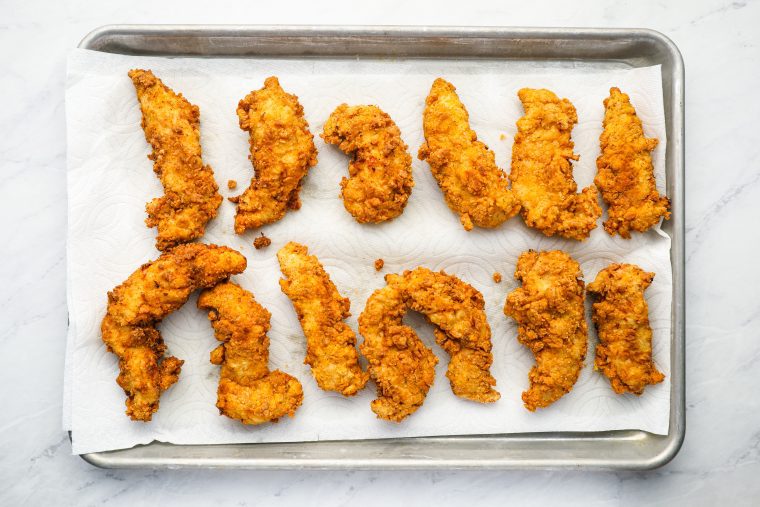 Fry remaining tenders in batches adjusting the heat as necessary (if the tenders are browning too fast, lower the heat). Serve hot with honey mustard sauce.
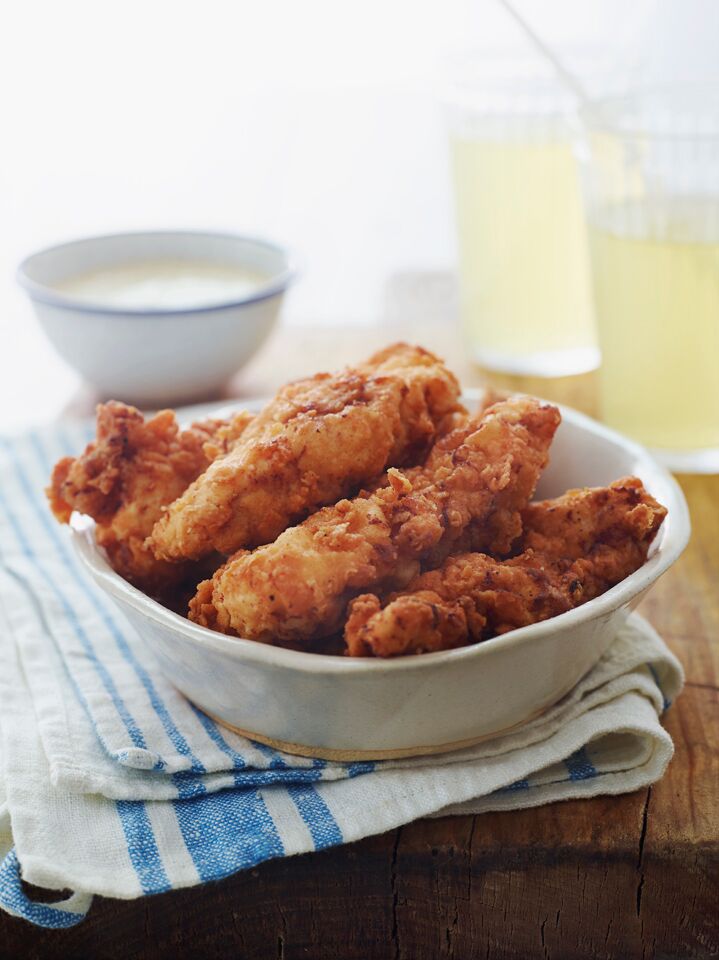
Photo by Alexandra Grablewski (Chronicle Books, 2018)
You may also like
- Pecan Crusted Chicken Tenders with Honey Mustard Sauce
- Easy Chicken Parmesan
- Parmesan Crusted Chicken
- Fried Chicken Sandwiches
- Chicken Schnitzel
- 9 Best Pots and Pans For Your Kitchen
Video Tutorial
Buttermilk Fried Chicken Tenders
One of my most popular recipes, these chicken tenders are marinated in seasoned buttermilk and pan-fried to crispy, crunchy perfection.
Ingredients
For the Marinade
- 2 pounds chicken tenderloins
- 1 cup buttermilk
- 1½ teaspoons salt
- ¼ teaspoon cayenne pepper
- ¼ teaspoon garlic powder
- ¼ teaspoon paprika
For the Breading
- 1½ cups all purpose flour
- 1½ teaspoons baking powder
- 1 heaping teaspoon salt
- ¾ teaspoon black pepper
- ¾ teaspoon garlic powder
- ¾ teaspoon paprika
- 3 tablespoons buttermilk
For Cooking
- 3-4 cups vegetable oil, for cooking
Instructions
- To marinate the chicken: In a large sealable bag, combine the chicken tenders with the remaining marinade ingredients. Seal the bag tightly and massage the chicken until it is evenly coated with buttermilk and seasoning. Place in a bowl (in case of leakage) and refrigerate for at least 4 hours or up to 24 hours.
- To make the breading: In a large bowl, combine the flour, baking powder, salt, pepper, garlic powder, and paprika. Whisk until well blended, then add the buttermilk and stir with a fork until the mixture is evenly clumpy.
- Line a baking sheet with aluminum foil for easy cleanup. Remove the chicken tenders from the marinade a few at a time and toss into the breading mixture. Be sure to press the chicken firmly into the breading so clumps adhere to the meat. (It's a messy job: use one hand to remove the wet tenders from the bag and the other to toss in the breading.) Set breaded tenders on the prepared baking sheet.
- To fry the chicken: Line another baking sheet with a few layers of paper towels and set next to the stove. Add oil to a large, high-sided pot until the level reaches about ¾-inch. Heat over medium-high heat until oil is shimmering (about 350°). (If a cube of bread sizzles when you drop it in, it's ready.) Using tongs, place several chicken tenders in the hot oil without crowding the pan. Cook until golden brown on the bottom side, a few minutes, then flip and cook until the second side is also golden, a few minutes more. Set the cooked tenders on the paper towel-lined baking sheet to drain. Fry remaining tenders in batches adjusting the heat as necessary (if the tenders are browning too fast, lower the heat). Serve hot.
- Note: I find that it's hard to tell how golden the chicken is when it's immersed in the oil. It may only look lightly golden, but it's actually a perfect fried chicken golden brown. If you're unsure, simply pull a tender out of the oil and rest it on the paper towels to see the true color.
- Note: Nutritional information was calculated assuming that approximately ¼ cup of the oil is absorbed into the chicken tenders when frying.
- Freezer-Friendly Instructions: The cooked chicken tenders can be frozen for up to 3 months. To reheat, put the frozen tenders on a wire rack on top of a rimmed baking sheet and warm in a 350°F (175°C) oven until heated through and crisp, about 25 minutes, flipping halfway through.
Pair with
Nutrition Information
Powered by ![]()
- Per serving (4 servings)
- Calories: 925
- Fat: 51
- Saturated fat: 1
- Carbohydrates: 75g
- Sugar: 5g
- Fiber: 4g
- Protein: 41g
- Sodium: 1866mg
- Cholesterol: 96mg
This website is written and produced for informational purposes only. I am not a certified nutritionist and the nutritional data on this site has not been evaluated or approved by a nutritionist or the Food and Drug Administration. Nutritional information is offered as a courtesy and should not be construed as a guarantee. The data is calculated through an online nutritional calculator, Edamam.com. Although I do my best to provide accurate nutritional information, these figures should be considered estimates only. Varying factors such as product types or brands purchased, natural fluctuations in fresh produce, and the way ingredients are processed change the effective nutritional information in any given recipe. Furthermore, different online calculators provide different results depending on their own nutrition fact sources and algorithms. To obtain the most accurate nutritional information in a given recipe, you should calculate the nutritional information with the actual ingredients used in your recipe, using your preferred nutrition calculator.


Will these still taste good if I don’t have time to marinate for 4 hours … Decided to make last min and only have about 1 hour to marinate them ??
Melissa, while it’s great if they can soak up the marinade for longer, they should still be tasty!
Anyone have tips to make the breadding stick to the chicken? I tried it with a more dry breading and a more batter like breadding and neither worked
Hi Sam, The oil may not have been hot enough if you had problems with the breading sticking– sorry!
Here’s a tip from France :
First beat an egg in a bowl with a bit of milk.
Put your chicken in the egg+milk.
Then put it in the breading.
Do it again with the same chicken (egg+milk then breading)
For each chicken do it twice.
The breading will stick better 🙂
Already done this for this recipe and do it for any recipe with breading. 🙂
We searched and searched the web for a good fried chicken recipe and decided to use this one because of the picture and because it called for buttermilk. SO GOOD! I will always use this recipe for fried chicken. The flavor was amazing and we even tossed some of them in Buffalo sauce after taking them out of the fryer and made boneless wings with it. My dad and husband even said it was better than Buffalo Wild Wings!!! Thats Sayin’ A LOT! Its a definite Favorite!
Boy, this is a fantastic recipe. I actually have never found a good fried chicken recipe until this one, it’s just so good. I’m going to be pouring over the site to find more.
I did a couple things “wrong,” but they still turned out good. I added too much buttermilk to the breading, and it just became a big lump, but that was toward the end. The first few pieces were coated fine. I also added way too much salt. All that is on me, though. I wasn’t following the recipe, I cooked have the amount of chicken and went, “Meh, I’m going to just eyeball the spices.” I would recommend following the recipe exactly, but … they still turned out so good. I also just fried them in a skillet with some olive oil, that part worked out well.
I can’t say enough how much I liked this, the best recipe I’ve ever tried off a site like this. Thanks!
Hi Jenn. I was lucky to come across your website when I found your Italian Dressing recipe. Since then, I’ve tried 10 of your recipes and all of them have been resoundingly successful. The most recent recipe I tried was for your chicken tenders. They were the best we’ve ever tasted! Reading the reviews beforehand really helped–I prepared with a thermometer to make sure the oil was at 300 degrees. I would have never known to do that otherwise. I always follow your recipes as is. Thank you for your wonderful website. Your layout with the steps pictured is a great help. Also, your recipes are simple, which makes me wonder why some chefs over-complicate things! Thank you so much, Jenn. Happy Holidays!
Okay, I am actually in the middle of cooking a batch and have never posted on a food blog, but these are the best chicken fingers I have ever eaten. I am cooking them in a cast iron dutch oven I use for camping on the stove. Unreal!
Hi Jenn,
I love your Blog!
I just made these for my girls.: they were incredible!, but I always have a hard time with the breading side of things. Should I oil my hands before I place the tenders in flour mixture? I used latex gloves, but ended up removing them because they gunked up with the flour mixture.
Also, I did not buy tenders, I made my own.; I’m a Butcher.
Thsnks!
Matt
Hi Matt the butcher! I know that dipping anything into breading can be a bit messy (even with latex gloves, I guess)! If it really bothers you, you could use tongs instead. I’m glad your girls enjoyed the chicken!
Amazing, successful recipes, two days in a row! Yesterday I made your pumpkin bread and I cannot sing its praises loudly enough! I just happened to have picked up a pack of tenderloins yesterday at the “last sale date” price, and I happened upon this recipe while browsing your recipes today. The tenders are delicious! You will be visiting my kitchen often. 🙂 I wonder if adding coconut to the batter would work for coconut chicken…hmmmm.
Made it last night with legs and thighs turned out amazing. Kids loved it
I have made (and eaten) a lot of chicken tenders in my time as they are my daughters favorite. These are some of the best tenders I have had – EVER. The breading was just right and the tenders were moist and delicious. Thanks much for this one – it’s definitely a keeper